

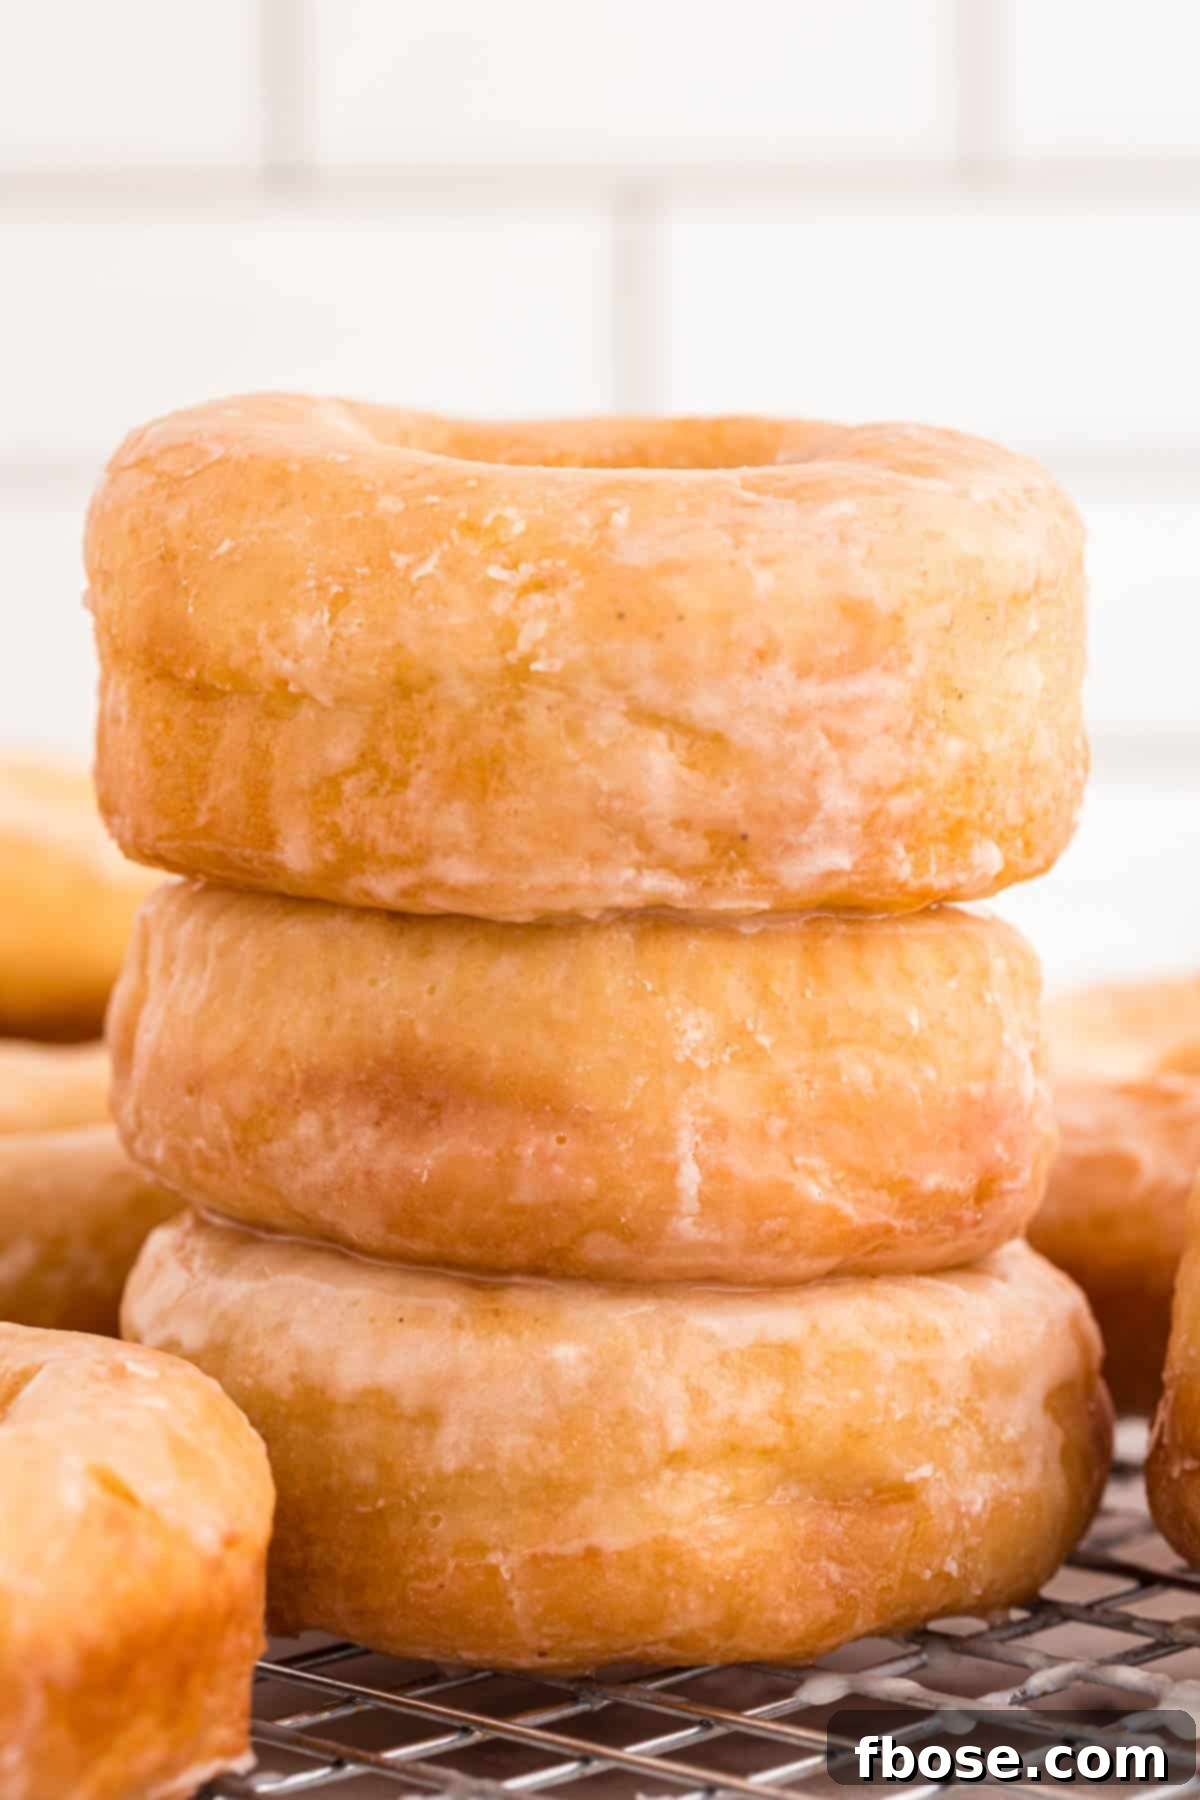
Experience the joy of baking with these exquisite **Sourdough Discard Donuts**. Crafted from your leftover sourdough starter, these homemade delights are deep-fried to achieve a perfectly golden-brown crust and an irresistibly light, fluffy interior, then generously coated in a simple yet luscious 3-ingredient sweet glaze. Impress your family and friends by preparing a batch of these delectable donuts, with active prep taking just 45 minutes!
If you’re a fan of homemade treats, these sourdough donuts are a must-try. They offer a unique flavor profile thanks to the sourdough discard, setting them apart from conventional recipes. For those who enjoy variety, explore other delightful donut creations like our **Air Fryer Chocolate Donuts**, perfect for a quick and healthier option, or indulge in the rich, smooth vanilla pastry cream filling of our **Brioche Donuts**.
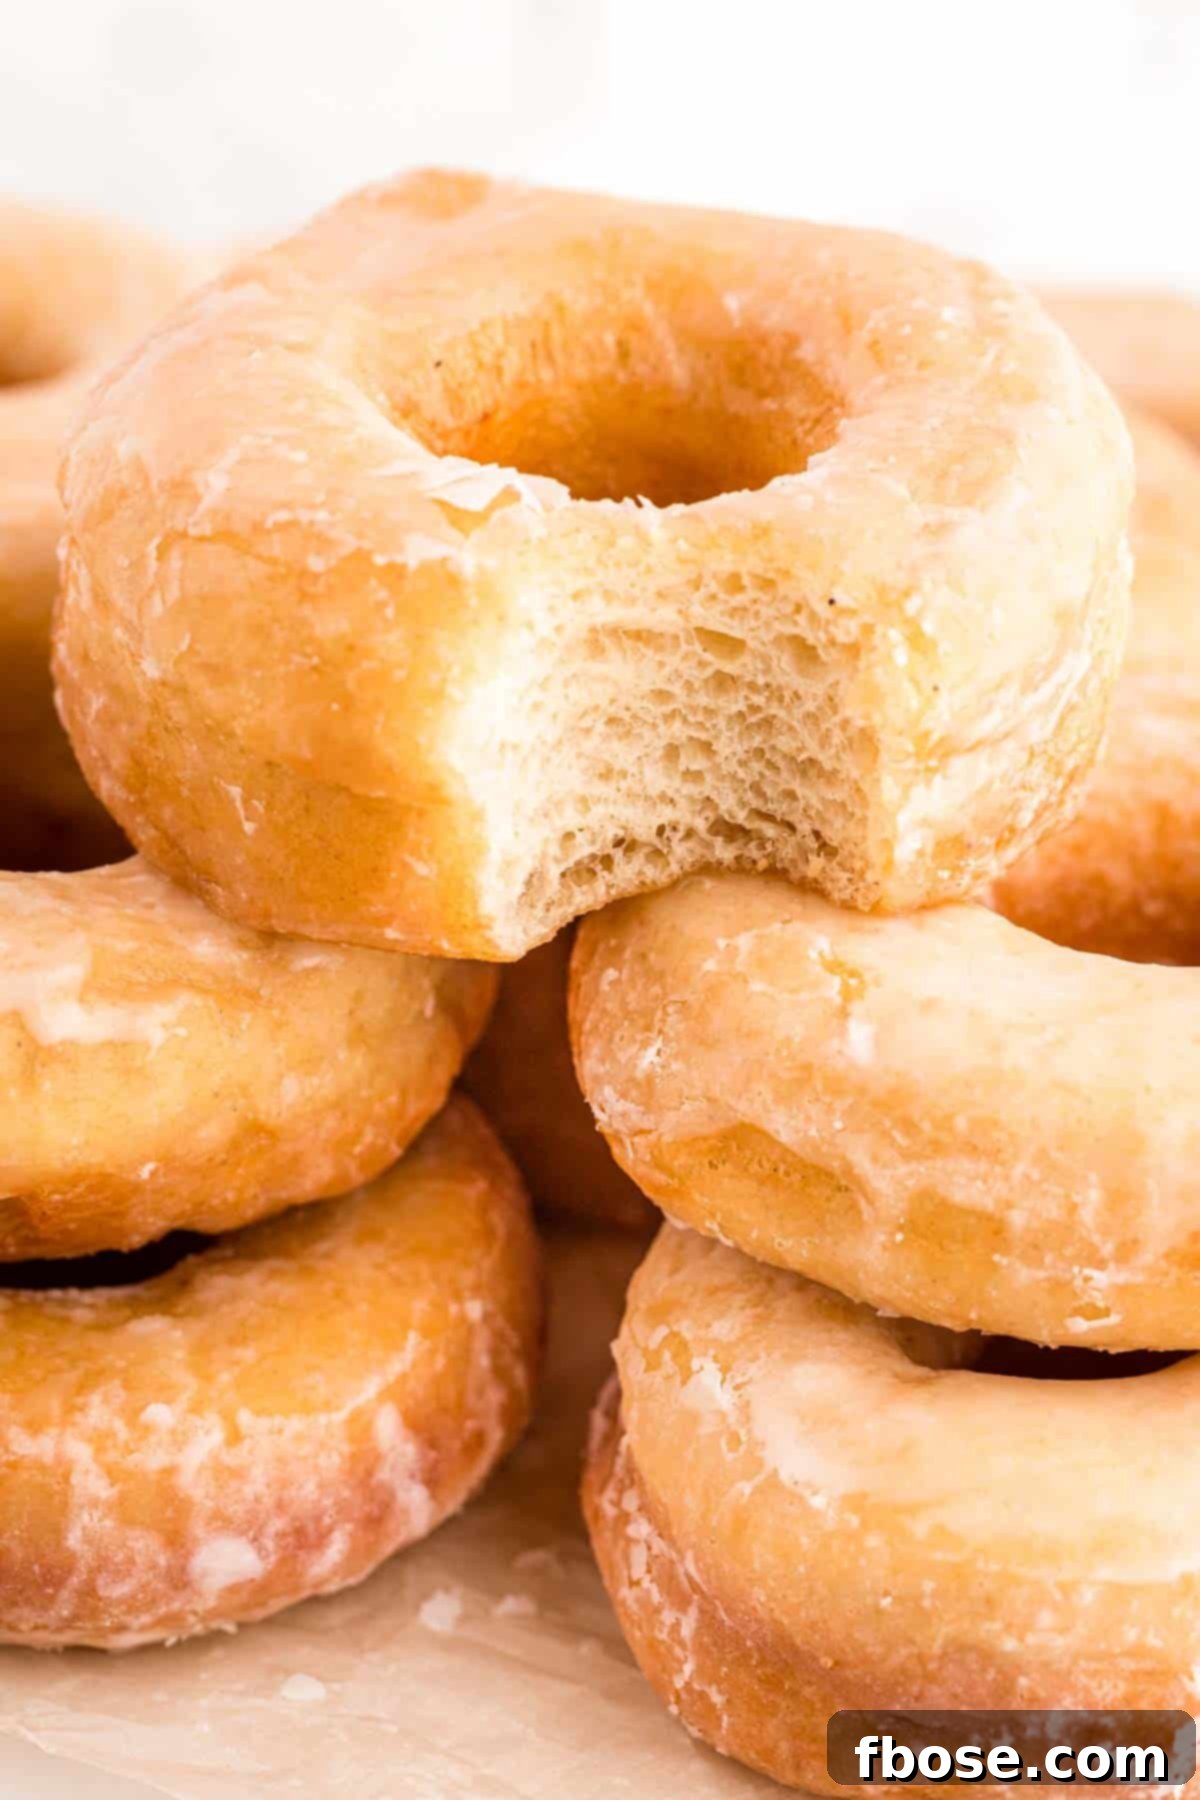
The Magic of Sourdough Discard Donuts
These Sourdough Discard Donuts are a revelation in texture and taste, offering a delightful lightness and fluffiness encased in a shimmering, sweet glaze. This recipe transforms what would typically be discarded into a truly extraordinary culinary treat. Imagine the aroma of freshly fried donuts filling your kitchen, a scent so inviting it will easily have you bypassing any local bakery in favor of creating your own batch.
One of the best features of this recipe is the flexibility it offers. You can prepare the dough the night before, allowing it to undergo a slow, cold fermentation overnight in the refrigerator. This not only deepens the flavor profile of the donuts but also simplifies your morning routine. Wake up, roll out the dough, cut out your donut shapes, let them rise one last time, and then deep-fry them to golden perfection. Your entire family will wake up to the irresistible scent of over a dozen fresh donuts and charming donut holes, ready to be enjoyed as a perfect start to their day.
Utilizing sourdough discard in this recipe is not just about flavor; it’s about sustainable baking. By using the unfed portion of your sourdough starter, you’re not only preventing food waste but also imparting a subtle tang and incredible tenderness to your donuts that traditional recipes can’t replicate. It’s a wonderful way to give new life to a humble ingredient and create a homemade treat that everyone will adore.
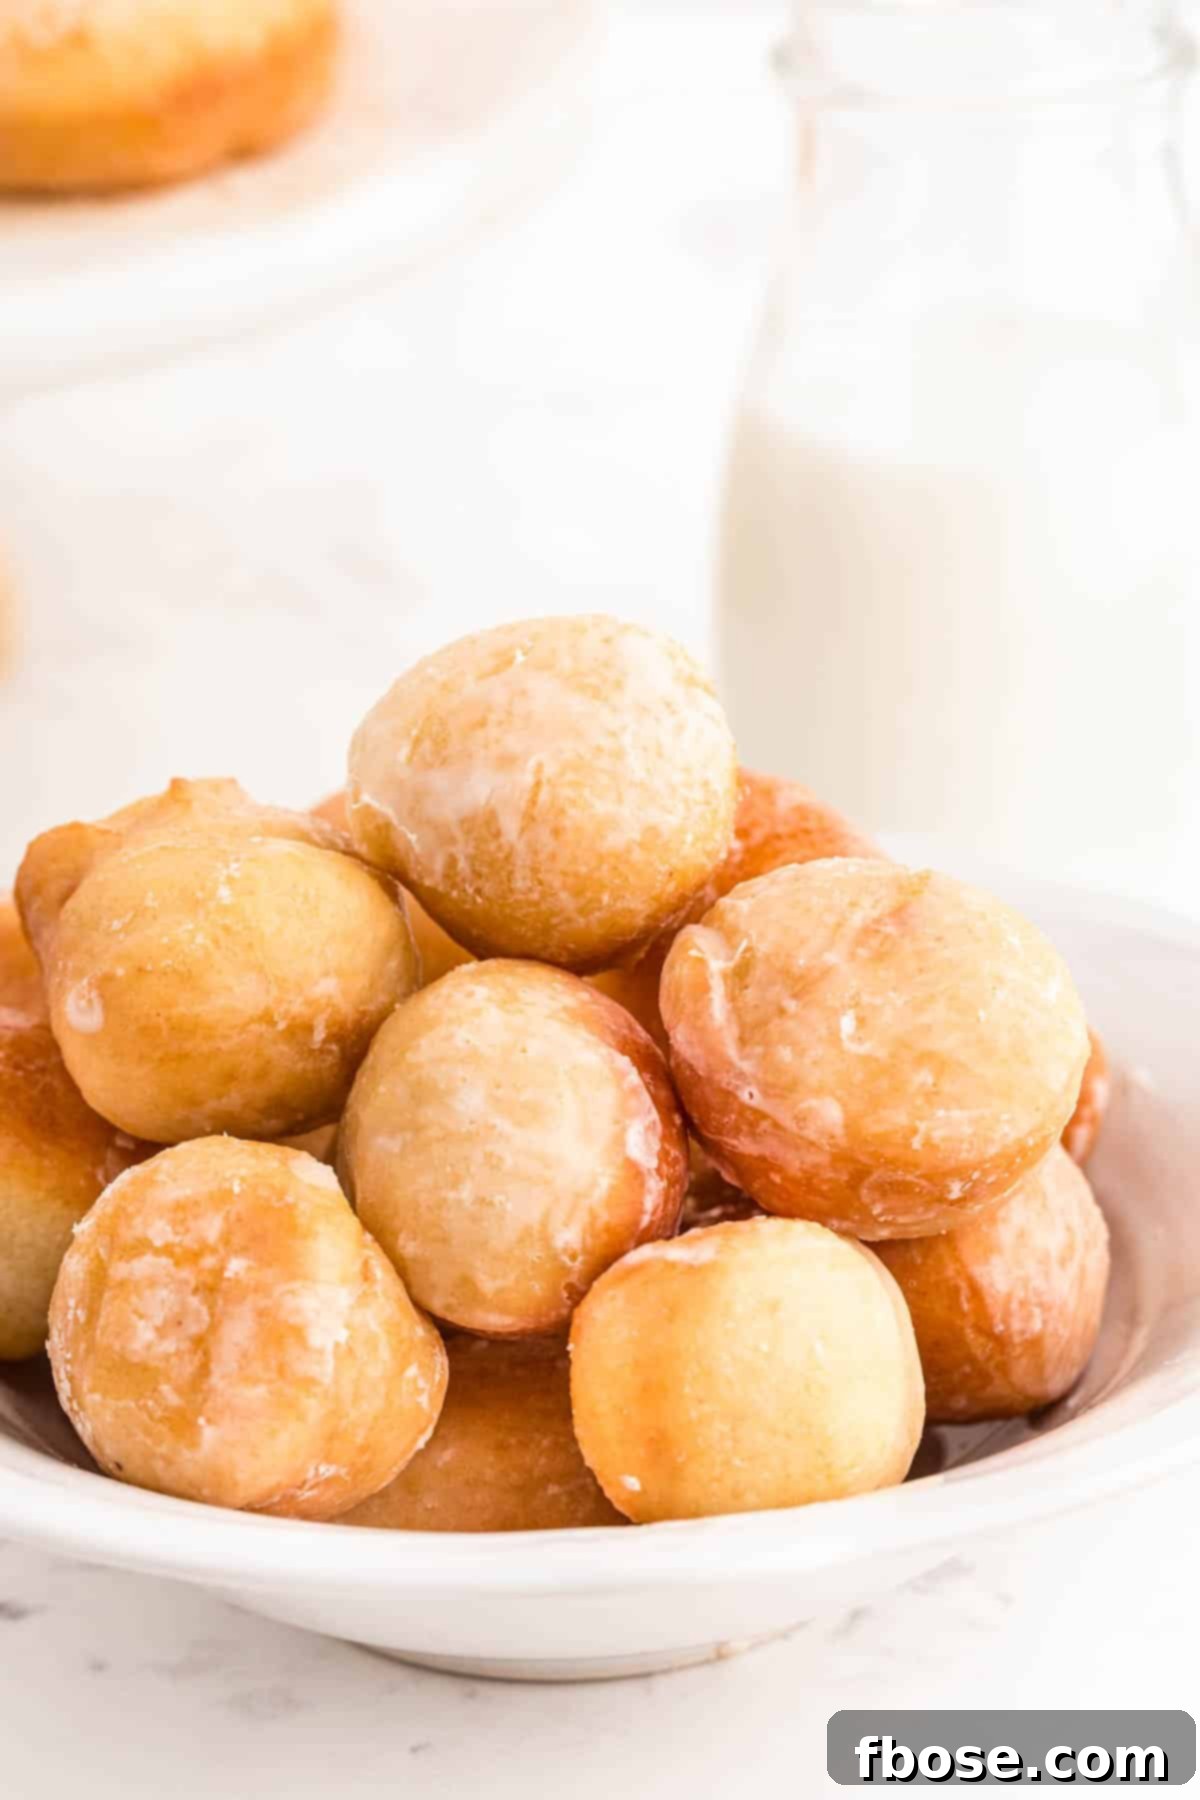
Don’t forget to fry up those middles! Those leftover dough circles from cutting out your donuts make for perfect, bite-sized donut holes, ready for glazing or a dusting of cinnamon sugar.
Essential Ingredients for Perfect Sourdough Donuts
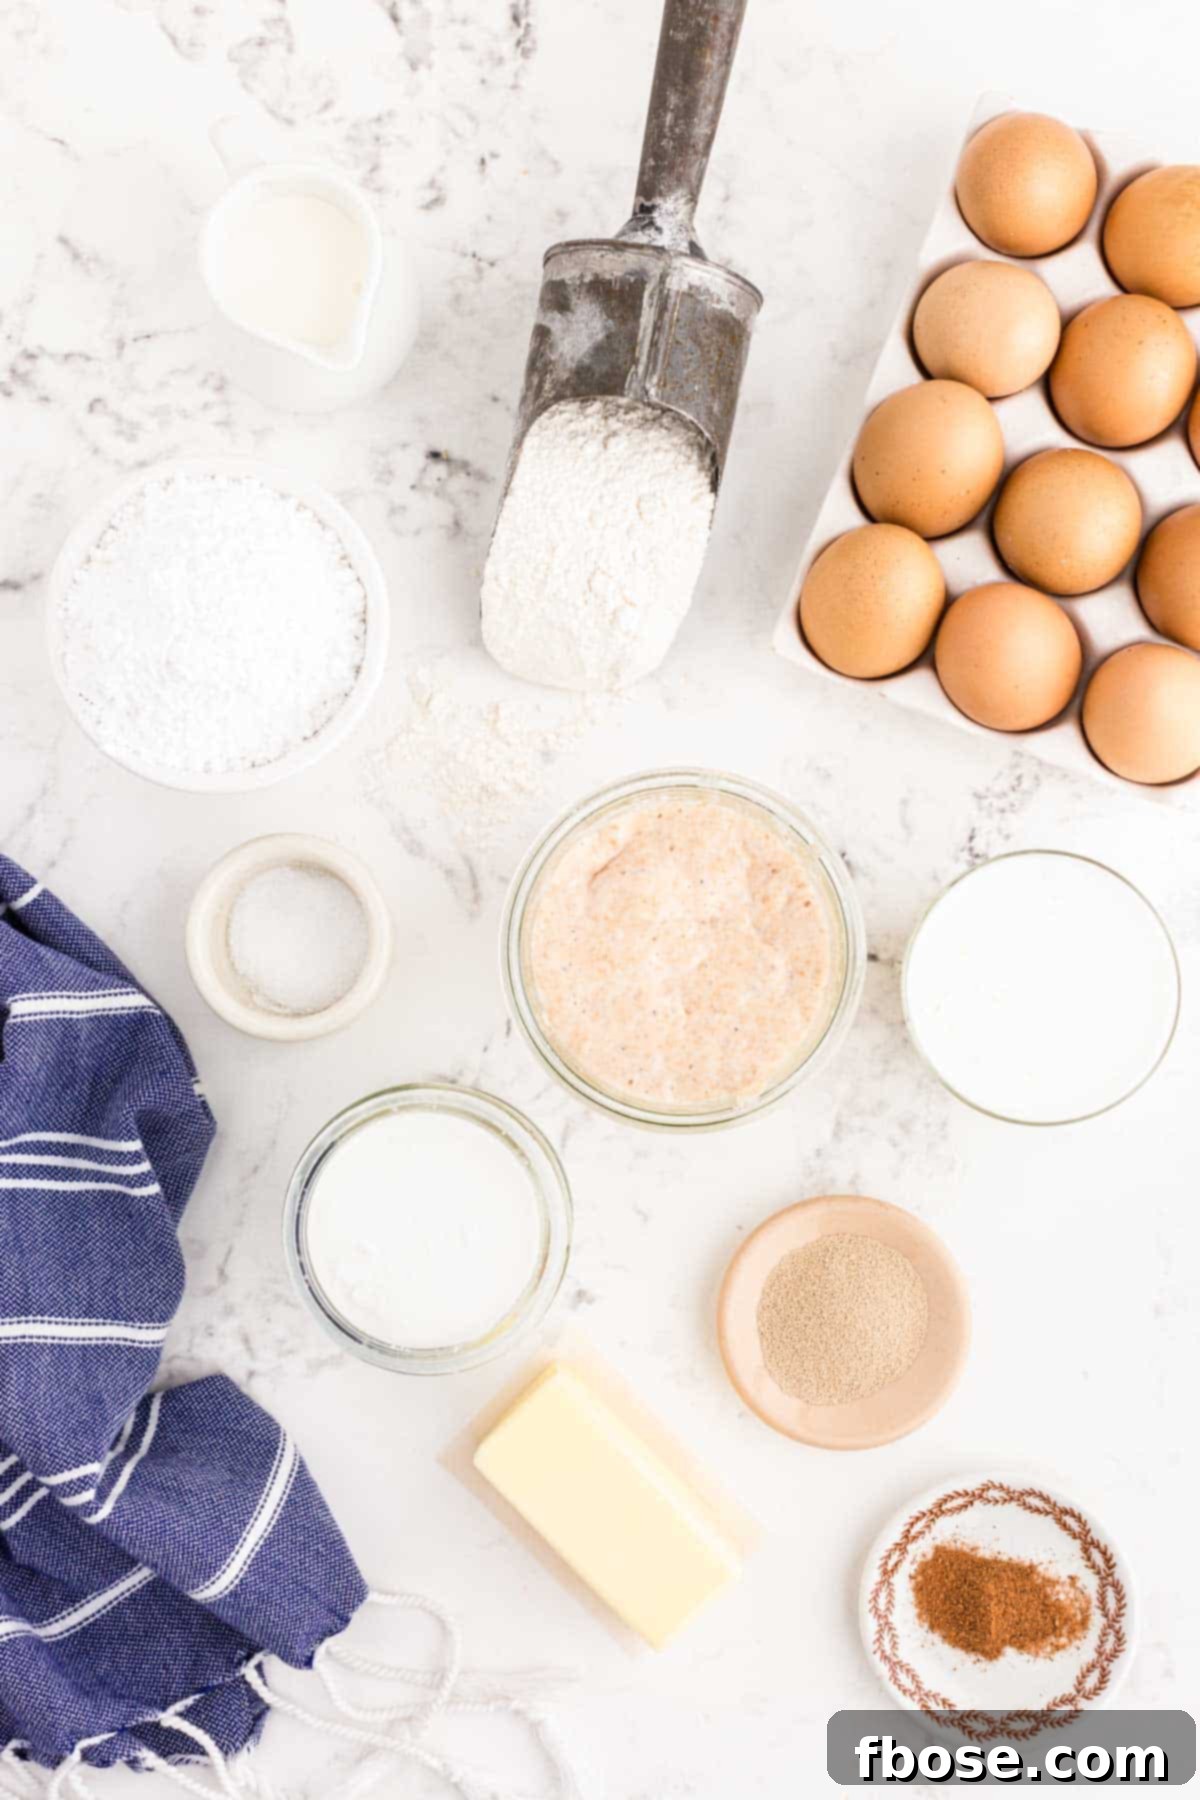
Crafting these delectable sourdough donuts requires a few key ingredients, each playing a crucial role in achieving their signature taste and texture. Our recipe calls for: lukewarm whole milk, granulated sugar, active dry yeast, sourdough discard, softened salted butter, eggs, all-purpose flour, and a touch of ground nutmeg. Let’s break down some of these components to ensure your success.
What is Sourdough Discard?
For those new to sourdough baking, you might be wondering about “sourdough discard.” Simply put, sourdough discard is the unfed portion of your Sourdough Starter that is typically removed before feeding your active starter. Unlike an active, bubbly starter, discard will be less effervescent, if at all. It still carries the distinctive sourdough flavor and unique properties that contribute to the remarkable texture of these donuts, making it a valuable ingredient rather than waste.
The Simple Glaze
Once your donuts are fried to a beautiful golden hue in shortening or vegetable oil, they get a generous coating of our easy 3-ingredient homemade glaze. This irresistible topping requires only powdered sugar, whole milk, and a tiny pinch of salt to balance the sweetness and elevate the flavor.
Key Kitchen Tools for Donut Making
While making these donuts is entirely achievable, having the right tools can make the process much smoother and more enjoyable. Here’s what we recommend:
- Stand Mixer: Essential for kneading the dough to the perfect consistency, especially with a dough hook attachment. It saves time and effort, ensuring an evenly mixed dough.
- 3″ Round Donut Cutter: This specialized tool makes creating perfectly shaped donuts a breeze. If you don’t have one, you can easily use two round cutters (one larger for the donut, one smaller for the hole) or even a round glass and a small bottle cap for the center.
- Plastic Wrap: Crucial for covering the dough during its initial rise in the refrigerator and for the final proofing of the cut-out donuts. It helps maintain moisture and prevents a dry skin from forming.
- Parchment Paper: Lining your baking sheets with parchment paper prevents the delicate, proofed donuts from sticking, making transfer much easier.
- Baking Sheet: You’ll need this to hold your cut-out donuts while they undergo their final rise, allowing them ample space to double in size.
- Wire Rack: Perfect for cooling your freshly glazed donuts, allowing excess glaze to drip off and ensuring even drying.
- Dutch Oven or Heavy-Bottomed Pan: A sturdy, deep pan is vital for safely heating the oil and deep-frying your donuts. Its heavy bottom helps maintain a consistent oil temperature.
Step-by-Step Guide to Making Sourdough Donuts
Creating these delightful sourdough donuts is a rewarding process. Follow these detailed steps to achieve perfect, bakery-quality results right in your own kitchen:
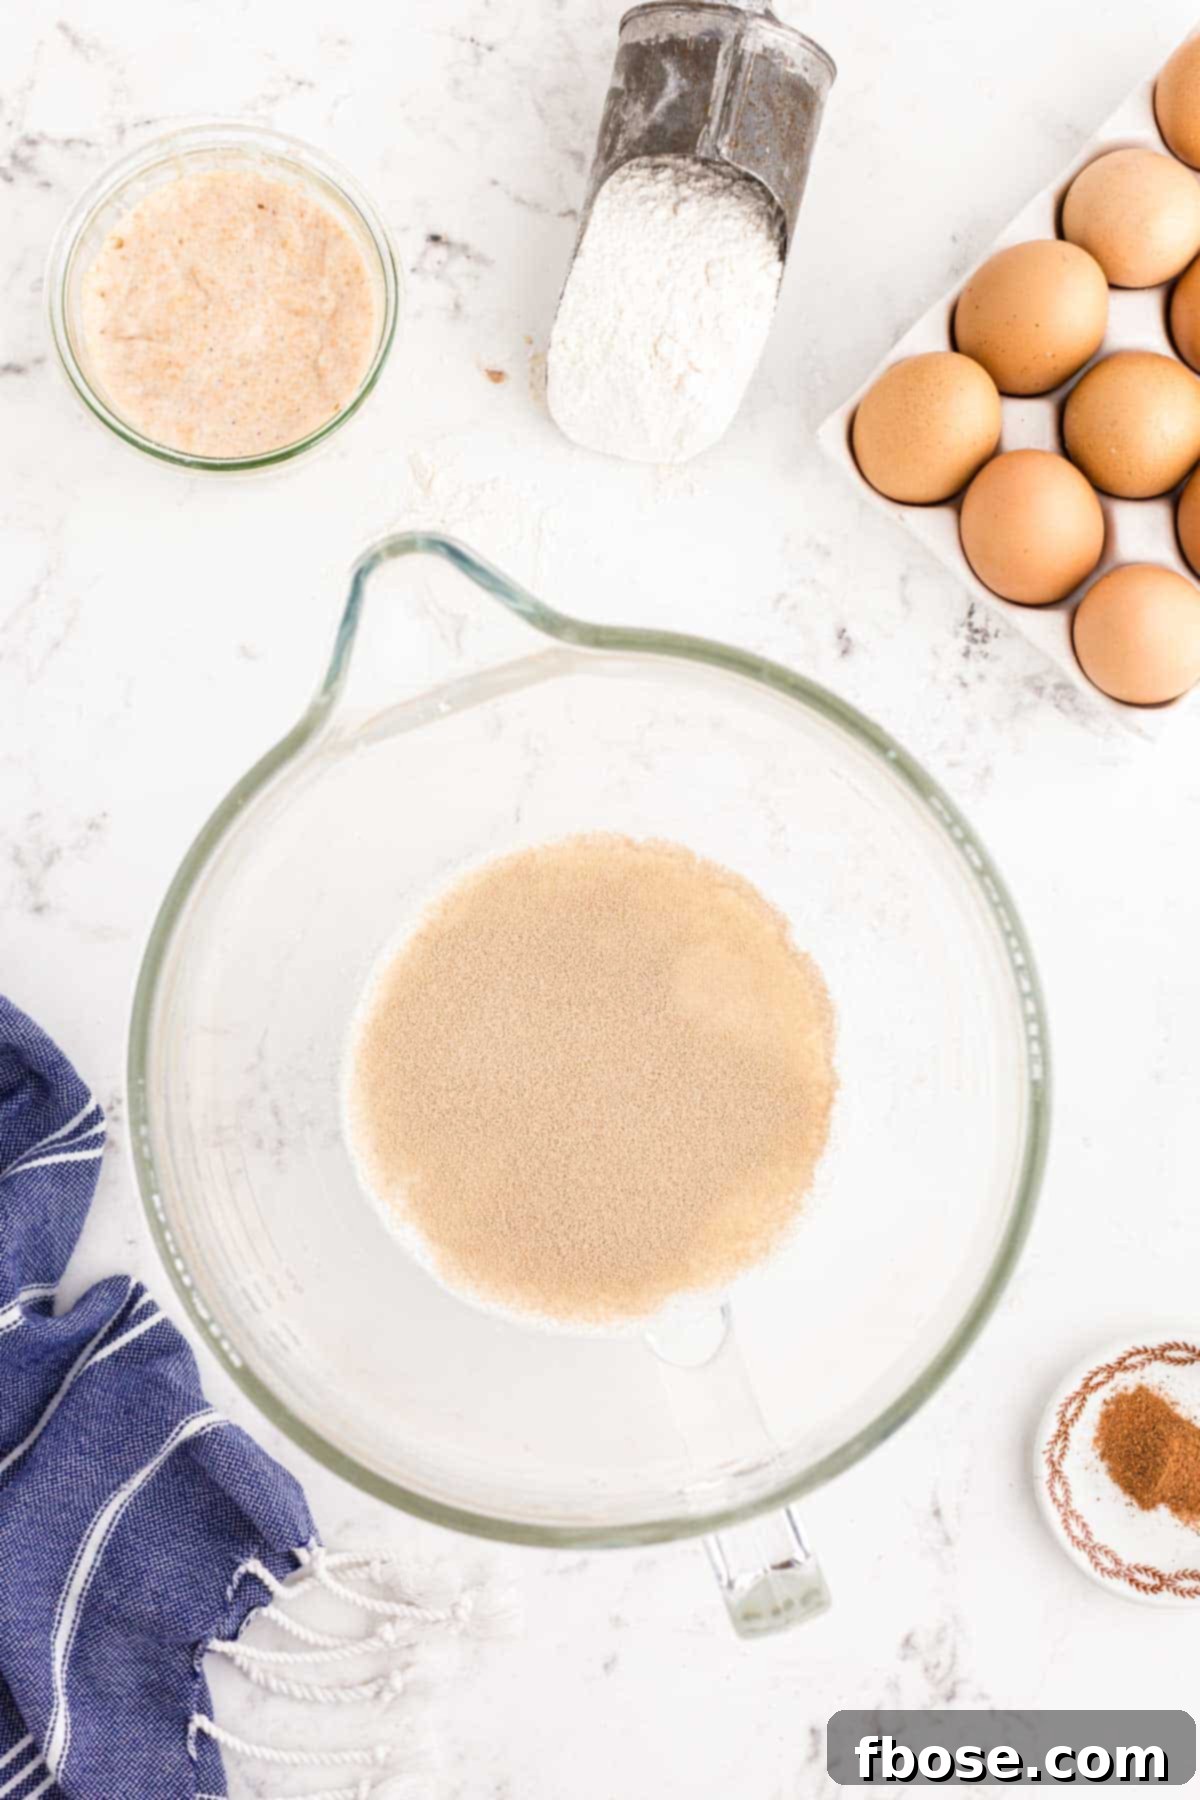
1. **Activate the Yeast:** In the mixing bowl of a stand mixer fitted with a dough hook attachment, combine the warm whole milk (ensure its temperature is between 110 and 120 degrees F to properly activate the yeast without killing it) and granulated sugar. Sprinkle the active dry yeast evenly over the surface of the milk mixture. Allow it to rest for 5 to 10 minutes until a light, foamy layer appears on top, indicating the yeast is active and ready.
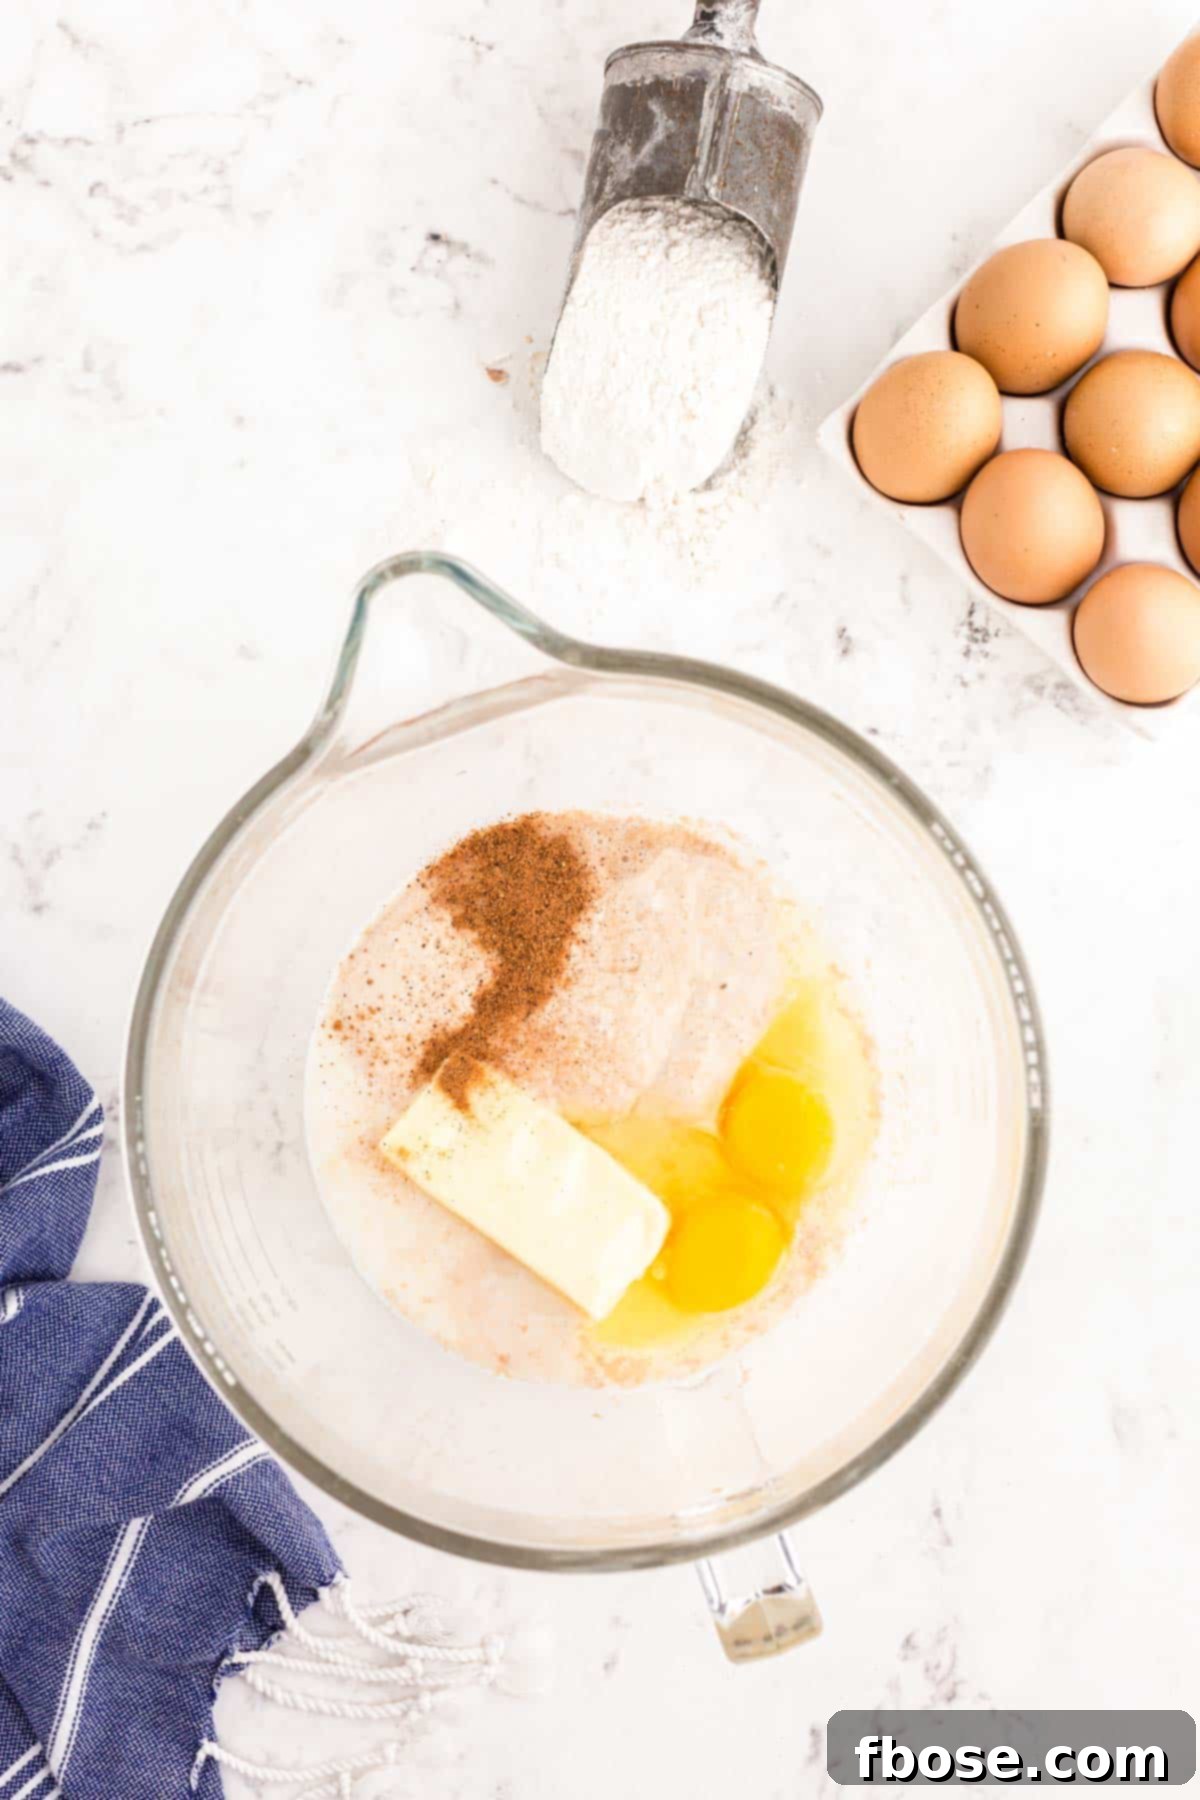
2. **Combine Wet Ingredients:** Add the sourdough discard, softened (or melted and cooled) salted butter, eggs (preferably at room temperature), and ground nutmeg to the yeast mixture. Using the dough hook, beat these ingredients until they are thoroughly combined and smooth.
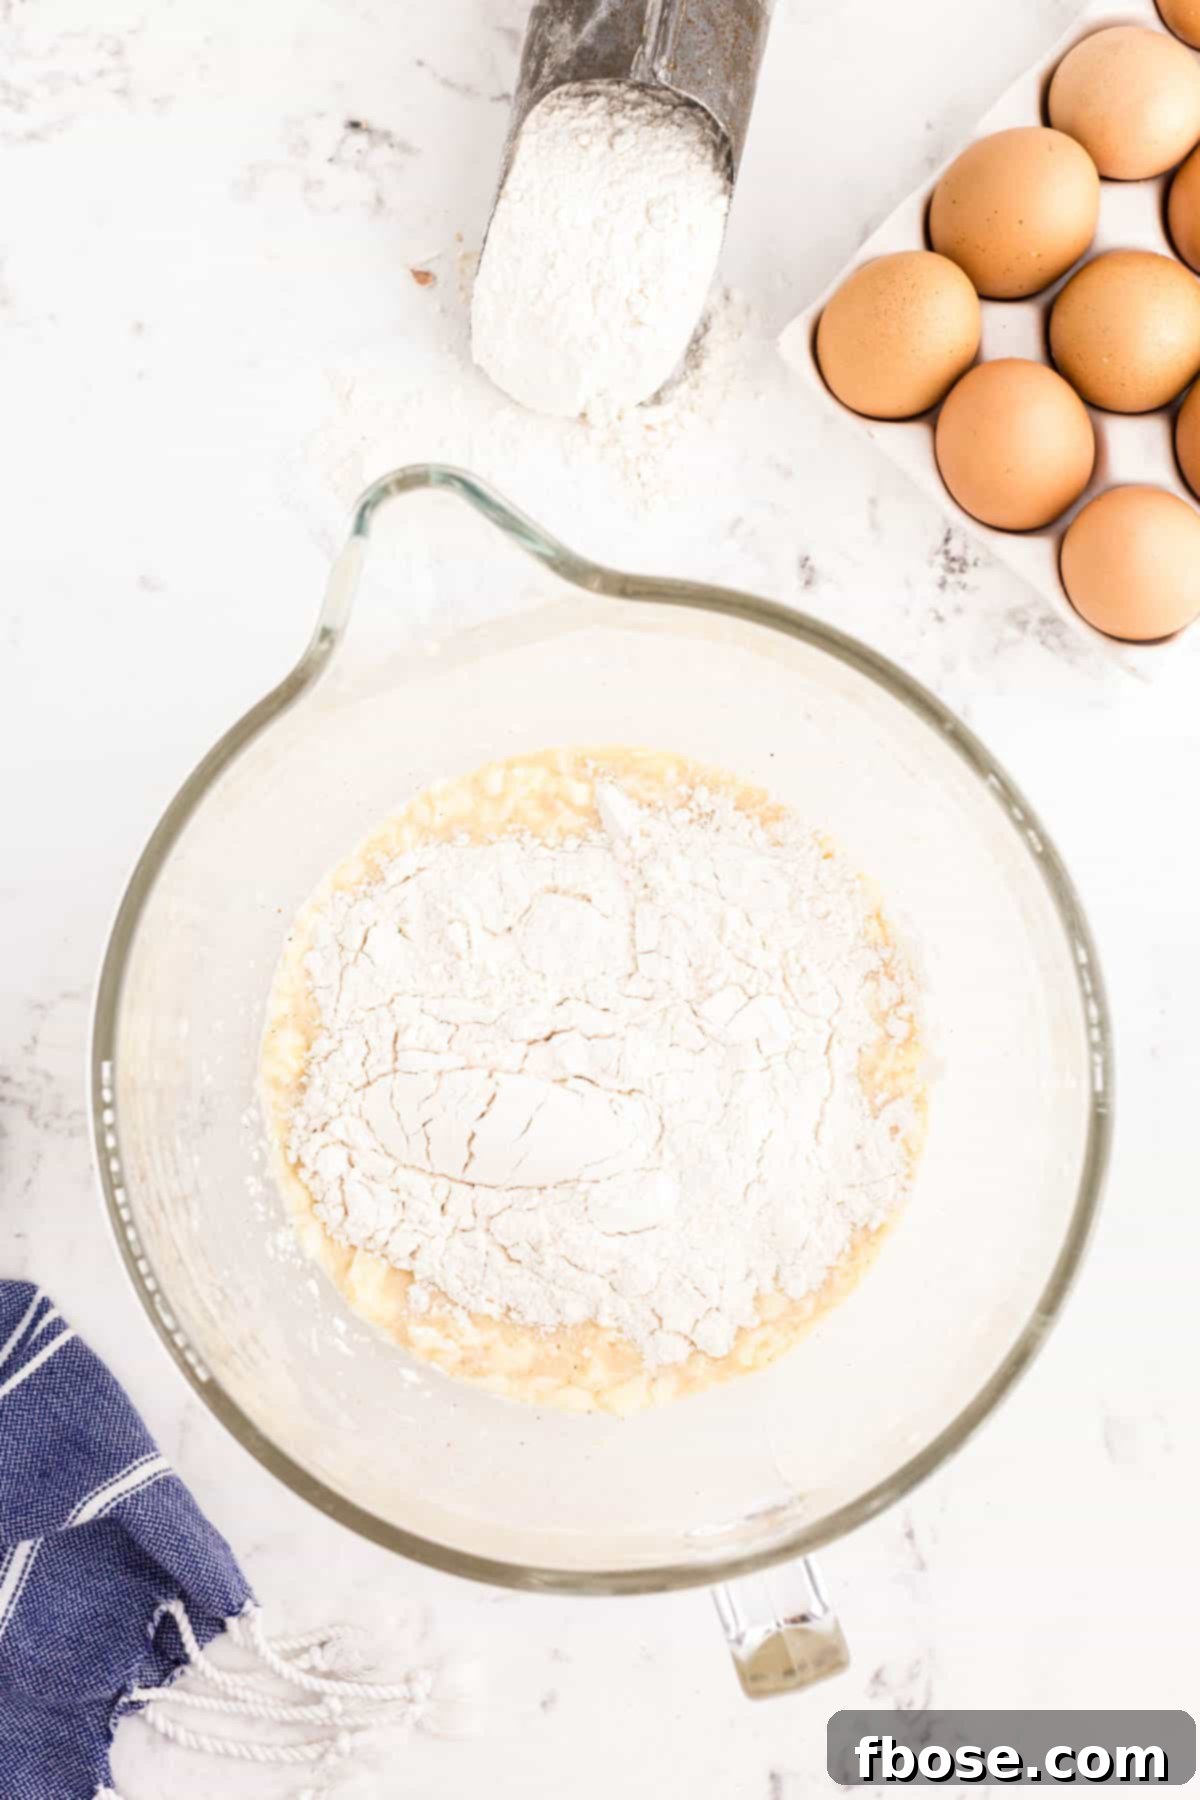
3. **Incorporate Flour:** With the mixer running on low speed, gradually add the all-purpose flour, one cup at a time. Continue mixing until all the flour is fully incorporated into the wet ingredients, and a shaggy dough begins to form.
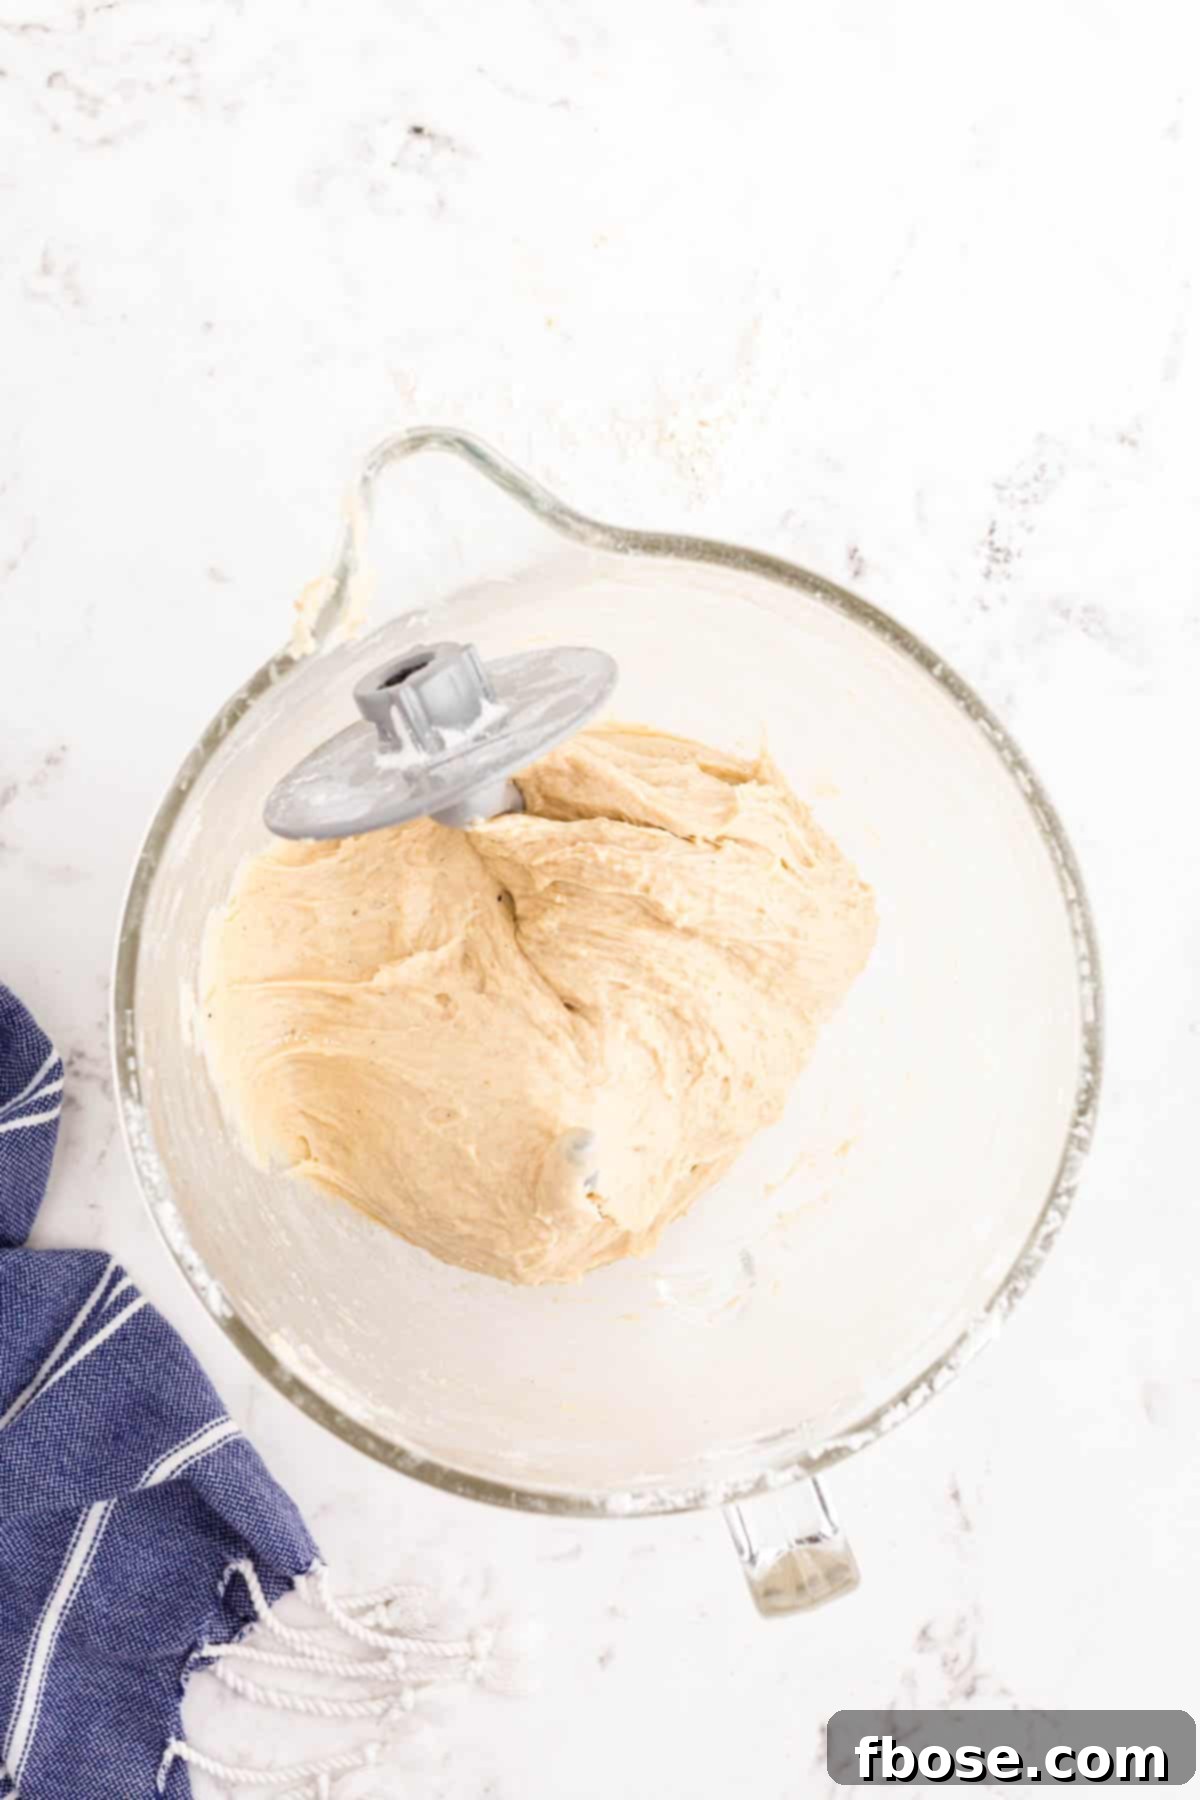
4. **Knead the Dough:** Increase the mixer speed to medium and continue kneading the dough for 4-5 minutes. The dough is properly kneaded when it pulls away cleanly from the sides of the bowl and forms a soft, somewhat loose ball around the dough hook. It should feel slightly sticky but manageable.
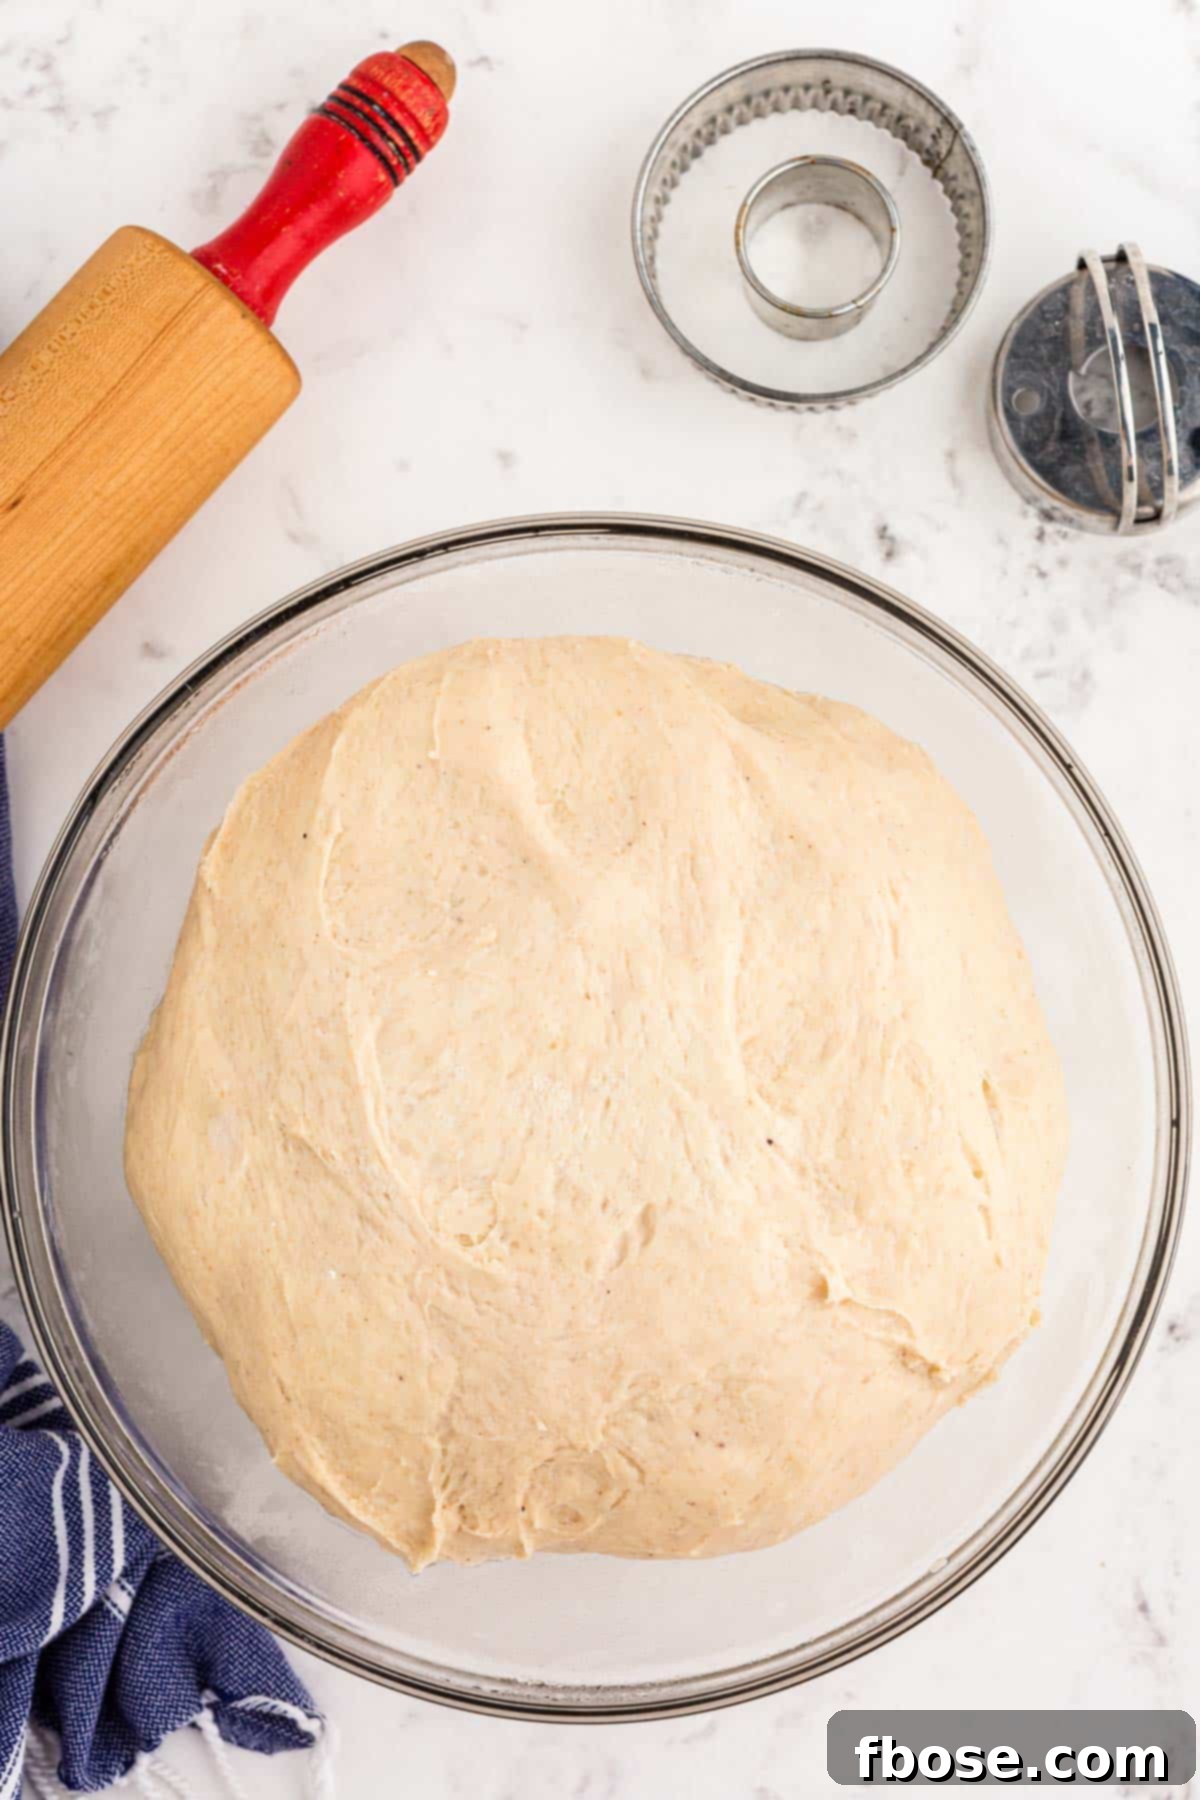
5. **First Rise (Cold Fermentation):** Lightly grease a large bowl. Transfer the kneaded dough into this bowl, cover it tightly with plastic wrap, and place it in the refrigerator. Allow the dough to cold ferment for at least 1 hour, or ideally overnight (8-12 hours). This extended rise develops deeper flavors and results in a more tender donut. The dough should roughly double in size and be noticeably cold to the touch.
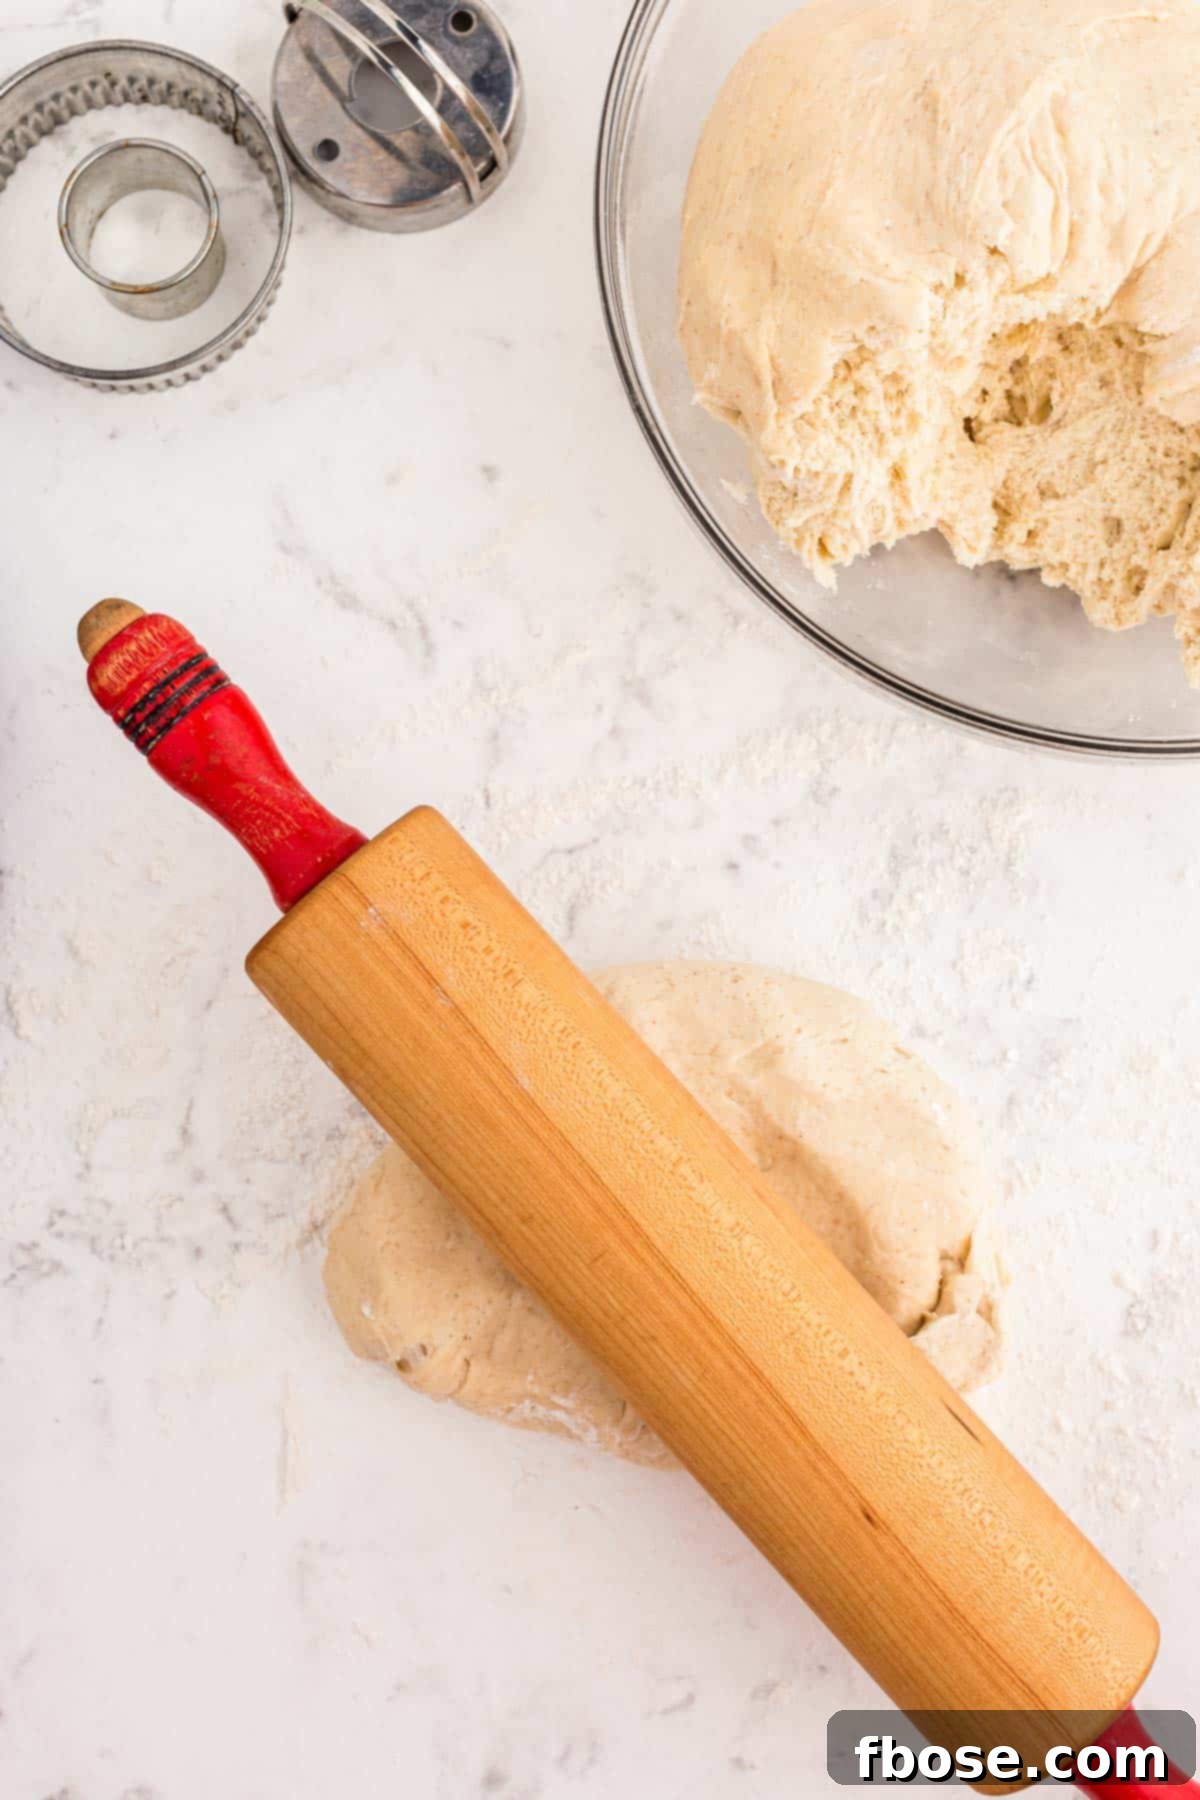
6. **Roll Out the Dough:** Once the dough has completed its first rise and is cold, gently turn it out onto a lightly floured work surface. Divide the dough into two equal halves to make it easier to work with. Take one half and roll it out with a rolling pin to an even thickness of approximately ½-inch.
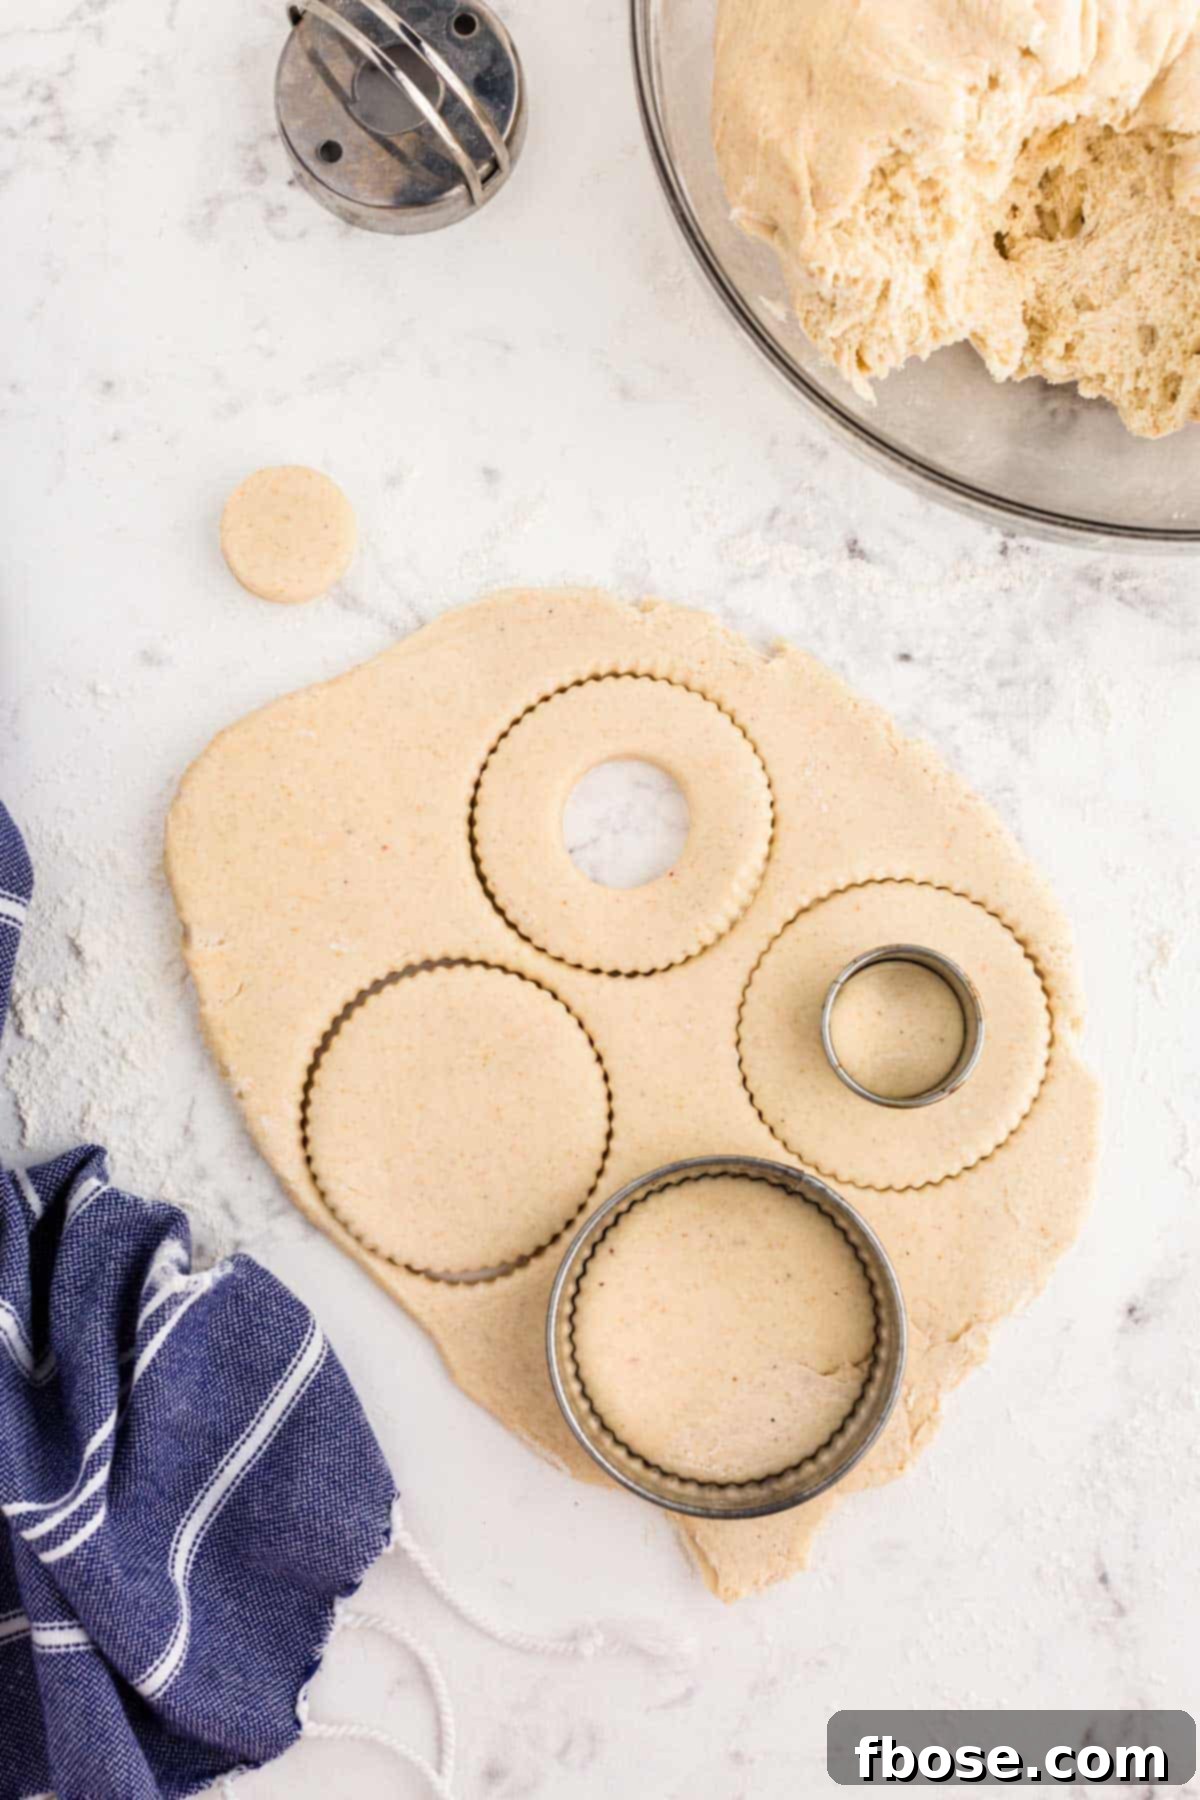
7. **Cut the Donuts:** Using a 3-inch round donut cutter (or your improvised round cutters), carefully cut out individual donut shapes from the rolled dough. Remember to save the small center pieces – these will become your delicious donut holes!
8. **Prepare for Second Rise:** Line a baking sheet with parchment paper. Carefully transfer the cut-out donuts and donut holes onto the lined sheet, ensuring there’s enough space between each piece to allow for their second rise. Lightly spray a sheet of plastic wrap with non-stick cooking spray and gently place it over the pan of donuts, spray-side down, to prevent sticking. Repeat the rolling and cutting process with the remaining dough, placing them on a separate lined baking sheet and covering them similarly.
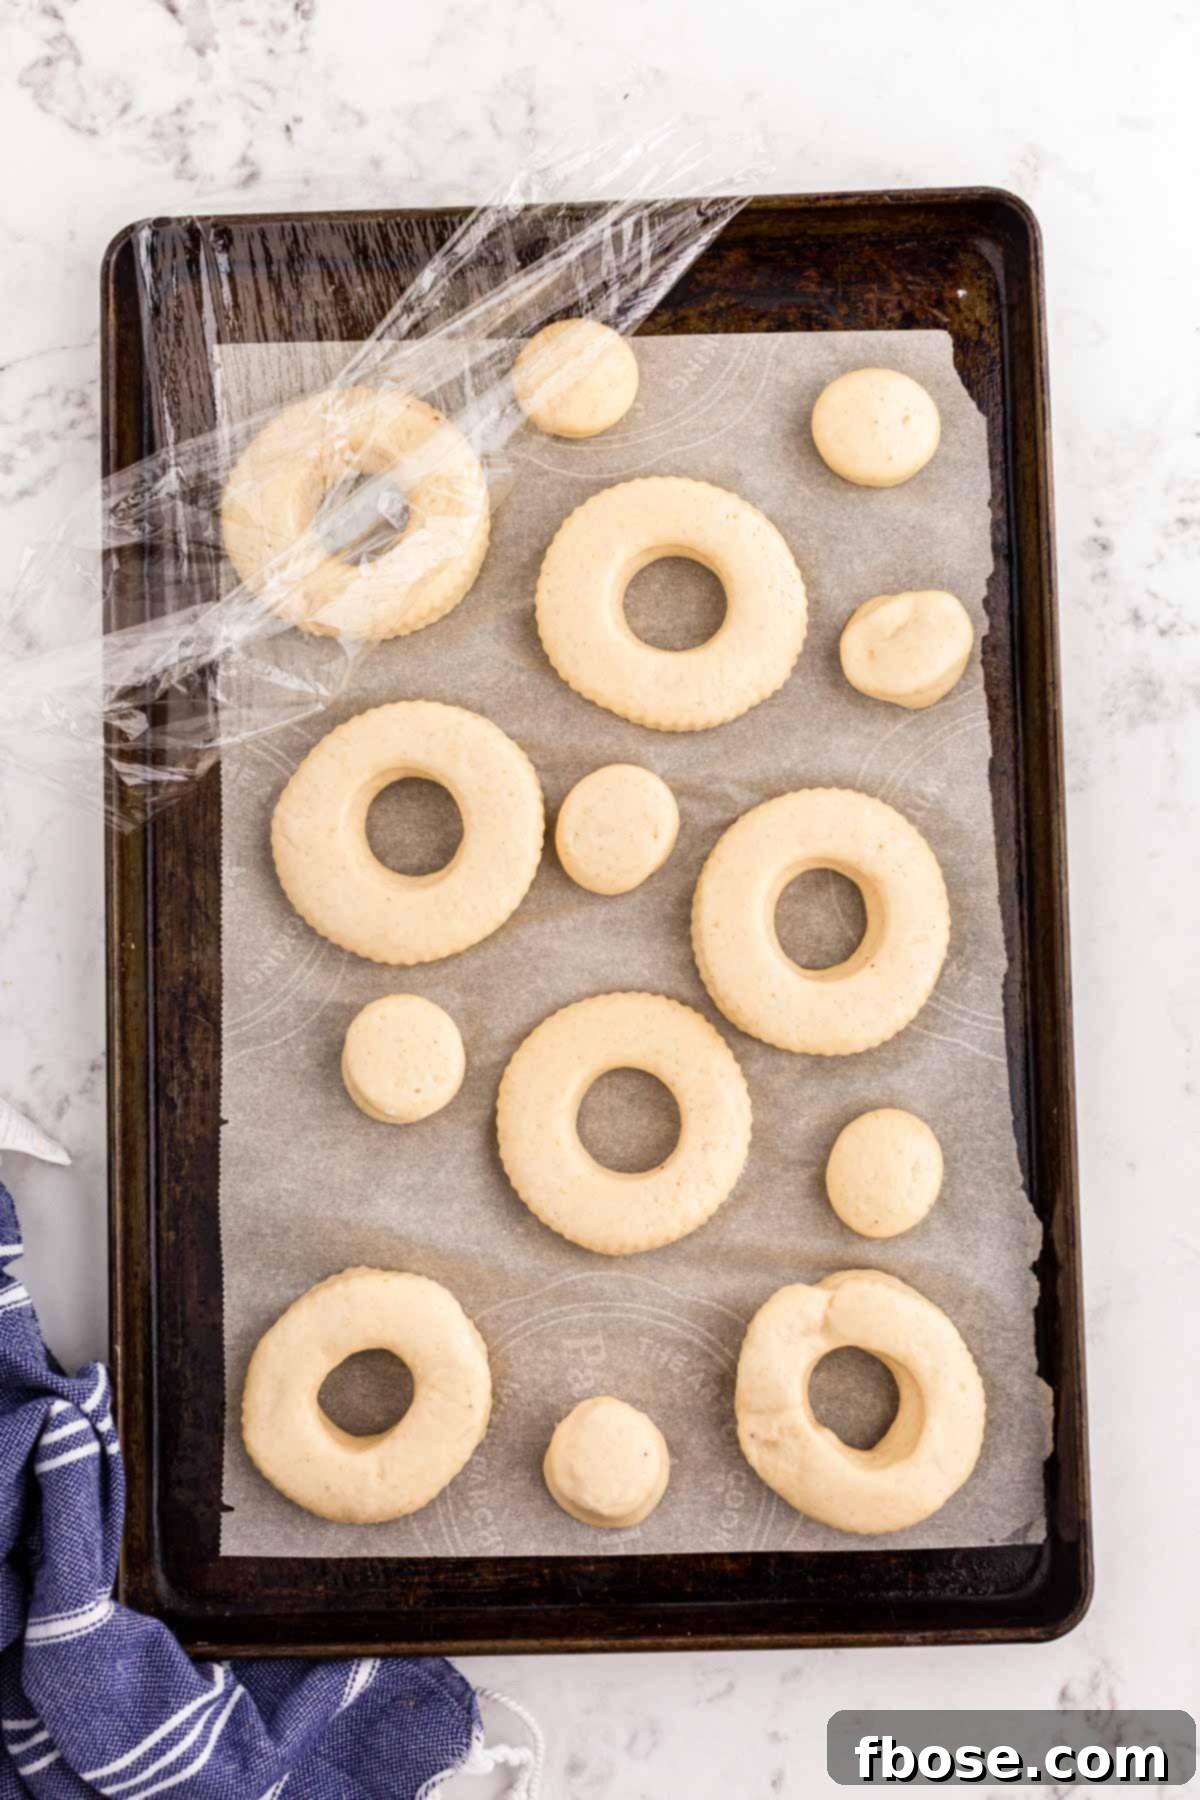
9. **Second Rise (Proofing):** Place the trays of covered donuts in a warm, draft-free spot for their final rise, typically about 1 hour. They are ready to fry when they have visibly doubled in size and appear puffy. A good test is to gently press a finger into the side of a donut; it should spring back slightly but leave a small indent.
10. **Heat the Oil:** While the donuts are proofing, begin preparing your frying oil. Use a heavy-bottomed saucepan or a Dutch oven, filling it with at least 4 inches of shortening or vegetable oil. Heat the oil slowly, monitoring its temperature with a food thermometer, until it consistently reaches 375°F (190°C). Maintaining a steady temperature is key for perfectly fried donuts.
11. **Fry the Donuts:** Carefully lower 1 to 2 donuts into the hot oil at a time, being careful not to overcrowd the pan, which can lower the oil temperature. Fry each side for 1 to 2 minutes, or until they achieve a beautiful golden-brown color. Donut holes will fry much faster, usually in under a minute per side.

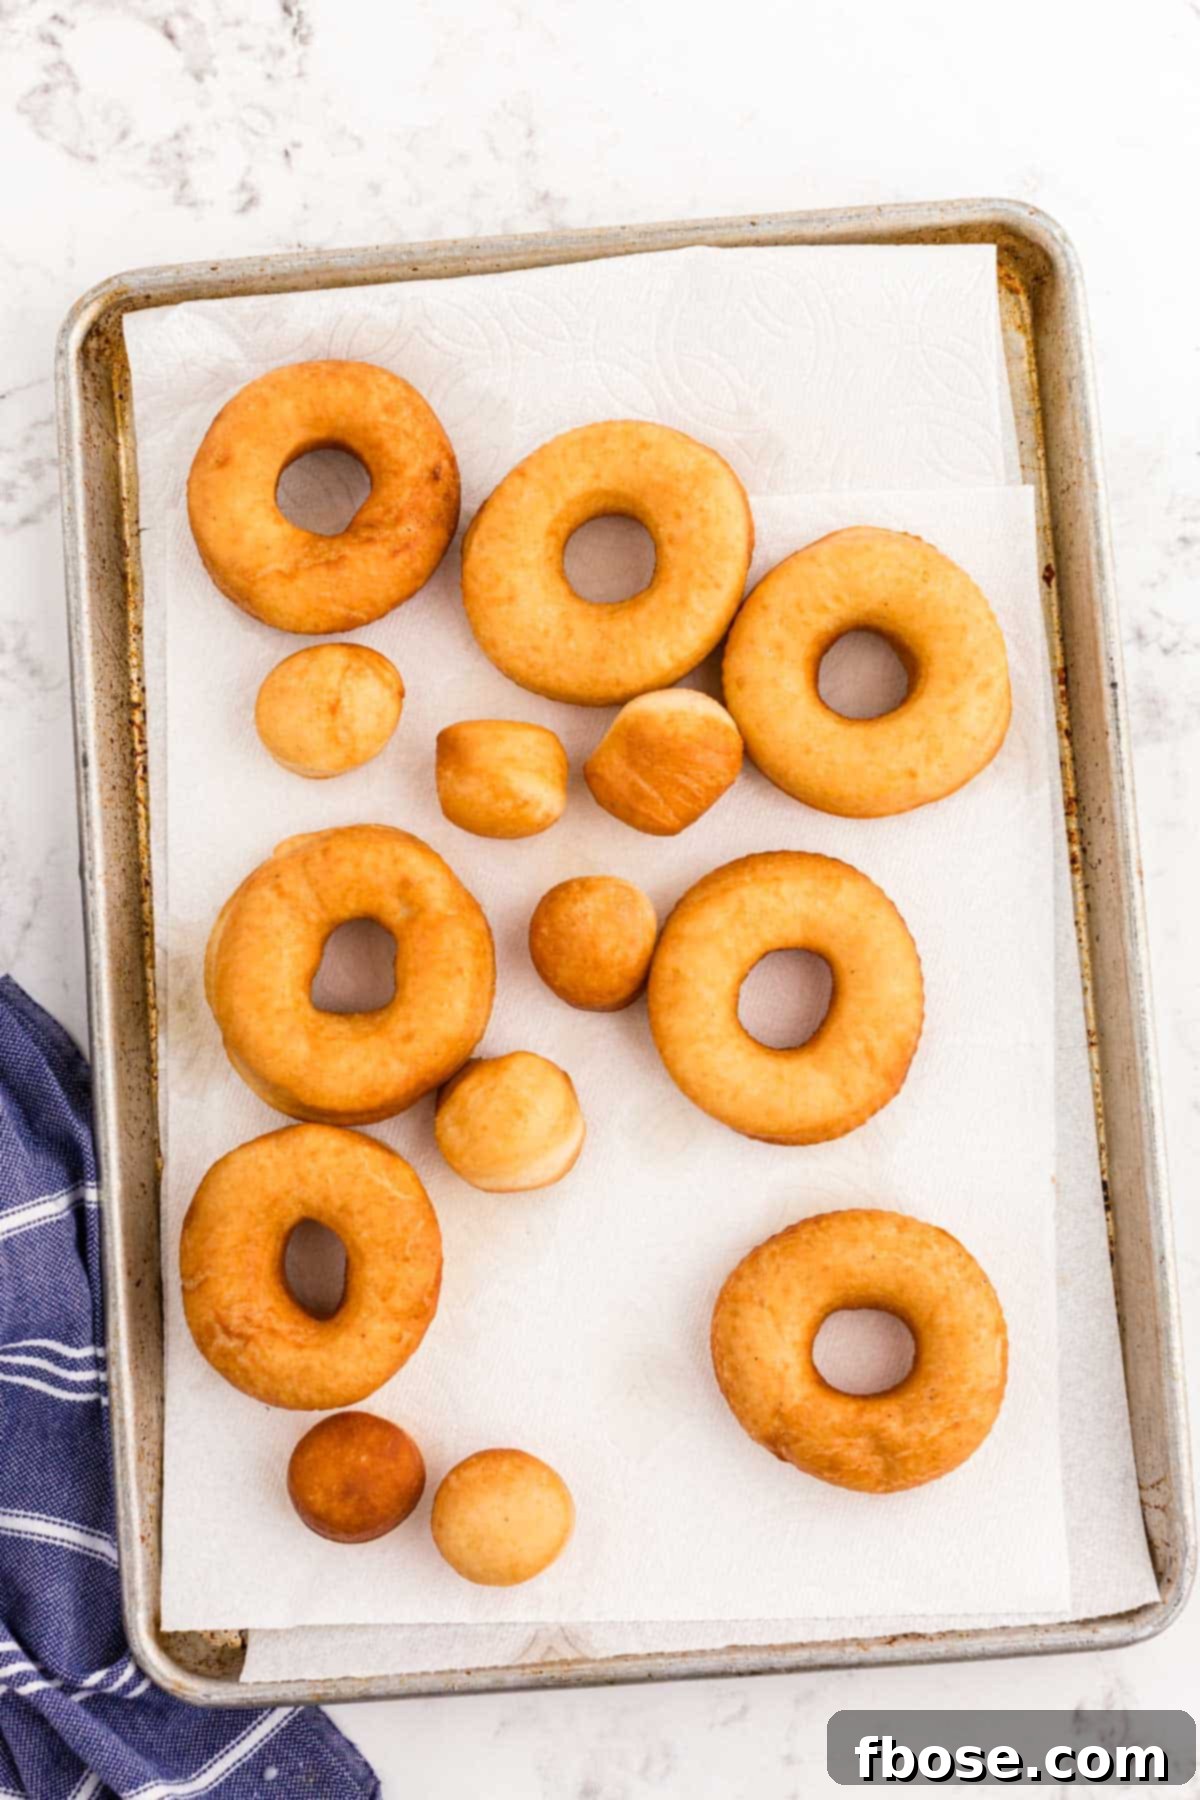
12. **Drain Excess Oil:** Using a slotted spoon or spider, carefully remove the fried donuts from the oil and transfer them to a baking sheet lined with several layers of paper towels. This will help absorb any excess oil, ensuring your donuts are not greasy.
13. **Prepare the Glaze:** In a medium bowl, whisk together the powdered sugar, whole milk, and a tiny pinch of salt until the glaze is smooth and free of lumps. The consistency should be thin enough to coat but thick enough to adhere to the donuts.
14. **Glaze the Donuts:** While the donuts are still warm (but not piping hot), dip them one by one into the prepared glaze, flipping to ensure both sides are fully coated. Allow any excess glaze to drip off.
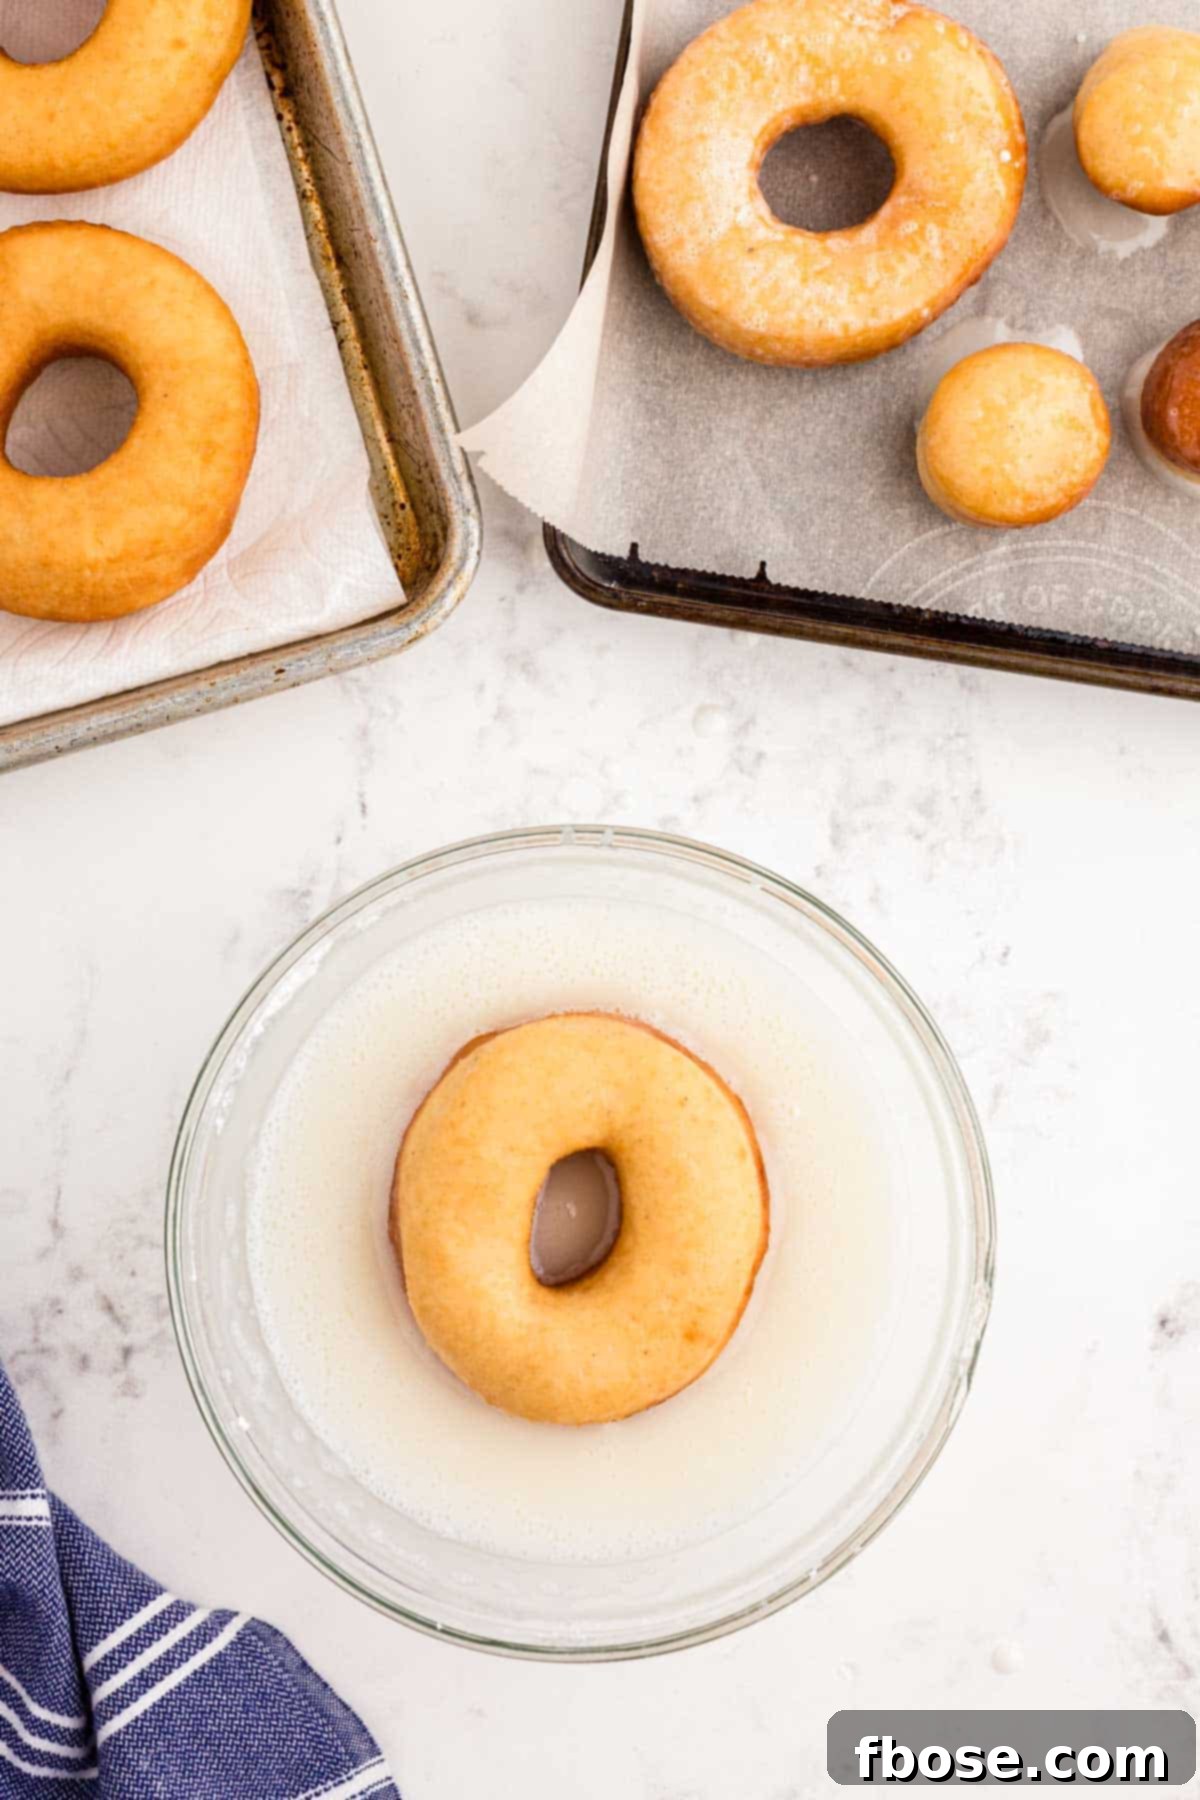
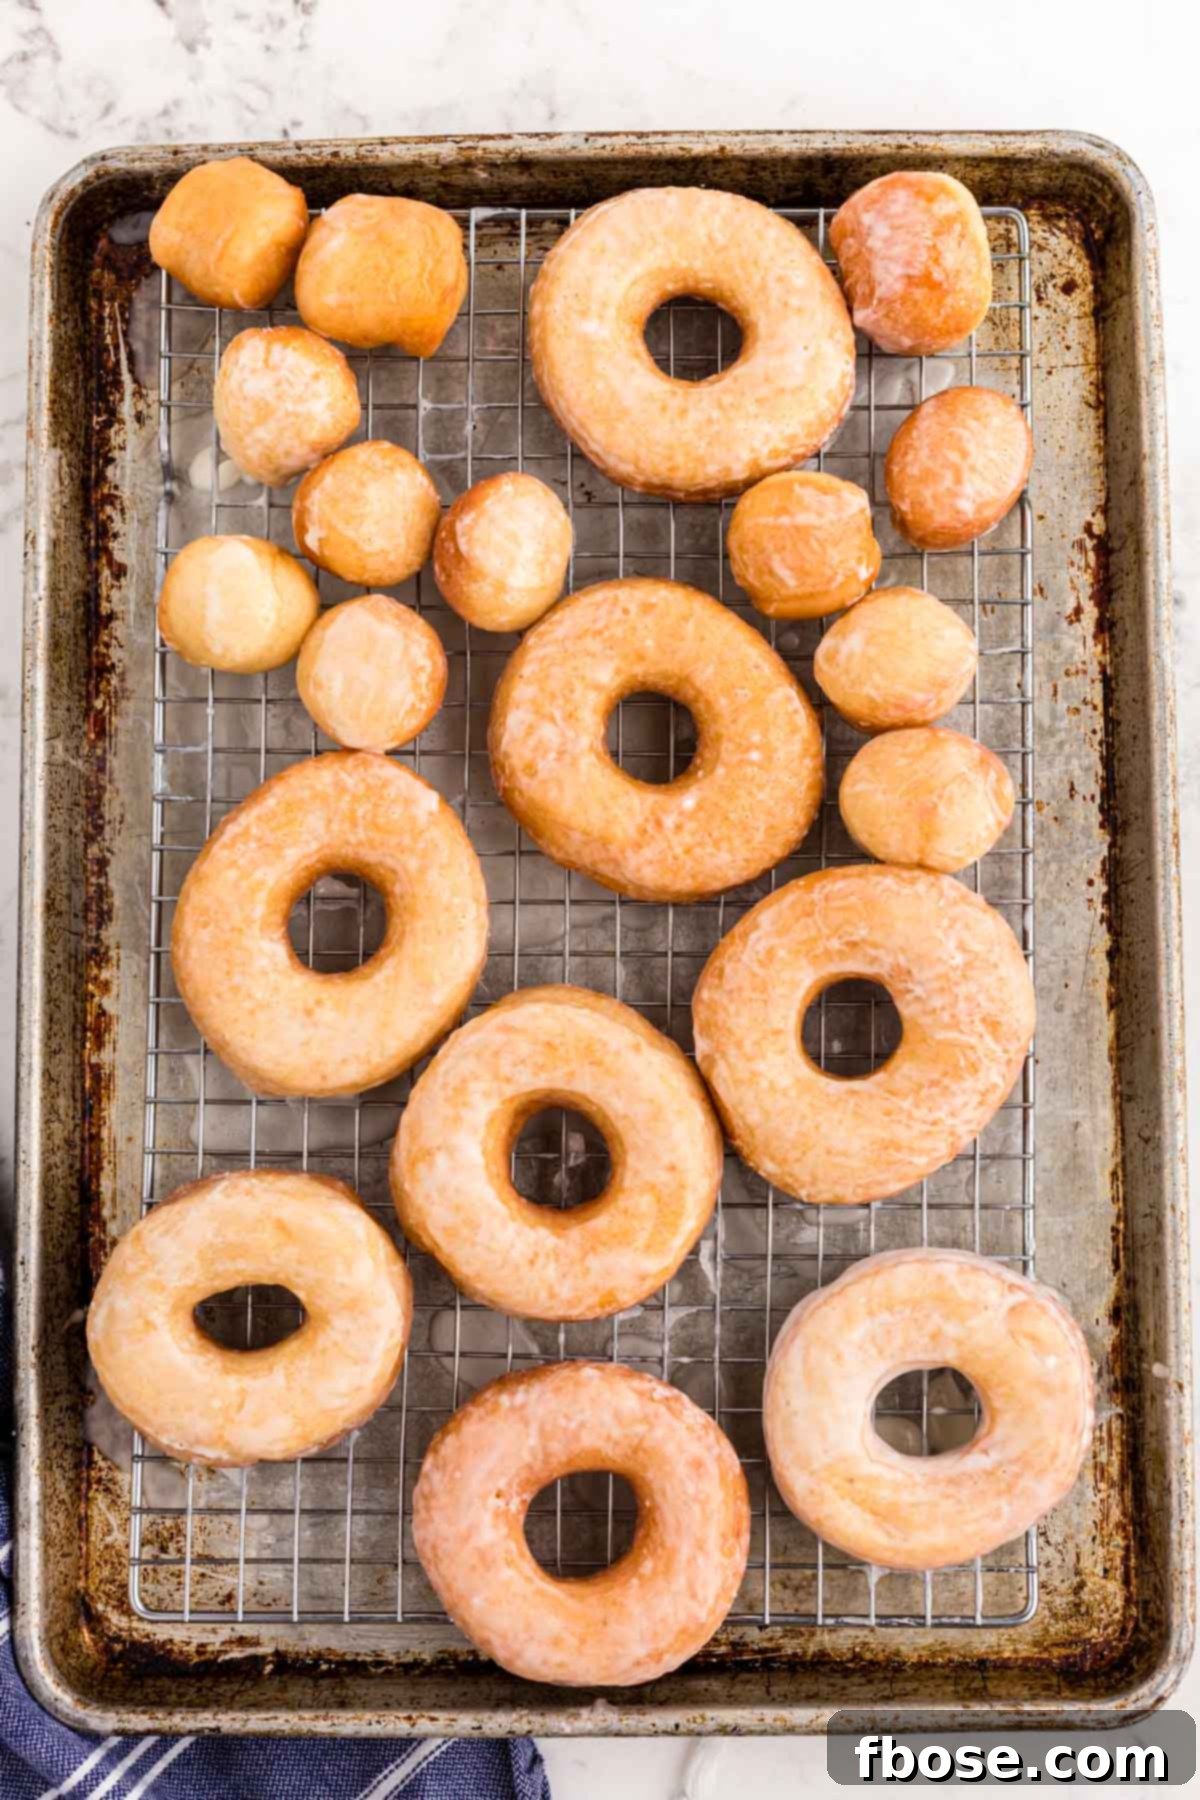
15. **Cool and Serve:** Transfer the glazed donuts to a wire rack set over a baking sheet (to catch drips) and allow them to cool to room temperature. The glaze will set as they cool. Serve these delightful sourdough donuts fresh and enjoy!
Sourdough Donuts: Frequently Asked Questions
How To Store Sourdough Donuts?
These homemade sourdough donuts are truly best when enjoyed fresh, ideally within a few hours of frying. If you happen to have any leftovers, store them in an airtight container at room temperature. They will remain delicious for 1 to 2 days, though they may lose a bit of their initial crispness and fluffiness over time.
What’s the Ideal Milk Temperature for this Recipe?
The temperature of your whole milk is crucial for activating the yeast without harming it. It should be comfortably warm, specifically between 110 and 120 degrees F (43-49°C). If the milk is too hot (above 120°F), it can kill the yeast, preventing your donuts from rising properly. If it’s too cold, the yeast won’t activate effectively, also leading to a poor rise. An instant-read thermometer is highly recommended for accuracy.
Can I Use Melted Butter instead of Softened?
While softened butter is preferred for ease of incorporation, you can use melted butter. However, it is absolutely essential that the melted butter is cooled to room temperature before adding it to the dough. Similar to the milk, if the butter is too hot, it can shock and kill the yeast, hindering the dough’s ability to rise. The goal is for the butter to be soft enough to blend smoothly into the dough without affecting the yeast’s activity.
Is a Sticky Dough Normal?
Yes, a slightly sticky dough is often a good sign for these donuts! When in doubt, it’s generally better to have a dough that is slightly sticky rather than too dry. While sticky dough can be a bit more challenging to handle, transfer, and maintain its shape, it typically results in a much lighter, more tender, and superior texture in the final donut. Dry dough, on the other hand, can lead to dense, tough donuts.
My Dough Isn’t Forming Around the Hook; What Should I Do?
If your dough isn’t gathering into a loose ball around the dough hook and is still sticking excessively to the bottom or sides of the bowl, you can gradually add a small amount of additional all-purpose flour. Add it in increments of 1/4 cup at a time, mixing well after each addition, until the dough just starts to pull away from the bowl. A dough that gathers around the hook but still has a slight tendency to spread towards the base of the bowl is usually ideal. Be cautious not to add too much flour; if the dough forms a very tight, stiff ball around the hook, you might have over-floured it. While the donuts may still rise and cook, they could turn out tougher and more bread-like in texture.
Any Tips for Transferring Cut-Out Donuts to the Oil?
Transferring the delicate, proofed donuts from the baking sheet into the hot oil can indeed be tricky. Here are a few clever tricks to help prevent sticking and maintain their shape:
- **Air Dry Slightly:** After their final rise, remove the plastic wrap from the donuts and let them sit uncovered for a few minutes. This can help the outer layer dry out just enough to make them less sticky and easier to handle.
- **Parchment Paper Squares:** A highly effective method is to cut the parchment paper *between* each donut after they are placed on the baking sheet. This way, you can lift each individual donut (or donut hole) directly by the parchment paper and gently flip it into the hot oil. Once the donut is in the oil, carefully peel the parchment paper away from its back.
- **Non-Stick Surface Prep:** Before placing the cut-out donuts on your parchment-lined baking sheets, lightly spray the parchment paper with non-stick cooking spray or sprinkle it with a very thin layer of flour. This provides an extra barrier to prevent sticking from the start.
Pro Tips for Sourdough Donut Success
To ensure your sourdough donuts turn out perfectly every time, keep these additional tips in mind:
- Don’t Overcrowd the Fryer: Frying too many donuts at once will drastically lower the oil temperature, leading to greasy, unevenly cooked donuts. Work in small batches.
- Maintain Oil Temperature: Use a thermometer to keep the oil consistently at 375°F (190°C). If it gets too low, donuts become greasy; too high, and they’ll burn outside before cooking inside.
- Use Fresh Oil: For the best flavor and cleanest fry, start with fresh shortening or vegetable oil.
- Even Rolling: Ensure your dough is rolled to an even ½-inch thickness. This ensures all donuts cook uniformly.
- Room Temperature Ingredients: Aside from the lukewarm milk, ensure your eggs and butter are at room temperature. This helps them incorporate smoothly into the dough, leading to a more consistent texture.
- Experiment with Glaze: While the simple glaze is classic, feel free to get creative! Add a touch of vanilla extract, almond extract, or a hint of citrus zest to your glaze for extra flavor dimensions.
Delicious Sourdough Donut Variations
Once you’ve mastered the classic glazed sourdough donut, don’t hesitate to experiment with different flavor combinations:
- Cinnamon Sugar Donuts: Skip the glaze and instead, while still warm, toss the fried donuts in a mixture of granulated sugar and ground cinnamon.
- Chocolate Glaze: Whisk cocoa powder into your powdered sugar glaze for a rich chocolate topping.
- Powdered Sugar Donuts: Simply dust the cooled donuts generously with powdered sugar for a simple, elegant finish.
- Filled Donuts: Use a pastry bag with a long nozzle to fill cooled donuts with fruit jam, custard, or chocolate cream.
- Maple Bacon Donuts: Add a touch of maple extract to your glaze and sprinkle with crispy, crumbled bacon pieces for a sweet and savory delight.
While I truly adore fresh bakery donuts, nothing quite compares to the incredible taste and satisfaction of these homemade Sourdough Discard Donuts. The unique tang and fluffy texture are simply unmatched. If you’ve enjoyed making these, I encourage you to explore more of my favorite **donut recipes**:
- Coffee Donuts – Vanilla cake-based donuts infused with espresso and topped with a sweet coffee glaze.
- Baked Blueberry Donuts – A quick 30-minute recipe for homemade donuts bursting with juicy blueberries.
- Boston Cream Donuts – Remarkably easy donuts made with refrigerated biscuits, ready in just 25 minutes.
- Air Fryer Biscuit Donuts – Canned biscuits transformed into delightful donuts, dipped in cinnamon sugar or sweet glaze.
- Reese’s Stuffed Puff Pastry Donuts – Indulgent, rich donuts made with only six ingredients, delivering pure chocolate-peanut butter bliss.
Let’s Connect!
If you’ve tried this sourdough donut recipe, please share your thoughts and leave a review in the comments below. I love hearing from you and seeing your delicious creations!
Don’t forget to tag me – @sugarandsoulco – on Instagram and Pinterest with your photos, or join our Sugar & Soul Show-offs Community and share them there, where you can also participate in our recipe challenges!
Sourdough Discard Donuts
Rebecca Hubbell
Breakfast
American
45 minutes
30 minutes
3 hours
4 hours 15 minutes
18 donuts
These Sourdough Donuts are made with discard, deep-fried to golden brown perfection, and then covered in an easy 3-ingredient sweet glaze! Prep these delicious homemade donuts in just 45 minutes!
Ingredients
Dough
- 1 cup whole milk (warmed between 110 and 120°F)
- ⅓ cup granulated sugar
- 2¼ teaspoons active dry yeast
- ½ cup heaping sourdough discard (about 6 oz.)
- 8 tablespoons salted butter (very soft or melted and cooled)
- 2 large eggs (room temperature)
- ½ teaspoon ground nutmeg
- 3¾ cups all-purpose flour (plus more for dusting)
- vegetable or canola oil (for greasing and frying)
Glaze
- 3 cups powdered sugar
- ½ cup whole milk
- Pinch salt
Instructions
- In the bowl of a standing mixer fitted with the dough hook attachment, mix together warmed milk (be sure it is not too hot) and granulated sugar.
- Sprinkle the yeast over the top of the milk mixture and let it sit for 5 to 10 minutes until the surface of the milk becomes slightly foamy.
- Use the dough hook to beat the sourdough discard, softened butter, 2 eggs, and nutmeg until mixed.
- With the mixer turned on low speed, add the flour, one cup at a time until it is all incorporated.
- Continue mixing on medium speed for 4-5 minutes or until the dough leaves the sides of the bowl and forms a loose ball around the hook.
- Place the ball of dough into a large greased bowl, cover with plastic wrap, and set in the refrigerator for at least 1 hour, or even overnight.
- When the dough has doubled in size and is cold, divide it in half and transfer the first half to a lightly floured board.
- Roll the dough to ½-inch thick and cut out donuts with a 3-inch round donut cutter or two round cutters to form a donut shape.
- Place the donuts and “holes” onto a parchment lined baking sheet, leaving room between each donut for rising.
- Spray a sheet of plastic wrap with non-stick cooking spray and place over the sheet of donuts.
- Repeat the rolling and cutting steps with the other half of the donut dough.
- Set the trays of prepared donuts in a warm place to rise for about 1 hour. They should double in height or be noticeably puffy. When you press your finger into the donut, it should bounce back just slightly, but leave a small dent.
- While the donuts are rising, begin heating shortening or vegetable oil for frying. Use a heavy-bottomed saucepan (a Dutch oven is preferred) and fill at least 4 inches deep with oil. Heat, monitoring the temperature with a food thermometer, until the oil reaches and maintains 375°F.
- Place 1 to 2 donuts into the hot oil at a time and fry on each side for 1 to 2 minutes or until golden brown.
- Remove donuts to a paper-towel lined sheet pan to drain.
- Prepare the glaze by whisking together powdered sugar, milk, and a pinch of salt.
- Dip donuts into glaze, flipping to cover both sides, then place on a cooling rack to cool and dry.
Notes
- How To Store: These Sourdough Doughnuts are best enjoyed a few hours after cooking. If you have any leftovers, you can store them in an airtight container and enjoy them within 1 to 2 days.
- How Warm Should The Milk Be For This Recipe? The temperature of the milk should not be more than 120 degrees F. If it’s too hot, it will kill the yeast, and the donuts will not rise.
- Can I Just Add The Butter In After It’s Been Melted? If adding in melted butter, it must be cooled before using. If the butter is too hot when added, it will kill the yeast, and the donuts will not rise. I just use extremely soft butter that I’ve set out for a bit. Regardless if the butter is melted or softened, you just want it to be soft enough to incorporate into the dough easily.
- Should My Dough Be Really Sticky? I would opt for slightly sticky dough over dry dough. Sticky dough may be harder to work with and more difficult to transfer and hold its shape, but I find the texture of the donuts turn out to be much better!
- The Dough Isn’t Gathering Up Around The Hook, What Should I Do? Add in an additional 1/4 cup of flour at a time. If the dough gathers up the hook a little bit but still spreads toward the base of the bowl, it should be just right. However, if it begins forming a tight ball around the dough hook, chances are you may have added too much flour. The donuts will still rise and cook, but they may result in a tougher, more bread-like donut.
- Are There Any Tricks To Transferring The Cut-Out Donuts? Transferring the donuts from the sheet pan and into the oil can be pretty tricky. Try removing the plastic wrap from the risen donuts and allow them to set out without a covering for a few minutes. This should help dry the outer layer up a bit. You can also try cutting the parchment paper between each donut to lift the whole donut by the parchment paper and flip it into the oil. Carefully peeling the parchment paper off the back of the donut after it’s in the oil. Another trick you could try is spraying the parchment paper with non-stick cooking spray or sprinkling it with flour before placing the cut-out donuts onto it. This should also help prevent some sticking.
Nutrition
Carbohydrates: 46g |
Protein: 5g |
Fat: 7g |
Saturated Fat: 4g |
Polyunsaturated Fat: 0.4g |
Monounsaturated Fat: 2g |
Trans Fat: 0.2g |
Cholesterol: 34mg |
Sodium: 57mg |
Potassium: 82mg |
Fiber: 1g |
Sugar: 24g |
Vitamin A: 215IU |
Vitamin C: 0.01mg |
Calcium: 34mg |
Iron: 1mg
Did You Make This Recipe?
Don’t forget to share it with me on Instagram @sugarandsoulco and follow on Tiktok @sugarandsoulco and Pinterest @sugarandsoulco for more!