
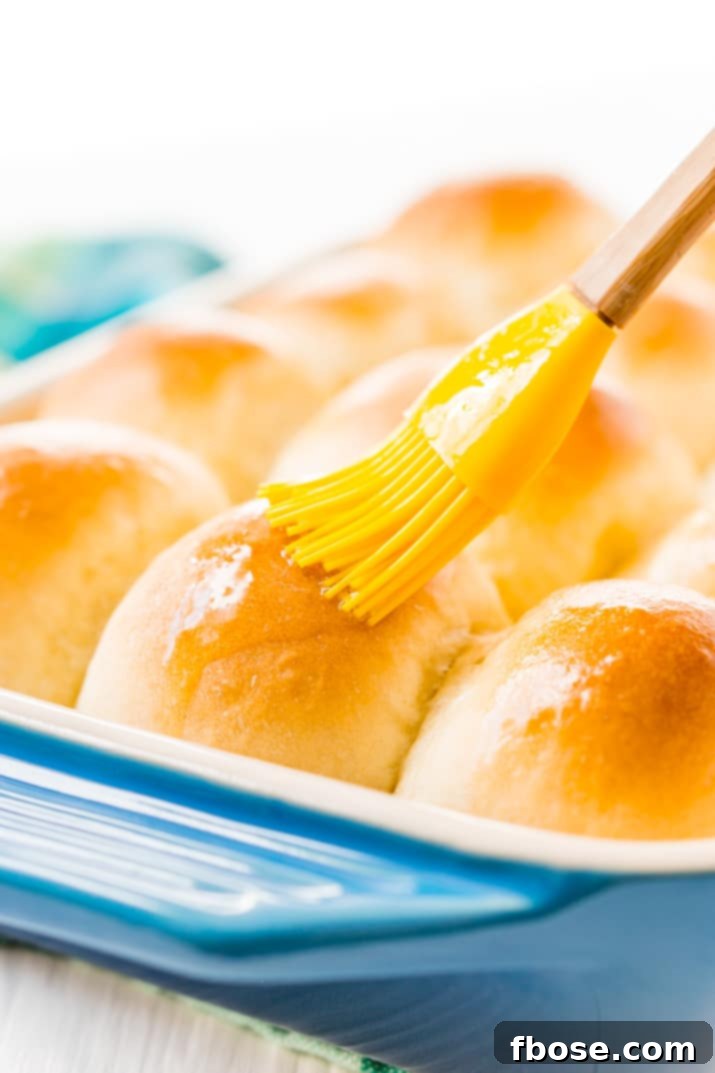
Experience the joy of baking with these exquisite Homemade Yeast Rolls. Perfectly soft, incredibly fluffy, and delightfully buttery, these pull-apart dinner rolls are destined to become a cherished family favorite. Whether for a cozy weeknight meal or a grand holiday feast, they bring a touch of comforting nostalgia and deliciousness to any table, just like Grandma used to bake!
Why You’ll Adore These Easy Yeast Rolls
There’s something truly magical about freshly baked bread, and these easy yeast rolls are no exception. Imagine soft, slightly chewy, and wonderfully airy bread that melts in your mouth – a perfect accompaniment to almost any meal. This simple recipe, requiring just seven core ingredients, is designed to bring that homemade bread magic right into your kitchen, quickly becoming a staple in your family’s dinner rotation.
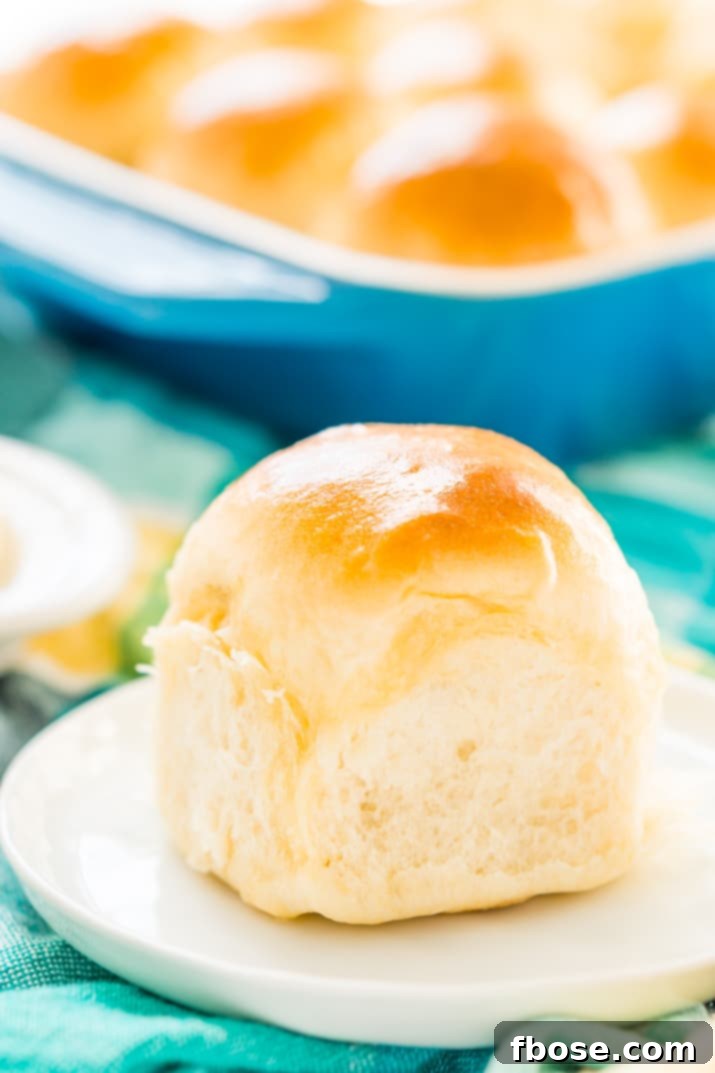
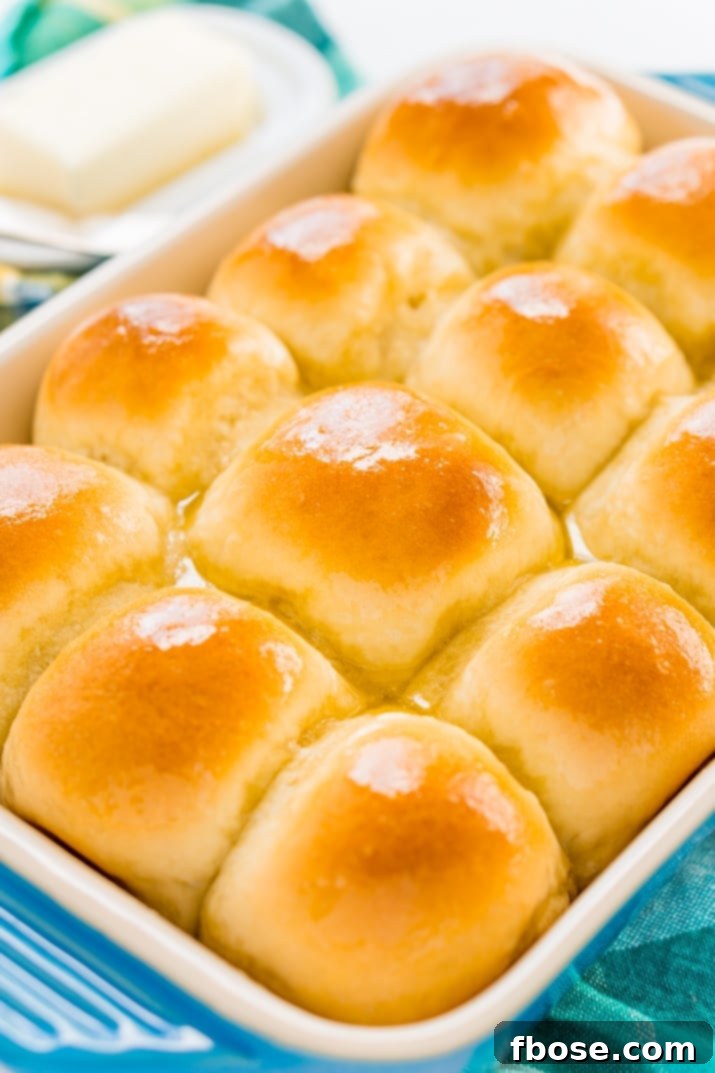
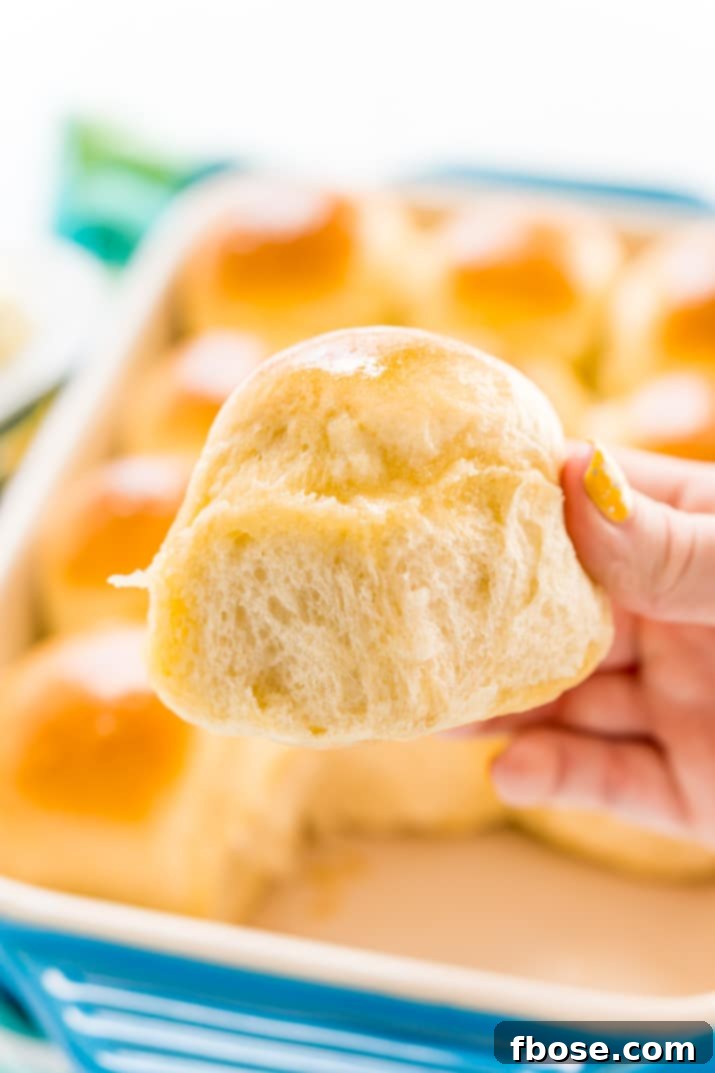
These fluffy, buttery dinner rolls emerge from the oven with a beautiful golden-brown crust and a tender, light interior. They’re not just incredibly tasty; their pull-apart nature makes them ideal for sharing, fostering a sense of togetherness around the dining table. While elegant enough for special occasions, the straightforward preparation makes them surprisingly suitable for a busy weeknight.
Crafting homemade yeast rolls does require a bit of foresight due to the dough’s rising time, but much of this is “hands-off” time. After mixing the ingredients, the dough relaxes and doubles in size, a crucial step for achieving that signature pillowy texture. The actual baking time is remarkably short – a mere 15 to 18 minutes – meaning you can serve these delicious rolls hot and fresh from the oven, exactly when they taste their absolute best.
Looking ahead to upcoming celebrations like St. Patrick’s Day or Easter? These yeast rolls are a phenomenal addition to any traditional holiday spread. They complement a hearty corned beef and cabbage feast as beautifully as they do a succulent honey-glazed ham with all the trimmings. Their versatility and crowd-pleasing appeal make them an indispensable part of your festive menu planning.
Beyond dinner, don’t underestimate the magic of day-old yeast rolls. They are fantastic for creating quick and delicious sliders or sandwiches for lunch the following day. Imagine transforming your holiday leftovers into mini Reubens with corned beef or delightful ham sandwiches – a testament to the enduring appeal of these versatile rolls. Serving homemade bread always leaves a lasting impression, and with this simple recipe, there’s no need to resort to store-bought options. Their irresistible taste and satisfying pull-apart texture guarantee smiles all around. Whether for a holiday centerpiece or an everyday meal, these yeast rolls are an effortless way to complete any dish and delight everyone at the table.
Essential Ingredients for Fluffy Yeast Rolls
Achieving light and tender homemade yeast rolls starts with quality ingredients. Here’s what you’ll need for this incredibly satisfying recipe:
- Active dry yeast
- Warm water (crucial for activating the yeast)
- Granulated sugar
- Large egg
- Unsalted butter (for richness and brushing)
- Kosher salt
- All-purpose flour
Step-by-Step Guide to Making Homemade Yeast Rolls
These delectable dinner rolls are surprisingly simple to create, though they do require patience during the “proofing” or rising stages. This inactive time allows you to focus on other aspects of your meal preparation or simply relax. This recipe specifically calls for active dry yeast, which necessitates proper rising periods for the fluffiest results!
- Activate the Yeast: In a very large bowl, combine the active dry yeast with warm water (ensure the temperature is between 105 to 115 degrees F – too hot will kill the yeast, too cold won’t activate it). Stir in the granulated sugar, then let the mixture stand for about 5 minutes. You should see it become foamy, indicating the yeast is active and ready.
- Combine Wet Ingredients: To the activated yeast mixture, stir in the beaten large egg, melted unsalted butter, and kosher salt.
- Incorporate Flour and Knead: Gradually add as much of the all-purpose flour as you can comfortably mix with a wooden spoon until a shaggy dough forms. Then, transfer the dough to a stand mixer fitted with a dough hook. Mix on low speed for 6 to 8 minutes, allowing the dough to come together and become smooth and elastic. If you don’t have a stand mixer, turn the dough out onto a lightly floured surface and knead by hand until it achieves a similar smooth and elastic consistency.
- First Rise (Bulk Fermentation): Shape the kneaded dough into a neat ball. Lightly grease the large bowl you used earlier, then place the dough ball inside, turning it once to ensure all surfaces are lightly coated in grease. Cover the bowl with a clean hand towel and set it in a warm, draft-free place. Allow the dough to rise until it has visibly doubled in size, which typically takes about 45 to 60 minutes. (See tips below for assisting dough rising.)
- Punch Down and Rest: Once the dough has doubled, gently punch it down to release the air. Turn it out onto a lightly floured surface, divide the dough in half, and cover both halves with the hand towel. Let them rest for an additional 10 minutes. During this time, lightly grease two 9×13-inch baking pans. If you prefer larger rolls, use one 15×10-inch pan and do not divide the dough in half.
- Shape the Rolls: Take each half of the dough and divide it into 12 equal pieces. For each piece, gently pull the edges under to form a smooth ball. Arrange these shaped rolls on your prepared baking sheets, leaving a little space between them for expansion. If making larger rolls, create 15 equally-sized balls from the undivided dough.
- Second Rise (Proofing): Cover the pans of shaped rolls with hand towels and place them in a warm area. Let them rise again until they have doubled in size, usually taking about 30 minutes.
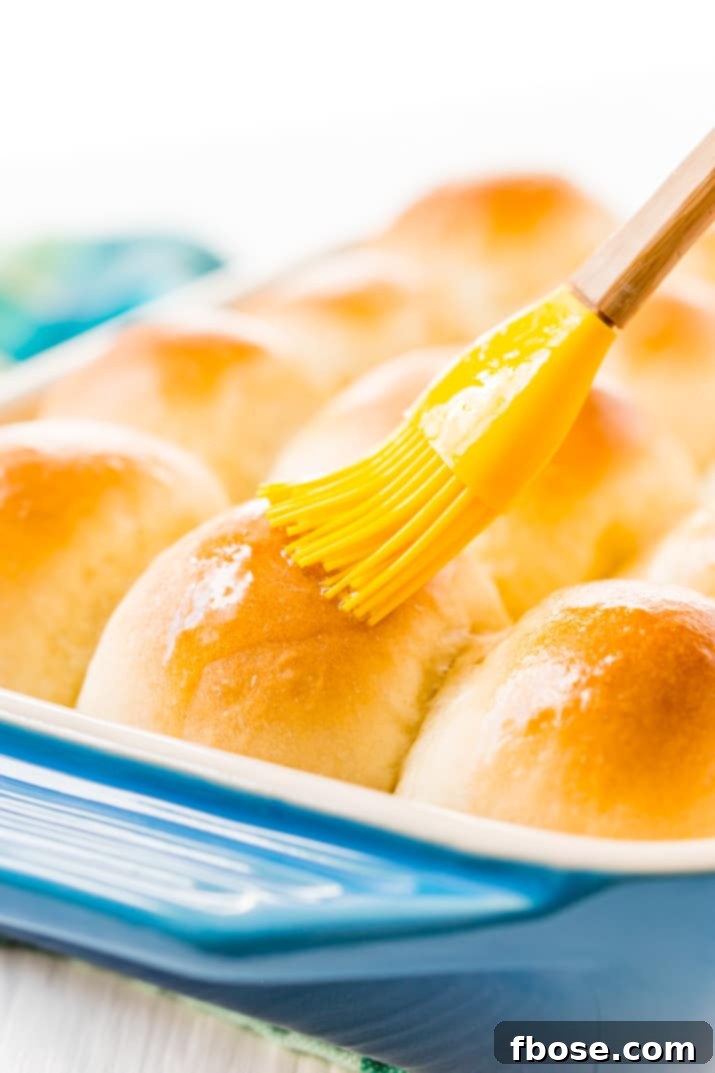
- Bake to Golden Perfection: While the rolls are completing their second rise, preheat your oven to 350 degrees F (175 degrees C). Before baking, gently brush the tops of the risen rolls with a little melted butter. Bake for 15 to 18 minutes, or until the tops are beautifully golden brown. As soon as you remove them from the oven, brush them with a bit more melted butter for an extra touch of richness and shine. For the best flavor and texture, serve these rolls within 24 hours of baking.
Recommended Tools for Baking Yeast Rolls
Having the right equipment can make your yeast roll baking experience even smoother:
- Stand Mixer (e.g., KitchenAid)
- Dough Hook Attachment
- 9×13-inch Baking Pans
- Large Oven-Safe Bowl
- Large Mixing Bowl
- Clean Kitchen Towels
- Pastry Brush
Expert Tips to Perfect Your Dough Rising
Getting yeast dough to rise consistently can sometimes be a challenge, especially in cooler environments. Unlike older homes with warm wood-burning stoves, modern kitchens often have more regulated temperatures, which can make proofing trickier. However, with a few clever techniques, you can create the ideal warm atmosphere for your dough to double in size:
- The “Warm Water Bath” Oven Method (for a cold oven): This method is fantastic when you’re not simultaneously cooking many other dishes for big holidays. Ensure your oven is completely cold. Lightly grease a piece of plastic cling wrap and cover your large bowl of dough. Place the dough on the top rack of your oven. On the bottom rack, place a bowl or pot filled with boiling hot water. Close the oven door. The steam and warmth from the water will create a humid and warm environment perfect for dough rising.
- The “Slightly Warmed Oven” Method: For a quicker approach, preheat your oven to its lowest temperature setting for just 2 minutes, then turn it off immediately. Place your bread dough (in an oven-safe bowl, covered with a clean towel or greased cling wrap) into this slightly warmed oven. This method significantly speeds up rising, so be sure to check on your dough every 15 minutes or so to prevent over-proofing.
- Sunny Spot: If you have a warm, sunny windowsill, this can be a natural and gentle spot for your dough to rise.
- Proofing Drawer/Setting: Some modern ovens come with a dedicated “proof” setting or a warming drawer. These are ideal for maintaining a consistent, warm temperature for your dough.
Delicious Ways to Serve Homemade Yeast Rolls
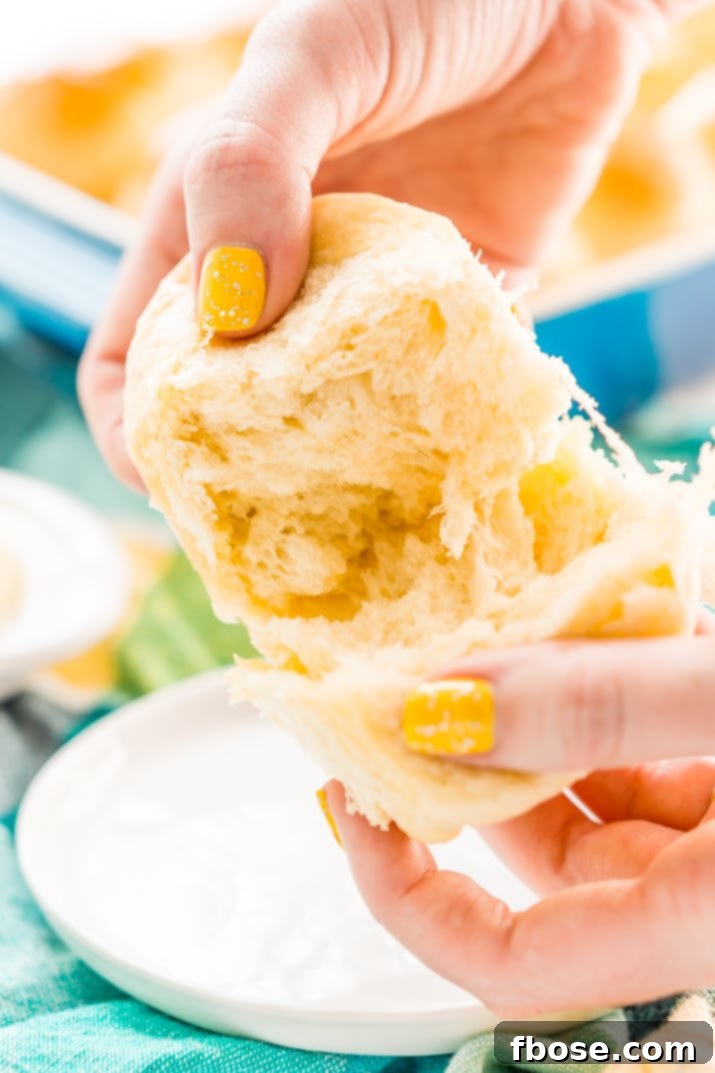
Is there anything more comforting than a warm, pillowy dinner roll, fresh from the oven? That moment when you tear it open, and the steam rises, carrying that intoxicating bready aroma – it’s a promise of pure delight. While they are perfect simply alongside a delicious homemade meal, here are more ways to enjoy your homemade yeast rolls:
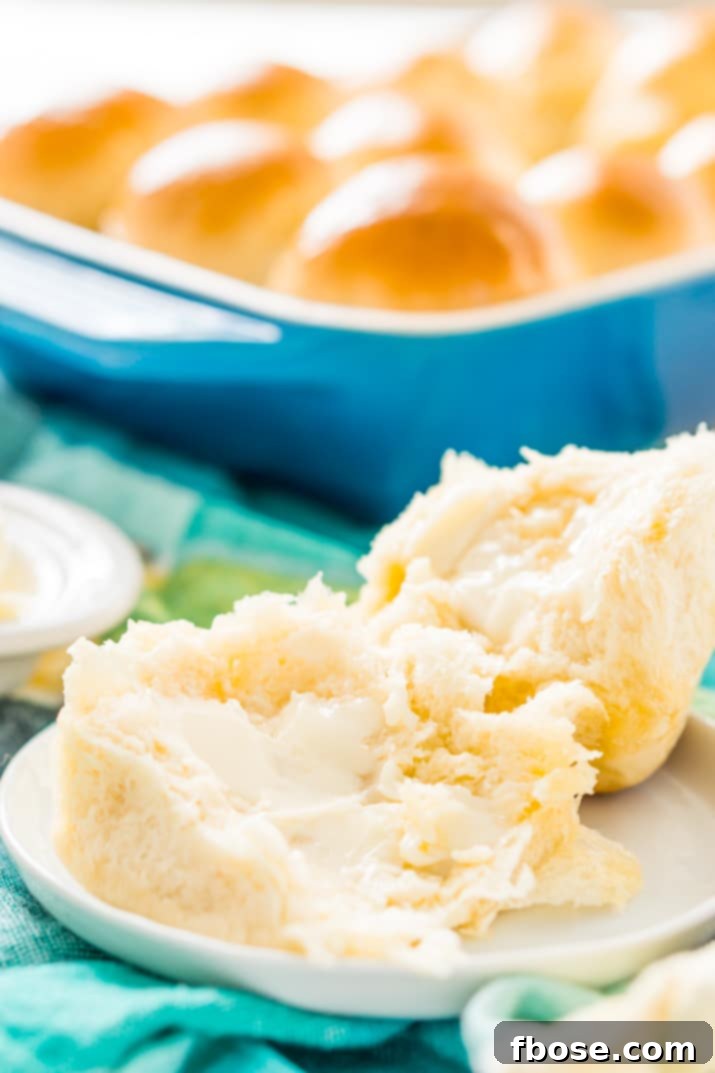
- Classic with Butter: A simple spread of butter, maybe a sprinkle of flaky sea salt, is often all these perfect rolls need.
- Slider Buns: Their soft texture and convenient size make them ideal for mini sandwiches. Fill them with leftover ham, turkey, or even mini burgers.
- Sop Up Sauces: Their absorbent crumb is excellent for soaking up rich gravies, stews, or pasta sauces.
- Sweet Treat: A drizzle of honey or a dollop of jam can transform them into a delightful breakfast or snack.
- Garlic Bread: Slice them in half, spread with garlic butter, and broil briefly for a quick and flavorful side.
- Alongside Soup or Salad: Elevate a simple soup or salad with a warm, comforting roll.
How to Store and Reheat Easy Yeast Rolls
To keep your delicious yeast rolls fresh and ready to enjoy, proper storage is key:
Once your rolls have completely cooled to room temperature, store them in an airtight container or a large resealable plastic bag. Make sure to squeeze out as much excess air as possible before sealing to prevent them from drying out. Stored this way at room temperature, they will remain fresh for up to 2-3 days.
For longer storage, yeast rolls freeze beautifully. Wrap cooled rolls tightly in aluminum foil, then place them in a freezer-safe bag. They can be frozen for up to 2-3 months. To reheat from frozen, simply unwrap and bake them in a preheated oven at 300°F (150°C) for about 15-20 minutes, or until warmed through and soft again.
To reheat refrigerated or room-temperature rolls, a quick warm-up in the microwave for 15-30 seconds, or a few minutes in a preheated oven (350°F/175°C) wrapped in foil, will bring back their fresh-baked softness.
Frequently Asked Questions About Homemade Yeast Rolls
Several factors can contribute to tough yeast rolls:
- Inactive Yeast: Ensure your warm water is between 105-115°F (40-46°C) and the yeast mixture is bubbly before proceeding. Dead yeast won’t rise, leading to dense rolls.
- Overmixing or Over-Kneading: While kneading develops gluten, over-kneading can make the dough too elastic and tight, resulting in tough rolls. Follow the kneading times carefully.
- Not Enough Rise Time: Insufficient proofing means the gluten hasn’t relaxed enough and the dough hasn’t developed enough air pockets for a light texture.
- Forgetting to Punch Down: Skipping the punch-down after the first rise can lead to over-proofed dough and a collapse of the gluten structure, resulting in a dense crumb.
While brushing with melted butter *after* baking is essential for a beautiful shine and flavor, brushing before baking can also be beneficial. It contributes to a richer flavor, helps achieve a golden-brown crust, and promotes even browning. It’s not strictly mandatory but highly recommended for the best results.
Yes, absolutely. Too much yeast can cause the dough to rise too rapidly, which might lead to a premature collapse of the gluten structure. This often results in a bread with a coarse texture, a strong “yeasty” flavor, and sometimes a sunken appearance.
Yes, it’s possible to over-knead dough. Over-kneaded dough becomes extremely stiff, difficult to work with, and can lead to a tough, dense final product. A good way to test if your dough is properly kneaded is the “windowpane test.” Pinch off a small piece of dough and gently stretch it. If you can stretch it thin enough to see light through it without tearing, it’s perfectly kneaded. If it tears easily, it needs more kneading. If it feels too stiff and resists stretching, it might be over-kneaded.
To accurately check if your dough has doubled, you can place a piece of tape or a rubber band on the side of your bowl at the starting height of the dough. Mark another spot twice that height. When the dough reaches the second mark, it has doubled. Alternatively, simply observe its volume; it should look significantly larger and very puffy.
More Delicious Bread Recipes to Try
- Classic Homemade Bread
- Irresistible 1-Hour Cinnamon Rolls
- Fun Ice Cream Bread
- Moist Zucchini Bread
- Rich Homemade Brioche
Let’s Connect!
If you’ve tried this delightful yeast roll recipe, please share your experience in the comments below and consider leaving a review. Your feedback truly brightens my day!
Don’t forget to tag me – @sugarandsoulco – on Instagram and Pinterest with your beautiful photos. You can also join our Sugar & Soul Show-offs Community and share them there, where you can participate in our fun recipe challenges!

Best Yeast Roll Recipe
Pin Recipe
Rate Recipe
These Yeast Rolls are the perfect fluffy pull-apart dinner rolls for weeknights and holidays. So tender, buttery, and delicious, just like grandma used to make!
Ingredients
Instructions
- Dissolve the 2 (.24 oz.) packages active dry yeast in the 2 cups warm water in a very large bowl, then stir in the ½ cup granulated sugar and let stand for 5 minutes until foamy.
- Stir in 1 large egg, ¼ cup unsalted butter (melted), and 2 teaspoons kosher salt. Stir in as much of the 6 – 6½ cups all-purpose flour as you can with a wooden spoon.
- Transfer the dough to a stand mixer fitted with a dough hook and mix on low speed for 6 to 8 minutes until smooth and elastic. Alternatively: You can turn the dough out onto a lightly floured surface and knead by hand until the dough is smooth and elastic.
- Shape the dough into a ball and place back in the lightly greased large bowl, turning once to cover the surface of the dough with grease. Cover with a clean hand towel and let rise in a warm place until the dough doubles in size, about 45 to 60 minutes.
- Punch the dough down and turn out onto a lightly floured surface, divide the dough in half and cover the dough back up with the cloth and let rest for 10 more minutes. Meanwhile, lightly grease two 9×13-inch pans. For Larger Rolls: Use a 15×10-inch pan and do not divide the dough.
- Divide each half of the dough into 12 pieces and shape the rolls by gently pulling each dough piece into a ball, tucking the edges under, and arranging on the baking sheets. If you are making larger rolls, make 15 equally sized balls of dough.
- Cover the pans of rolls with hand towels and let rise in a warm place until the rolls have doubled in size, about 30 minutes.
- Preheat the oven to 350°F (175°C) and brush the tops of the rolls with melted butter. Bake for 15 to 18 minutes or until the tops are golden brown. Brush the rolls with more butter after removing from the oven. Best served within 24 hours.
Nutrition
Carbohydrates: 28g |
Protein: 3g |
Fat: 2g |
Saturated Fat: 1g |
Cholesterol: 11mg |
Sodium: 198mg |
Potassium: 41mg |
Fiber: 1g |
Sugar: 4g |
Vitamin A: 70IU |
Calcium: 7mg |
Iron: 1.5mg
Did You Make This Recipe?
Don’t forget to share it with me on Instagram @sugarandsoulco and follow on Tiktok @sugarandsoulco and Pinterest @sugarandsoulco for more!
Pin Recipe
Share Recipe