Snowflake Cake
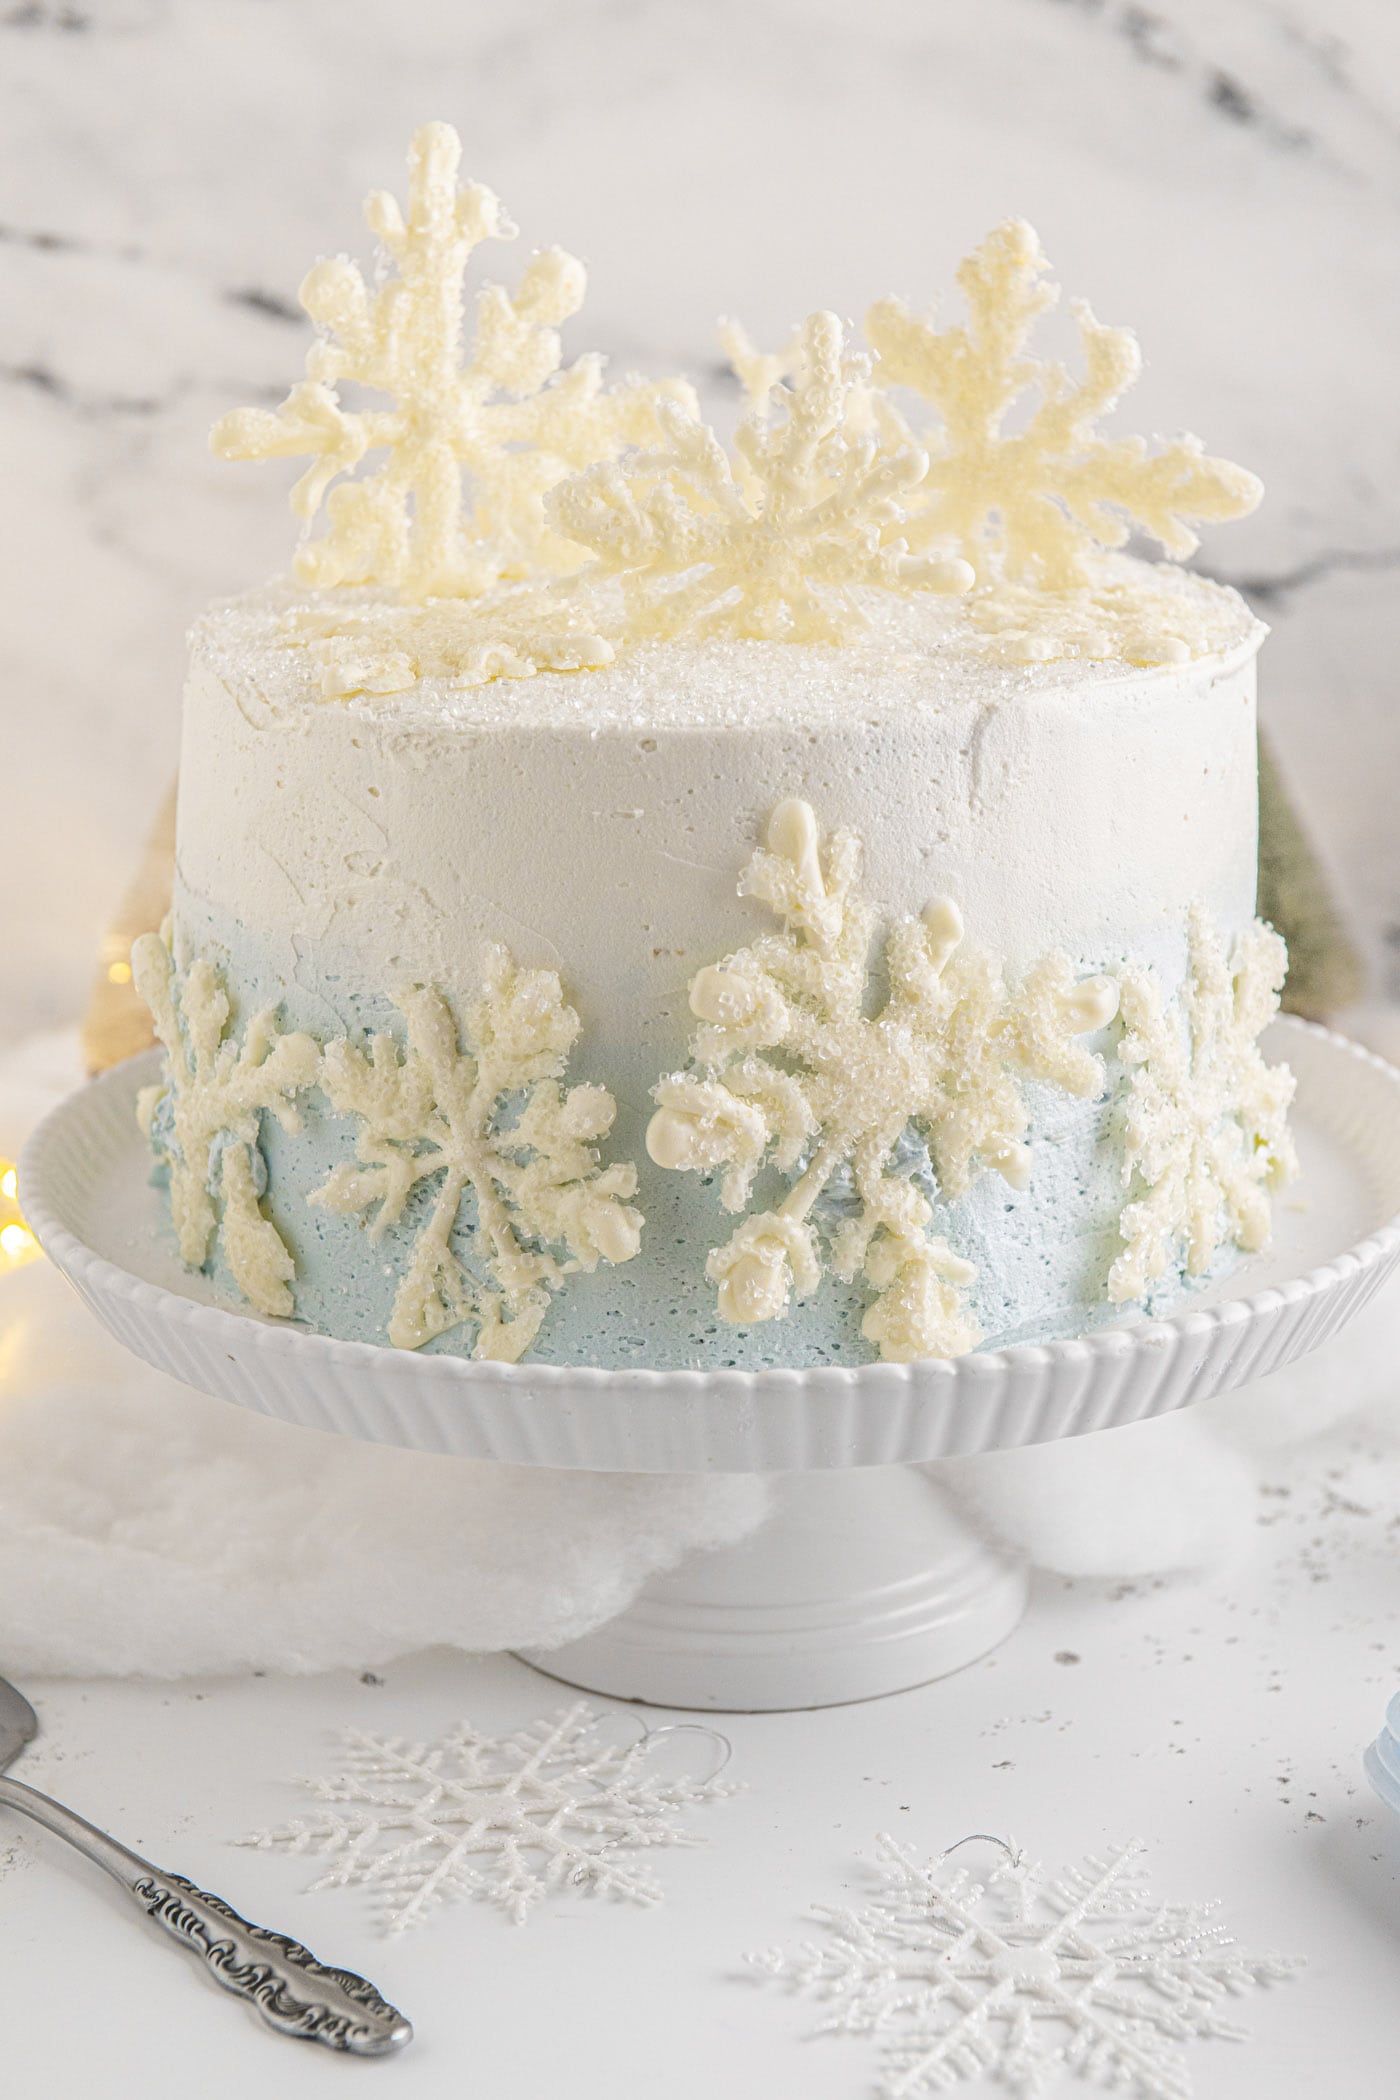
This beautiful snowflake cake is a real show-stopper when it graces the holiday dessert table! Simple layers of homemade white cake meet a magical ombre vanilla buttercream that’s topped with easy white chocolate snowflakes and sugar crystals.
- Total 2 hours 5 minutes
- Serves 15 servings
- Dessert, Desserts
- American
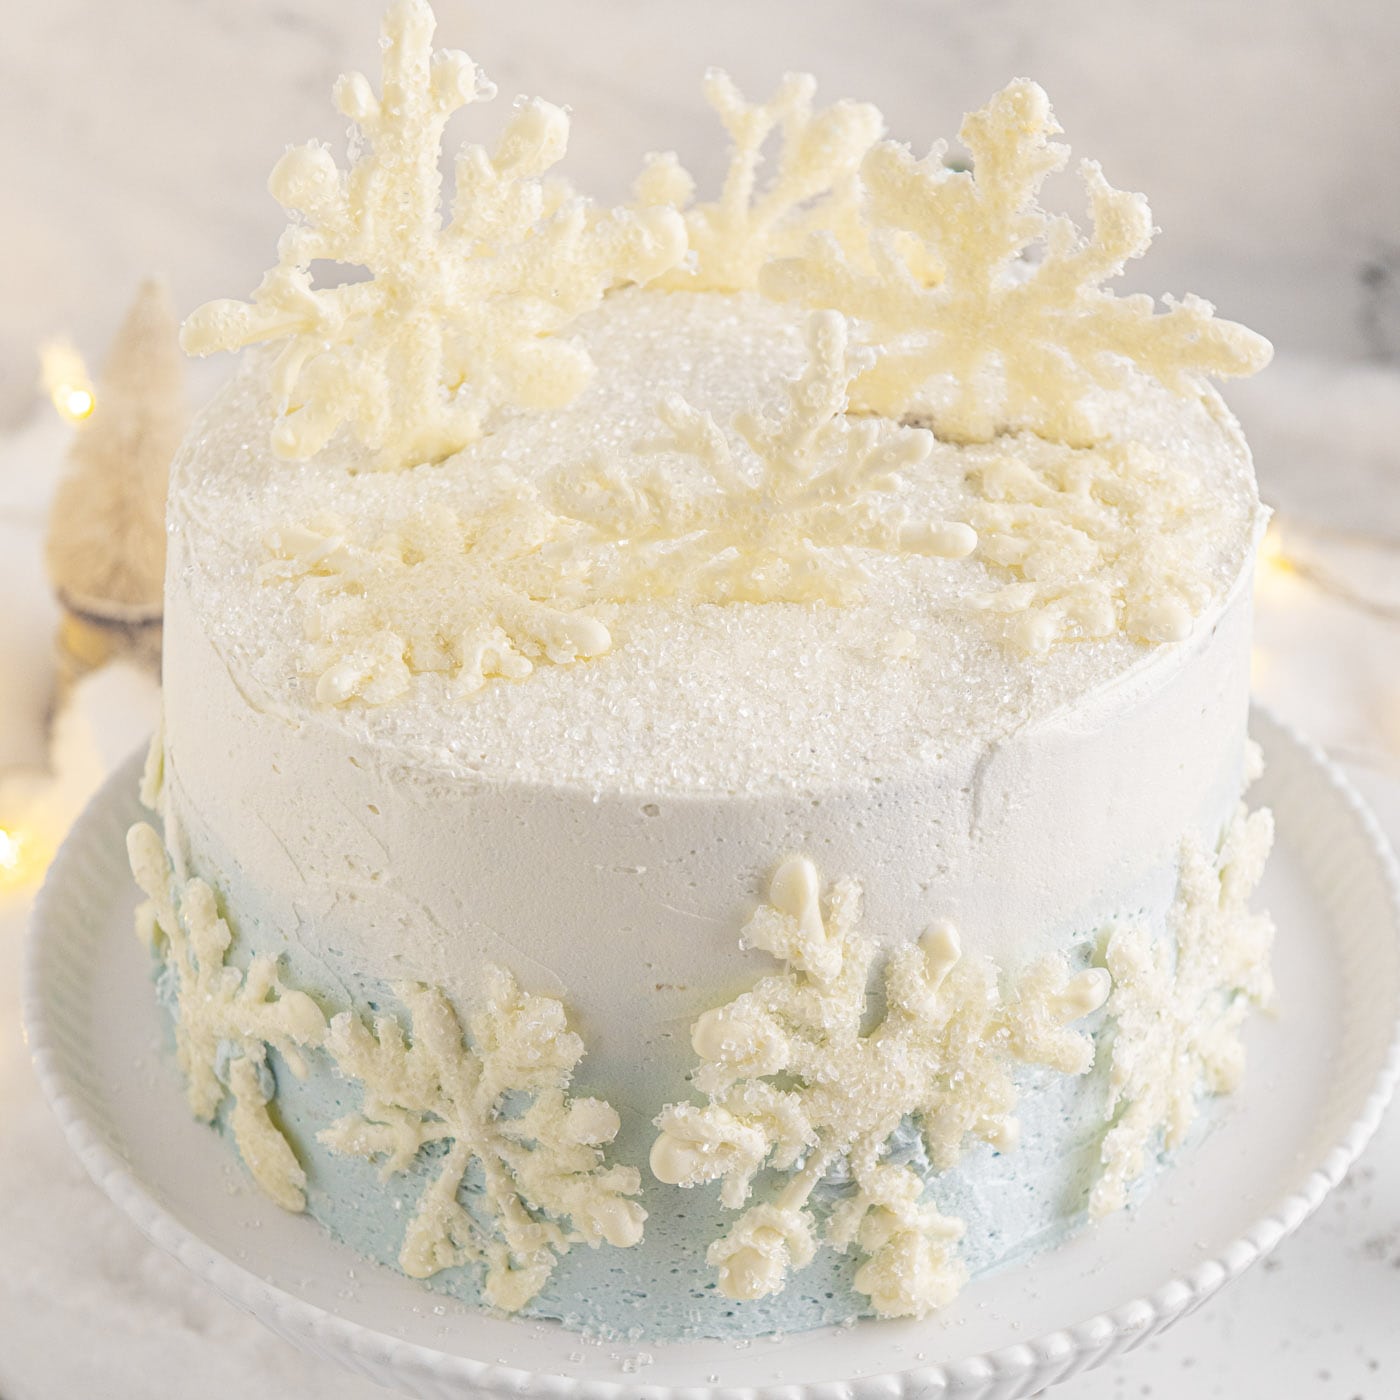
This beautiful snowflake cake is a real show-stopper when it graces the holiday dessert table! Simple layers of homemade white cake meet a magical ombre vanilla buttercream that’s topped with easy white chocolate snowflakes and sugar crystals.
 more
more
Why this recipe works
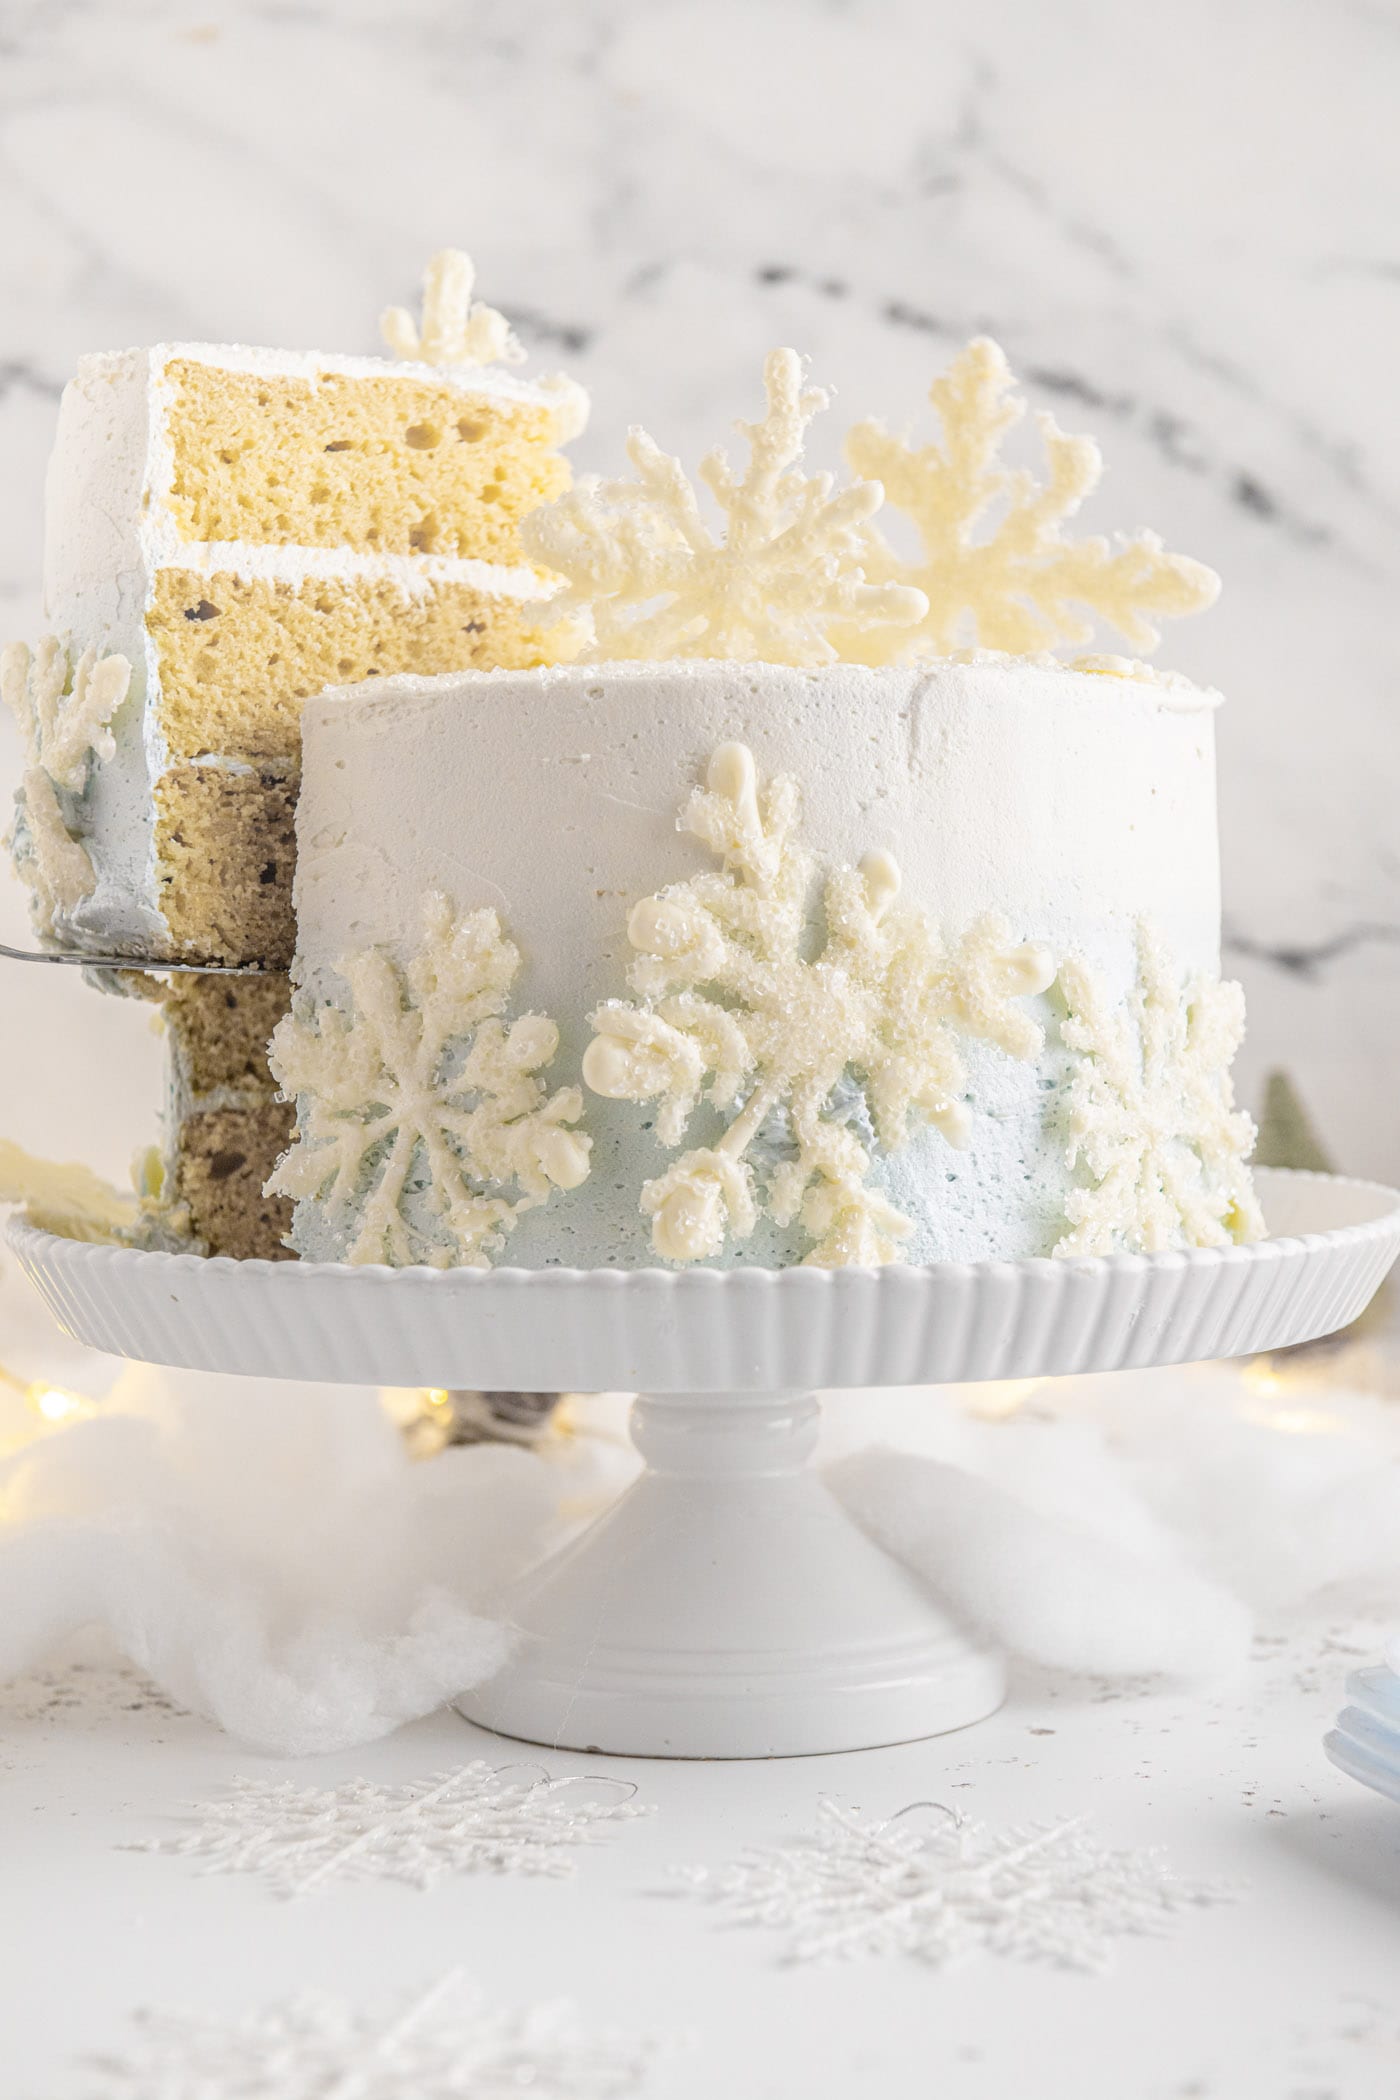
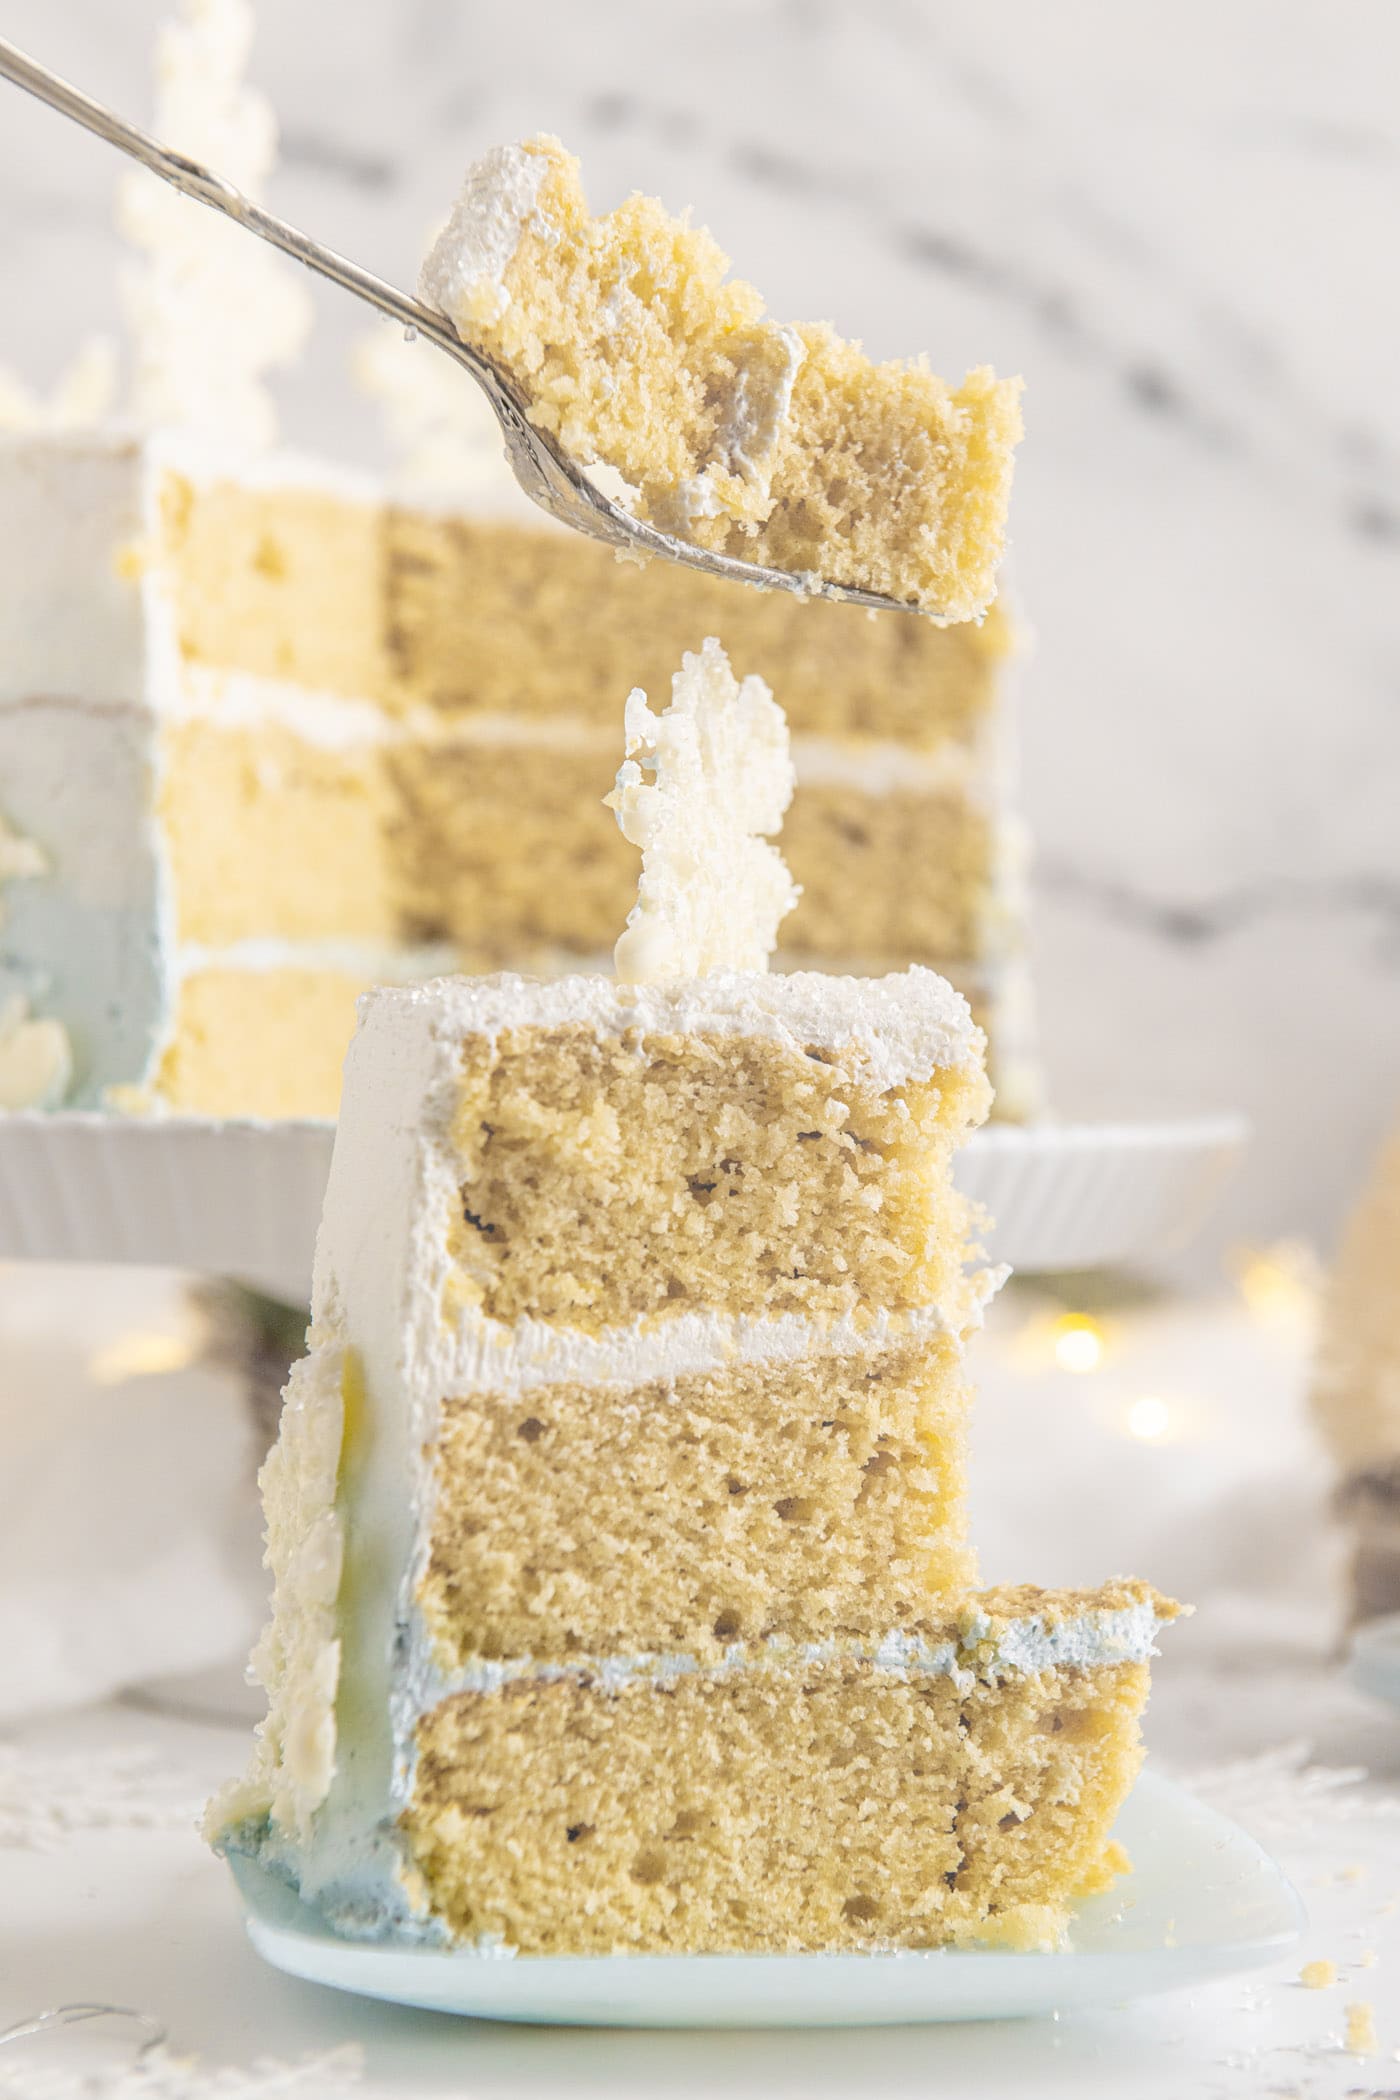
Soft and bouncy homemade white cake is layered with baby blue and white buttercream frosting in this holiday snowflake cake. For an extra special presentation, top with white chocolate snowflakes sprinkled with sugar crystals, your guests will definitely be impressed!
Gorgeous tiered cakes don’t always have to be difficult. Take our Chantilly cake for example, plus this sweet snowflake cake that’s adorned to the T with easy-to-make decorations. To make these adorable snowflake toppers, pipe white chocolate onto a baking sheet and allow it to set. It’s that easy. This cake is entirely doable for the intermediate baker!
Ingredients you will need
Get all measurements, ingredients, and instructions in the printable version at the end of this post.
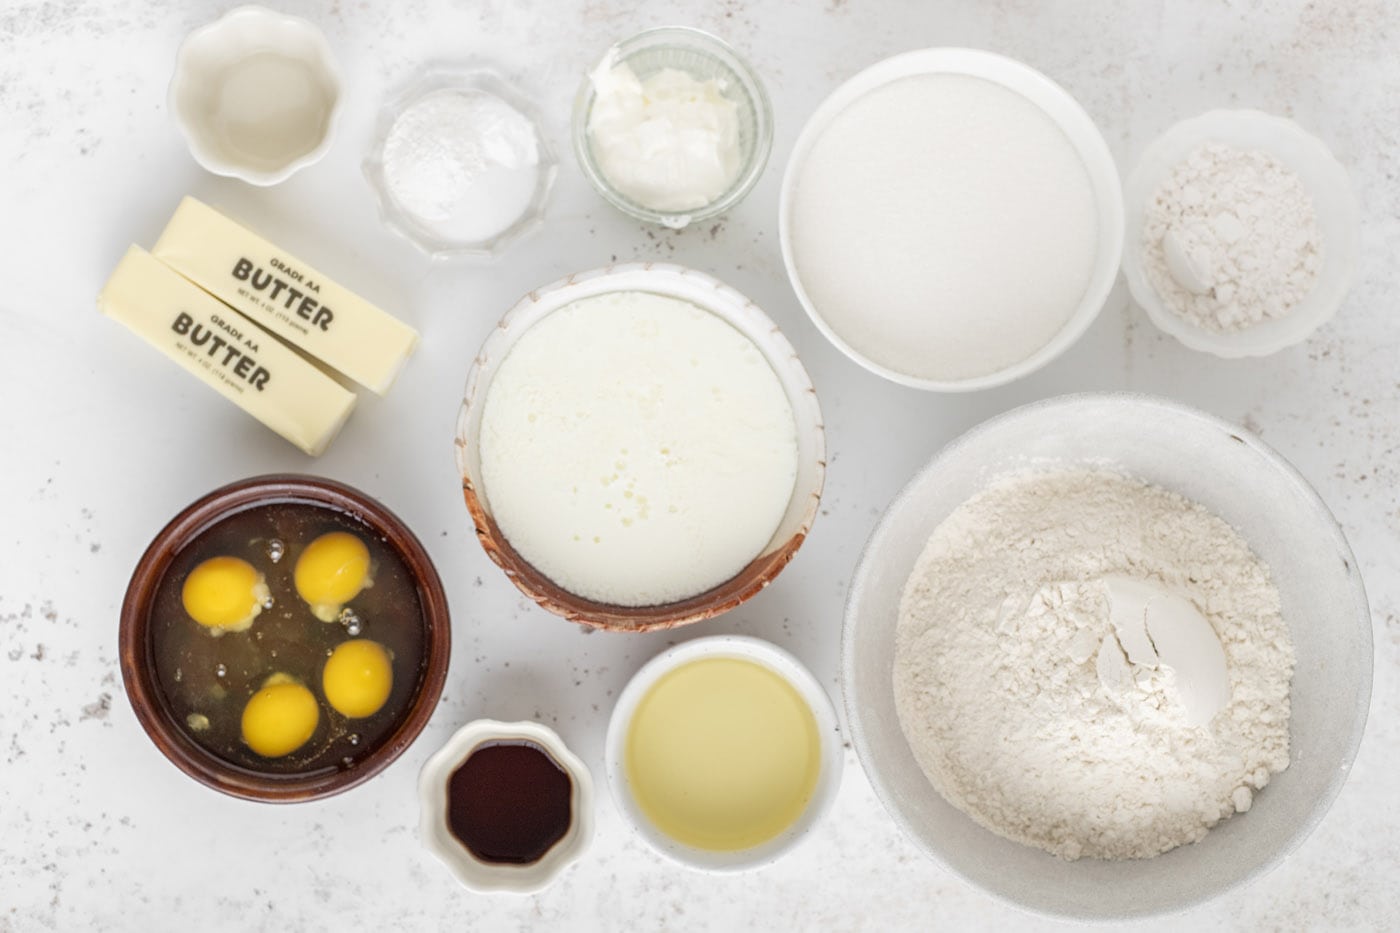 Ingredients for Snowflake Cake
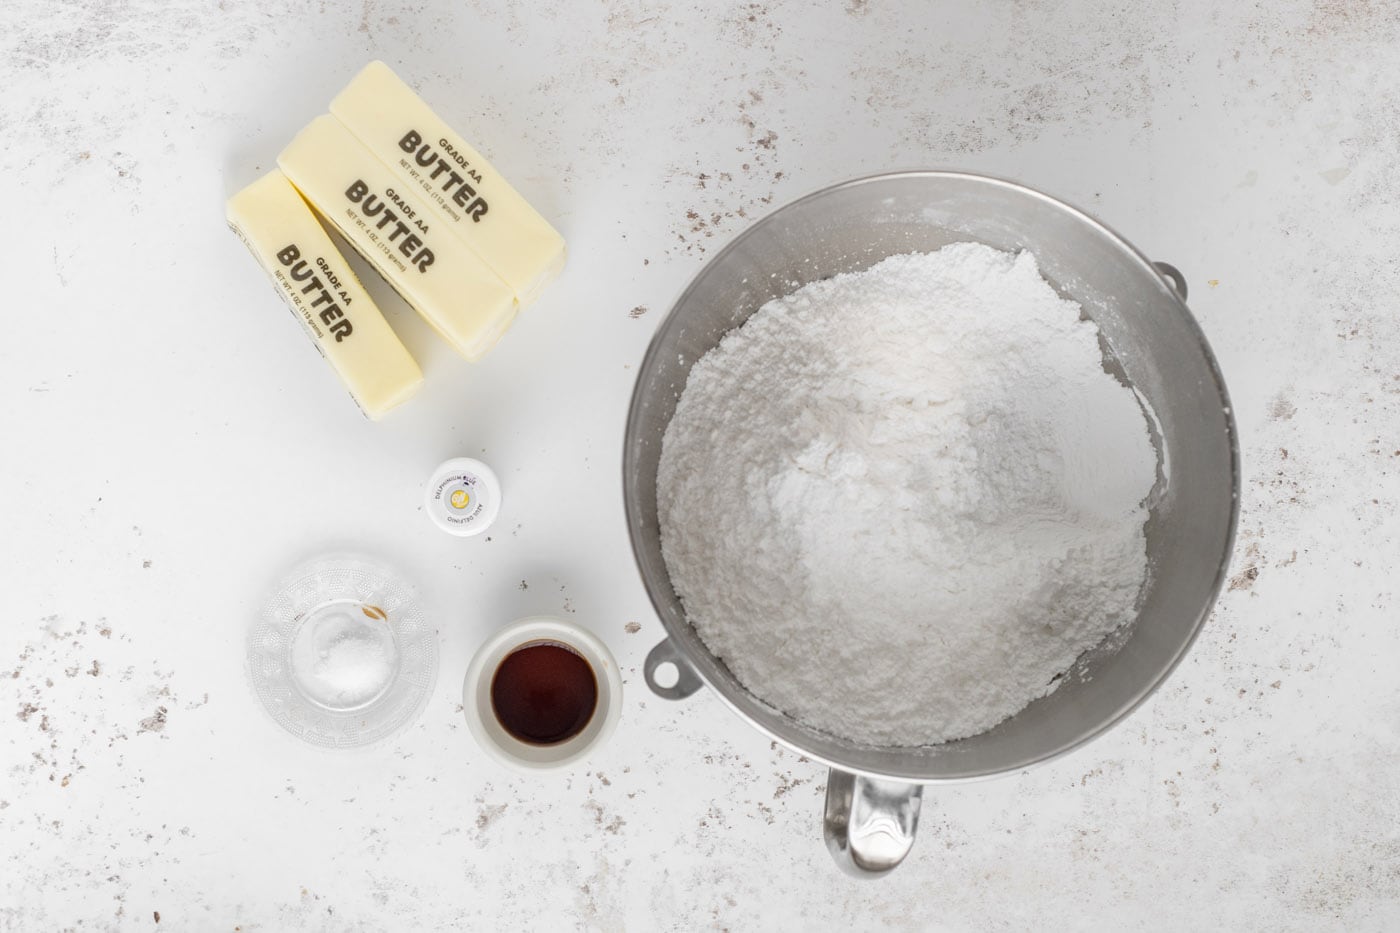 Frosting ingredients
Ingredient Info and Substitution Suggestions
VEGETABLE OIL – Oil of your choice may be used instead, such as olive or canola.
BUTTERMILK – The buttermilk works as a tenderizer in your baked goods, which means it’ll be moist and delicious. Do not substitute with regular milk. Buttermilk can be made by simply removing 1 Tbsp + 2 tsp of milk and replacing it with 1 Tbsp + 2 tsp of lemon juice or vinegar. Whisk together and let the mixture sit for 5 minutes before adding it to the recipe.
SOUR CREAM – Plain or greek yogurt may be used instead.
CAKE FLOUR – Cake flour helps create an extra light and fluffy cake, I highly recommend you stick to using it in this recipe.
FROSTING – Easily make the entire batch one color if desired. This is a classic buttercream frosting, you can also use a homemade cream cheese frosting here.
How to Make Snowflake Cake
These step by step photos and instructions are here to help you visualize how to make this recipe. You can Jump to Recipe to get the printable version of this recipe, complete with measurements and instructions at the bottom.
- Preheat the oven to 350°. Line the bottoms of 3-9” cake pans with parchment paper and lightly spray with baking spray. Set aside.
- In a large mixing bowl combine flour, cake flour, baking powder, baking soda and salt. Set aside.
- In the bowl of a stand mixer fitted with a paddle attachment mix together sugar and butter. Beat on medium speed until smooth. Add in the vegetable oil and mix to combine.
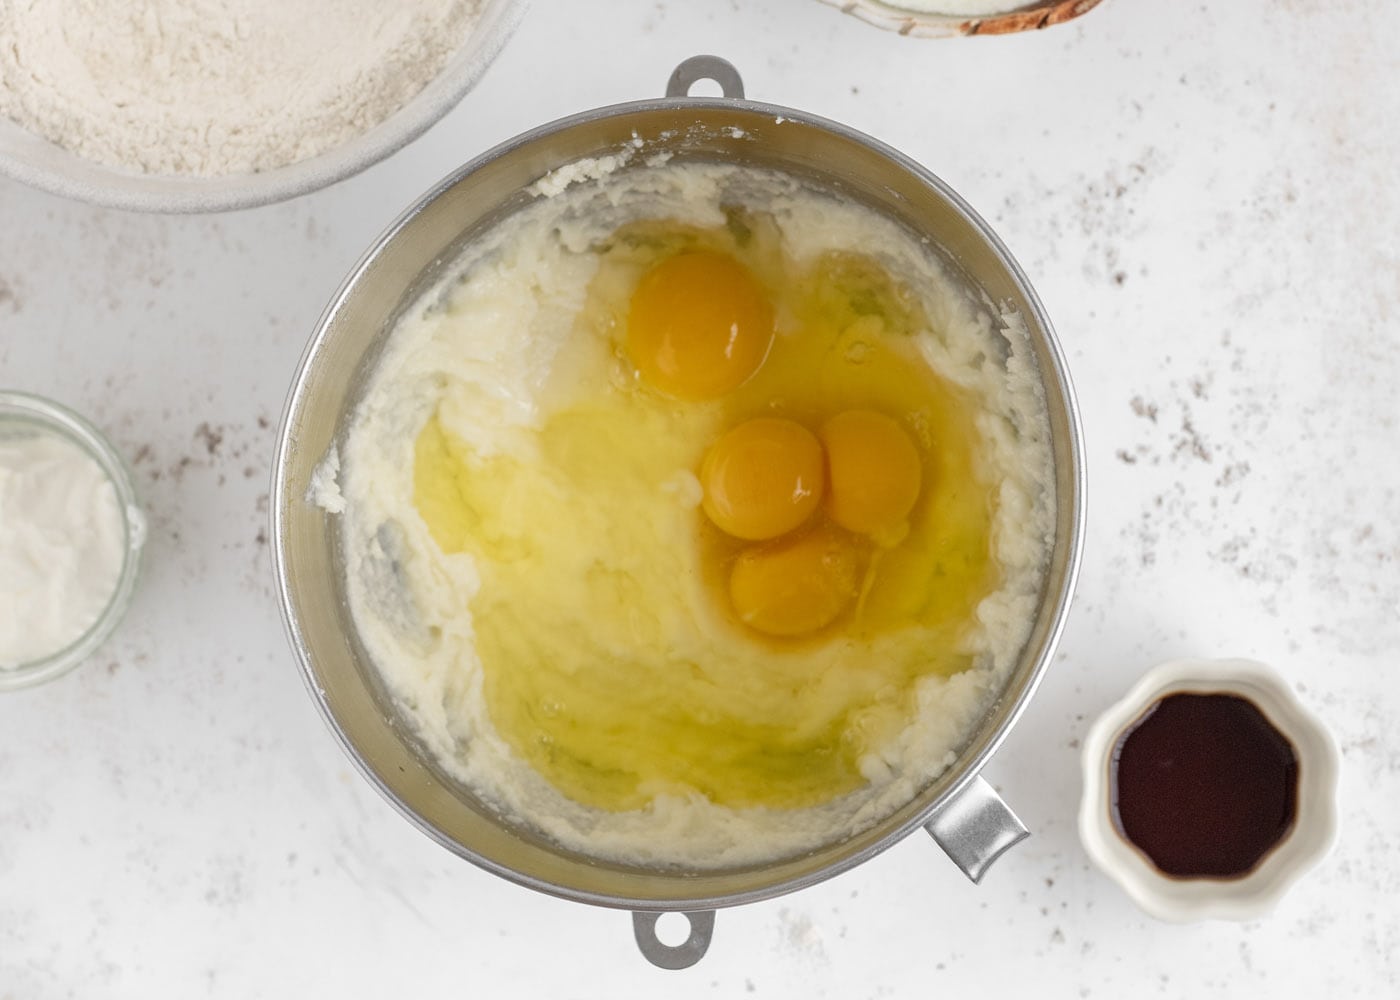
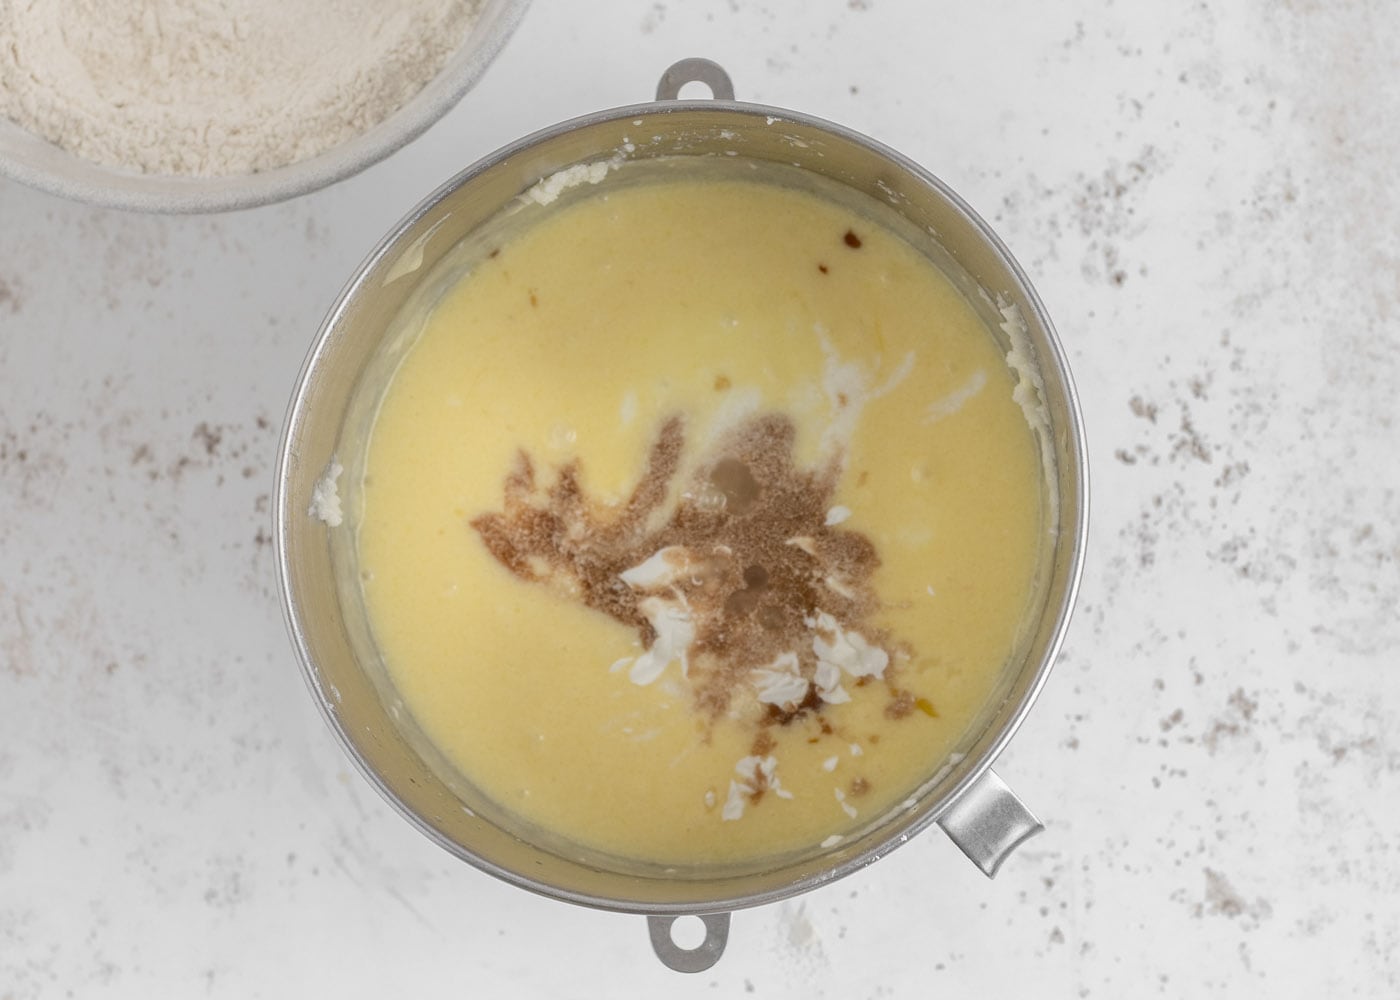
- Add in the eggs and mix for 30 seconds, then add in the buttermilk, sour cream, vanilla and optional butter flavoring. Mix on medium speed until incorporated.
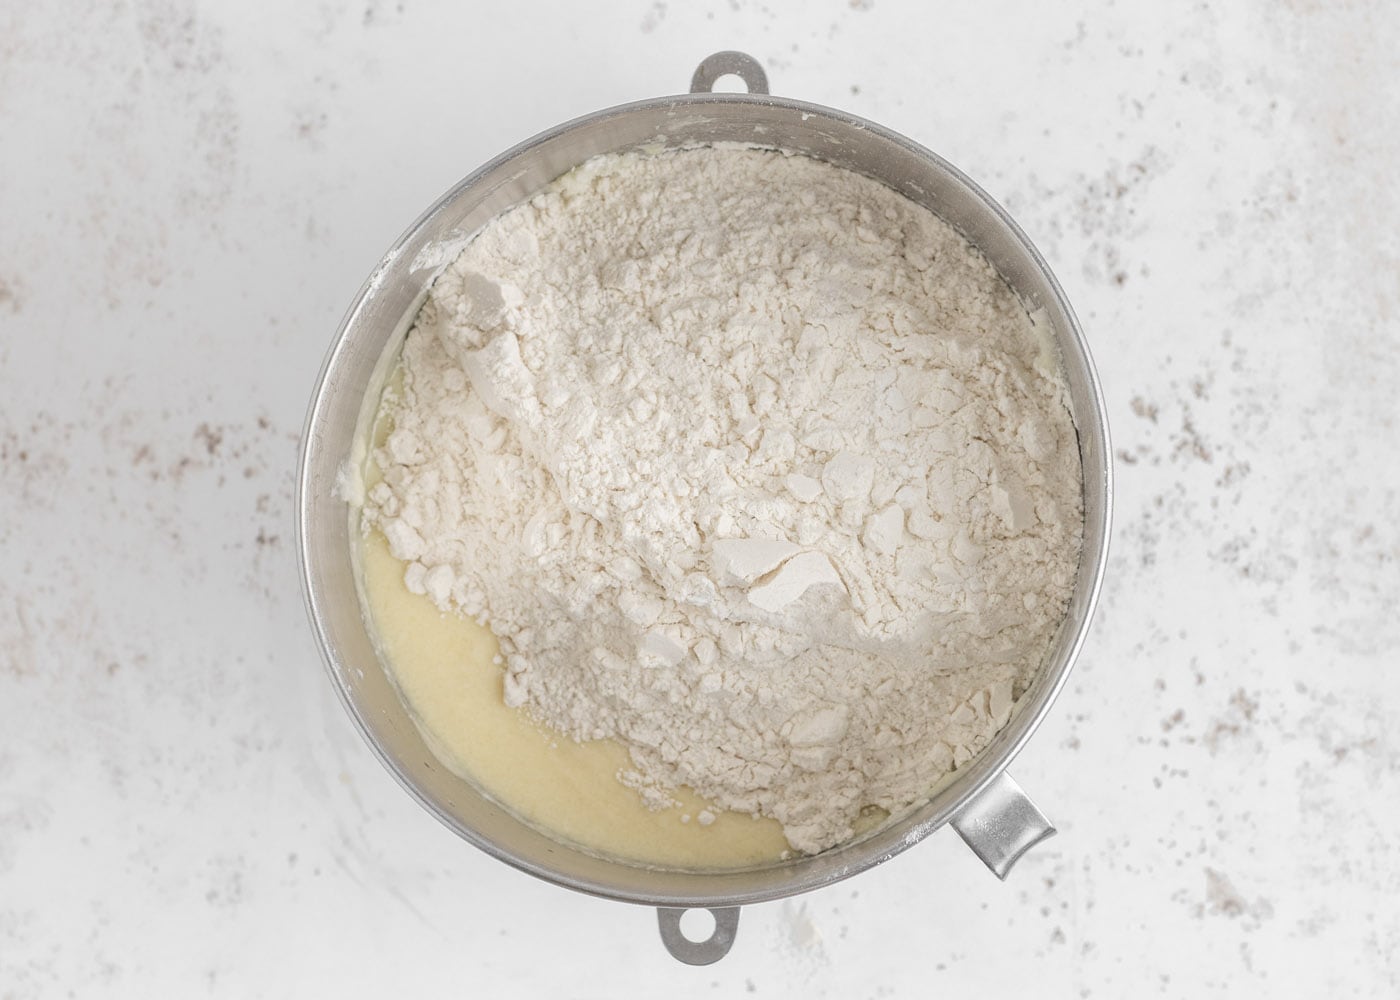
- Add in the flour mixture and mix until just combined.
- Evenly divide the batter between the 3 prepared cake pans.
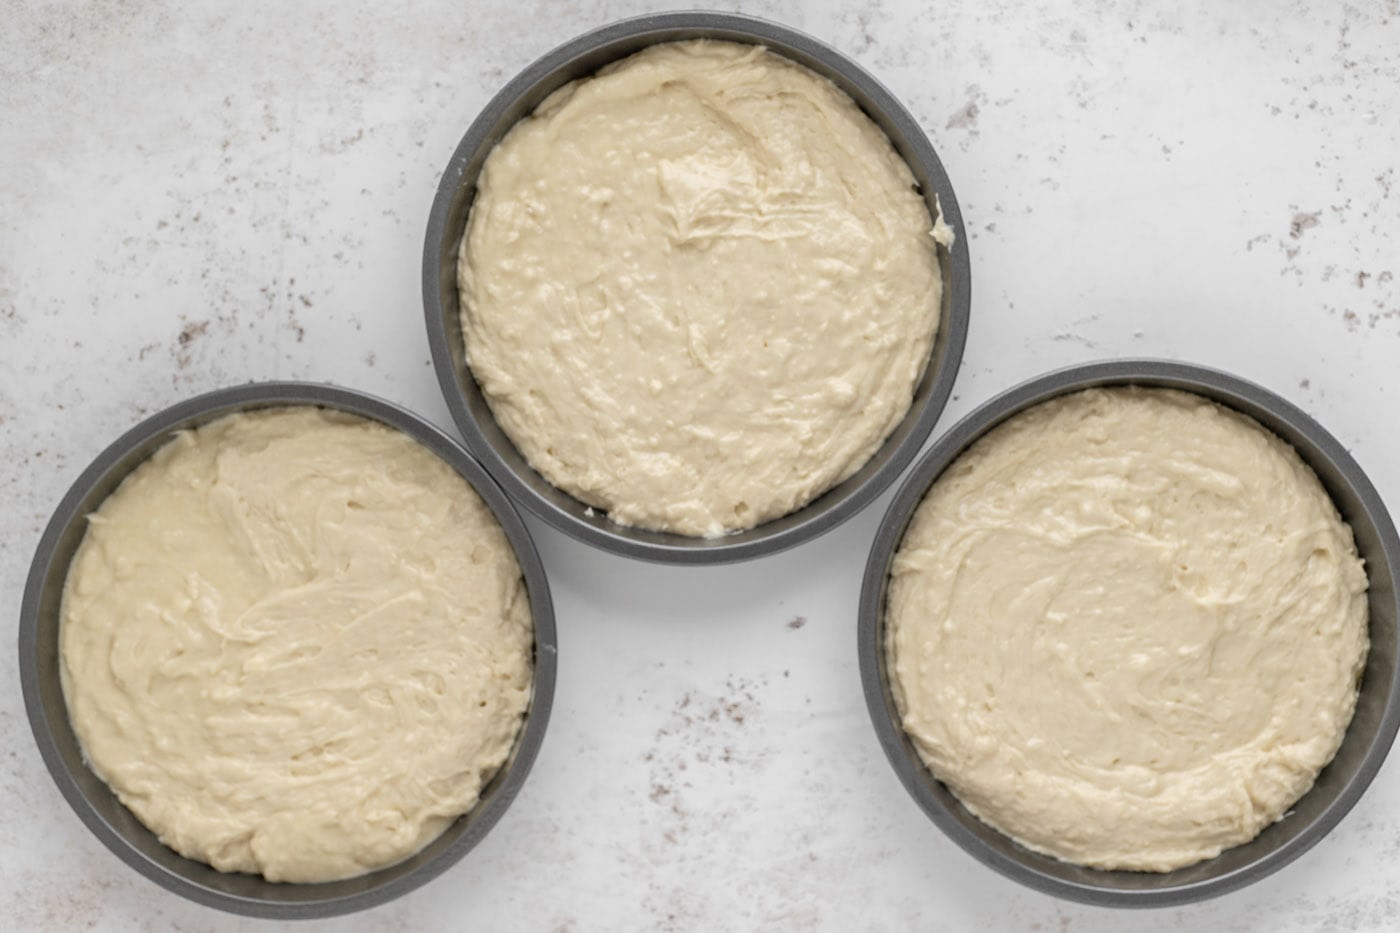
- Place the cake pans into the preheated oven on the center rack. Bake for 45 minutes, until a toothpick inserted into the center of the cakes comes out clean or with a few moist crumbs.
- Once baked, remove from the oven and place onto a wire cooling rack to let them completely cool.
- To make the snowflakes, place the white chocolate chips into a heat safe bowl. Microwave for 30 seconds at a time, stopping in between each segment to stir. This will prevent the chocolate from burning. Once the white chocolate chips are completely melted and smooth, set aside to cool down slightly. Once slightly cooled, transfer the melted chocolate into a plastic baggie.
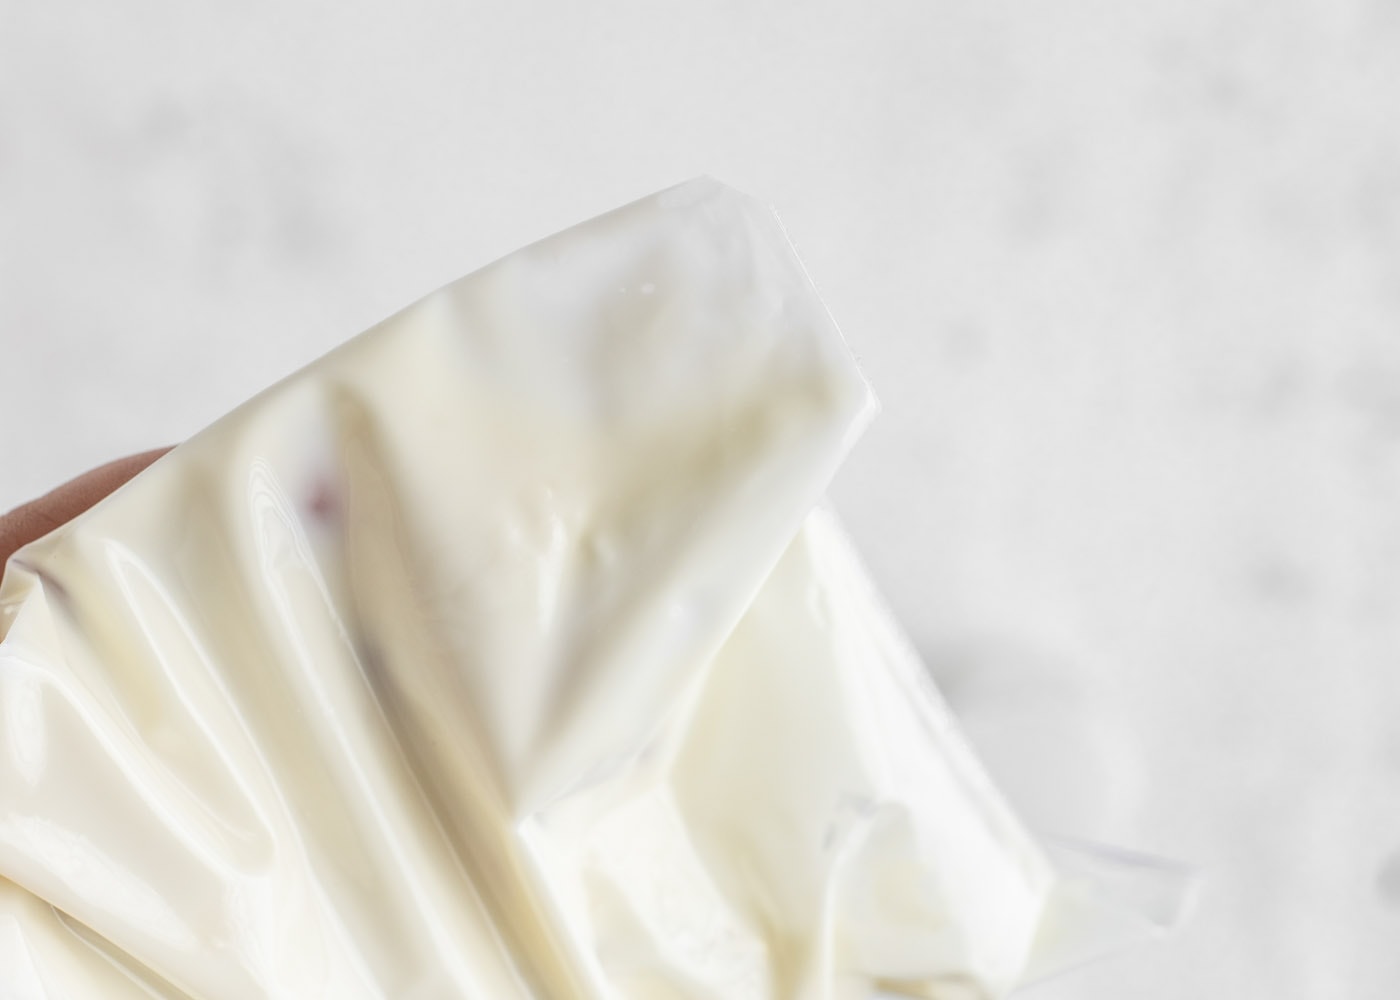
- Place a large piece of parchment paper onto the counter. Snip the edge of the baggie and pipe snowflakes onto the paper. You will want to go over each line/stick twice with the chocolate to make sure they are sturdy enough to stand up once they are set.
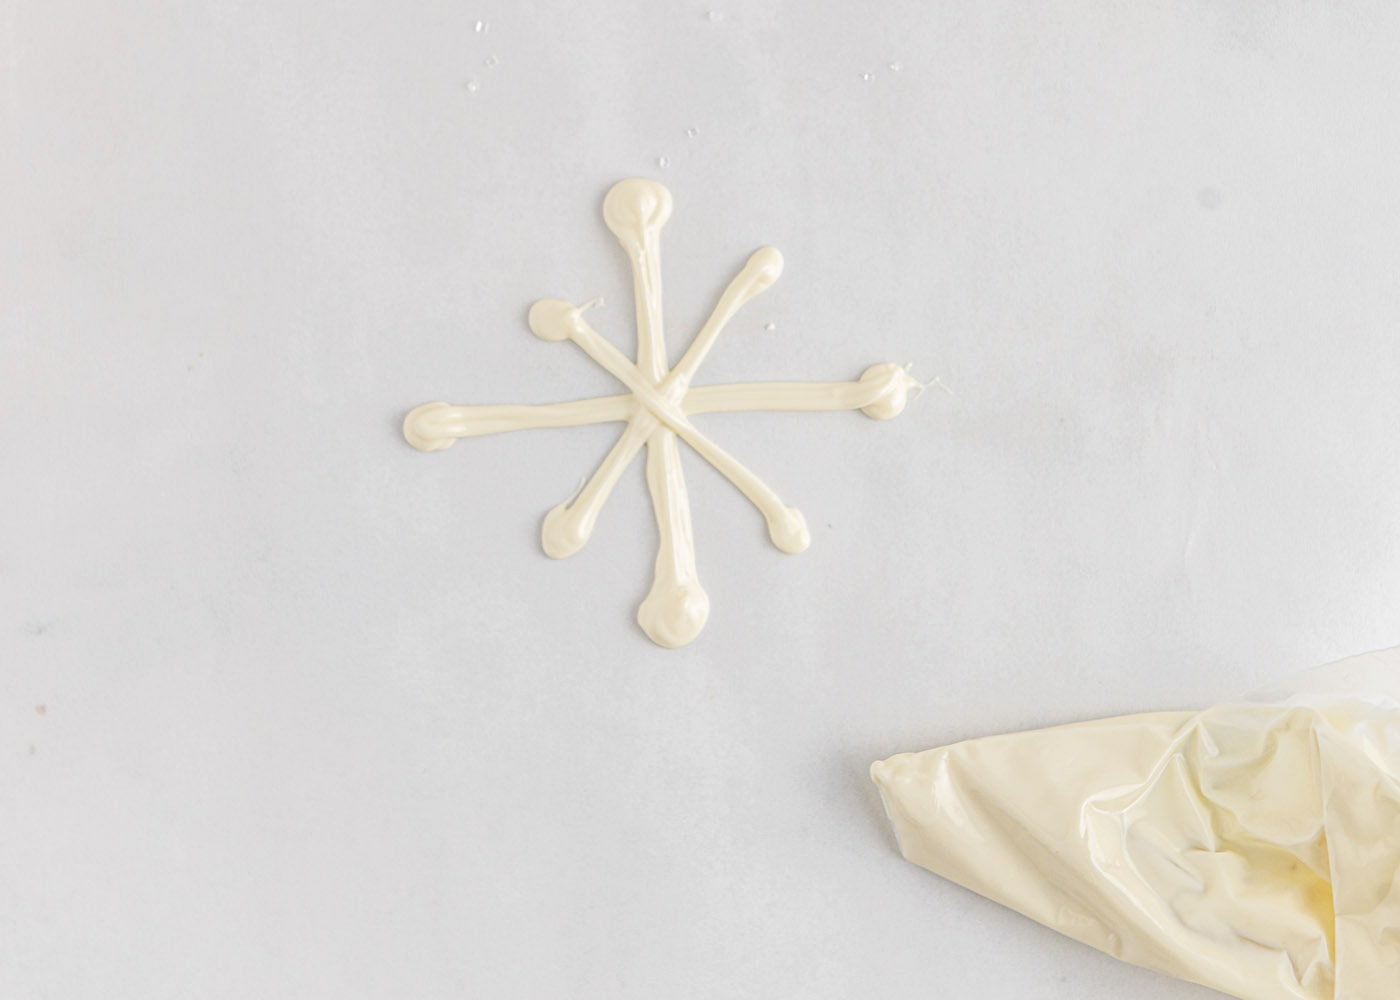
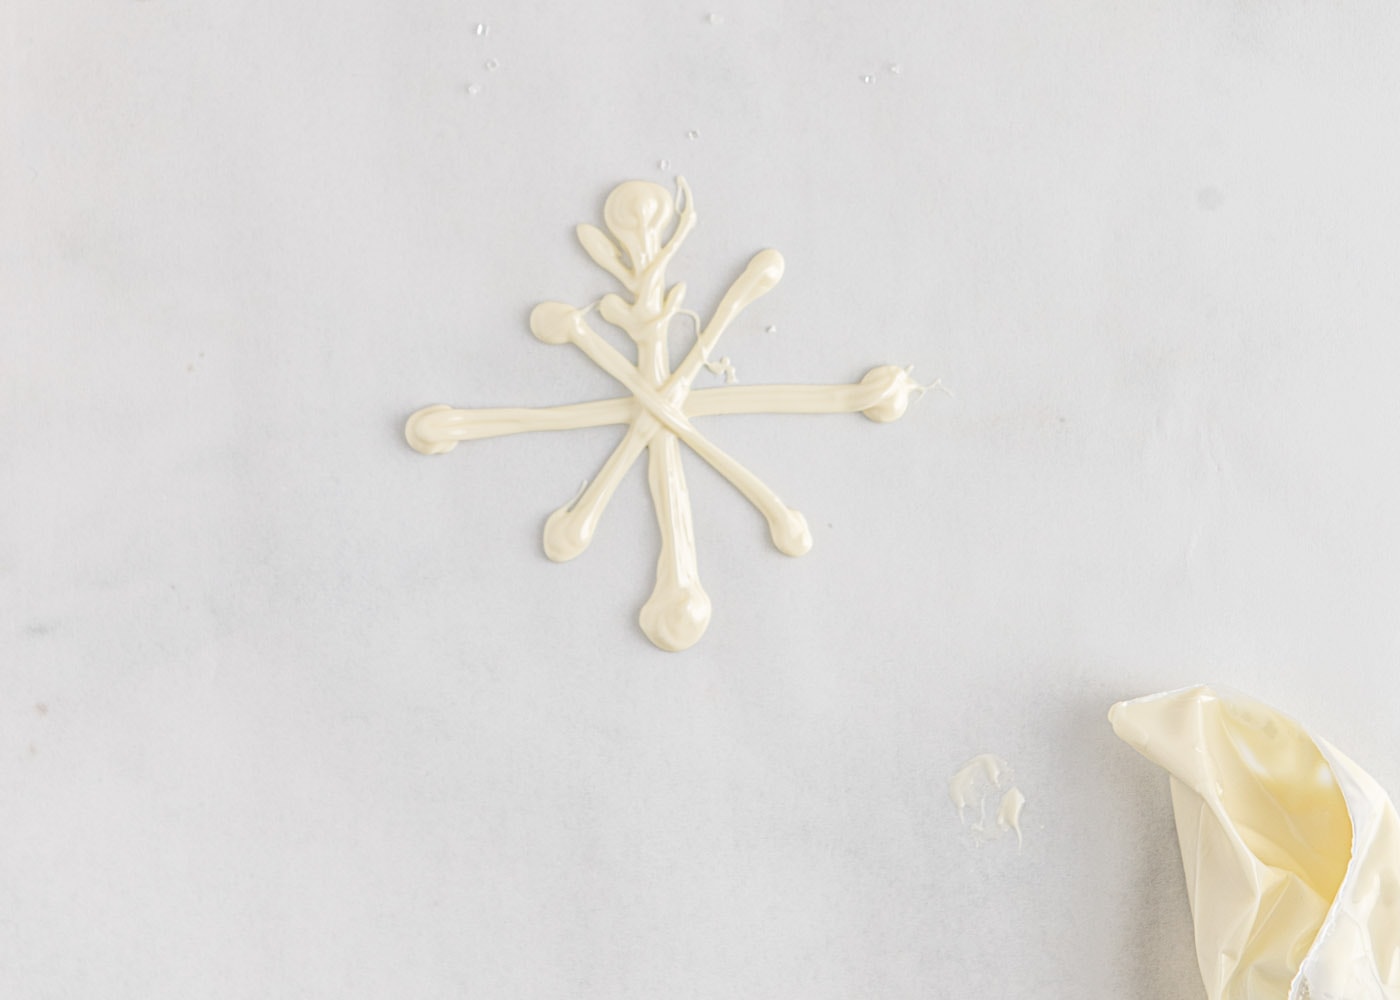
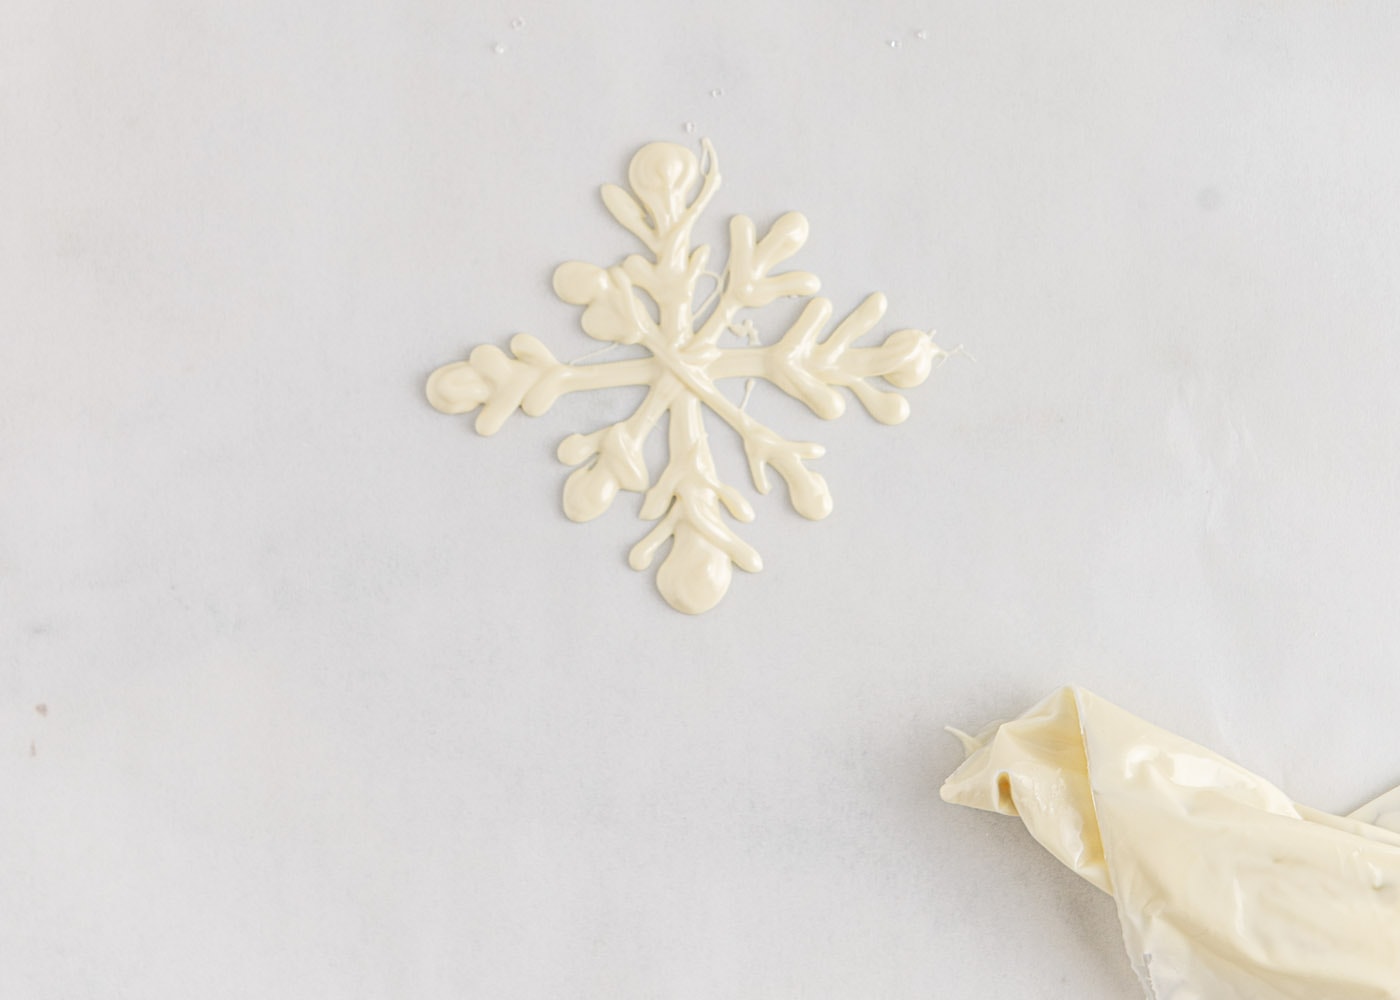
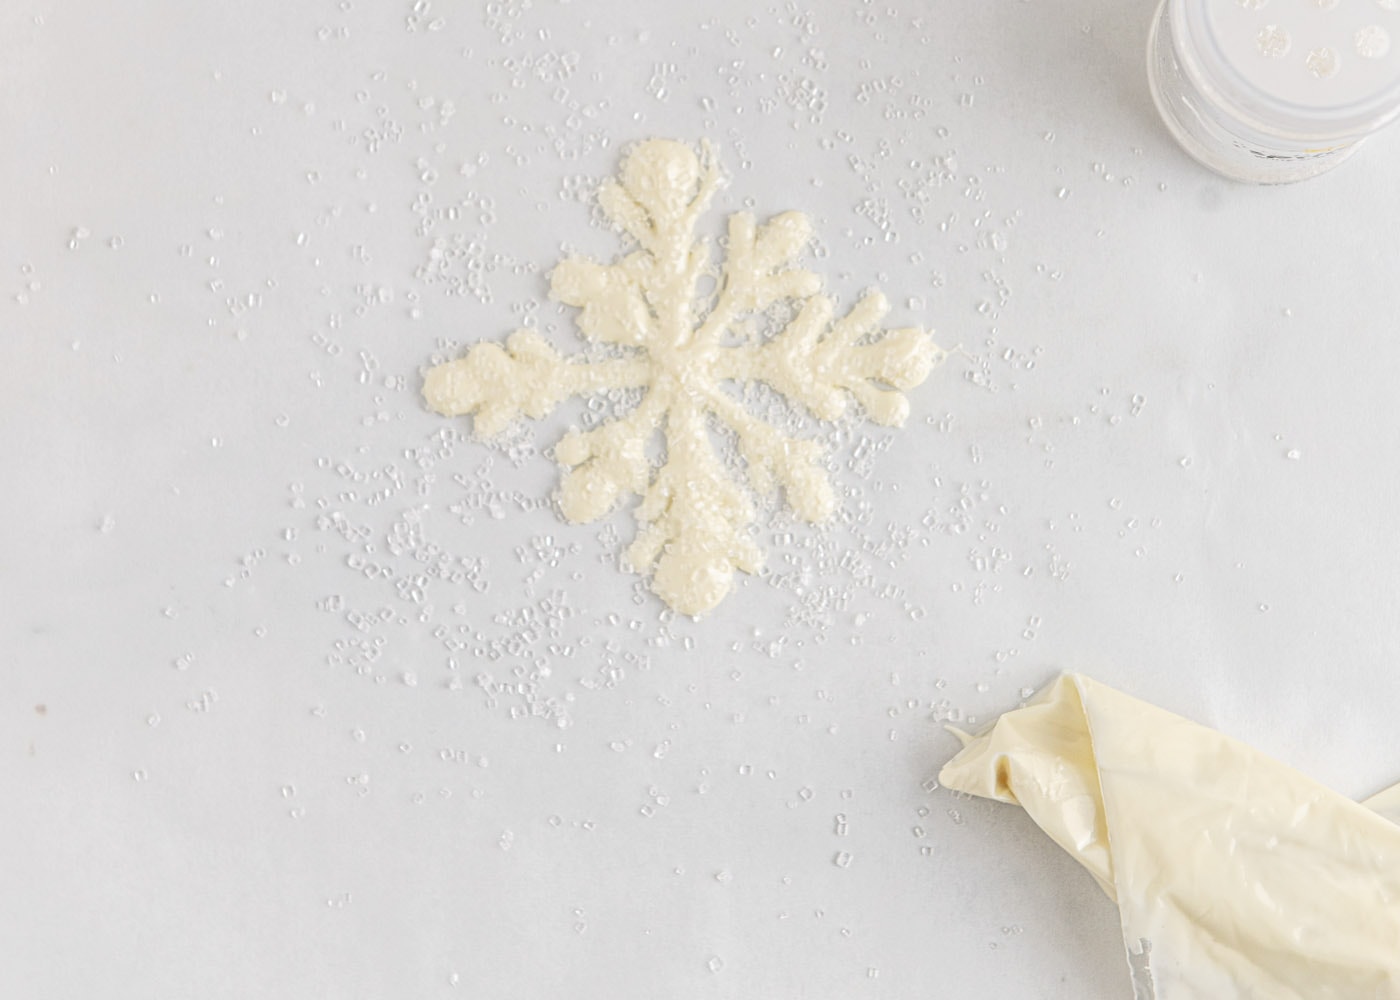
- Space the snowflakes out about 5” apart, making various sizes. Sprinkle sugar crystals over top before the chocolate sets.
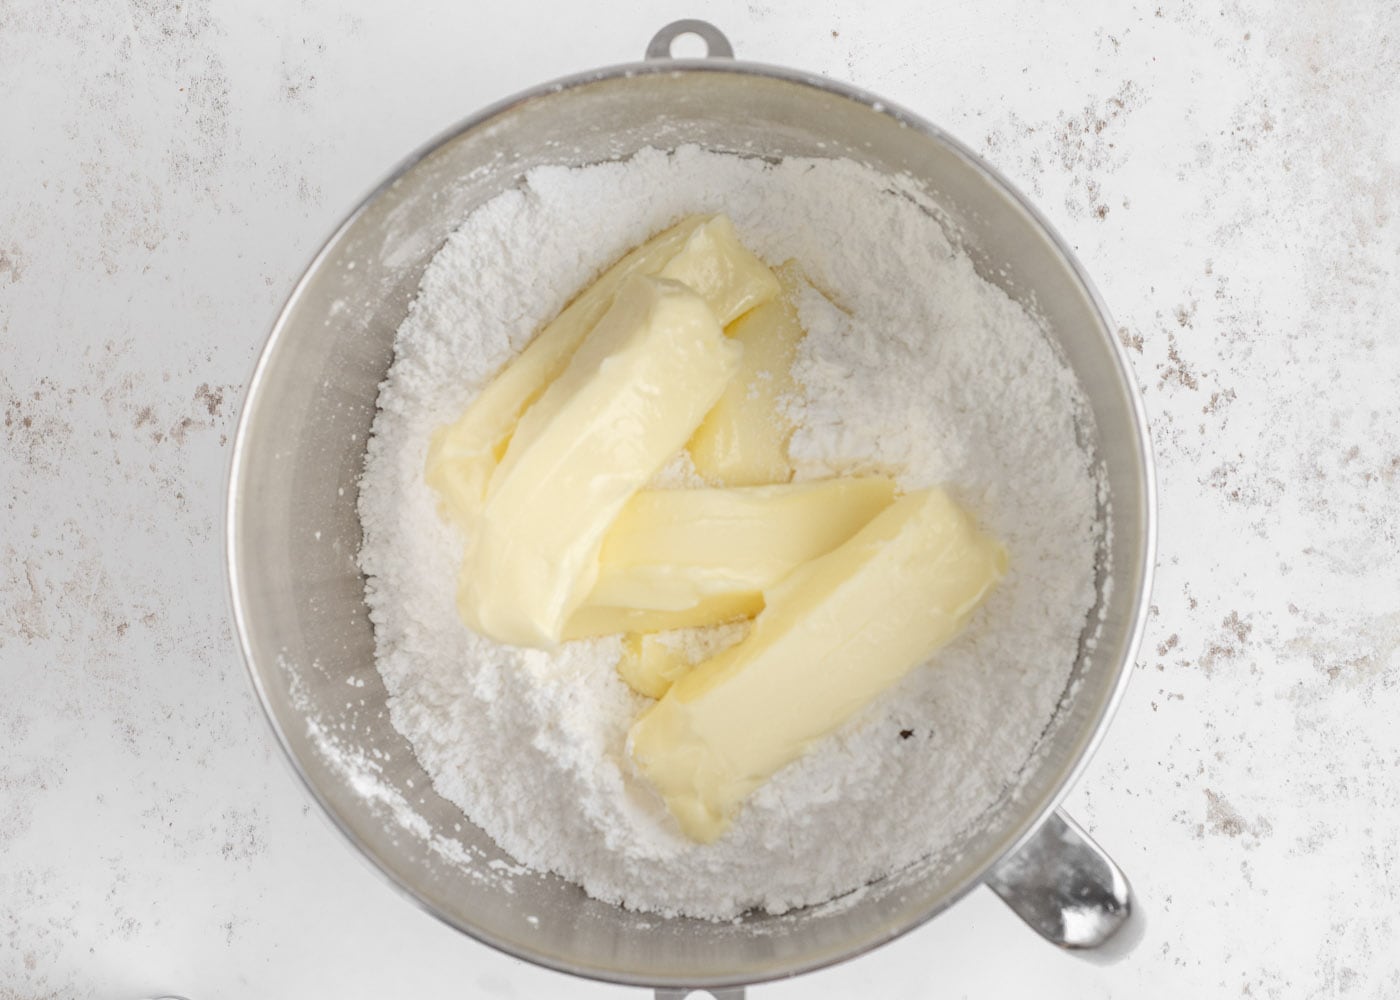
- For the frosting, in the bowl of a stand mixer fitted with paddle attachment combine powdered sugar, butter, vanilla and salt. Mix on low speed until combined.
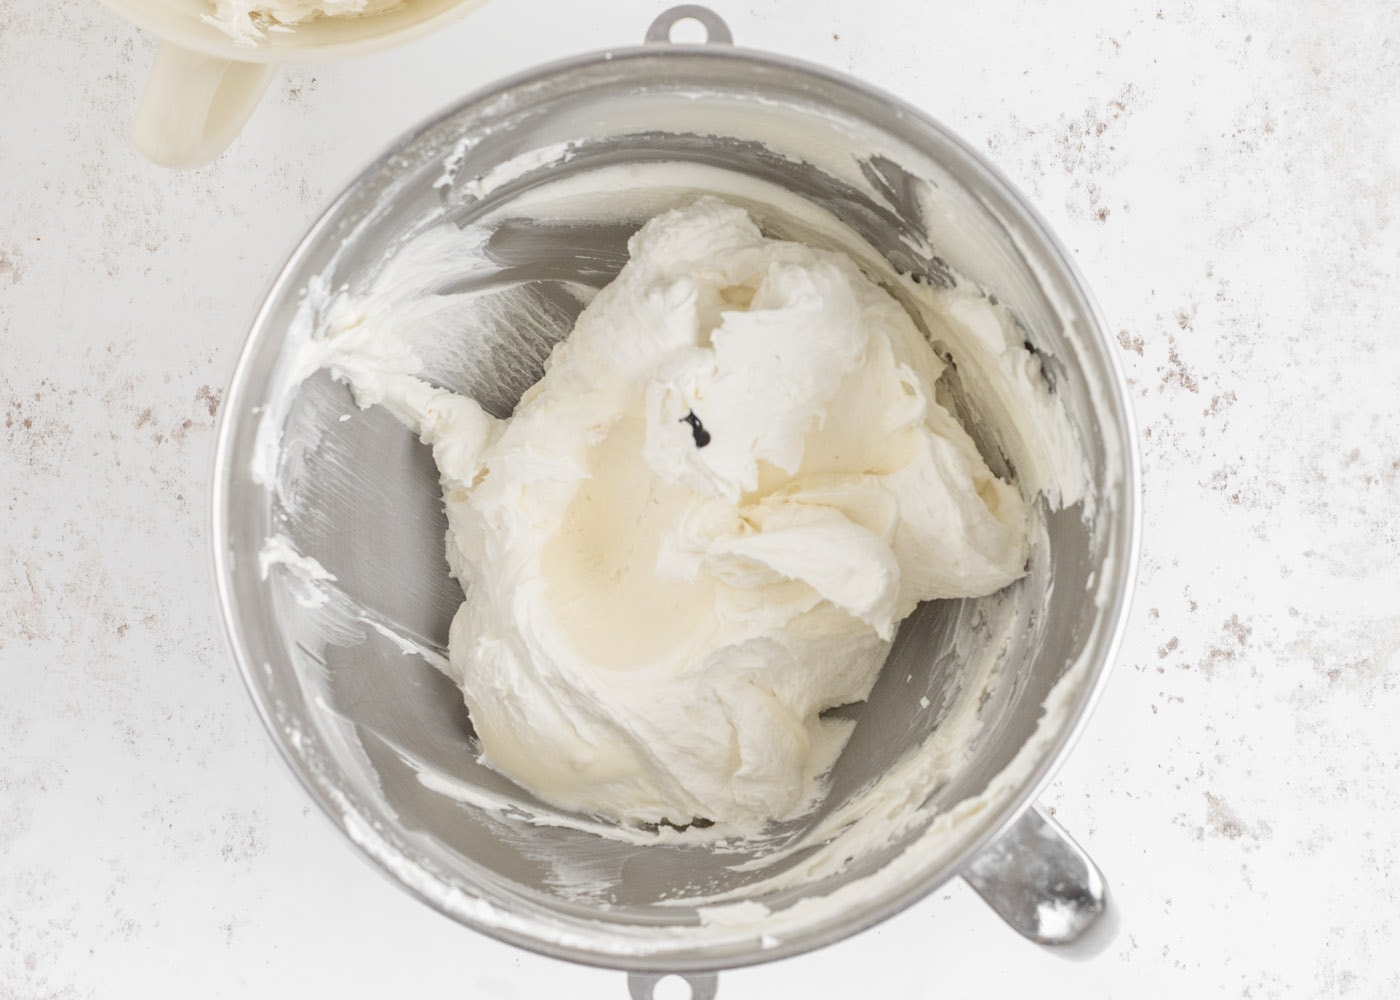
- Once combined, turn the mixer speed up to medium-high and beat for 3 minutes, until white and fluffy. Remove about 1⁄3 of the frosting from the mixing bowl and place it into a separate bowl. This frosting will remain white.
- To the remaining frosting in the stand mixer bowl, add in drops of blue food coloring until the desired color is reached. Mix for 1 additional minute, until the color is incorporated throughout the frosting.
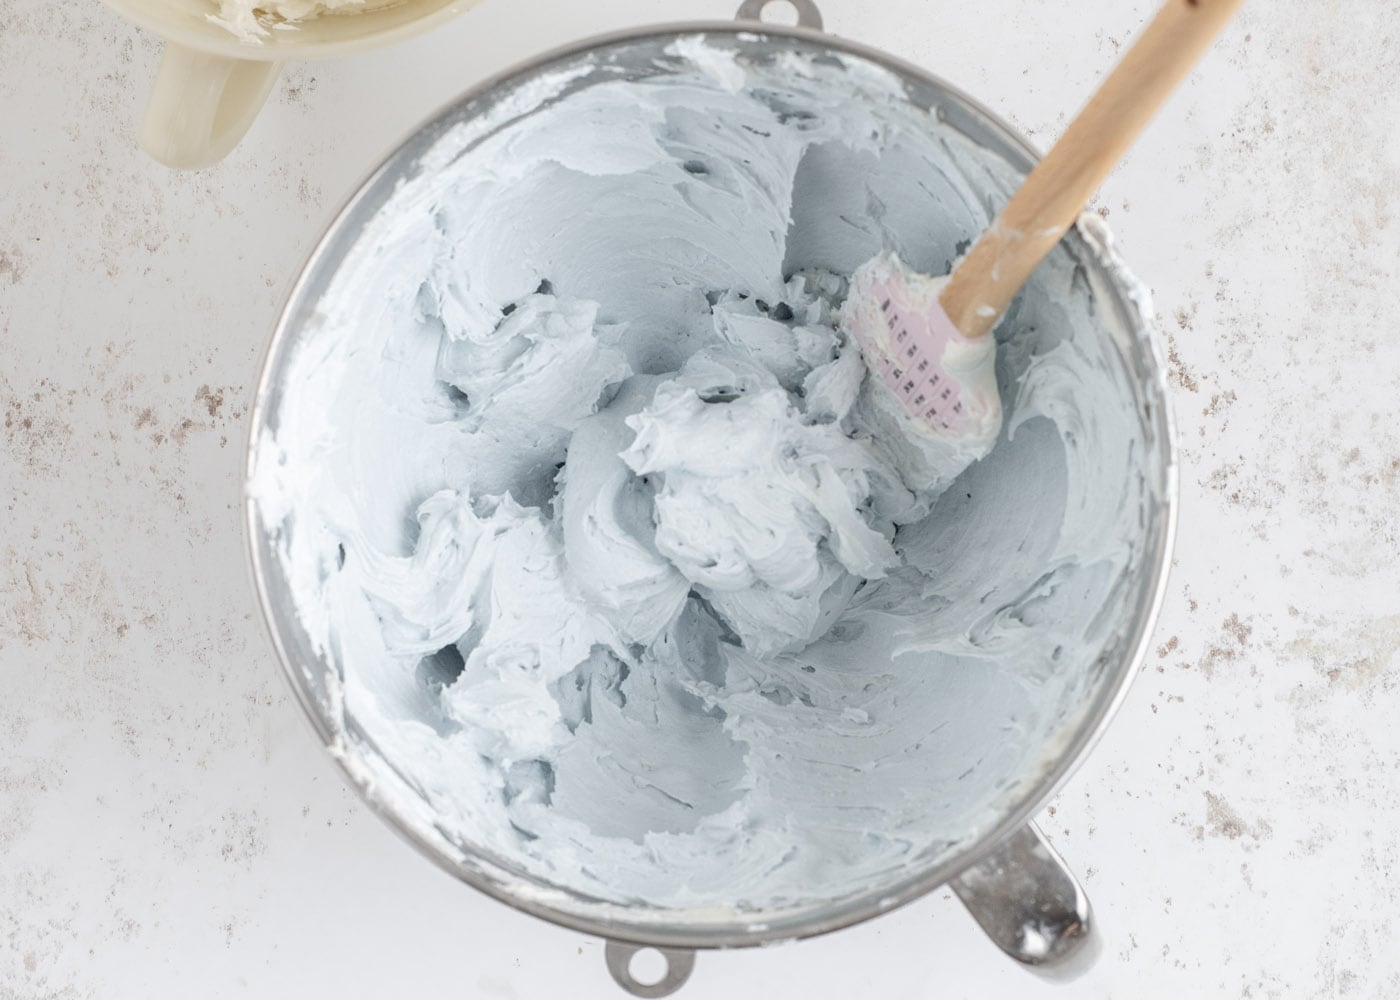
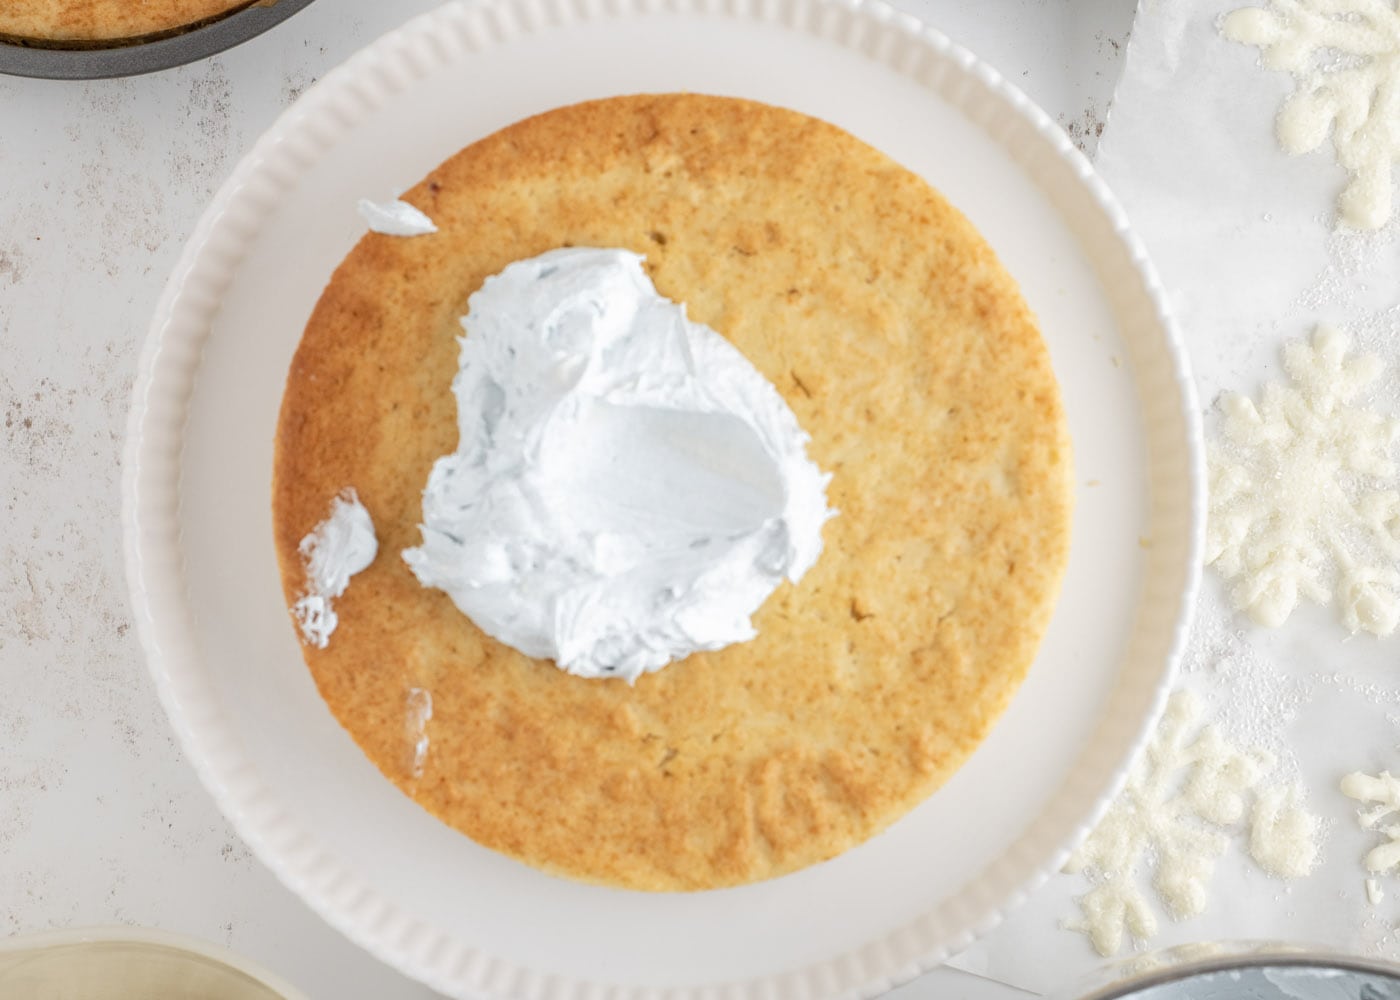
- Once the cakes have completely cooled and the snowflakes have set, carefully remove the cakes from the pans. Place the 1st cake onto a cake stand or plate.
- Add about 1 cup of blue frosting on top, then evenly spread out using an icing spatula.
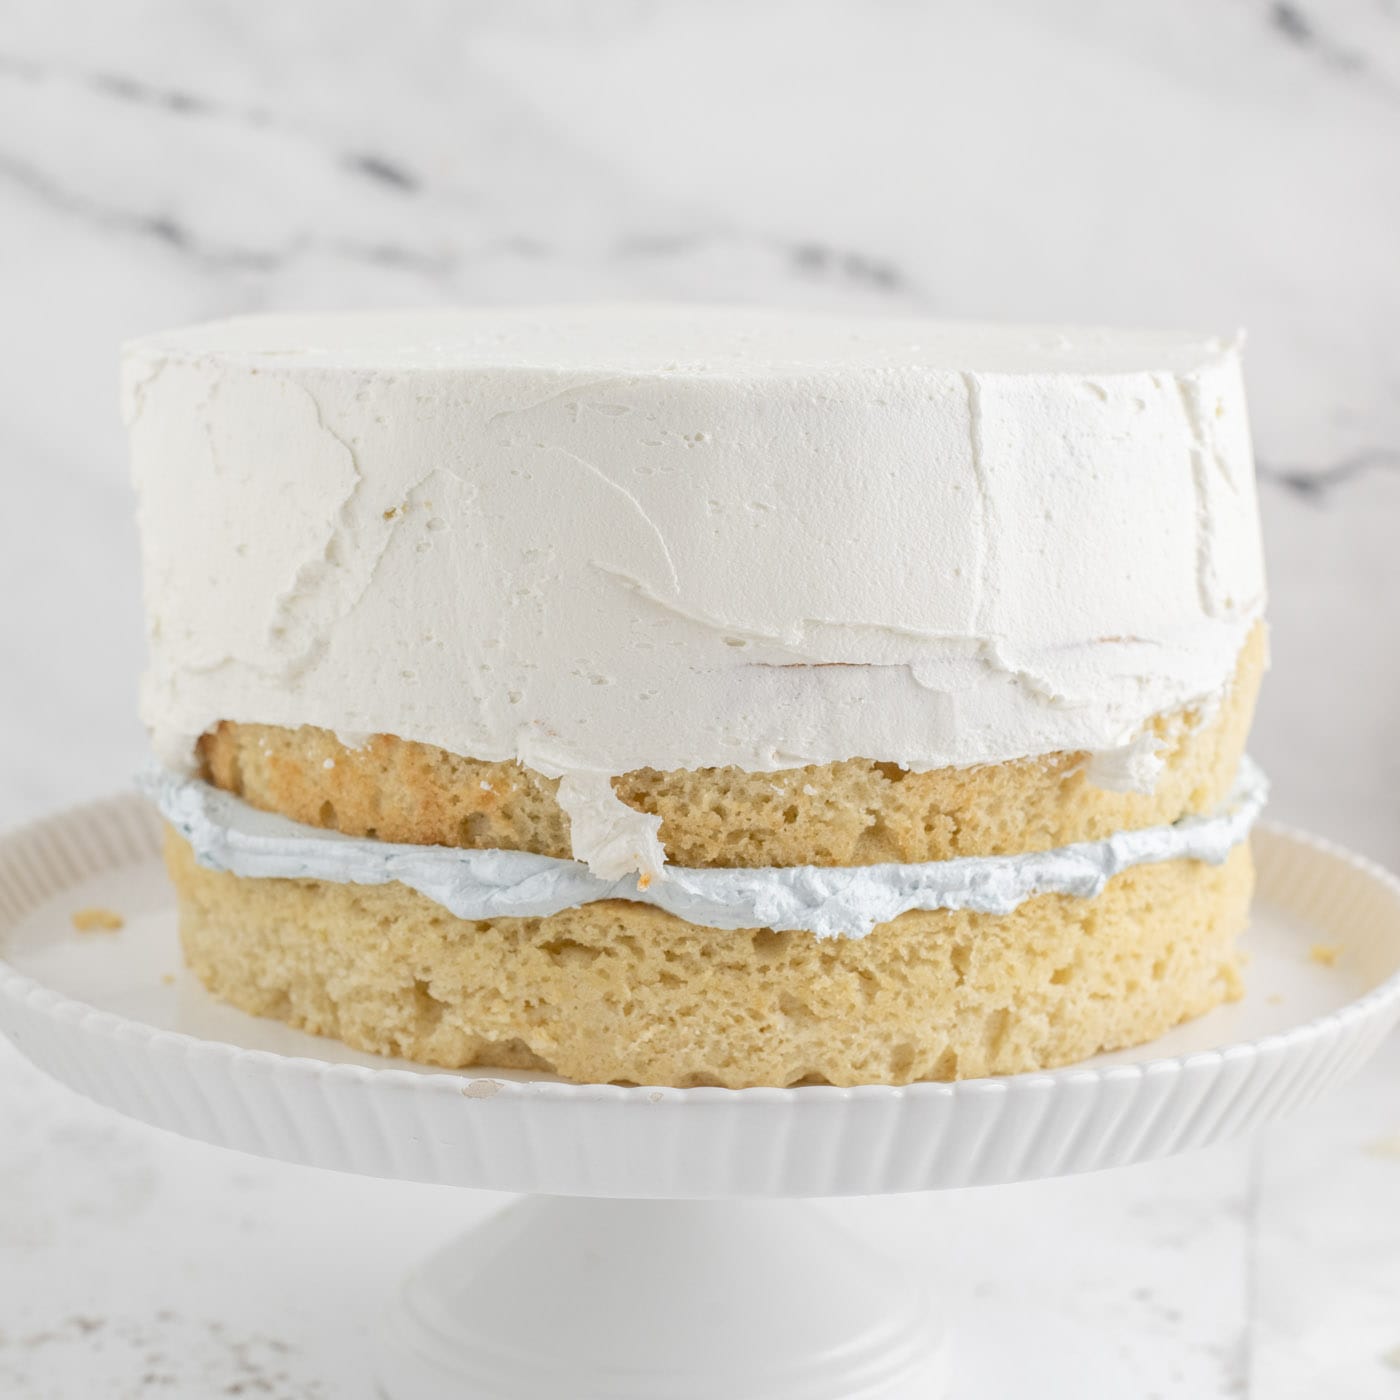
- Place the 2nd cake on top and repeat the frosting process, except using the white frosting this time.
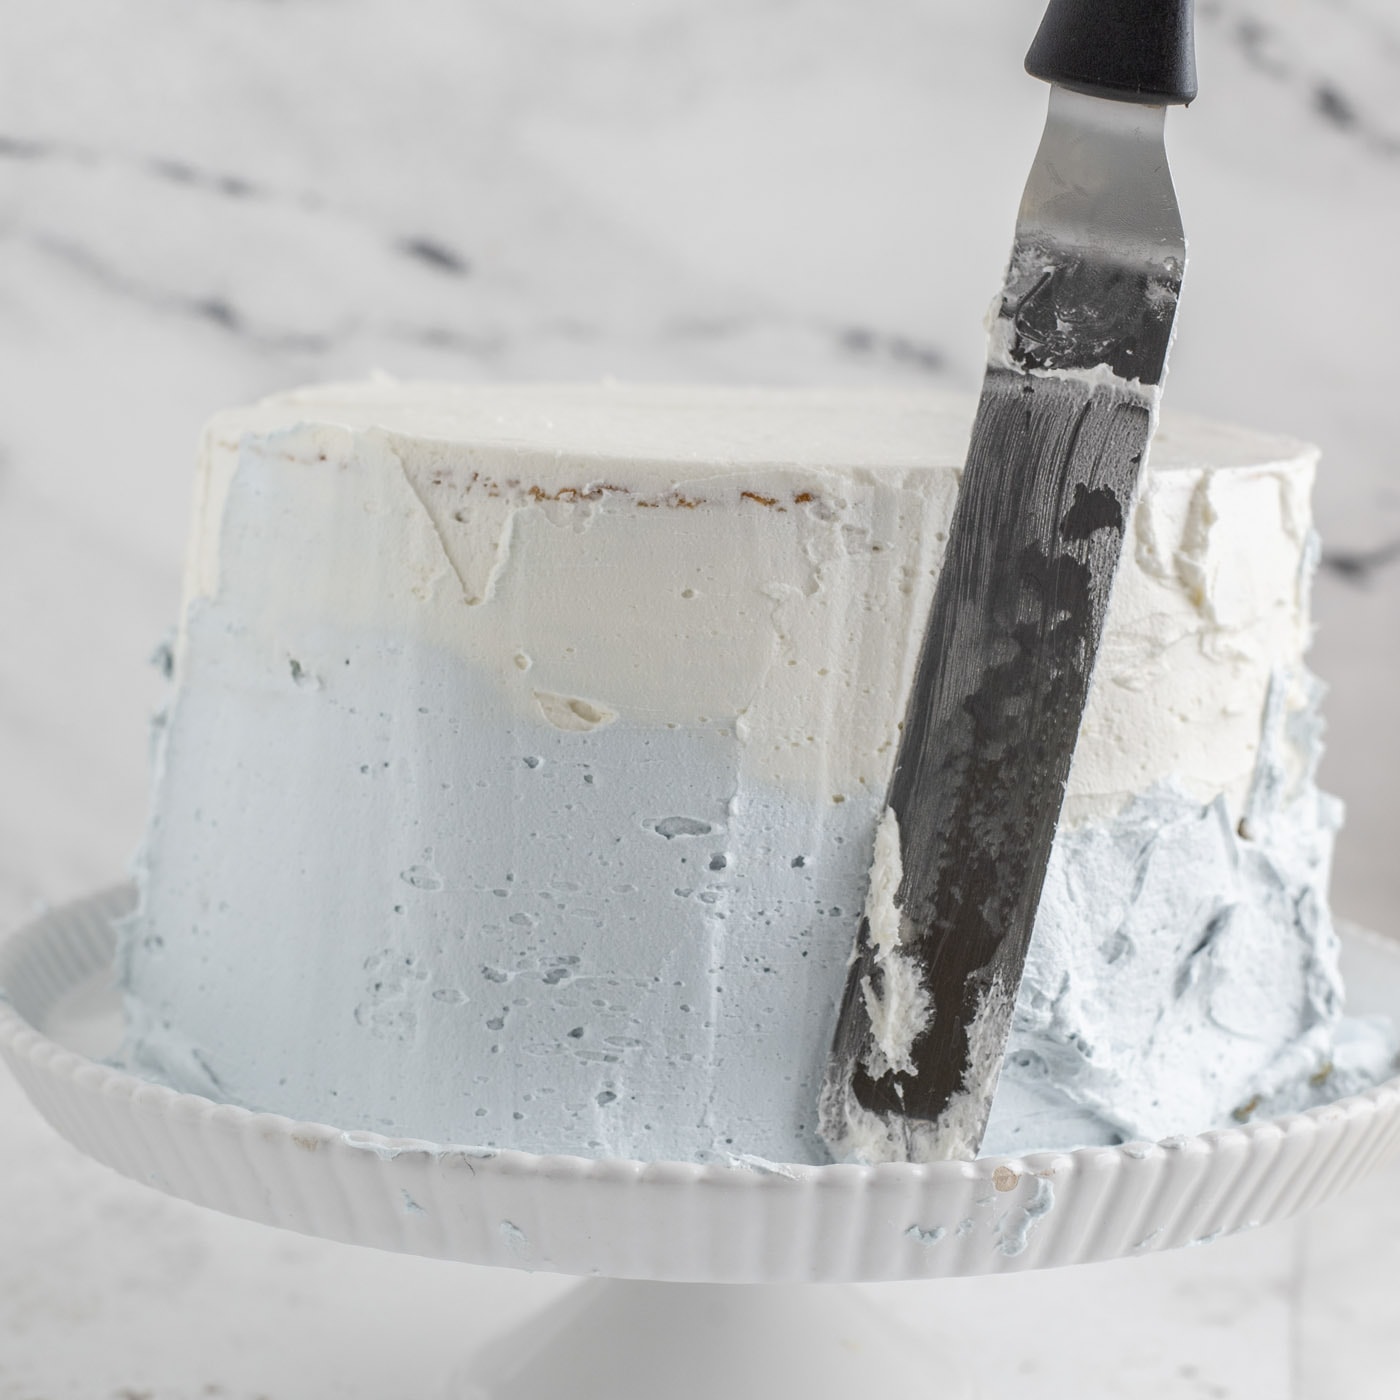
- Top with the 3rd cake layer, then frost the top and upper half of the cake with the white frosting. Use an icing spatula to get a smooth finish.
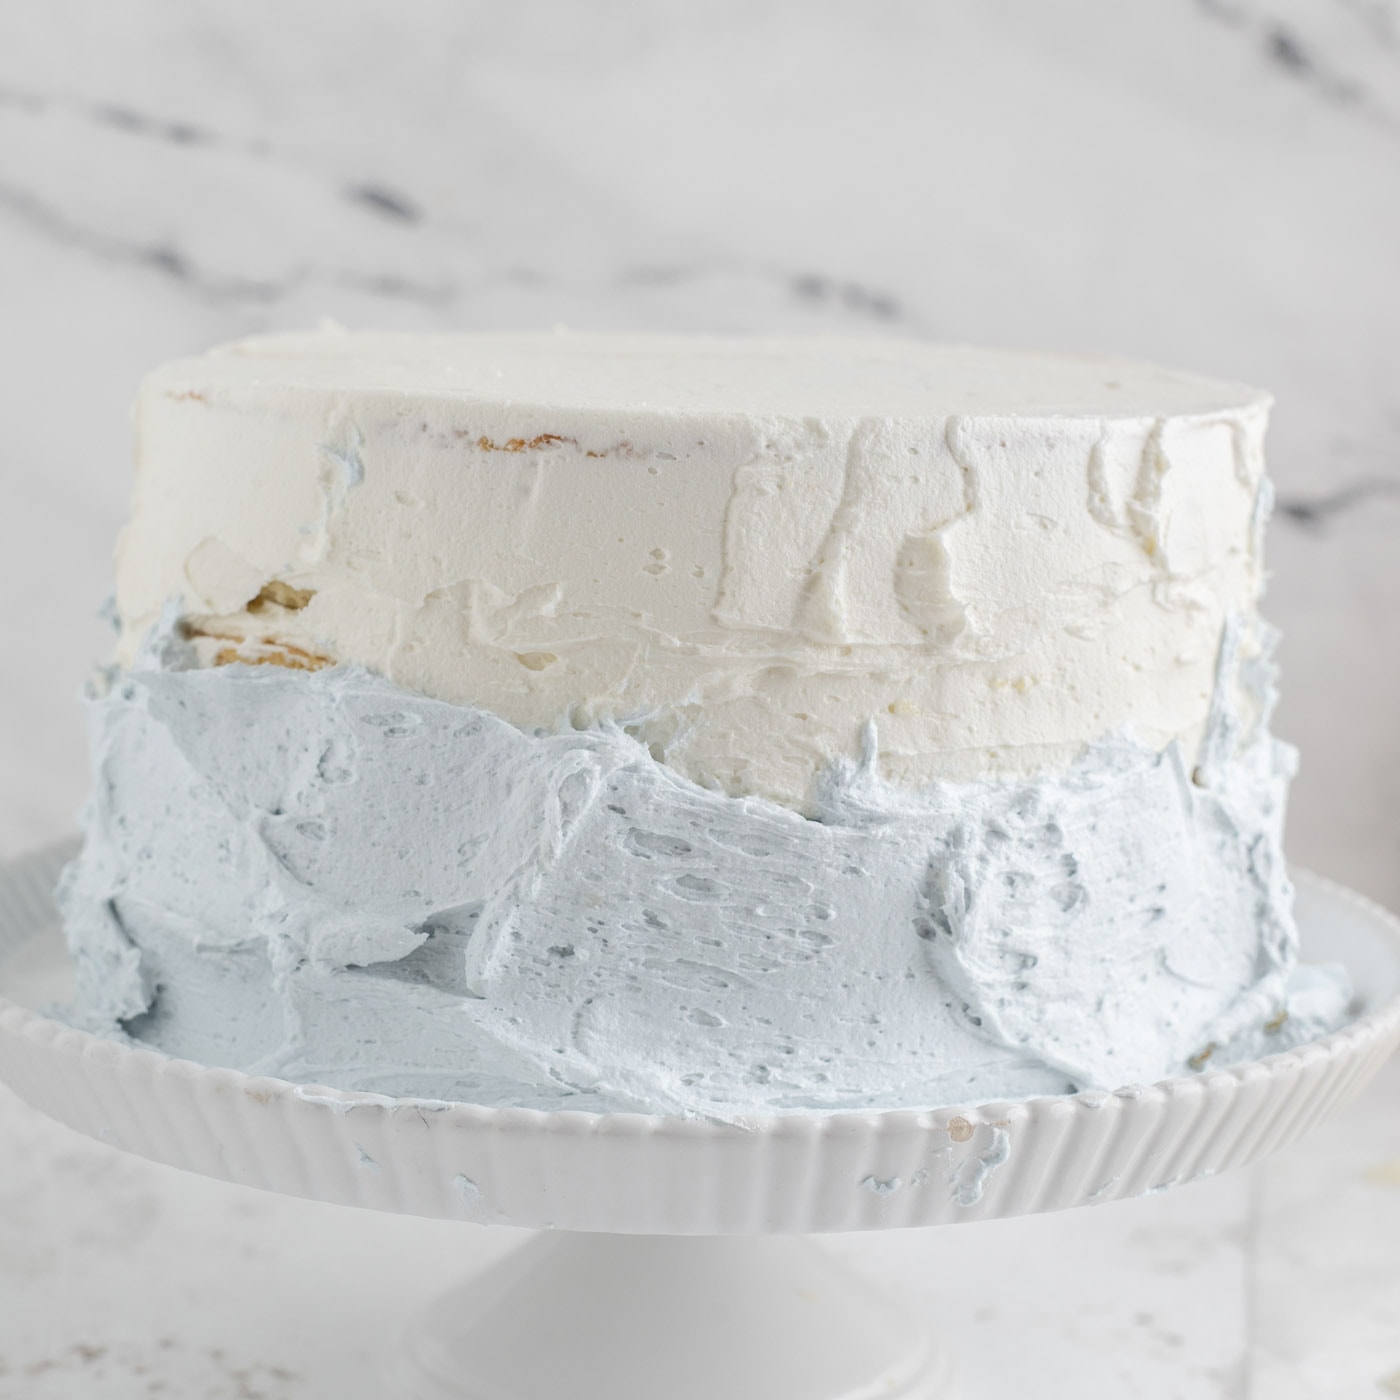
- Frost the bottom half of the cake with the blue frosting blending in with the white on the upper half of the cake. Blend the colors together by pulling the icing spatula around the cake multiple times until smooth and blended. You will need to scrape off the excess frosting from the icing spatula in between rounds and smoothing.
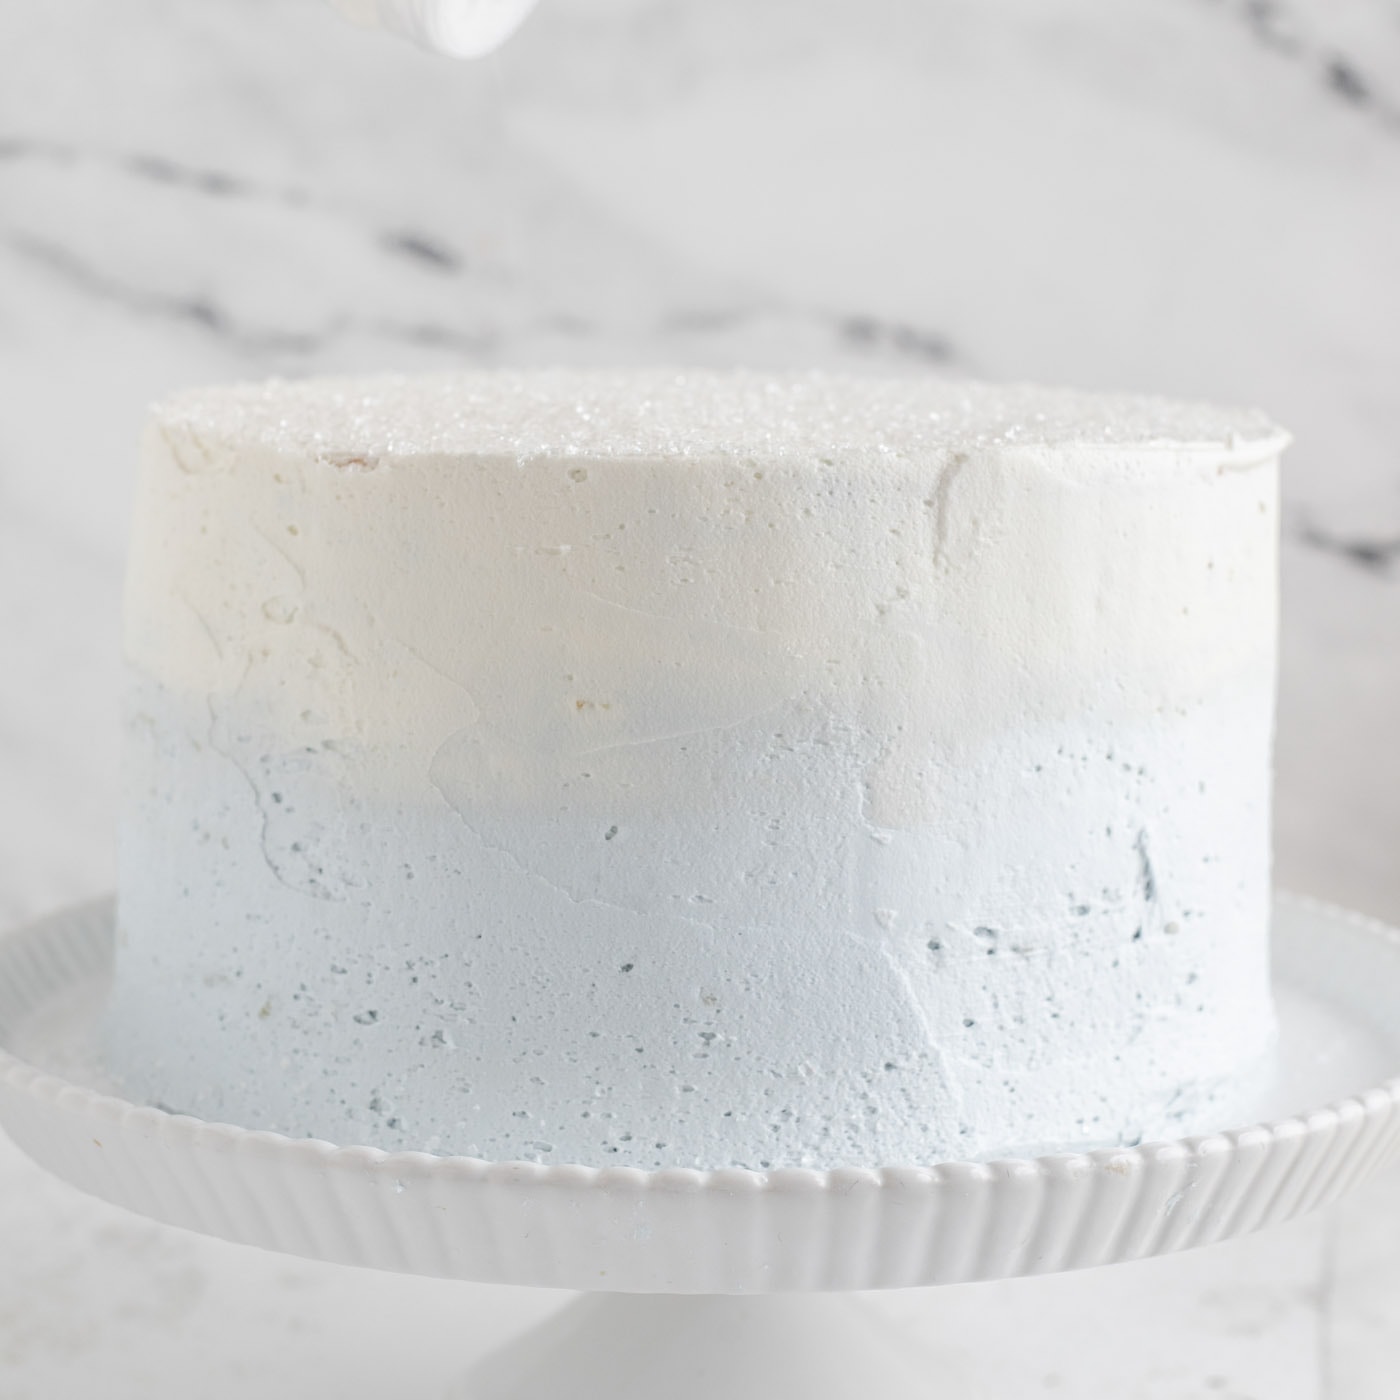
- Once the cake is frosted, sprinkle sugar crystals on top. Gently place the snowflakes around the sides of the cake.
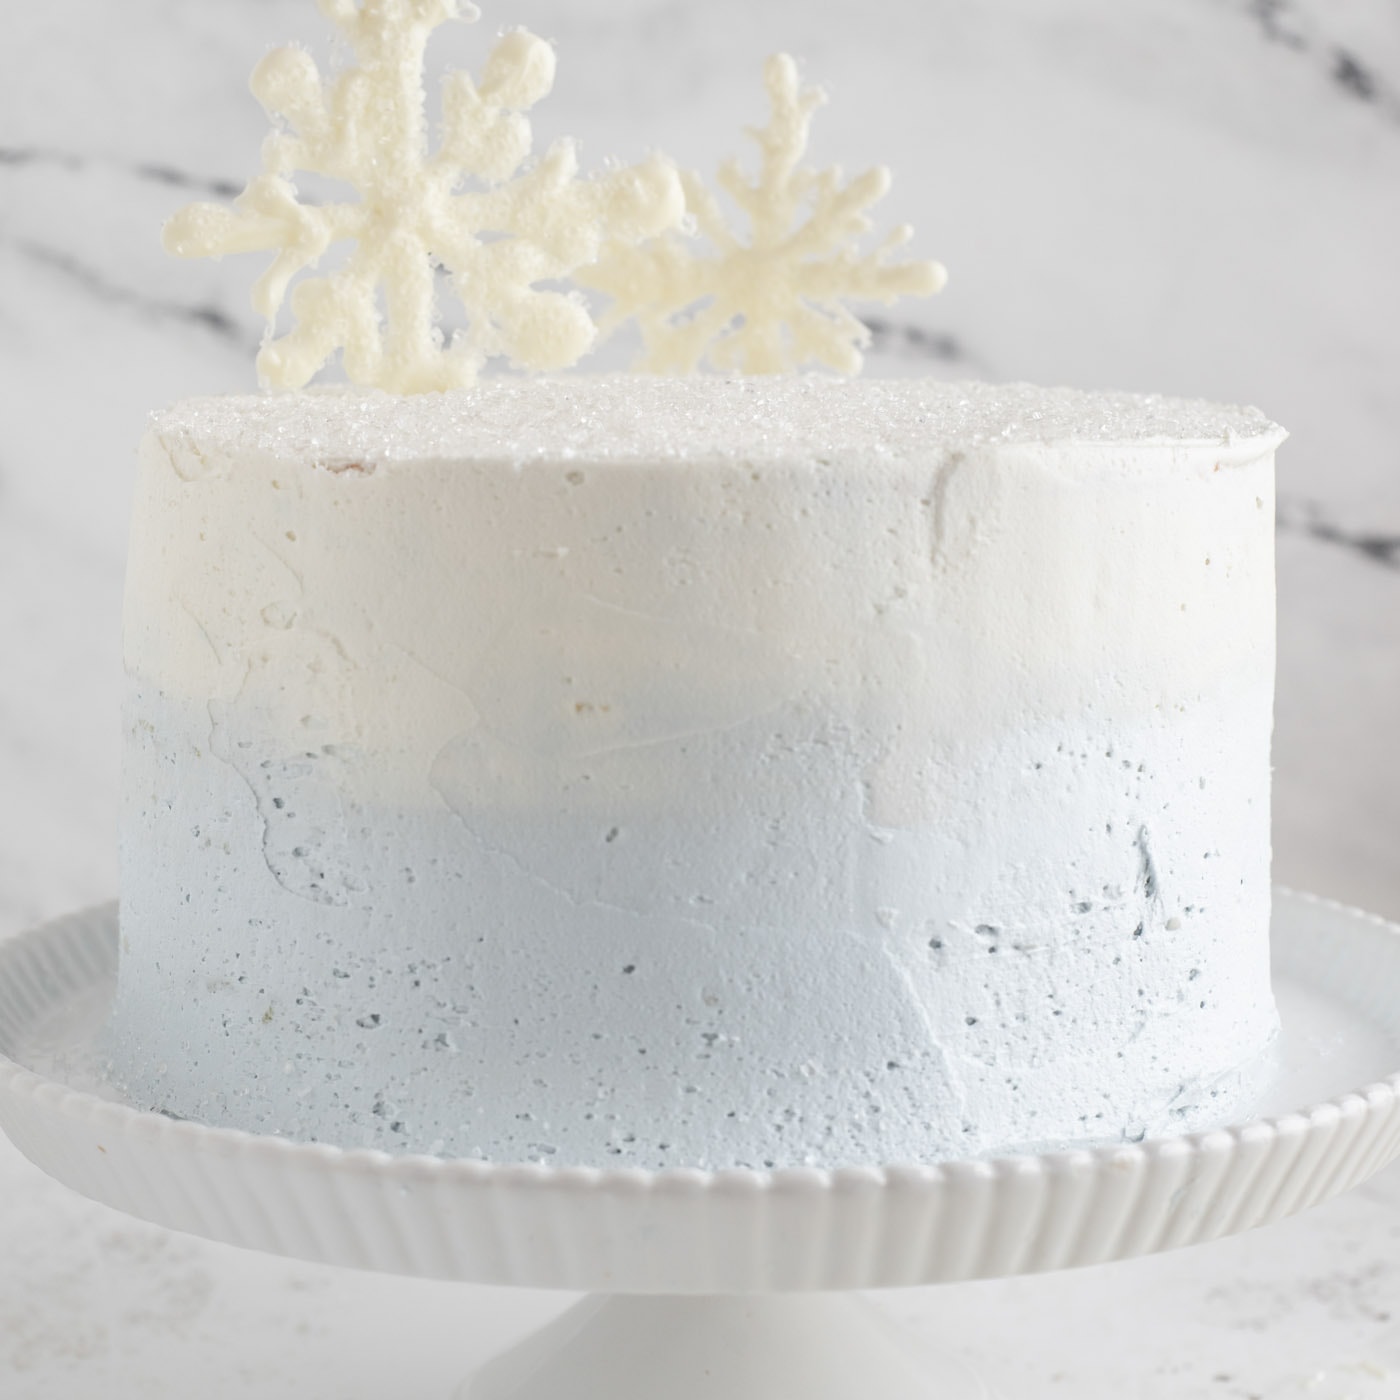
- In order to have snowflakes on top, you will need to make small slits in the top of the cake with a knife, then you will be able to slide a point of the snowflake into the cake to keep it standing. Arrange the snowflakes on top of the cake as desired.
Frequently Asked Questions & Expert Tips
How do I store this snowflake cake?Store in an airtight container for up to 3 days at room temperature. You can prepare this cake a day ahead of time and store it in a cake stand fitted with a lid or a portable cake carrier.
Can I freeze this cake?Yes, you can freeze this cake both frosted and unfrosted. However, I would recommend waiting to make the white chocolate snowflakes as decorations until the day before or day of. Flash freeze your assembled cake (with the frosting) until the frosting is solid to the touch. Then, wrap it with plastic wrap a few times followed by aluminum foil. You can follow the same steps for unfrosted cake layers or simply store them in large ziptop bags in the freezer. Store for up to 3 months. The same goes for slices of cake.
Serving Suggestions
Both the ombre frosting and the white chocolate snowflakes are optional in this recipe. Feel free to use your favorite frosting recipe in its place or decorate as you see fit. You can also leave the frosting plain white or color the entire batch blue as desired.
More Cake Recipes
I love to bake and cook and share my kitchen experience with all of you! Remembering to come back each day can be tough, that’s why I offer a convenient newsletter every time a new recipe posts. Simply subscribe and start receiving your free daily recipes!
More recipes to try
Eight more recipes from the kitchen.

Taco Empanadas
Easy cheesy taco empanadas are quick to make with 4 simple ingredients…
Baked Macaroni and Cheese
Homemade baked macaroni and cheese is pure comfort food, just like…
Homemade Chicken Stock
This rich homemade chicken stock is the perfect base for soups and…
Vanilla Cupcakes
With an irresistibly fluffy texture and pillowy-soft crumb, this will…
Strawberry Cake
Skip the cake mix and make this pretty-in-pink strawberry cake with…
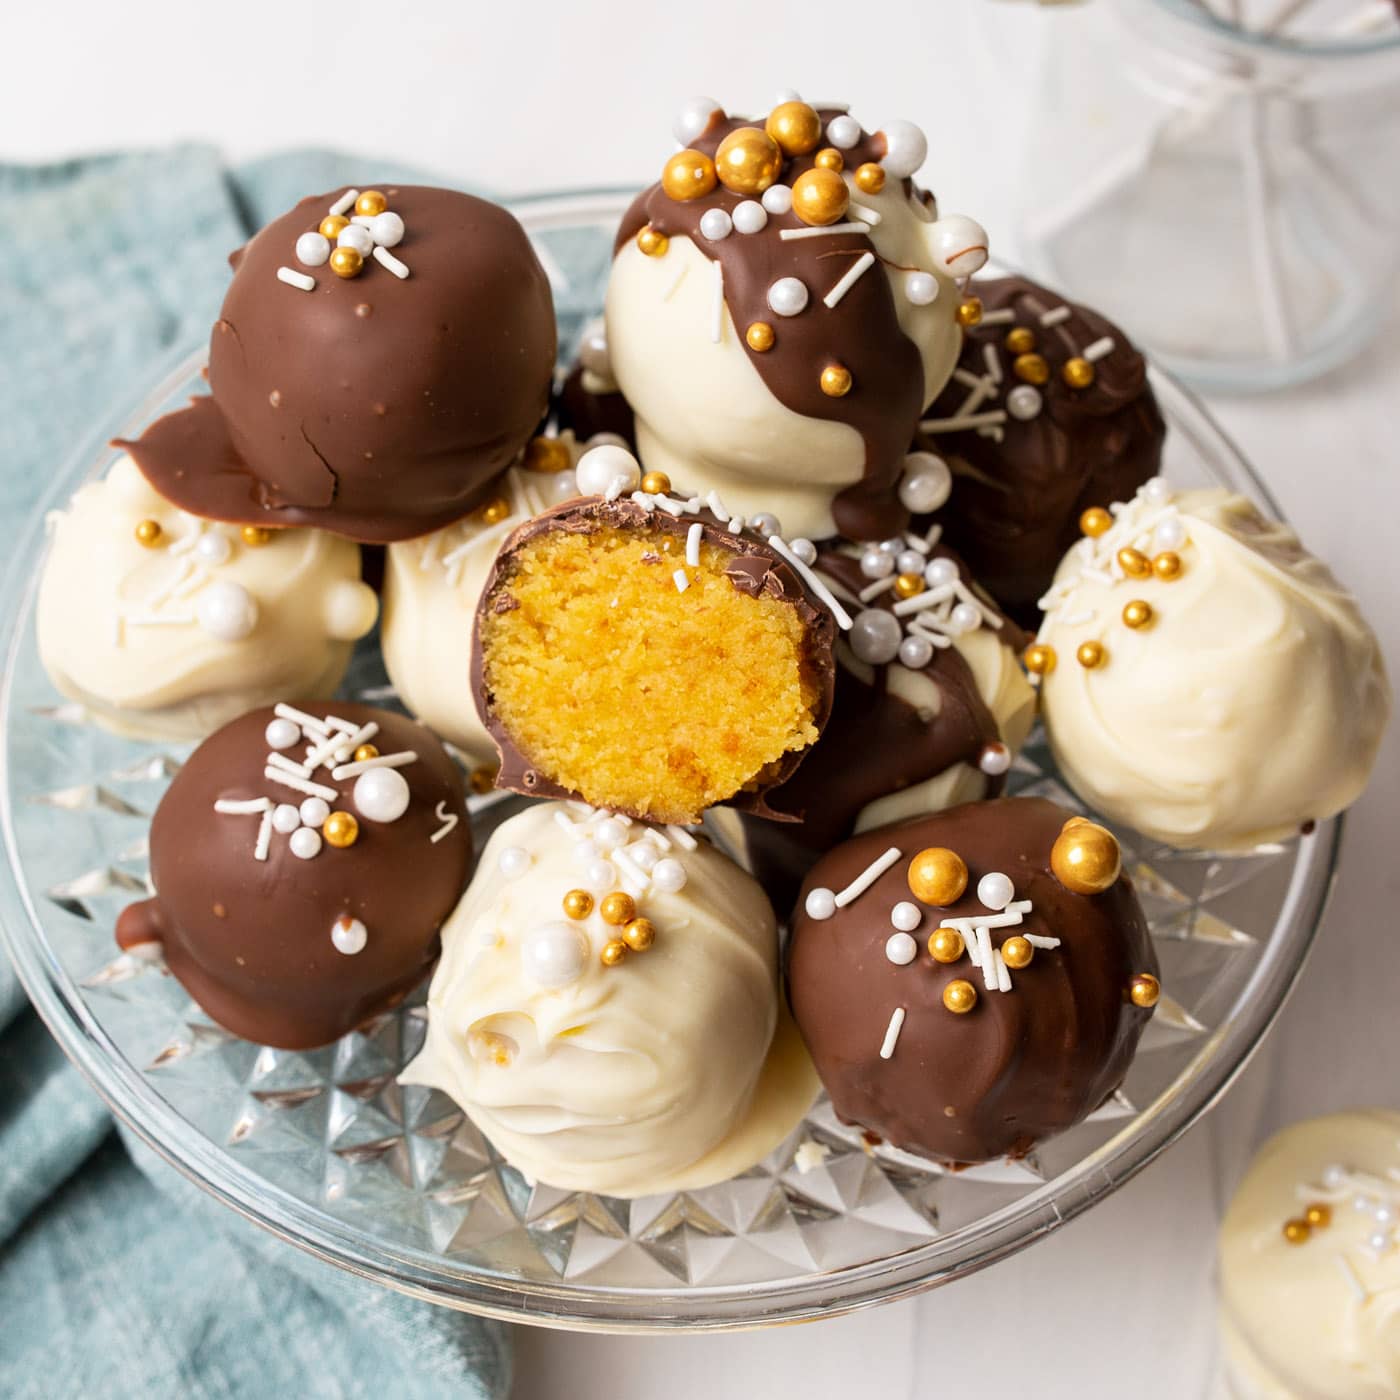
Cake Balls
Crumbled cake mixed with frosting and dipped in candy coating make…
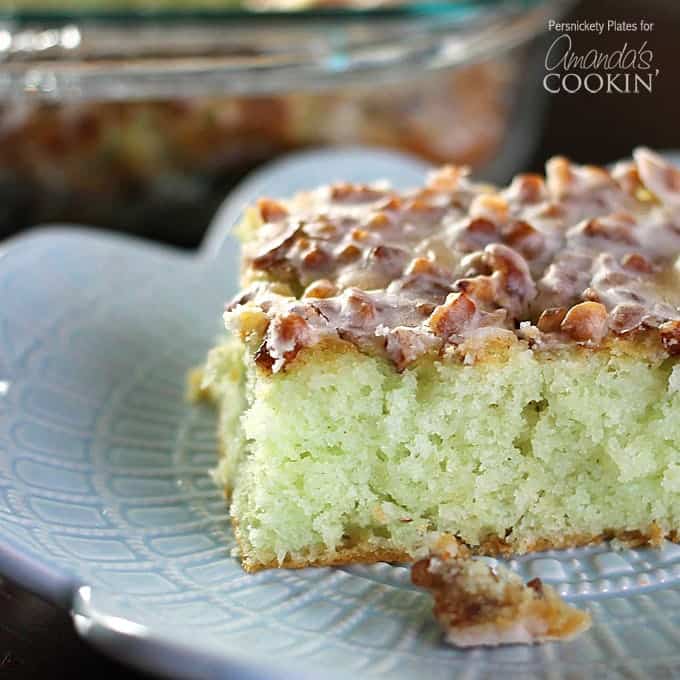
Pistachio Poke Cake
This pistachio poke cake starts with a cake mix so it’s super easy and…
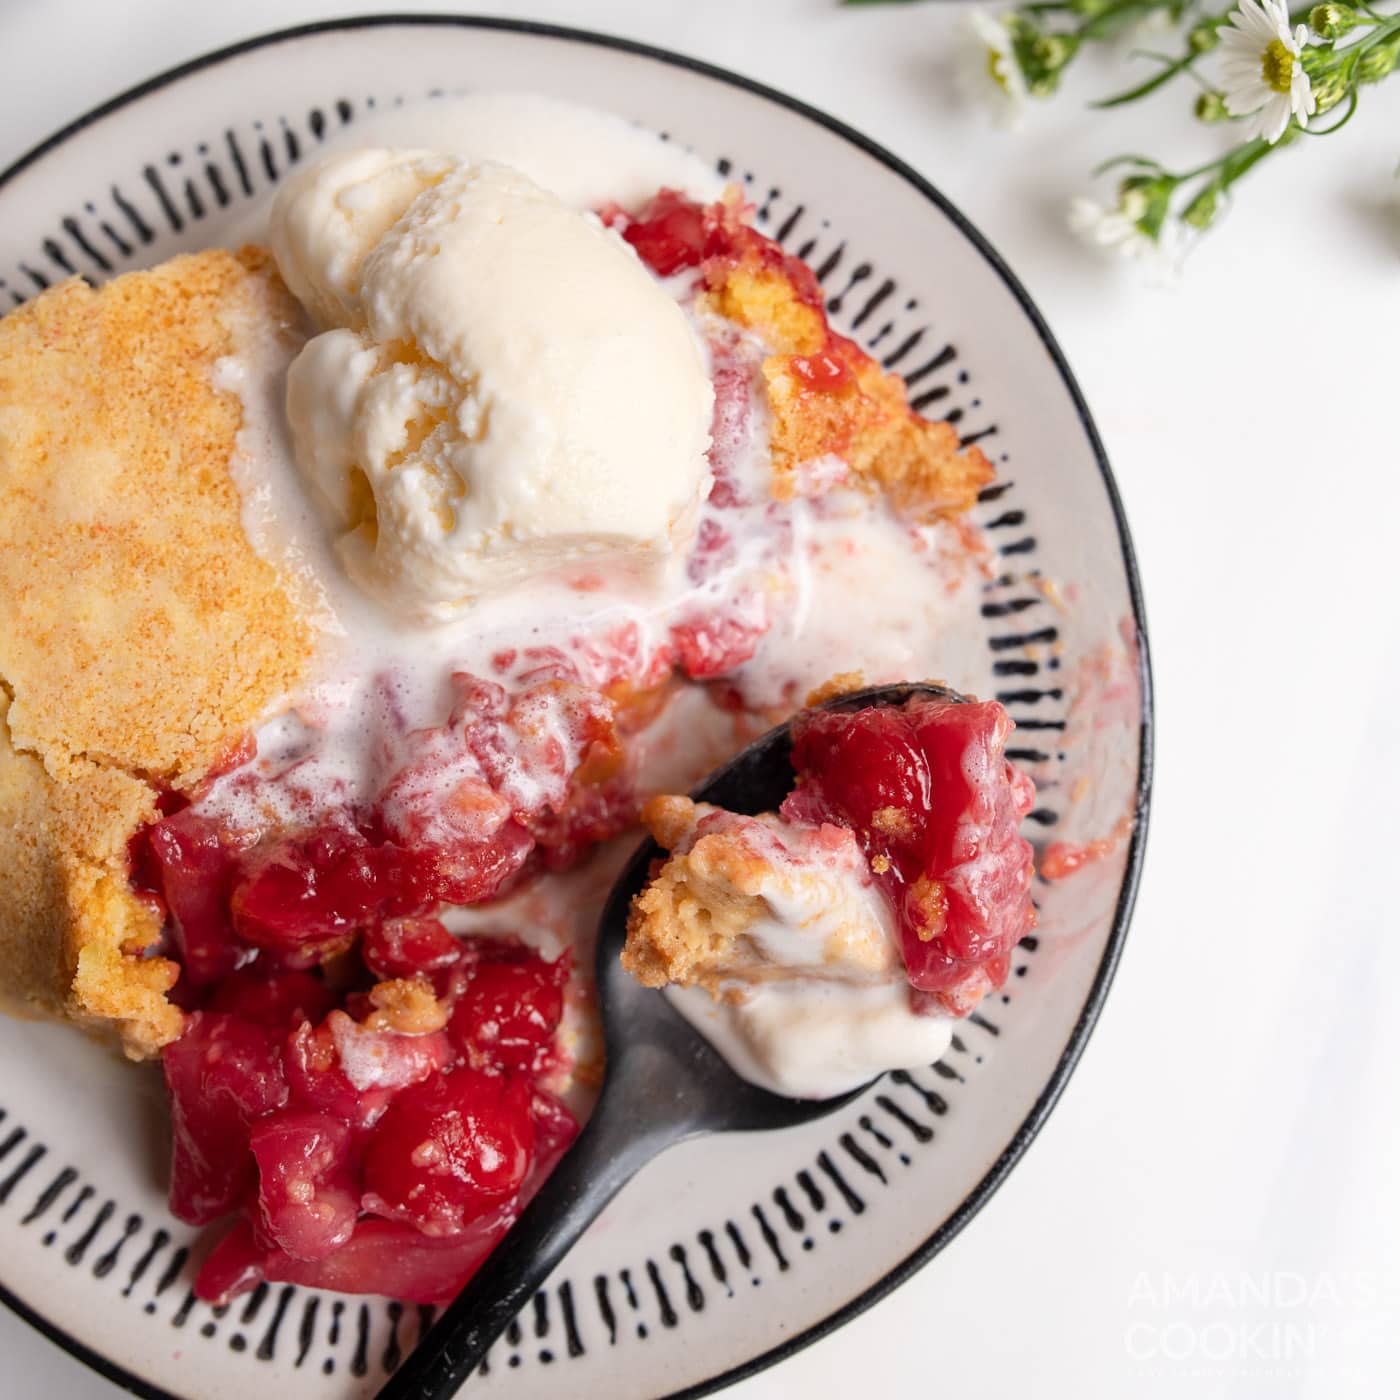
Cherry Pineapple Dump Cake
Cherry pineapple dump cake has a top layer of crumbly golden cake with…