

Salted Chocolate Chunk Shortbread Cookies took the internet by storm, captivating bakers and sweet tooths alike with their irresistible blend of rich chocolate, buttery shortbread, and a delicate sprinkle of flaky sea salt. These cookies deliver a uniquely crisp texture and a delightful sugar crust that sets them apart from the crowd.
Affectionately dubbed “The Cookie” by many, these slice-and-bake shortbread delights are remarkably simple to prepare, requiring just seven core ingredients. What’s more, they are naturally egg-free and nut-free, making them an excellent choice for those with dietary restrictions or looking for a refreshing alternative to traditional Chocolate Chip Cookies. Their elegant simplicity and sophisticated flavor profile quickly cemented their status as a baking sensation, proving that sometimes, the most straightforward recipes yield the most extraordinary results.
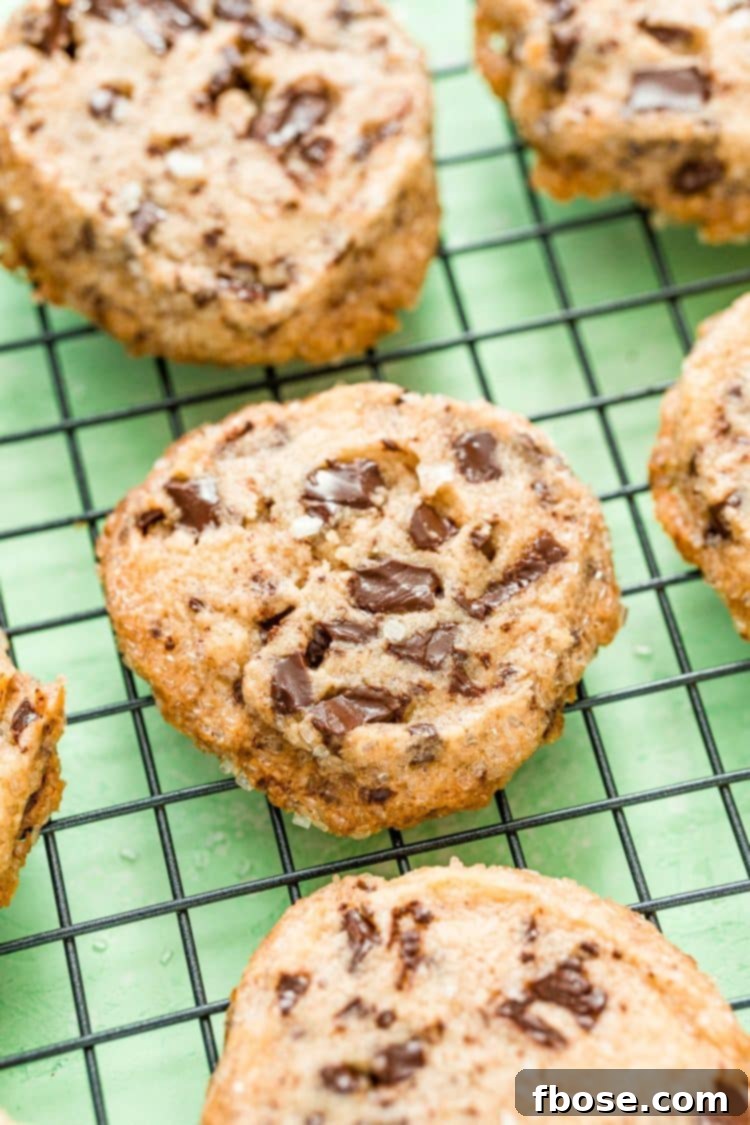
The original recipe for these much-loved cookies gained widespread recognition a couple of years ago, largely thanks to its appearance in Alison Roman’s acclaimed cookbook, Dining In. As soon as they began to dominate social media feeds, I, like many others, felt compelled to discover what all the excitement was about. After baking and enjoying them, I realized there was room for a few minor adjustments to Alison’s brilliant creation. My aim was to streamline the process, making the recipe even more accessible, and, dare I say, elevate the flavor and texture to an even higher standard. This improved version offers a cookie that is both easier to handle and, in my opinion, even more satisfyingly delicious.
Crafting Your Own Salted Chocolate Chunk Shortbread Cookies: A Step-by-Step Guide
Making these internet-famous Salted Chocolate Chunk Shortbread Cookies is a delightful and straightforward process. Follow these detailed steps to achieve perfectly crisp, chewy, and irresistibly flavorful cookies that everyone will adore. Precision in mixing and chilling are key to their signature texture.
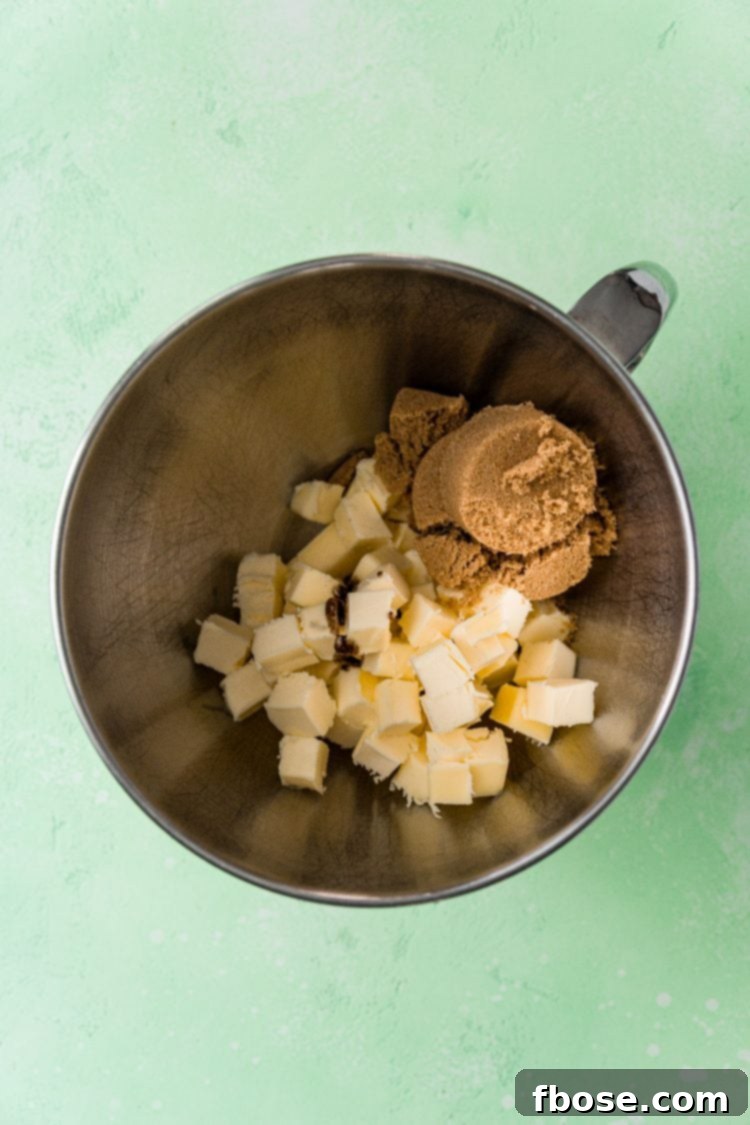
Step 1: Cream the Butter, Sugar, and Vanilla. Begin by placing the cold, cubed butter, packed light brown sugar, and aromatic vanilla paste into the bowl of an electric mixer fitted with a paddle attachment. Cream these ingredients together on medium speed for a full 5 minutes. This extended creaming time is crucial for incorporating air into the mixture, which contributes to the shortbread’s light and crisp texture. During this process, be sure to stop the mixer periodically and scrape down the sides of the bowl with a spatula to ensure all ingredients are thoroughly combined and no pockets of unmixed butter or sugar remain.
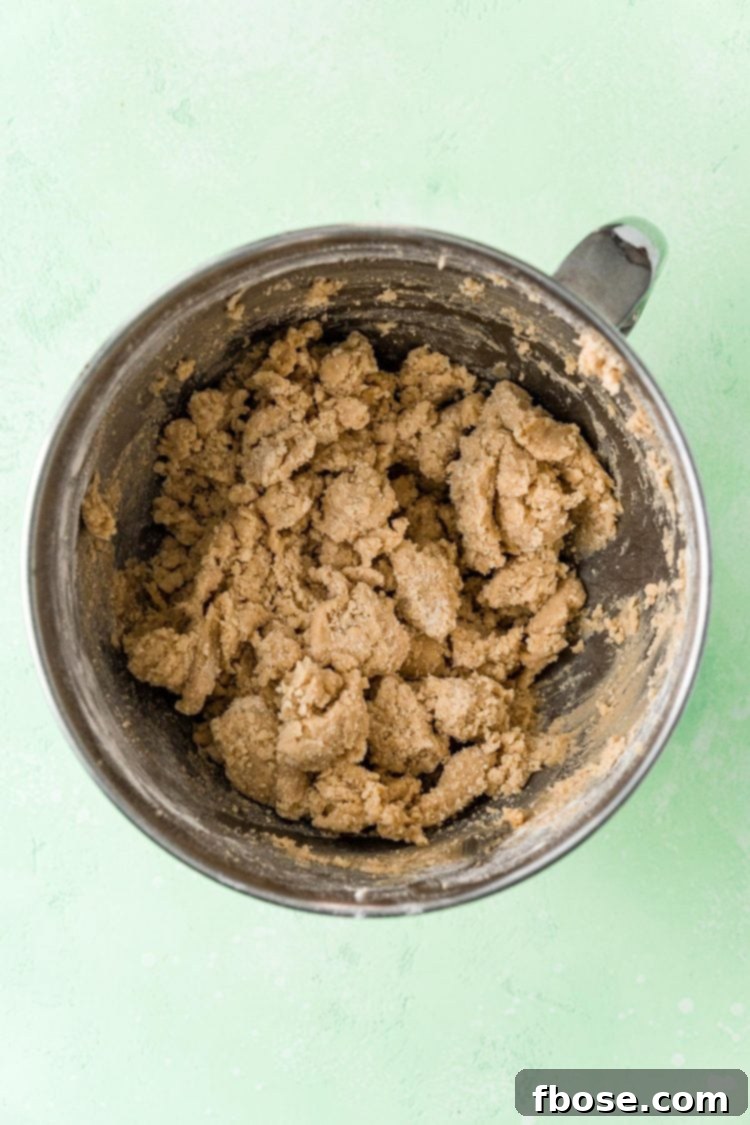
Step 2: Incorporate the Flour. Once your butter and sugar mixture is light and fluffy, reduce the mixer speed to low. Gradually add the all-purpose flour to the bowl, mixing just until it is barely blended. It’s important not to overmix the flour, as this can develop the gluten too much, leading to a tough cookie rather than a tender shortbread. The dough might appear slightly lumpy or shaggy at this stage, which is completely normal and expected for shortbread dough. Refer to the provided photo for a visual guide to the correct consistency.
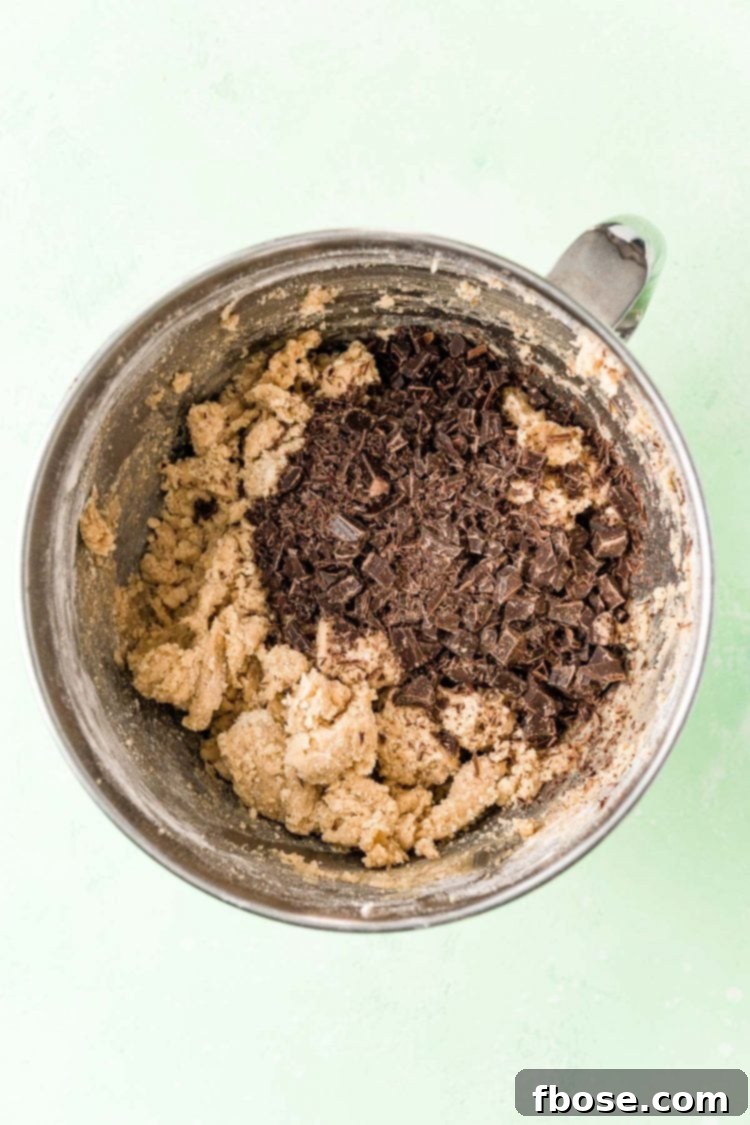
Step 3: Fold in the Chocolate Chunks. With the flour just incorporated, it’s time for the star of the show: the dark chocolate. Add your roughly chopped bittersweet chocolate to the dough. Using a spatula, gently fold the chocolate into the dough until it is evenly distributed. Again, avoid overmixing to maintain the dough’s tender texture. The rustic chunks of chocolate are key to those delightful molten pockets after baking, so resist the urge to use pre-packaged chocolate chips, which often contain stabilizers to hold their shape.
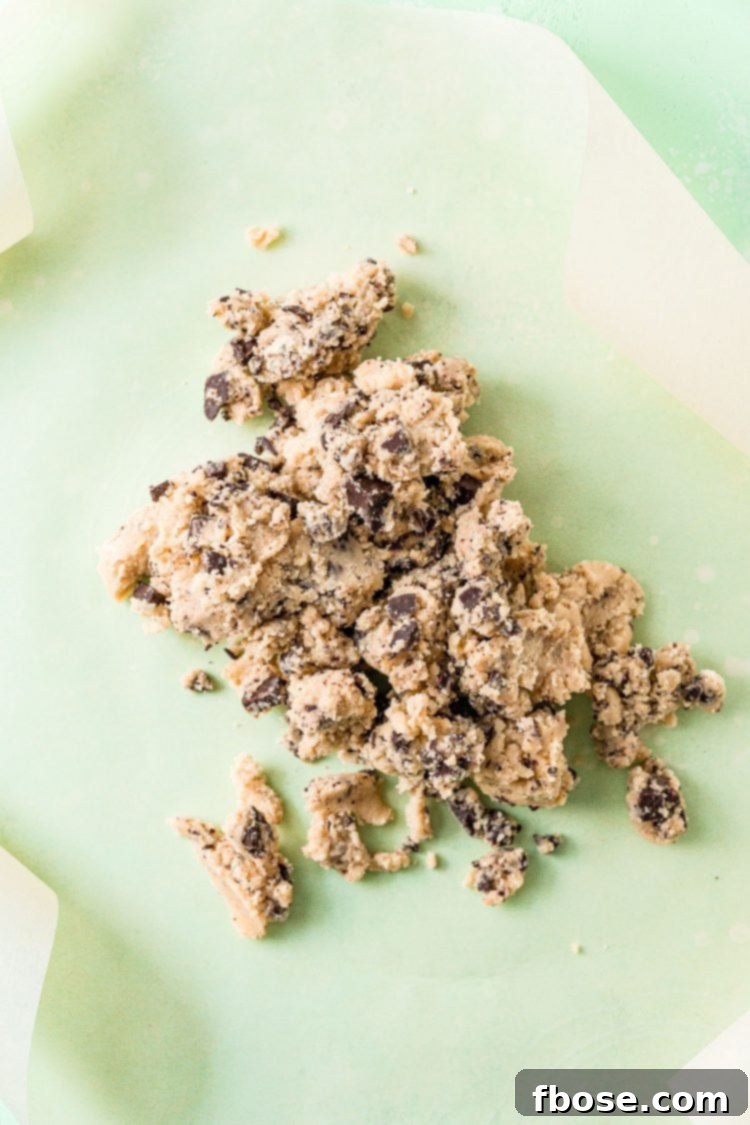
Step 4: Prepare the Dough for Shaping. Divide the cookie dough equally onto two large pieces of parchment paper. At first glance, the dough may still seem a bit crumbly, but this is typical for a shortbread base. Don’t worry; it will easily come together as you begin to work with it. Gently press the dough together with your hands, bringing the loose crumbs into a more cohesive mass. This gentle compression is essential for forming a solid log in the next step.
The dough may look crumbly at first but should easily come together when pressed with your hands. If it’s too dry, you might need to add a teaspoon of milk or water, but generally, the pressure of your hands is enough.
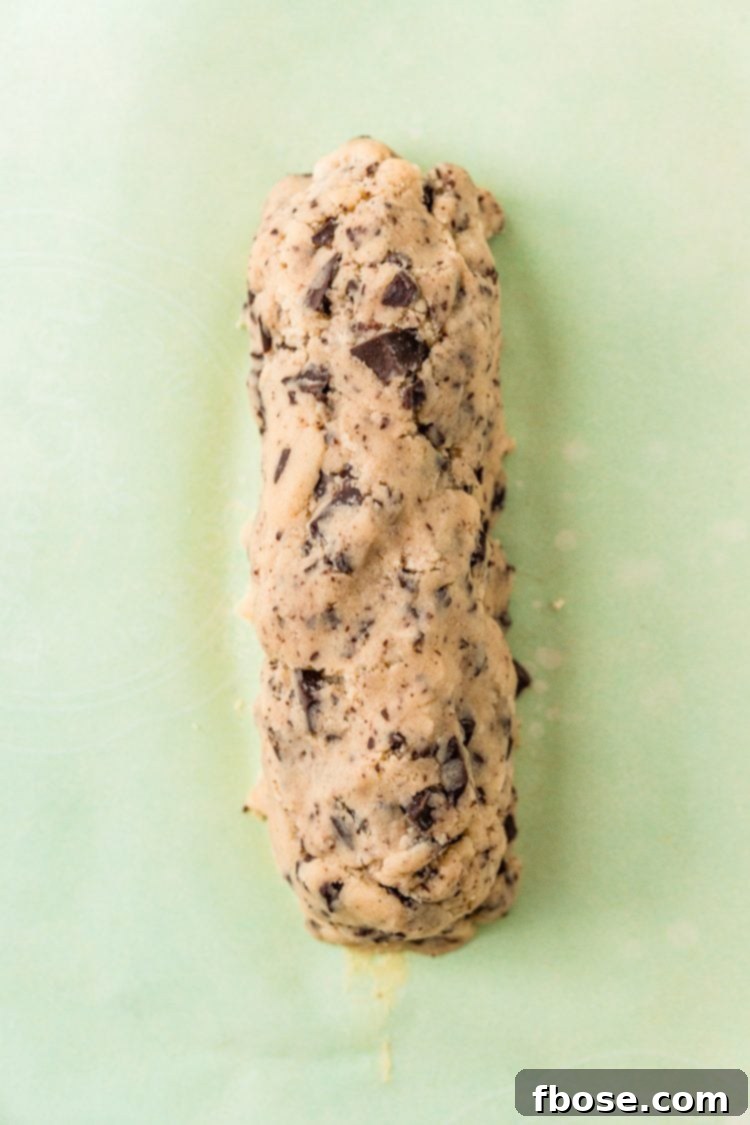
Step 5: Shape into Logs. Using your hands, begin to form each half of the dough into a log shape. The parchment paper will be your best friend here; use it to help you roll and round out the log, creating a uniform cylinder. Aim for a log approximately 1.5 to 2 inches in diameter. This consistent shape will ensure all your cookies bake evenly. The goal is a compact log with minimal cracks.
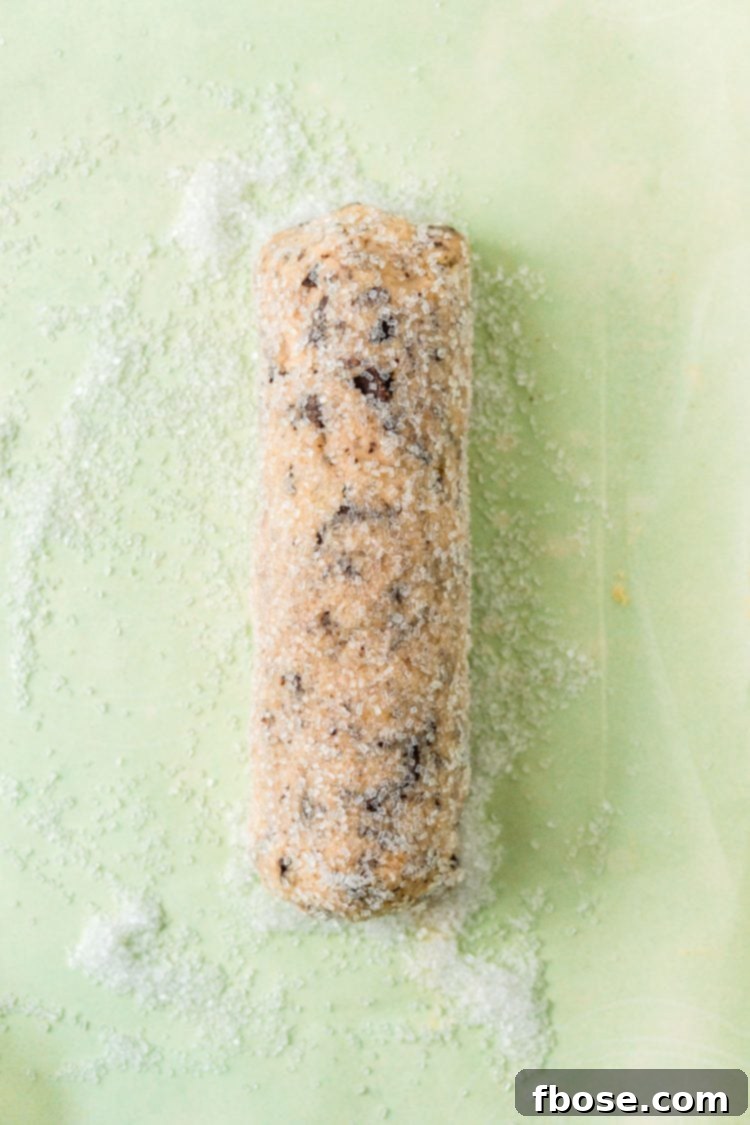
Step 6: Coat with Coarse Sugar. Sprinkle about ¼ cup of coarse sparkling sugar onto each piece of parchment paper. Roll each dough log in the sugar, ensuring it’s evenly coated on all sides. This coarse sugar will create a beautiful, crunchy, and caramelized crust on your baked cookies, adding an extra layer of texture and sweetness that beautifully contrasts with the salty chocolate.
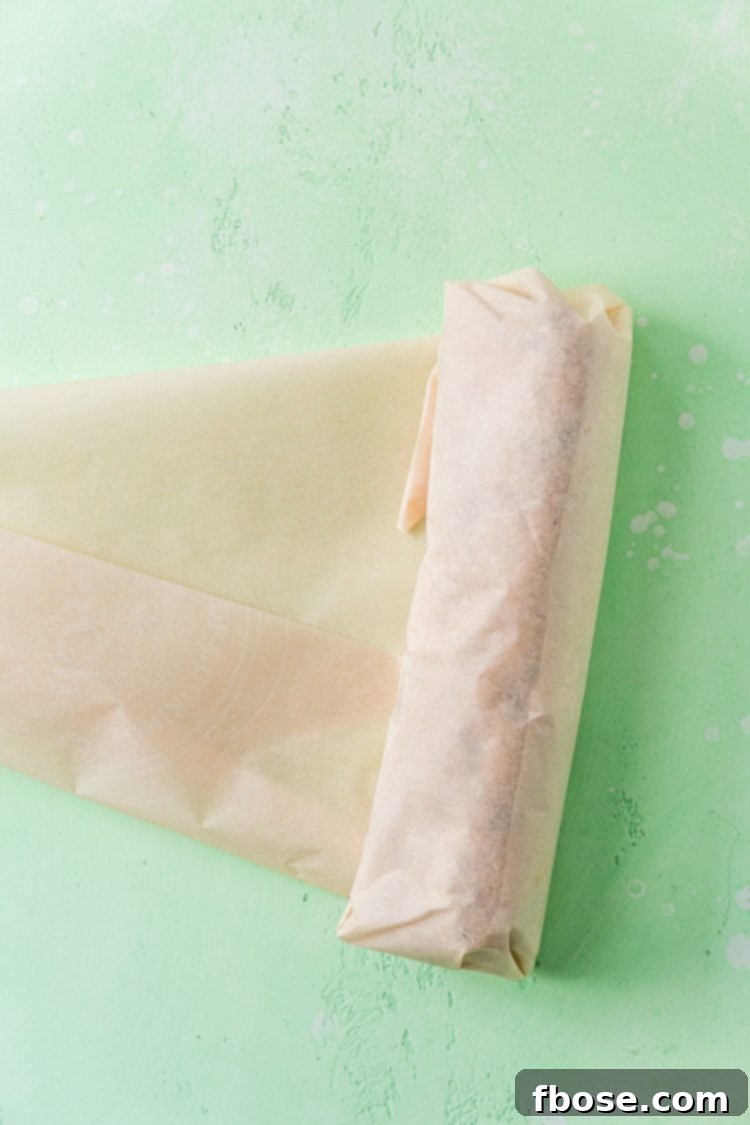
Step 7: Chill the Dough. Roll each sugar-coated cookie dough log tightly in its parchment paper, then transfer them to the refrigerator. Chill the dough for at least 2 hours, or until it is completely firm. This chilling step is absolutely essential for shortbread cookies. It allows the butter to re-solidify, which prevents the cookies from spreading excessively during baking, ensuring they maintain their shape and develop that desired crisp texture. A well-chilled dough is key to a perfectly formed shortbread cookie.
Step 8: Slice the Logs. Once the dough is thoroughly chilled and firm, unroll it from the parchment paper. Using a very sharp knife or a serrated knife, slice each log into 12 even, approximately ½-inch thick rounds. The slices might appear to break apart slightly, especially around the edges due to the chocolate chunks; this is normal. Simply use your fingers to gently press them back together. They will still bake up beautifully, and any minor imperfections will be masked by their deliciousness.
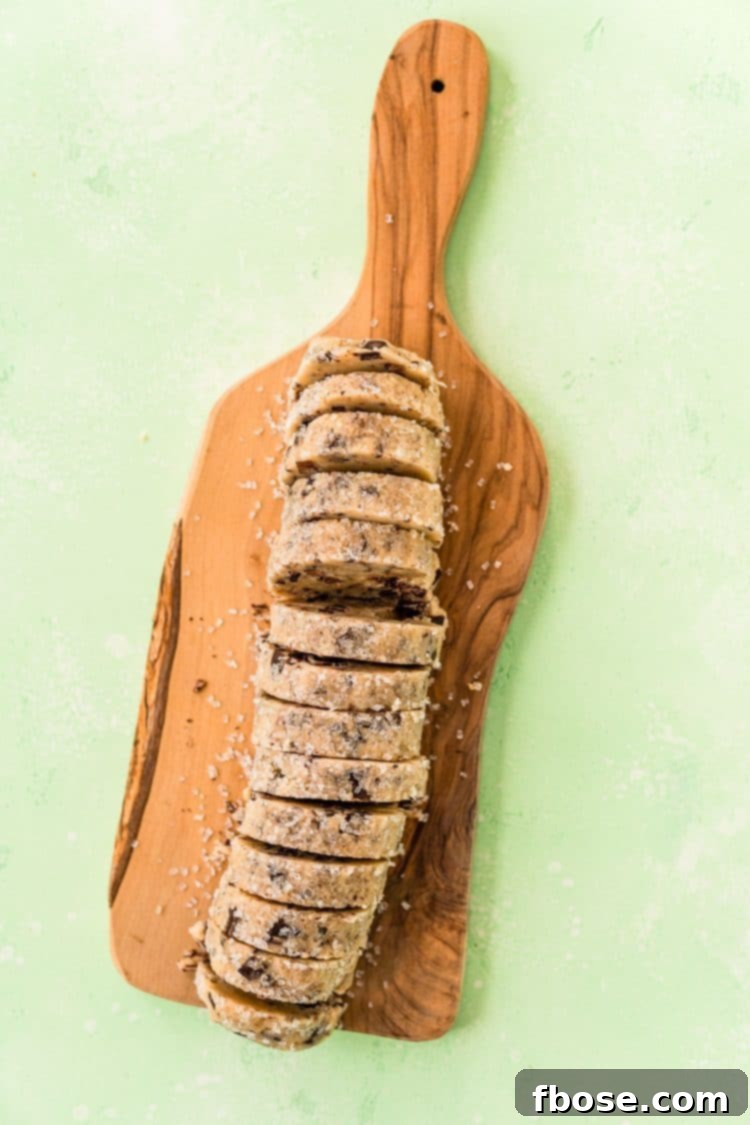
Step 9: Prepare for Baking. Preheat your oven to 350 degrees Fahrenheit (175 degrees Celsius). Line a baking sheet with parchment paper. Arrange the sliced cookies on the prepared baking sheet, spacing them about 1 inch apart. These shortbread cookies do not spread much during baking, so you can place them relatively close together. Before baking, generously sprinkle each cookie with flaky sea salt. This final touch is critical for the “salted” in “Salted Chocolate Chunk Shortbread,” enhancing the chocolate and butter flavors with a delightful savory contrast.
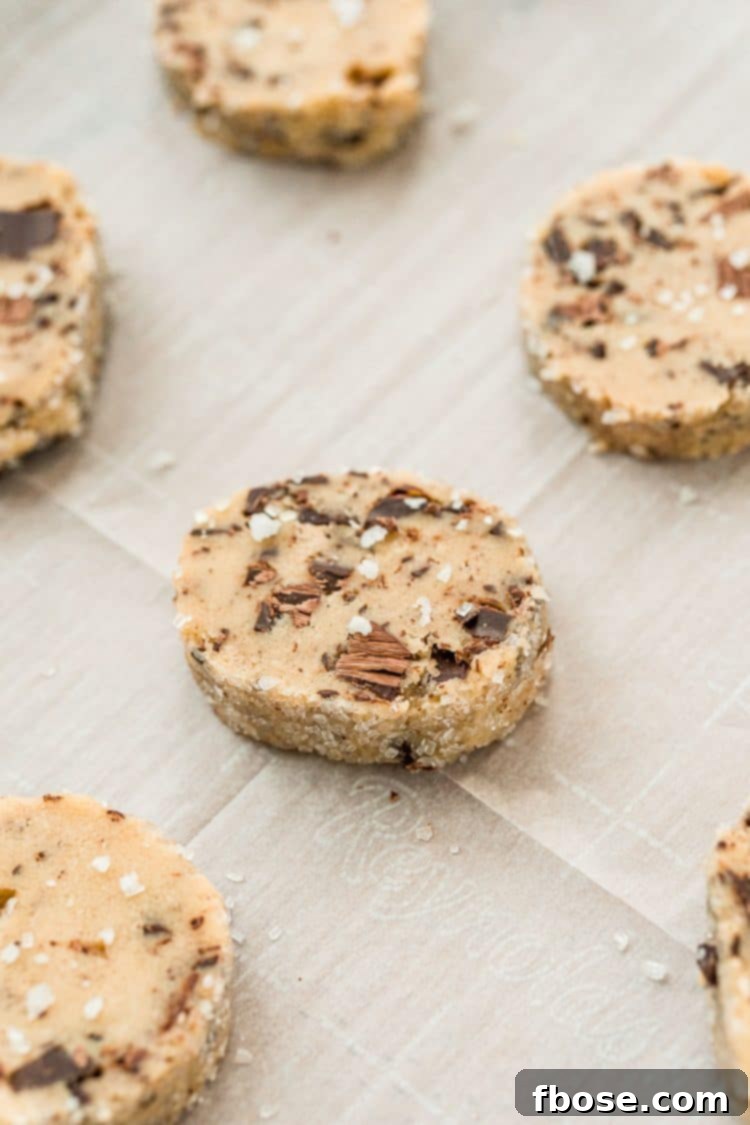
Step 10: Bake to Perfection. Bake the cookies for 12 to 15 minutes. You’ll know they are done when their edges turn a beautiful golden brown, and the chocolate chunks in the center appear shiny and slightly melted. The aroma filling your kitchen will be an excellent indicator too! Once baked, remove the cookies from the oven and let them cool on the baking sheet for a few minutes before transferring them to a wire rack to cool completely. This brief rest on the hot sheet helps them firm up and achieve that perfect crispness.
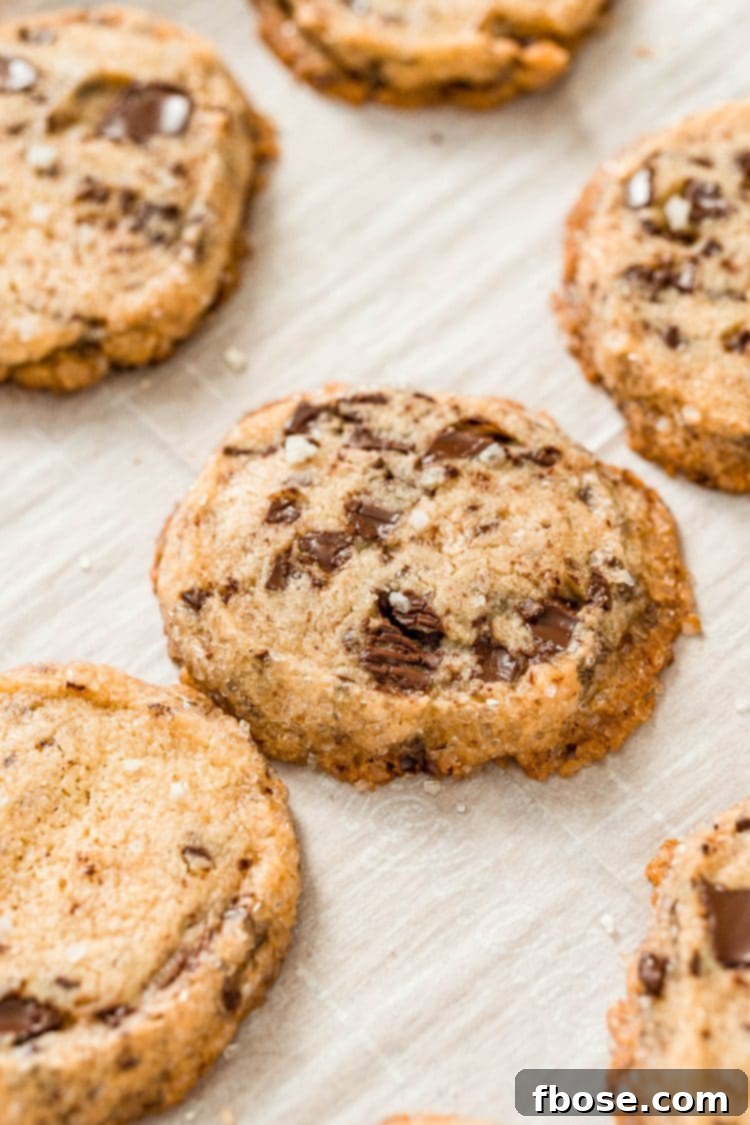
As I touched upon earlier, my adaptation of the Salted Chocolate Chunk Shortbread Cookies incorporates a few key modifications from the original Alison Roman recipe. These adjustments were carefully considered to enhance the cookie’s texture, flavor, and overall ease of preparation, drawing on my experience as a baker to address common feedback and personal preferences. The goal was to refine an already fantastic cookie into something truly exceptional and even more approachable for the home baker.
My Recipe Enhancements: A Deeper Dive
These specific changes are what, I believe, elevate my version of the Salted Chocolate Chunk Shortbread Cookies, making them stand out in both taste and baking experience:
All Brown Sugar: The Secret to Depth and Chewiness. My personal fondness for brown sugar, particularly in chocolate chip cookie recipes, inspired a complete switch from granulated sugar. This recipe exclusively uses light brown sugar, lending a profound depth of flavor that white sugar simply cannot achieve. The molasses content in brown sugar not only imparts a rich, caramel-like note that pairs exquisitely with the dark chocolate and flaky sea salt but also contributes to a more tender and slightly chewier texture compared to the crispier snap of traditional shortbread. This subtle chewiness offers a wonderful contrast to the cookie’s sugary, crisp edges, creating a more complex and satisfying eating experience.
Less Flour: Solving the Crumbly Dough Dilemma. One of the most common issues reported by bakers attempting the original recipe was an overly crumbly dough that was difficult to work with, even after extensive mixing. This was a challenge I personally encountered as well. To remedy this, I slightly reduced the amount of all-purpose flour in my version. This minor adjustment significantly improves the dough’s workability, making it easier to form into logs without sacrificing its delicate structure or leading to excessive spreading during baking. The result is a dough that comes together beautifully, ensuring a smoother and more enjoyable baking process from start to finish.
Vanilla Paste Instead of Vanilla Extract: Unlocking Superior Flavor. While vanilla extract is a perfectly acceptable ingredient, I am a firm believer in the transformative power of Vanilla Bean Paste. This cherished baking item offers a more intense, complex, and authentic vanilla flavor that truly shines through in these cookies. Beyond the heightened aroma, the visible specks of vanilla bean add a touch of gourmet elegance. While this change is optional, the difference in flavor is undeniable, making it a worthwhile investment for any enthusiastic baker looking to elevate their creations. If vanilla paste isn’t available, an equal amount of high-quality vanilla extract can be used, but you might miss that extra layer of flavor complexity.
No Egg: A Simpler, Still Crispy Crust. The original recipe often called for an egg wash before chilling to achieve a super crisp edge. However, I discovered that rolling the dough logs directly in coarse sugar before chilling eliminates the need for an egg wash entirely. Not only does this simplify the preparation steps, but I also find that the coarse sugar adheres more effectively to the dough this way, forming an equally delightful and crunchy crust. While you might lose a minuscule fraction of that extreme crispiness the egg wash provides, the sugar-rolled version still delivers a wonderfully crisp exterior that perfectly complements the rich, buttery interior, maintaining the cookie’s signature texture without the added effort of an egg wash.
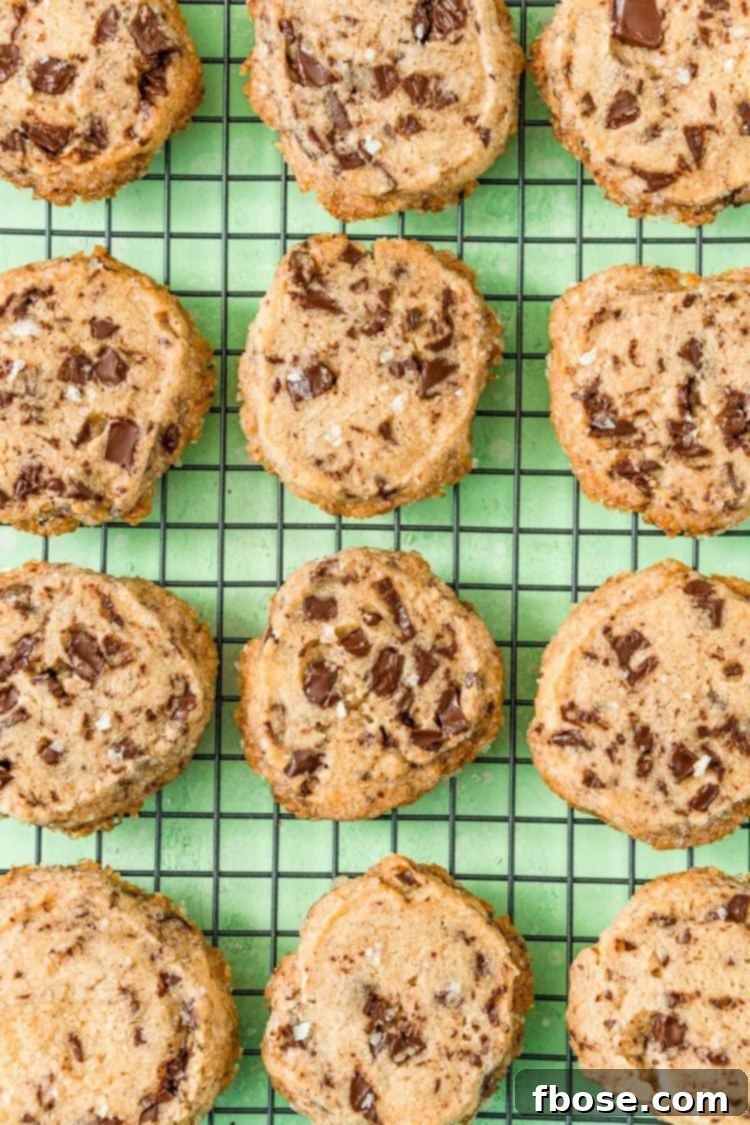
These Salted Chocolate Chunk Shortbread Cookies offer a unique experience unlike any other shortbread cookie you’ve encountered. The combination of their exceptional flavor profile, delightful texture, and the thoughtful modifications in this recipe makes them truly special. I promise you, the minimal extra effort and the anticipation are absolutely worth it once you taste these incredible treats. They are designed to be a delightful indulgence for any occasion.
Storage and Longevity: Keeping Your Cookies Fresh
The honest answer to “How long do these cookies last?” is often “not long at all!” because they are so incredibly delicious and disappear quickly. This recipe yields a small batch, approximately two dozen cookies, which is often less than my other cookie recipes that typically make at least three dozen. Nevertheless, proper storage ensures they remain fresh and enjoyable for as long as possible:
- Baked Cookies: For optimal freshness, store baked and completely cooled cookies in an airtight container at room temperature. They will remain delicious for about 5 days, though their peak crispness is best within the first 2-3 days.
- Unbaked Dough: The prepared cookie dough logs are excellent for making ahead. Tightly wrap them in plastic wrap, or place the parchment-wrapped logs into a large Ziploc bag, and store them in the refrigerator for up to 1 week. This makes them perfect for spontaneous baking sessions!
- Frozen Dough: To extend the life of your dough even further, you can freeze the logs. Wrap them securely in plastic wrap, then place the wrapped logs into a freezer bag. They will keep well for up to 1 month. When you’re ready to bake, simply allow the dough to thaw in the refrigerator overnight before slicing and baking as usual.
- Frozen Cookies: If you have any leftover baked cookies (a rare occurrence, I assure you!), they can also be frozen. Ensure the cookies have cooled completely after baking. Then, transfer them to a freezer-safe bag, pressing out any excess air before sealing. Freeze for up to 3 months. To enjoy, simply let them thaw at room temperature.

Whether you’re planning a holiday bake-off, preparing for a party, or just want to have fresh cookies on hand whenever the craving strikes, these storage tips ensure you can enjoy these delightful shortbread cookies at your convenience. Their versatility in storage makes them a fantastic recipe for both immediate enjoyment and future indulgence.
Explore More Delicious Cookie Recipes
If you’ve fallen in love with the art of cookie baking, or simply enjoy a good homemade treat, I invite you to explore more delightful recipes from my collection. From classic comforts to unique flavor combinations, there’s always a new cookie adventure waiting:
- Earl Grey Cookies: A sophisticated cookie infused with the delicate floral notes of Earl Grey tea.
- Vanilla Chai Shortbread: Another twist on shortbread, boasting warm spices and comforting vanilla flavors.
- Cowboy Cookies: Hearty and satisfying, packed with oats, chocolate chips, and pecans.
- Nutella Stuffed Cookies: An irresistible treat featuring a gooey Nutella center, perfect for chocolate-hazelnut lovers.
Connect with Our Sweet Community!
If you’ve tried this fantastic Salted Chocolate Chunk Shortbread Cookies recipe, please don’t hesitate to share your experience! Let me know how much you enjoyed them in the comments section below and consider leaving a star rating. Your feedback is incredibly valuable and helps our community grow!
And don’t forget to tag me – @sugarandsoulco – on Instagram and Pinterest when you share your delicious photos! You can also join our vibrant Sugar & Soul Show-offs Community on Facebook, where you can connect with fellow bakers, share your creations, and even participate in our exciting recipe challenges! Let’s bake and share together!

Salted Chocolate Chunk Shortbread Cookies
Salted Chocolate Chunk Shortbread Cookies took the internet by storm with their deliciously salty sweetness and crisp texture laced with chocolate and sprinkled with flaky sea salt!
Ingredients
- 18 tablespoons salted butter, cold and cubed
- ¾ cups light brown sugar, packed
- 1 teaspoon vanilla bean paste (or vanilla extract)
- 2 cups + 2 tablespoons all-purpose flour
- 6 ounces bittersweet chocolate, roughly chopped
- ½ cup coarse sugar (for rolling)
- 1 tablespoon flaky sea salt (for sprinkling)
Instructions
- In a large bowl or stand mixer fitted with a paddle attachment, cream together the butter, brown sugar, and vanilla paste on medium speed until light and fluffy. This should take about 3 to 5 minutes. Remember to scrape down the sides of the bowl as needed to ensure even mixing.
- With the mixer on low speed, slowly add the all-purpose flour and mix just until blended. Be careful not to overmix the dough.
- Gently fold in the roughly chopped bittersweet chocolate just until it is evenly combined throughout the dough.
- Divide the dough in half and place each half on a large piece of parchment paper. The dough may appear crumbly, but it will come together easily when pressed with your hands.
- Use your hands to shape each half of the dough into a uniform log. Utilize the parchment paper to assist in rolling and rounding out the logs, aiming for a consistent diameter.
- Sprinkle approximately ¼ cup of coarse sugar onto each piece of parchment paper. Roll the dough logs in the sugar until they are thoroughly coated on all sides.
- Wrap the sugar-coated cookie dough logs tightly in their parchment paper and refrigerate for at least 2 hours, or until completely firm. This chilling is crucial for preventing spreading during baking.
- After the dough has chilled, unroll the logs and use a sharp knife (preferably serrated) to slice each log into 12 even, approximately ½-inch thick slices. If any slices break slightly, gently press them back together.
- Preheat your oven to 350°F (175°C). Arrange the sliced cookies on a parchment-lined baking sheet, spacing them about 1 inch apart (these cookies do not spread significantly). Sprinkle each cookie generously with flaky sea salt.
- Bake for 12 to 15 minutes, or until the edges of the cookies are golden brown and the chocolate chunks in the center appear shiny and melted. Let them cool on the baking sheet for a few minutes before transferring to a wire rack to cool completely.
Video
Notes
- If you prefer to use unsalted butter, add ¾ teaspoon of kosher salt to the flour mixture. However, I highly recommend using salted butter as it significantly enhances the flavor of these cookies.
- An equal amount of high-quality vanilla extract can be used as a substitute if vanilla bean paste is not available. Although, for the best flavor, investing in vanilla paste is highly recommended!
- For the coarse sugar, I typically use coarse white sparkling sugar, but Demerara sugar (often labeled “Sugar In The Raw”) also works wonderfully for the crunchy coating.
- This recipe has been adapted from Alison Roman’s original recipe found in her cookbook, Dining In.
Make Ahead and Storage Tips:
- Baked cookies are best enjoyed within 5 days when stored in an airtight container, though they are so delicious, they rarely last that long!
- The raw cookie dough can be prepared up to 1 week in advance. Keep the parchment-wrapped logs tightly stored in plastic wrap or a large Ziploc bag in the refrigerator.
- To freeze the dough, wrap the logs in plastic wrap and then place them in a freezer bag. They can be frozen for up to 1 month. Thaw the dough in the fridge before slicing and baking.
Nutrition Information
Calories: 197kcal | Carbohydrates: 23g | Protein: 2g | Fat: 11g | Saturated Fat: 7g | Cholesterol: 23mg | Sodium: 369mg | Potassium: 63mg | Fiber: 1g | Sugar: 14g | Vitamin A: 266IU | Calcium: 14mg | Iron: 1mg
Did You Make This Recipe?
Don’t forget to share it with me on Instagram @sugarandsoulco and follow on Tiktok @sugarandsoulco and Pinterest @sugarandsoulco for more!