
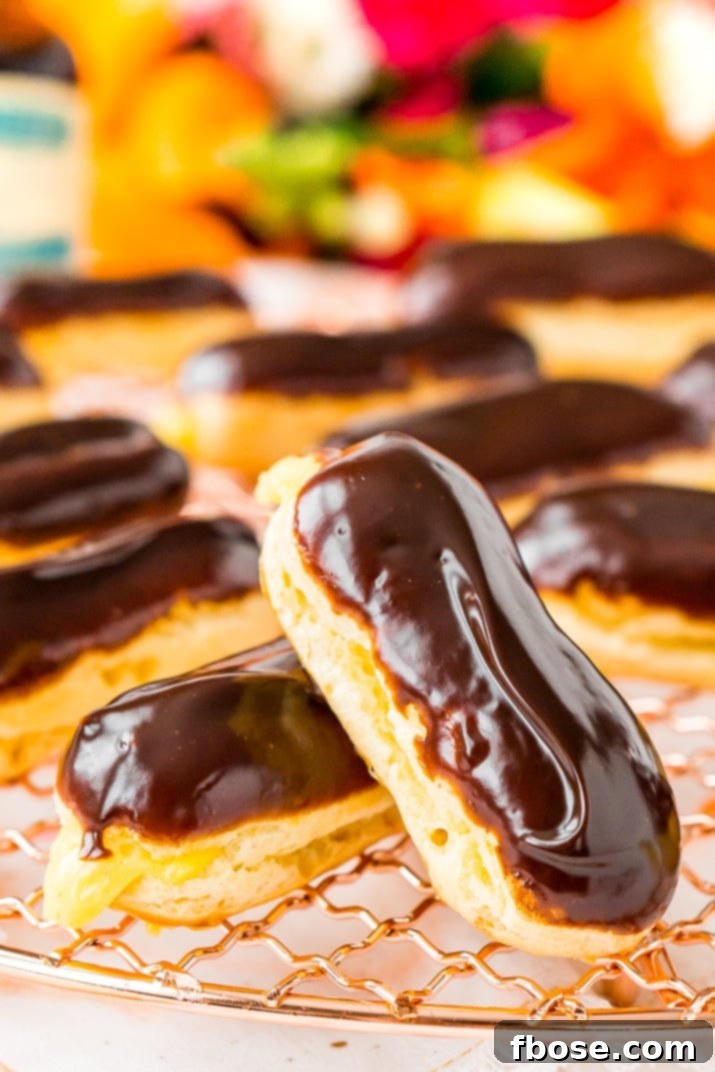
The Eclair is a celebrated classic French pastry, renowned for its delicate choux dough, luscious pastry cream filling, and exquisite chocolate glaze. Often perceived as a gourmet indulgence, this elegant dessert is surprisingly accessible to create in your own kitchen!
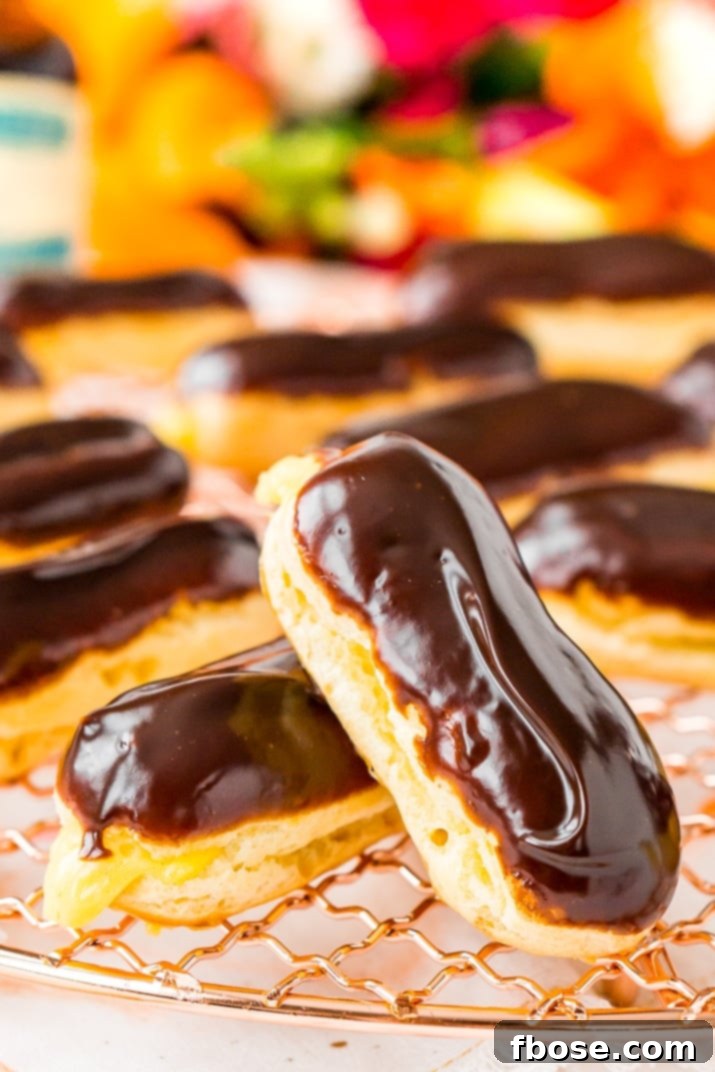
This Chocolate Eclair Recipe post was written in partnership with Nielsen-Massey, and all opinions expressed are 100% my own.
There’s something truly magical about a perfectly crafted eclair. Ever since my unforgettable trip to Paris last December, I’ve found myself constantly craving that quintessential French pâtisserie experience. Unfortunately, living in Maine means genuine French bakeries are a rare find, and the eclairs I encounter locally often fall short of that Parisian standard. It makes you wonder if any eclair could ever truly compare to one enjoyed in France, doesn’t it? I have my doubts.
So, I decided to take matters into my own hands and recreate these delectable treats at home. While it’s true that making eclairs involves several distinct components—choux pastry, pastry cream, and chocolate ganache—each requiring preparation and cooling before assembly, the process itself is quite straightforward. The key lies in precise measurements and diligent adherence to instructions. The effort is immensely rewarding, culminating in a dessert that rivals those found in the finest Parisian establishments.
Elevating Flavors with Nielsen-Massey: Our Choice for Quality
When it comes to baking, especially classic French pastries like eclairs, the quality of ingredients can truly make or break the final product. This is precisely why I choose Nielsen-Massey products for my recipes. Their commitment to excellence ensures that every drop of extract and every vanilla bean contributes to an unparalleled flavor profile.
- Purity in Every Drop: Nielsen-Massey prides itself on using the fewest ingredients possible in its pure vanilla extracts, aiming to deliver the highest-quality product on the market. This minimalist approach allows the true essence of vanilla to shine through, unmasked by unnecessary additives.
- A Legacy of Flavor: As a family-owned and operated business, Nielsen-Massey has dedicated itself to producing premier pure vanillas and flavor extracts for generations. This dedication translates into products crafted with passion and expertise.
- Natural and Allergen-Friendly: All Nielsen-Massey products are all-natural, free from common allergens, GMO-free, certified gluten-free, and certified Kosher. This makes them a reliable choice for a wide range of dietary needs and preferences, ensuring everyone can enjoy the exquisite flavors.
- The Journey of Vanilla: The meticulous process of vanilla cultivation, from initial planting to market-ready product, is incredibly time-intensive, typically spanning five to six years. After harvest, vanilla beans undergo a crucial curing process to develop their complex aromas.
- Traditional Curing Methods: For two weeks, farmers meticulously spread the beans in the hot sun during the day, then carefully wrap them in blankets at night to allow them to “sweat.” This traditional method is vital for developing the bean’s rich flavor.
- Extended Conditioning: Following the initial sun-and-sweat stage, the beans are conditioned on racks for an additional two weeks, further enhancing their quality.
- Aged to Perfection: Finally, the beans are aged for 6 to 8 months in wooden boxes. This extended aging period is critical, allowing the hundreds of complex flavor notes to fully emerge and mature, resulting in a depth of flavor that is truly remarkable.
- Proprietary Cold Extraction: Nielsen-Massey employs a proprietary cold extraction process, a distinct advantage over heat extraction methods. This technique is designed to preserve the more than 300 distinctive flavor compounds naturally present in vanilla beans. The result is extracts with an exceptionally rich, complex, and nuanced flavor profile that elevates any dish they grace.
Unveiling the Eclair: A French Culinary Delight
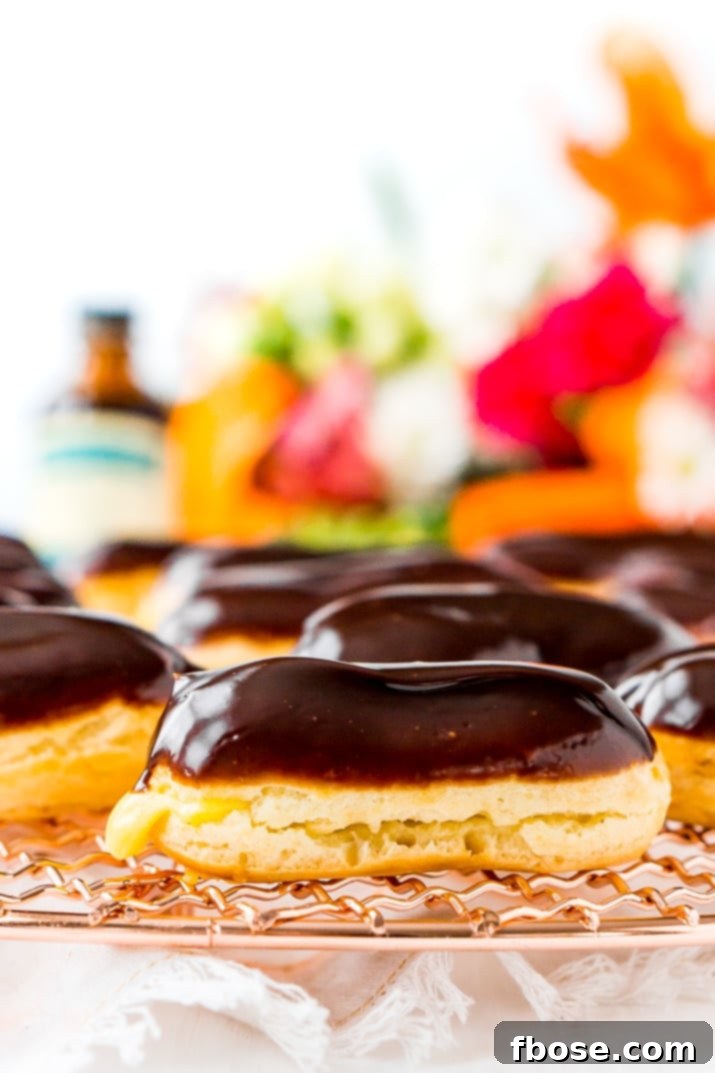
An eclair, derived from the French word for “lightning” due to its quick consumption, is a graceful, elongated pastry made from light, airy choux dough. This hollow shell is then generously filled with a velvety cream and crowned with a decadent icing. While chocolate is the most iconic flavor, many bakeries now offer an exciting array of eclair variations, including rich caramel, aromatic coffee, vibrant fruit glazes, and nutty praline fillings. Each offers a unique sensory experience, but the essence remains the same: a perfect balance of delicate pastry, creamy filling, and a sweet, often glossy, topping.
This particular recipe focuses on crafting mini eclairs, which are ideally suited for an assortment of occasions. Their petite size makes them a perfect addition to elegant brunches, festive bridal showers, afternoon tea parties, or simply as an impressive treat to share with guests. Beyond their appeal for entertaining, these mini delights also boast excellent freezing capabilities. This means you can indulge in a freshly thawed eclair whenever a craving strikes, or have a ready supply on hand for unexpected company, ensuring you’re never far from a taste of homemade luxury.
Freezing and Storing Your Eclairs: A Guide to Freshness
Eclairs, particularly these mini versions, freeze remarkably well, allowing you to enjoy them long after baking. Proper freezing techniques ensure they retain their delicate texture and flavor when thawed. Here’s how to best preserve your homemade eclairs:
- Initial Freeze for Glaze Protection: Begin by lining a baking sheet with parchment paper. Arrange the freshly glazed eclairs on the sheet, ensuring they are spaced approximately 1 inch apart to prevent them from sticking together. Place the baking sheet in the freezer for 30 minutes to 1 hour. This crucial first step allows the chocolate glaze to harden completely, preventing it from adhering to other pastries or packaging later on.
- Transfer to Long-Term Storage: Once the glaze is firm, carefully remove the eclairs from the baking sheet. Transfer them to an airtight, freezer-safe container. To further protect against freezer burn and maintain their delicate texture, cover the pastries directly with a layer of plastic wrap before securing the lid. This extra barrier minimizes exposure to air, which can cause ice crystals and diminish quality.
- Thawing and Enjoyment: Stored correctly, your frozen mini eclairs will maintain their quality for up to 2 months. When you’re ready to enjoy them, simply remove the desired number of eclairs from the freezer and let them soften at room temperature. This typically takes about 10 minutes for mini eclairs, allowing them to return to their delightful, ready-to-eat consistency.
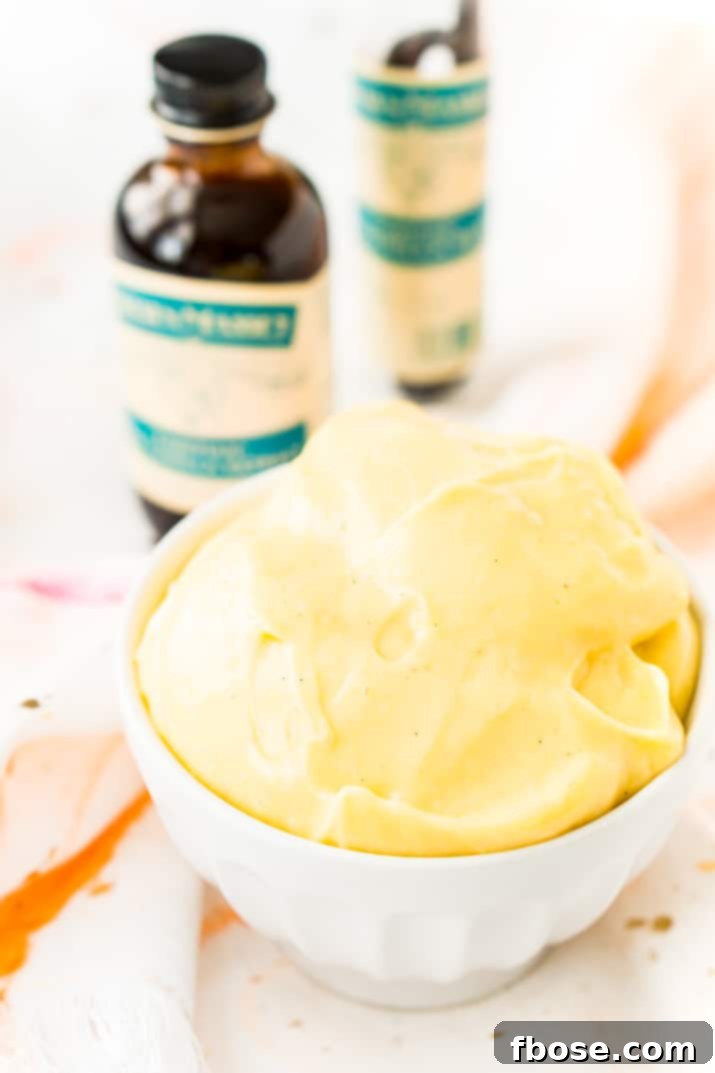
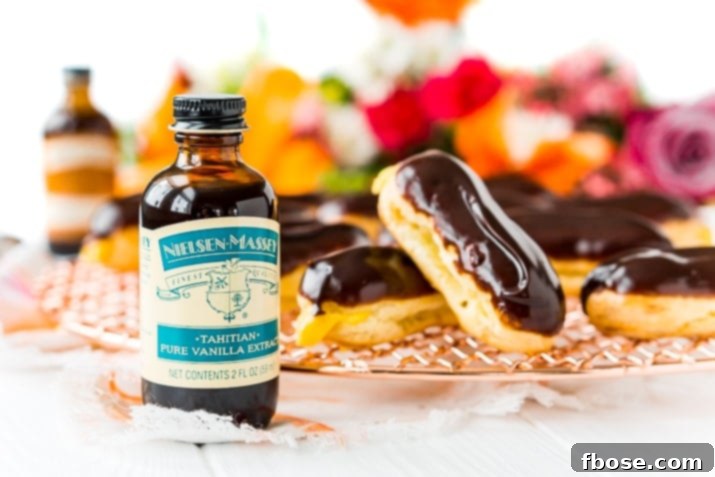
The Vanilla Bean Pastry Cream truly stands out as the star of these eclairs! Its rich, luxurious flavor is magnificently elevated by the infusion of Nielsen-Massey Tahitian Vanilla Beans and Pure Vanilla Extract. This particular variety of vanilla is celebrated for its distinctive fruity and subtly anise-like notes, complemented by delicate floral undertones. It imparts a unique complexity that truly sets this pastry cream apart.
Tahitian vanilla possesses a delicate flavor profile that, while exquisite, does not hold up well under prolonged high heat. This characteristic makes it an ideal choice for cold applications where its nuances can truly shine. It’s perfectly suited for enhancing dishes such as homemade ice cream, classic pastry creams, vibrant fruit sauces, and refreshing smoothies, where its nuanced bouquet can be fully appreciated without being overwhelmed.
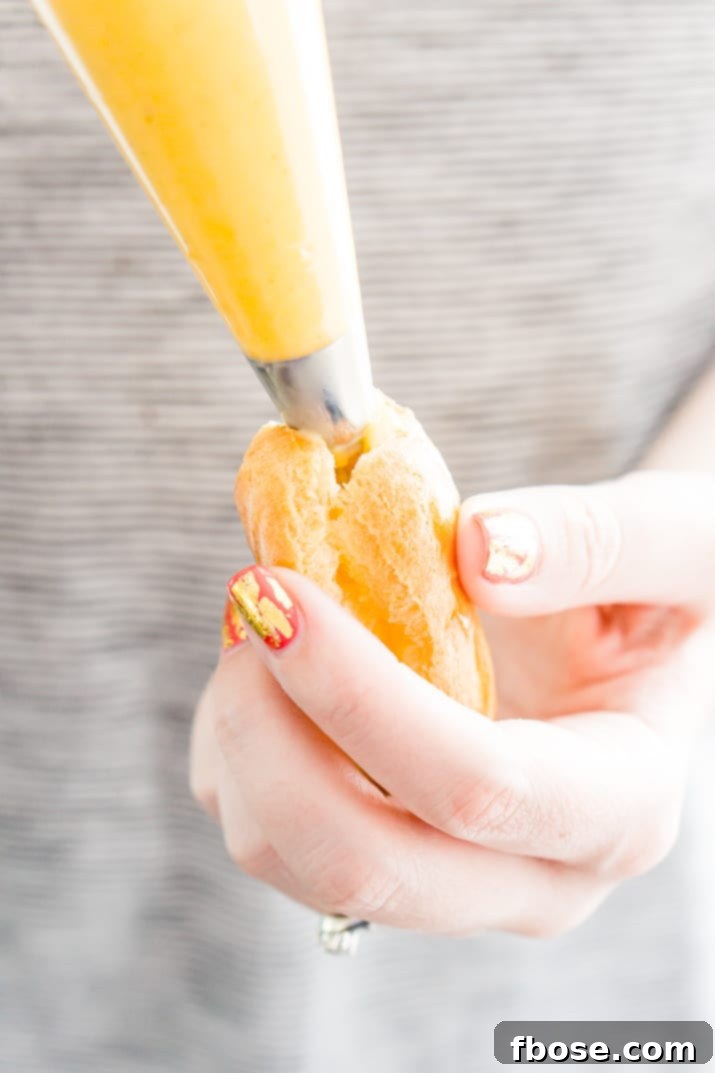
The pastry cream itself is a symphony of simple yet high-quality ingredients: whole milk, a fragrant vanilla bean, vanilla bean paste, pure vanilla extract, granulated sugar, cornstarch for thickening, rich egg yolks, and a touch of unsalted butter for silkiness. The result is an incredibly thick and creamy filling that requires a minimum of 2 hours to chill before it can be used. This chilling period is crucial for both flavor development and achieving the perfect consistency for piping. For convenience, you can prepare the pastry cream up to 24 hours in advance, allowing you to break down the eclair-making process into more manageable steps.
While the ingredients are straightforward, mastering pastry cream can be the most technical aspect of this recipe. A perfect batch can turn into a lumpy, overcooked mess in mere seconds if not handled with care. To guide you towards a flawlessly smooth and decadent pastry cream, here are some essential tips:
- Choose the Right Pot: Opt for a large, heavy-bottomed stainless steel pot. This ensures even heat distribution, helping the cream to thicken uniformly from the center to the top without scorching the bottom.
- Infuse, Don’t Boil: Gently bring the milk and vanilla components (bean, paste, extract) just to a boil. As soon as you see the first bubbles, immediately remove it from the heat. This allows the vanilla flavors to properly infuse into the milk without overcooking the delicate aromas.
- Whip Eggs and Sugar Thoroughly: Before incorporating cornstarch, vigorously whip your egg yolks and sugar for at least 2 minutes. This creates a pale, thick mixture, incorporating air and ensuring the sugar dissolves properly, leading to a smoother final cream.
- Temper with Precision: After adding the cornstarch to the egg mixture, it’s vital to temper the eggs before combining them with the hot milk. Gradually whisk in about 1/4 cup of the warm vanilla milk into the egg mixture first. This slowly raises the temperature of the eggs, preventing them from scrambling when they meet the rest of the hot liquid.
- Strain for Silky Smoothness: Once all the milk and egg mixture are combined, pour the entire liquid through a fine-mesh sieve back into the clean saucepan. This step catches any potential small lumps of cooked egg, vanilla bean fragments, or undissolved cornstarch, guaranteeing an impeccably smooth pastry cream.
- Constant Whisking is Key: Once the mixture is back in the pot over medium heat, whisk constantly and vigorously. This continuous motion prevents the cream from sticking to the bottom, ensures even cooking, and discourages lump formation.
- Watch for Rapid Thickening: Pastry cream thickens very quickly! As soon as you observe it beginning to visibly thicken and perhaps bubble, remove it immediately from the heat. Continue whisking off the heat and stir in the butter until it is fully melted and incorporated. The residual heat will continue to cook the cream slightly.
- Prevent Skin Formation: Transfer the hot pastry cream into a clean bowl. Immediately press plastic wrap directly onto the surface of the cream, ensuring it touches every part. This prevents a rubbery “skin” from forming as it cools.
- Chill Thoroughly: Allow the pastry cream to chill in the refrigerator for a minimum of 2 hours. This chilling time is essential for the cream to firm up and for the flavors to fully meld.
- Rewhip Before Use: Before filling your pastries, remove the chilled pastry cream from the fridge. Give it a good rewhipping with a stand mixer, hand mixer, or even a strong whisk. This restores its smooth, creamy, and pipeable consistency, making it easier to work with.
- Achieve Perfect Filling: To make filling the eclair shells easier and ensure the cream reaches all the way to the back, I highly recommend using a Bismarck piping tip. Its long, slender shape is designed specifically for this purpose.
To fully prepare this exquisite pastry cream, you’ll need to know how to properly scrape a vanilla bean. Let me guide you through the simple steps!
How To Scrape a Vanilla Bean for Maximum Flavor:
Vanilla beans are a treasure trove of flavor, and extracting their precious specks is an art form that enhances any dessert. Here’s how to do it efficiently:
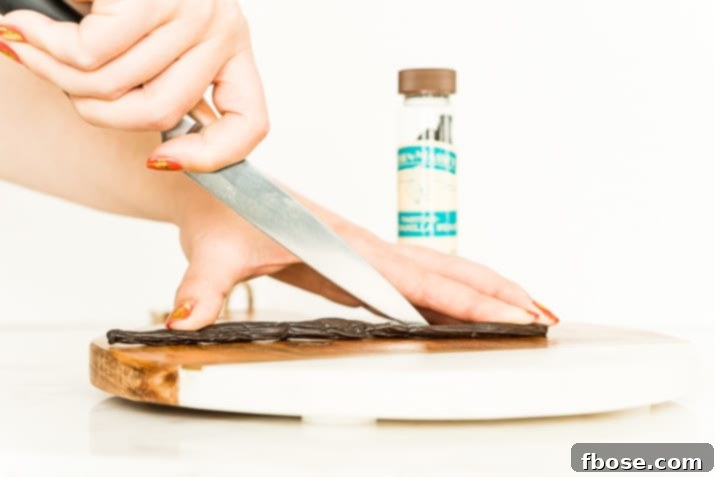
1. Select a Plump Bean: Always start with a high-quality, plump, and moist vanilla bean, such as a Nielsen-Massey Tahitian Vanilla Bean. Avoid dried-up or brittle beans, as they will yield less flavor. Place the bean on a clean cutting board and, using a small, sharp paring knife, carefully slice the bean in half lengthwise, from one end to the other, but do not cut all the way through.
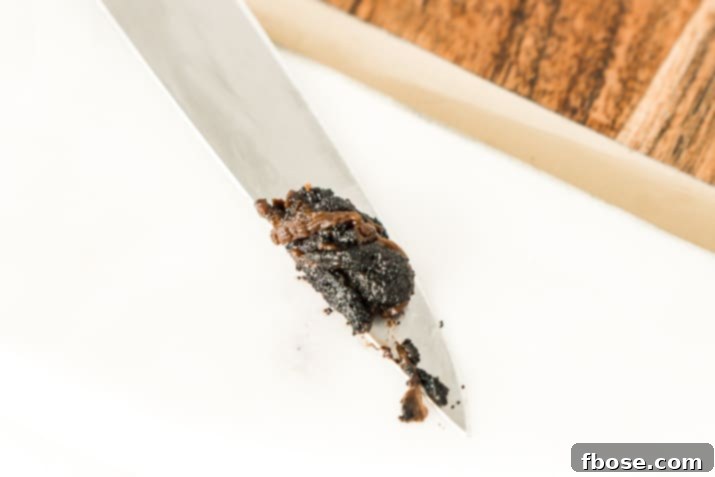
2. Scrape Out the Paste: Once the bean is split, open it up like a book. Then, use the dull spine of your paring knife or a small spoon to gently scrape along the inside of each half of the bean. You’ll see a dark, oily paste filled with tiny black specks – these are the concentrated vanilla seeds. Scrape all the way down the length of both halves to extract every bit of the flavorful paste.
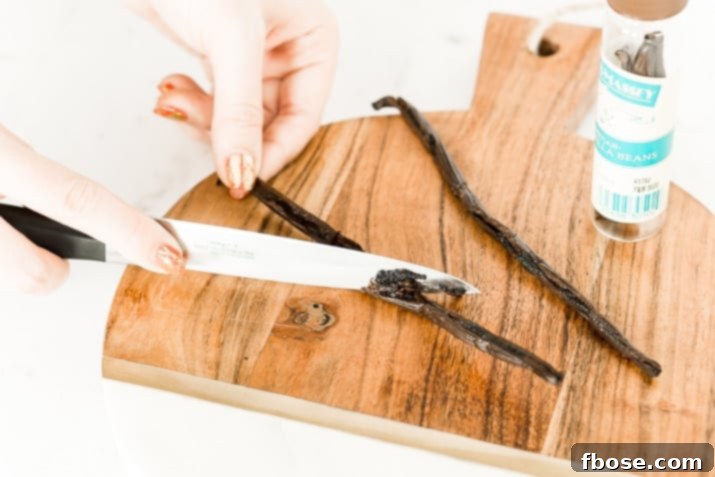
3. Utilize the Specks: Collect these beautiful, fragrant vanilla bean specks. They are packed with intense flavor and aroma, perfect for a multitude of applications. In this recipe’s case, they are essential for infusing our pastry cream with an authentic, deep vanilla essence. Don’t discard the scraped pods immediately; they can be reused for infusing sugar, milk, or making vanilla extract!
The dough for eclairs, known as pâte à choux (or choux dough), is surprisingly simple to master. It consists of just six basic ingredients and comes together quickly. This versatile dough is the foundation not only for eclairs but also for cream puffs (profiteroles) and savory gougères, making it an incredibly valuable skill for any home baker. Learning choux dough truly unlocks a world of delightful possibilities!
Expert Tips for Crafting Flawless Choux Dough:
Choux pastry, while simple in ingredients, benefits greatly from precise technique. Following these tips will help you achieve light, airy, and perfectly puffed shells every time:
- Mind the Humidity: Choux dough is sensitive to moisture. For best results, try to avoid making this dough on overly humid or rainy days, as excess moisture in the air can affect the dough’s consistency and its ability to puff properly.
- Room Temperature Eggs, One at a Time: Always use eggs that are at room temperature. This helps them incorporate more smoothly and evenly into the dough. Crucially, add them one at a time, mixing thoroughly after each addition until fully absorbed. This ensures the dough emulsifies correctly and achieves the right consistency.
- The Right Tool for Mixing: When mixing the dough in the pot over heat, always use a sturdy wooden spoon. A wooden spoon helps to prevent sticking and allows you to effectively “dry out” the dough on the stovetop.
- Scrape Down the Bowl: After adding each egg in a stand mixer, stop and scrape down the sides of the bowl. This ensures that all ingredients are thoroughly combined and no pockets of unmixed dough remain, contributing to a uniform texture.
- Strategic Oven Temperatures: Choux dough requires two distinct temperatures for optimal baking. Start the oven at a high temperature to create an initial burst of steam, which makes the pastries puff rapidly. After this initial phase, reduce the oven temperature to dry out the pastries and ensure they are crisp and hollow inside, preventing them from collapsing.
- Always Use Parchment Paper: For non-stick baking and easy removal, always line your baking sheets with parchment paper. This also helps prevent the bottoms of the pastries from over-browning.
- Piping for Perfection: For uniform shapes and sizes, use a pastry bag to pipe the dough onto the prepared baking sheet. While you can simply cut a hole in the bag, I find using a 1A round piping tip yields the most consistent and aesthetically pleasing results.
- Clean Snips for Clean Shapes: To avoid unsightly “tails” on your piped eclairs, use a pair of clean kitchen shears to snip the dough cleanly near the piping tip once you’ve reached your desired length.
- Release the Steam: Immediately after baking, gently poke one end of each pastry with a toothpick or a small knife. This allows any trapped steam from the interior to escape, preventing the pastries from becoming soggy and ensuring they remain crisp and airy.
- Cool Completely: Before filling or glazing your choux pastries, ensure they are completely cool. Filling warm pastries will cause the cream to melt and the glaze to run, compromising the texture and appearance of your eclairs.

Preparing Choux Dough in Advance: Time-Saving Strategies
Choux dough offers fantastic flexibility for advance preparation, making it a favorite among busy bakers. You can prepare and store it in several ways to streamline your baking process:
Refrigerating Unbaked Dough: The prepared choux dough can be stored in the refrigerator for up to 3 days before baking. Simply place the dough in an airtight container, pressing plastic wrap directly onto its surface to prevent a skin from forming. When you’re ready to use it, let it come to room temperature for about 15-20 minutes, then pipe and bake as usual. This allows you to spread out your eclair-making over two days.
Freezing Unbaked Dough: For longer storage, choux dough can be frozen for up to 3 months. Transfer the dough to an airtight, freezer-safe container. When ready to bake, thaw the dough overnight in the refrigerator, then proceed to pipe and bake. This is an excellent option for having fresh choux pastries on demand.
Freezing Shaped (Piped) Pastries: Even more conveniently, you can pipe your choux dough into desired shapes (eclairs or cream puffs) and freeze them before baking. To do this, pipe the raw dough onto a parchment-lined baking sheet, ensuring each piece is at least 1 inch apart. Freeze the piped dough until solid. Once frozen, transfer the individual pieces to a freezer bag or airtight container. This method prevents them from sticking together. When baking, you can bake them directly from frozen, adding about 5-10 minutes to the original baking time, or thaw them slightly before baking.
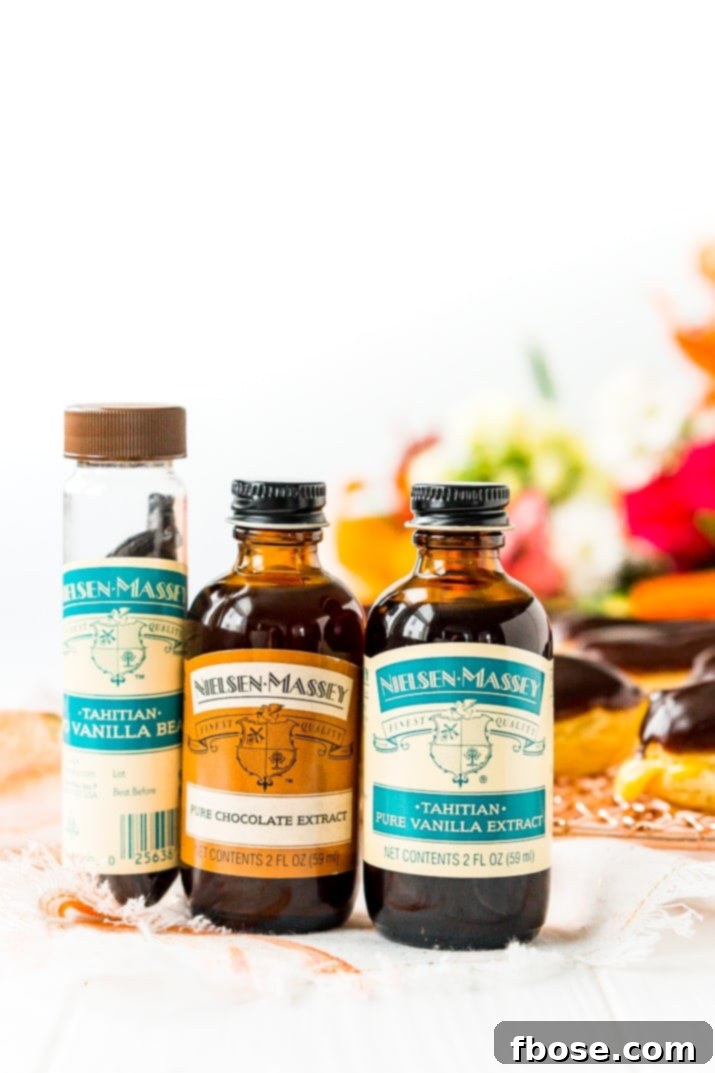
The chocolate ganache, which forms a luxurious glaze for our eclairs, is arguably the simplest component of this entire recipe. Despite its ease, it delivers an incredibly rich and glossy finish that perfectly complements the delicate pastry and creamy filling. It’s made with just three core ingredients: premium dark chocolate chips, heavy cream, and a special secret weapon – Nielsen-Massey Pure Chocolate Extract. This extract elevates the ganache, adding an unparalleled depth of chocolate flavor to these already tempting pastries.
Nielsen-Massey’s Pure Chocolate Extract is meticulously crafted from the finest cocoa beans, embodying the full, complex flavor of dark chocolate. It is an ideal ingredient for layering additional dimensions of chocolate intensity into any recipe where chocolate forms the base. Whether you’re enhancing a brownie batter, enriching a chocolate mousse, or even experimenting with unique cocktails like my Chocolate Mojitos, this extract deepens and refines the chocolate experience, ensuring a truly indulgent taste.
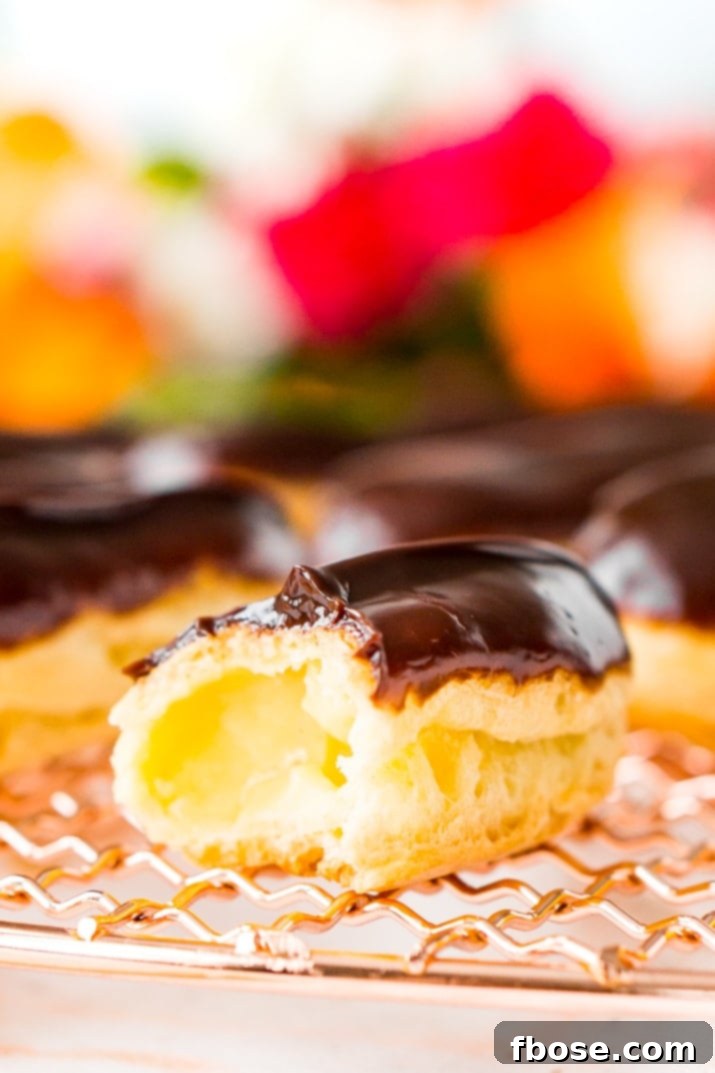
There you have it – a comprehensive guide to creating sweet and decadent eclairs right in your own home. While it might seem like a lot of information to absorb, rest assured that the process is far less intimidating than it appears. Compared to other classic French treats like croissants, eclairs are considerably less time-intensive and much more forgiving for the home baker.
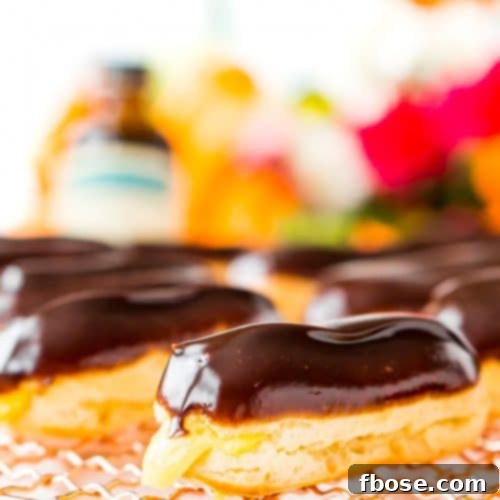
Moreover, the satisfaction of presenting homemade eclairs to your friends and family is immeasurable. These mini eclairs are not just a dessert; they are an impressive culinary feat that will undoubtedly earn you major bonus points. Everyone will adore the contrast of the light, airy pastry filled with the fragrant vanilla bean cream, all exquisitely topped with a rich, glossy chocolate ganache. It’s a taste of French elegance, made with love, right in your own kitchen.
Explore More Irresistible Dessert Recipes:
- Authentic Homemade Cannoli
- Effortless Tiramisu
- Creamy Peanut Butter Fudge
- Classic Boston Cream Pie
- Delicate Cream Horns
Chocolate Eclairs: Pin for Later!
Pin This Delicious Recipe
Click the button above to save this exquisite recipe to your Pinterest board!

Let’s Connect!
If you’ve tried this delightful recipe, please share your thoughts and leave a review in the comments below. I genuinely love hearing from you and seeing your culinary creations!
Don’t forget to tag me – @sugarandsoulco – on Instagram and Pinterest with your photos, or join our Sugar & Soul Show-offs Community and share them there, where you can also participate in our fun recipe challenges!
Chocolate Eclair
Ingredients
Pastry Cream
- 1 1/3 cup whole milk
- 1 Nielsen-Massey Tahitian Vanilla Bean, split lengthwise, paste scraped out
- 1/2 teaspoon Nielsen-Massey Tahitian Vanilla Extract
- 4 large egg yolks
- 1/2 cup granulated sugar
- 2 tablespoons + 2 teaspoons cornstarch
- 1 tablespoon unsalted butter
Choux Pastry
- 8 ounces water
- 1/2 cup unsalted butter, cubed
- 2 tablespoons granulated sugar
- 1/4 teaspoon kosher salt
- 1 cup + 2 tablespoons all-purpose flour
- 4 large eggs
- 1 egg yolk
- 1 teaspoon water
Chocolate Ganache
- 1 cup dark chocolate chips
- 1/2 cup heavy cream
- 1 teaspoon Nielsen-Massey Pure Chocolate Extract
Instructions
Pastry Cream
-
In a large saucepan, combine the whole milk, Nielsen-Massey Tahitian Vanilla Bean (split lengthwise with paste scraped out), and Nielsen-Massey Tahitian Vanilla Extract. Bring this mixture to a gentle boil over medium heat, whisking occasionally to prevent scorching. As soon as it begins to boil, immediately remove the saucepan from the heat and let it sit for 15 minutes to allow the vanilla flavors to fully infuse into the milk.
-
While the milk is infusing, prepare the egg mixture. In a medium-sized bowl, or using a stand mixer fitted with a whisk attachment, vigorously whisk together the large egg yolks and granulated sugar for about 2 to 3 minutes until pale and slightly thickened. Add the cornstarch and continue to whisk vigorously until all lumps are gone and the mixture is smooth.
-
Carefully remove the vanilla bean pods from the infused milk mixture. You can discard them, or if the bean is still moist and aromatic, rinse and dry it to use again for infusing sugar or extract. To temper the eggs, gradually whisk about 1/4 cup of the warm vanilla milk into the egg mixture. This step is important to slowly raise the temperature of the eggs and prevent them from cooking too quickly. Once the small amount of milk is fully incorporated, whisk in the remaining milk into the egg mixture. Set the saucepan aside briefly.
-
Pour the entire milk and egg mixture back into the large saucepan, passing it through a fine-mesh sieve. This ensures a perfectly smooth cream by catching any small lumps. Cook the mixture over medium heat, whisking constantly and vigorously, until the cream begins to thicken and comes to a boil. Immediately remove from heat and stir in the unsalted butter until it is completely melted and incorporated, resulting in a smooth, glossy cream.
-
Transfer the hot pastry cream into a clean bowl. To prevent a skin from forming on the surface, cover it with plastic wrap, ensuring the plastic wrap gently touches the entire surface of the cream. Chill in the refrigerator for at least 2 hours, or ideally up to 24 hours, to allow it to cool completely and firm up.
Choux Dough
-
Preheat your oven to 400°F (200°C). Line a large baking sheet with parchment paper and set it aside. This will prevent sticking and aid in easy cleanup.
-
In a medium saucepan, combine the water, cubed unsalted butter, granulated sugar, and kosher salt. Place the saucepan over high heat and bring the mixture to a rapid, rolling boil, ensuring the butter has completely melted and is fully incorporated.
-
Once boiling, remove the pan from the heat. Immediately add all of the all-purpose flour at once. Stir vigorously with a sturdy wooden spoon for about 2 minutes. Continue mixing until the dough comes together, pulls away from the sides of the pan, and forms a smooth ball. The dough will have a texture resembling mashed potatoes when it’s ready.
-
Transfer the hot dough to the bowl of a stand mixer fitted with a paddle attachment, or to a large bowl if using a hand mixer. Beat on medium-low speed for a few minutes to release some of the heat from the dough. Continue mixing until the dough is just warm to the touch, not hot. This prevents the eggs from scrambling when added.
-
With the mixer still on medium-low speed, add the large eggs one at a time. It’s crucial to fully mix in each egg before adding the next one. The dough may look curdled or separated at first, but it will come back together. Scrape down the sides of the bowl as needed between each egg addition to ensure everything is thoroughly combined.
-
Once the dough is smooth and glossy, transfer it to a pastry piping bag fitted with a large round piping tip (such as a 1A tip). Pipe the dough onto the parchment-lined baking sheet in even 3-inch strips, leaving approximately 2 inches of space between each strip. To prevent “tails” or uneven edges, use clean kitchen shears to snip the dough cleanly near the piping tip when you reach the desired length for each eclair.
-
In a small bowl, whisk together the egg yolk and the teaspoon of water to create an egg wash. Lightly brush the tops of the piped choux dough with this egg wash. This step will help the pastries achieve a beautiful golden-brown color and a slightly crisp finish during baking.
-
Place the baking sheet in the preheated 400°F (200°C) oven and bake for 8 minutes. After 8 minutes, reduce the oven temperature to 350°F (175°C) without opening the oven door, and continue to bake for another 20 to 25 minutes. The exact baking time may vary depending on the size and shape of your pastries and your oven’s calibration. Bake until the pastries are visibly puffed, golden-brown in color, and feel dry to the touch. They should detach easily from the parchment paper and feel hollow and light when gently lifted.
-
Once baked, remove the pastries from the oven. To check for doneness, pick up one pastry; if it still feels a bit heavy or seems slightly soggy/eggy inside, lower the oven heat to 300°F (150°C) and bake for an additional 5 minutes. This extra baking time at a lower temperature helps to further dry out the puffs and ensure they are perfectly crisp.
-
Immediately after removing the pastries from the oven, use a toothpick or the tip of a small knife to poke a small hole in one end of each pastry. This releases any lingering steam trapped inside, which is crucial for preventing them from becoming soggy and helps maintain their crispness.
-
Transfer the baked pastries to a wire cooling rack and allow them to cool completely to room temperature before attempting to fill or glaze them. If you have any remaining dough, repeat the piping and baking steps.
Chocolate Ganache
-
Place the dark chocolate chips in a small, heatproof glass bowl and set aside. Ensure your bowl is completely dry to prevent the chocolate from seizing.
-
Pour the heavy cream into a small saucepan. Heat over medium-low heat until it reaches a light simmer, with small bubbles forming around the edges. Immediately remove the cream from the heat and pour it directly over the chocolate chips in the glass bowl.
-
Add the Nielsen-Massey Pure Chocolate Extract to the chocolate and cream mixture. Allow the mixture to sit undisturbed for 3 to 4 minutes. This allows the hot cream to melt the chocolate evenly. After sitting, gently whisk the mixture from the center outwards until it transforms into a smooth, glossy, and rich chocolate ganache.
Assembly
-
Retrieve the chilled pastry cream from the refrigerator. Using a whisk, stand mixer, or hand mixer, whip the cream until it is smooth, light, and creamy again. Transfer the rewhipped pastry cream to a piping bag fitted with a Bismarck tip for easy and complete filling.
-
Using a small paring knife, make a small slit or two (depending on eclair length) on the underside or at one end of each cooled choux pastry. Insert the Bismarck piping tip into the pastry shell and gently squeeze, filling the eclair with the cream. Slowly withdraw the tip as the pastry fills, ensuring an even distribution of cream throughout.
-
Once filled, take each eclair and gently dip the top surface into the prepared chocolate ganache. Allow any excess ganache to drip off, then place the eclairs on a sheet of parchment paper. Let them sit at room temperature for a short while, or in the refrigerator, until the ganache has completely set and hardened to a glossy finish.
-
Your homemade chocolate eclairs are now ready to be enjoyed immediately! For optimal freshness and texture, any remaining eclairs should be stored in an airtight container in the refrigerator until ready to consume. They are best enjoyed within 1-2 days.
Nutrition
Did You Make This Recipe?
Don’t forget to share it with me on Instagram @sugarandsoulco and follow on Tiktok @sugarandsoulco and Pinterest @sugarandsoulco for more!
Pin Recipe
Share Recipe