
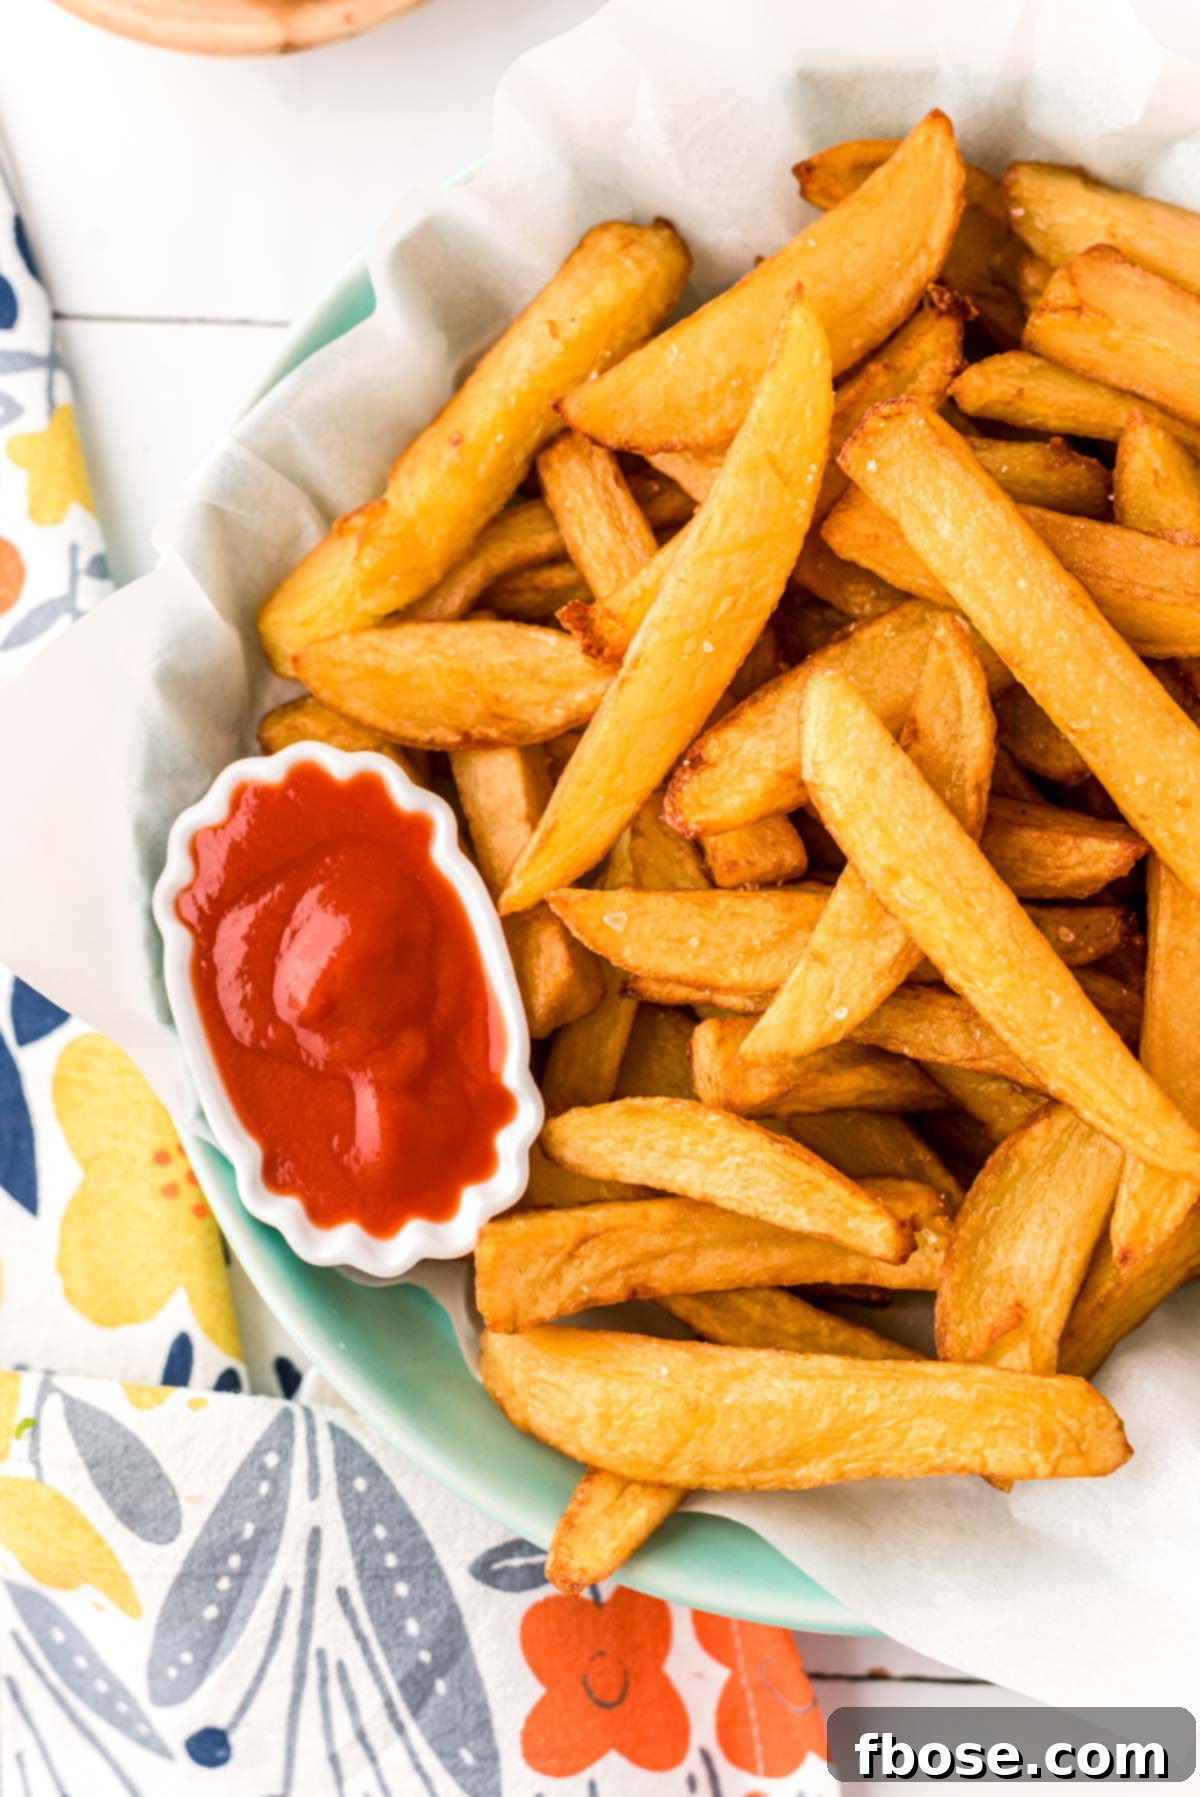
Craving the ultimate crunch? Imagine perfectly golden, irresistibly crispy French fries, hot and fresh from your kitchen. Forget the soggy, bland frozen varieties – mastering homemade French fries is a culinary revelation that transforms a simple potato into a side dish superstar. This comprehensive guide will walk you through every step to achieve restaurant-quality fries right in your own home, requiring less than 35 minutes of active cooking time. Prepare to elevate your meal experience, whether paired with a juicy burger, tender chicken, or flaky fried fish!
The Unrivaled Joy of Homemade French Fries
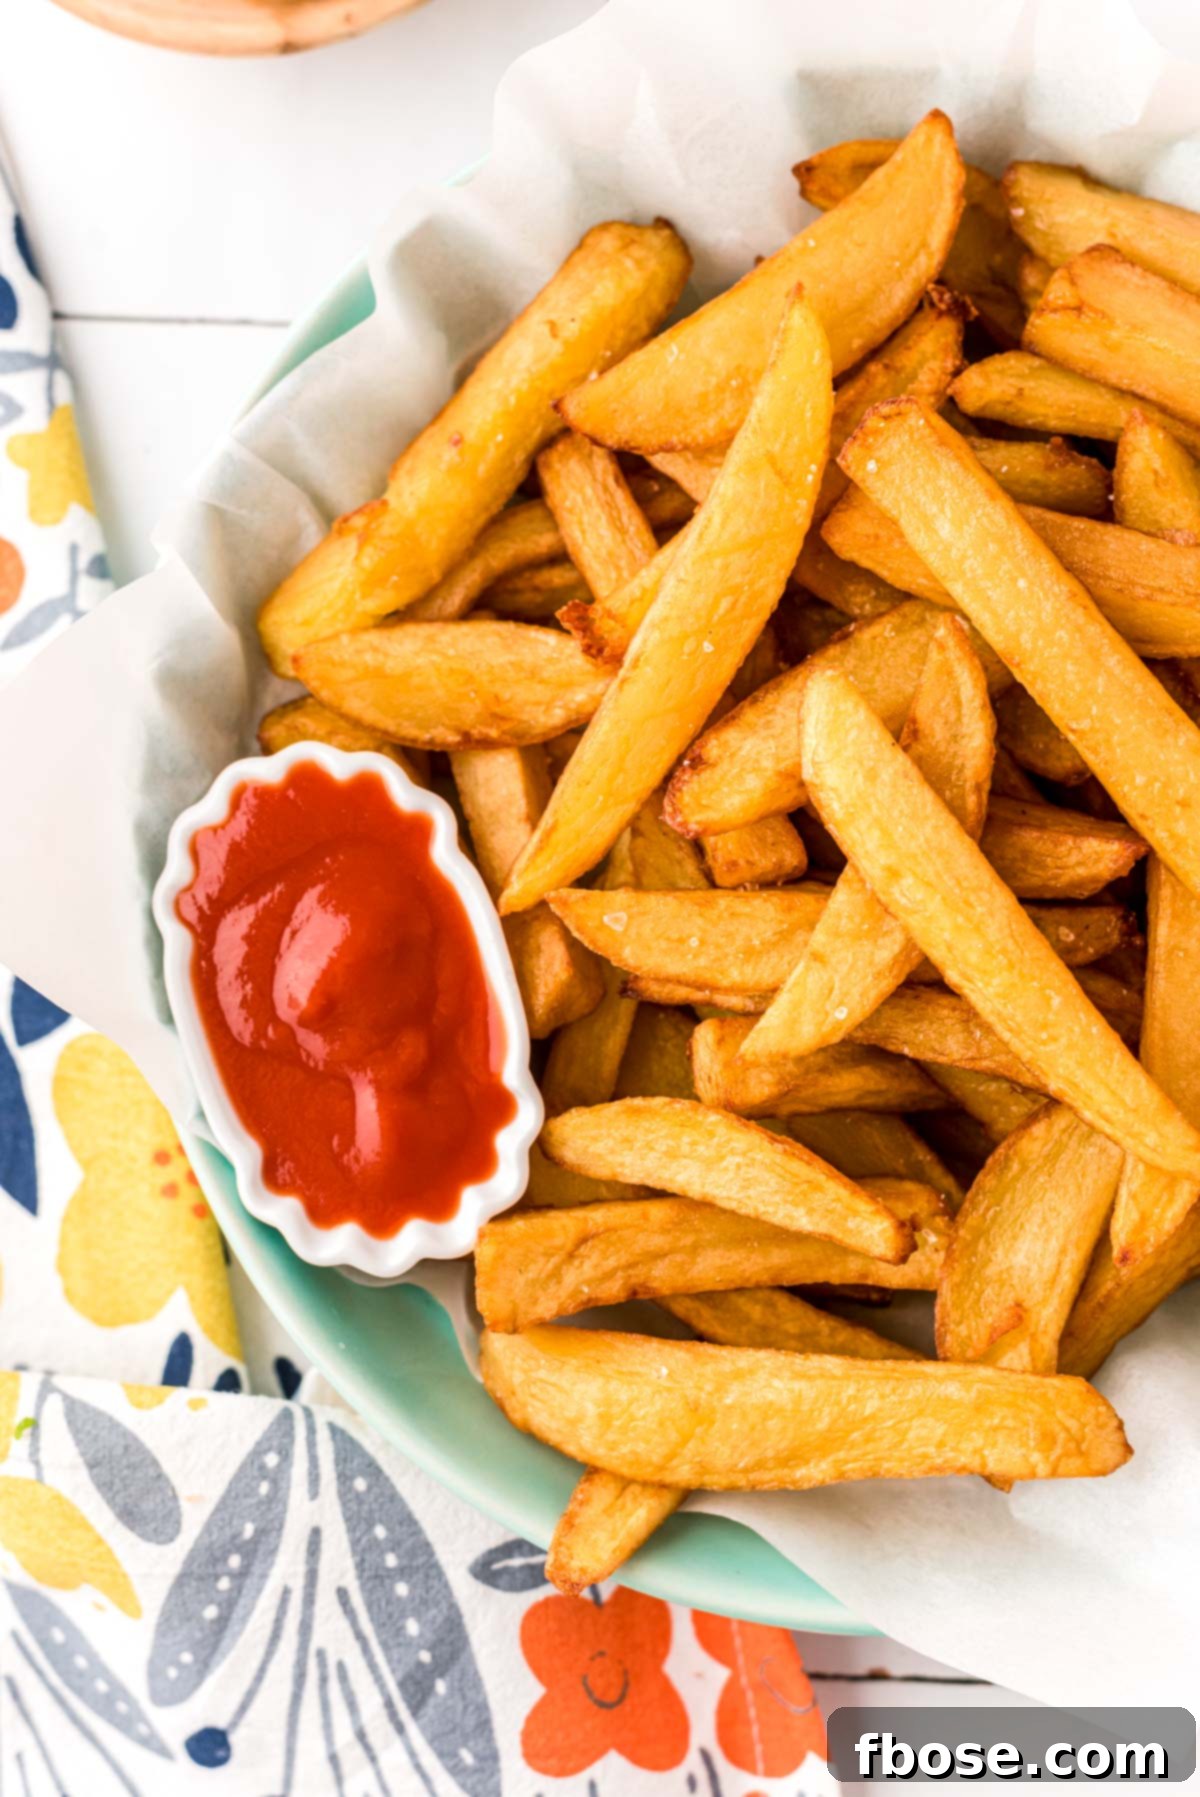
There’s a distinct difference between store-bought frozen French fries and those crafted from scratch in your kitchen. Homemade fries offer an unparalleled freshness, a superior texture, and a customizable flavor that frozen alternatives simply cannot match. Picture thick, hearty potato strips, double-fried to a stunning golden brown, ensuring every bite is delightfully crisp on the outside and wonderfully fluffy on the inside. This isn’t just a side dish; it’s an experience. The process might seem daunting at first glance, but with the right technique, you’ll be ditching those freezer bags for good. You don’t even need a specialized deep fryer; a sturdy pot on your stove works perfectly!
Choosing the Perfect Potatoes for Your Crispy Creation
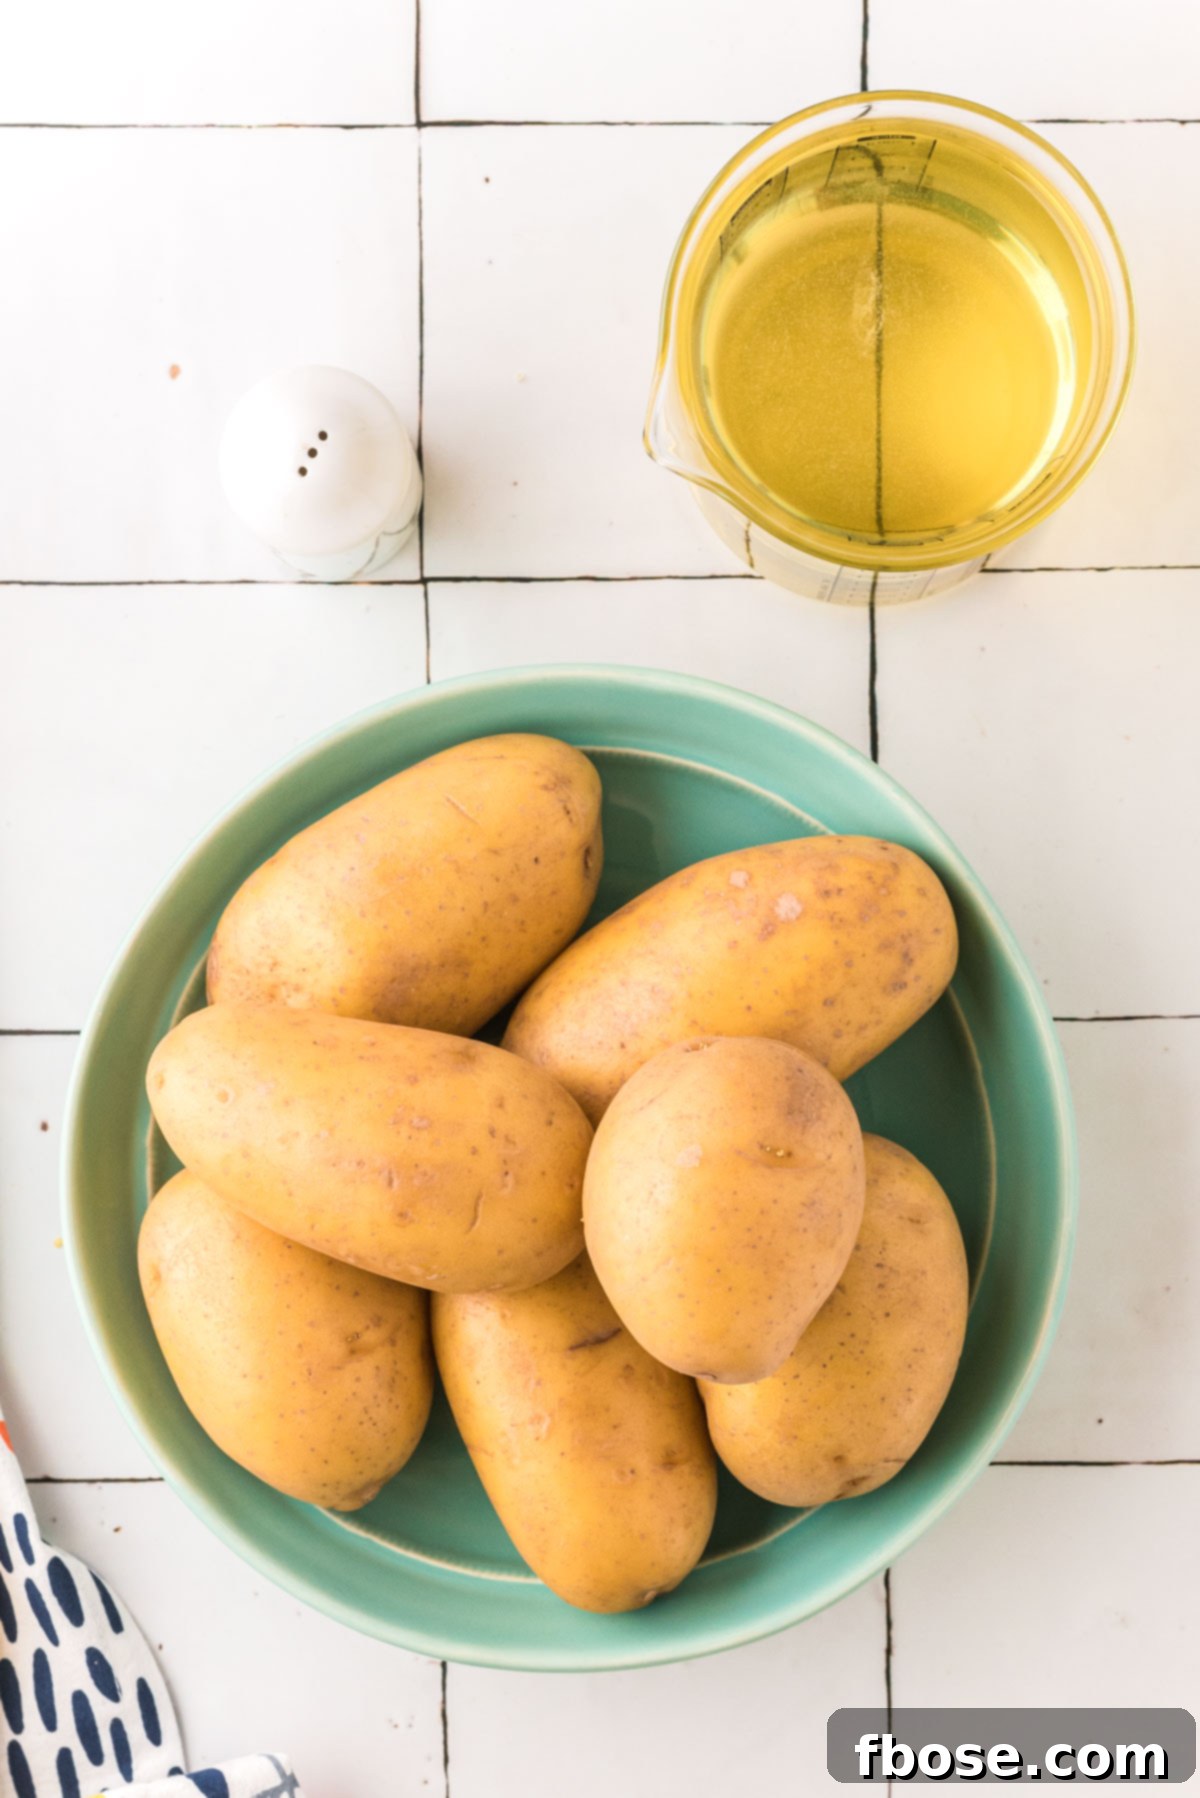
The foundation of any great French fry lies in the potato. While seemingly simple, selecting the right variety can significantly impact the final texture of your fries. For this recipe, you only need fresh potatoes, vegetable oil, and salt to taste. But let’s delve a little deeper into potato selection:
- Russet Potatoes: Often considered the gold standard for French fries. Their high starch content and low moisture make them ideal for achieving that coveted crispy exterior and light, fluffy interior. They hold their shape well and absorb less oil, resulting in a drier, crisper fry.
- Yukon Gold Potatoes: If you prefer a slightly creamier, denser texture inside your fries, Yukon Golds are an excellent choice. They have a medium starch content and a buttery flavor that shines through after frying. While not as overtly fluffy as Russets, they still crisp up beautifully.
Both types will yield delicious results; the choice ultimately comes down to your personal preference for interior texture. Whichever you choose, ensure they are firm, free of sprouts, and have no green spots, which can indicate solanine, a bitter-tasting compound.
Essential Ingredients Beyond the Potato
While potatoes are the star, the supporting cast of ingredients is equally vital for French fry perfection.
-
Vegetable Oil: The type of oil you use for frying makes a big difference in both taste and texture. Opt for oils with a high smoke point, which means they can tolerate high temperatures without burning or imparting off-flavors. Excellent choices include:
- **Canola Oil:** Neutral flavor, high smoke point, and widely available.
- **Peanut Oil:** Slightly nutty flavor, very high smoke point, and a favorite for many fried foods.
- **Sunflower Oil:** Mild flavor and a good high smoke point.
- **Vegetable Shortening:** Can also be used for an old-school flavor and crispness.
Avoid olive oil or butter, as their low smoke points will cause them to burn at the required frying temperatures. Ensure you use enough oil to fully submerge the fries in batches, typically around 2 quarts for a standard pot.
-
Salt: A simple yet crucial finishing touch. The type of salt can impact how it adheres and melts onto your hot fries.
- **Fine Sea Salt:** Our top recommendation. Its delicate crystals adhere beautifully to hot fries, melting instantly to provide perfect seasoning.
- **Flaky Sea Salt:** Offers a satisfying textural crunch, ideal for those who enjoy a coarser salt finish.
- **Kosher Salt:** A good all-purpose option, with larger crystals that still cling well.
Season generously immediately after frying for the best results.
-
Optional Seasonings: Don’t limit yourself to just salt! Experiment with other flavors to create unique fries:
- Garlic powder
- Onion powder
- Smoked paprika or regular paprika
- Cayenne pepper (for a kick!)
- Rosemary and thyme (fresh or dried)
- Parmesan cheese (sprinkled hot)
- A dash of chili powder
Mastering the Double-Fry Technique: Your Guide to Perfect Crispness
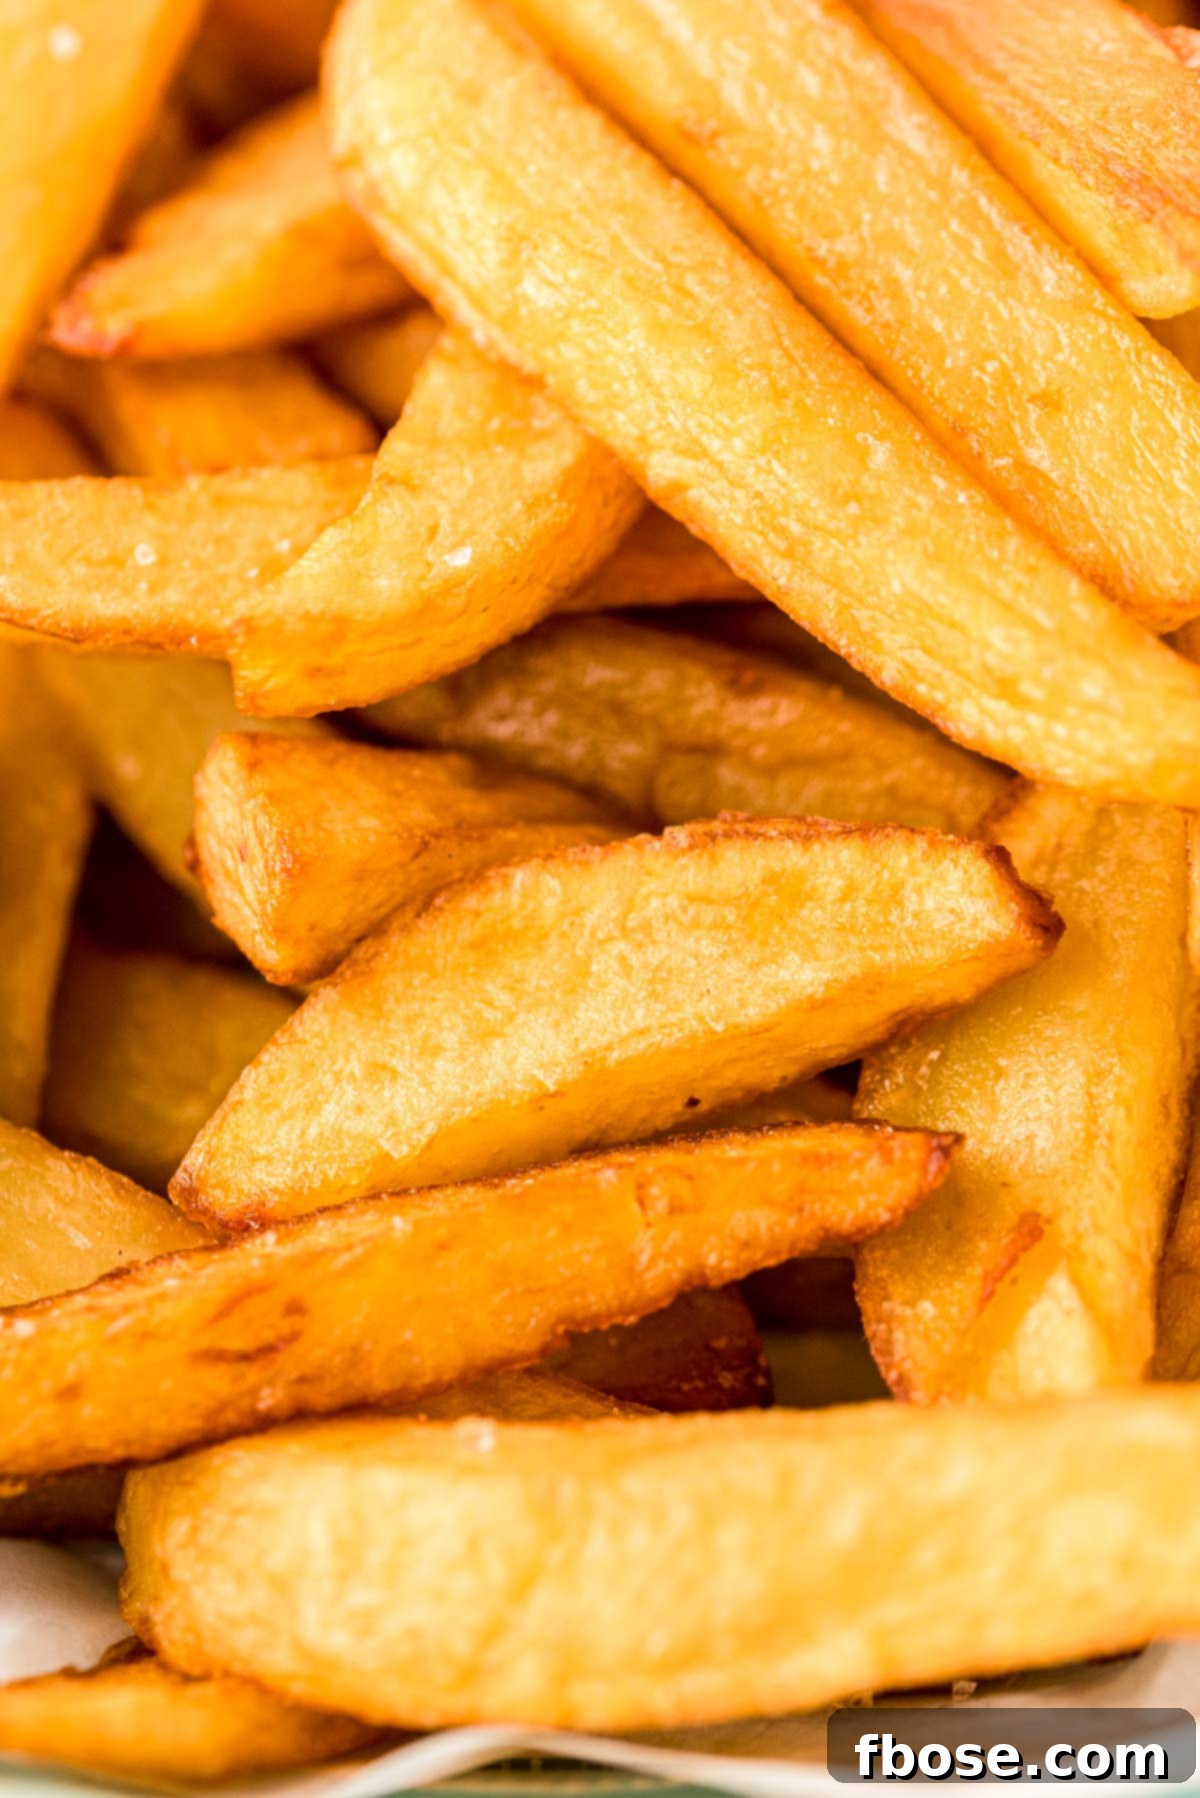
The secret to truly exceptional French fries is the double-fry method. This two-stage cooking process ensures that your fries are thoroughly cooked through and incredibly crispy, never soggy. Here’s how to do it:
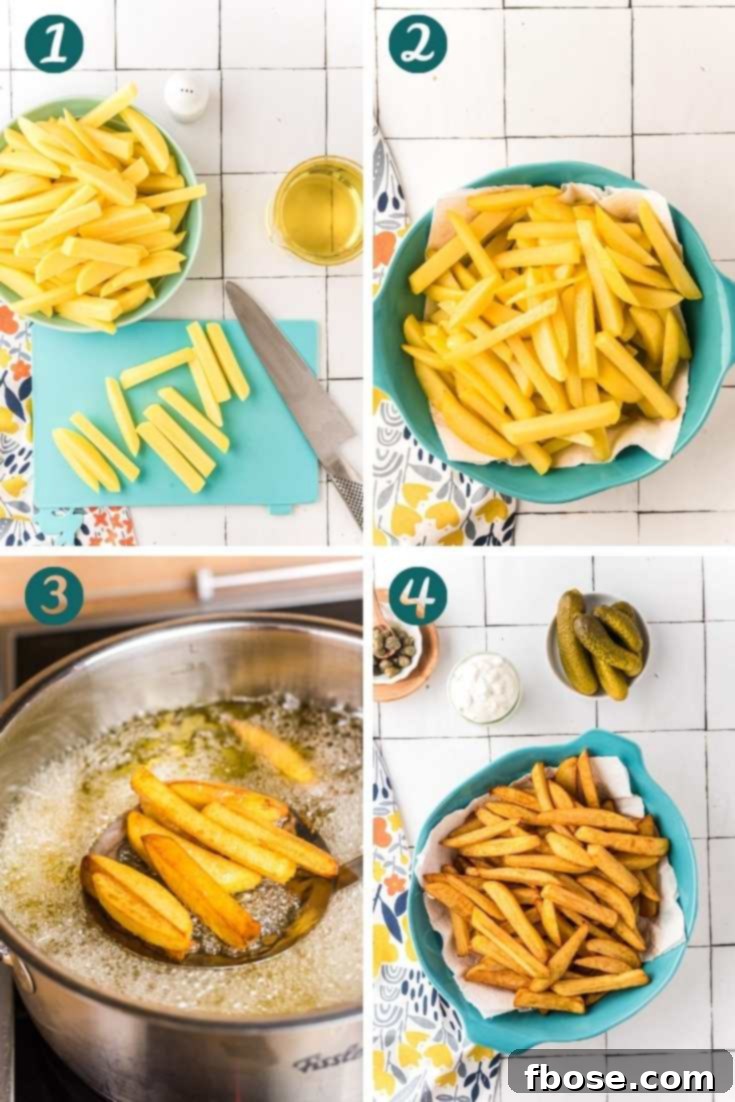
1. Preparation is Key
- Start by lining a large plate or baking sheet with several layers of paper towels. This will be where you drain your fries after each frying stage. Set it aside within easy reach.
- Peel and Cut: Peel your chosen potatoes. For classic French fries, cut them into thick, even strips, roughly 1/4 to 1/2 inch thick. Consistency in size is crucial for even cooking. A French fry cutter can make this step quicker and more uniform.
- Rinse Thoroughly: Place the cut potatoes in a large bowl and rinse them under cold running water. Continue rinsing and changing the water until it runs clear. This step is vital as it removes excess starch from the potato surface, which would otherwise prevent crisping and lead to soggy fries.
- Dry, Dry, Dry: After rinsing, spread the potato strips on clean paper towels or a clean kitchen towel. Pat them as dry as humanly possible. Any residual moisture will cause the oil to splatter dangerously and inhibit proper browning and crisping.
2. First Fry: The Blanching Stage
- Heat the Oil: Pour your chosen frying oil into a large, heavy-bottomed pot. Fill the pot no more than halfway to prevent overflow when the potatoes are added. Heat the oil over medium-high heat until it reaches 320°F (160°C).
- Temperature Check (No Thermometer? No Problem!): If you don’t have a kitchen thermometer, you can use a simple trick: dip the handle of a wooden spoon or a wooden chopstick into the hot oil. If tiny bubbles immediately form around the wood and gently rise to the surface, your oil is ready. If it bubbles vigorously, it’s too hot; if nothing happens, it needs more time. Lifehacker offers a great photo example here.
- First Fry Batch: Once the oil is at the correct temperature, carefully add half of your dried potato strips to the pot. Do not overcrowd the pot; this will drop the oil temperature too quickly and result in greasy fries. Cook for about 4-5 minutes, or until the fries are soft, slightly pliable, and have just started to develop a very pale, almost blonde color. They won’t be crispy yet.
- Drain: Using a slotted spoon or a spider strainer, remove the fries from the oil and transfer them to your prepared paper-towel-lined plate or baking sheet. Allow excess oil to drain. Repeat with the remaining half of the potatoes.
3. Cooling Down for Maximum Crispness
- Rest the Fries: After the first fry, let the blanched fries cool completely for at least 10-15 minutes, or even longer if time permits. Spreading them out helps them cool evenly. This cooling period is essential for the starch inside the potato to solidify, creating a barrier that will become incredibly crisp during the second fry. You’ll notice they look somewhat limp at this stage – don’t worry, that’s normal!
4. Second Fry: Achieving Golden Perfection
- Increase Oil Heat: While the fries are cooling, increase the heat of your oil to 350°F (175°C). This higher temperature is crucial for achieving that irresistible golden brown color and ultimate crispness.
- Second Fry Batch: Once the oil is at 350°F, carefully return the cooled, blanched fries to the hot oil in two batches (if necessary). Fry for another 2-4 minutes, or until they are beautifully golden brown and incredibly crisp. Keep an eye on them, as they can go from perfect to overdone quickly at this stage.
5. Season and Serve Immediately
- Final Drain and Season: Once golden and crisp, remove the fries from the oil with your slotted spoon and transfer them to fresh paper towels to briefly drain any remaining oil.
- Salt Generously: Immediately sprinkle generously with fine sea salt while they are still hot. The heat will help the salt adhere and melt perfectly onto the fries.
- Serve Hot: French fries are best enjoyed straight away! Serve them hot with your favorite dipping sauce.
Tips for Deep Frying Safely and Successfully
Frying can be intimidating, but with a few safety precautions and techniques, you’ll be frying like a pro:
- Oil Level: Never fill your pot more than halfway with oil. This leaves enough room for displacement when you add the potatoes and prevents dangerous overflows.
- Batch Frying: Always fry in batches. Overcrowding cools down the oil significantly, leading to soggy, greasy fries. Give your fries space to swim and crisp up!
- Oil Temperature Consistency: A good kitchen thermometer is your best friend for frying. Maintaining the correct oil temperature (320°F for the first fry, 350°F for the second) is key to consistent results. Too low, and fries absorb too much oil; too high, and they burn before cooking through.
- Handle with Care: Always add potatoes to hot oil gently to avoid splattering. Use a slotted spoon or spider strainer for easy and safe removal.
- Ventilation: Ensure good ventilation in your kitchen to dissipate smoke and strong odors.
- Fire Safety: Keep a fire extinguisher (specifically for grease fires, Class K) or a box of baking soda nearby. Never use water on a grease fire! If a fire starts, turn off the heat and smother it with a lid or baking soda.
- Leftover Oil: Allow oil to cool completely before discarding. You can strain it and reuse it for one or two more frying sessions if it’s still clean. Store in an airtight container in a cool, dark place.
Creative Serving Suggestions and Dipping Sauces
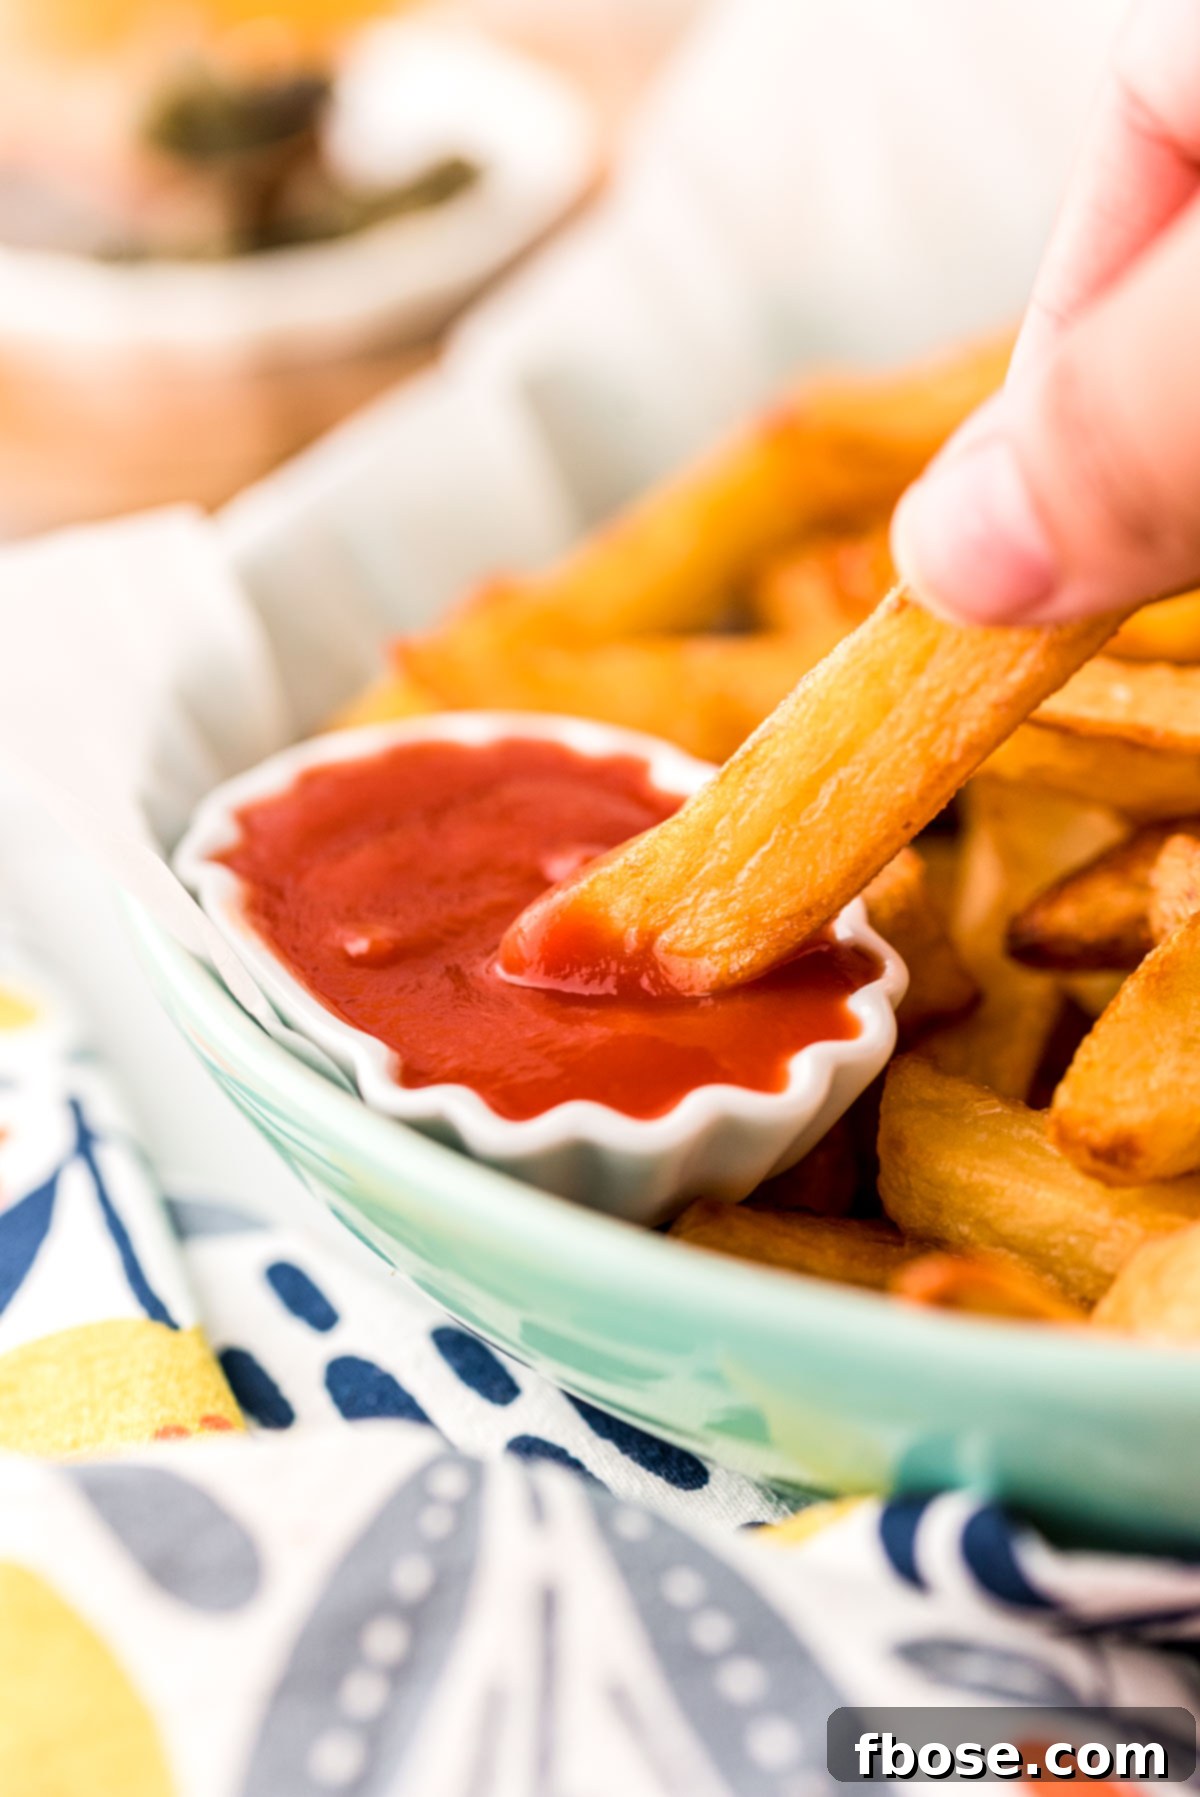
French fries are incredibly versatile and can be the star of the show or the perfect supporting actor. Beyond ketchup, explore a world of flavors:
- Classic Pairings:
- Alongside a juicy gourmet burger or a simple cheeseburger.
- With crispy fried chicken or tender chicken tenders.
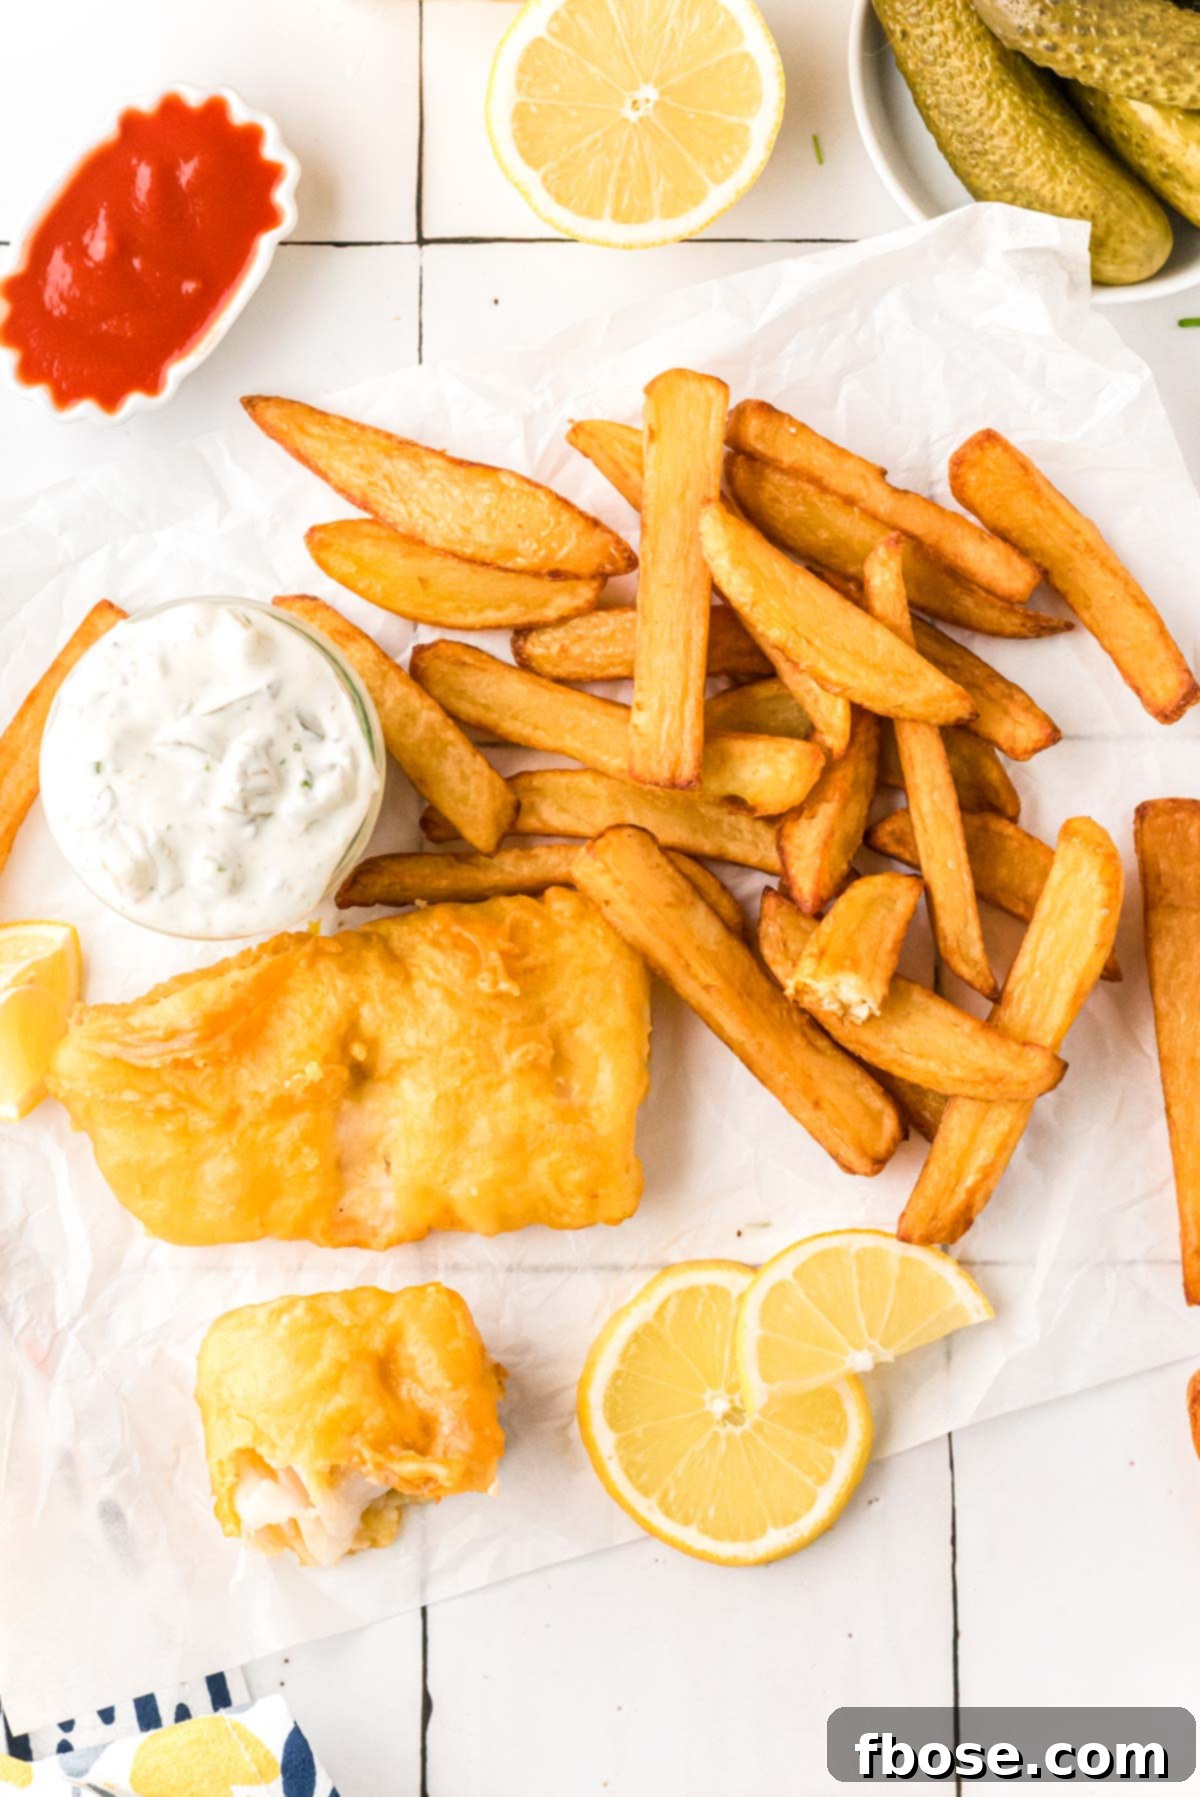
- A traditional “fish and chips” experience with flaky fried fish and homemade tartar sauce.
- As a hearty side to a perfectly cooked steak.
- Exciting Dipping Sauces:
- Your favorite ketchup, of course!
- Tangy burger sauce.
- Creamy ranch dressing or blue cheese dip.
- Zesty cilantro lime aioli.
- Garlic aioli for a rich, savory dip.
- Spicy Sriracha mayo.
- Warm cheese sauce or nacho cheese for loaded fries.
- Sweet and sour sauce or barbecue sauce.
- Even a simple vinaigrette for a gourmet twist.
- Loaded Fries Variations:
- Chili Cheese Fries: Top with homemade chili and melted cheddar cheese.
- Garlic Parmesan Fries: Toss with minced garlic, fresh parsley, and grated Parmesan immediately after frying.
- Poutine: A Canadian classic – smother with cheese curds and hot gravy.
- Bacon Ranch Fries: Drizzle with ranch and sprinkle with crispy bacon bits.
Frequently Asked Questions About Homemade French Fries
Can I prepare French fries ahead of time?
Yes, you can! You can peel and cut your potatoes up to 12 hours in advance. After cutting, immediately place them in a bowl of cold water to prevent oxidation and browning. Store them in the refrigerator until you’re ready to fry. Just remember to pat them absolutely dry before they go into the hot oil.
How do I keep my fries warm and crispy?
If you need to keep a batch of fries warm while you finish cooking other items, or if you’re making multiple batches, simply place them on a wire rack set over a baking sheet in a warm oven. Set your oven to the lowest possible temperature, usually around 120-140°F (50-60°C). This will keep them warm without overcooking or making them soggy.
What’s the best way to store leftover French fries?
Leftover French fries can be stored in an airtight container in the refrigerator for 3 to 5 days. However, for the best quality, it’s always recommended to enjoy them fresh.
How do I reheat leftover French fries to make them crispy again?
Reheating fries in a microwave will almost always lead to soggy results. For crispy leftovers, spread them in a single layer on a baking sheet and reheat in a preheated oven at 400°F (200°C) for 5-10 minutes, or until hot and re-crisped. An air fryer is also an excellent tool for reheating fries, typically at 375°F (190°C) for 3-5 minutes, shaking the basket halfway through.
Are there healthier alternatives to deep-fried fries?
Absolutely! If you’re looking for a non-fried option, consider oven-roasted or air-fried sweet potato wedges. They offer a different flavor profile but can still satisfy that crispy craving. You can also make potato wedges in the oven for a similar savory experience without deep frying. These methods significantly reduce the oil content.
Beyond the Classic: Other Amazing Potato Recipes to Try
Potatoes are incredibly versatile and make for a satisfying side dish in countless forms. If you love these homemade fries, you might enjoy exploring other potato-based recipes:
- Best Ever Baked Potatoes– Loaded with creamy dressing, cheddar cheese, crispy bacon, and fresh chives for a truly indulgent experience.
- Chile Lime Sweet Potato Wedges– A perfect balance of savory and sweet, with a vibrant touch of heat and tang.
- Creamy Mashed Potatoes – A timeless comfort food, ideal for holidays or comforting weeknight family meals.
- Savory Mashed Sweet Potatoes – Roasted until tender and then mashed with tangy flavors for a delightful twist.
- Instant Pot Mashed Potatoes – A quick and efficient way to get everyone’s favorite creamy side dish on the table in record time.
- Oven-Roasted Sweet Potato Wedges – A delicious and healthier alternative to traditional fries, roasted to perfection.
Homemade French Fries Recipe Card
Get ready to make the best French fries of your life with this easy-to-follow recipe!
Yields: 4 servings
Prep time: 15 minutes
Cook time: 7 minutes
Cooling time: 10 minutes
Total time: 32 minutes
Ingredients
- 2½ pounds potatoes (Russet or Yukon Gold recommended)
- 2 quarts vegetable oil (or other high smoke point frying oil like canola or peanut oil)
- Salt to taste (fine sea salt recommended)
Instructions
- Line a large plate or baking sheet with several layers of paper towels; set aside.
- Peel the potatoes and cut them into thick, even strips (approximately 1/4 to 1/2 inch thick). A French fry cutter can be used for consistency.
- Wash the cut potato strips thoroughly under cold running water until the water runs clear. This removes excess starch. Pat the potatoes as dry as possible with paper towels or a clean kitchen towel.
- Heat the oil in a large, heavy-bottomed pot over medium-high heat until it reaches 320°F (160°C). Do not fill the pot more than halfway with oil. If you don’t have a thermometer, use the wooden spoon trick: if tiny bubbles form around the handle, the oil is ready.
- Once the oil is hot, carefully add half of the potatoes to the pot. Cook for about 4 minutes, or until they just begin to develop a pale color and are tender but not crispy. Remove them with a slotted spoon to the prepared paper-towel-lined plate. Repeat with the remaining half of the potatoes.
- Let the blanched fries cool completely on the paper towels for at least 10-15 minutes.
- Increase the oil temperature to 350°F (175°C). Fry the cooled potatoes a second time in two batches until they are beautifully golden brown and perfectly crispy (approximately 2-4 minutes per batch).
- Remove the fries from the oil, briefly drain on fresh paper towels, and immediately sprinkle generously with salt. Serve hot and enjoy!
Notes
- The choice between waxy (like Yukon Gold) and starchy (like Russet) potatoes depends on your preferred texture. Starchy potatoes yield crispier exteriors and fluffier interiors, while waxy potatoes offer a creamier inside.
- Always fry in small batches to maintain optimal oil temperature and prevent fries from sticking or becoming greasy. Never fill your pot more than halfway with oil.
- To keep fries warm while preparing other dishes, place them on a wire rack over a baking sheet in an oven set to 120-140°F (50-60°C).
- You can peel and cut potatoes up to 12 hours ahead. Store them submerged in cold water in the refrigerator, then drain and pat thoroughly dry before frying.
Nutrition Facts (per serving)
- Calories: 218 kcal
- Carbohydrates: 50 g
- Protein: 6 g
- Fat: 1 g
- Saturated Fat: 1 g
- Sodium: 17 mg
- Potassium: 1194 mg
- Fiber: 6 g
- Sugar: 2 g
- Vitamin A: 6 IU
- Vitamin C: 56 mg
- Calcium: 34 mg
- Iron: 2 mg
Final Thoughts on Crafting the Perfect Fry
Making homemade French fries is a rewarding culinary endeavor that brings unparalleled flavor and texture to your table. Once you experience the golden crunch and fluffy interior of fries made from scratch, you’ll find it hard to go back to store-bought options. This recipe provides a straightforward path to achieving perfection, from selecting the right potato to mastering the crucial double-fry technique. So, grab your potatoes, heat your oil, and prepare for a truly delicious experience.
Don’t forget to share your crispy creations with us! We love seeing your culinary triumphs. Tag us on Instagram @sugarandsoulco and follow on Tiktok @sugarandsoulco and Pinterest @sugarandsoulco for more delicious recipes and kitchen inspiration!