

Transform your meals with this comprehensive, step-by-step guide on how to cook spaghetti squash in the oven. Discover how to create a versatile, healthy, and delicious side dish, lunch, or dinner that’s naturally low in carbs and packed with flavor!
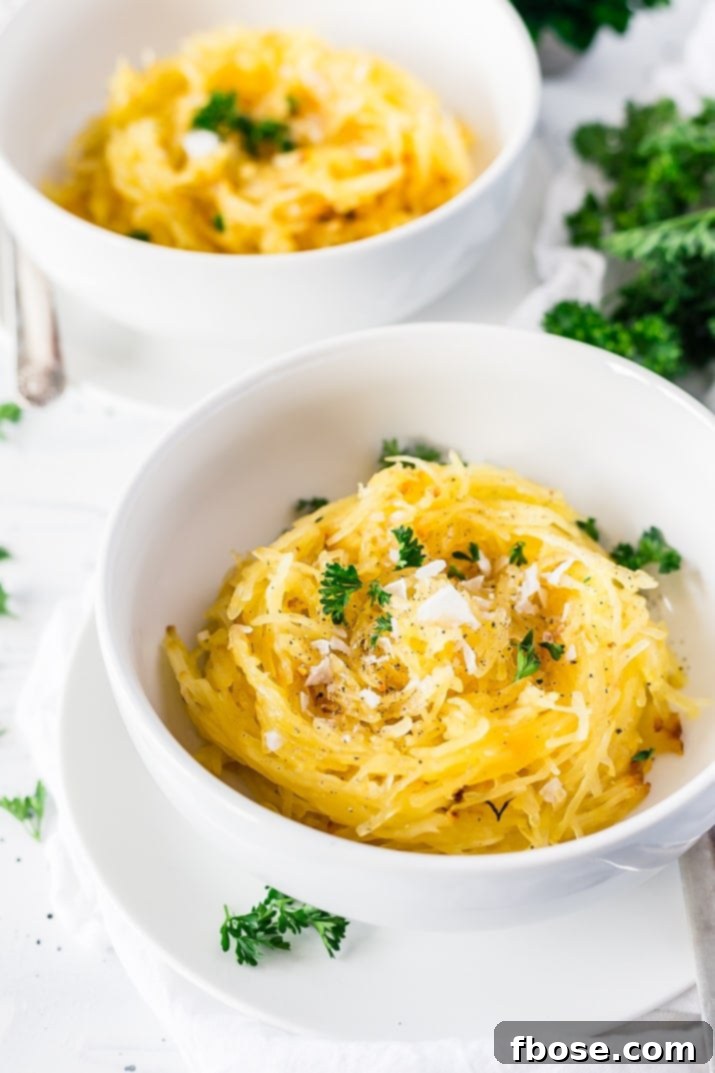
Spaghetti squash is a truly remarkable vegetable that often gets overlooked, yet it deserves a place in every healthy kitchen. Its mild flavor and unique texture, which effortlessly shreds into noodle-like strands, make it an incredibly versatile ingredient. Whether you’re looking for a nutritious alternative to pasta, a vibrant side dish, or a base for a light meal, spaghetti squash delivers. It’s naturally low in carbohydrates, rich in essential vitamins and minerals, and surprisingly easy to prepare. Despite its numerous benefits, many home cooks are unsure how to tackle this intriguing gourd. This guide will demystify the process, offering a straightforward, step-by-step approach to perfectly roasted spaghetti squash every time.
While there are several methods for cooking spaghetti squash—from slow cooking to microwaving and pressure cooking—the oven-roasting method stands out as the absolute best. Roasting enhances the squash’s natural sweetness, creating a depth of flavor that other methods simply can’t achieve. Just like other roasted vegetables, spaghetti squash transforms into a caramelized, tender delight when baked in the oven. We’ll explore various techniques for oven-roasting, allowing you to choose the approach that best suits your desired texture and flavor profile.
Having grown up enjoying spaghetti squash regularly, I can attest to its comforting and satisfying qualities. It was always a delightful competition between spaghetti squash and buttercup squash for my favorite, but spaghetti squash’s greater availability and unique texture consistently win me over. Get ready to discover your new favorite way to enjoy this incredible winter squash!
How to Select the Perfect Spaghetti Squash
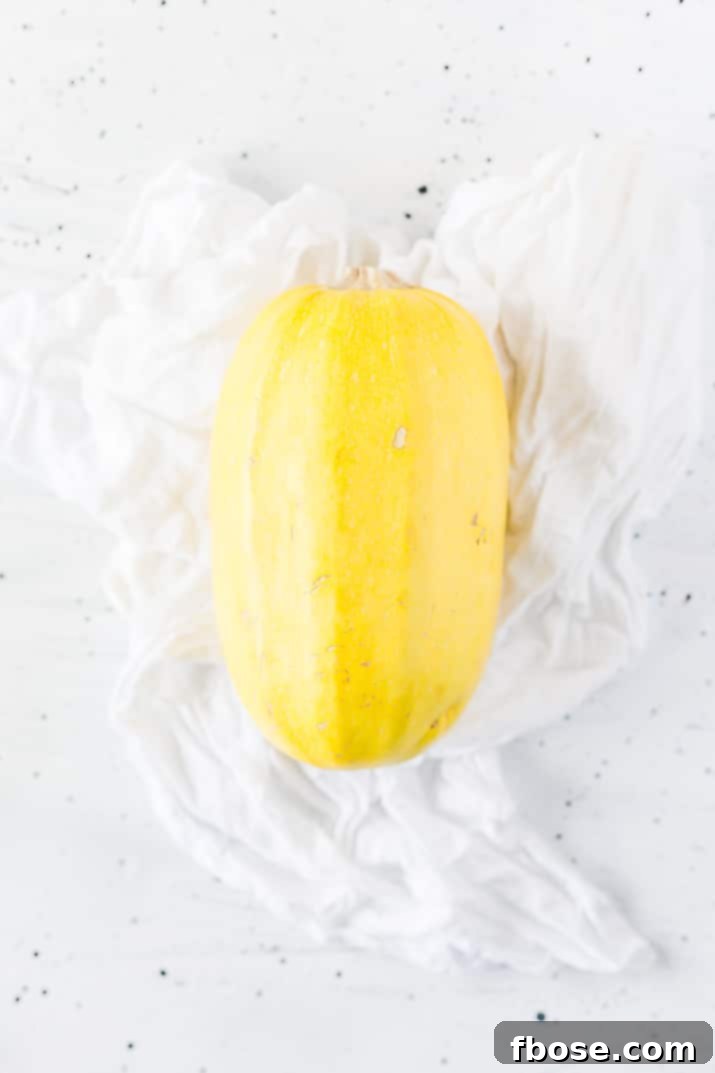
Choosing a ripe and healthy spaghetti squash is crucial for the best results. Whether you’re harvesting from your garden or picking one up at the grocery store, here’s what to look for:
When selecting squash from your garden:
- Look for a vibrant golden yellow color, indicating full ripeness.
- The skin should be hard and thick; if your fingernail can easily puncture it, the squash might not be fully mature or could be overripe.
- Freshly picked spaghetti squash can typically last 1 to 3 months when stored in a cool, dry place, either in the fridge or on the counter.
When choosing spaghetti squash at the grocery store:
- Feel the squash; it should be firm all around with no soft spots, which can indicate spoilage.
- Check for dryness and an intact rind. Avoid any squash with cracks, cuts, or mold, as these can lead to premature spoilage.
- Pick it up; a good spaghetti squash will feel heavy for its size, suggesting it’s full of moisture and dense flesh.
- Examine the stem: it should be firm and dry. A missing or soft stem can be a sign of an older squash or one that has started to spoil.
Essential Prep: Venting Your Spaghetti Squash
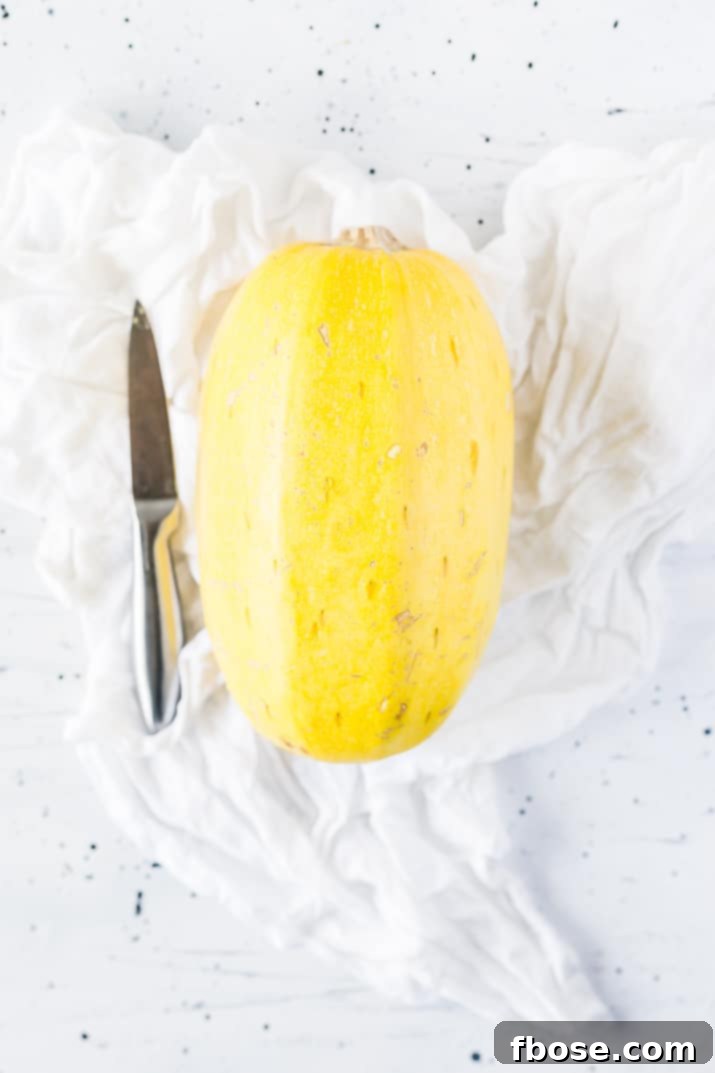
Once you’ve brought your perfect squash home, it’s time to begin the preparation. Before placing it in the oven, preheat your oven to 400 degrees F (200 degrees C). A critical first step is to vent your spaghetti squash. Use a fork or a small paring knife to carefully puncture the squash multiple times all over its surface.
This simple act of creating vent holes is vital. During the roasting process, steam will build up inside the squash. Without proper venting, this pressure can cause the squash to potentially burst in the oven, creating a messy (and possibly dangerous) “squashtastrophe.” Venting allows this steam to escape safely, ensuring an even cook and preventing any kitchen mishaps.
Softening the Rind for Easier Cutting
Cutting into any type of winter squash can be a challenging task due to its hard rind. If you’ve ever struggled with a knife while preparing squash, you’re not alone! Many people find themselves wishing they had stronger arm muscles after battling a particularly stubborn squash. Fortunately, there’s a simple trick to make cutting spaghetti squash much easier and safer: soften the rind first.
Pop your entire vented spaghetti squash into the microwave for 3 to 5 minutes, depending on its size. This brief microwave session will slightly soften the tough outer skin, making it considerably easier and safer to cut through with your knife. This pre-softening step is a game-changer for anyone intimidated by the initial cutting of hard-shelled gourds.
How to Safely and Effectively Cut Spaghetti Squash
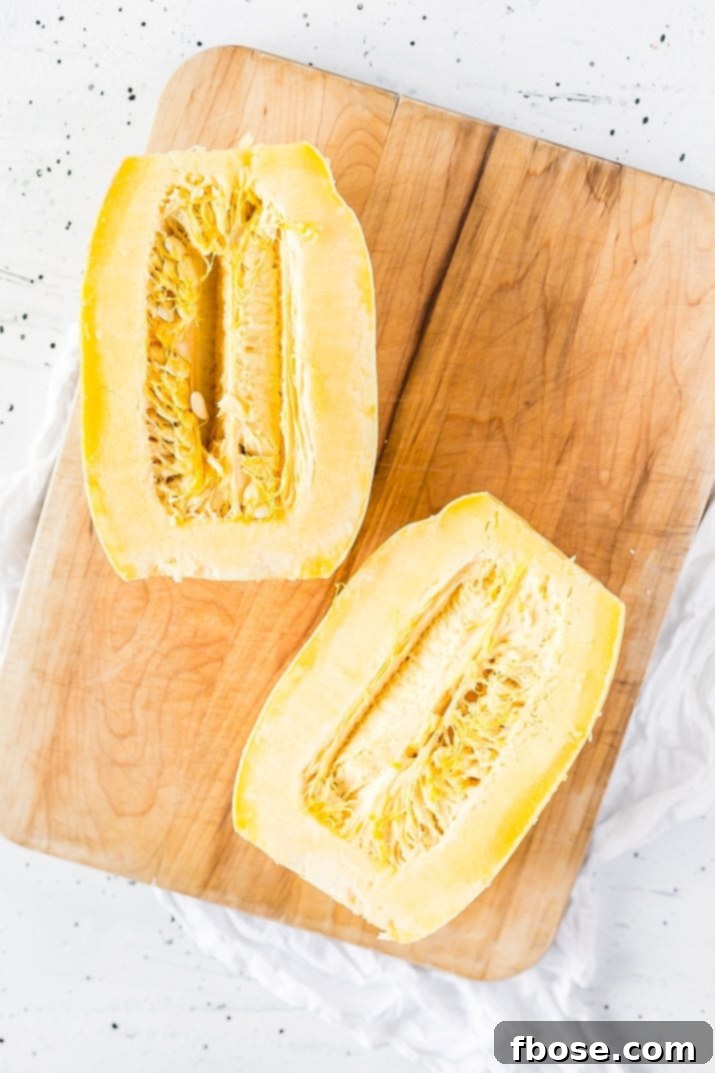
With the rind now softened, it’s time to cut your spaghetti squash. The way you slice it will actually determine the length of the “spaghetti” strands you get. This is because the flesh of a spaghetti squash naturally grows in a circular pattern around the core, rather than lengthwise.
- For Longer Strands: If you prefer long, spaghetti-like noodles, cut the squash crosswise into rings. This method yields longer, more traditional pasta-like strands once scraped.
- For Shorter Strands: If you prefer shorter, more manageable pieces (which I often do for ease of eating), cut the squash lengthwise from stem to end. This is also often easier to manage for smaller baking dishes.
Regardless of the cutting direction you choose, always use a large, sturdy chef’s knife and exercise extreme caution. Place the squash on a stable cutting board. If cutting lengthwise, it’s helpful to first slice off a small portion of the stem end to create a flat, stable base. Be mindful of your fingers and use a rocking motion with your knife, applying steady pressure. These vegetables can still be surprisingly tough, even after microwaving, so proceed carefully.
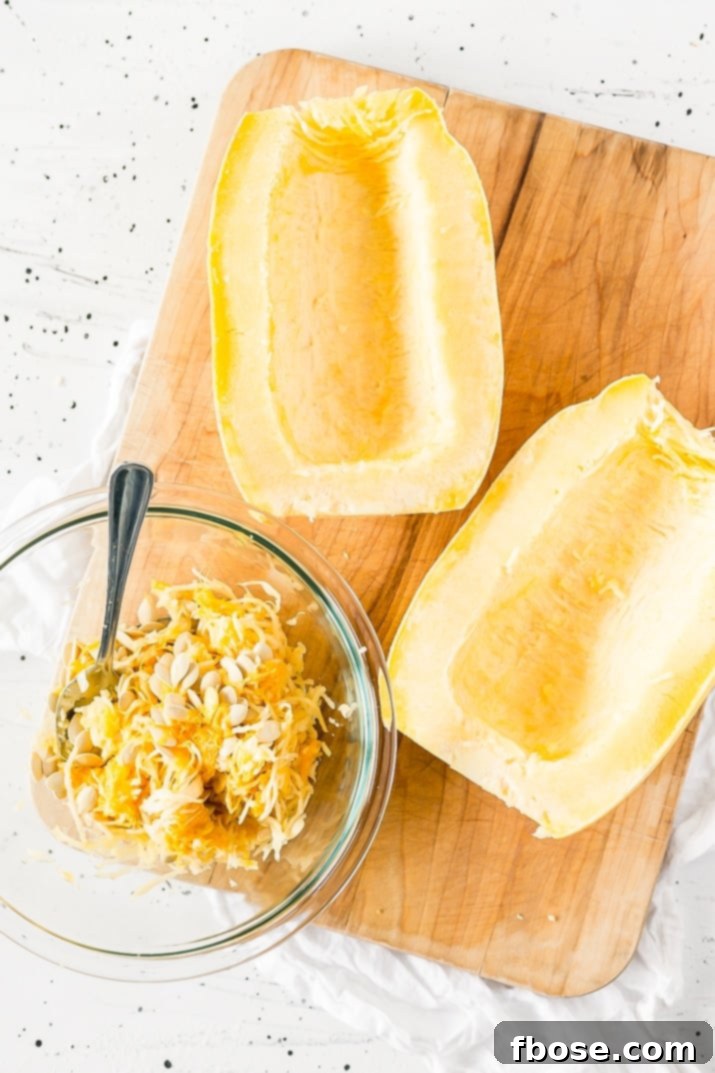
Removing the Seeds and Pulp
Once your spaghetti squash is cut in half, you’ll see a cavity filled with seeds and fibrous pulp. This needs to be removed before cooking. You can use a sturdy spoon or an ice cream scoop to efficiently scrape out all the seeds and stringy bits from the center of each squash half. An ice cream scoop works particularly well for this task due to its rounded edge and strength.
After removal, you have a couple of options for the seeds. You can simply discard them, or, for a zero-waste approach, you can clean and roast them for a crunchy, nutritious snack similar to pumpkin seeds. If you choose to roast them, clean them thoroughly and toss with a little oil and salt before baking.
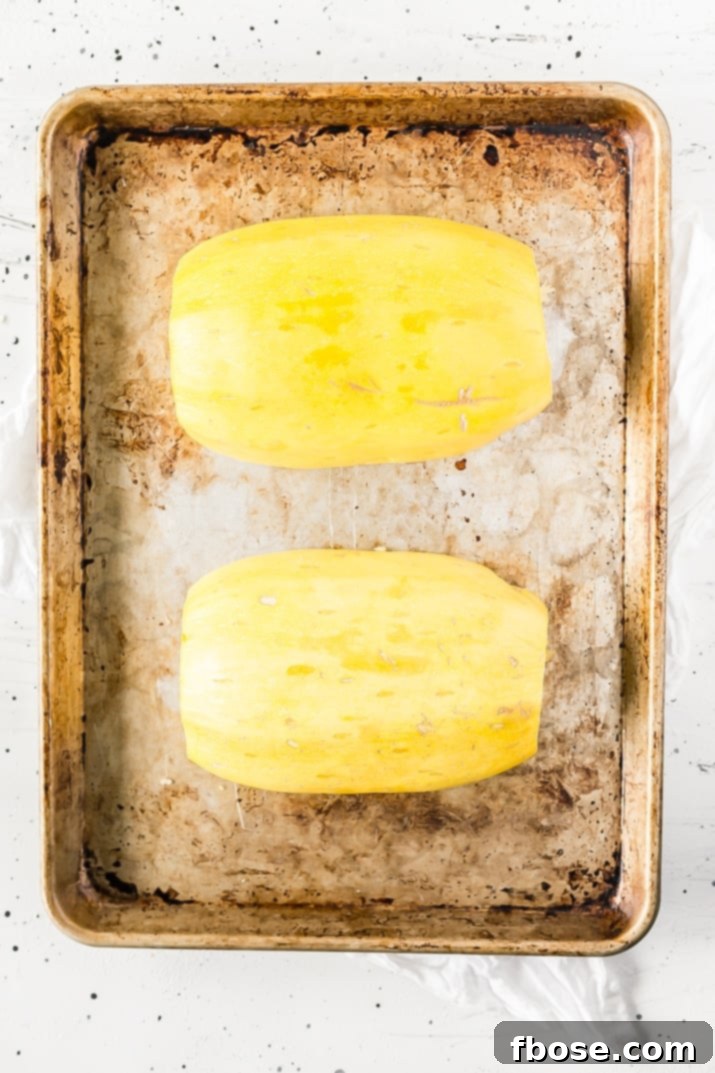
Prepping the Squash for the Baking Pan
Now that your spaghetti squash halves are cleaned and ready, it’s time to get them onto the baking pan. Here, you have two excellent methods for roasting, each yielding a slightly different texture and flavor profile:
1. Classic Direct Roasting:
For this method, simply place the two squash halves cut-side down directly onto a baking sheet. This approach allows the cut edges of the squash to make direct contact with the hot pan, promoting delicious caramelization. The natural sugars in the squash will brown beautifully, giving the “noodles” a slightly nutty and richer flavor, and the edges will develop a lovely, slightly crisp texture. This is my go-to method when I want those golden-brown caramelized edges.
2. The Water Method for Ultra-Tender Squash:
If your goal is incredibly tender, evenly cooked spaghetti squash with a more consistent color and softer texture, the water method is ideal. For this, add just enough water to the bottom of your roasting pan to cover it, but not so much that the squash halves are submerged. Ensure your baking pan has a lip to contain the water safely. As the squash bakes, the water will create steam, which gently cooks the inside of the squash, resulting in a perfectly tender texture throughout. This method minimizes browning and yields a softer, more delicate “noodle.” If using this method, you might find the cooking time to be slightly shorter.
To Season or Not to Season (and When):
- For Direct Roasting: If you’re going with the classic direct roasting method, this is the perfect time to season your squash. Drizzle a little olive oil over the cut surfaces, then sprinkle generously with salt and freshly ground black pepper. Rub the seasoning all over the inside flesh before placing the halves face down on the pan. This allows the flavors to meld and roast into the squash.
- For the Water Method: If you’re using the water method, it’s generally best to wait until after the squash is cooked to add your seasonings. The steaming process might wash away or dilute the flavors if added beforehand. Once cooked, you can easily toss the shredded squash with butter, olive oil, salt, pepper, or any other desired seasonings.
Baking Your Spaghetti Squash to Perfection
The baking time for spaghetti squash largely depends on its size. As a general guideline, I typically start with a base bake time of 10 minutes, then add an additional 15 minutes for every pound of squash. So, a medium-sized 2-pound squash would usually need about 40 minutes in total. However, always use visual cues and a simple test to determine doneness.
You’ll know your spaghetti squash is perfectly cooked when the rind can be easily punctured with a fork. It should feel tender and yield with little resistance. If it still feels hard or resistant, continue baking in 5-10 minute increments until it reaches the desired tenderness. Overcooking can lead to mushy strands, so aim for tender but still firm enough to hold its shape.
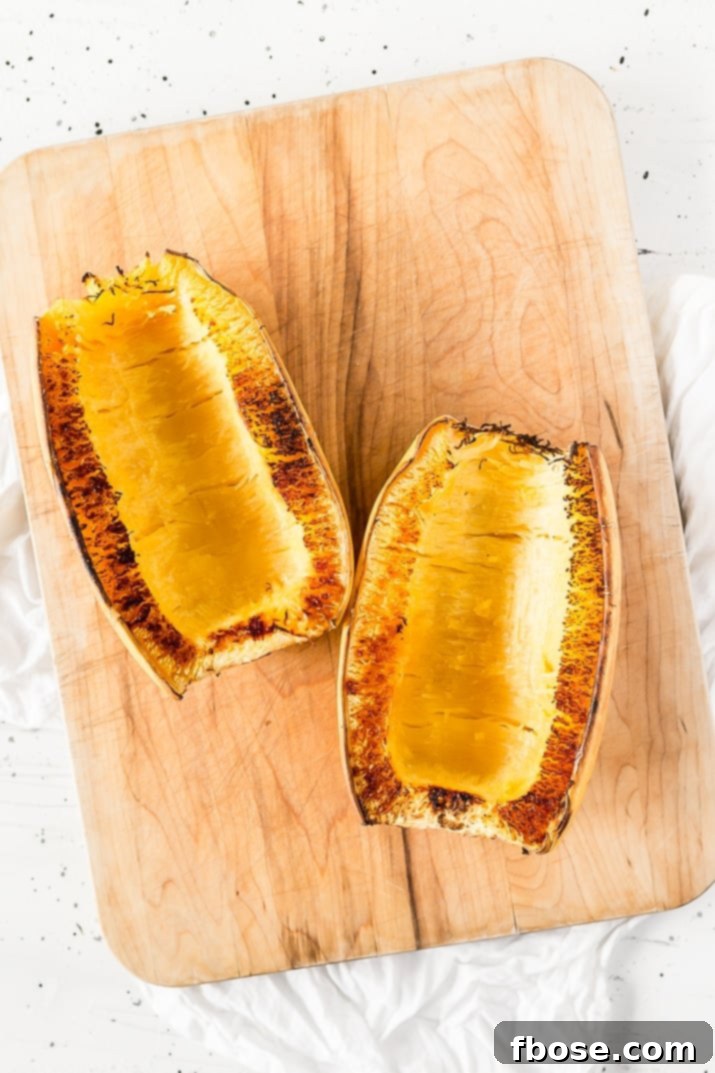
The Importance of Cooling
Upon removing the spaghetti squash from the oven, it will be extremely hot internally due to the trapped heat and steam. To prevent burns and make handling easier, it is highly recommended to let the squash halves cool for at least 10 to 15 minutes before attempting to remove the flesh. This brief cooling period allows the squash to become more manageable and safer to handle.
Removing and Serving the Spaghetti-Like Flesh
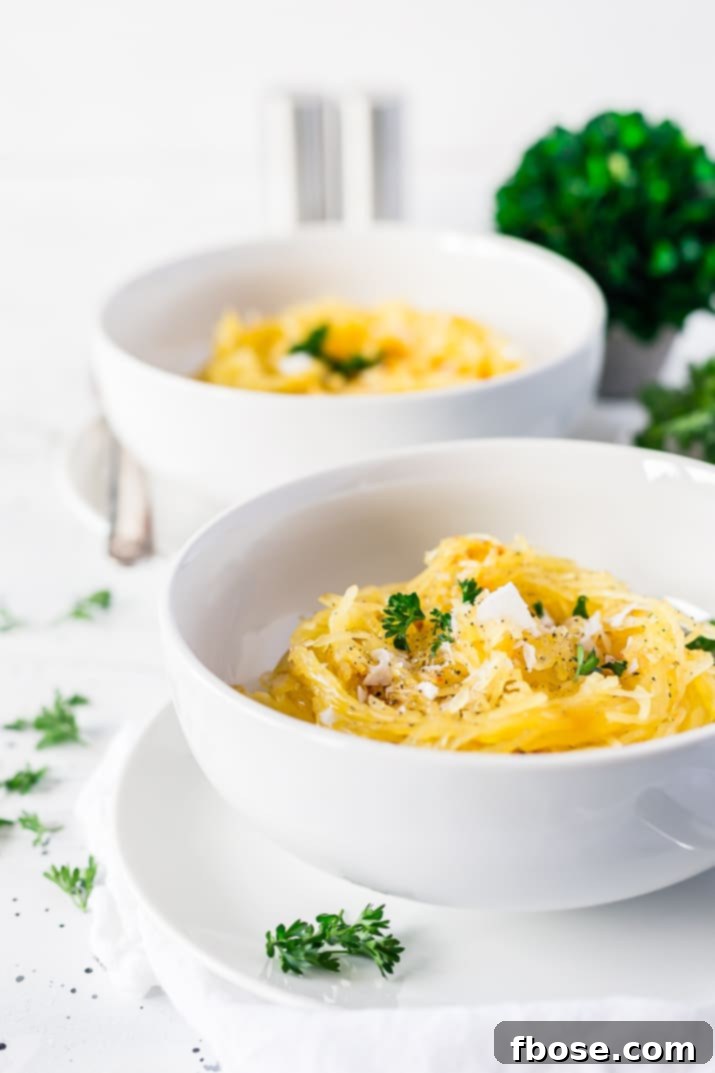
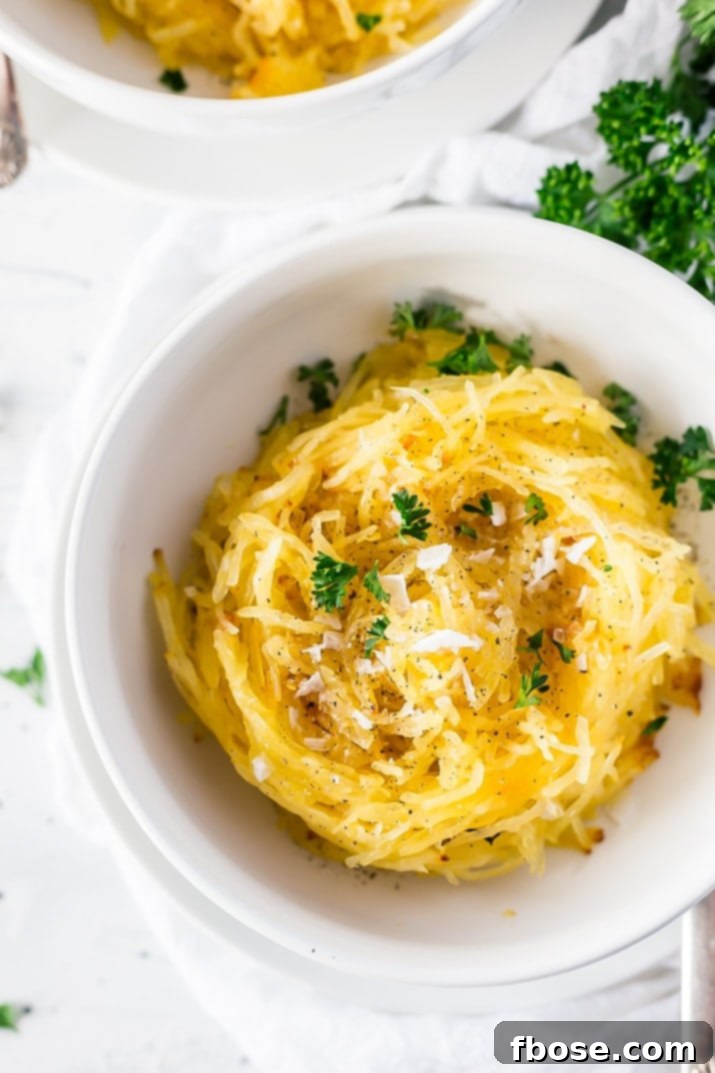
Once your squash has cooled sufficiently, it’s time for the magic moment: transforming it into “spaghetti”! Grab a fork and gently scrape the flesh from the rind, working your way around the edges and towards the center. The cooked flesh will naturally pull away in delicate, noodle-like strands. Transfer these beautiful strands to a serving bowl.
Even after cooling, there might still be some residual steam, so always proceed with a little caution. Now, your perfectly cooked spaghetti squash is ready to be plated and enjoyed! Treat it just like traditional spaghetti: serve it as a standalone dish, a healthy side to a flavorful Rib Eye Steak, or top it with savory Crockpot Meatballs and Sauce. The possibilities are endless!
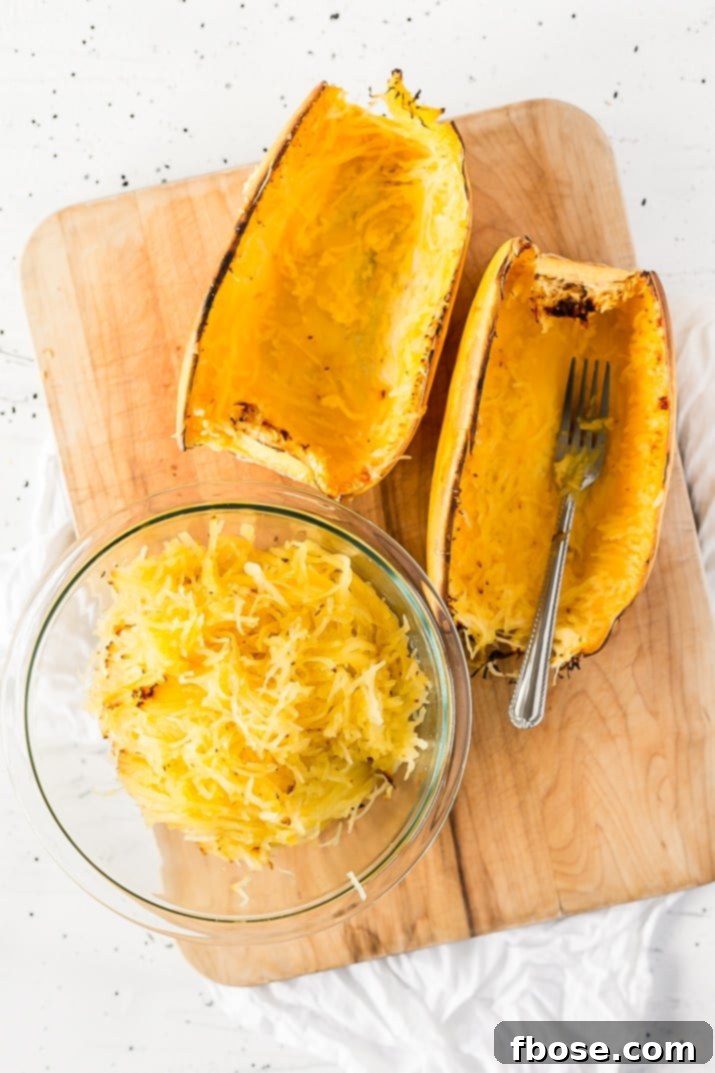
What to Season Spaghetti Squash With
The beauty of spaghetti squash lies in its mild flavor, which makes it a fantastic canvas for a wide array of seasonings. While you can truly season it with almost anything, here are some popular ideas to get you started and inspire your culinary creativity:
- Salt and Pepper: The quintessential seasoning duo. A good quality sea salt and freshly ground black pepper are often all you need to highlight the squash’s natural sweetness.
- Olive Oil or Butter: Tossing the warm strands with a drizzle of good extra virgin olive oil or a knob of melted butter adds richness and helps carry other flavors. You can’t go wrong with either!
- Onion or Garlic Powder: These pantry staples add a wonderful savory depth to the rather mild squash. A pinch of each can elevate the flavor significantly. Fresh minced garlic or sautéed onions work beautifully too.
- Marinara Sauce: More of a topping than a seasoning, but undeniably one of the most popular ways to enjoy spaghetti squash. Ladle your favorite warm marinara sauce over the “noodles” for a classic Italian-inspired meal.
- Cheese: Just like pasta, spaghetti squash and cheese are a match made in heaven. Grated Parmesan, Pecorino Romano, or even a sprinkle of mozzarella can add a salty, umami kick and creamy texture.
- Herbs: Fresh or dried herbs like parsley, basil, oregano, thyme, or rosemary can infuse your squash with aromatic flavors.
- Spices: For a warmer, bolder flavor, consider a pinch of paprika, a dash of red pepper flakes for heat, or even a hint of nutmeg.
Frequently Asked Questions About Spaghetti Squash
Does Spaghetti Squash Taste Like Spaghetti?
This is a common question! The answer is both yes and no. Spaghetti squash has a similar shape and texture to traditional spaghetti when properly shredded, creating long, thin strands. With the right seasonings and sauces, it can be a satisfying and healthy stand-in for pasta. However, it’s important to remember that it is a vegetable, not a grain-based pasta. While it makes an excellent low-carb alternative, it won’t perfectly replicate the flavor and chewiness of wheat pasta. It has its own delicious, mildly sweet, and earthy flavor profile, which is enjoyable in its own right. It’s fantastic for those looking to reduce carb intake or add more vegetables to their diet, but it might not entirely cure a deep craving for traditional spaghetti and meatballs.
How Do You Reheat Cooked Spaghetti Squash?
Reheating cooked spaghetti squash is incredibly easy, making it a perfect meal prep item for busy weeknights or work lunches. You have a couple of convenient options:
- Stovetop: Place the desired amount of spaghetti squash in a saucepan with a tablespoon or two of water (or broth, or even a little olive oil). Heat over medium heat, stirring occasionally, until warmed through. The added liquid helps prevent it from drying out.
- Microwave: For a quick reheat, place the squash in a microwave-safe container. Add a splash of water, cover, and microwave for 1 to 2 minutes, or until hot. Stir halfway through to ensure even heating.
Because it reheats so well, spaghetti squash is ideal for packing in a plastic container with a little olive oil or marinara sauce and a sprinkle of Parmesan cheese for a delicious workday lunch. It can also be cooked ahead of time for busy holidays like Thanksgiving and Christmas, saving you valuable time on the big day.
How Long Is Spaghetti Squash Good For?
Proper storage is key to maximizing the shelf life of spaghetti squash:
- Fresh From Garden: If harvested directly from your garden, a healthy, ripe spaghetti squash can last for 1 to 3 months when stored in a cool, dry, dark place.
- From Grocery Store: Store-bought spaghetti squash typically lasts for 3 to 4 weeks, depending on its freshness at the time of purchase and how it’s stored. Keep it on your counter in a cool, dry spot, away from direct sunlight.
- Cooked: Once cooked and shredded, spaghetti squash should be stored in an airtight container in the refrigerator and is best consumed within 5 to 7 days.
Recipe Card: Oven-Roasted Spaghetti Squash
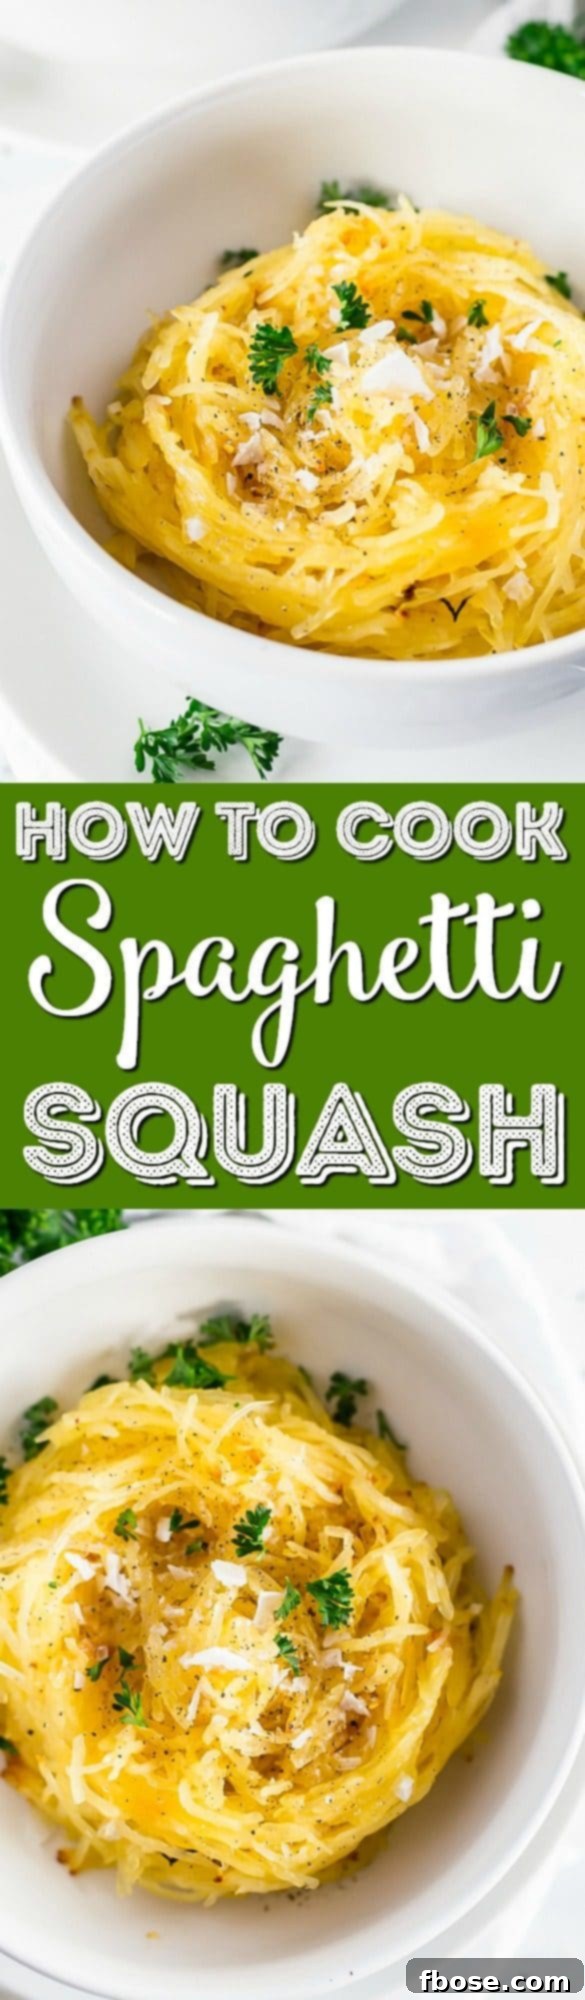
How To Cook Spaghetti Squash
This simple guide shows you how to roast spaghetti squash in the oven for a delicious and healthy side dish, lunch, or dinner. Perfect for a low-carb meal!
Author: Rebecca Hubbell
Course: Side, Side Dish
Cuisine: American
Prep Time: 10 minutes
Cook Time: 50 minutes
Total Time: 1 hour
Servings: 4
Ingredients
- 1 Spaghetti Squash (about 2-3 lbs)
- Water (optional, for steaming method)
- Salt (optional)
- Ground black pepper (optional) (recommended brand)
- Olive oil (optional) (recommended brand)
- Parmesan cheese (optional)
- Parsley (for garnish, optional)
Instructions
- Preheat oven to 400 degrees F (200 degrees C).
- Using a fork or paring knife, poke the squash all over. Place the squash in the microwave for 3 to 5 minutes, depending on its size. This will soften the rind, making it much easier to cut.
- Carefully slice the softened squash in half lengthwise (or crosswise for longer strands) using a large, sturdy knife. Scoop out all of the pulp and seeds from the center of each half.
- Place the two squash halves cut-side down in a lipped roasting pan. You have two options here:
- Direct Roasting: Place directly on the pan for caramelized edges. Drizzle with olive oil and season with salt and pepper before placing.
- Water Method: (Optional) Pour just enough water into the pan to cover the bottom, but not submerge the squash. This method yields ultra-tender squash. Season after cooking if using this method.
- Bake for 30 to 50 minutes, depending on the size of the squash. Smaller squashes will cook faster.
- The squash is cooked when you can easily puncture the skin and flesh with a fork.
- Once slightly cooled (about 10-15 minutes), use a fork to scrape out the squash halves. The flesh should separate into stringy, spaghetti-like strands.
- Toss the shredded squash with butter or olive oil, salt, and pepper. Alternatively, top with marinara sauce, Parmesan cheese, and garnish with fresh parsley. Serve immediately.
Nutrition
Calories: 299kcal | Carbohydrates: 66g | Protein: 6g | Fat: 5g | Saturated Fat: 1g | Sodium: 164mg | Potassium: 1042mg | Fiber: 14g | Sugar: 26g | Vitamin A: 1160IU | Vitamin C: 20.3mg | Calcium: 222mg | Iron: 3mg
Let’s Connect!
If you’ve tried this recipe for How to Cook Spaghetti Squash, please let me know how you liked it in the comments below! Your feedback is incredibly valuable, and I love hearing from you.
Don’t forget to tag me – @sugarandsoulco – on Instagram and Pinterest with your beautiful photos of your cooked spaghetti squash. You can also join our Sugar & Soul Show-offs Community on Facebook and share your culinary creations there, where you can also participate in our fun recipe challenges!
Did You Make This Recipe?
Don’t forget to share it with me on Instagram @sugarandsoulco and follow on Tiktok @sugarandsoulco and Pinterest @sugarandsoulco for more delicious recipes and cooking inspiration!