

This comprehensive guide to making Sourdough Pizza Dough will transform your homemade pizza nights! We’ll walk you through each step, from utilizing active sourdough discard to creating a thick, chewy, and exceptionally flavorful pizza crust that’s sure to impress.
Elevate your family pizza night experience with an array of delicious homemade pizza recipes. Beyond this incredible sourdough crust, explore options like my Taco Pizza, easily prepared on convenient flatbread sheets, or savor the simplicity of this Classic Margherita Pizza, which is ready to enjoy in just about 35 minutes.

This Sourdough Pizza Dough recipe takes your pizza crust from merely good to truly extraordinary. You’ll be captivated by several aspects: the minimalist approach requiring only five core ingredients, the remarkably short hands-on preparation time of about 30 minutes, and, of course, the unparalleled depth of flavor that only sourdough can provide. This isn’t just a recipe; it’s an invitation to a superior pizza experience.
For those evenings when time is of the essence and a quick pizza fix is needed, you might consider my lightning-fast Air Fryer Pizza or these delightful Easy 5-Ingredient Mini Pizzas. Both options promise a delicious meal in under 30 minutes, perfect for busy weeknights.
However, if you’re like me, the anticipation of a truly exceptional homemade sourdough crust, generously piled with all your favorite toppings, is well worth the wait. The unique tang, the satisfying chew, and the incredible aroma that fills your kitchen are rewards unmatched by any quick-fix alternative. So, gather your active sourdough starter, embrace the journey, and let’s embark on perfecting what will surely become your new favorite pizza crust.

Essential Sourdough Pizza Crust Recipe Ingredients
Crafting this incredible Sourdough Discard Pizza Dough requires a simple yet potent combination of ingredients: water, high-quality bread flour, extra virgin olive oil, sea salt, and an active Sourdough Starter that hasn’t been fed in approximately 8 to 12 hours. This slightly hungry state ensures your starter is robust and ready to work its magic, imparting that signature sourdough tang and lift.
As you delve into the recipe card below, you’ll notice that all ingredients are measured in grams. This precision is not arbitrary; it’s crucial for achieving consistent and perfect results, especially with sourdough baking. Measuring by weight eliminates the variables and inconsistencies often associated with volume measurements (like cups), which can lead to unpredictable outcomes in delicate fermentation processes. A precise measurement of flour, for instance, prevents a dough that’s too dry or too wet, ensuring the ideal texture and rise.
Attempting to measure with cups can introduce significant inaccuracies due to variations in how ingredients are packed or leveled. The last thing anyone wants after investing time and patience in a sourdough recipe is for it to fall short of expectations due to measurement errors. Precision truly is the key to sourdough success.
Therefore, a reliable digital kitchen scale is an indispensable tool for this recipe. It’s an affordable investment that will pay dividends not only for this pizza dough but for countless other baking and cooking endeavors, making your culinary journey more consistent and enjoyable. You’ll wonder how you ever managed without it!
In addition to your ingredients and scale, ensure you have either a durable cast iron pizza pan or a high-quality pizza stone. These specialized baking surfaces are essential for achieving that beautifully crispy crust and even heat distribution that truly sets homemade pizza apart.
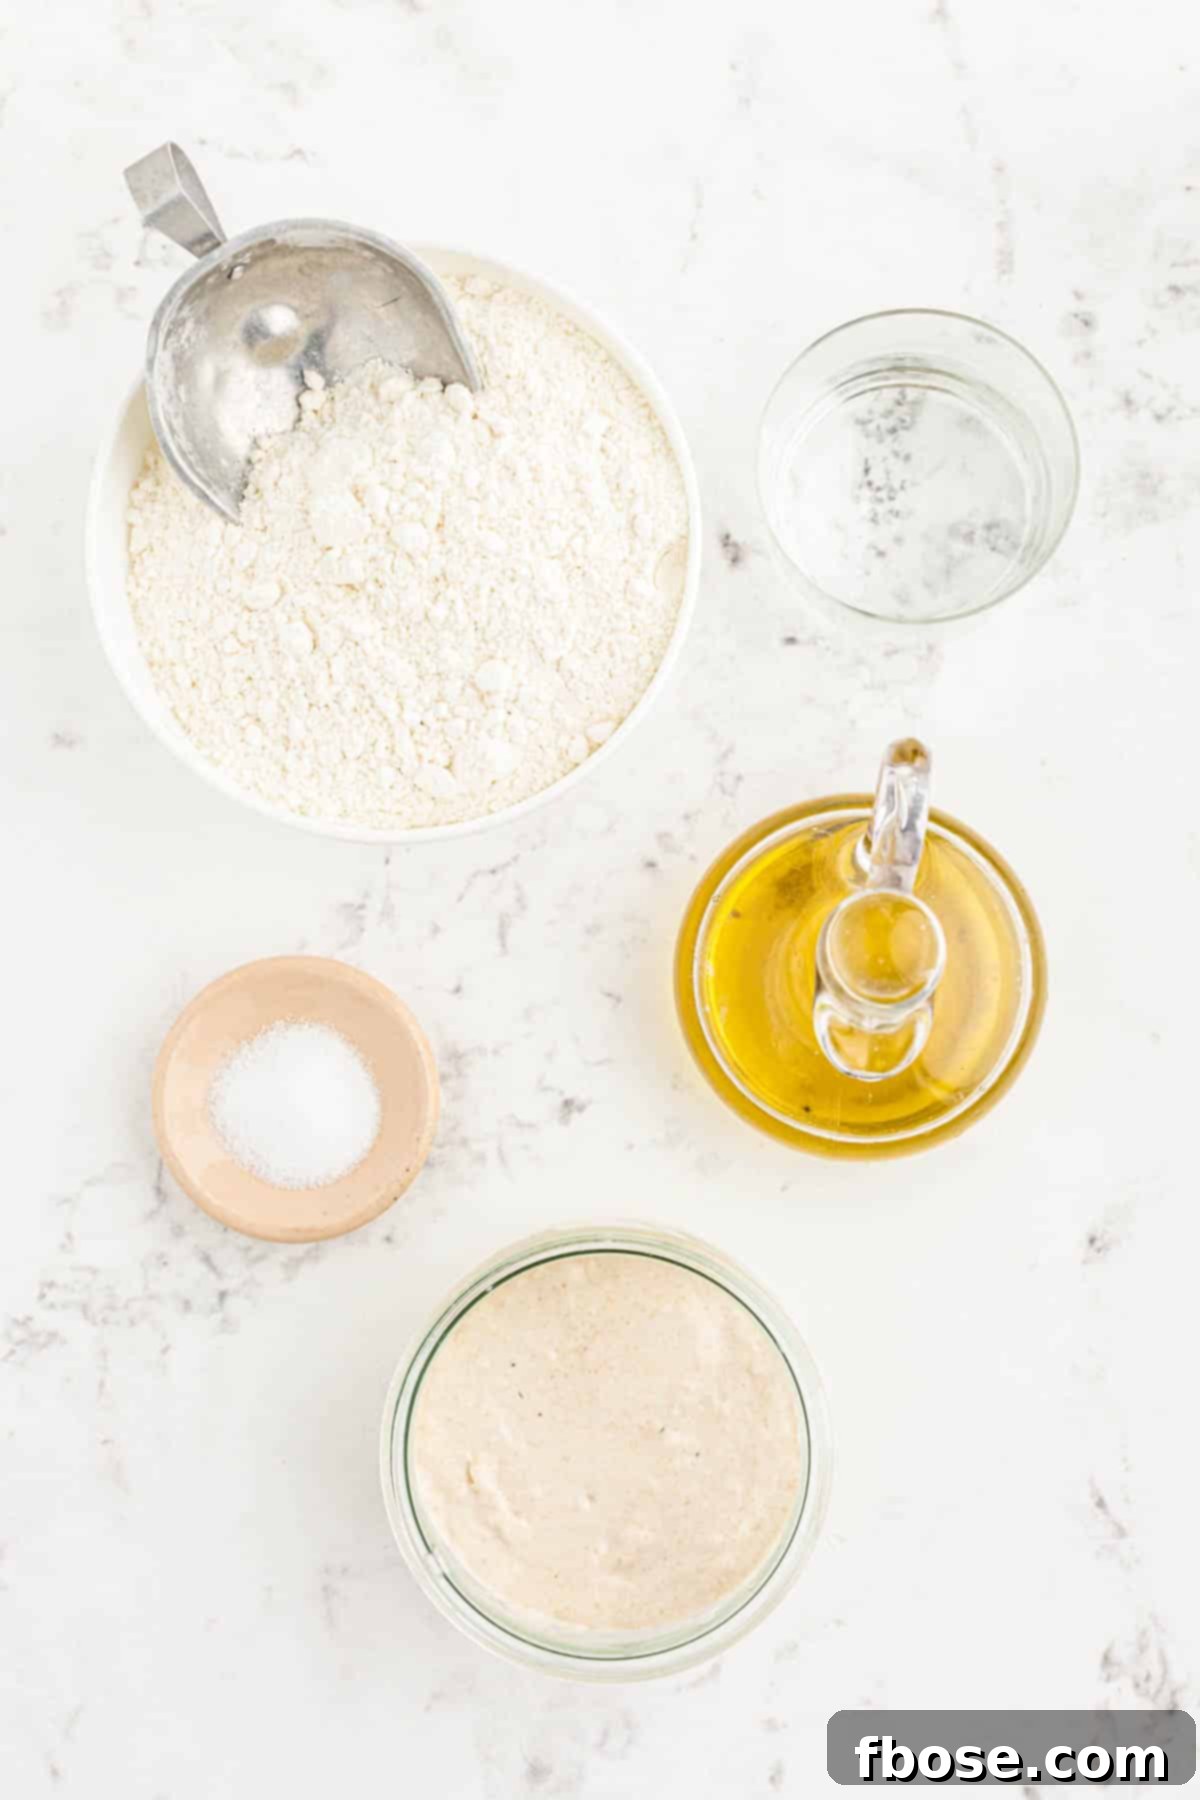
Step-by-Step Guide: How To Make Sourdough Pizza Dough
- **Combine Water and Flour:** In a generously sized mixing bowl, combine the measured water and bread flour. Mix these two ingredients thoroughly until they are just combined. At this initial stage, the dough will have a very “shaggy” and somewhat uneven texture, which is perfectly normal. This brief mixing phase, often called an autolyse, allows the flour to fully hydrate and begin developing gluten before other ingredients are added, leading to a more extensible and stronger dough.
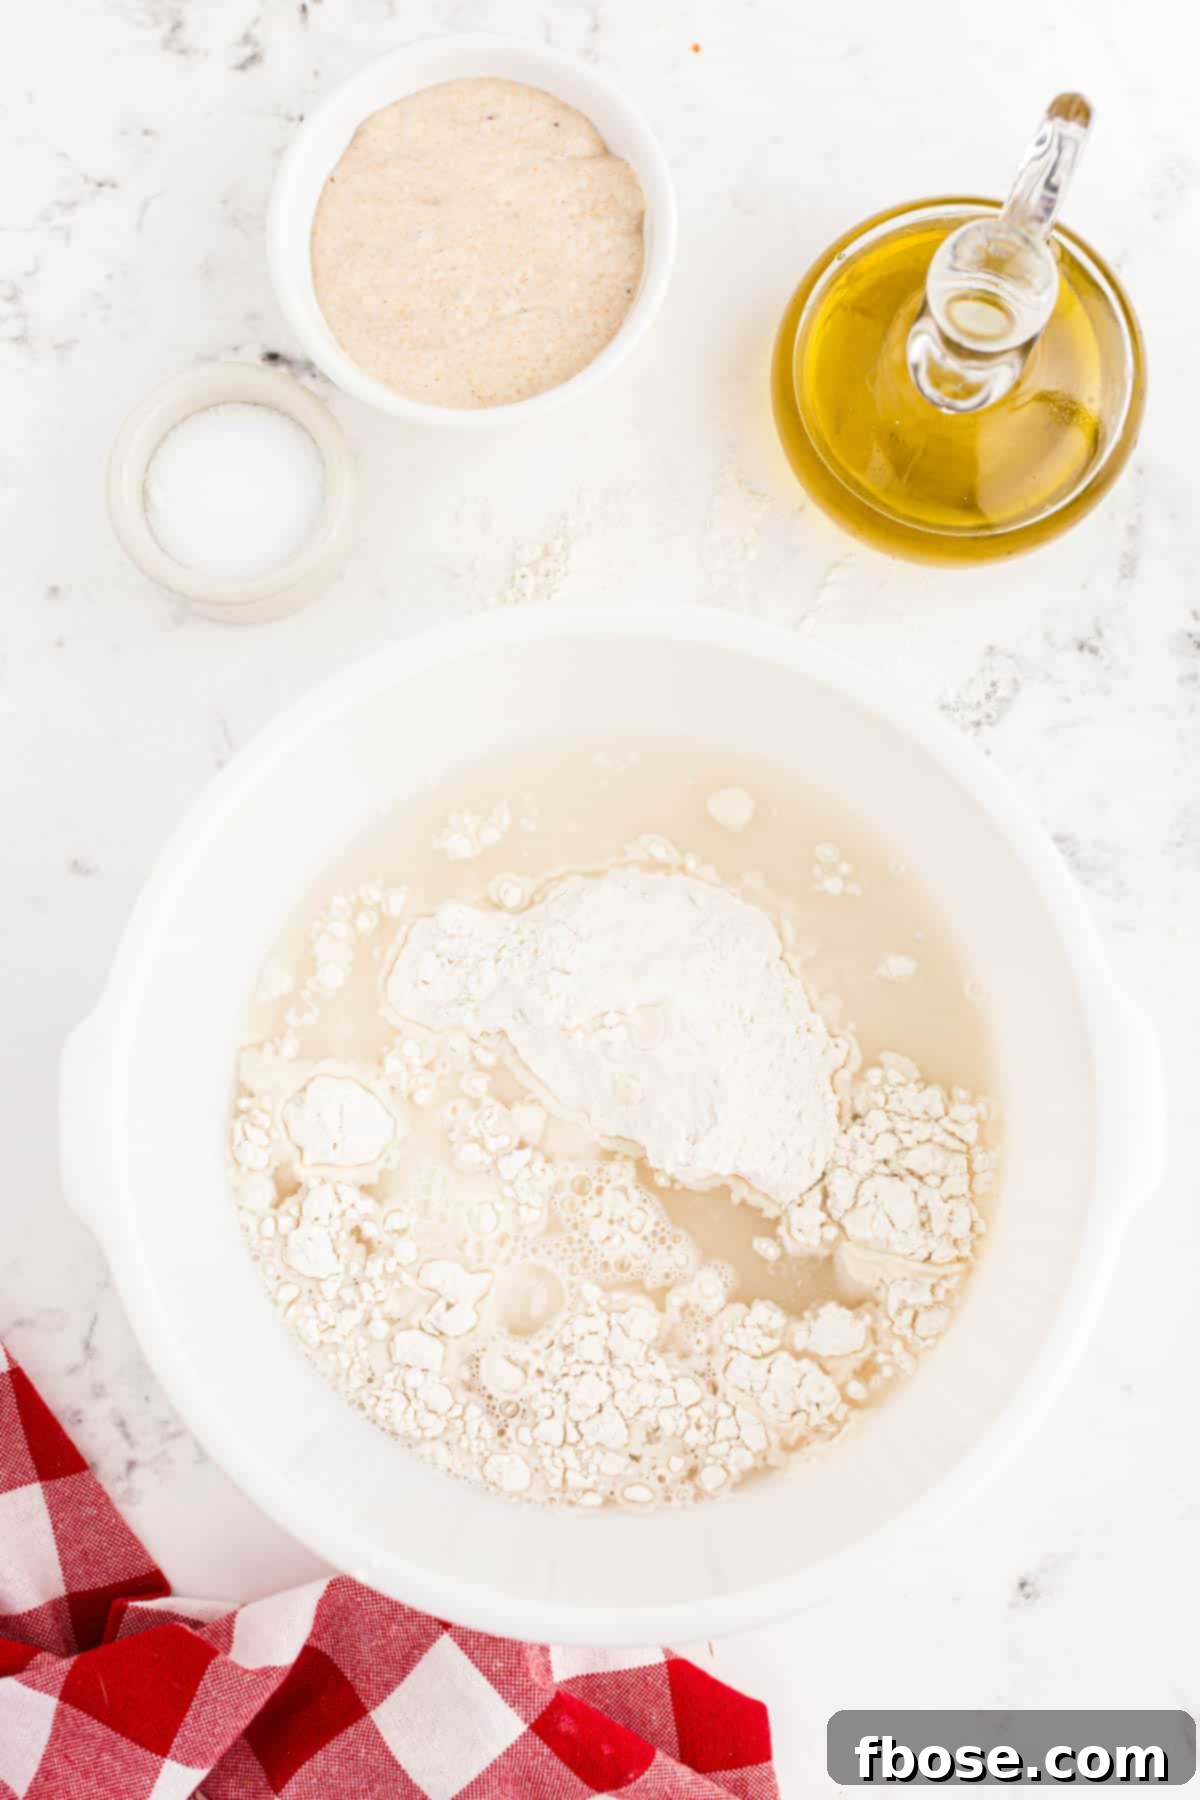
2. **Achieve Shaggy Texture:** Continue mixing until the flour has completely absorbed the water and no dry pockets remain. The dough will look notably “shaggy” – a term describing its rough, unkempt, and slightly sticky appearance. Avoid overmixing at this point; simply ensure all ingredients are moistened. This “shaggy” stage is key to beginning gluten development.
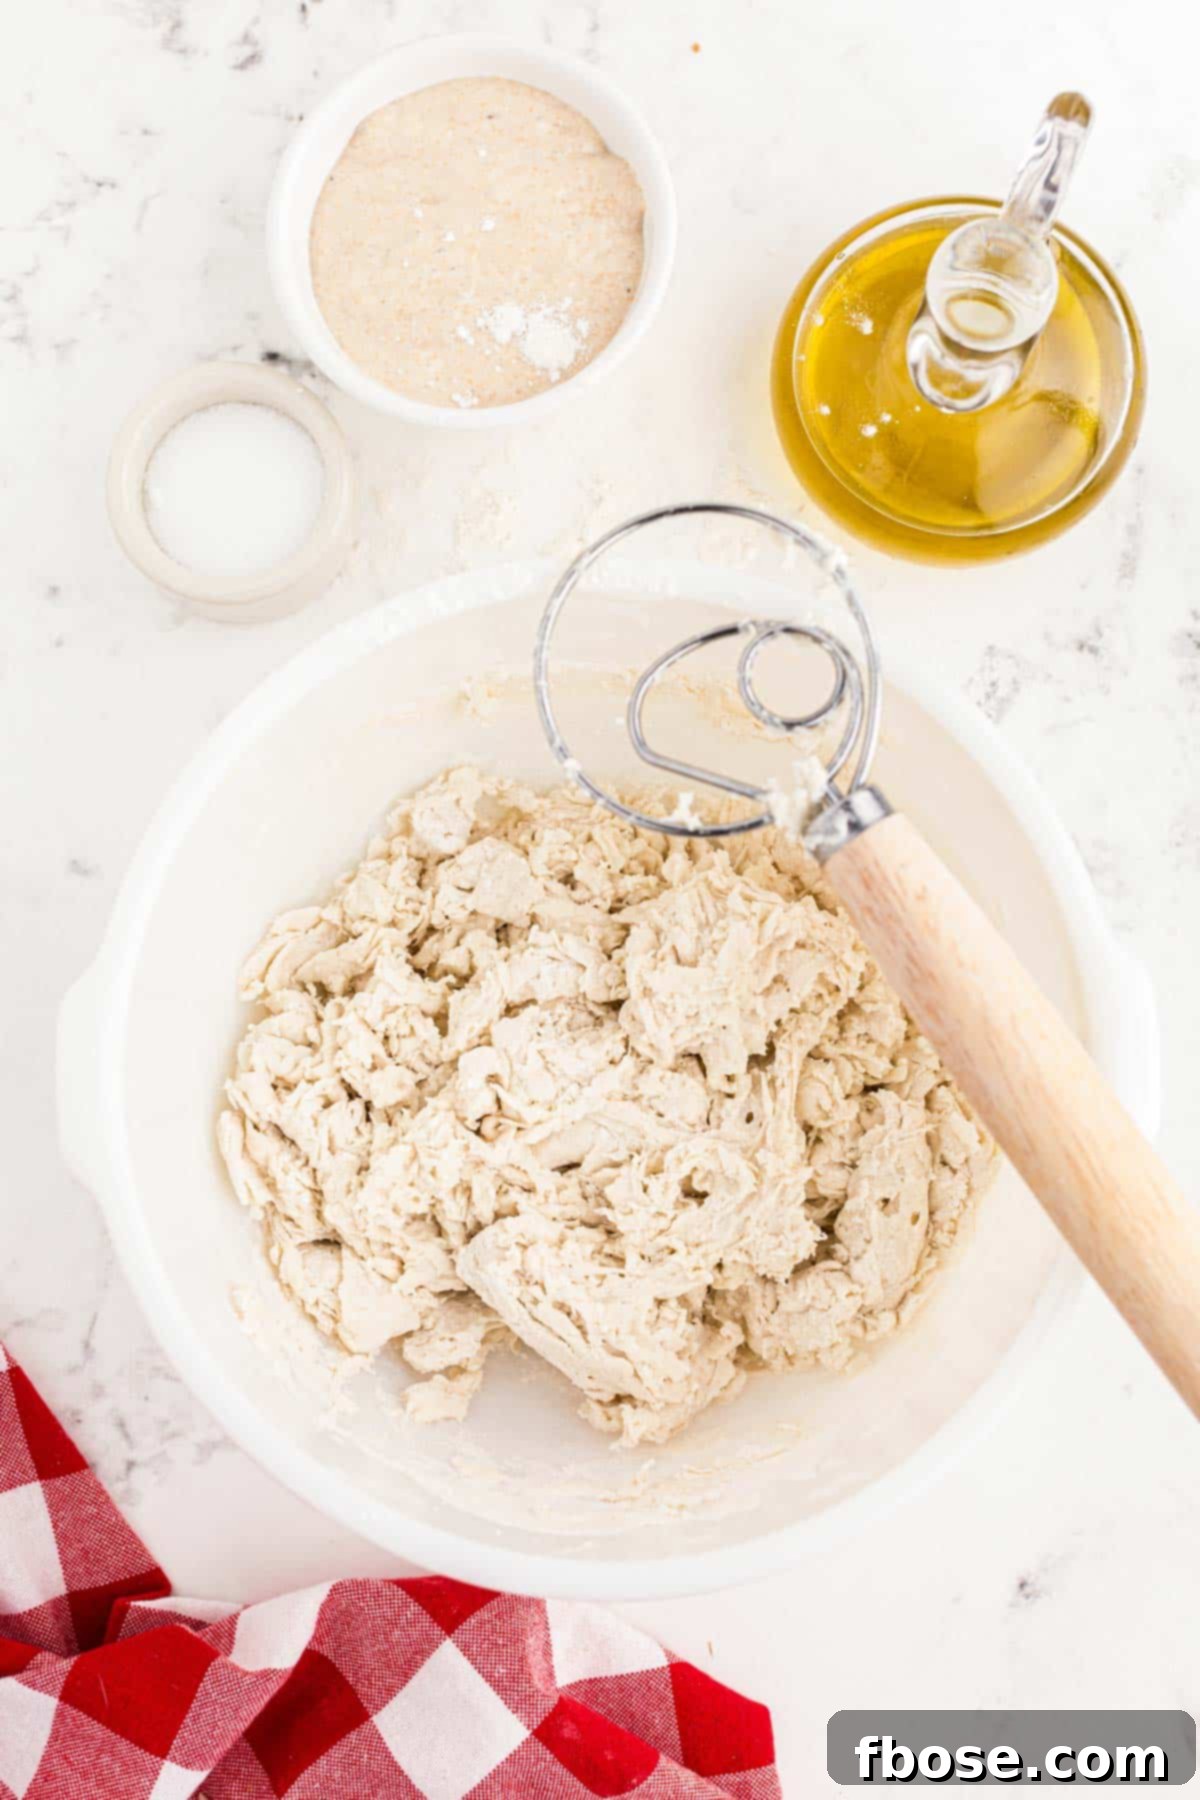
3. **Incorporate Remaining Ingredients:** Now, it’s time to introduce the stars of the show: your ripe sourdough starter, the aromatic olive oil, and the essential sea salt. Add these ingredients directly into the shaggy flour and water mixture. The sourdough starter will begin the fermentation process, while olive oil adds richness and tenderness, and salt enhances flavor and controls fermentation.
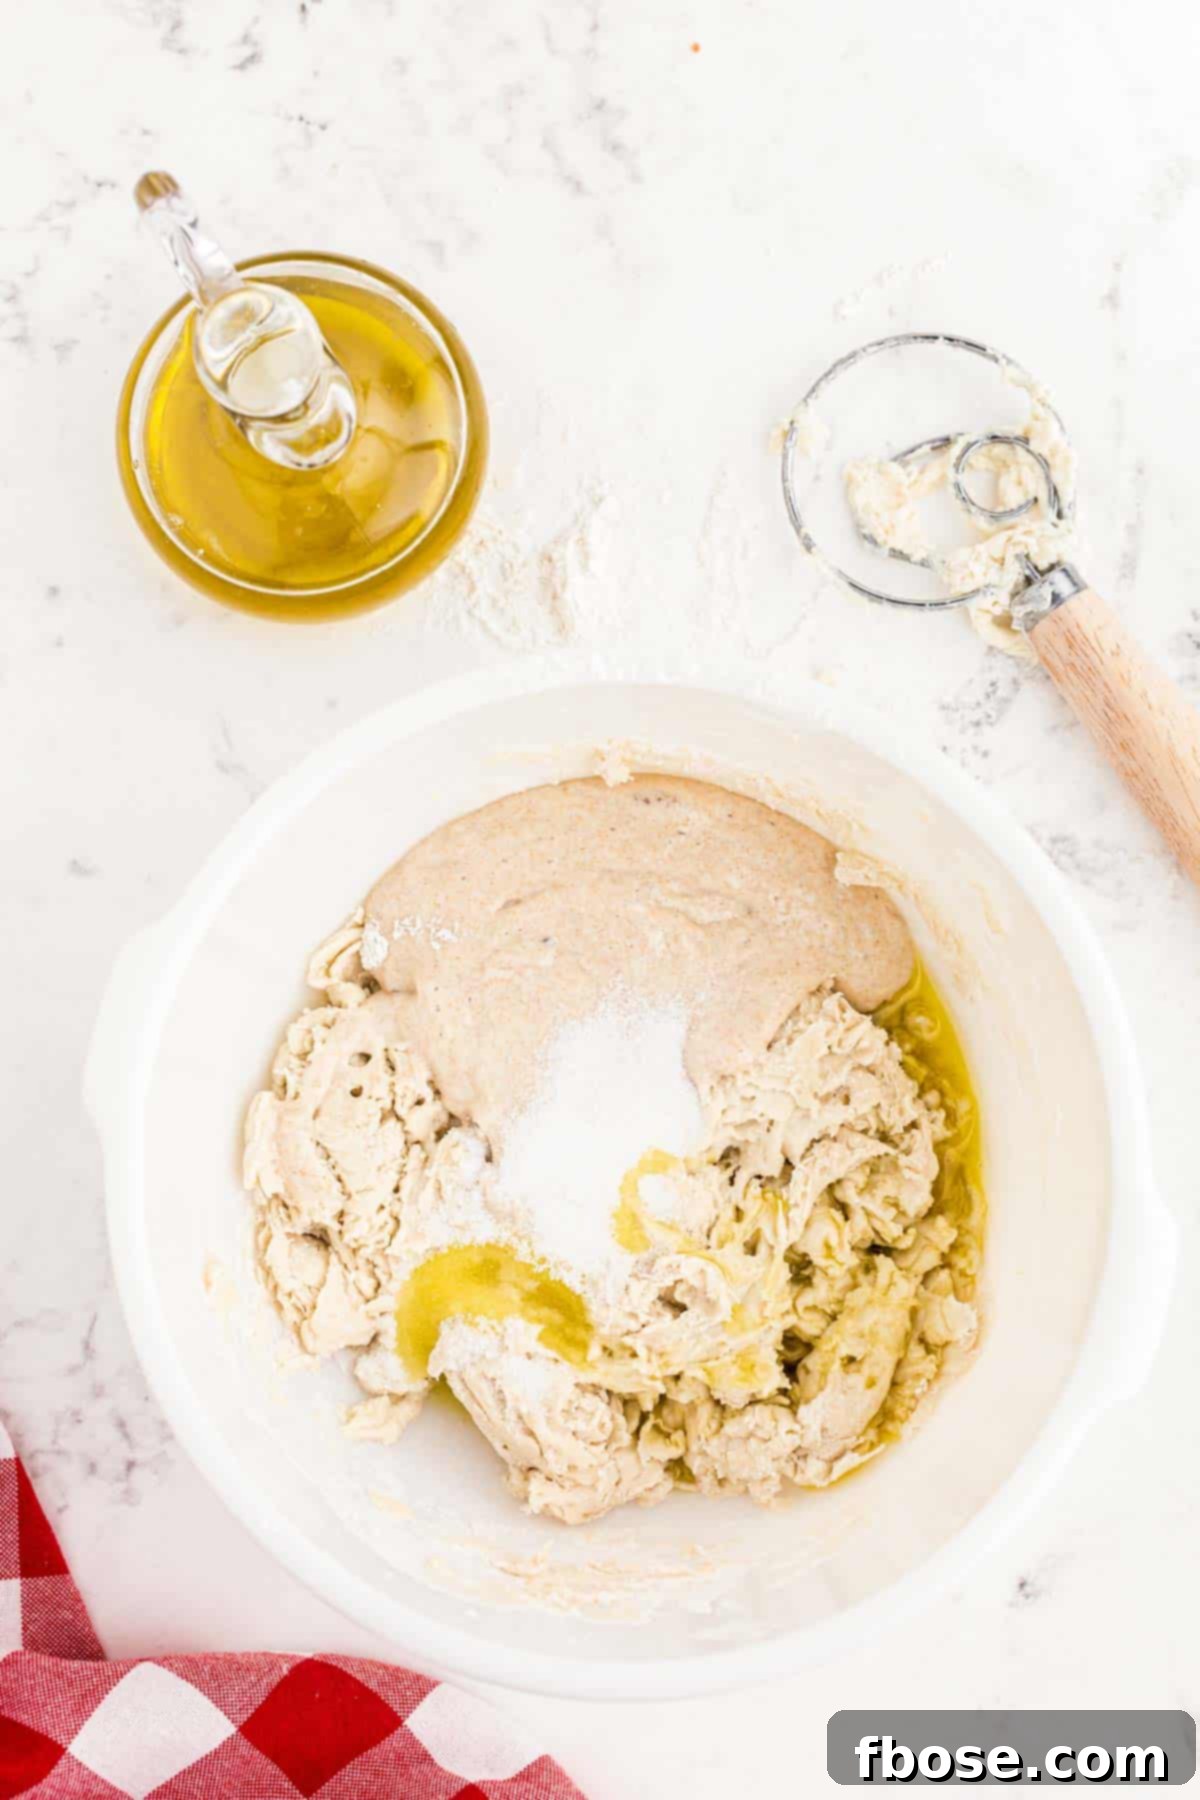
4. **Form the Dough Ball and Rest:** Mix all ingredients together thoroughly until they form a cohesive dough ball. Initially, the dough may be quite sticky, so don’t hesitate to use your hands to incorporate everything fully. Once mostly combined, cover the bowl tightly with plastic wrap or a damp kitchen towel. Allow this mixture to rest at room temperature for about 4 to 6 hours. During the first two hours of this resting period, you will perform four sets of ‘stretch and folds’ every 30 minutes, which significantly aids in gluten development without extensive kneading.
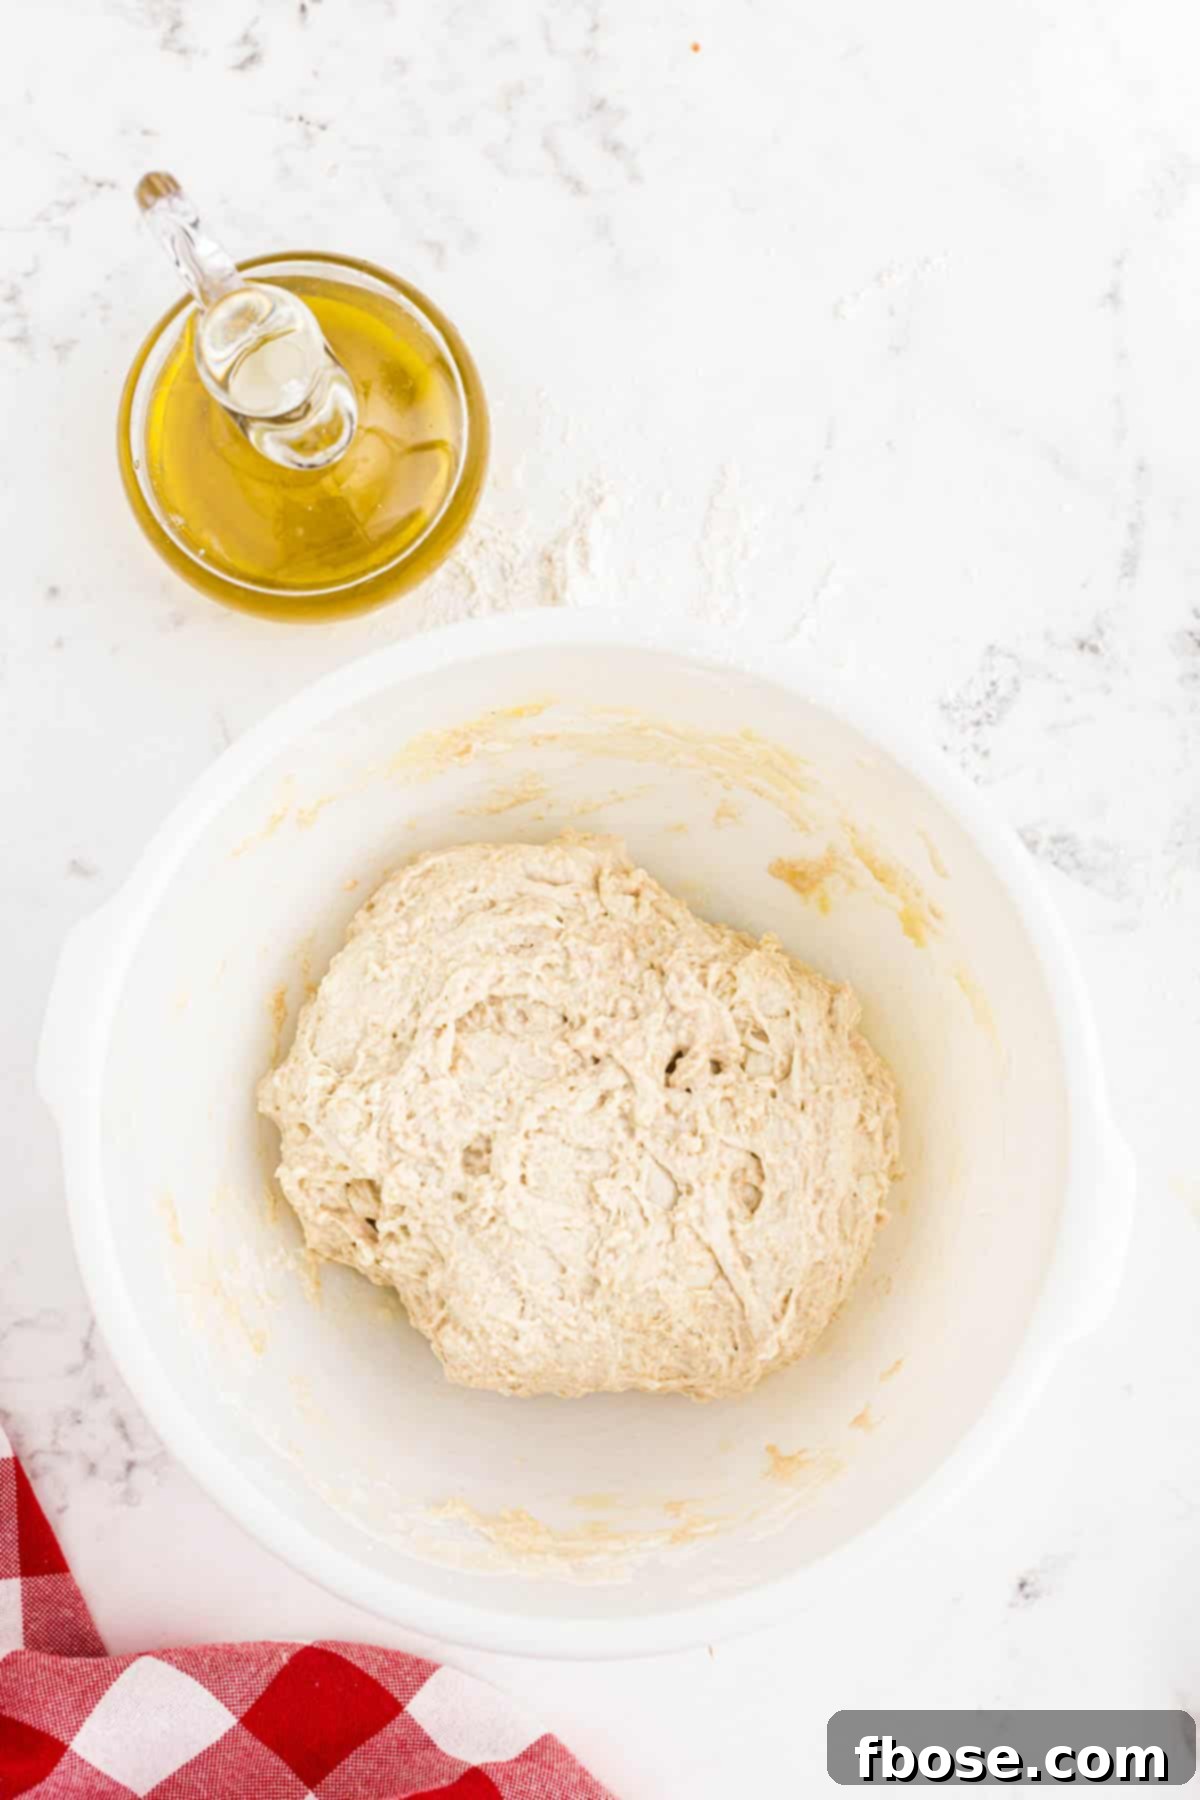
5. **First Stretch and Fold:** After the initial 30 minutes of rest, begin the first set of ‘stretch and folds.’ To do this, gently lift the edge of the dough that is furthest away from you. Stretch it upwards, then fold it over itself towards the side closest to you. This action helps to build strength and elasticity in the dough by aligning the gluten strands.
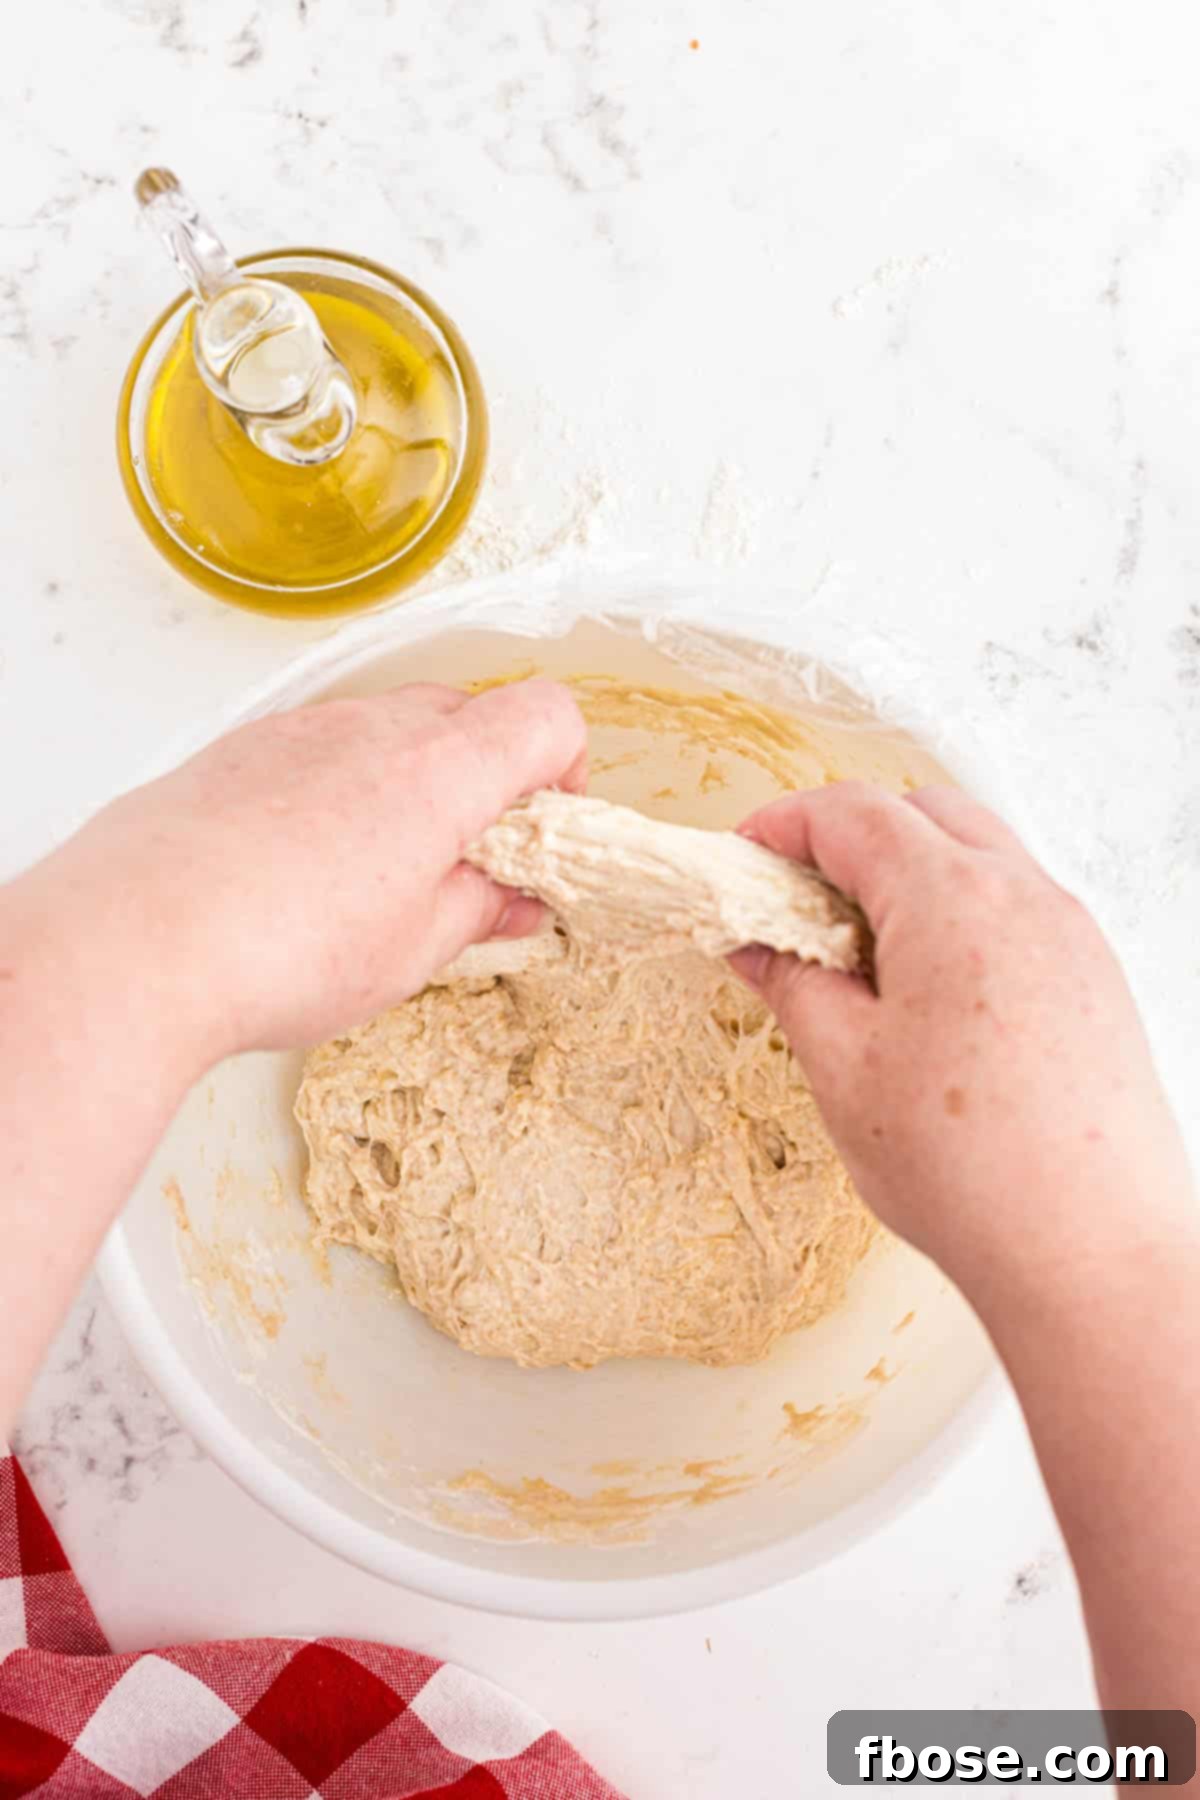
6. **Complete the Fold:** Ensure the lifted portion of the dough is neatly folded over the remaining dough, creating a tighter, more structured ball. This process is less about kneading and more about gently coaxing the gluten to strengthen, making your final crust chewier and more airy. The dough will already start to feel smoother and more elastic with each fold.
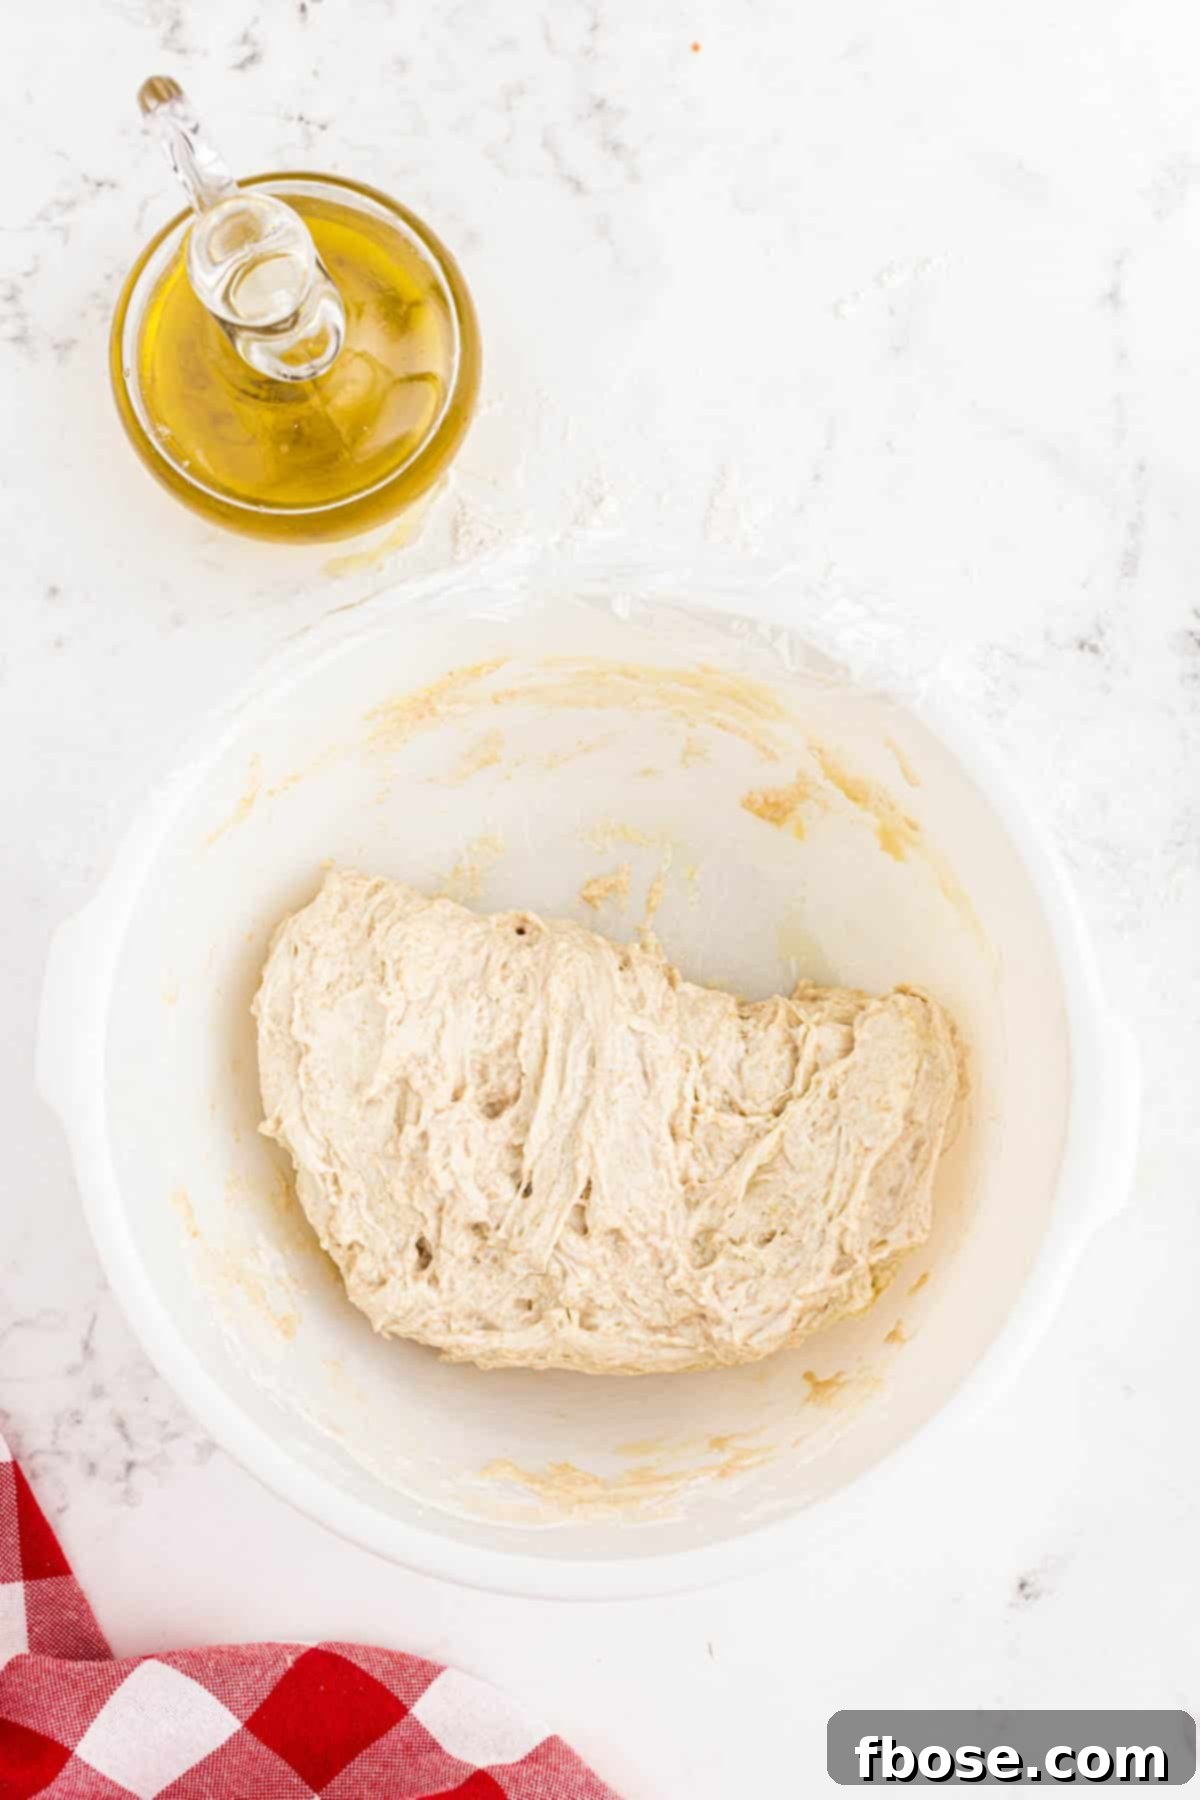
7. **Rotate and Repeat:** After completing one stretch and fold, rotate the bowl 90 degrees counter-clockwise. Repeat the stretching and folding process. Continue this rotation and folding until you have stretched and folded the dough from all four sides, effectively working the entire mass. This ensures uniform gluten development throughout the dough.
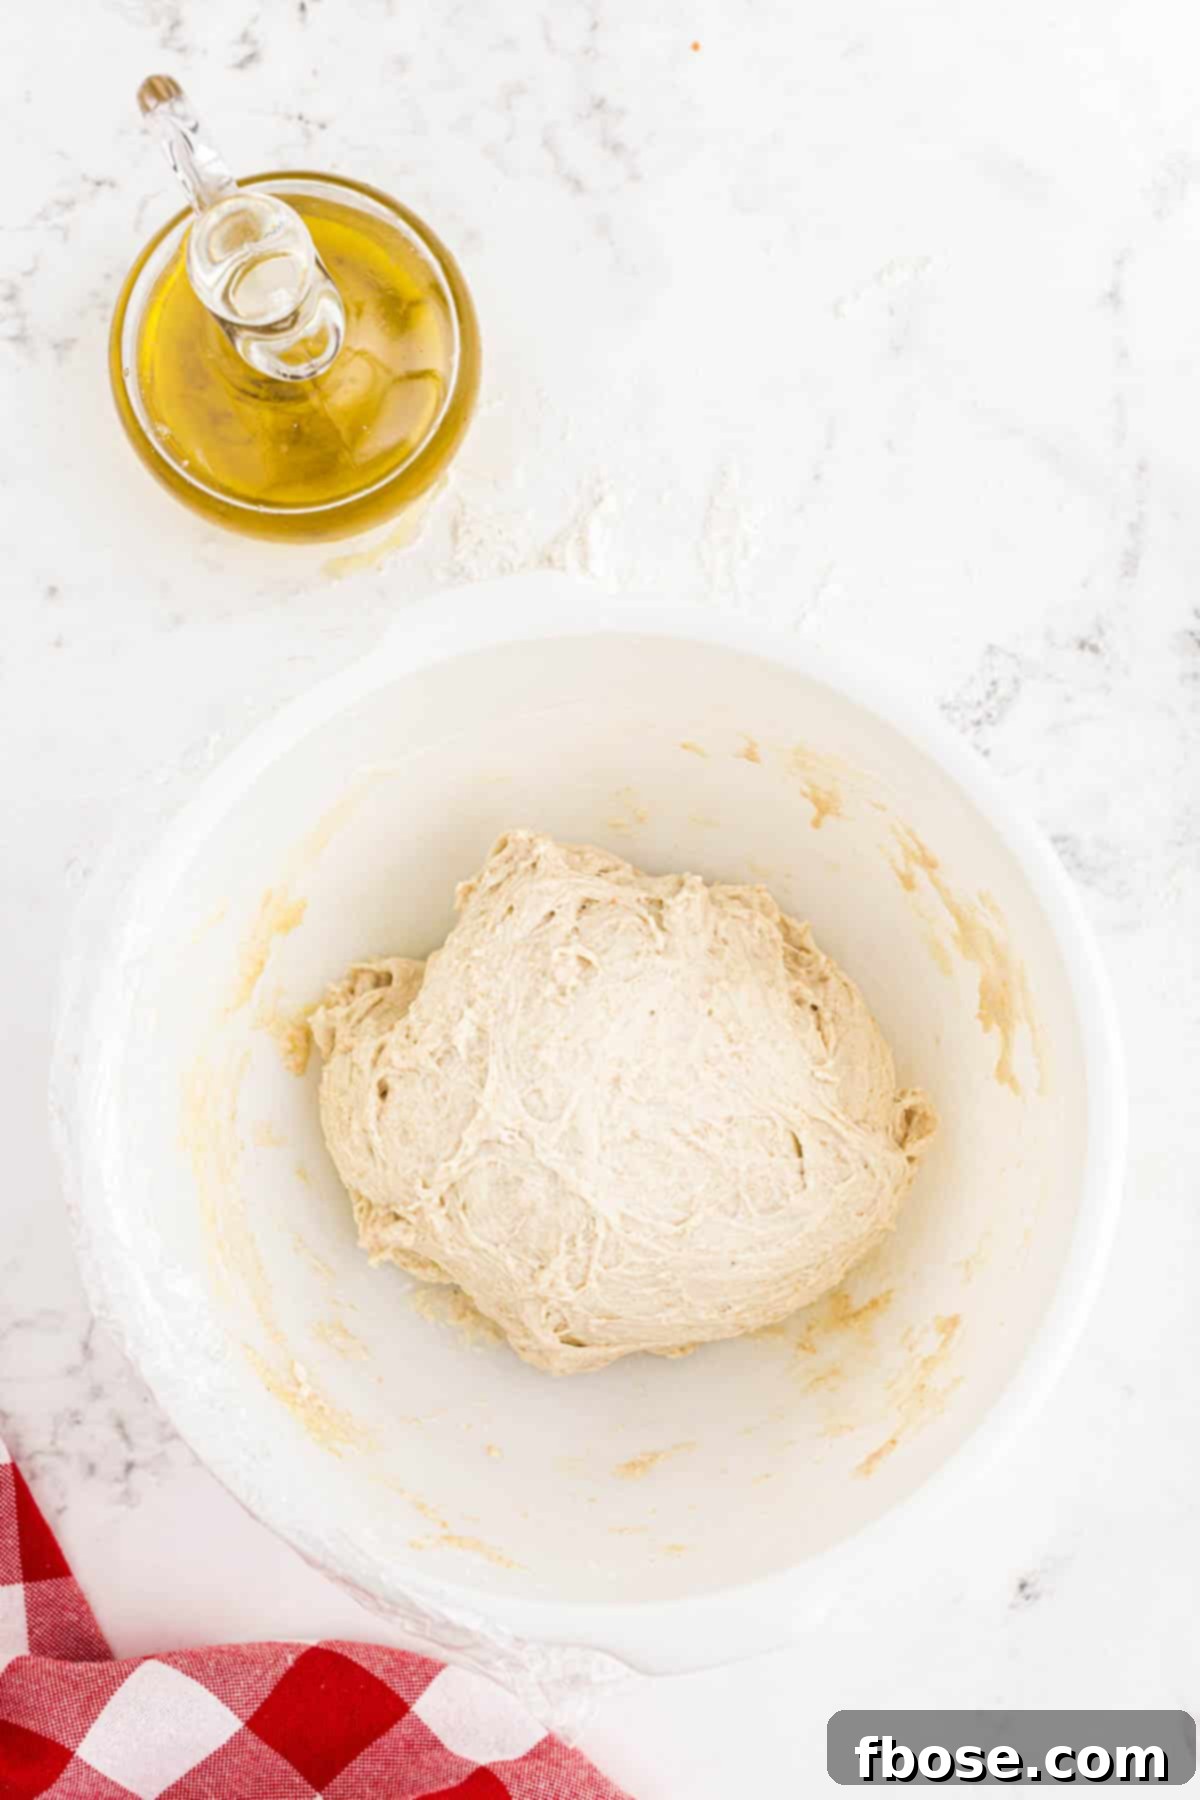
8. **Subsequent Stretch and Folds and Bulk Fermentation:** Cover the dough again and allow it to rest for another 30 minutes. After this rest, repeat another set of four stretches and folds. Perform this entire process a total of four times during the first two hours of bulk fermentation. After the final set of folds, allow the dough to continue resting, covered, until it significantly expands and rises by approximately 50% from its original volume. This bulk fermentation (or first rise) typically takes 2-4 hours, depending on your kitchen temperature and starter activity. It’s during this period that the sourdough starter truly begins to break down the starches and develop the complex flavors and airy texture.
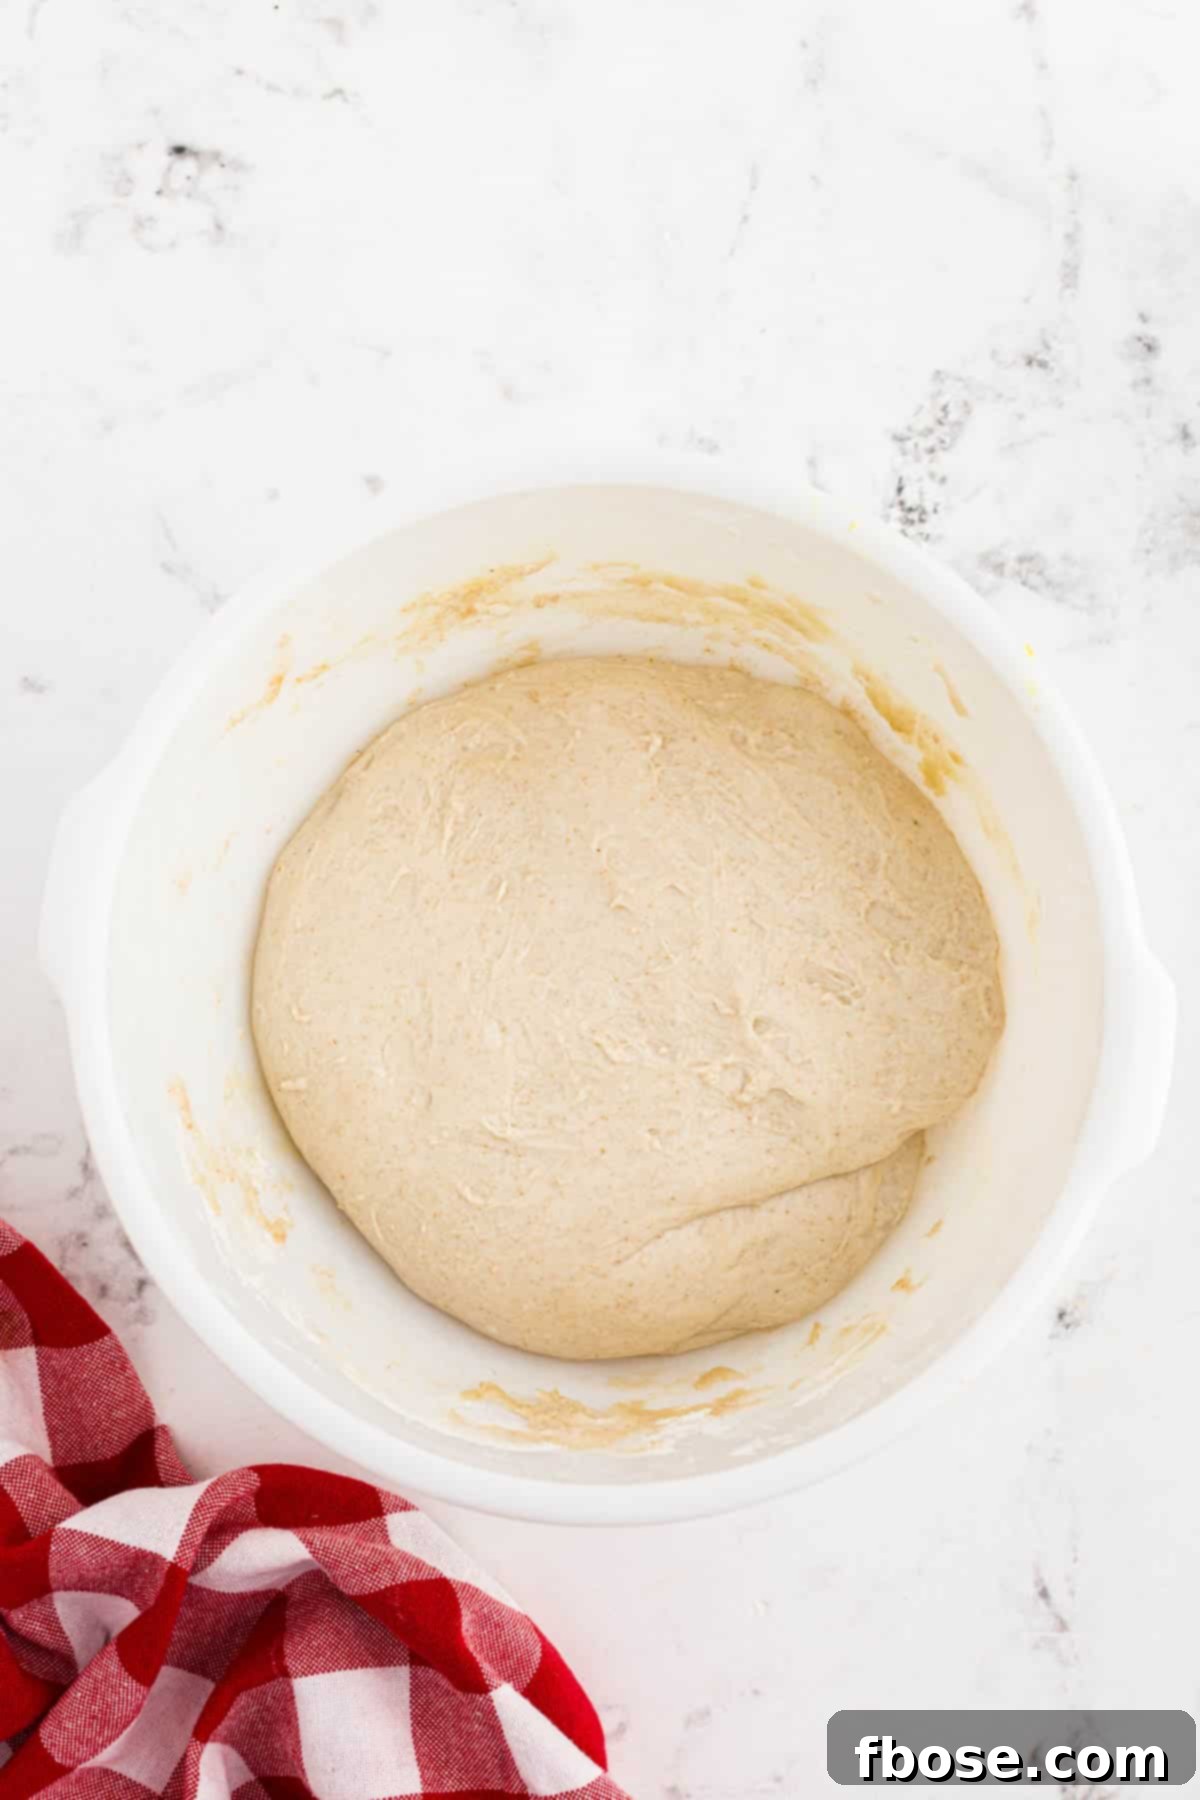
9. **Divide and Cold Proof:** Once the dough has completed its initial bulk fermentation and has noticeably increased in volume, gently turn it out onto a lightly floured surface. Divide the dough into two or three equal pieces, depending on your desired pizza size and thickness. Carefully shape each section into a taut ball and then transfer each individual dough ball into its own plastic bag or an airtight container. Store these dough portions in the refrigerator overnight, or for at least 12-24 hours. This crucial cold fermentation period, also known as cold proofing, allows the flavors to deepen significantly and improves the dough’s digestibility, making for a truly superior pizza crust. It also makes the dough much easier to handle when you’re ready to bake.
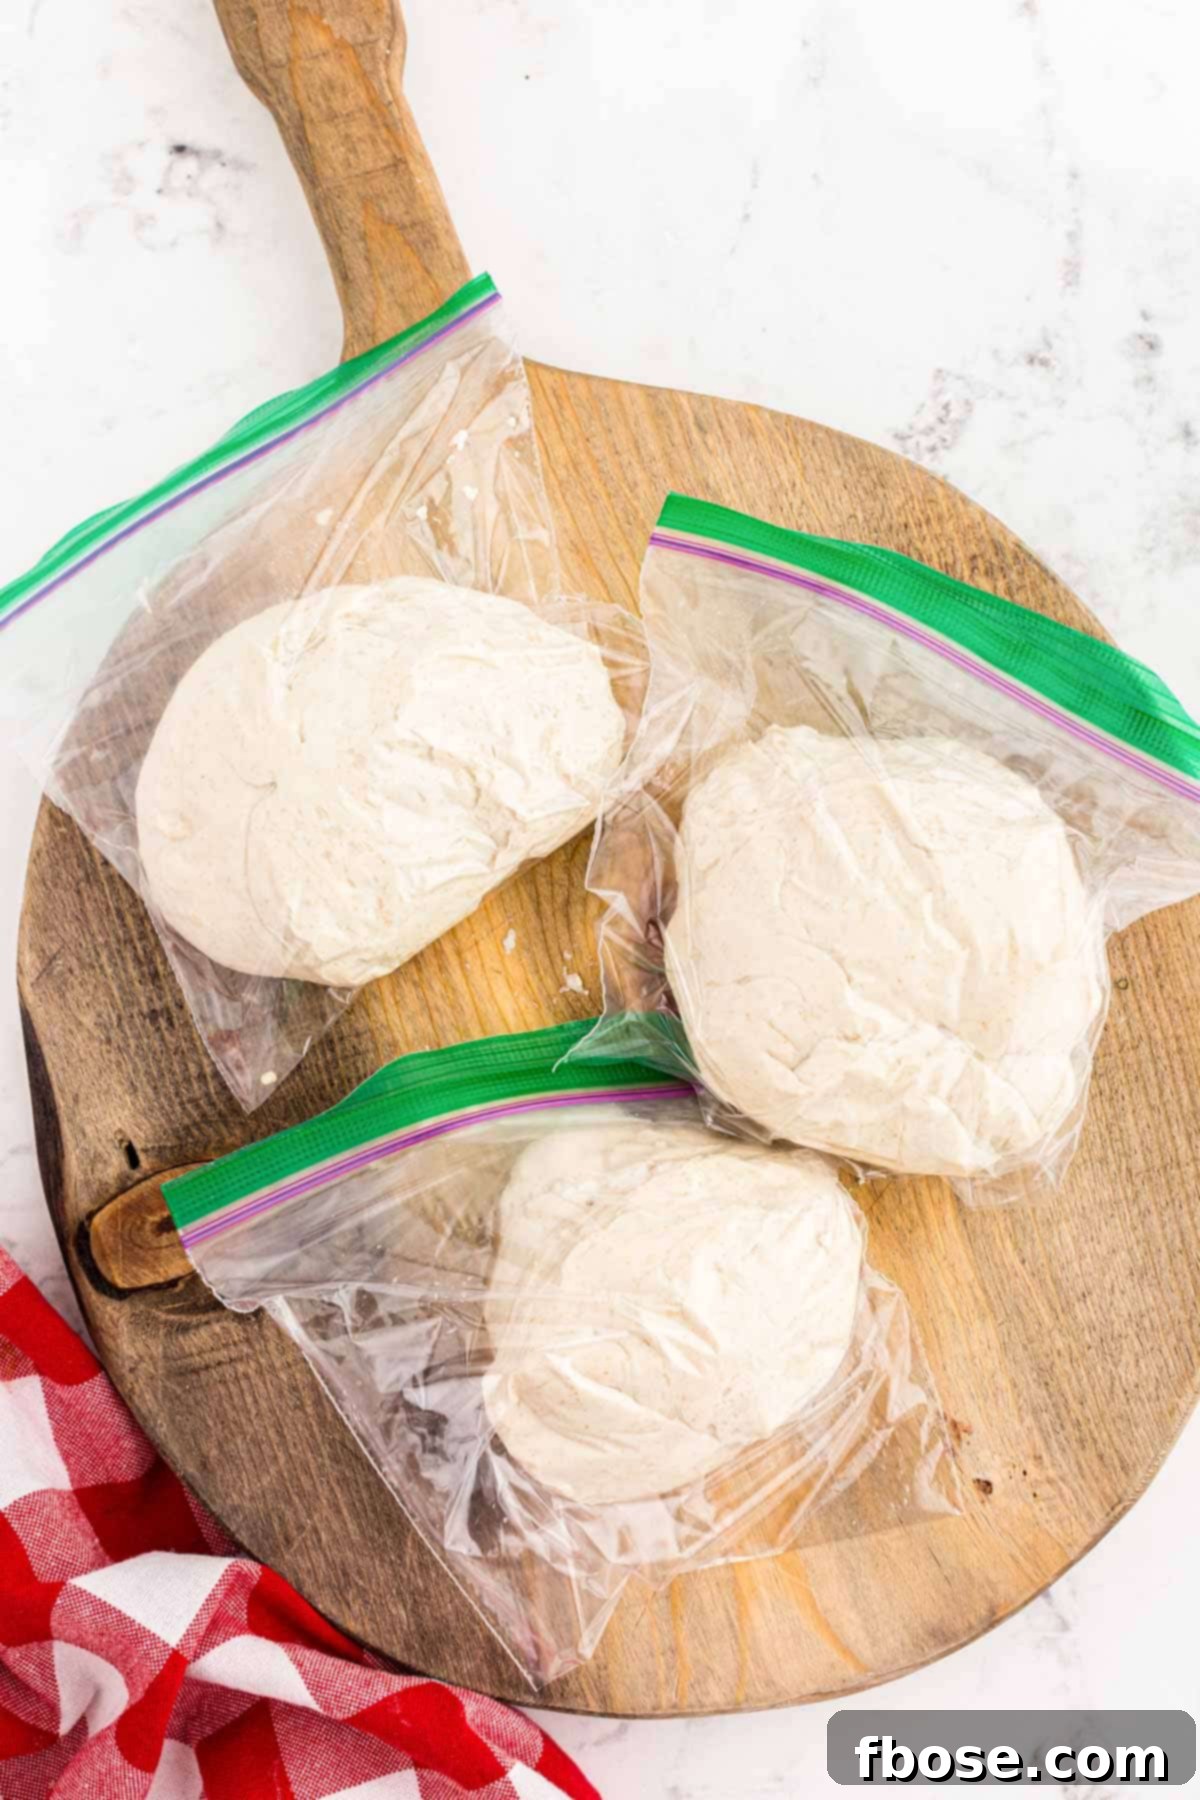
10. **Bring to Room Temperature and Prepare for Shaping:** On baking day, remove a ball of dough from the refrigerator a few hours before you plan to bake your pizza. Keep it inside its plastic bag and let it sit on the counter until it comes to room temperature. This typically takes 2-4 hours, allowing the dough to relax and become pliable, making it easier to shape without tearing. Once at room temperature, prepare your workspace by drizzling a small amount of olive oil onto a sheet of parchment paper and lightly coating your fingertips with olive oil as well. This prevents sticking and helps in handling the delicate dough.
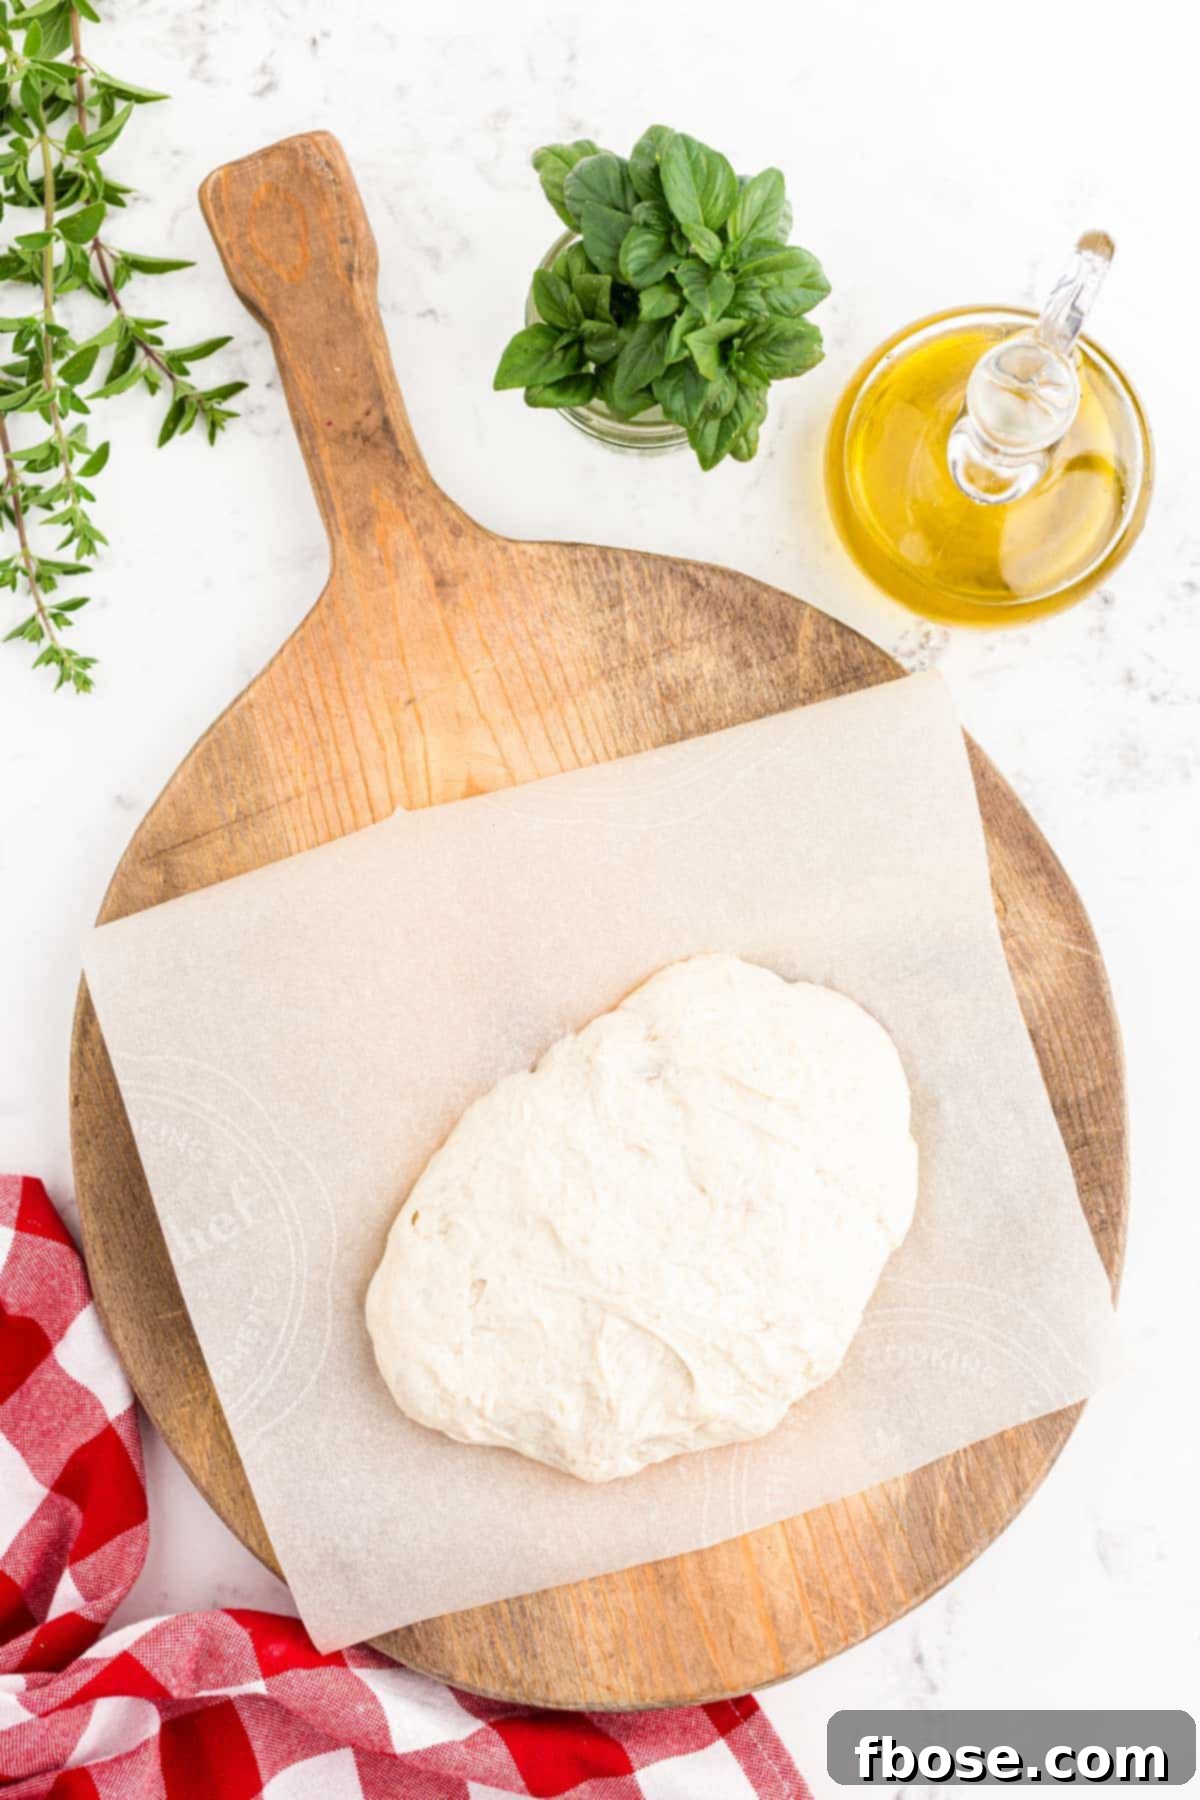
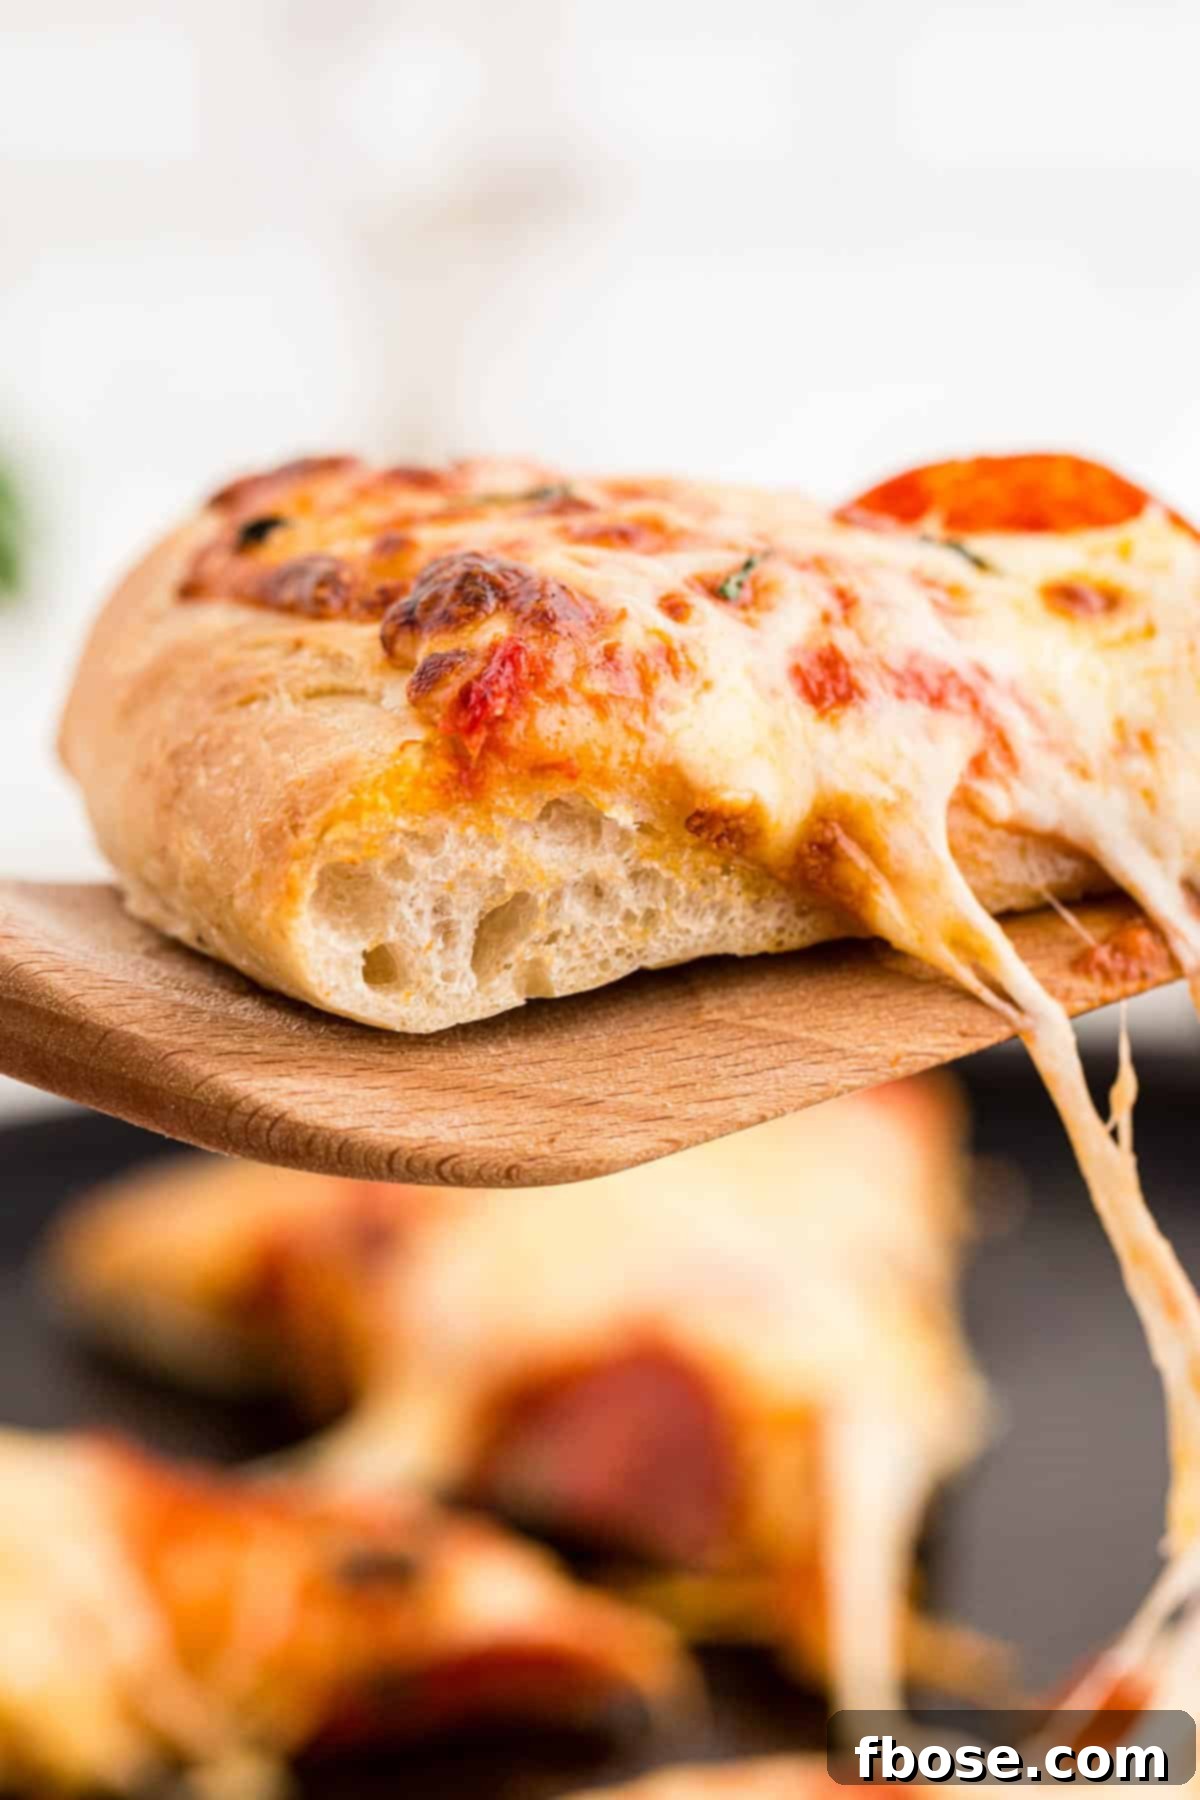
11. **Shape and Final Proof:** Carefully transfer the dough from the plastic bag onto the prepared parchment paper. Using your oiled fingertips, gently press and stretch the dough outwards from the center to form your desired pizza crust shape. You have full control here: make it as thin and crispy as you like, or leave it thicker for a chewier, more substantial crust. If you prefer a thicker crust, as seen in the images, you might use half of the total dough recipe for a single 10-inch pizza. Once shaped, brush the edges of the crust with a little more olive oil for extra flavor and a golden-brown finish. Cover the shaped crust loosely with plastic wrap or a damp towel and place it in a warm spot to rise for its final proof. The crust is ready to bake when it looks visibly puffy, feels light, and when gently pressed with your fingertip, it slightly bounces back, leaving a small, faint indent. This final proofing stage, often lasting 2-3 hours, ensures a light and airy interior crumb.
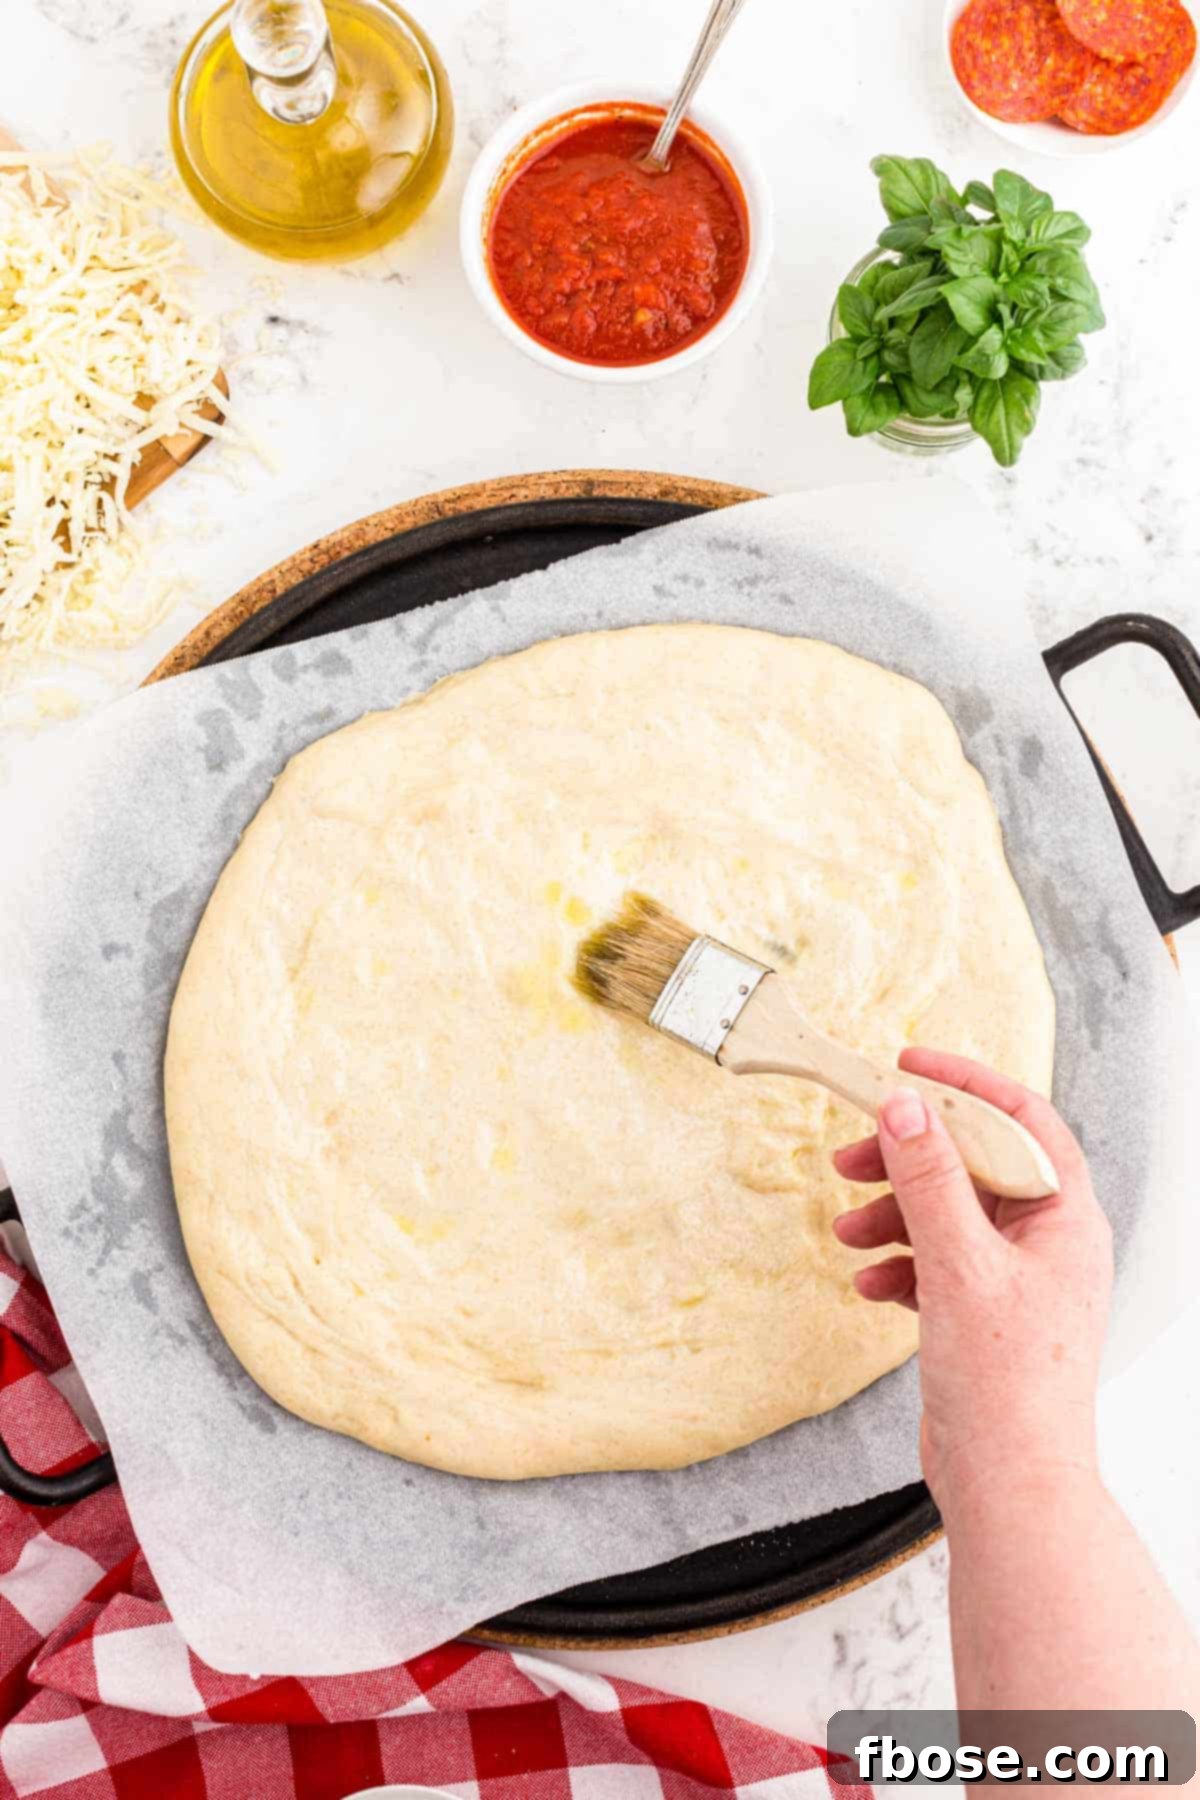
12. **Pre-bake the Crust:** Towards the end of the final proofing time, preheat your oven to 500°F (260°C). Place your cast iron pizza pan or pizza stone into the oven during the preheating phase, allowing it to heat up for at least 30 minutes. A screaming hot surface is key to achieving that coveted crispy crust. Carefully transfer the shaped pizza crust (still on its parchment paper, if desired) onto the preheated pan or stone. Bake the sourdough pizza crust in the oven for an initial 5 minutes. This partial bake creates a sturdy base and prevents the crust from becoming soggy under the weight of your toppings.
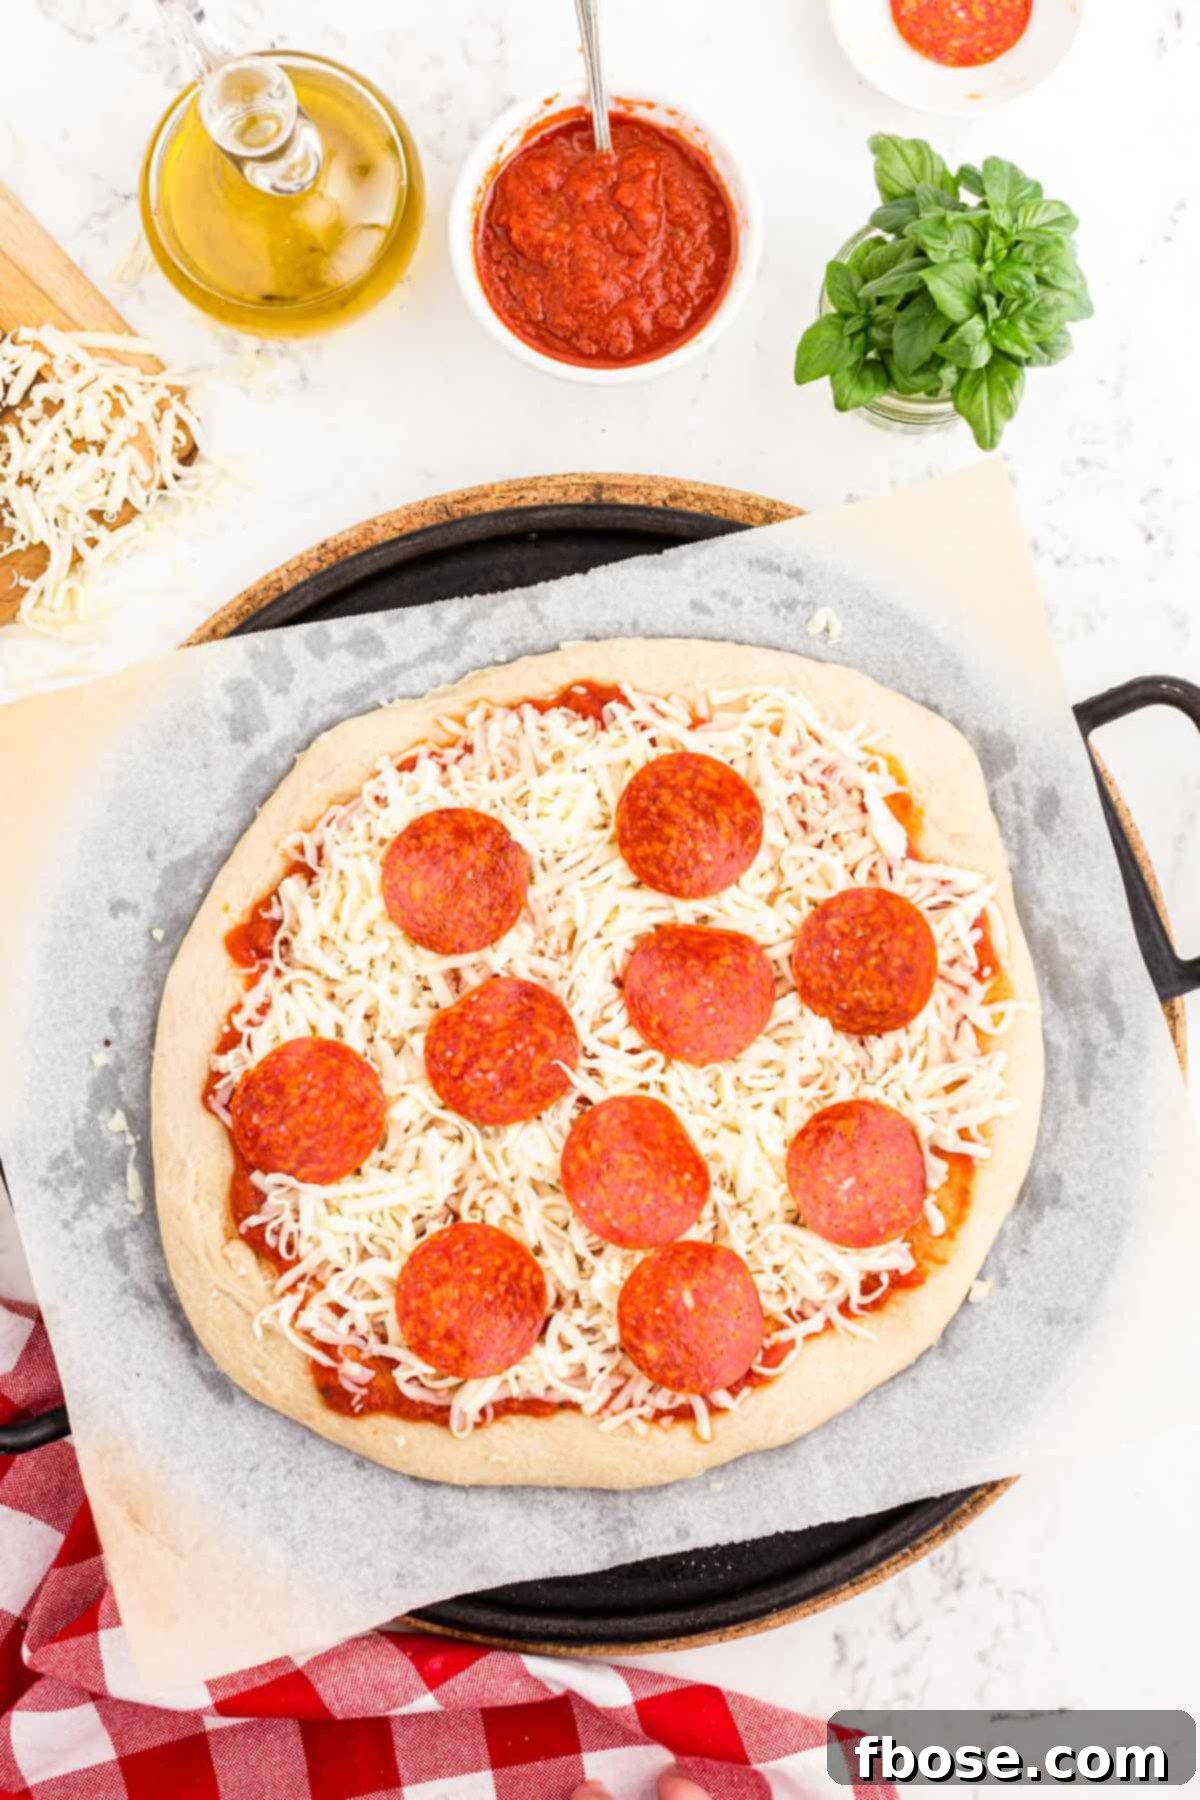
13. **Add Toppings and Final Bake:** After the initial 5-minute pre-bake, carefully remove the partially baked crust from the oven. Quickly and evenly spread your favorite pizza sauce and apply all your desired toppings. Get creative with your selection – from classic pepperoni and mushrooms to gourmet vegetables and specialty cheeses! Return the fully topped pizza to the scorching hot oven and continue baking for another 5 to 10 minutes. Keep a close eye on it until the crust edges are beautifully browned and crisp, and the cheese is thoroughly melted, golden, and deliciously bubbly. Slice, serve, and enjoy your perfectly crafted sourdough pizza!
Frequently Asked Questions About Sourdough Pizza Dough
How To Store Sourdough Pizza Dough?
Once prepared, this versatile sourdough pizza dough can be kept fresh in the refrigerator for up to 3 to 4 days, making it an excellent option for meal prepping or having on hand for spontaneous pizza cravings. For longer storage, you can securely wrap individual dough balls and freeze them for up to 1 month. When ready to use frozen dough, simply transfer it to the refrigerator the night before to thaw, then proceed with bringing it to room temperature as outlined in the recipe.
Why Does This Sourdough Pizza Dough Recipe Take So Long?
The extended timeline for this recipe is entirely due to the natural fermentation and rising processes inherent in sourdough baking. Unlike commercial yeast, which offers rapid rises, sourdough relies on wild yeasts and bacteria in your starter. These microorganisms work more slowly, breaking down complex carbohydrates in the flour and developing the distinctive tangy flavor and characteristic airy, open crumb structure that sourdough is celebrated for. While the total time involves several hours, the vast majority of this is hands-off time, simply requiring patience as the dough ferments and rises. You’ll only dedicate a few minutes here and there to mixing and performing the stretch and folds. The incredible depth of flavor, superior texture, and enhanced digestibility of the final crust are absolutely worth the wait, transforming your pizza into a truly gourmet experience.
Can I Use All-Purpose Flour In This Sourdough Pizza Dough Recipe?
While you can use all-purpose flour in a pinch, we highly recommend using bread flour for this recipe. Bread flour contains a higher protein content compared to all-purpose flour, which translates to superior gluten development. This results in a pizza crust that is noticeably puffier, has a more satisfying chew, and achieves a better structure to hold your toppings without becoming dense or overly tender. The difference in texture and resilience is significant and truly elevates the sourdough pizza experience.
How Do I Ensure I Get A Thicker Sourdough Pizza Crust?
Achieving a thicker, chewier sourdough crust is quite simple. If you find the recipe yields too thin a crust for your preference, consider halving the recipe ingredients and using that single portion of dough for one 10-inch pizza. This adjustment will naturally create a more substantial and satisfyingly thick crust, allowing you to fully appreciate the unique chew and robust flavor profile that this sourdough recipe offers.
Is Overnight Refrigeration of the Dough Necessary Before Use?
No, storing the dough in the refrigerator overnight is not strictly mandatory, but it comes highly recommended for two key reasons. Firstly, this cold fermentation period, often referred to as cold proofing, allows the sourdough flavors to develop much more deeply and complexly. The slower fermentation at a cooler temperature enhances the dough’s characteristic tang and aroma, resulting in a more flavorful crust. Secondly, refrigerating the dough overnight provides greater flexibility and makes it significantly easier to time the baking of your pizza. You can simply remove a dough ball from the fridge a few hours before you’re ready to bake, letting it warm up and relax, which simplifies your baking schedule considerably.

As devoted pizza enthusiasts in our family, we’ve discovered that this Sourdough Pizza Crust provides an unparalleled base for all our cherished toppings. Its unique texture and tangy flavor elevate every bite. If you’re looking to expand your homemade pizza repertoire, here are some other delightful pizza-inspired recipes that your family might enjoy as much as ours does!
- Pizza Sliders – These irresistible sliders feature soft diner rolls generously coated with butter, savory herbs, and Parmesan cheese, then stuffed with your favorite pizza toppings. A quick and easy meal, they’re ready to delight in just 25 minutes!
- One Pan Pizza Pasta – An incredibly convenient and budget-friendly one-pot meal made with hearty large elbow macaroni, rich pizza sauce, classic marinara sauce, gooey mozzarella, savory pepperoni, and aromatic spices. This family-favorite dish is ready to eat in under 30 minutes!
- Easy Stuffed Pizza Rolls – Mozzarella cheese sticks and zesty pepperoni are lovingly wrapped in flaky crescent rolls to create these perfectly handheld pizza rolls. They’re ideal for dipping into your preferred pizza sauce for a fun and delicious snack or appetizer!
- Best Pepperoni Pizza Dip – This incredibly savory and crowd-pleasing appetizer is packed with all the flavors of your favorite pizza in a warm, dippable format. Serve it with crispy tortilla chips, crunchy crackers, crusty bread, or fresh vegetables for an unforgettable party snack!
- 5-Ingredient Mini Pizzas – Transform simple canned biscuits into individual-sized pizzas! Each biscuit is generously covered in vibrant pizza sauce, melted cheese, flavorful pepperoni, and a sprinkle of spices, then baked in muffin tins. These delightful mini pizzas are ready in less than 20 minutes, perfect for kids or a quick bite!
Let’s Connect and Share Your Creations!
If you’ve tried this fantastic sourdough pizza dough recipe, we would absolutely love to hear about your experience! Please share your thoughts in the comments section below and consider leaving a review. Your feedback is invaluable and helps other home bakers discover the joy of this recipe!
Don’t forget to tag us – @sugarandsoulco – on Instagram and Pinterest with your beautiful photos of your sourdough pizzas! You can also join our vibrant Sugar & Soul Show-offs Community on Facebook, where you can share your culinary masterpieces and even participate in our exciting recipe challenges! We can’t wait to see what you create!

Sourdough Pizza Crust
Equipment
-
Cast iron pizza pan or pizza stone
-
Digital kitchen scale
-
Large mixing bowl
-
Plastic wrap or damp kitchen towel
-
Parchment paper
Ingredients
- 225 g water (preferably filtered)
- 400 g bread flour (high protein for best texture)
- 125 g active sourdough starter (fed 8-12 hours prior, visibly bubbly)
- 25 g extra virgin olive oil
- 15 g fine sea salt
Instructions
-
In a large mixing bowl, combine the precisely measured water and bread flour. Mix until just combined, using a spoon or your hands. The mixture will be very “shaggy” and somewhat dry-looking, but ensure no dry pockets of flour remain. This initial step is called an autolyse and helps hydrate the flour for better gluten development.225 g water, 400 g bread flour
-
Next, add the active sourdough starter, the olive oil, and the sea salt into the shaggy dough. Mix thoroughly until all ingredients are well incorporated and you can form a rough dough ball. It might be quite sticky at this point, so don’t hesitate to use your hands for better control and incorporation.125 g ripe sourdough starter, 25 g olive oil, 15 g sea salt
-
Once the dough is mostly combined, cover the bowl tightly with plastic wrap or a damp kitchen towel. Allow it to rest at room temperature for a total of 4 to 6 hours for the bulk fermentation. During the first 2 hours of this resting period, you will perform 4 sets of ‘stretch and folds,’ with 30-minute intervals between each set.
-
To perform a ‘stretch and fold,’ after the first 30-minute rest, gently lift the edge of the dough that is furthest away from you. Stretch it upwards and then fold it over itself towards the side closest to you. Then, rotate the bowl 90 degrees counter-clockwise and repeat the stretch and fold action. Continue this until you have stretched and folded the dough from every side, ensuring even gluten development.
-
After completing a set of stretches and folds, cover the dough again and let it sit for another 30 minutes. Repeat this entire stretch and fold process two more times (for a total of four sets). Once all four sets are complete, leave the dough to rest, covered, for the remaining 2-4 hours until it visibly expands and rises by about 50% from its initial volume. This is the crucial bulk fermentation stage where flavor develops.
-
Following this initial “bulk fermentation,” gently turn the dough out onto a lightly floured surface. Divide the dough into two or three equal sections, depending on your desired pizza size and crust thickness. Carefully shape each section into a round ball, place each into its own plastic bag or airtight container, and store them in the refrigerator overnight (or for at least 12-24 hours) until you’re ready to use them. This cold proofing step greatly enhances flavor.
-
On the day you plan to make pizza, remove a dough ball from the refrigerator several hours beforehand. Keep it inside its plastic bag and let it sit on your kitchen counter until it reaches room temperature, typically 2-4 hours. This allows the dough to relax and become much easier to handle and shape.
-
Prepare your shaping surface: lay out a sheet of parchment paper and drizzle a small amount of olive oil onto it. Lightly coat your fingertips with olive oil as well to prevent sticking.
-
Carefully remove the dough from the plastic bag. Using your oiled fingers, gently press and stretch the dough out on the parchment paper into your desired pizza crust shape. You have the flexibility to make the crust very thin and crisp or leave it with a bit more thickness for a chewier texture.
-
For a noticeable “thick” crust, as featured in our photos, we recommend using half of the full dough recipe for a single 10-inch pizza. Adjust the dough amount to suit your preferred crust thickness.
-
Once shaped, lightly brush the edges of the dough with a little extra olive oil. Then, cover it loosely with a damp towel or plastic wrap to prevent it from drying out during its final rise.
-
Place the covered pizza crust in a warm spot to rise for its final proof, which will typically take 2 to 3 hours, or until it looks visibly puffy and feels light.
-
The dough is perfectly ready for baking when it bounces back only slightly, leaving a small, faint indent in the dough when gently pressed with your fingertip. This indicates it’s airy and well-proofed.
-
Towards the very end of the final rise time, preheat your oven to a high temperature of 500°F (260°C). Place your cast iron pizza pan or pizza stone into the oven and allow it to heat for at least 30 minutes. A super-hot surface is critical for a crispy crust. (Always verify the maximum temperature your specific pizza stone can safely withstand and adjust oven temperature if necessary).
-
Carefully slide the shaped pizza dough (still on its parchment paper if preferred, for easy transfer) onto the preheated, hot pan or stone in the oven. Bake the sourdough pizza crust for an initial 5 minutes to create a sturdy, partially baked base.
-
After the initial 5-minute bake, carefully remove the crust from the oven. Quickly add your desired sauce and all your favorite toppings to the partially baked crust. Return the pizza to the oven to finish baking for another 5 to 10 minutes, or until the crust is beautifully browned and crispy, and the cheese is thoroughly melted, bubbly, and golden. Enjoy your homemade sourdough masterpiece!
Notes
- **Storage:** Prepared sourdough pizza dough can be stored in the refrigerator for 3-4 days in an airtight container or plastic bag. For longer preservation, it freezes well for up to 1 month. Thaw frozen dough in the refrigerator overnight before bringing to room temperature.
- **Time Commitment:** Remember, this is a sourdough recipe, and its unique flavor and texture are a result of natural fermentation. The process takes a significant amount of time for the dough to ferment and rise, similar to traditional sourdough bread. However, please note that most of this time is inactive; the dough largely manages itself during the fermentation stages.
- **Flour Choice Matters:** Using high-protein bread flour is highly recommended for this recipe. It makes a considerable difference, yielding a noticeably puffier, chewier, and more structured pizza crust compared to all-purpose flour.
- **All-Purpose Flour:** If you’re in a pinch and don’t have bread flour, all-purpose flour can be used, but be aware that the final texture may be less chewy and robust.
- **Thicker Crust Preference:** For those who enjoy a thicker, more substantial crust that truly highlights the chew and structure of sourdough, consider halving the recipe ingredients and using that portion for a single 10-inch pizza. This creates a denser, more satisfying base.
- **Optimal Baking:** To ensure an evenly cooked and perfectly crispy pizza crust, it’s crucial to preheat your pizza pan or stone in the oven before adding the dough. Additionally, partially bake the crust for about 5 minutes before adding any toppings. This prevents a soggy center and ensures a delightful crispness from edge to edge.
- **Hands-Off Nature:** Despite the longer overall duration, the preparation of this pizza crust is surprisingly hands-off. It requires only brief moments of active work, primarily for initial mixing and the occasional stretch and fold. The majority of the process simply calls for patience as the fermentation magic unfolds.
- **Overnight Refrigeration Benefits:** While not strictly mandatory, refrigerating the dough overnight significantly contributes to flavor development, deepening the complex sourdough tang. It also offers practical advantages, making it easier to time your pizza baking when you’re ready, as the dough becomes more manageable after a cold rest.
Nutrition Information
The nutritional values provided below are approximate and may vary based on specific ingredients and preparation methods. This information is intended for general guidance only.
Calories: 593kcal | Carbohydrates: 105g | Protein: 17g | Fat: 11g | Saturated Fat: 1g | Polyunsaturated Fat: 2g | Monounsaturated Fat: 6g | Sodium: 1945mg | Potassium: 134mg | Fiber: 3g | Sugar: 0.4g | Vitamin A: 3IU | Calcium: 24mg | Iron: 1mg
Did You Make This Recipe?
Don’t forget to share it with me on Instagram @sugarandsoulco and follow on Tiktok @sugarandsoulco and Pinterest @sugarandsoulco for more!
Pin Recipe
Share Recipe