
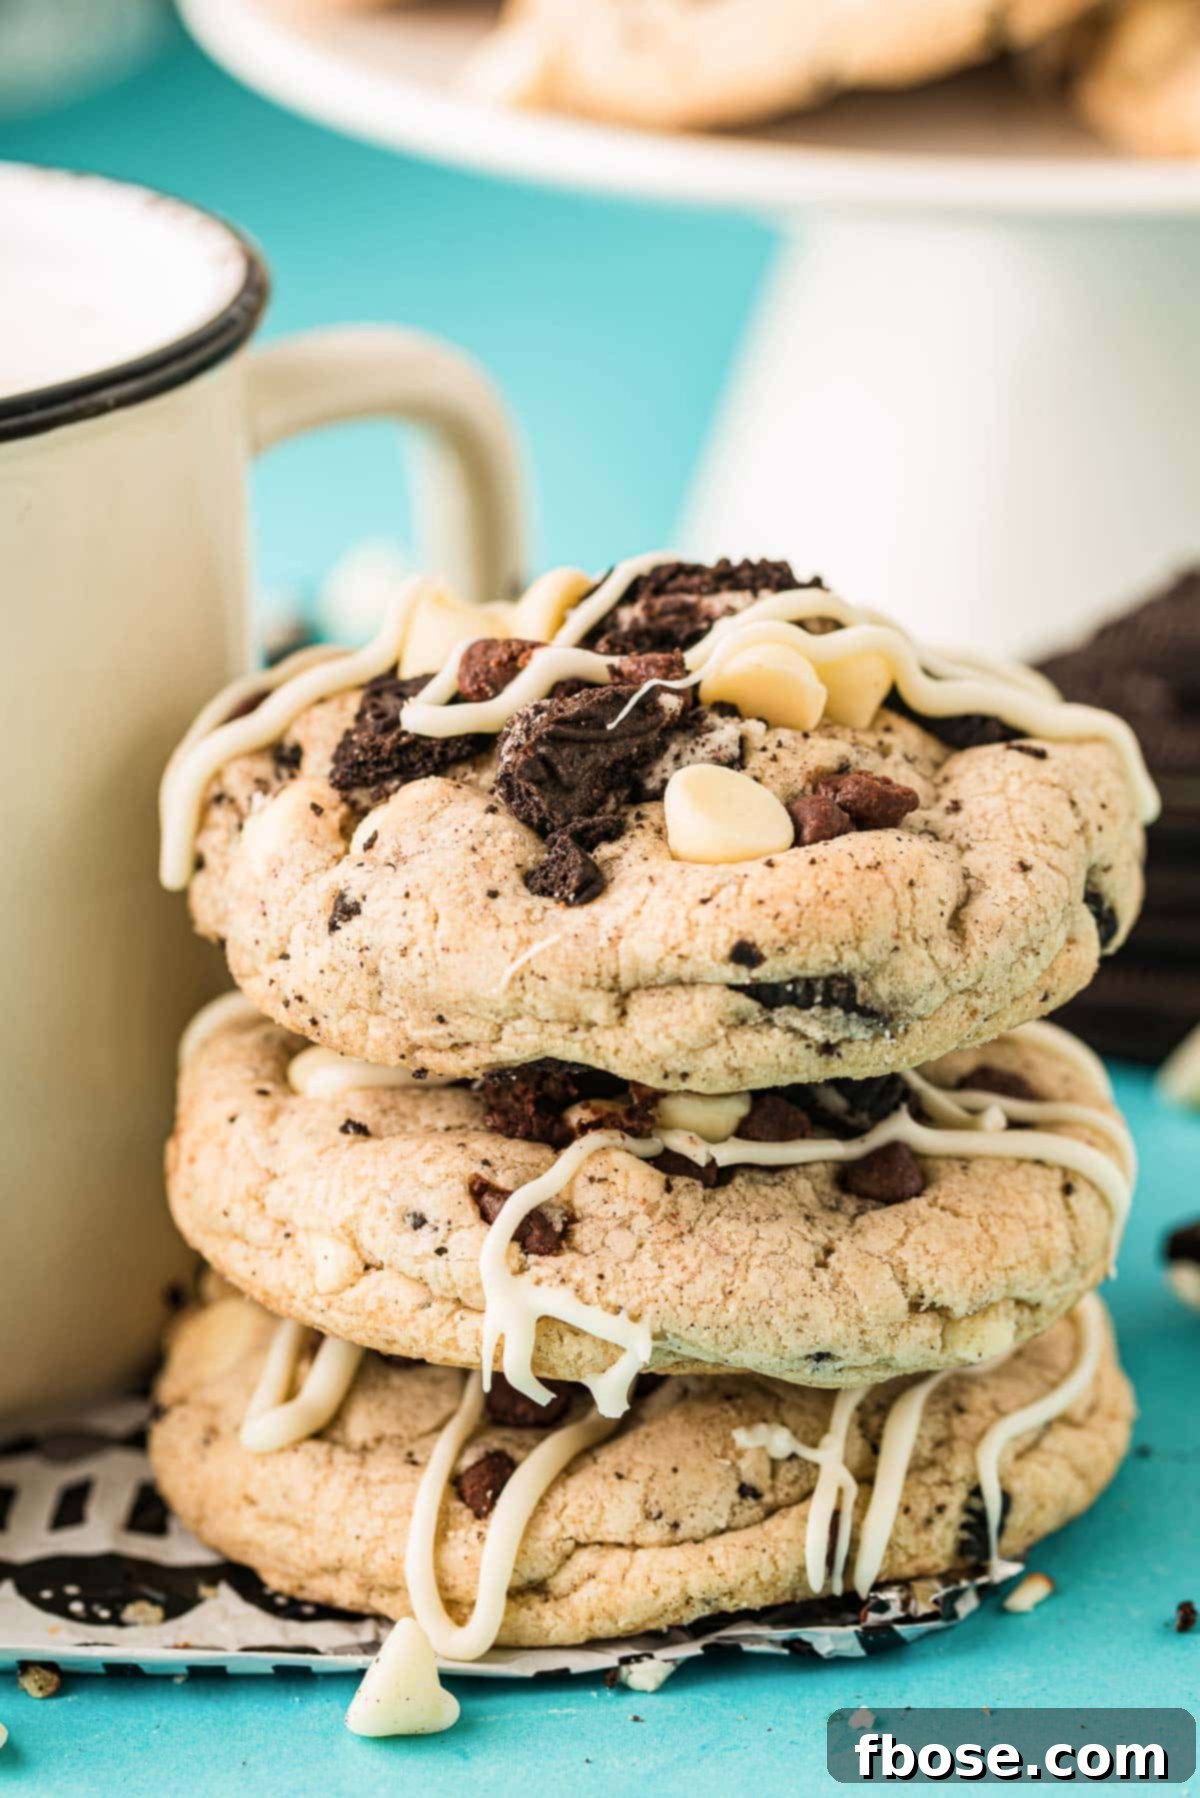
Decadent Chocolate Chip Oreo Cookies: The Ultimate Mash-Up Recipe
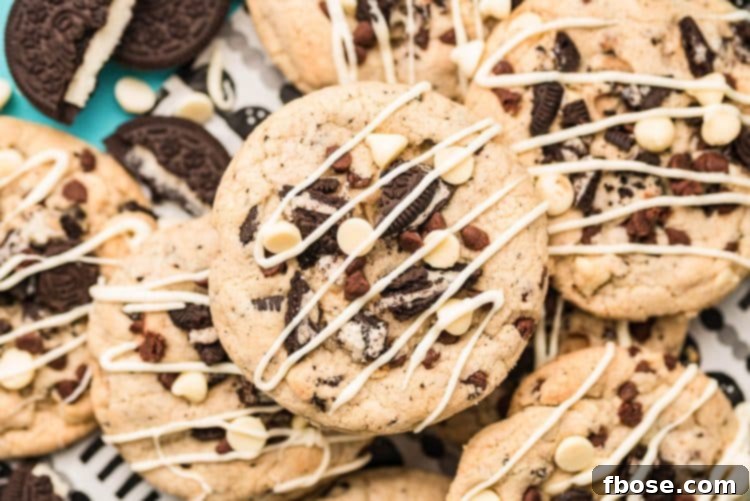
Get ready to indulge in the most irresistible cookie creation you’ve ever tasted: Chocolate Chip Oreo Cookies! This ingenious mash-up combines the beloved crunch of Oreos with the timeless comfort of homemade chocolate chip cookies, resulting in a treat that truly offers the best of both worlds. Perfect for family gatherings, potlucks, or simply satisfying a sweet craving, these cookies are incredibly easy to make, with each batch baking in just about 10 minutes. Prepare yourself for soft, chewy perfection loaded with mini semi-sweet chocolate chips, creamy white chocolate chips, and generous chunks of your favorite Oreo cookies. To top it all off, a luxurious drizzle of melted white chocolate adds an extra touch of elegance and flavor that will have everyone reaching for more.
If you’re a devoted fan of Oreos, you’ll know their versatility extends far beyond just dunking in milk. Beyond these spectacular cookies, you can crush up more Oreos to create other delightful desserts. Explore my Easy Oreo Poke Cake for a moist and flavorful cake infused with Oreo goodness, or whip up some Simple Oreo Chocolate Truffles for bite-sized delights perfect for gifting or a quick treat.
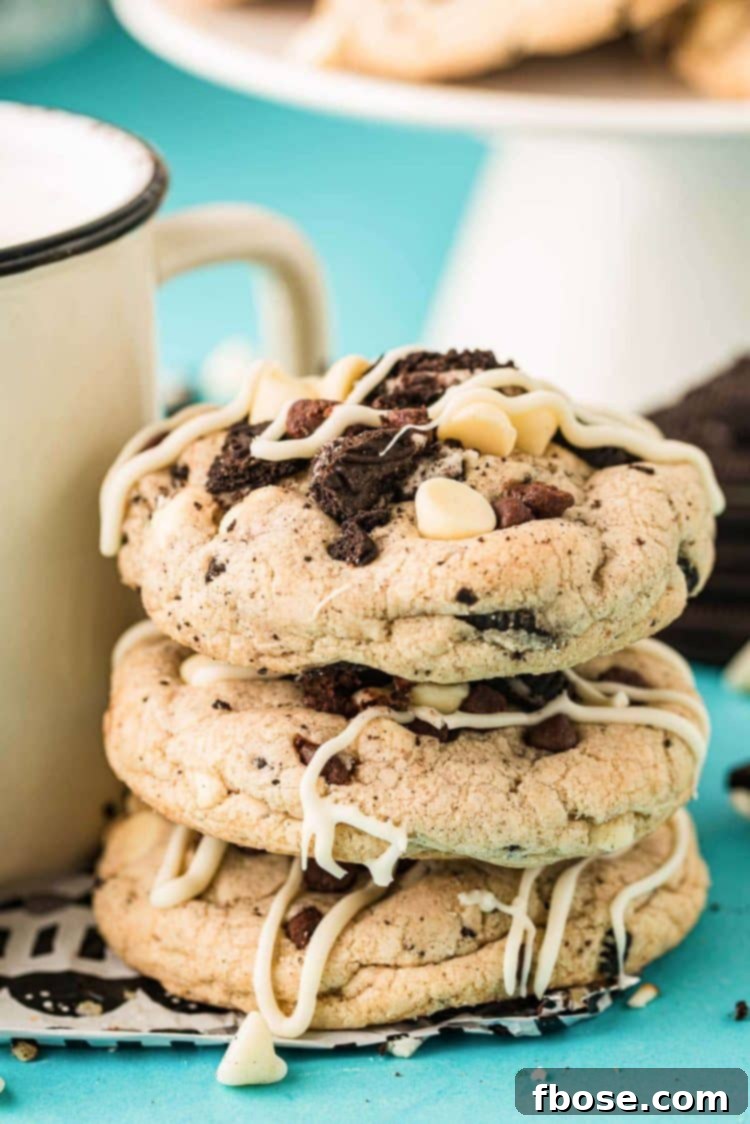
Discover the Magic of Homemade Chocolate Chip Oreo Cookies
Once you experience the sheer delight of these Chocolate Chip Oreo Cookies, you might find yourself questioning how you ever made chocolate chip cookies without this epic addition! This recipe yields a generous quantity, ensuring you have plenty to enjoy yourself, share with loved ones, and even freeze some dough or baked cookies for future cravings. It’s an efficient way to keep your cookie jar stocked with a uniquely delicious treat.
Unforgettable Taste and Texture
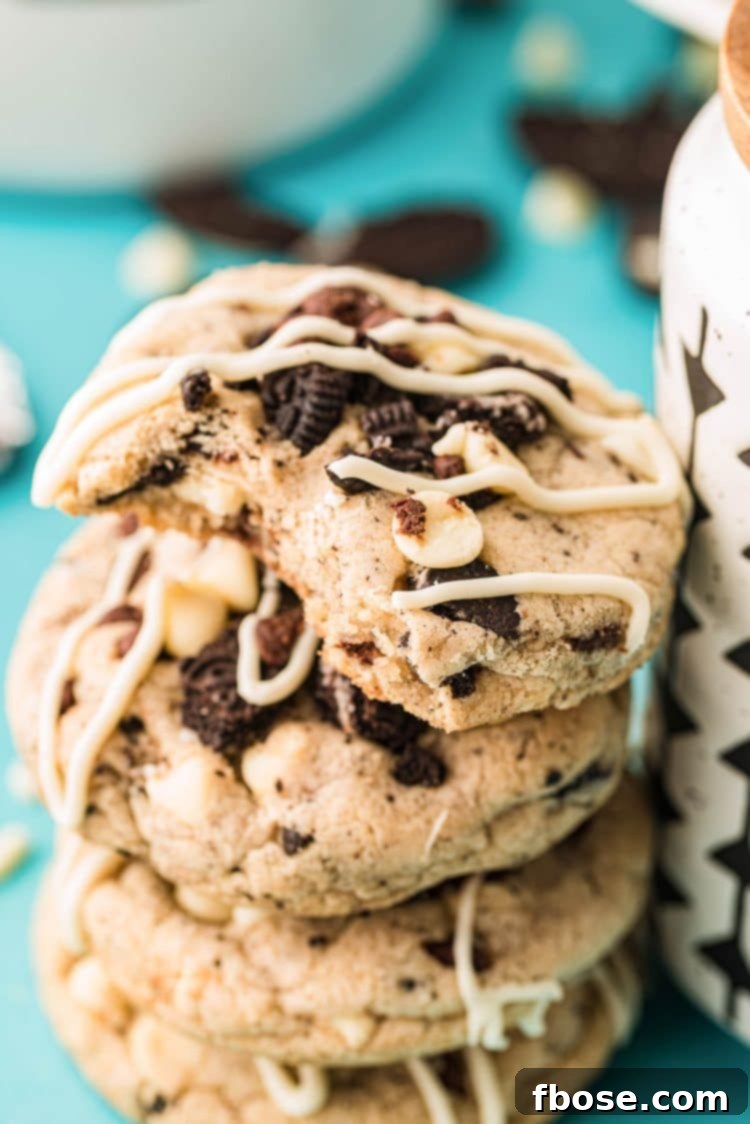
Each bite of these Oreo Chocolate Chip Cookies is an adventure for your taste buds. You’ll immediately notice the harmonious blend of rich chocolate, the sweet creaminess of white chocolate, and the distinctive crunch and flavor of chopped Oreos, all enveloped in the comforting essence of a perfectly homemade cookie. It’s essentially an Oreo, reimagined and elevated within a warm, tender cookie – a combination truly hard to resist!
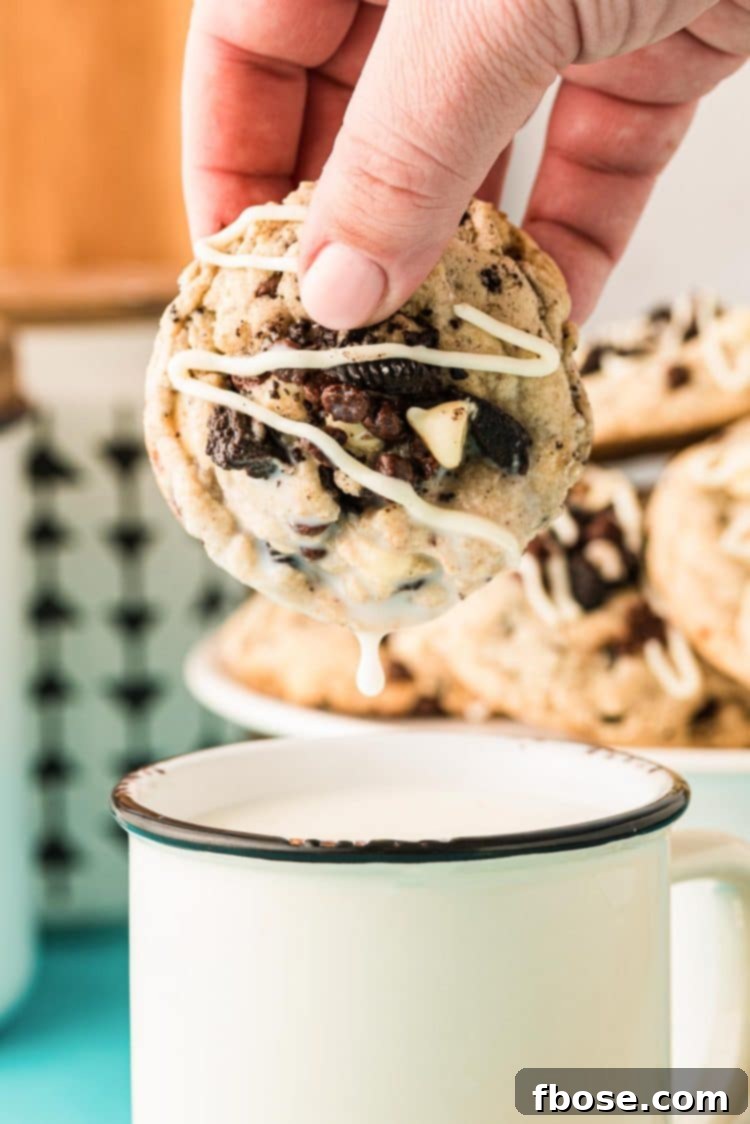
The texture of these cookies is equally impressive. They are wonderfully tender and moist, yet robust enough not to crumble apart in your hands. One of the best aspects of this recipe is its flexibility: you can customize the texture to your preference. Whether you crave a delightfully chewy cookie or prefer a softer, slightly underdone consistency, this recipe empowers you to achieve your ideal cookie experience. We’ll delve into how you can control this in the next section.
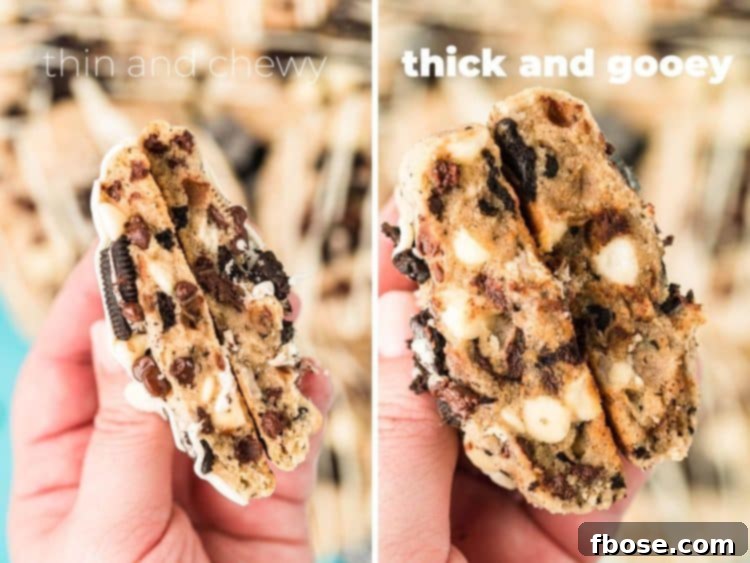
Customize Your Cookie Texture: Chewy or Soft?
The secret to achieving your preferred cookie texture lies in a simple yet effective technique during the dough portioning stage. This clever trick allows you to tailor each batch, or even individual cookies, to your liking.
For Perfectly Chewy Cookies
If you’re a fan of cookies with a satisfying chew, the method is straightforward. After portioning out your cookie dough onto the baking sheet, gently press each dough ball down with your hand or the back of a spoon. Aim for a thickness of about 1 inch. This slight flattening encourages the cookies to spread more evenly as they bake, resulting in a thinner, chewier final product with wonderfully crisp edges and a soft center.
For Soft, Slightly Underdone Cookies
Should you prefer a cookie that is melt-in-your-mouth soft and deliciously gooey in the center, simply scoop the dough out onto the baking sheet and leave it as is. Do not flatten the dough balls. Baking them in their natural scooped shape prevents excessive spreading, allowing the cookies to remain thicker and retain more moisture, giving you that coveted soft and slightly underdone texture.
Pro Tip for Topping: When pressing any extra chocolate chips or Oreo pieces into the tops of the cookies before baking, be gentle. You only need to press just enough so the additions adhere to the dough. The heat of the oven and the baking process will naturally meld them into the cookie beautifully, preventing them from falling off without compromising the cookie’s structure.
It’s that simple! Since this recipe yields a large number of cookies, you have the freedom to experiment. Why not make half of your batch deliciously chewy and leave the other half wonderfully soft and slightly underdone? This way, you can cater to different preferences or simply enjoy a variety of textures in one sitting. I personally adore both chewy and softer cookies, especially when they feature the delightful crunch of Oreos!
Oreos are truly a magical ingredient. While they’re perfectly enjoyable on their own, their integration into other desserts elevates them to a whole new level of deliciousness. Beyond these incredible Chocolate Chip Oreo Cookies, I have a special fondness for other Oreo-filled delights. My all-time favorites include fluffy Oreo Cupcakes, delightful Marshmallow Oreo Treats, and a chilled slice of No Bake Oreo Cheesecake. For those moments when time is short but an Oreo craving strikes, I always keep some 2-Ingredient Oreo Popsicles stashed in the freezer – they’re a lifesaver!
Essential Kitchen Tricks for Easier Cookie Baking
Baking these Chocolate Chip Oreo Cookies is a joyful experience, and with a few smart kitchen tips, you can make the process even smoother and more enjoyable. These techniques ensure consistent results and minimize common baking frustrations, helping you achieve perfect cookies every time.
- Utilize a Stand Mixer: For the best results and to handle the substantial amount of dough this recipe produces, I highly recommend using an electric stand mixer. A paddle attachment is ideal for creaming butter and sugar, and if your mixer comes with a flour guard, definitely use it to keep your kitchen cleaner when adding dry ingredients.
- Do Not Skip the Cornstarch: Cornstarch is a crucial ingredient in this recipe. It’s the secret weapon that contributes significantly to the perfectly soft and chewy texture of these cookies. Even a small amount makes a big difference, so make sure to include it.
- Cream Butter and Sugar Thoroughly: This isn’t just a suggestion; it’s a vital step for the final structure and texture of your cookies. Creaming the softened butter and sugars together for the specified time (usually 2 minutes on medium speed) incorporates air, resulting in lighter, more tender cookies. Don’t rush this process!
- Portioning Dough Made Easy: While a cookie scoop is convenient, a 1/3 measuring cup works wonderfully for portioning out the cookie dough balls. This ensures uniform size, which leads to even baking. Remember to leave ample space (about 5 inches) between each dough ball on the baking sheet to allow for spreading.
- Efficient Baking with Two Sheets: Since this recipe yields a large batch, having two cookie sheets is a game-changer. This allows you to bake one batch while the other cools, streamlining the entire process. Transferring hot cookies from the pan too soon can cause them to break, so allowing them to cool on the baking sheet for a few minutes before moving to a wire rack is essential.
- Clean Drizzling Technique: The cleanest and easiest way to drizzle melted white chocolate onto your cooled cookies is by using a piping bag. If you don’t have one, a Ziploc bag makes an excellent substitute. Simply snip a tiny corner off the bag to create a small hole, giving you precise control over your chocolate drizzle.
Aesthetic White Chocolate Chips: To ensure your white chocolate chips retain their beautiful bright color and melt perfectly, press any extra chips into the tops of the cookies immediately after they come out of the oven. The residual heat from the freshly baked cookies will gently melt them, creating a lovely, gooey topping without browning them in the oven.
Frequently Asked Questions About Our Oreo Chocolate Chip Cookies
Storage Instructions
To keep these delicious cookies fresh, store them in an airtight container or Ziploc bags, making sure to press out any excess air. Enjoy the cookies within 3 to 4 days for optimal taste and texture.
Can I Line My Baking Sheets With Silicone Mats Instead Of Parchment Paper?
Yes, absolutely! Silicone baking mats are a great alternative to parchment paper. However, keep a close eye on your cookies, as silicone mats can sometimes cause cookies to bake slightly faster or brown more quickly on the bottom.
Is Powdered Milk Necessary In This Recipe?
While powdered milk can be omitted if necessary, I strongly advise against it. Even though it’s a small amount, it significantly impacts the depth of flavor in these cookies, adding a subtle richness that truly enhances the overall taste. It doesn’t primarily affect texture, but its flavor contribution is noteworthy.
Why Is The Last Bit Of Cookie Dough Unmixed?
It’s common for some dry ingredients to settle at the bottom of the mixing bowl, especially with larger batches of dough. It’s crucial to use a rubber spatula or even your hands to manually work these drier, unmixed ingredients into the rest of the wet dough. Resist the temptation to keep using your mixer at this stage! Overmixing the dough can develop the gluten too much, leading to tough cookies. Hand-mixing ensures everything is just combined without overworking the dough, resulting in tender, perfect cookies.
Can Double Stuf Oreos Be Used In This Chocolate Chip Oreo Cookies Recipe?
During our recipe testing, we primarily used regular Oreos. However, based on their composition, using Double Stuf Oreos should work just fine and would likely add an even more intense creamy Oreo flavor to your cookies. Feel free to experiment with your favorite Oreo variety!
Can I Drizzle The White Chocolate Onto The Cookies While They’re On The Cooling Rack?
Yes, you certainly can! Once the cookies have fully cooled on the rack, you can proceed with drizzling the melted white chocolate. To minimize mess, I recommend placing a layer of paper towels or parchment paper directly underneath the cooling rack. This will catch any drips and make cleanup a breeze.
Do These Cookies Freeze Well?
They freeze exceptionally well! For convenience, I like to portion out the cookie dough into balls and then flash freeze them on a sheet pan for about an hour. Once firm, transfer the frozen dough balls to a Ziploc freezer bag, squeezing out any excess air. You can store them in the freezer for up to 3 months, ready to bake whenever a craving strikes. Baked cookies can also be frozen in an airtight container for similar durations.
Rating: 5 out of 5 stars from 1 vote
Chocolate Chip Oreo Cookies
Author: Rebecca Hubbell
Course: Dessert
Cuisine: American
Prep Time: 20 minutes
Cook Time: 10 minutes
Cooling Time: 30 minutes
Total Time: 1 hour
Servings: 26 cookies
Print Recipe |
Pin Recipe |
Rate this Recipe
Chocolate Chip Oreo Cookies are a mash-up of Oreos and pantry staple ingredients to create delicious cookies that the whole family will love! Each batch takes just 10 minutes to bake!
Equipment
- 2 Cookie sheets
Ingredients
- 18 Oreos (divided)
- 1½ cups unsalted butter (softened)
- 1 cup granulated sugar
- 1½ cups light brown sugar (packed)
- 2 large eggs (room temperature)
- 1 teaspoon vanilla extract
- 4 cups all-purpose flour (spooned and leveled)
- 1 tablespoon powdered milk
- 1 tablespoon cornstarch
- 1½ teaspoons salt
- 1 teaspoon baking soda
- 12 ounces white chocolate chips (divided)
- ¾ cups mini chocolate chips (plus extra for topping before baking)
Instructions
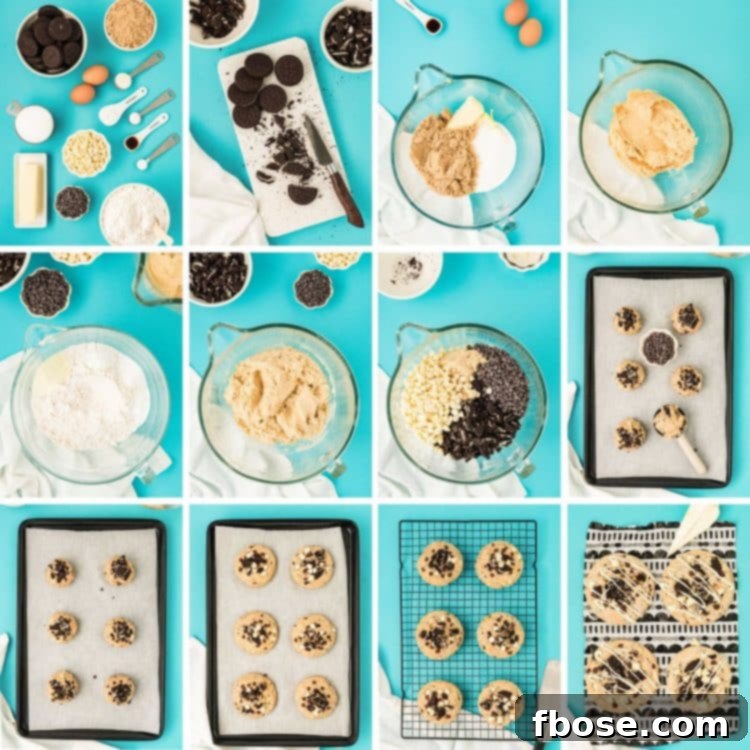
- Preheat oven to 375°F (190°C) and line 2 large baking sheets with parchment paper. Set aside.
- Chop 12 Oreos and place them in a bowl. Chop the remaining 6 Oreos and set them aside in a separate bowl.
- In a large bowl or stand mixer fitted with a paddle attachment, cream together the softened butter, granulated sugar, and light brown sugar on medium speed for 2 minutes. Scrape down the sides of the bowl halfway through to ensure even mixing.
- Add the large eggs one at a time, mixing after each addition just until the yolk is streaky throughout the dough. Incorporate the vanilla extract and mix for only a couple of seconds.
- In a separate medium mixing bowl, whisk together the all-purpose flour, powdered milk, cornstarch, salt, and baking soda. With the mixer beating at low (stir) speed, gradually add the flour mixture. If using a stand mixer, a flour shield is recommended due to the large quantity of dough. Increase speed to medium and mix just until combined. Remove from the mixer and use a rubber spatula to incorporate any loose flour from the bottom of the bowl into the dough, ensuring no dry spots remain.
- Add the 12 chopped Oreos, white chocolate chips (reserving some for drizzle), and mini chocolate chips to the dough. Mix at low speed just until combined, being careful not to overmix. Finish mixing with a rubber spatula or your hands until all ingredients are fully incorporated and evenly distributed.
- Use a large cookie scoop (approx. 1/4 cup) to portion out the dough onto the prepared baking sheets, leaving about 5 inches between each cookie (approximately 6 to 8 cookies per standard sheet). For chewier cookies, gently press the dough balls until they are about 1-inch thick. For softer, slightly underdone cookies, leave the dough as is after scooping. Press the remaining 6 chopped Oreos and some additional chocolate chips (remember to save some white chocolate chips for drizzling later) into the top of each cookie.
- Bake the cookies one sheet at a time for 8 to 10 minutes, or until the edges are just turning light brown. The centers should still appear very soft and slightly underdone. Remove from the oven and allow them to cool on the baking pan for 5 minutes before carefully transferring them to a wire rack to cool completely.
- Melt the remaining white chocolate chips in a small microwave-safe bowl in 30-second intervals, stirring thoroughly after each interval, until completely smooth and melted. Transfer the melted chocolate to a piping bag (or a Ziploc bag with a tiny corner snipped off) and drizzle it artfully over the cooled cookies. Allow the chocolate drizzle to set before storing or serving.
Notes
- This recipe typically requires baking in 4 batches. Using two cookie sheets allows you to keep the baking process continuous, as the cookies need a few minutes to cool on the sheet before being moved.
- While powdered milk can be omitted without affecting texture, it contributes significantly to the flavor profile, adding a subtle richness that truly elevates the cookies.
- Cornstarch is a key ingredient for achieving the desired soft and chewy texture; do not leave it out.
- Creaming the butter and sugar for the full 2 minutes is crucial for the final structure and airiness of the cookie. Avoid shortening this step.
- Ensure all dry ingredients at the bottom of the mixing bowl are fully incorporated. Using a rubber spatula or your hands to mix in these drier bits is more effective than continuous mixer use, which can overwork the dough. Overworking leads to tough cookies, so mix until just combined.
- A large cookie scoop typically measures about 1/4 cup. If you don’t have a scoop, a 1/4 cup measuring cup works perfectly for portioning the dough.
- Regular Oreos were used during testing, but Double Stuf Oreos can also be used for an extra creamy touch.
Nutrition
Calories: 385kcal | Carbohydrates: 52g | Protein: 4g | Fat: 18g | Saturated Fat: 11g | Polyunsaturated Fat: 1g | Monounsaturated Fat: 5g | Trans Fat: 1g | Cholesterol: 45mg | Sodium: 235mg | Potassium: 106mg | Fiber: 1g | Sugar: 35g | Vitamin A: 367IU | Vitamin C: 1mg | Calcium: 55mg | Iron: 2mg
Did You Make This Recipe?
Don’t forget to share your creations with us on Instagram @sugarandsoulco and follow us on Tiktok @sugarandsoulco and Pinterest @sugarandsoulco for more delicious recipes and baking inspiration!
Pin Recipe
Share Recipe
If you’ve tried this recipe, please let me know how you liked it in the comments below and leave a review. I love hearing from you!
Don’t forget to tag me – @sugarandsoulco – on Instagram and Pinterest with your photos or join our Sugar & Soul Show-offs Community and share them there, where you can join our recipe challenges!