Mini French Silk Pies
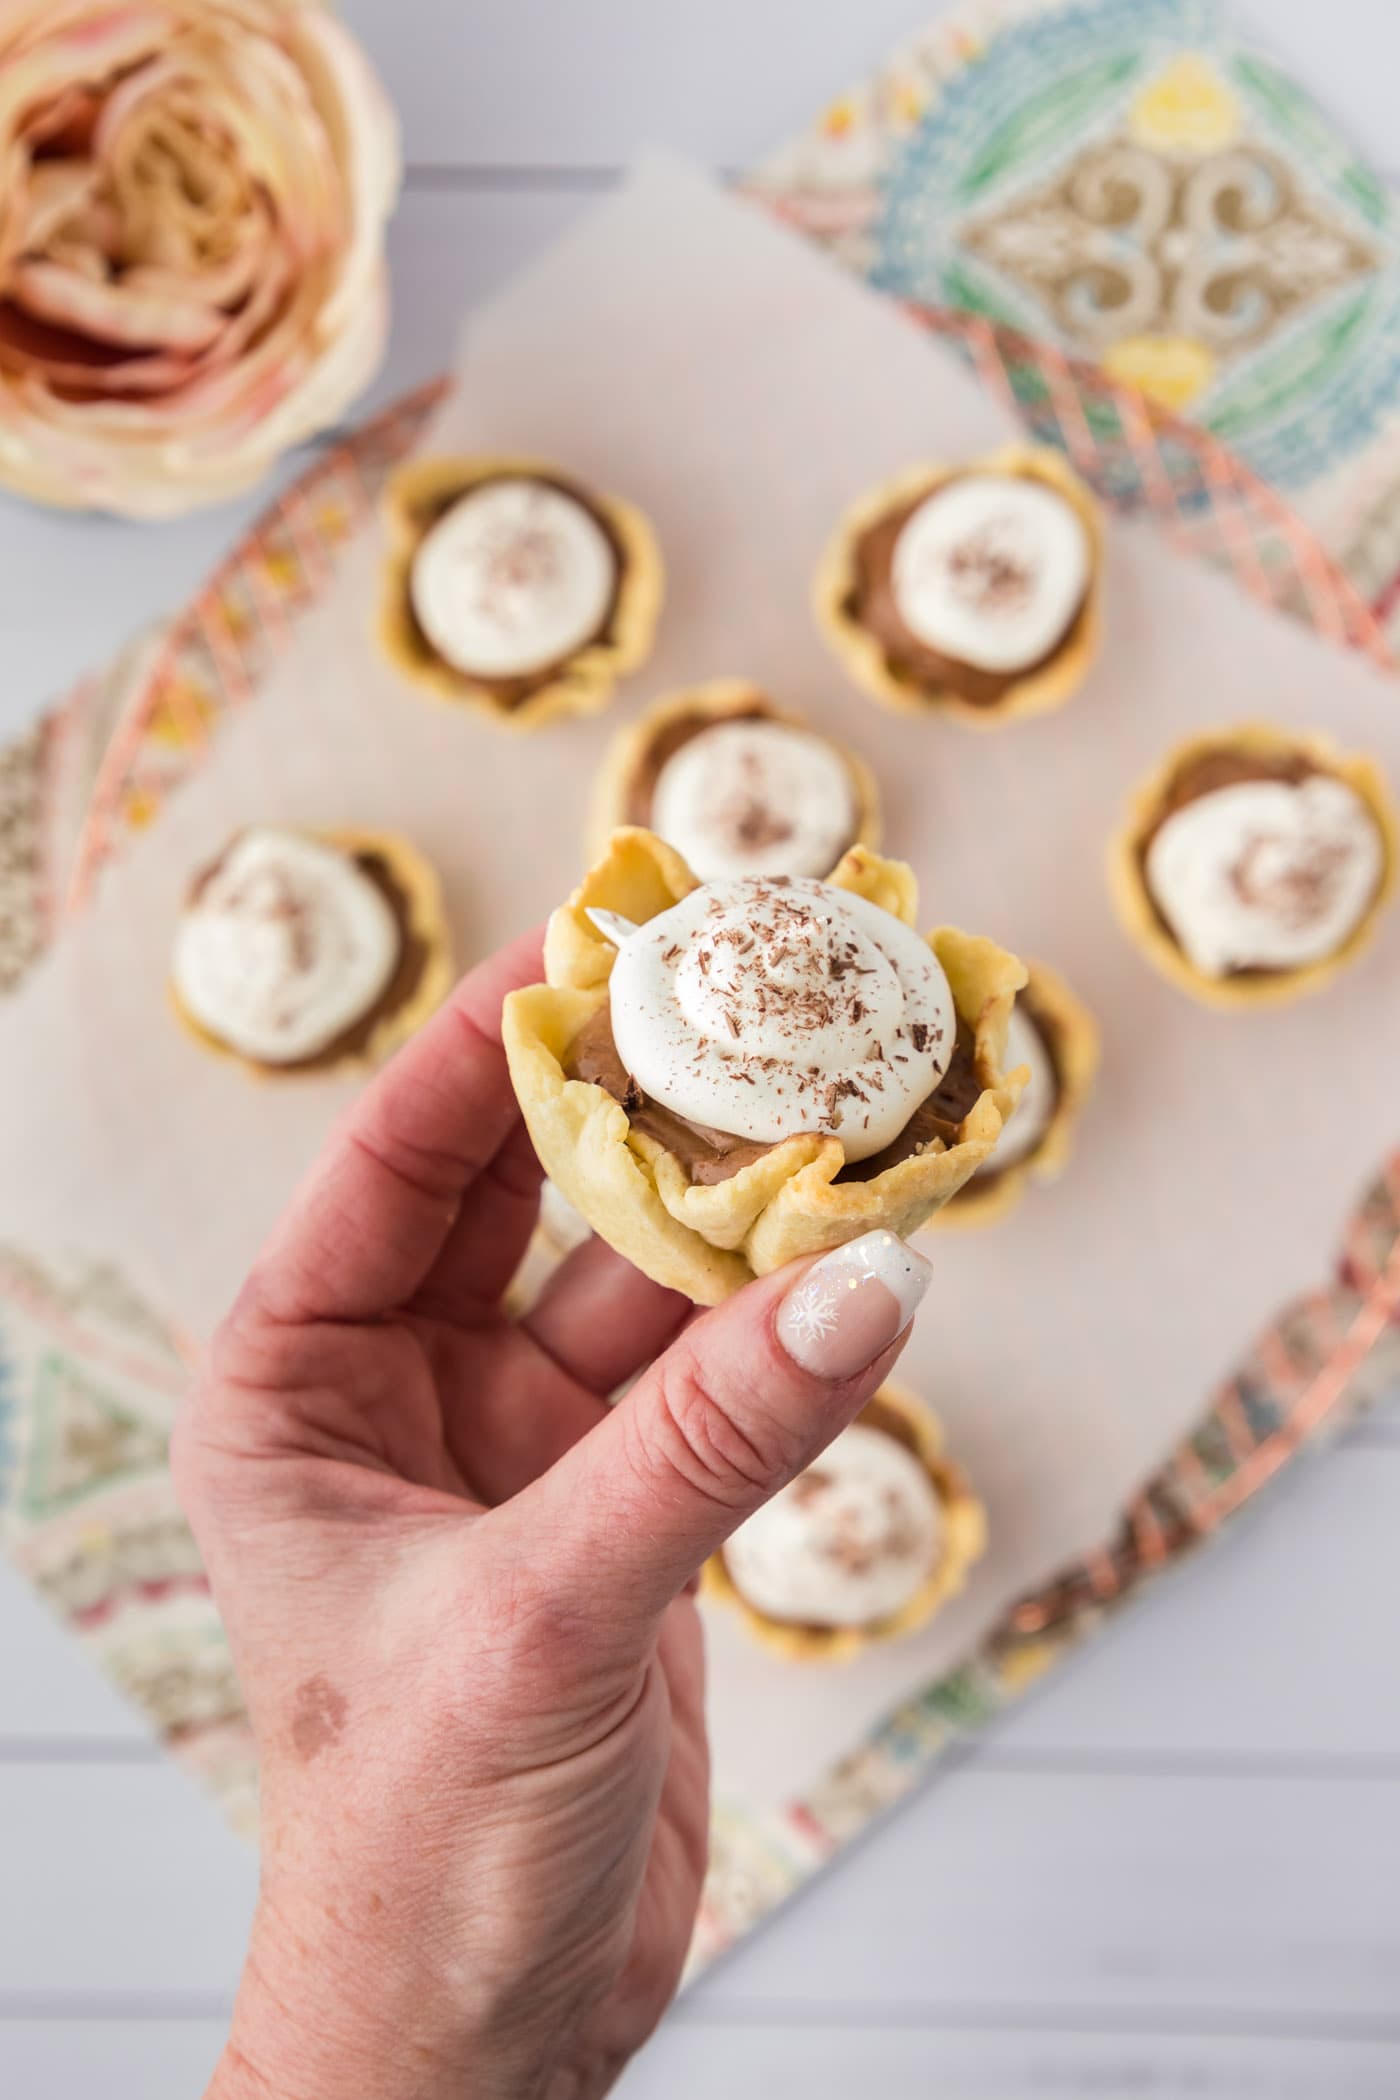
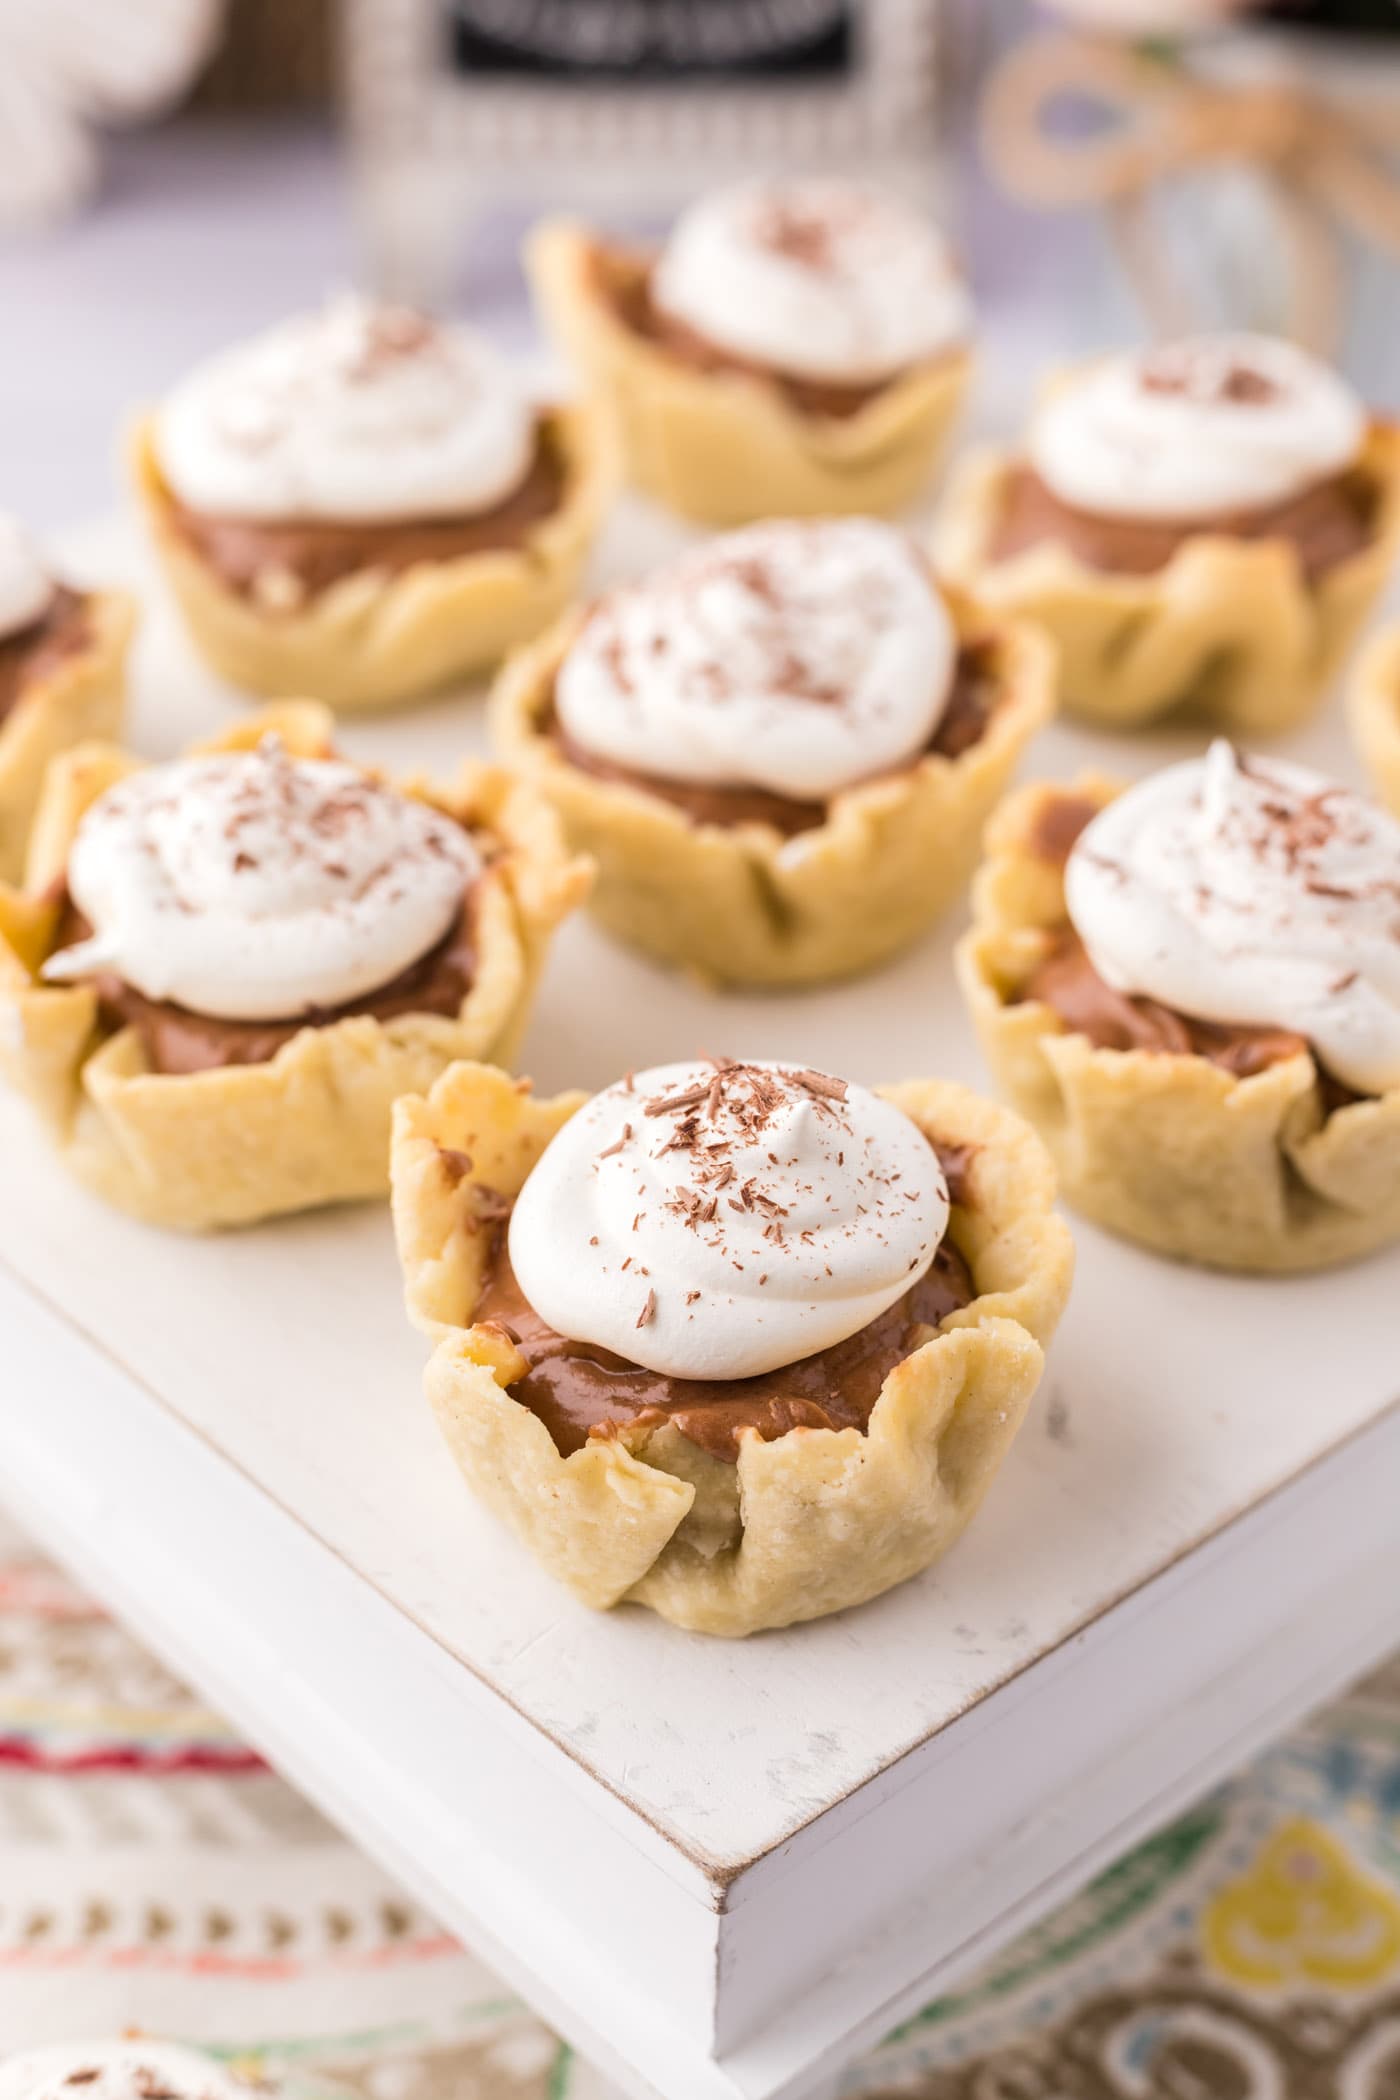
Mini French silk pies start with flakey homemade crusts that are filled with velvety rich chocolate filling and finally topped with whipped cream and chocolate shavings in each little bite-sized portion.
- Total 1 hour 45 minutes
- Serves 24 mini pies
- Dessert
- American
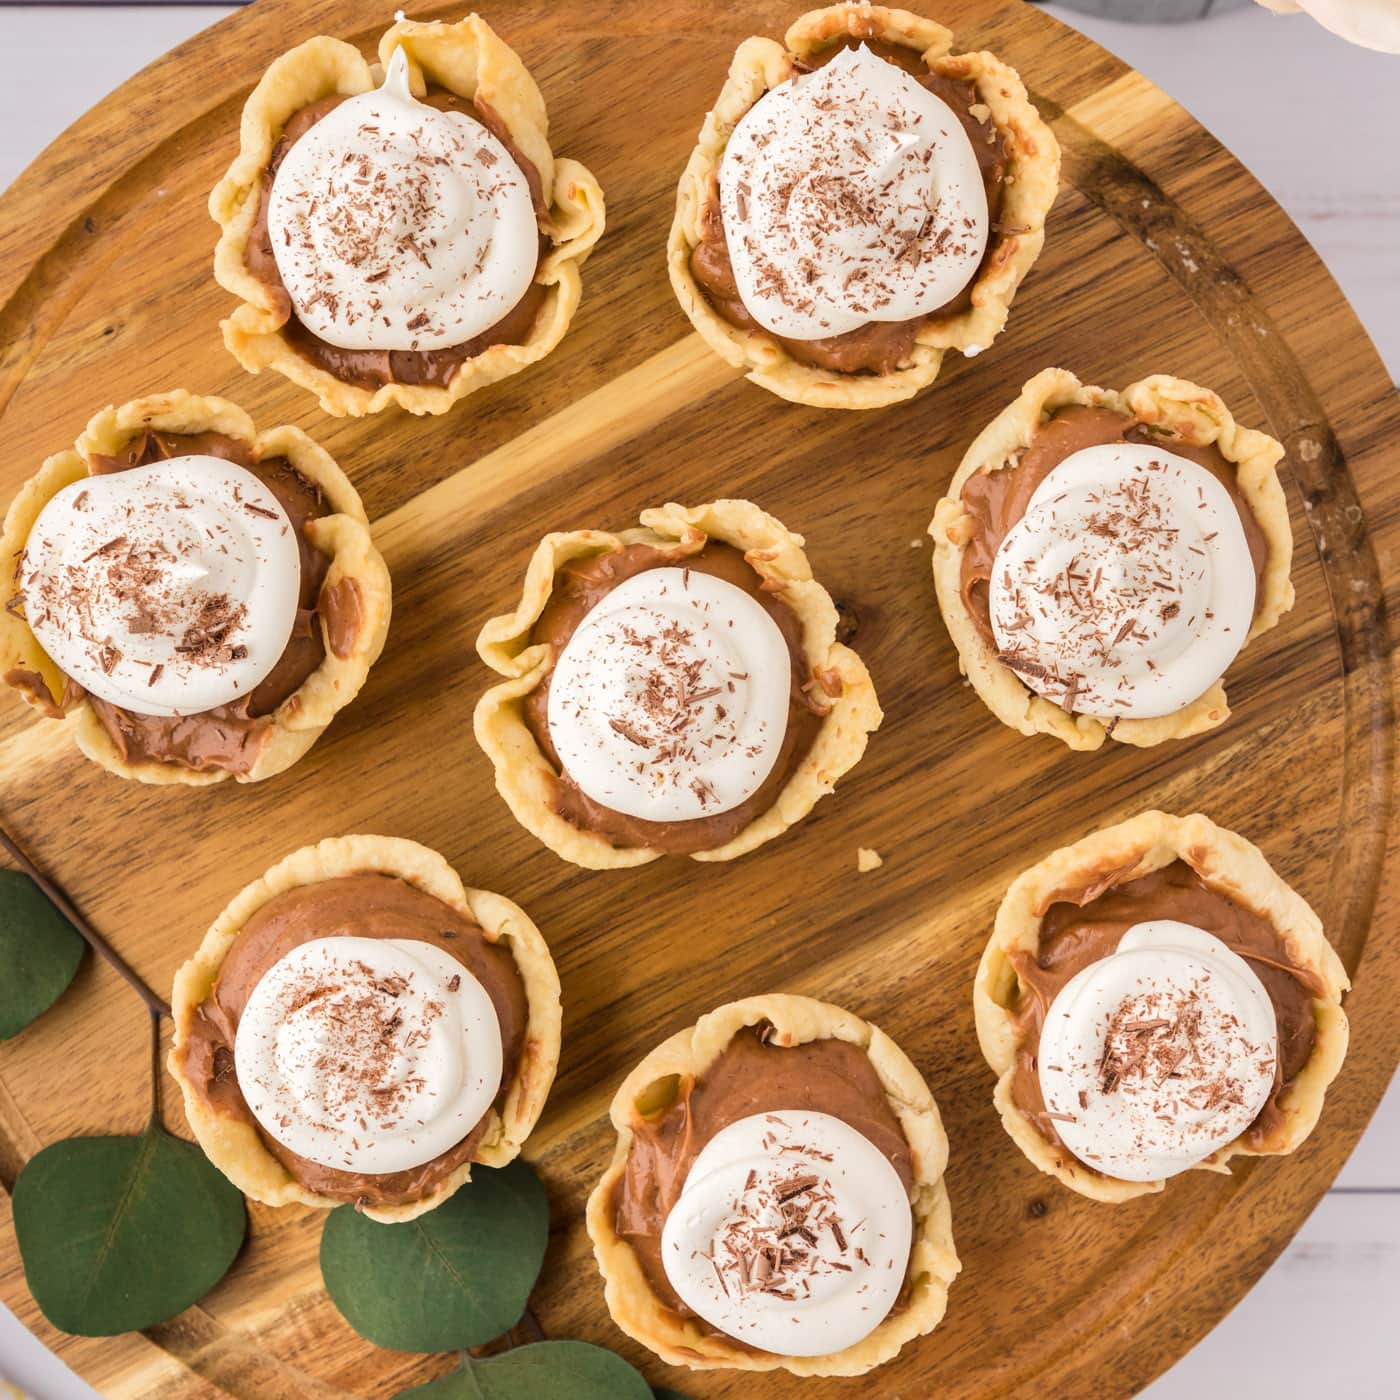
Mini French silk pies start with flakey homemade crusts that are filled with velvety rich chocolate filling and finally topped with whipped cream and chocolate shavings in each little bite-sized portion.
 more
more
Why this recipe works
These mini french silk pies are a two-bite version of my classic French silk pie recipe. Mini pies make serving a lot easier so the guests can grab and go instead of fussing with a pie cutter and trying to plop it onto a plate without dropping it on the table. Plus, they’re convenient to wrap up and send home as leftovers or to pop into the freezer to enjoy whenever you have a hankering for silky chocolate pie.
I served these for Thanksgiving last year and they went over just as well as the whole pie version, which is an absolute necessity for any gathering in this family. They’re like little chocolate silk bombs with a flaky, buttery crust that you can eat in one or two bites, what a dream!
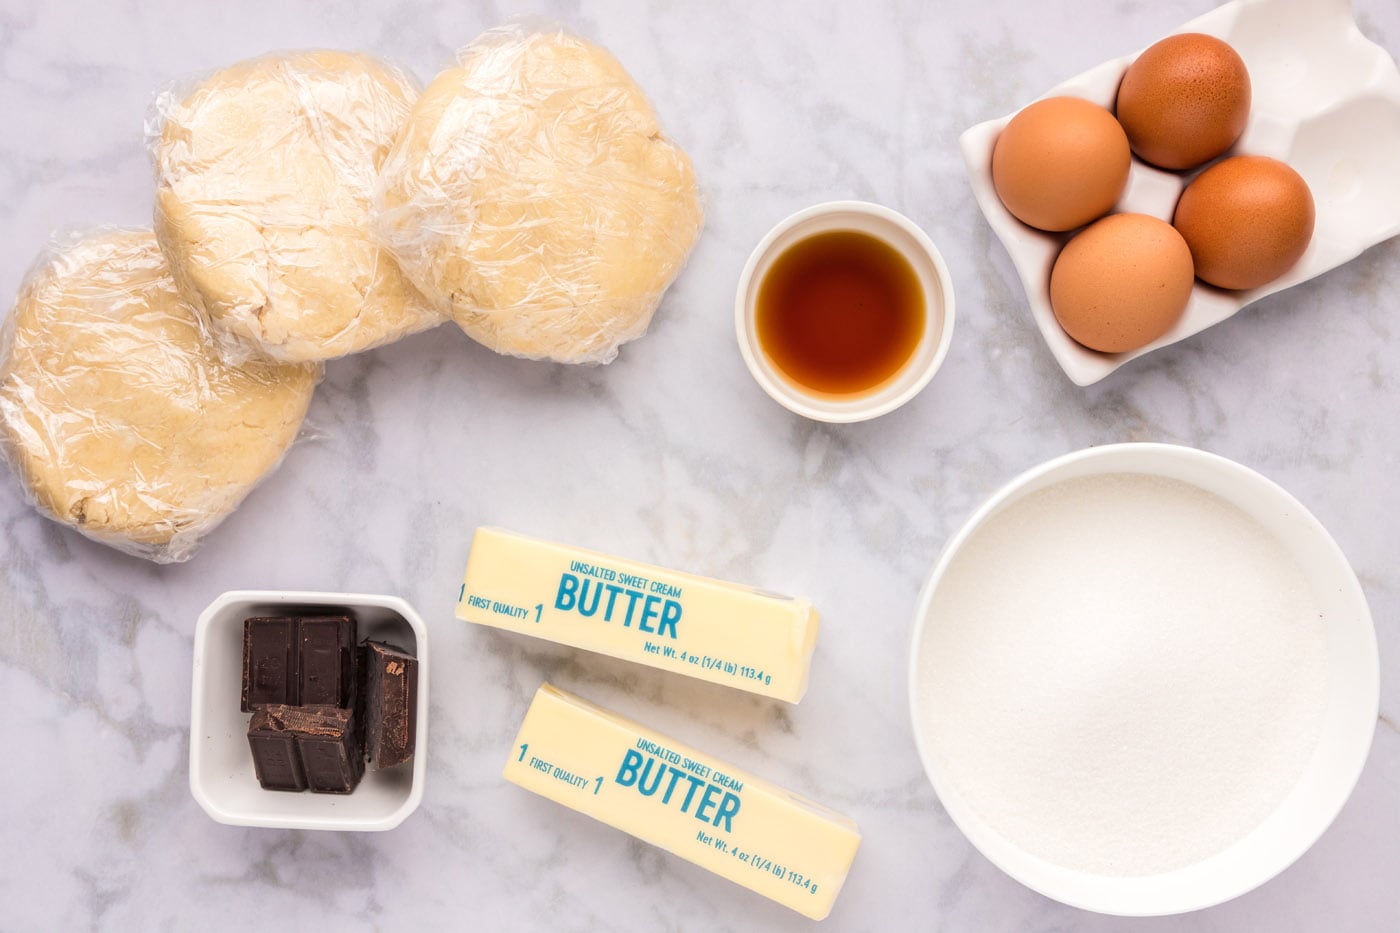
Ingredients you will need
Get all measurements, ingredients, and instructions in the printable version at the end of this post.
Ingredient Info and Substitution Suggestions
DOUGH – This homemade dough is flakey and tender. If you’d like to skip the step of making it yourself you can use store-bought mini pie crust shells.
BUTTER – Do NOT use margarine, I have not tested this pie using margarine. Do NOT melt the butter. The butter should be softened, which means removing it from the fridge and letting it sit at room temperature for about 20-30 minutes.
EGGS – the eggs in this recipe are not cooked. If that concerns you, you can use pasteurized eggs or learn how to pasteurize the eggs in your fridge.
TOPPING – We topped with a homemade whipped cream using just heavy whipping cream and powdered sugar. You can also use Cool Whip if desired, or make stabilized whipped cream which will hold up longer than the heavy whipping cream and powdered sugar combination.
How to Make Mini French Silk Pies
These step by step photos and instructions are here to help you visualize how to make this recipe. You can Jump to Recipe to get the printable version of this recipe, complete with measurements and instructions at the bottom.
- To make the dough: Add flour, salt, and sugar to a food processor and process on high for 10 seconds.
- Add the butter cubes evenly across the top of the flour mixture. Pulse for 1-2 seconds at a time until the mixture resembles coarse crumbs. This will take about 14-16 pulses.
- Add ice water, 1 tablespoon at a time, pulsing after each addition, until mixture just forms a dough. You may not use all the water.
EXPERT TIP – Adding too much water can cause serious shrinkage in your finished crust so be sure to follow instructions carefully and only add enough for the dough to form. - Remove dough from processor and divide into 2 equal pieces. Form dough into discs, wrap in plastic wrap, and chill in the refrigerator for at least 30 minutes, or for up to a week.
EXPERT TIP – I like to use a kitchen scale. Weigh the dough, then divide it in half.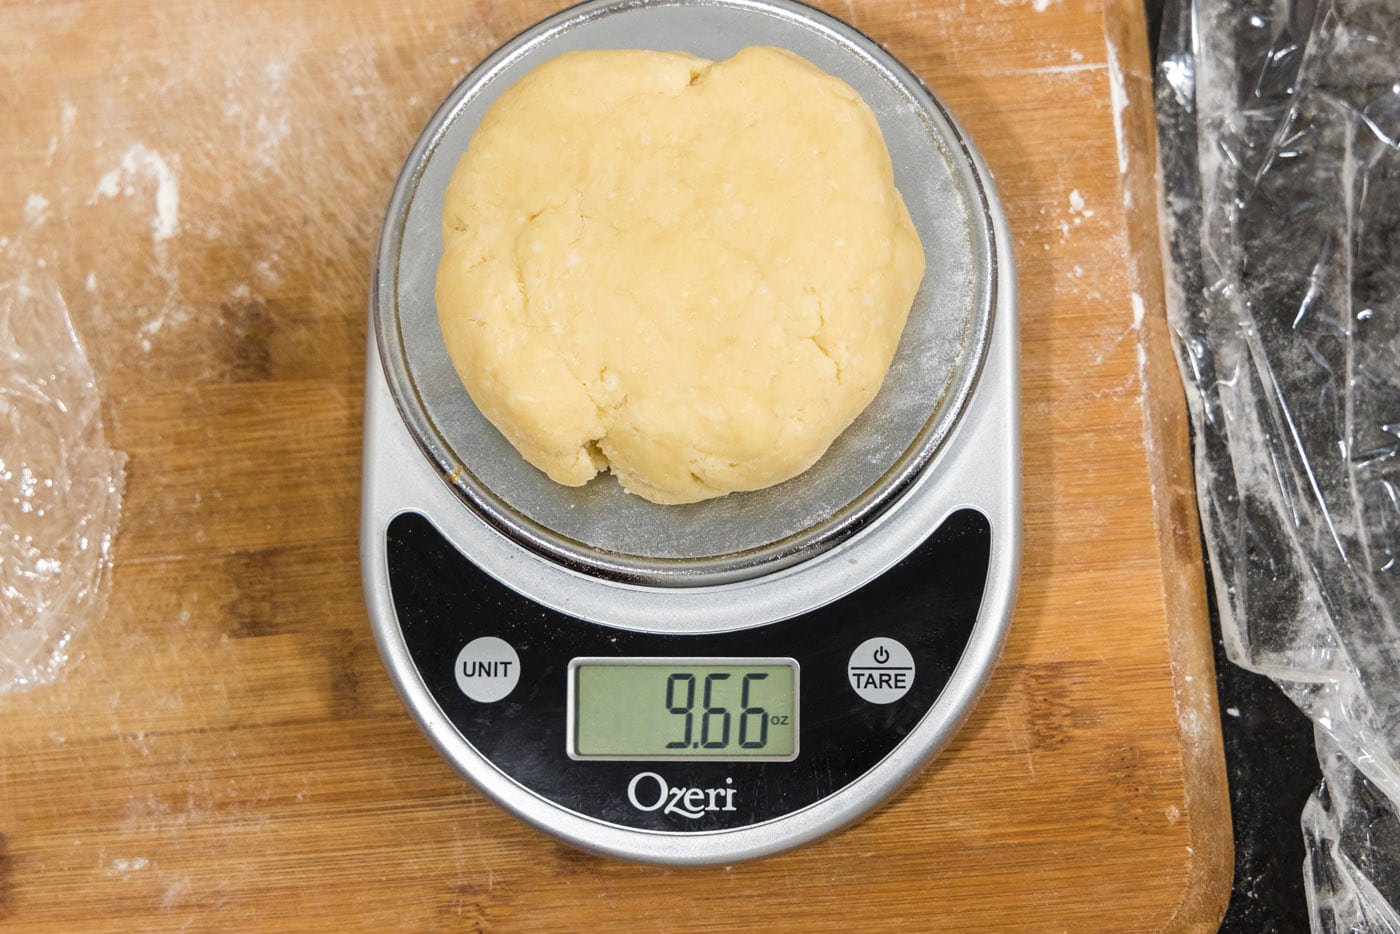
- To Bake the Pie Dough: Preheat oven to 375 F. Bring out two 12-cup muffin pans, do not grease them.
- Using one of the discs, weigh it, then separate into 12 equal pieces.
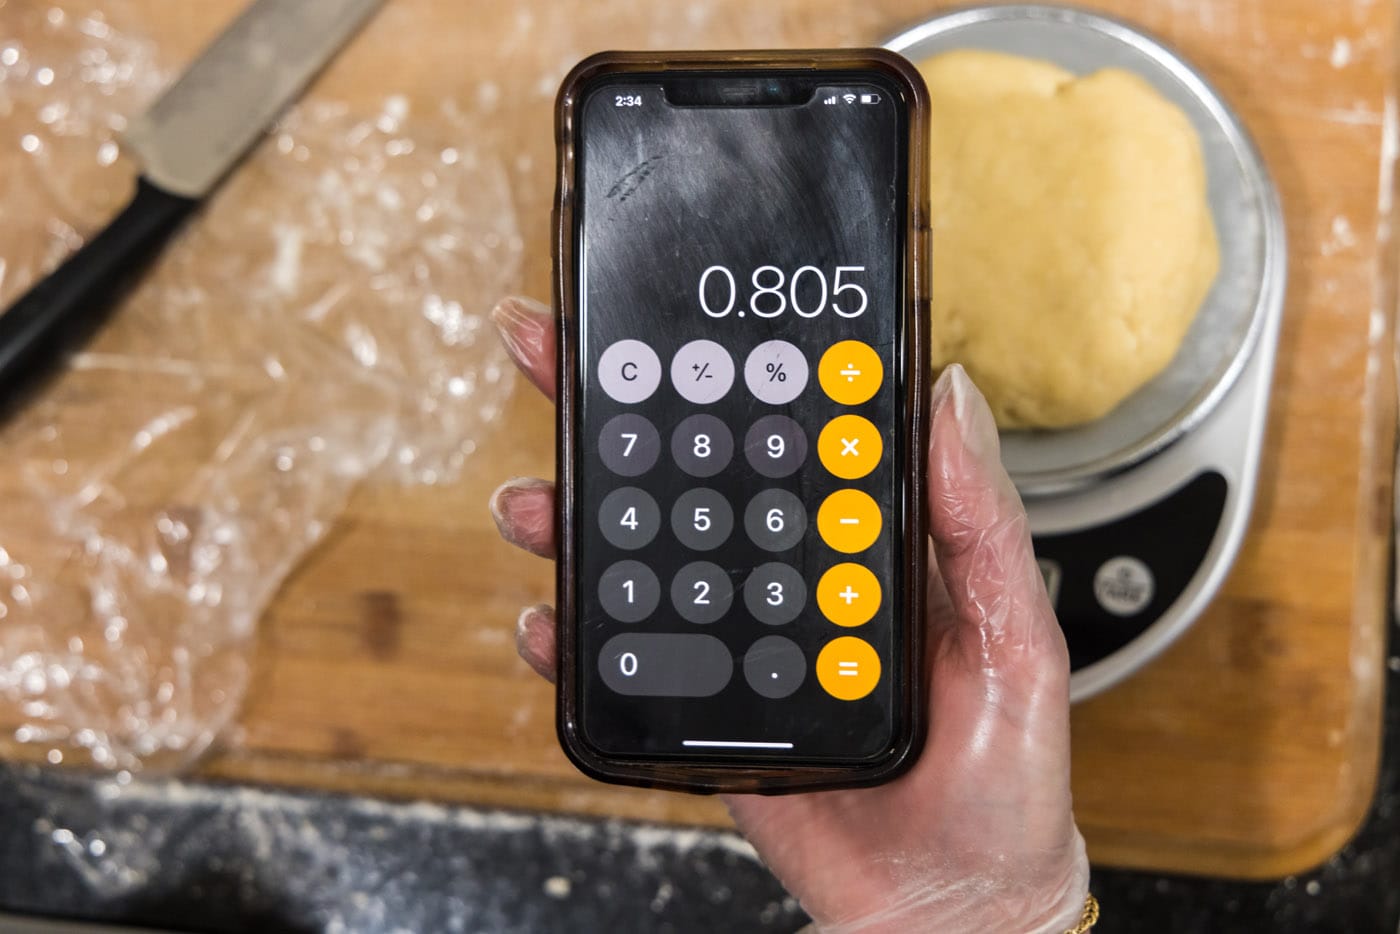
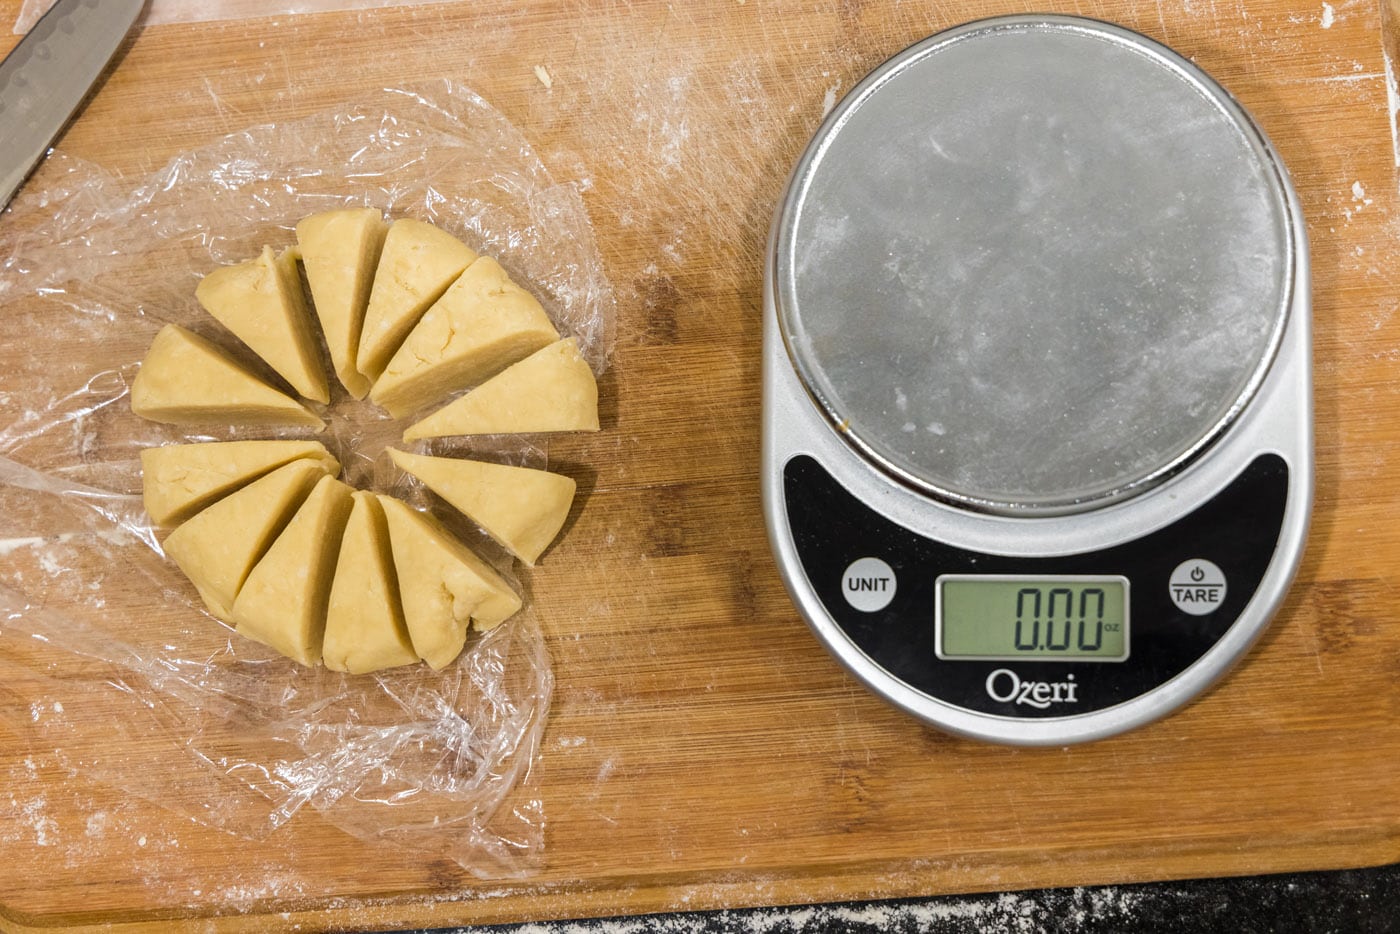
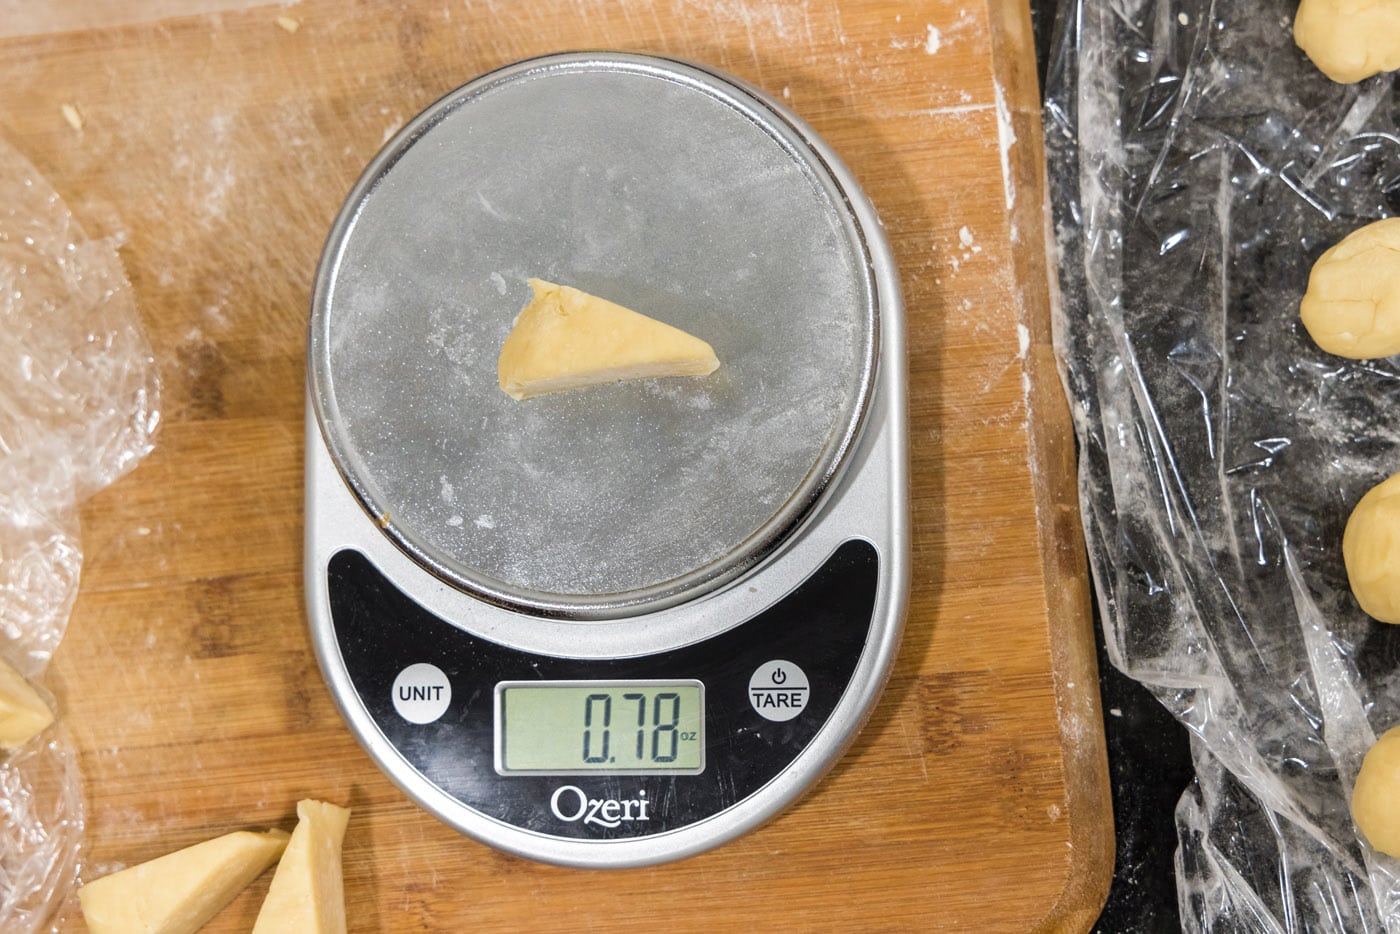
- Lightly flour your work surface, then roll a piece of dough in your hands to form a ball. On your floured surface, flatten it with the palm of your hand.
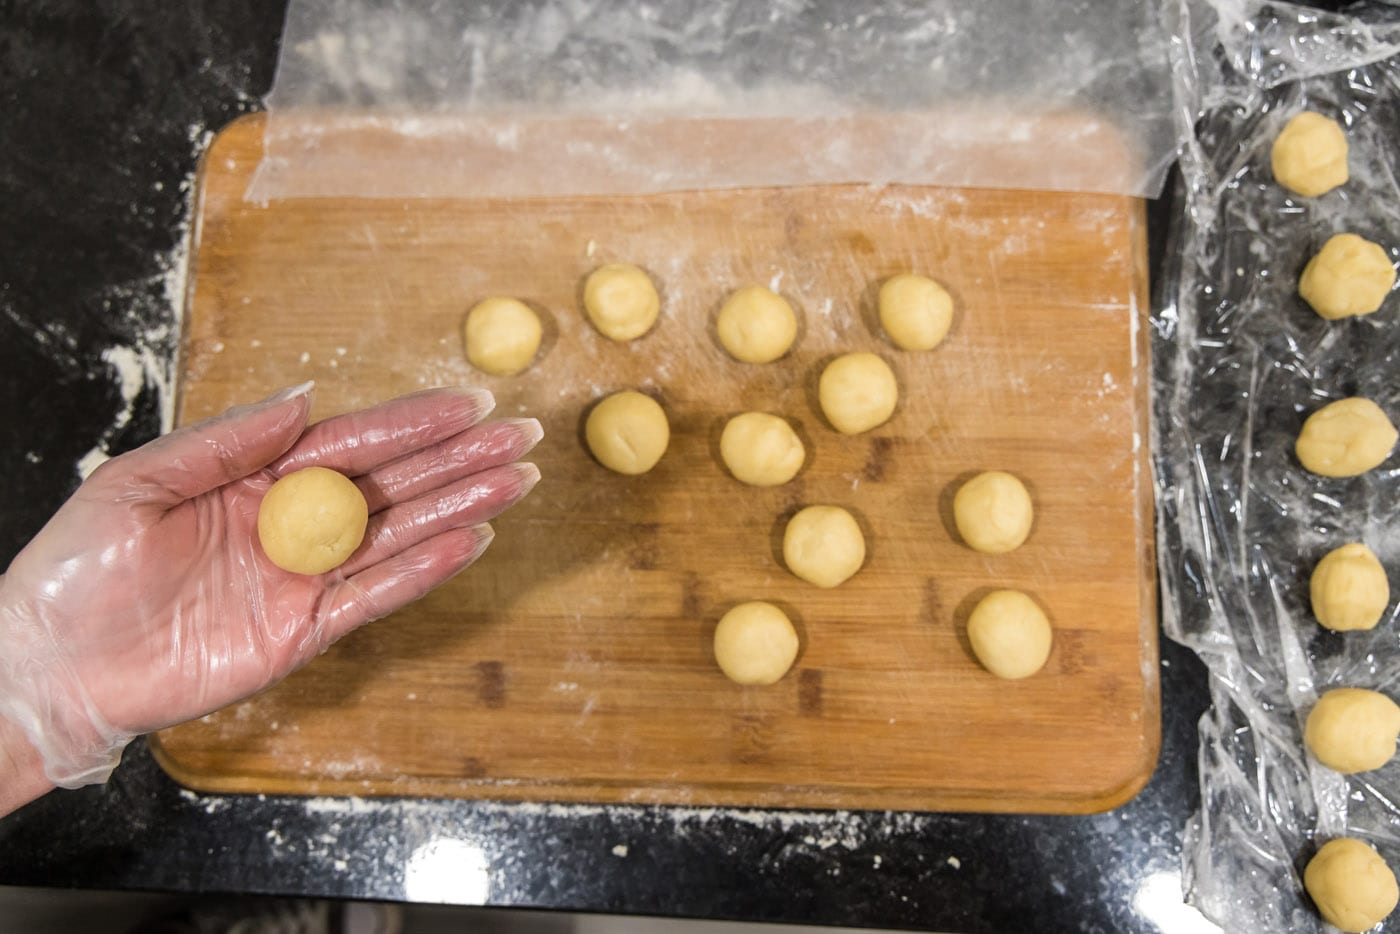
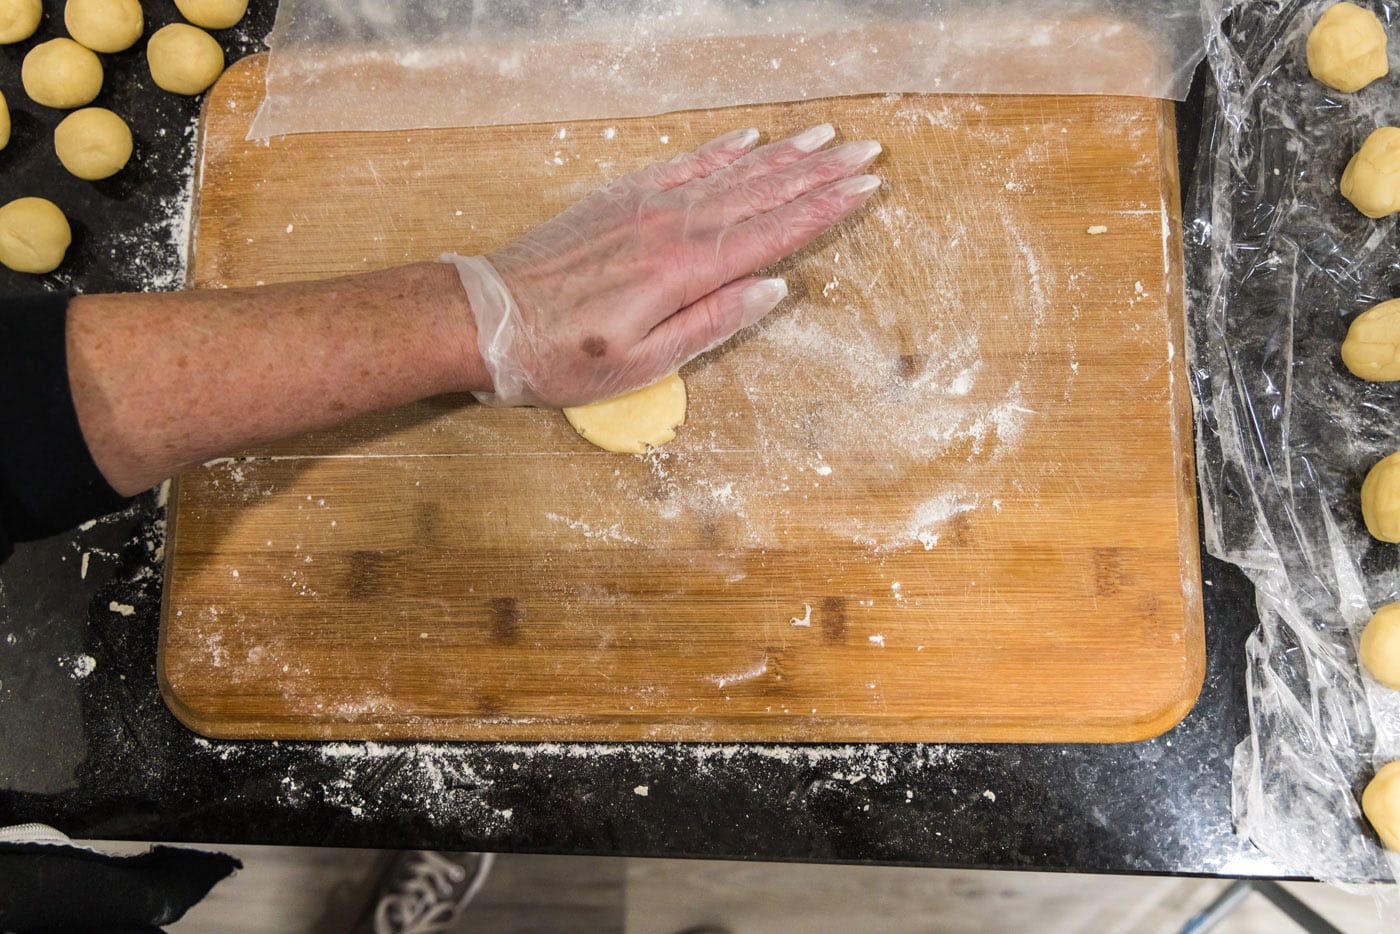
- Use a rolling pin to flatten the dough more until the circle is roughly 4 1/2 inches in diameter.
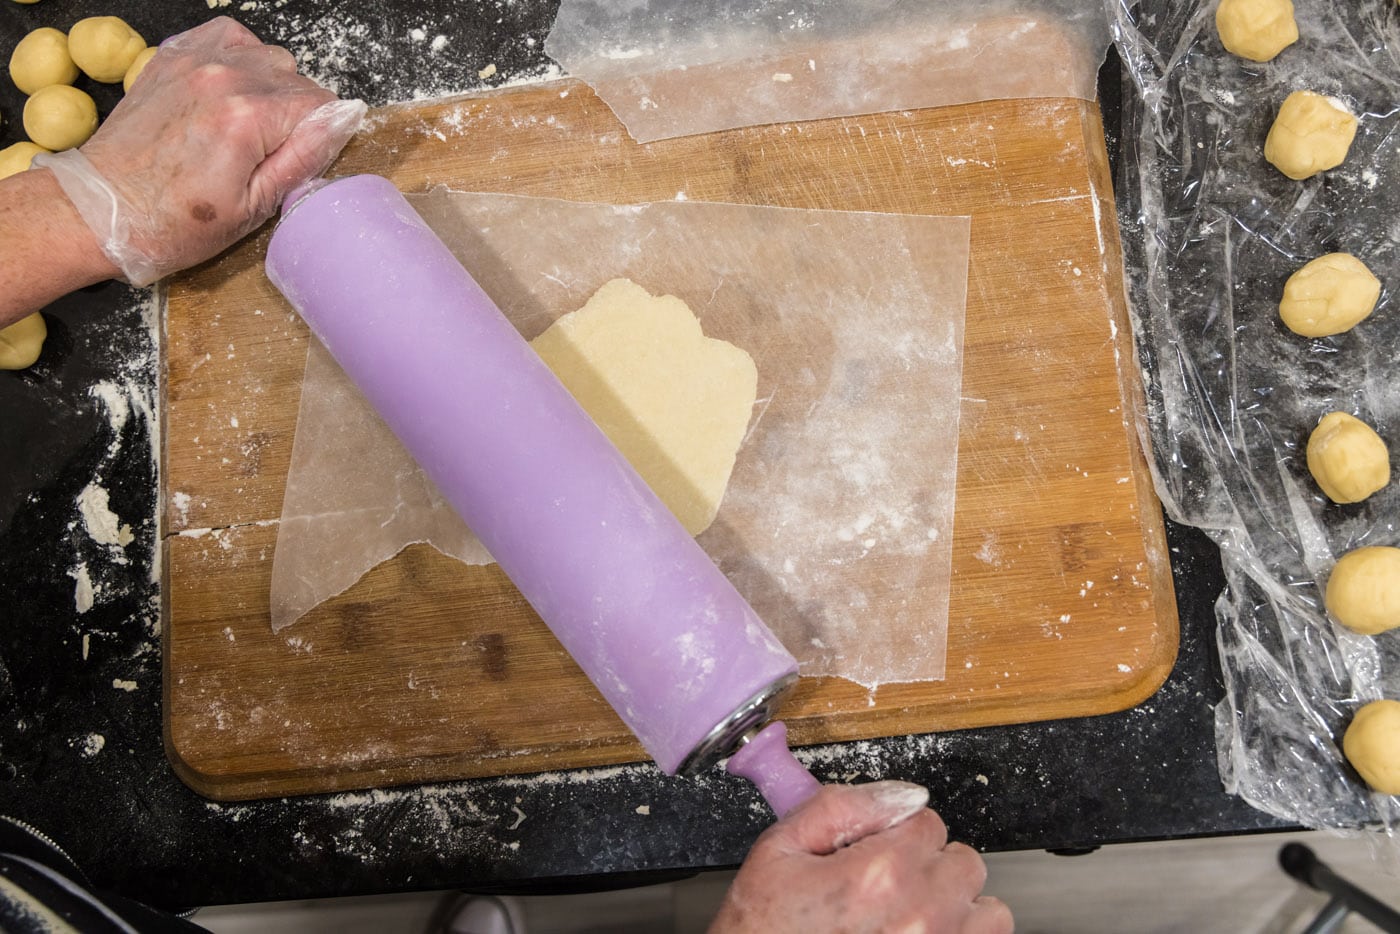
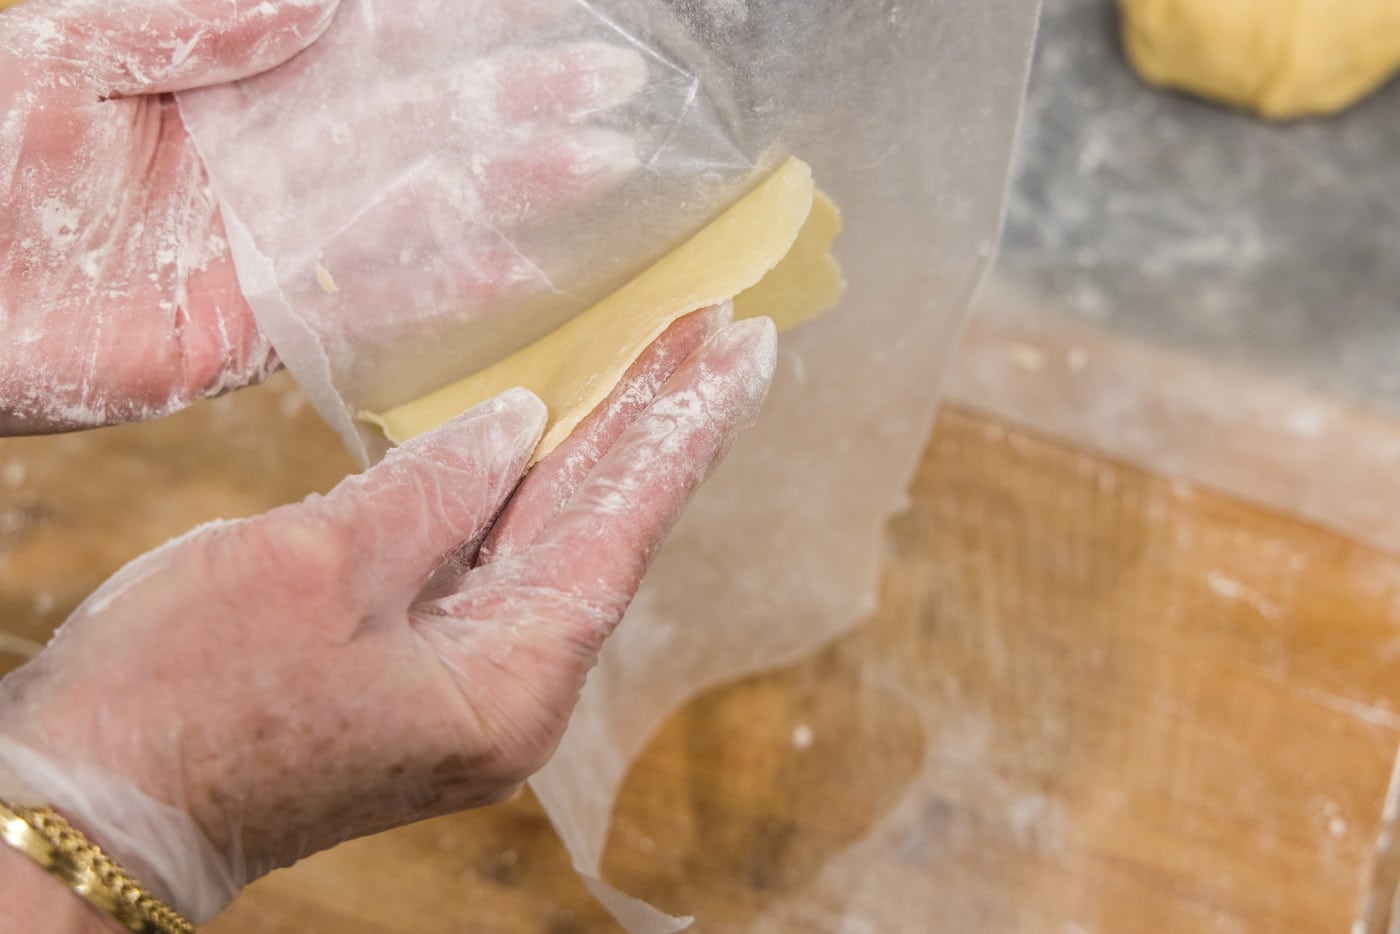
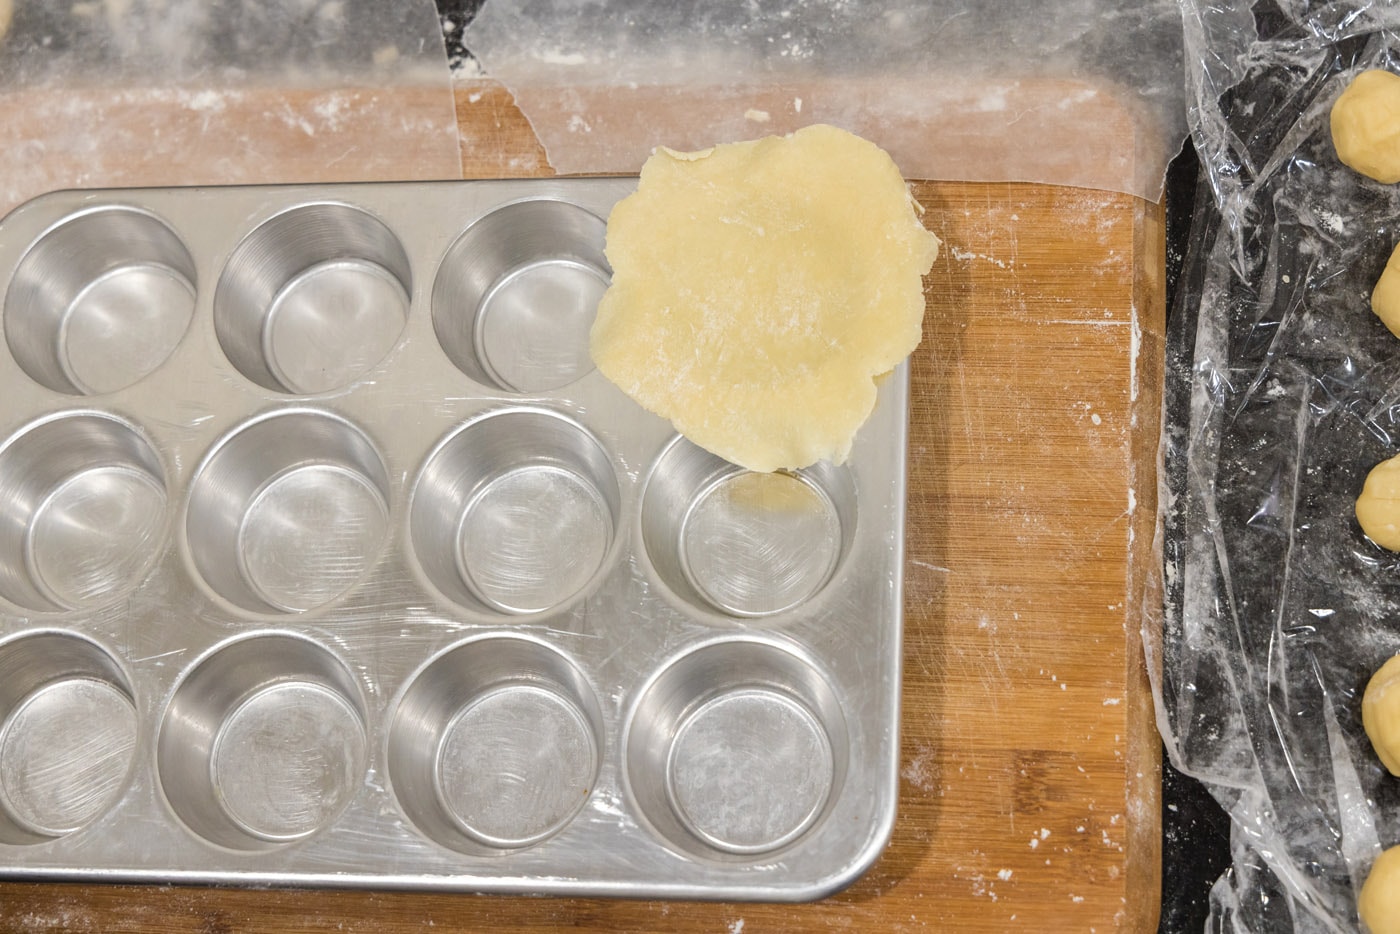
- Carefully insert the dough circle into the well of a 12 cup muffin tin. Repeat for all 12 dough balls. Pierce the bottom of the dough with a fork a couple times.
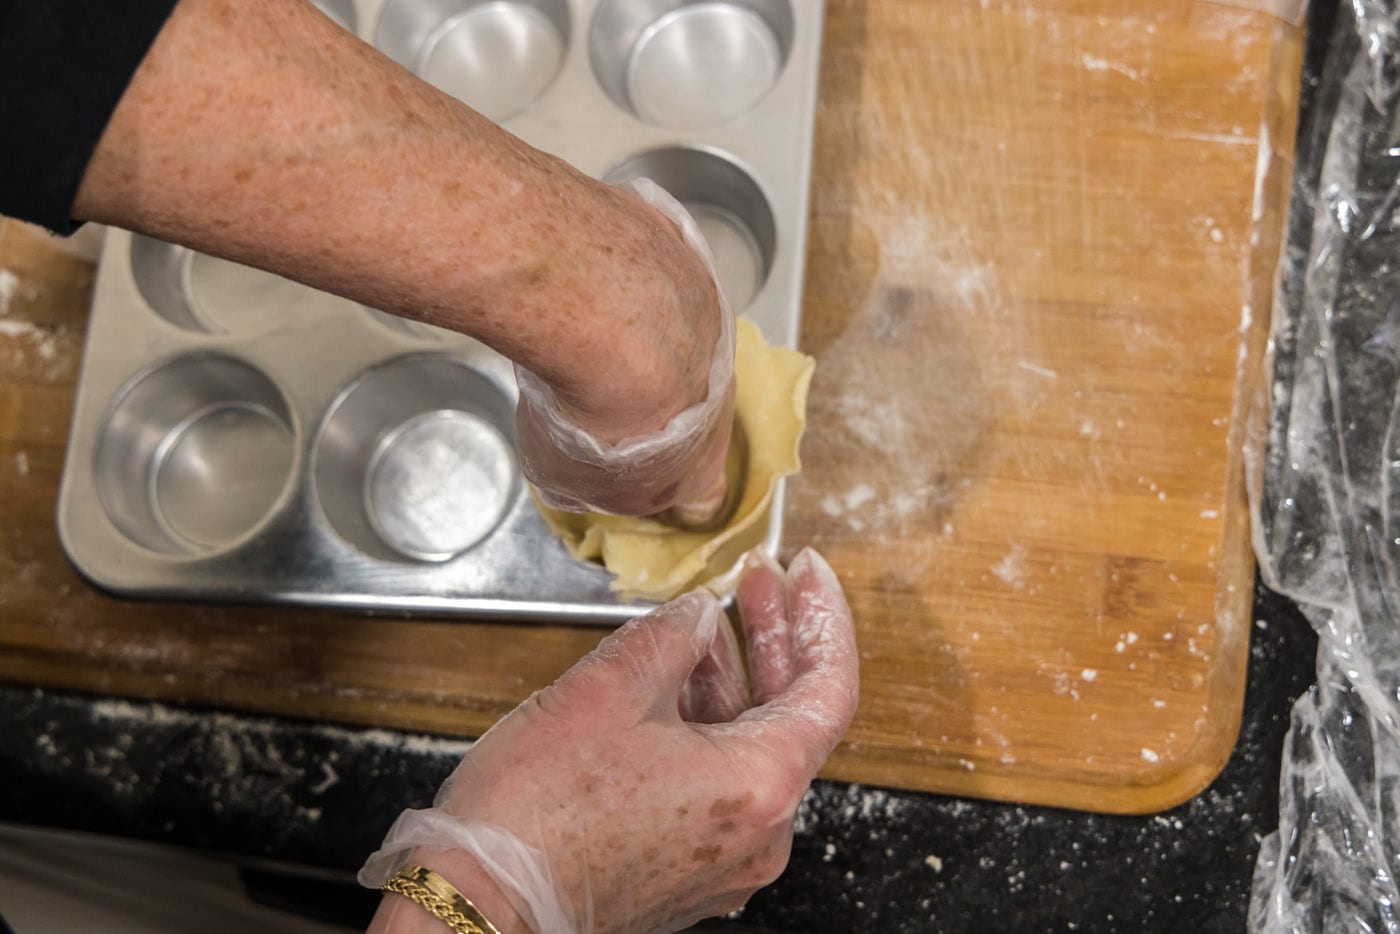
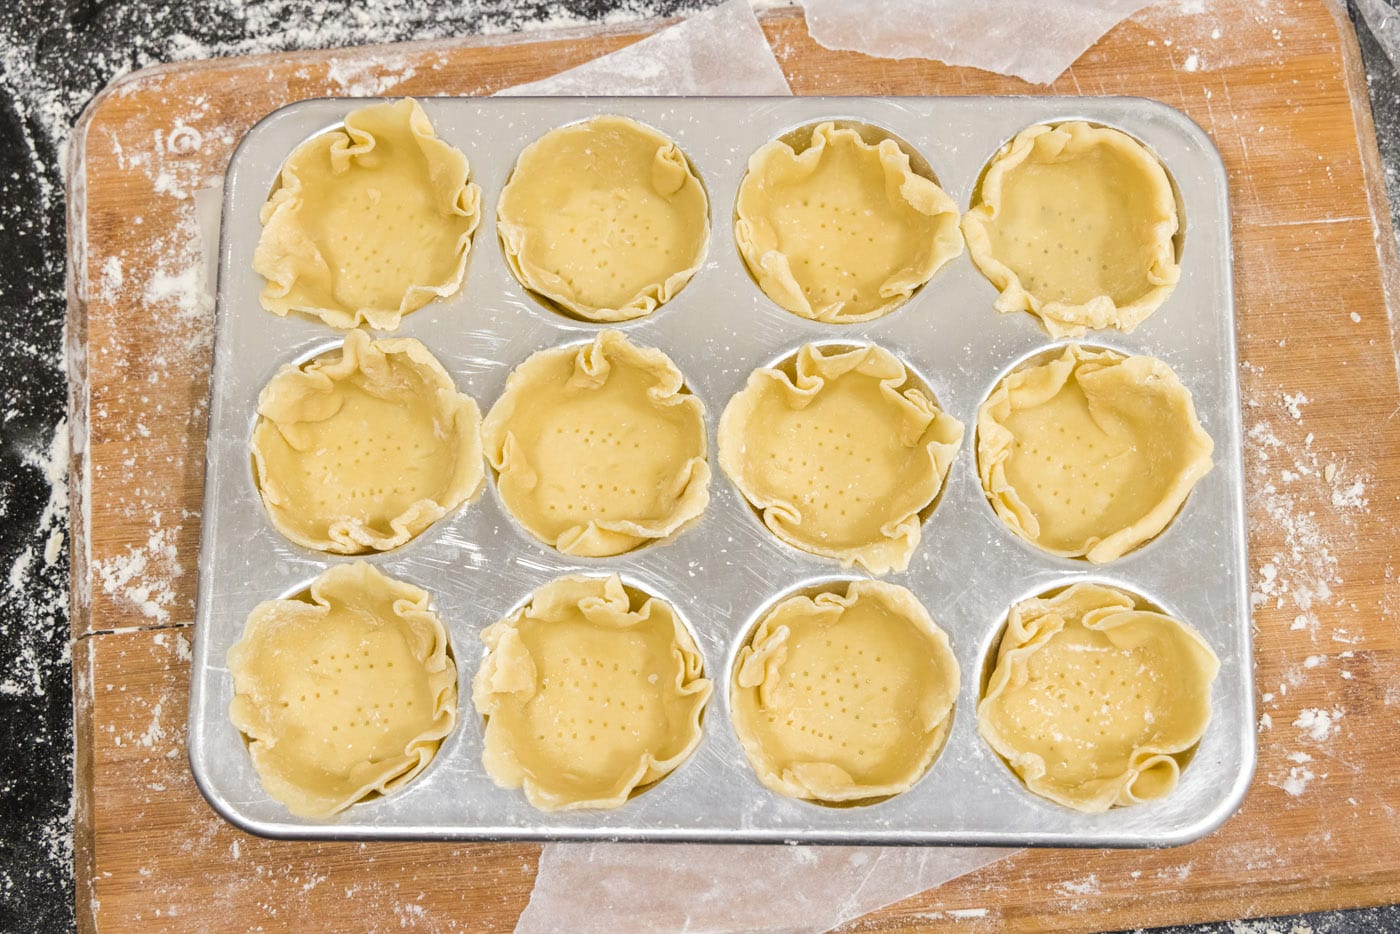
- Repeat this process for the second pan.
- Bake for 14-16 minutes. The dough will shrink down a bit and puff up. The edges will be lightly browned.
EXPERT TIP – I usually bake one pan at a time to ensure even baking and browning. If you decide to bake them both at once, be sure the stagger them in the oven so that the air can circulate around the pans. If you have the time, I suggest baking one at a time.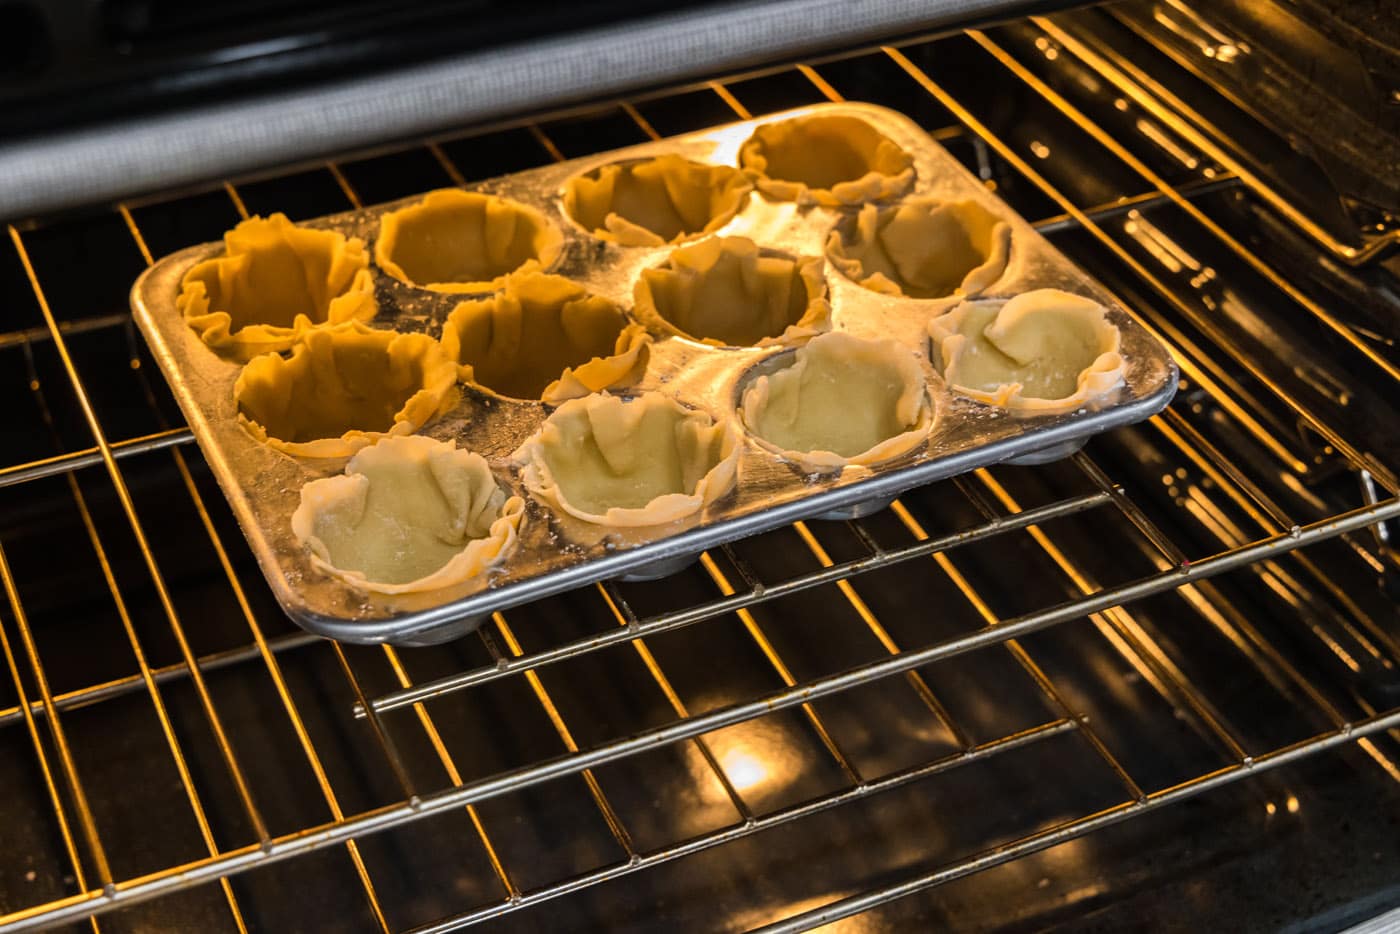
- Remove from oven, place on wire rack, and allow to cool completely before filling.
- Making the Filling: Melt the chocolate and set aside to cool completely.
- Beat sugar and butter with a standing mixer on medium-high until light and fluffy, set a timer and beat for a full 7 minutes.
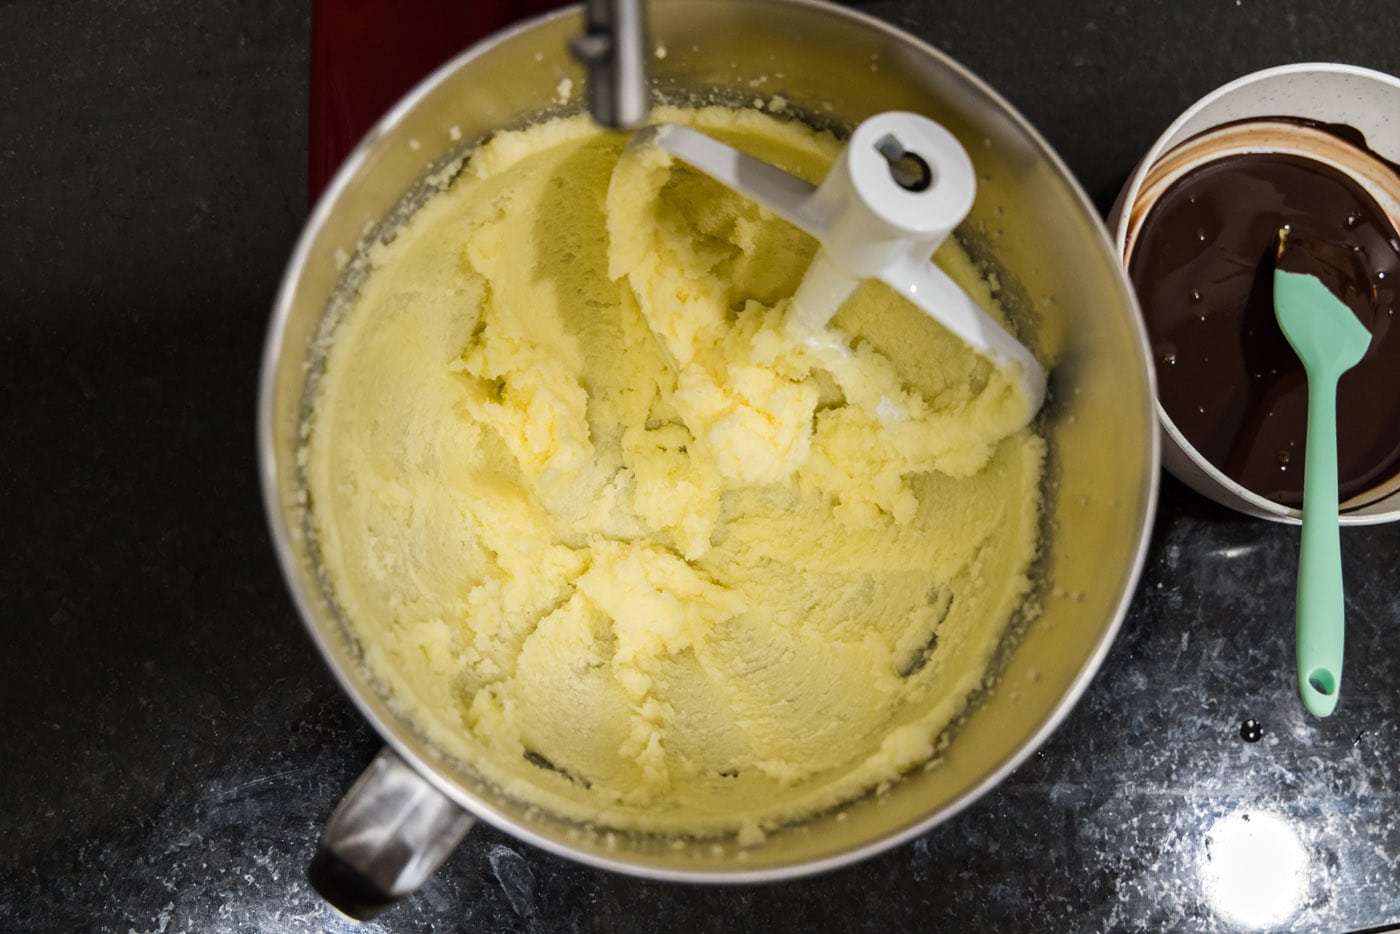
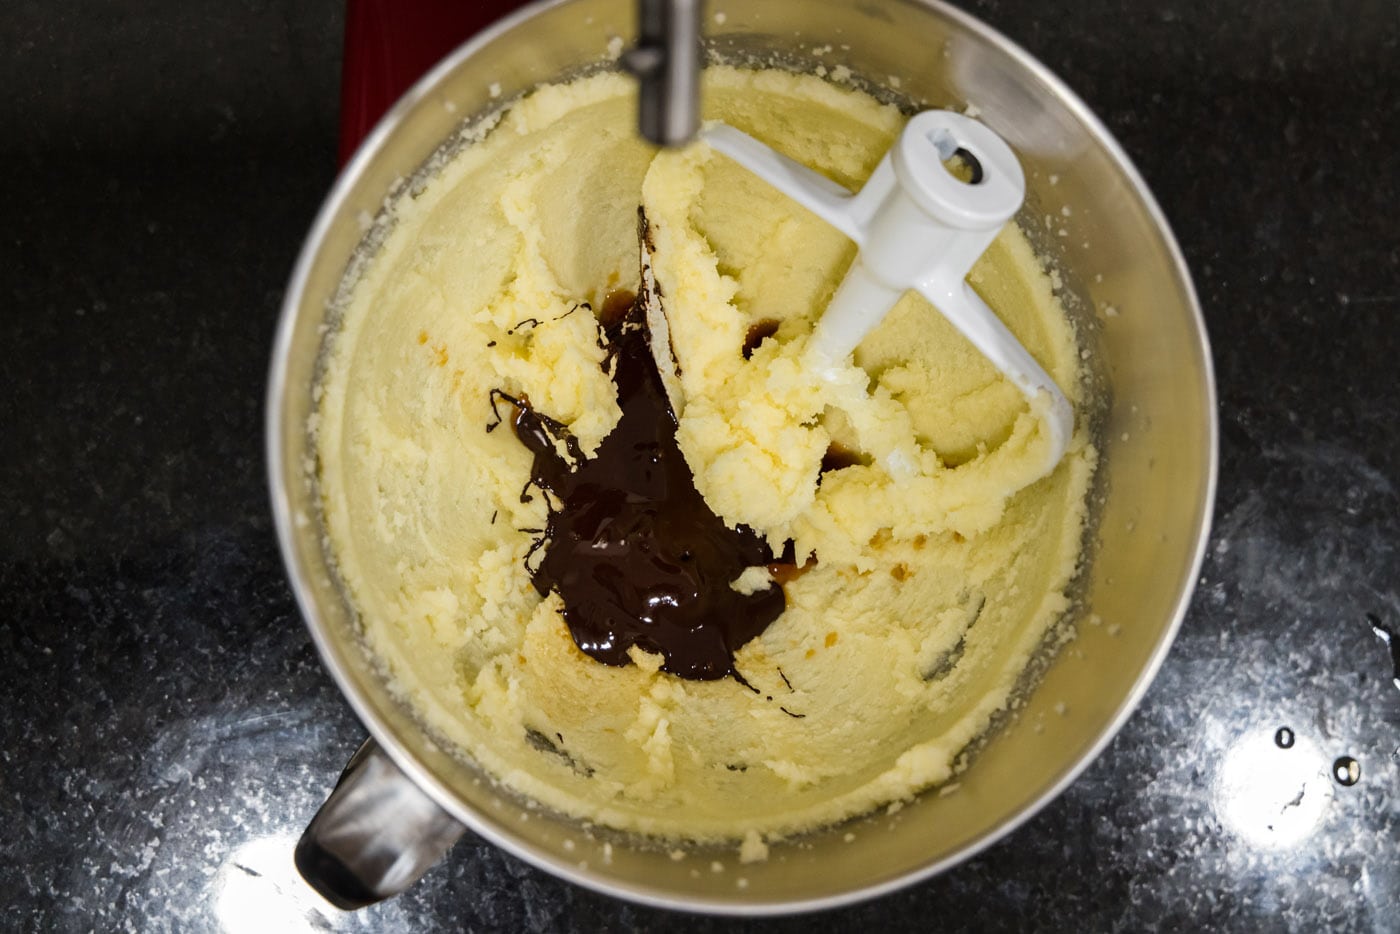
- Add cooled chocolate and vanilla and beat until incorporated.
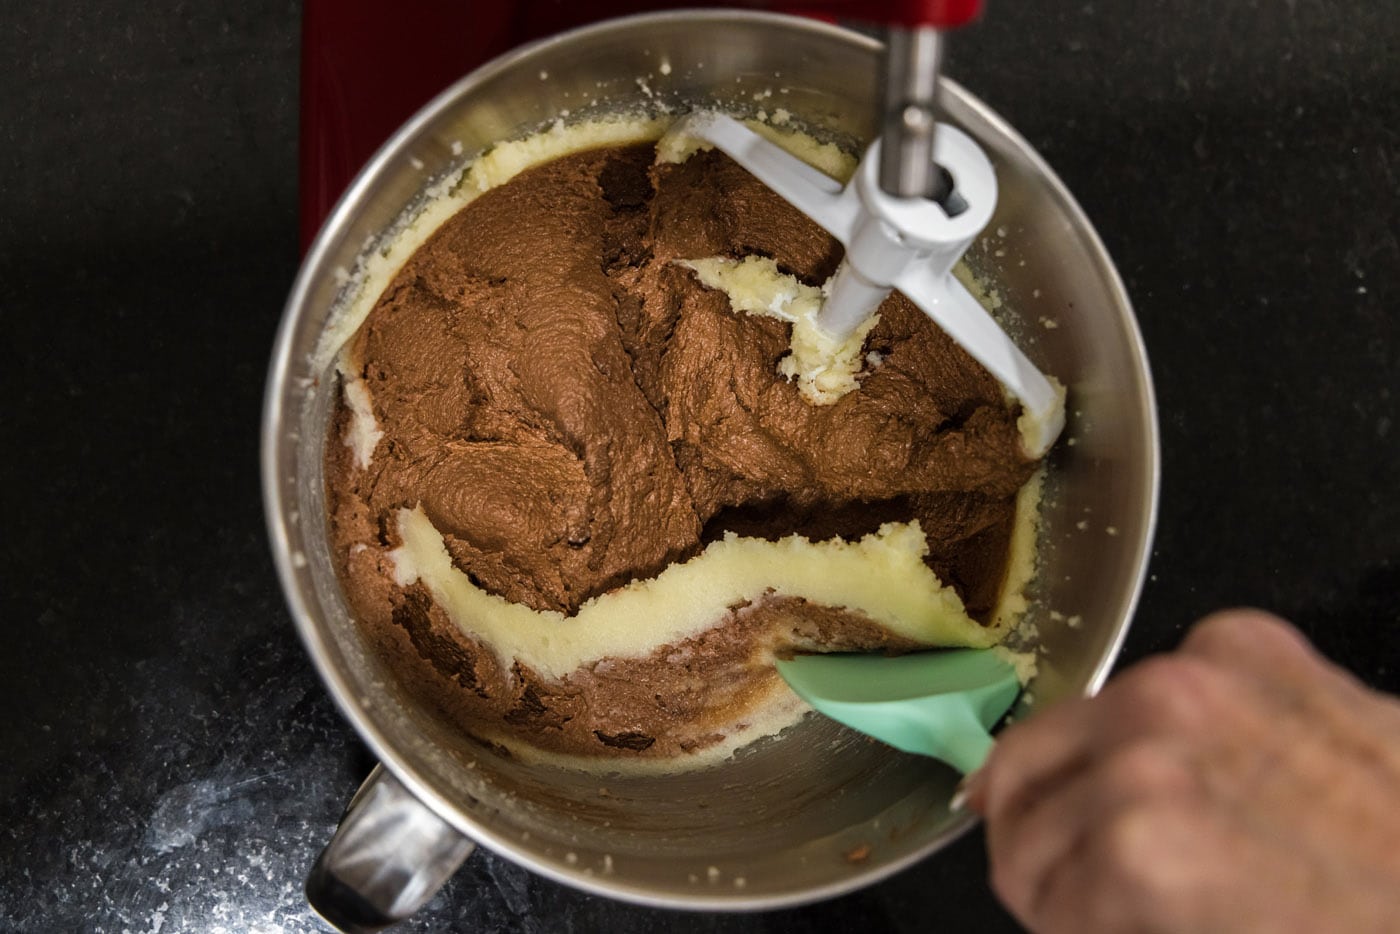
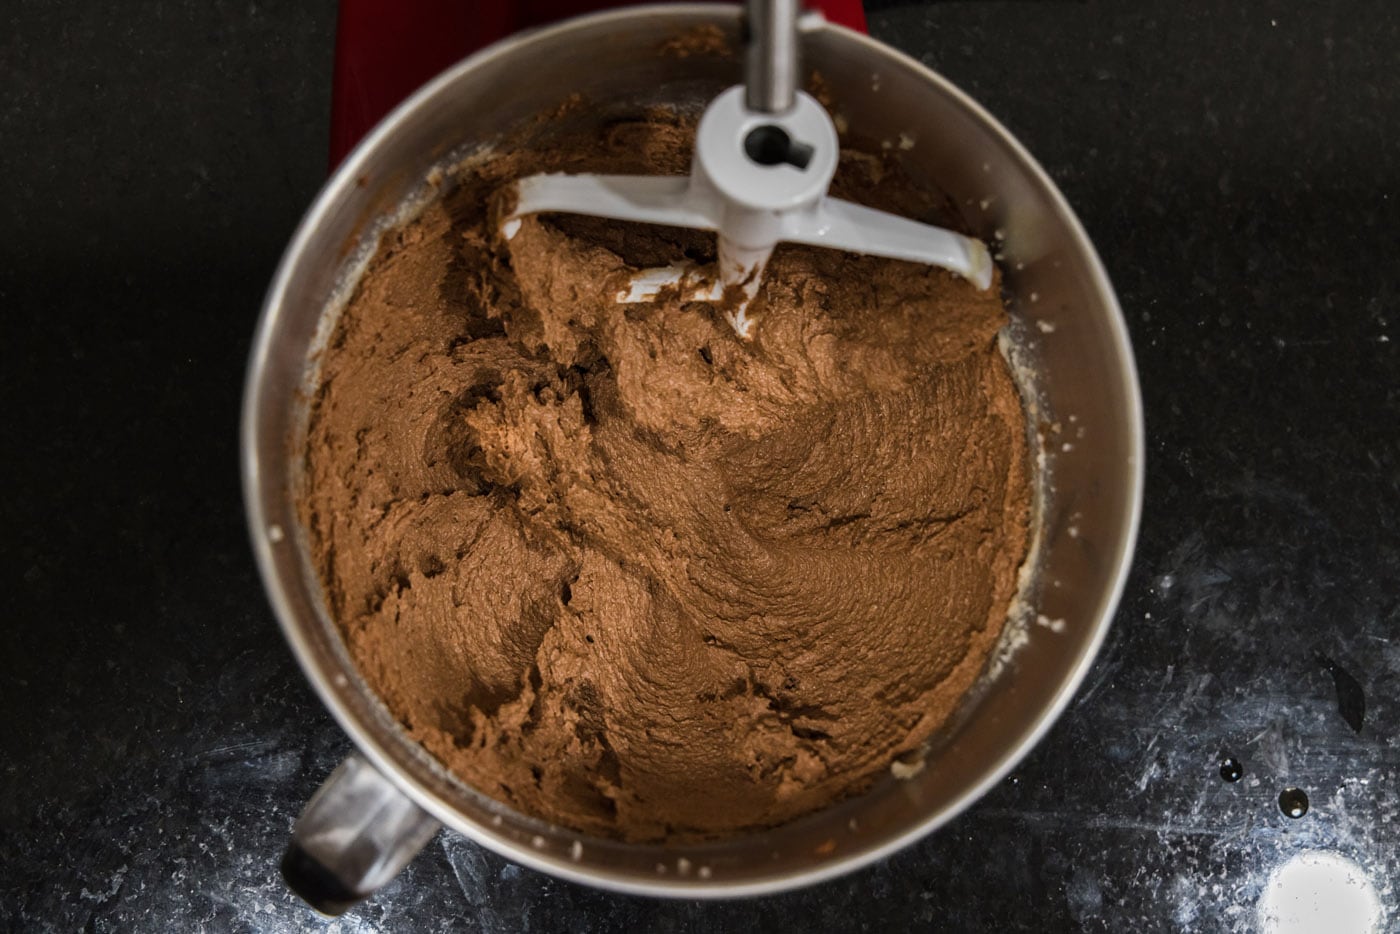
- Add eggs, two at a time, beating a full 5 minutes after each addition. Again, set a timer.
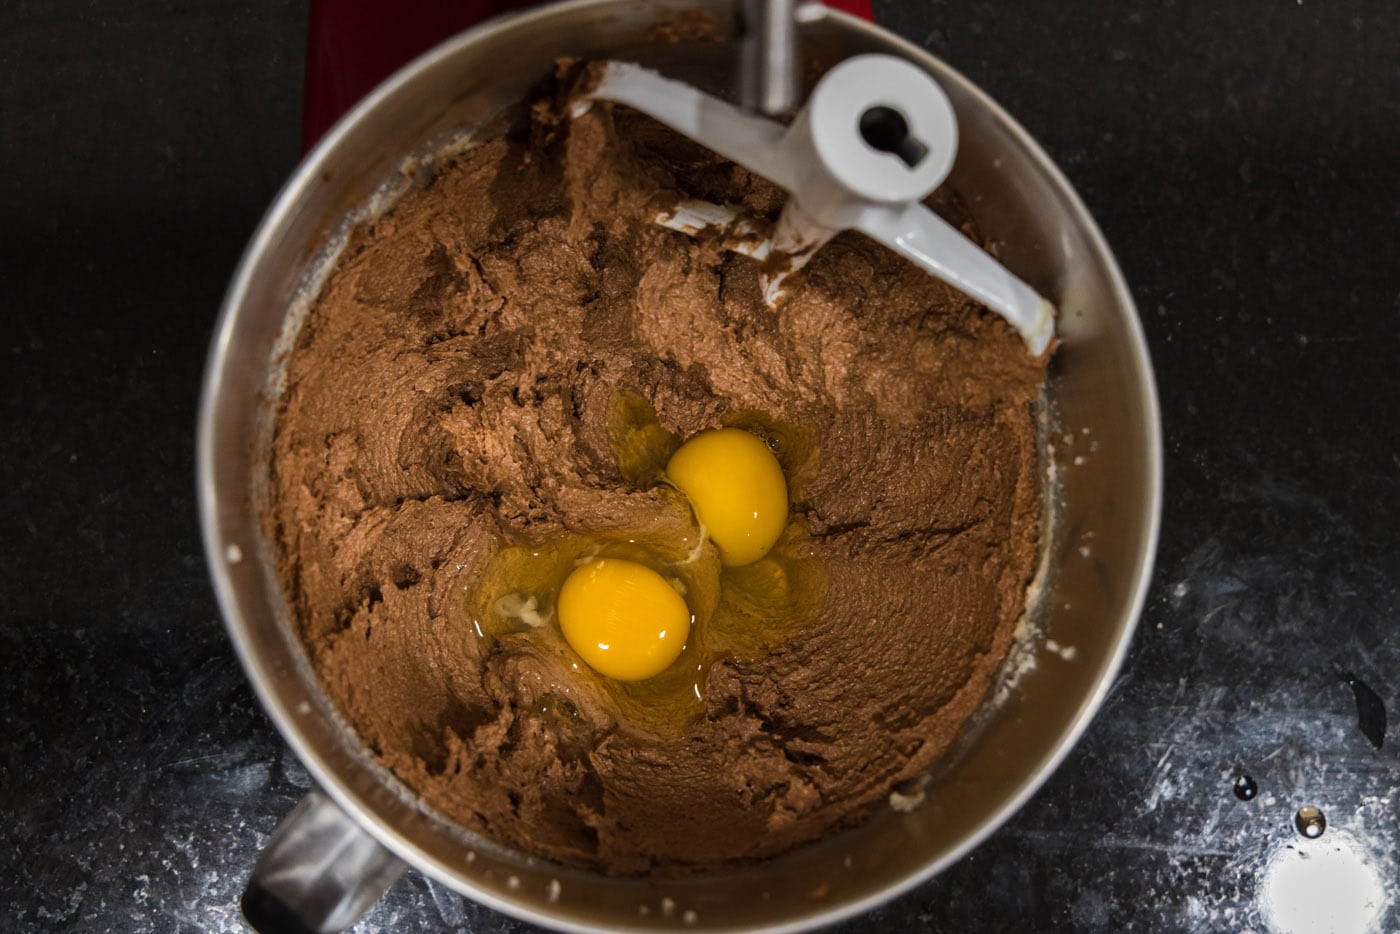
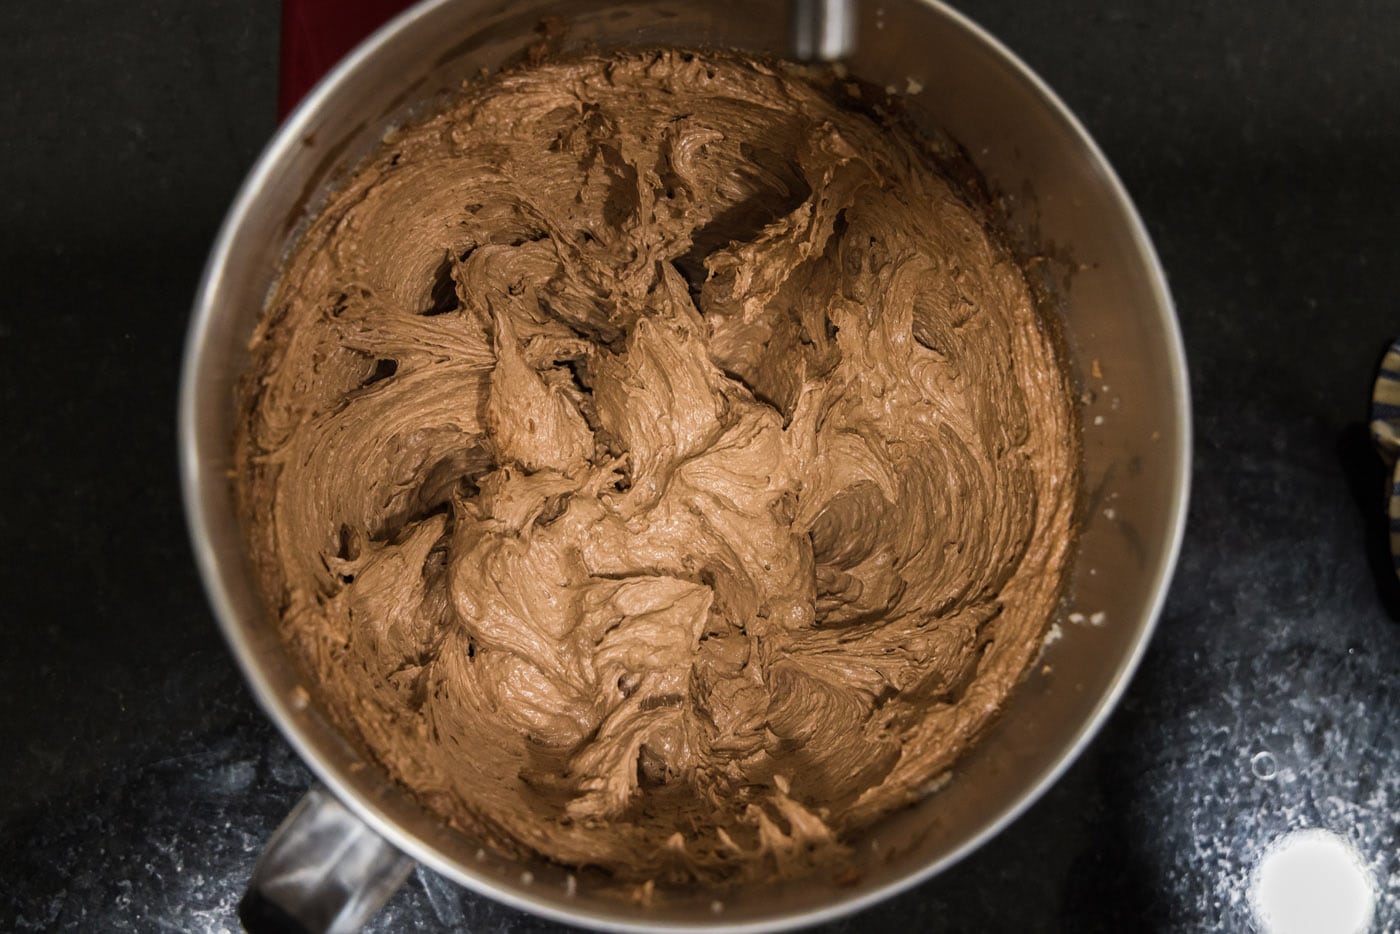
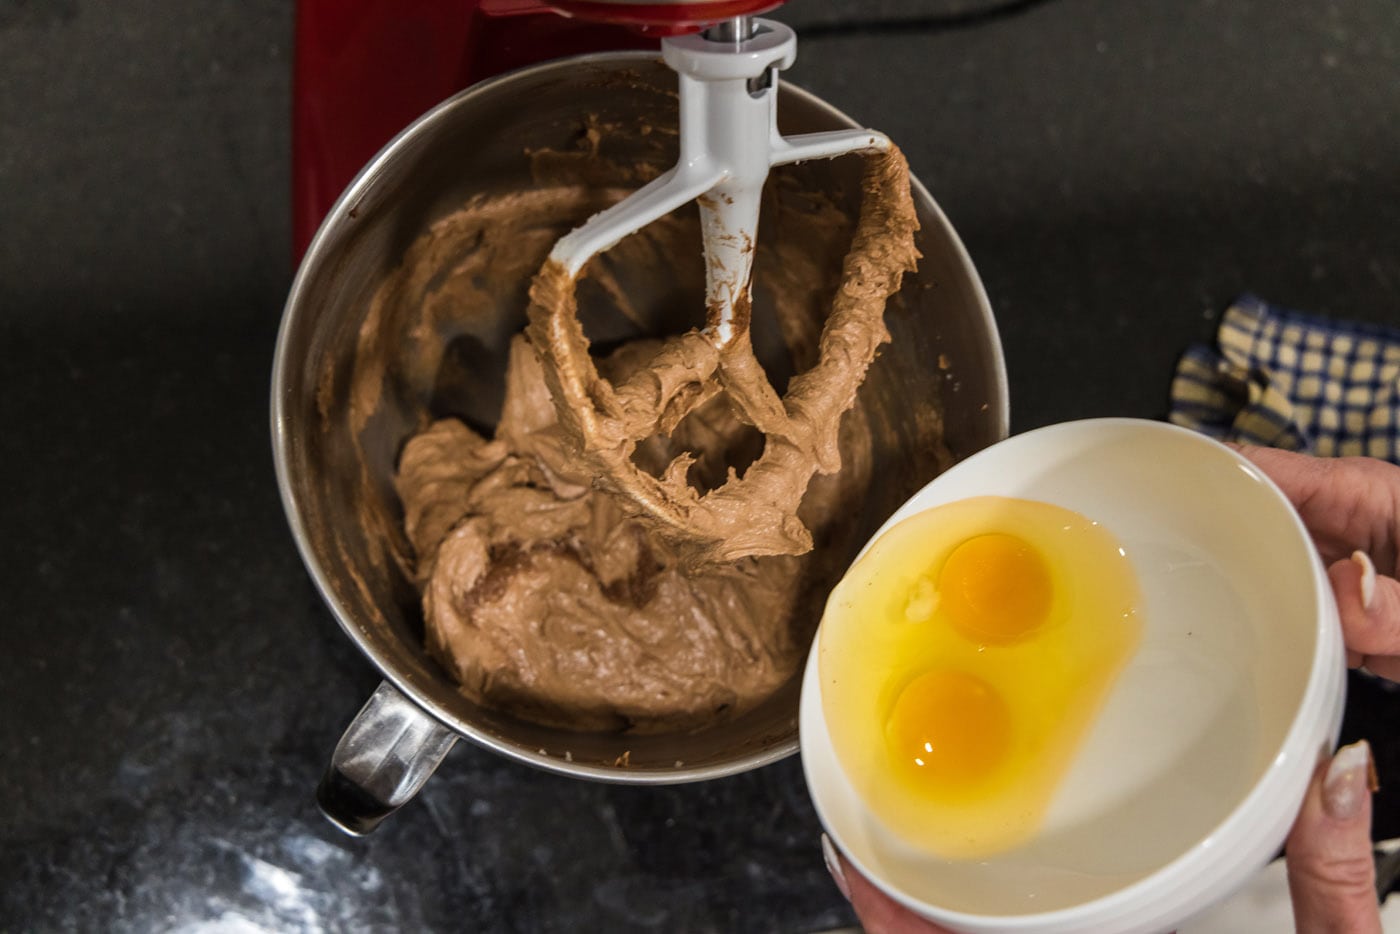
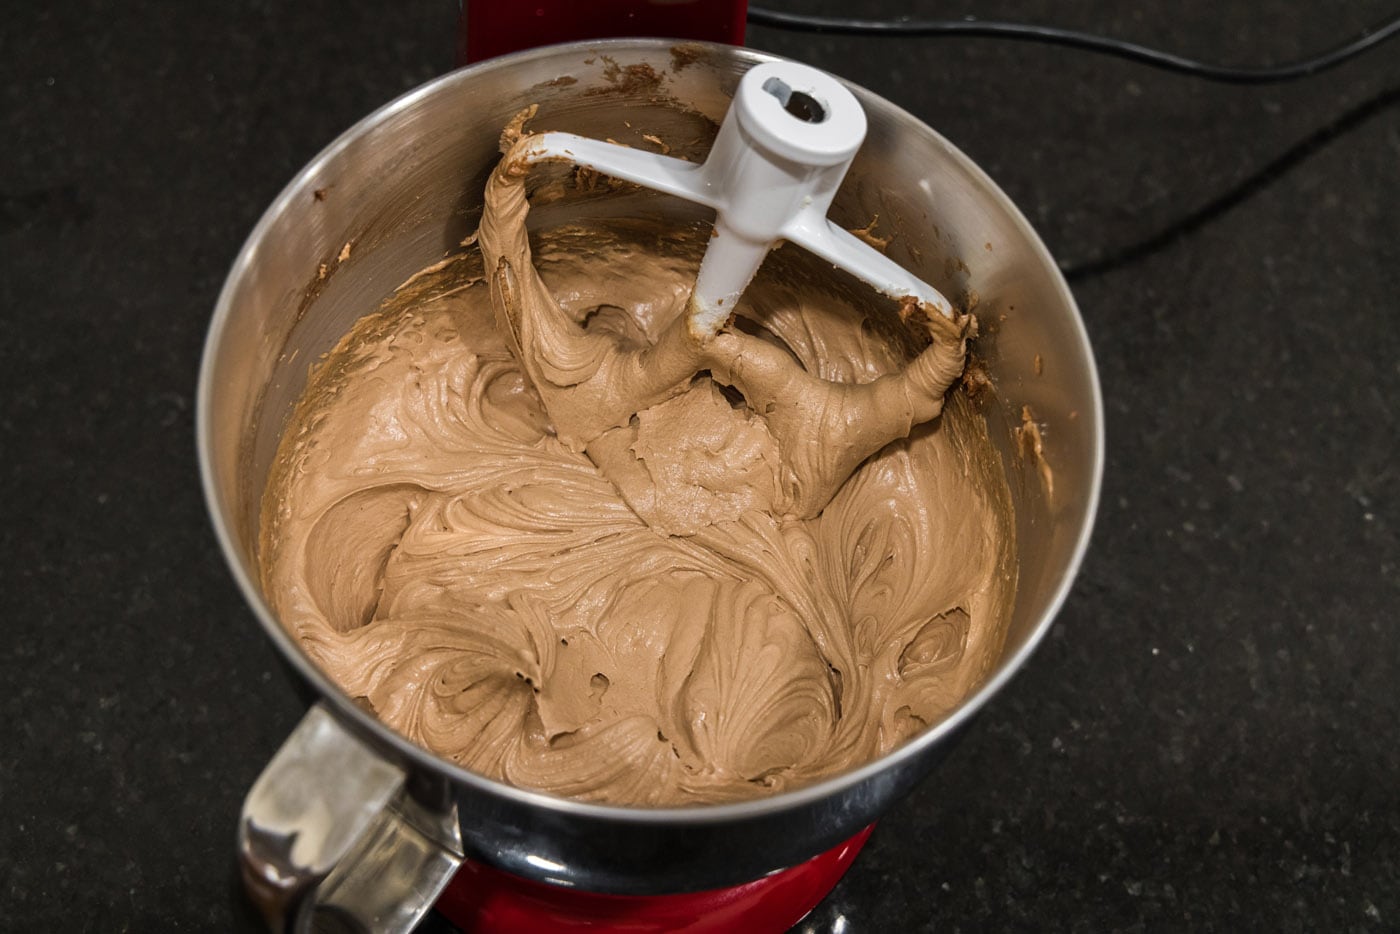
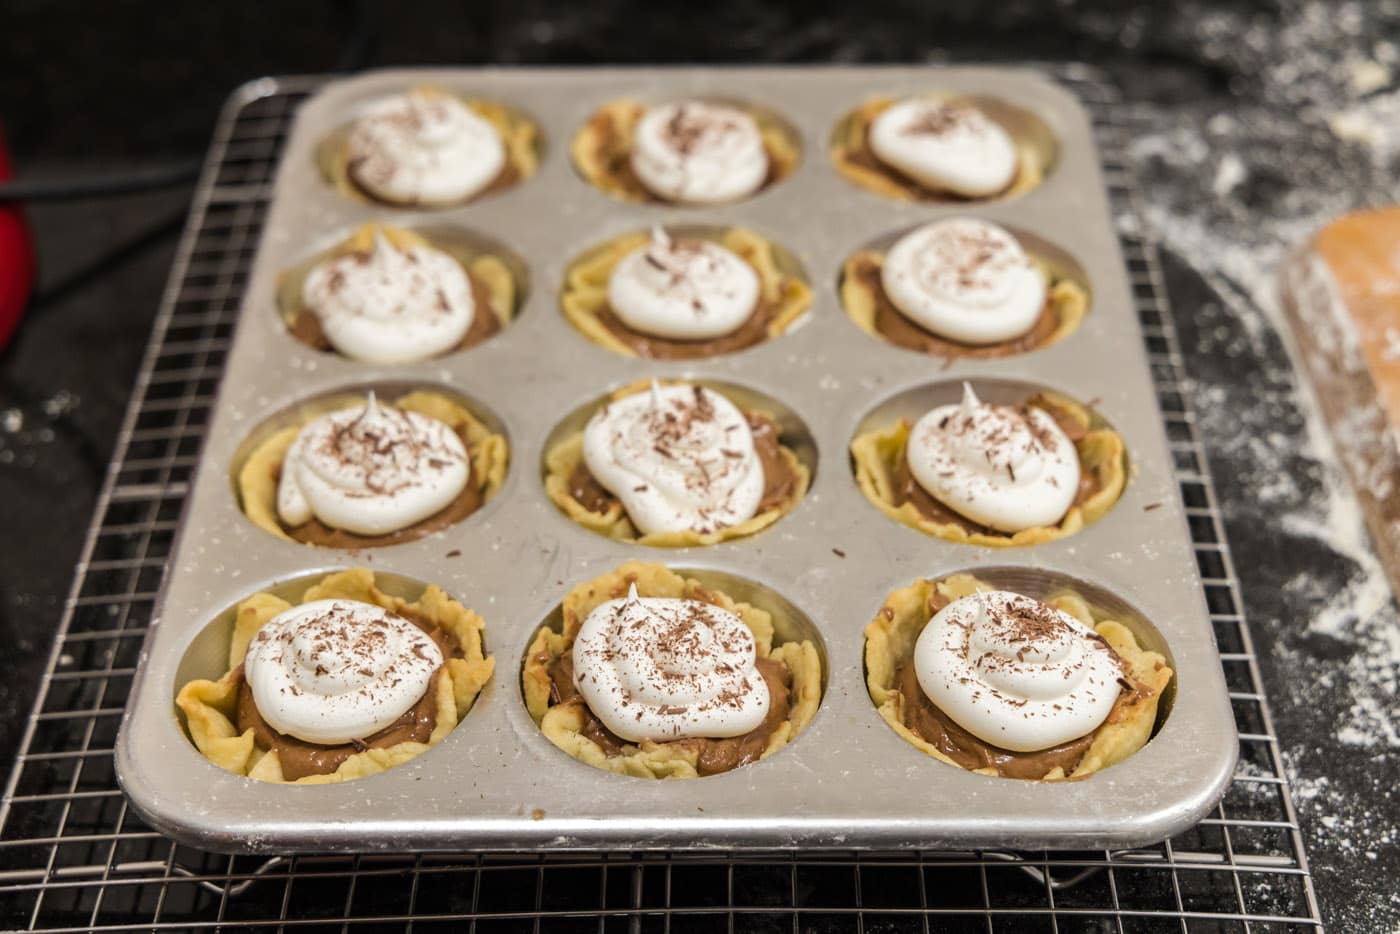
- Use an ice cream scoop to add filling to each of the cooled pie crusts.
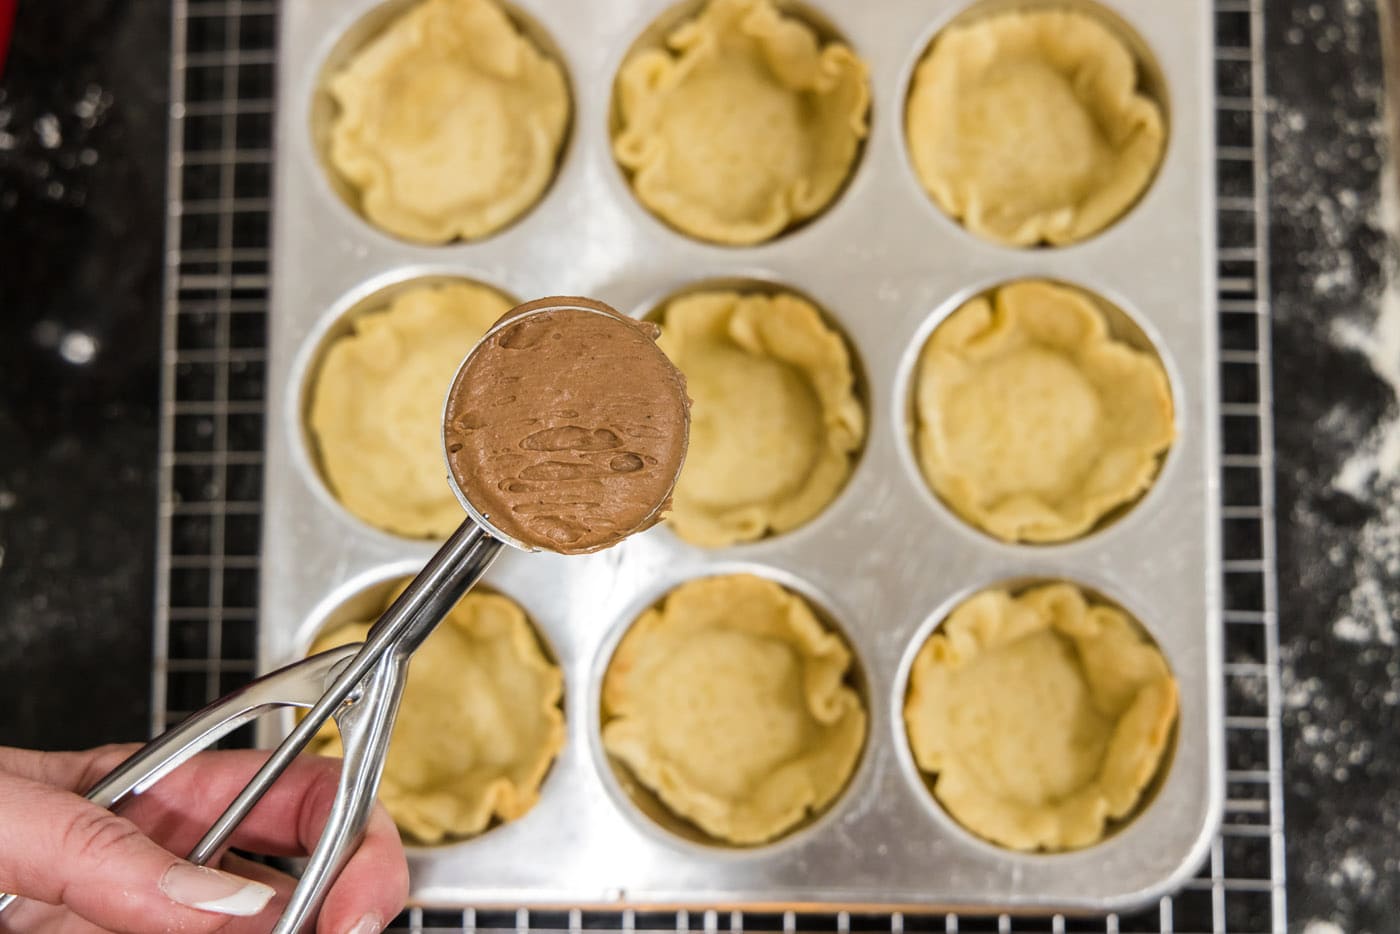
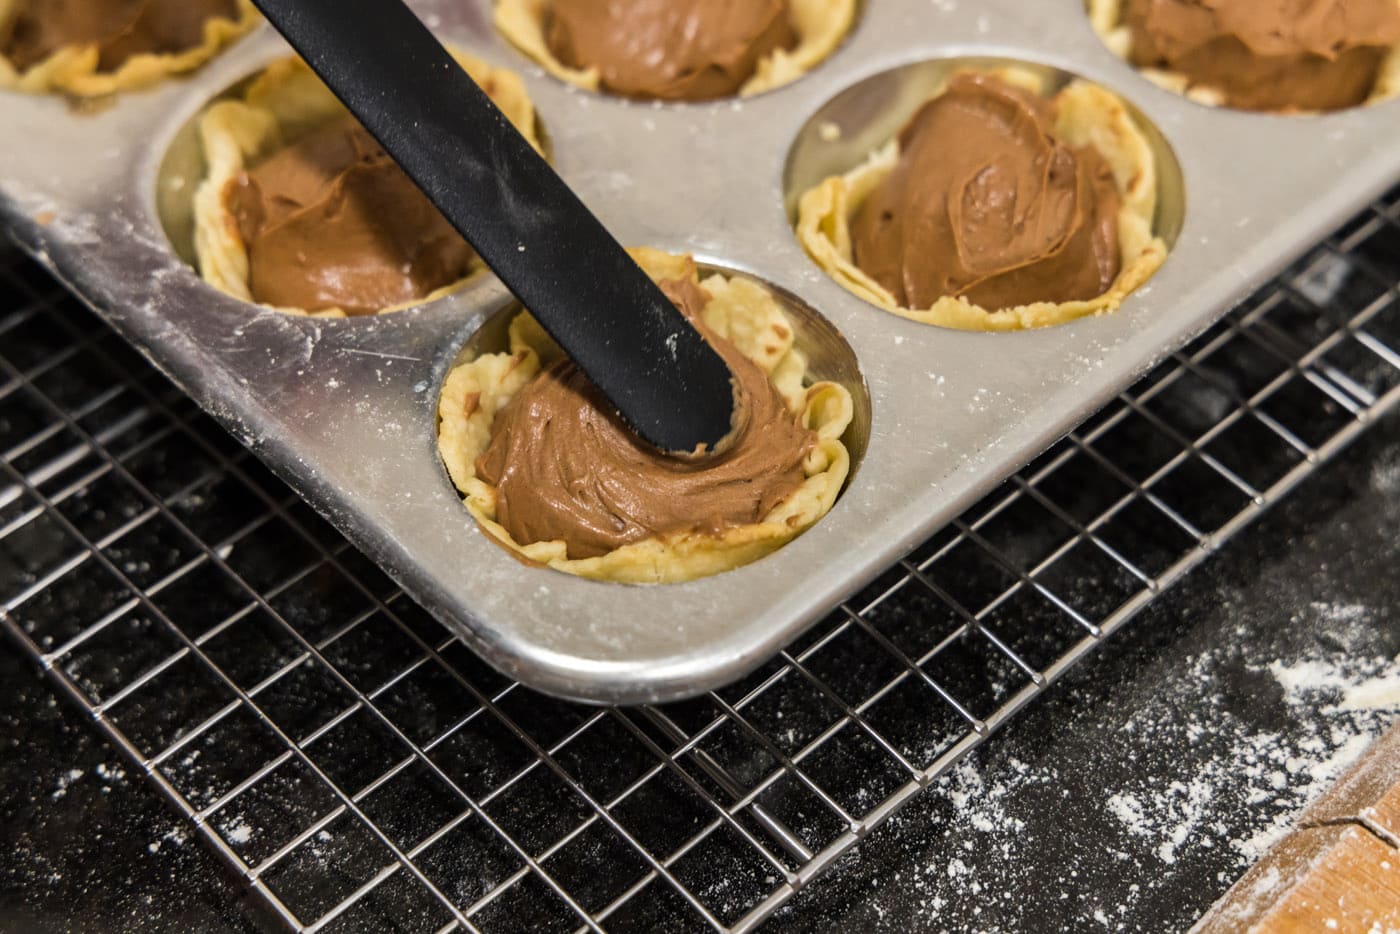
- Beat whipping cream and powdered sugar with a whisk attachment on medium-high speed until stiff peaks just begin to form.
- Fill a piping bag with whipped cream and pipe on top of the filling.
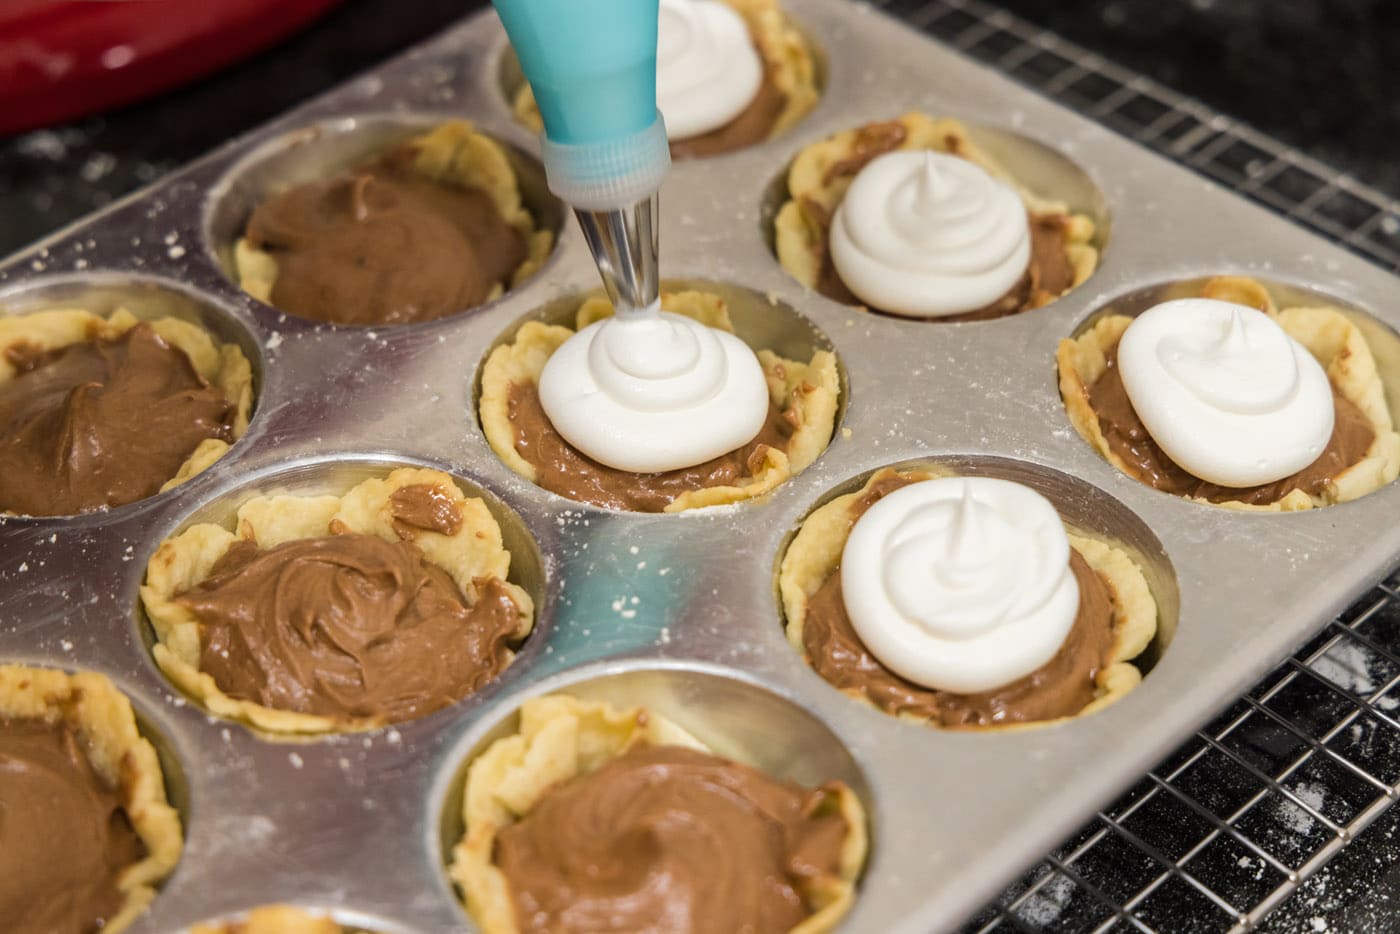
- Garnish with shaved bittersweet chocolate.
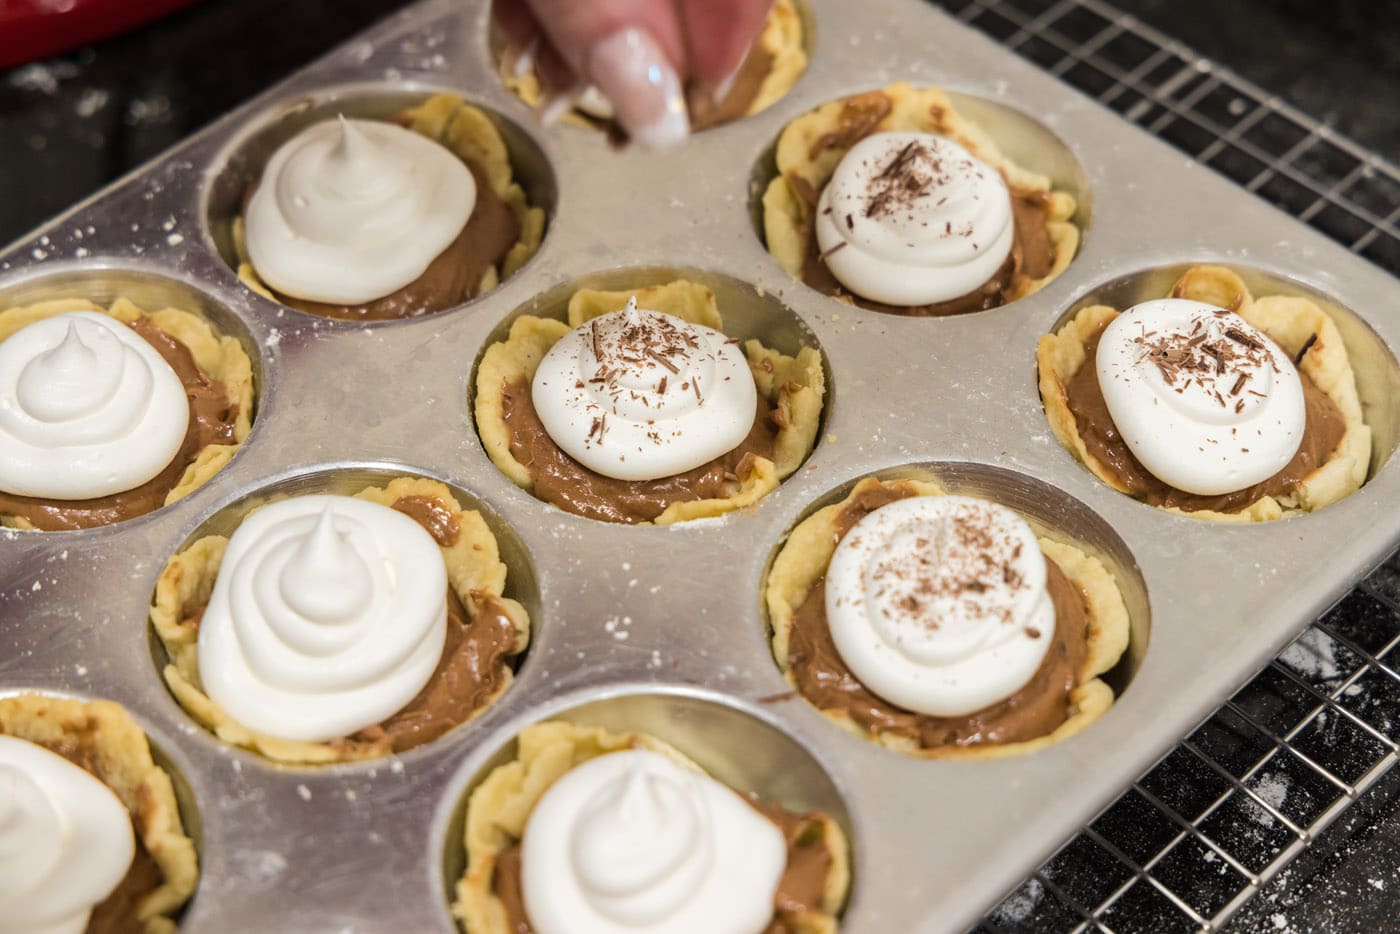
- Chill mini pies in the refrigerator overnight. Take pies out 30 minutes before serving to allow the crust to come to room temperature.
Frequently Asked Questions & Expert Tips
Can I make these mini French silk pies a day in advance?Absolutely! In fact, I recommend doing so for the best textured mini pies. Giving the pies time to set up in the fridge overnight will leave the filling silky smooth and delicious.
My filling is grainy, what should I do?The filling needs time to set up. Any graininess you may have detected when you tasted the filling will be gone after a good night’s rest. I highly recommend making these mini french silk pies a day in advance to allow them plenty of time to chill in the refrigerator overnight.
Can I freeze mini French silk pies?Yes, I would recommend freezing them without the whipped topping, save that for when you are ready to serve. To freeze, place the mini pies on a baking sheet and flash freeze until solid. Once fairly solid to the touch, individually wrap the mini pies with plastic wrap and place in a large zip-top bag. Or gently lay them flat in a single layer inside a large ziptop bag (without the plastic wrap). To thaw, remove the plastic wrap and allow to thaw at room temperature if you plan on eating them that day. Otherwise, thaw in the refrigerator overnight without the plastic wrap.
How do I store them?Store the mini pies in an air-tight container kept in the refrigerator for 3-4 days.
Serving Suggestions
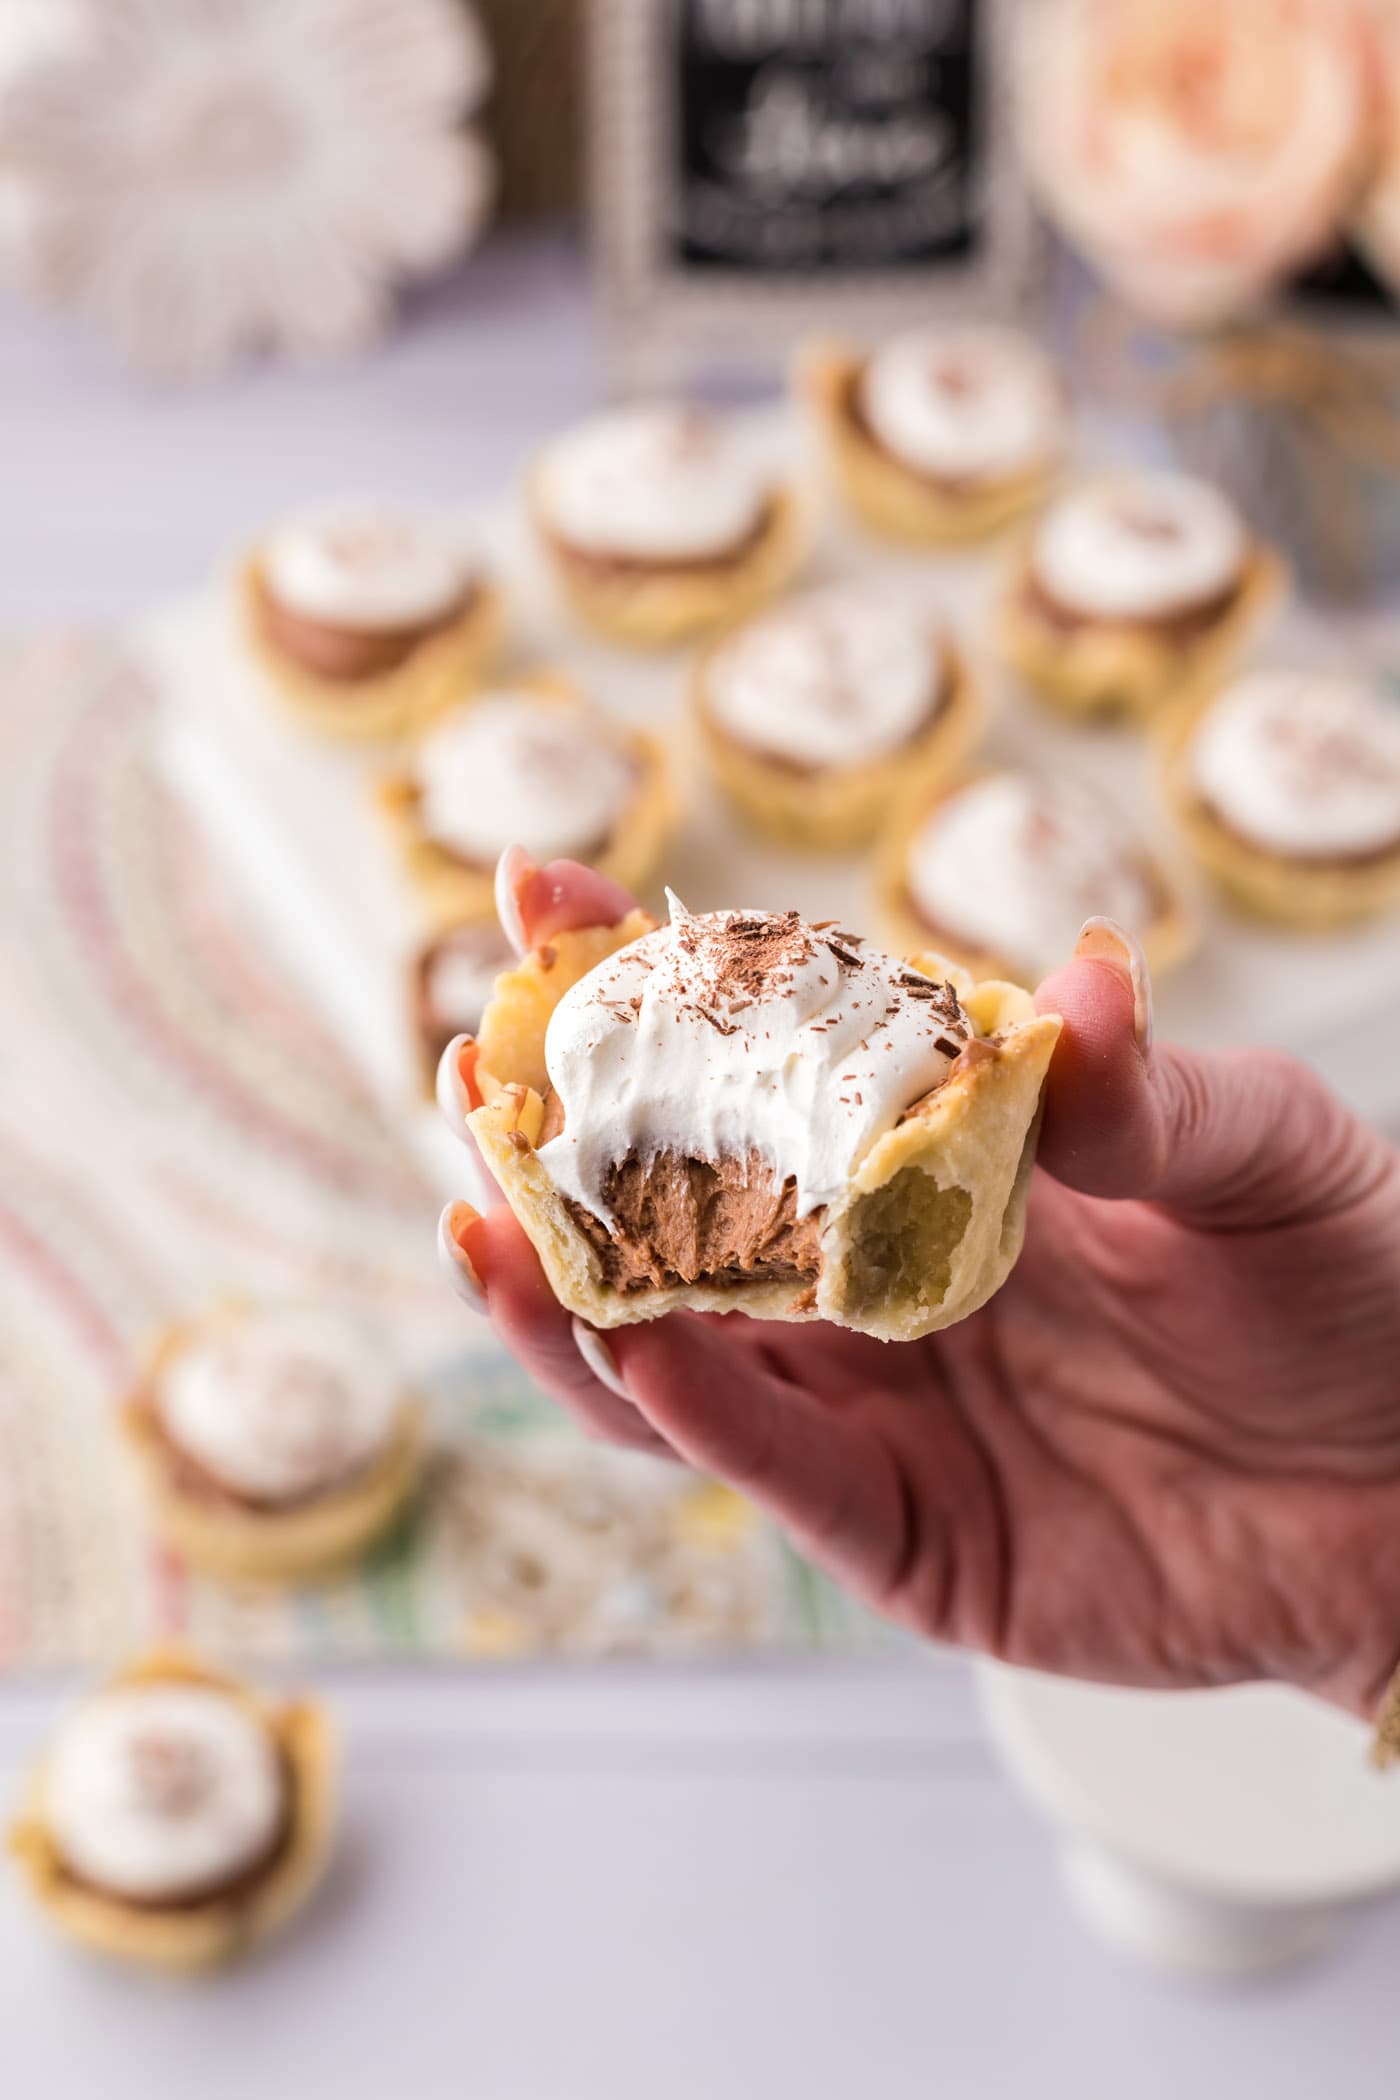
Garnish mini french silk pies with fresh whipped cream and shaved chocolate for the perfect finishing touches. Serve chilled or allow to rest at room temperature for 30 minutes before enjoying.
Mini french silk pies are the sweetest little treat for holiday gatherings like Thanksgiving, Christmas, or Easter or to bring to potlucks, baby showers, or bridal showers. There’s never a time when individual french silk pies aren’t a good idea!
More Related Recipes
- Mini Apple Pies
- Mini Pumpkin Pies
- Mini Key Lime Pies
- Cherry Pie Cookies
- Mini Cheesecakes
- Creme Brulee
I love to bake and cook and share my kitchen experience with all of you! Remembering to come back each day can be tough, that’s why I offer a convenient newsletter every time a new recipe posts. Simply subscribe and start receiving your free daily recipes!
More recipes to try
Eight more recipes from the kitchen.

Instant Pot Mac and Cheese
Creamy, delicious Instant Pot mac and cheese. If you’re wondering how…
Peanut Butter Brownie Skillet
This peanut butter brownie skillet recipe combines fudgy brownies with…
Garlic Roasted Potatoes
These oven garlic roasted potatoes with shallots and plenty of garlic…

Donut Hole Cake Pops
These pretty donut hole cake pops are made with store-bought donut…

Easy Cowboy Caviar
A vibrant medley of tomatoes, garlic, avocado, corn, green onion, and…
Blueberry Breakfast Cake
Blueberry breakfast cake, coffee cake, blueberry buckle, whatever you…
Watermelon Malibu Slush
This Watermelon Malibu Slush has just a handful of ingredients and is…
English Trifle: Our Family Tradition
If I had to choose one dessert as the most nostalgic for me, that…