

Welcome to the ultimate cookie experience! These incredibly chewy **Compost Cookies** are a culinary adventure, generously loaded with a delightful medley of potato chips, crunchy pretzels, wholesome oats, aromatic coffee grounds, rich chocolate chips, and creamy white chocolate chips. And yes, we’re confident enough to say: they are unequivocally better than Milk Bar’s famed version!
If you have a passion for unique, flavor-packed cookies, you’re in the right place. Beyond these incredible treats, be sure to explore more of our irresistible cookie recipes, including our highly-praised Levain Bakery Copycat Cookies, renowned for their impressive size and gooey centers, or these hearty **Cowboy Cookies** that also boast a fantastic array of delicious mix-ins.

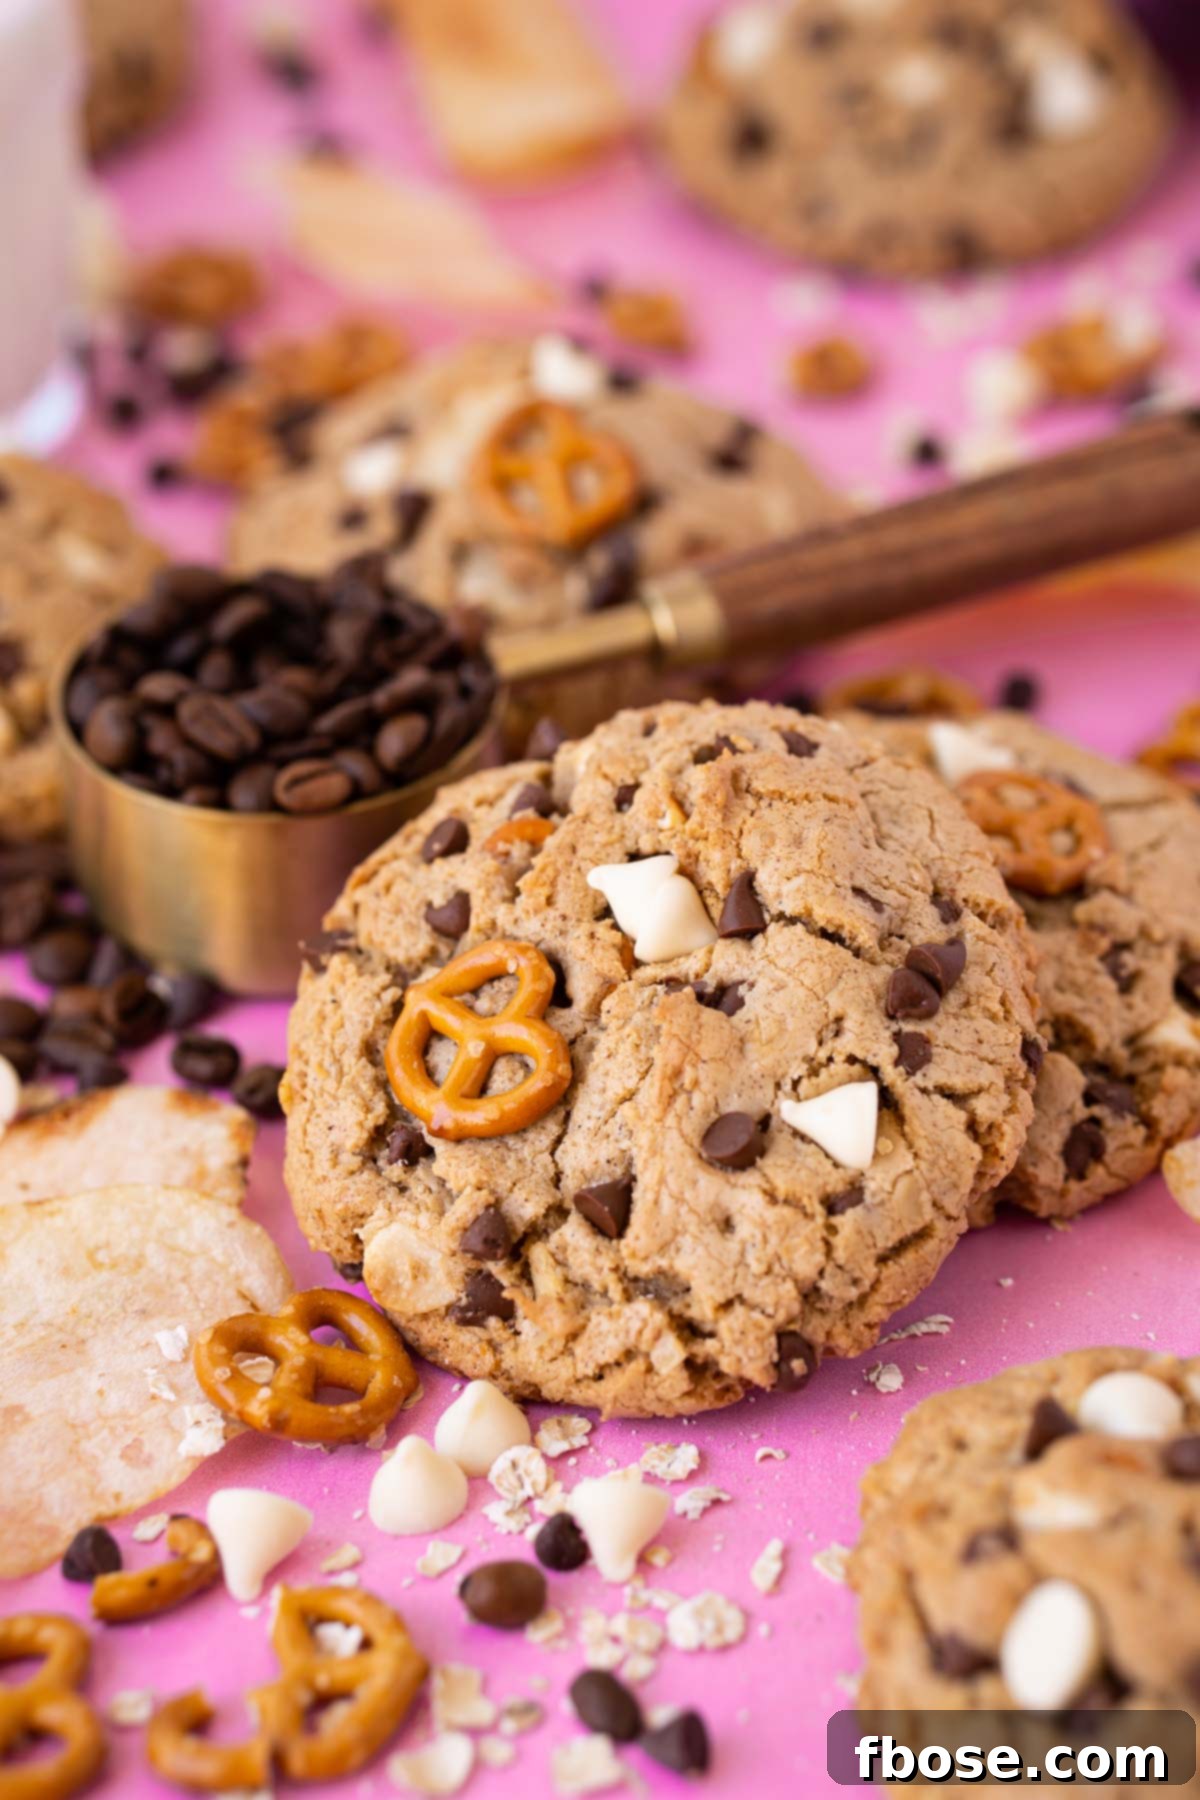
Once you take your first bite of these homemade Compost Cookies, you’ll immediately understand why they surpass the well-known Momofuku Milk Bar Cookies. Our secret lies in a luxurious brown butter base, which provides a deep, nutty foundation for an abundance of exciting add-ins. Each cookie is brimming with salty pretzels, tender oats, crispy potato chips, and not one, but two kinds of decadent chocolate chips. It’s a symphony of textures and flavors in every single mouthful.
Often affectionately known as “everything but the kitchen sink cookies” or “garbage cookies,” Compost Cookies truly earn their name from the sheer volume and variety of their delicious additions. This recipe celebrates the joy of combining seemingly disparate ingredients to create a harmonious and surprisingly sophisticated cookie. The best part? You can whip up a batch of these extraordinary treats in just about an hour, from start to finish!
Discover the Magic: All About These Tasty Compost Cookies
What makes Compost Cookies truly special is their incredible complexity, offering a dynamic experience for your taste buds with every bite. The ingenious combination of salty, sweet, and savory elements creates a depth of flavor that is truly unparalleled in the cookie world. Let’s dive deeper into what makes these cookies so irresistible.
Taste: A Symphony of Flavors
Prepare for a flavor explosion! Since these cookies are absolutely flooded with a wide variety of mix-ins, there’s a multitude of exciting tastes to anticipate. You’ll first enjoy a delightful salty kick from the crushed pretzels and potato chips, which perfectly balances the rich sweetness provided by the semi-sweet chocolate and creamy white chocolate chips. But the flavor journey doesn’t stop there; the subtle earthiness of the oats and the sophisticated, slightly bitter notes from the coffee grounds come into play, adding an unexpected layer of depth and intrigue to every single bite. This masterful blend ensures a well-rounded and deeply satisfying flavor profile that keeps you coming back for more.
Texture: A Multi-Sensory Delight
These cookies offer as much textural excitement as they do flavor. They are wonderfully tender and satisfyingly chewy at their core, with perfectly crisp edges that provide a delightful contrast. The real stars of the texture show, however, are the pretzels and potato chips, which introduce an incredible crunch that elevates the entire experience. The oats contribute a comforting, slightly resilient chew, while the melted chocolate chips create pockets of gooey sweetness. This intricate interplay of soft, chewy, crisp, and crunchy elements makes each Compost Cookie a truly memorable sensory delight.
The Golden Secret: Brown Butter
At the heart of these extraordinary Compost Cookies lies the magic of brown butter, also elegantly known as *beurre noisette*. This culinary technique transforms ordinary butter into something truly spectacular. Brown butter is simply butter that has been gently cooked until its milk solids caramelize and turn a beautiful golden brown. These tiny brown specks that form in the pan infuse the butter with a delicious, nutty, and slightly caramelized flavor, adding an incredible depth that cannot be achieved with regular melted butter.
The brown butter in this recipe elevates these Compost Cookies, imparting a rich, complex flavor that makes them utterly irresistible and undeniably gourmet. It’s this special touch that truly sets them apart from other cookies and contributes to their superior taste and aroma.
If you’ve never ventured into the world of **browning butter** before, you’ll be delighted to discover just how quick and easy it is. The process takes less than 10 minutes and requires only butter, a whisk, and a single skillet. It’s a simple step that yields profound flavor rewards.
A crucial detail for this specific Compost Cookie recipe is that you do *not* brown all of the butter. Browning the entire amount would alter the delicate balance of the recipe, affecting the final texture and spread of the cookies. Instead, only 10 tablespoons of the butter are carefully browned to achieve that signature nutty flavor, while the remaining 4 tablespoons are merely melted and not cooked further. This precise combination ensures the perfect rich flavor and chewy texture that defines these cookies.

Expert Tips for Crafting Perfect Compost Cookies
Achieving the perfect Compost Cookie is easier than you think, especially when armed with a few expert tips. These insights will help you navigate the baking process smoothly and ensure your cookies turn out exceptionally delicious every time.
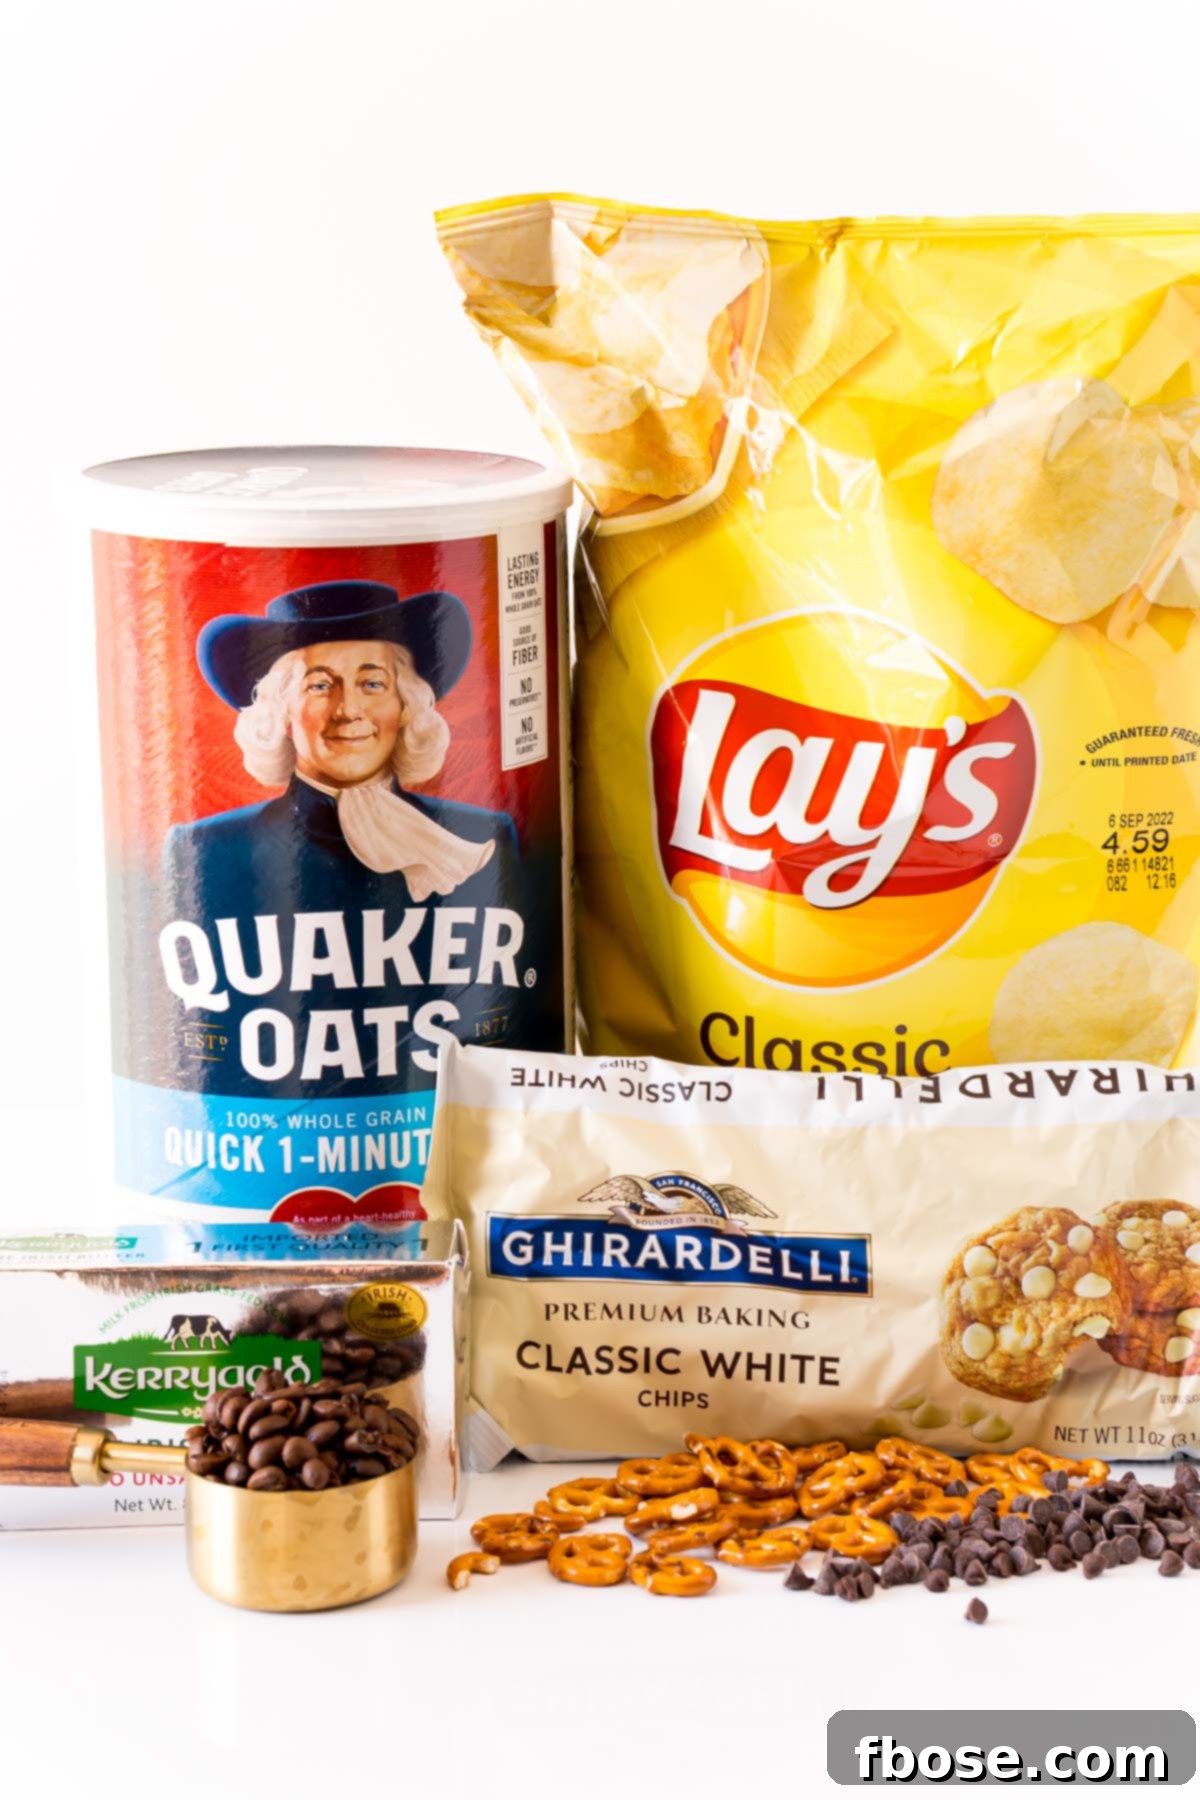
- Prepare The Mix-Ins Ahead of Time – To ensure a seamless baking experience, we highly recommend preparing all your mix-ins before you even begin the main recipe. This means crushing the potato chips and pretzels to your desired consistency, and precisely measuring out your chocolate chips, white chocolate chips, and oats. Having everything prepped and ready will allow the rest of the baking process to flow nicely, minimizing interruptions and preventing any unnecessary mess or frantic last-minute chopping. When the recipe calls for them, you can simply “dump and go,” keeping your focus on the dough.
- Mastering Flour Measurement for Perfect Cookies – When measuring flour for any cookie recipe, especially this one, precision is paramount. It’s incredibly easy to accidentally add too much flour, which can drastically alter the final texture of your cookies. An excess of flour will result in dry, dense, and crumbly cookies—a far cry from the tender, chewy, and moist treats we’re aiming for! The common kitchen practice of “dunking and scooping” your measuring cup directly into the flour bag, then packing it in, almost always leads to too much flour. Instead, take just two minutes to learn how to measure flour correctly using the “spoon and level” method. This small adjustment will guarantee consistently perfect cookies every time.
- Utilize Two Baking Pans for Optimal Results – For this recipe, it is highly recommended to use two separate baking pans and alternate them between batches. The reason for this is crucial: dropping a fresh batch of cookie dough onto a hot baking sheet will cause the butter in the dough to melt too quickly, leading to excessive spreading and an altered, flatter cookie structure. By rotating between two cooled pans, you ensure that each batch bakes evenly, maintaining the intended thick, chewy texture and beautiful appearance of your Compost Cookies.
- Elevate Their Appearance: Dress Them Up – Want to give your homemade Compost Cookies that iconic, bakery-quality finish, reminiscent of Milk Bar’s famous treats? It’s simple to achieve! Before baking, gently pat additional whole pretzels, extra potato chips, and a few more chocolate chips onto the top of each cookie dough ball. This not only enhances their visual appeal, making them look even more appetizing and professional, but also provides extra pockets of those delightful textures and flavors right on the surface.

Cookies like these, generously loaded with all the mix-ins your heart desires, are truly a special treat for those moments when your taste buds crave a multitude of harmonious flavors and exciting textures. Much like our Ranger Cookies and Monster Cookies, both of which are quick to prepare in 15 minutes or less, these Compost Cookies offer maximum satisfaction with minimal effort.
For those who appreciate a more classic indulgence, be sure to explore my recipe for thick, wonderfully chewy Bakery Style Chocolate Chip Cookies. Or, for an incredibly quick and easy dessert, try these No Bake Cookies, which require only 7 simple ingredients and no oven time!
Storage Instructions for Optimal Freshness
To keep your delicious Compost Cookies fresh and flavorful, proper storage is key. Once completely cooled, transfer the cookies to an airtight container. If you opted to “dress them up” with additional toppings before baking, we recommend separating the layers of cookies with pieces of parchment paper. This simple step will prevent the toppings from sticking together or getting damaged, preserving their beautiful appearance and texture.
Stored at room temperature, these delightful cookies will maintain their optimal taste and chewiness for up to 5 days. For longer storage options, refer to our freezing instructions below!
Unleash Your Creativity: What Other Mix-Ins Can I Use?
The beauty of Compost Cookies lies in their incredible versatility! While our core recipe offers an outstanding combination of flavors, you can absolutely play around with the mix-ins to customize them to your personal preferences or what you have on hand. Feel free to unleash your inner baker and experiment!
Some popular variations include adding mini butterscotch chips for a different kind of sweet, or incorporating about 1 cup of graham cracker crumbs for a subtle, comforting flavor and texture. Don’t be afraid to think outside the box; try making these cookies with any of your favorite salty or sweet snacks! Consider adding toffee bits, mini marshmallows, chopped nuts like pecans or walnuts, crushed cornflakes, or even your favorite breakfast cereal for an extra layer of crunch and flavor. The possibilities are endless, making each batch a unique creation!
Does This Recipe Yield Large, Satisfying Cookies?
Yes, this recipe is designed to produce generously sized cookies that are incredibly satisfying! We recommend portioning out the dough using a large cookie scoop, which will create impressive cookies that are approximately 4 inches across. These substantial cookies are perfect for an indulgent treat and truly showcase all the wonderful mix-ins.
However, if you prefer to make smaller cookies, perhaps for sharing or portion control, simply use a medium cookie scoop instead. When baking smaller cookies, adjust the baking time slightly; they will typically be ready in about 6 to 7 minutes. Keep an eye on them to ensure they reach that perfect golden brown edge without overbaking.

Coffee Grounds vs. Instant Coffee/Espresso Powder: An Important Distinction
For this Compost Cookie recipe, it’s crucial to use actual fresh coffee grounds and not substitute them with instant coffee or espresso powder. The reason is simple: instant coffee and espresso powder are designed to dissolve completely when introduced to liquid or moisture, and they would simply disappear into the cookie dough during mixing and baking. This would result in a loss of the unique flavor *and* the textural element that the coffee grounds contribute.
Freshly ground coffee, straight from the canister, provides a delightful subtle bitterness and an earthy aroma that complements the sweet and salty components of the cookie perfectly. More importantly, the fine texture of the grounds themselves adds a unique, almost granular mouthfeel, which is an integral part of the “compost” experience. For the best results and the authentic Compost Cookie taste, always opt for genuine coffee grounds.
Choosing the Best Potato Chips for Your Cookies
While you can certainly use any potato chips you have on hand for this recipe, the type of chip can subtly influence the final texture of your Compost Cookies. I personally prefer to use Cape Cod potato chips for their thicker cut and robust crunch. Their sturdier structure allows them to hold up better throughout the baking process, retaining more of their crispness and providing a more pronounced textural contrast within the soft cookie. This prevents them from becoming too soggy or blending into the dough.
However, don’t let the lack of a specific brand deter you from making these fantastic cookies! Feel free to use whatever potato chips you have in your pantry. Even thinner chips will contribute a wonderful salty flavor and a delicate crispness, so use what’s convenient and enjoy the delicious outcome!
Can I Freeze These Compost Cookies? Absolutely!
Yes, these Compost Cookies freeze beautifully, making them an excellent choice for meal prepping desserts or ensuring you always have a delicious treat on hand. To freeze baked cookies, first allow them to cool completely. Then, wrap each cookie individually with plastic wrap, followed by another layer of tin foil. This double wrapping helps to prevent freezer burn and preserves their freshness. Afterward, place all the wrapped cookies into a large, freezer-safe Ziploc bag, squeezing out as much air as possible, and store them in the freezer for up to 2 months. To enjoy, simply let them thaw at room temperature overnight.
You can also easily **freeze the cookie dough** to bake later, which is incredibly convenient! To do this, portion the raw dough out onto a baking sheet lined with parchment paper, just as you would before baking. Place the entire baking sheet into the freezer for about an hour. This initial flash-freezing step allows the individual dough portions to harden separately, preventing them from sticking together and turning into one large lump when transferred. Once the cookie portions are firm, transfer them into a freezer-safe Ziploc bag. The frozen dough can be stored in the freezer for up to 3 months. When you’re ready to bake, simply place the frozen dough balls on a prepared baking sheet and bake as directed, adding a minute or two to the baking time if needed.
The Role of Malted Milk Powder in Our Compost Cookies
You might notice malted milk powder listed as an ingredient in this Compost Cookie recipe and wonder about its purpose. While malted milk powder isn’t strictly necessary for the structural integrity of the cookie—meaning the cookies would still hold together without it—it plays a significant role in enhancing the overall flavor profile. It introduces a subtle, nutty, and slightly malty sweetness that adds a wonderful depth and complexity to the cookie dough, complementing the other bold flavors beautifully.
If you don’t have malted milk powder readily available in your pantry, there’s no need to make a special trip to the store. Powdered coffee creamer makes a surprisingly effective and delicious substitute, offering a similar creamy richness and a touch of sweetness that will still contribute nicely to the cookie’s unique taste.
Let’s Connect!
If you’ve tried this fantastic recipe and loved it, we’d be thrilled to hear from you! Please let us know how you liked it in the comments below and don’t forget to leave a review – your feedback means the world to us!
And don’t be shy – make sure to tag us – @sugarandsoulco – on Instagram and Pinterest with your beautiful photos of these cookies. You can also join our Sugar & Soul Show-offs Community on Facebook and share them there, where you can participate in our fun recipe challenges!

Compost Cookies
Ingredients
- 14 tablespoon unsalted butter sliced into tablespoons and divided
- 1¾ cup all-purpose flour spooned and leveled
- 1 tablespoon coffee grounds not espresso powder
- 1 tablespoon malted milk powder optional
- 1 teaspoon salt
- ½ teaspoon baking soda
- ½ cup granulated sugar
- ¾ cup dark brown sugar packed
- 2 teaspoons vanilla extract
- 1 large egg room temperature
- 1 large egg yolk room temperature
- ½ cup mini semi-sweet chocolate chips
- ½ cup white chocolate chips
- ½ cup pretzel pieces
- ½ cup roughly crushed potato chips
- ½ cup 1-minute oats
Instructions
-
Preheat oven to 375°F (190°C). Line a baking sheet with parchment paper and set aside. For best results, use two baking sheets and rotate them for different batches. Placing fresh dough on a hot cookie sheet can slightly alter the cookie’s structure and spread.
-
Remove the butter from the refrigerator and let it sit at room temperature for about 15 minutes before you begin using it.14 tablespoon unsalted butter
-
In a medium bowl, whisk together the all-purpose flour, coffee grounds, malted milk powder (if using), salt, and baking soda until well combined. Set this dry mixture aside.1¾ cup all-purpose flour, 1 tablespoon coffee grounds, 1 teaspoon salt, ½ teaspoon baking soda, 1 tablespoon malted milk powder
-
Add 10 tablespoons of the butter to a skillet and melt over medium heat. Continue cooking and stirring frequently for 2 to 3 minutes, or until small brown bits begin to form at the bottom of the pan, the top becomes foamy, and a distinct nutty aroma develops. Remove the skillet from the heat and immediately stir in the remaining 4 tablespoons of butter until completely melted. Transfer the brown butter mixture to a large heat-safe mixing bowl or the bowl of a stand mixer fitted with a whisk attachment.
-
Add both the granulated sugar and dark brown sugar, along with the vanilla extract, to the brown butter. Mix until all ingredients are thoroughly combined and no lumps remain.½ cup granulated sugar, ¾ cup dark brown sugar, 2 teaspoons vanilla extract
-
Incorporate the large egg and the additional egg yolk into the butter and sugar mixture. Whisk for 30 seconds. Allow the mixture to rest for 3 minutes, then whisk again for another 30 seconds. Repeat this resting and whisking process for two more rounds. By the end, the batter should appear smooth, thick, and wonderfully shiny, resembling a luscious caramel sauce. This crucial step creates an incredibly chewy cookie.1 large egg, 1 large egg yolk
-
Using a rubber spatula or the paddle attachment of your stand mixer, gradually mix the prepared dry ingredients into the wet ingredients for about 1 minute. At this stage, the dough will appear very soft, which is completely normal for this recipe; you do not need to chill it.
-
Gently fold in the mini semi-sweet chocolate chips, white chocolate chips, pretzel pieces, roughly crushed potato chips, and 1-minute oats. Mix just until they are evenly distributed throughout the dough, being careful not to overmix.½ cup mini semi-sweet chocolate chips, ½ cup white chocolate chips, ½ cup pretzel pieces, ½ cup roughly crushed potato chips, ½ cup 1-minute oats
-
Portion the cookie dough using a large cookie scoop (approximately ¼ cup per scoop). Drop the scoops of dough onto the prepared baking sheet, ensuring they are spaced about 3 inches apart to allow for spreading. For an enhanced, more finished bakery-style look, gently press additional chocolate chips, a whole pretzel, or a few potato chip pieces onto the top of each dough ball before baking.
-
Bake for 8 to 9 minutes, rotating the baking sheet halfway through the baking time to ensure even cooking. Remove the cookies from the oven when the edges are set and lightly golden, but the centers still appear slightly soft and gooey. Allow the cookies to cool for 3 minutes directly on the baking sheet before carefully transferring them to a wire rack to cool completely. This resting period helps them set and prevents them from breaking.
Notes
- It is crucial not to brown all of the butter, as this would significantly alter the recipe’s intended outcome. Ensure that only 10 tablespoons are browned, and the remaining 4 tablespoons are merely melted, not cooked to the point of clarifying or browning.
- Slicing the butter into tablespoons before melting helps it to melt faster and more evenly, contributing to a consistent brown butter.
- This recipe is designed to make large, indulgent cookies, each approximately 4 inches across. If you prefer smaller cookies, use a medium cookie scoop and reduce the baking time to 6 to 7 minutes.
- Malted milk powder is an optional ingredient that adds a delightful depth of flavor to the cookies. While not essential for their structure, it enhances the overall taste. Powdered coffee creamer can be used as a suitable substitute if malted milk powder is unavailable.
Nutrition
Did You Make This Recipe?
Don’t forget to share it with me on Instagram @sugarandsoulco and follow on Tiktok @sugarandsoulco and Pinterest @sugarandsoulco for more!
Pin Recipe
Share Recipe
Explore More Delicious Cookie Recipes
-
Chubby Hubby Cookies
-
Butter Pecan Cookies
-
The Best Giant Chocolate Chip Cookies
-
Bakery Peanut Butter Cookies