
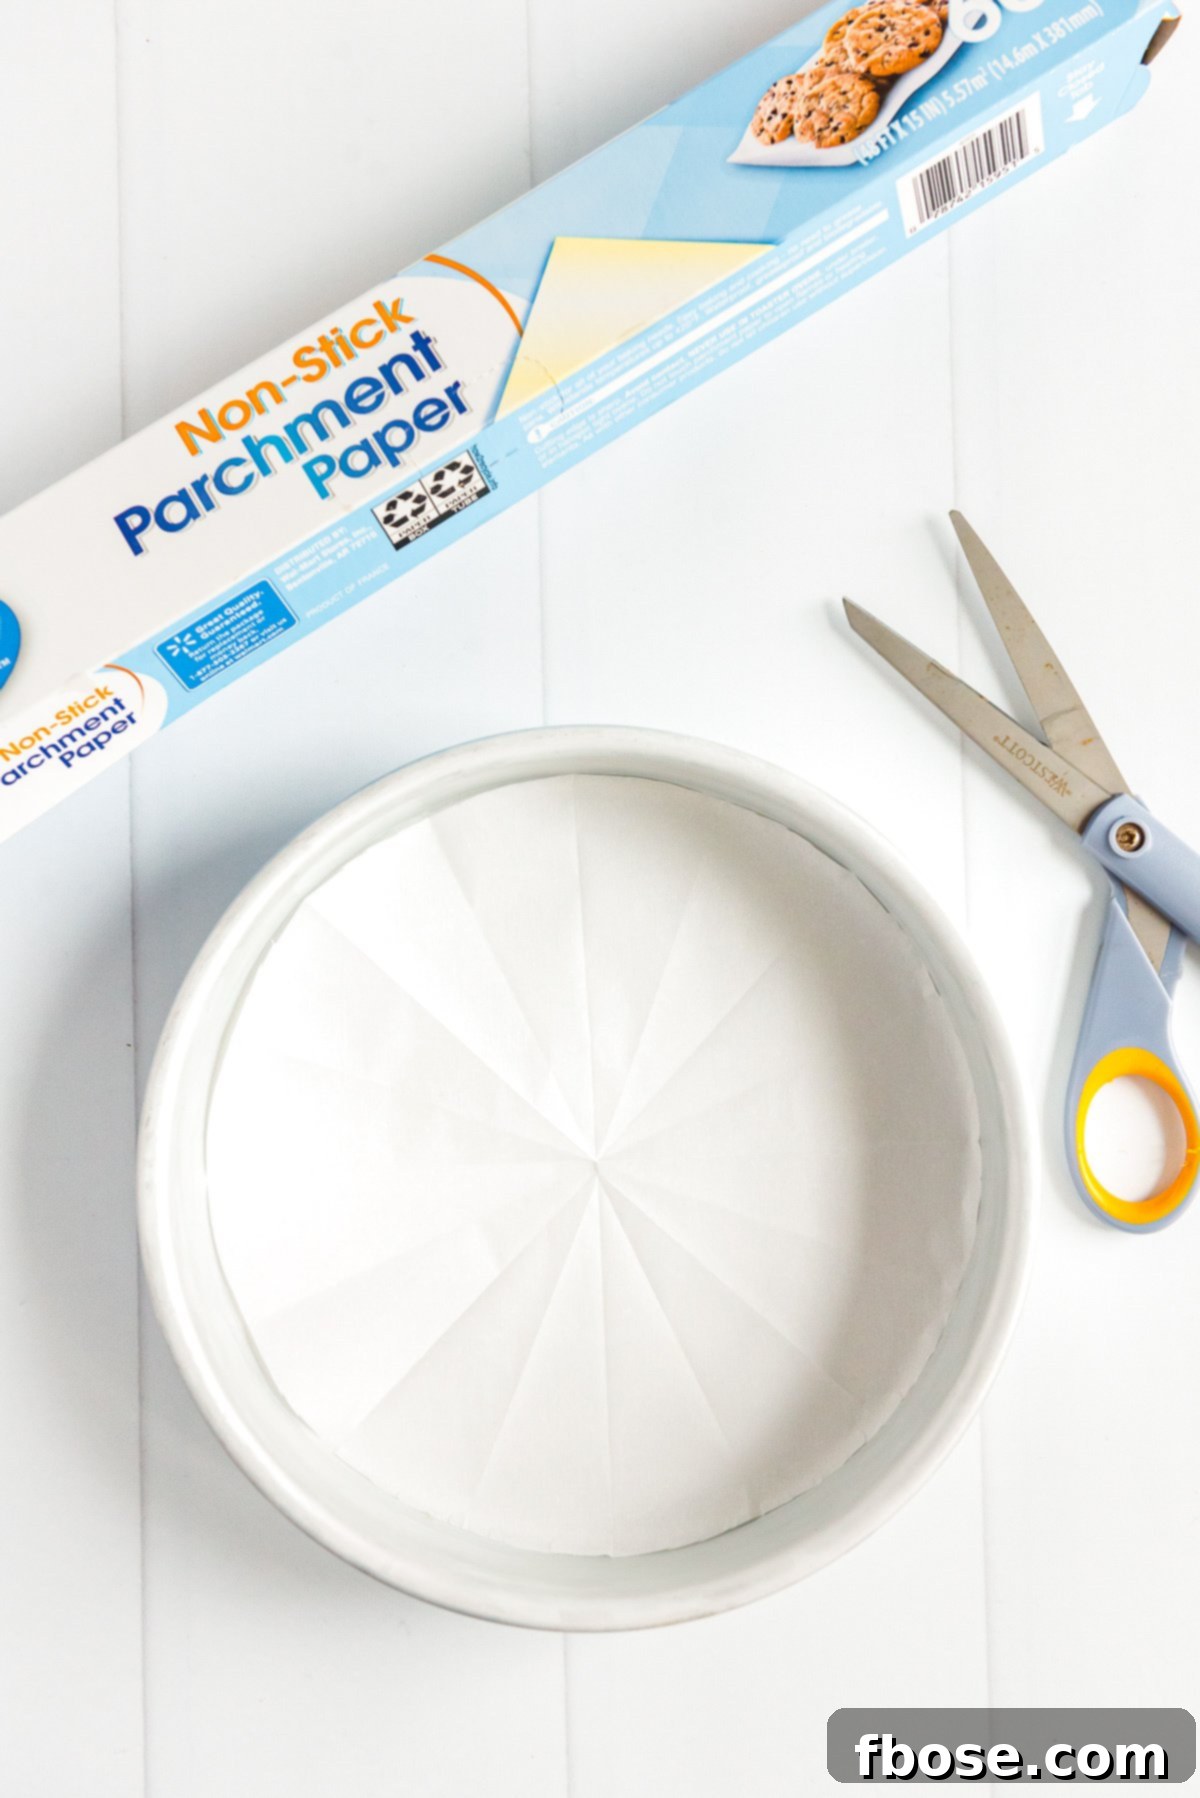
Achieving a perfectly baked cake that slides effortlessly out of its pan is every baker’s dream. Yet, the challenge of getting Parchment Paper In A Cake Pan, especially a round one, can often turn that dream into a daunting task for many. No more sticky situations or broken cake bottoms!
This comprehensive, step-by-step tutorial is your ultimate guide to mastering the art of lining any round cake pan with parchment paper. Say goodbye to baking frustrations and hello to beautifully presented, perfectly released cakes, whether you’re making a classic Chocolate Cookie Dough Cake or a delicate vanilla sponge. We’ll show you exactly how to ensure your creations come out flawless every single time.
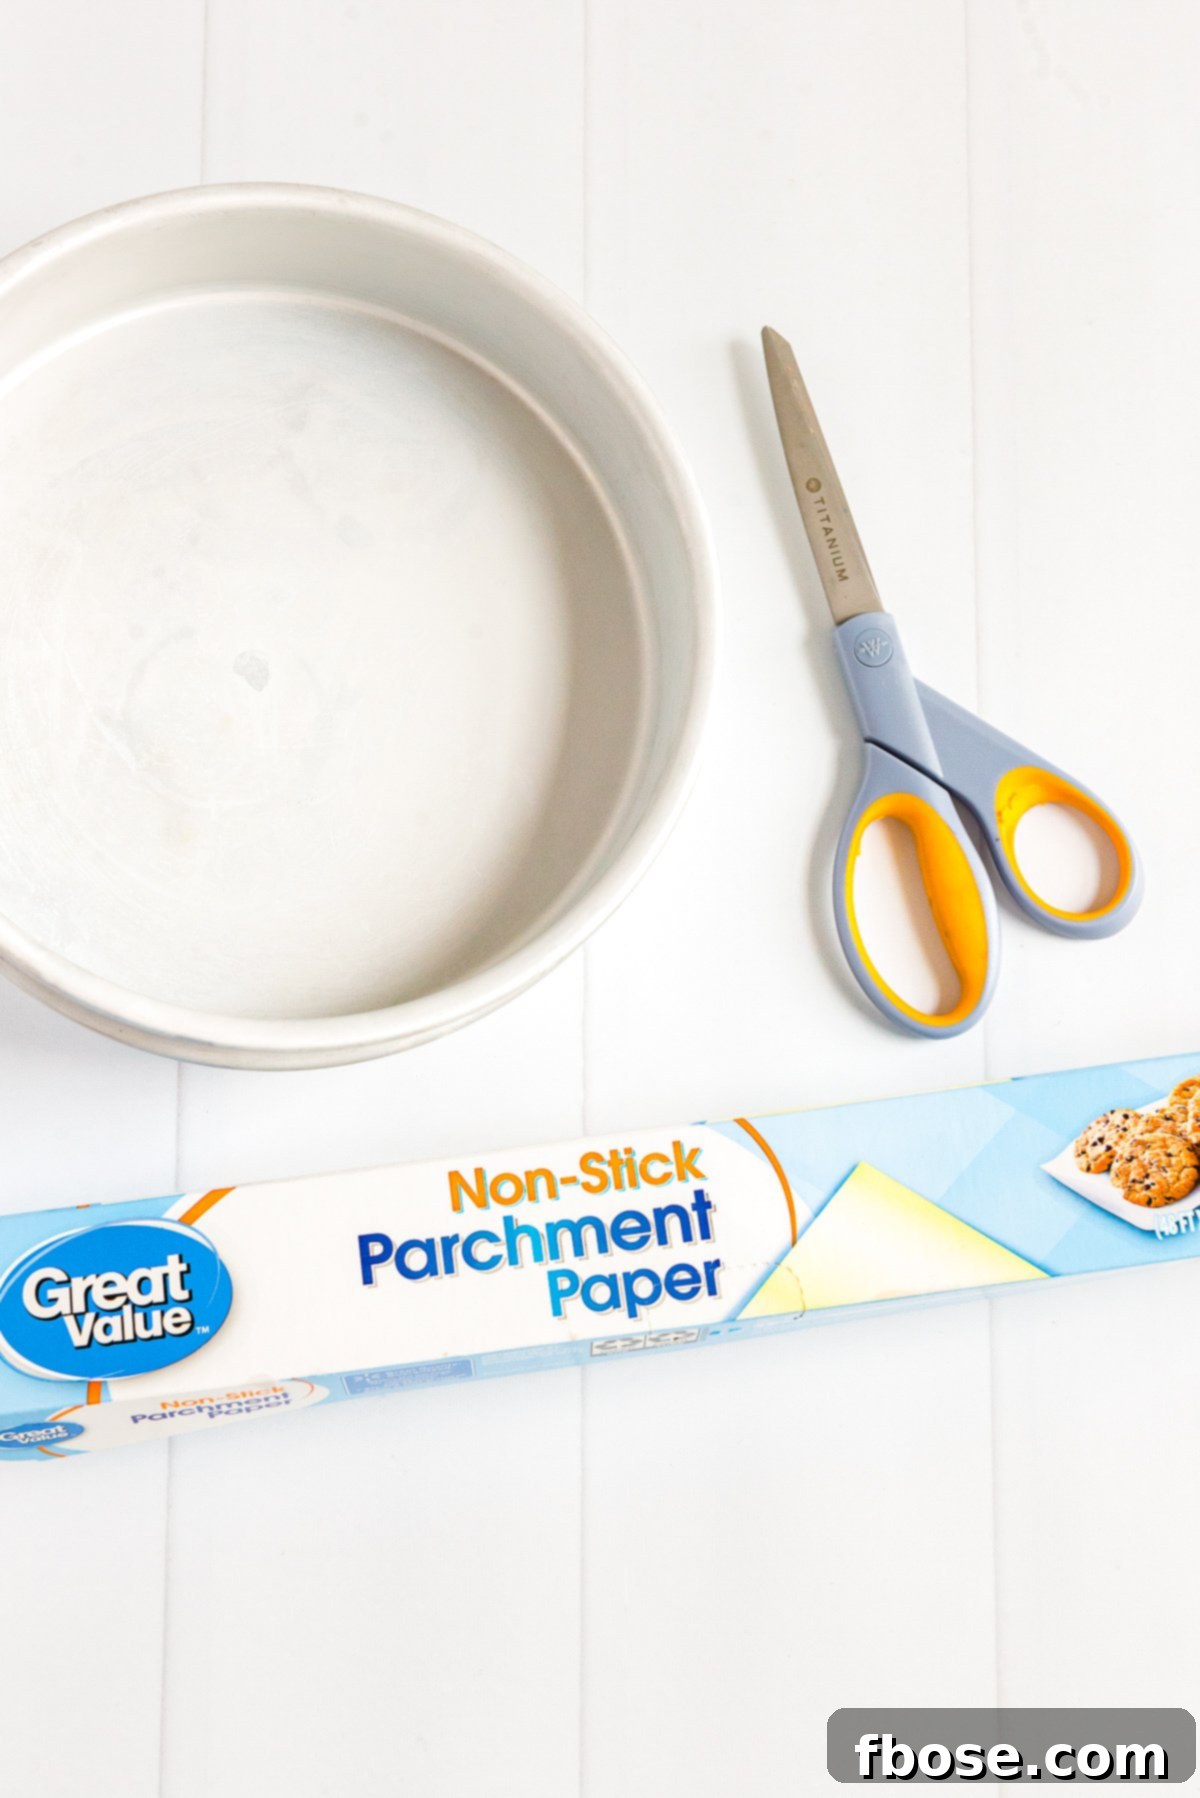
Why Lining Your Cake Pans with Parchment Paper is a Baking Game-Changer
We’ve all been there: eagerly flipping a freshly baked cake, only to have half of it cling stubbornly to the bottom of the pan, even after diligently greasing and flouring. It’s an all too common and utterly frustrating baking mishap. This heartbreaking moment can ruin an otherwise perfect cake and dampen the joy of baking.
The simple act of lining the bottom of your round cake pans with parchment paper is the ultimate solution to this universal baking dilemma. It creates an impermeable, non-stick barrier between your delicate cake and the pan’s surface, virtually eliminating any possibility of a cake sticking ever again. This small step guarantees a smooth, clean release, preserving the integrity and beauty of your baked goods.
I distinctly recall my first encounter with a recipe that explicitly called for lining a cake pan with parchment paper. I spent a good five minutes battling a stubbornly curling sheet, attempting to mold it into the round pan, only for it to repeatedly spring back out. It felt like a losing fight. Determined to conquer this kitchen challenge, I turned to online resources and discovered the elegant, simple trick that changed my baking life. Now, I’m thrilled to share this invaluable technique with all of you, ensuring your baking adventures are always successful and stress-free.
Beyond Just Non-Stick: The Unseen Benefits of Parchment Paper
While preventing sticking is the primary advantage, parchment paper offers several other significant benefits that elevate your baking experience:
- Flawless Release Every Time: This is the most obvious benefit. With parchment paper, you can confidently invert your cake, knowing it will separate cleanly from the pan.
- Even Baking: Parchment paper can help insulate the bottom of your cake, protecting it from direct, intense heat and promoting more even baking across the entire surface. This can prevent over-browning or a tough crust on the bottom.
- Effortless Cleanup: The bane of every baker’s existence is a pan caked with stubborn residue. Parchment paper dramatically simplifies cleanup, as the cake residue remains on the paper, not the pan. Simply peel, discard, and enjoy an almost pristine pan.
- Preserves Cake Integrity: No more broken edges or torn bottoms when trying to pry a cake free. Parchment ensures your cake maintains its perfect shape, crucial for layer cakes and presentation.
- Cost-Effective and Versatile: While pre-cut parchment circles exist, they often come at a higher price and might not always match your pan sizes perfectly. Learning to cut your own from a roll is far more economical and ensures you always have the right size, whether you’re using an 8-inch, 9-inch, or even a smaller 6-inch pan.
- Enhances Delicate Recipes: For delicate sponges, cheesecakes, or gluten-free recipes that are prone to sticking, parchment paper acts as an indispensable safety net, providing extra assurance.
How To Perfectly Line A Round Cake Pan With Parchment Paper
This method is incredibly simple and takes less than two minutes once you get the hang of it. It’s an essential technique that will save you from constantly worrying if you’ve adequately greased your pan or if your precious cake will emerge intact. Let’s get started on mastering this fundamental baking skill.
-
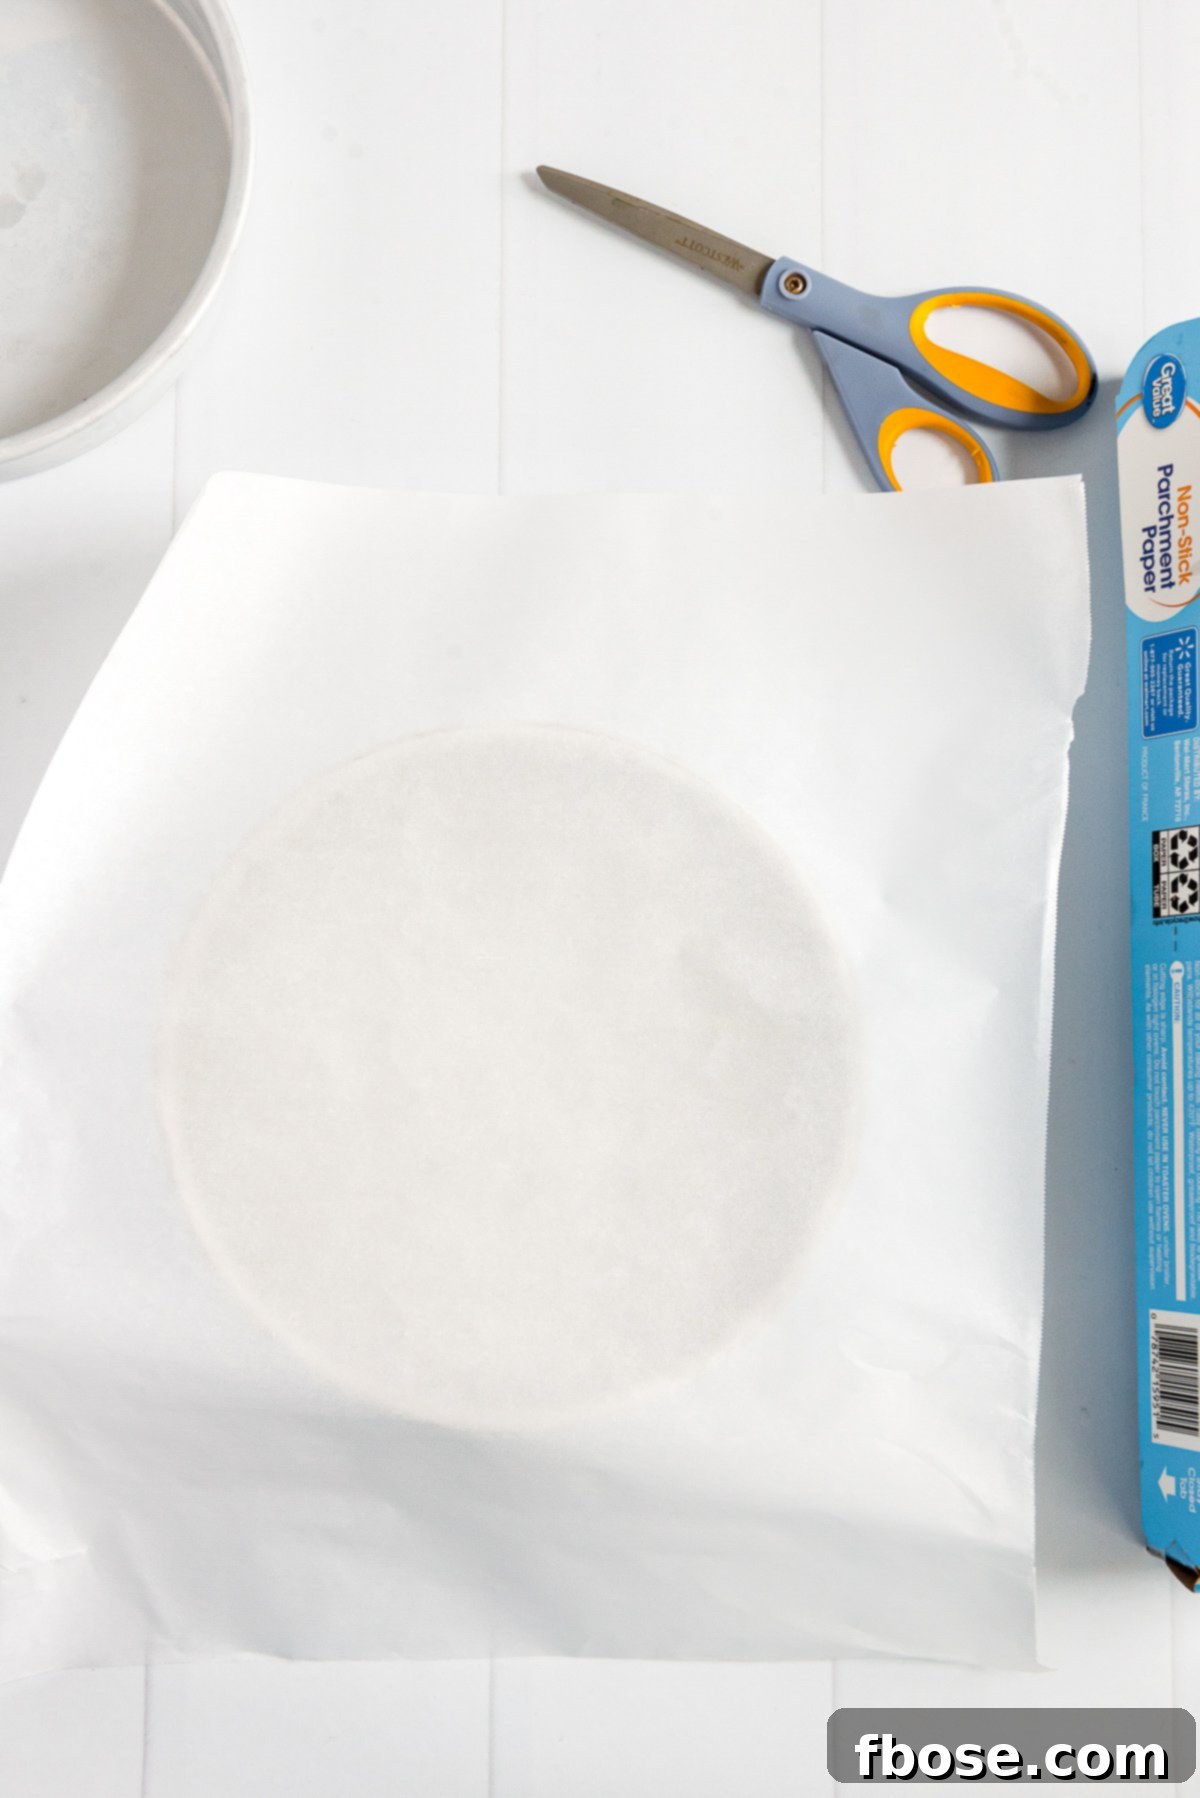
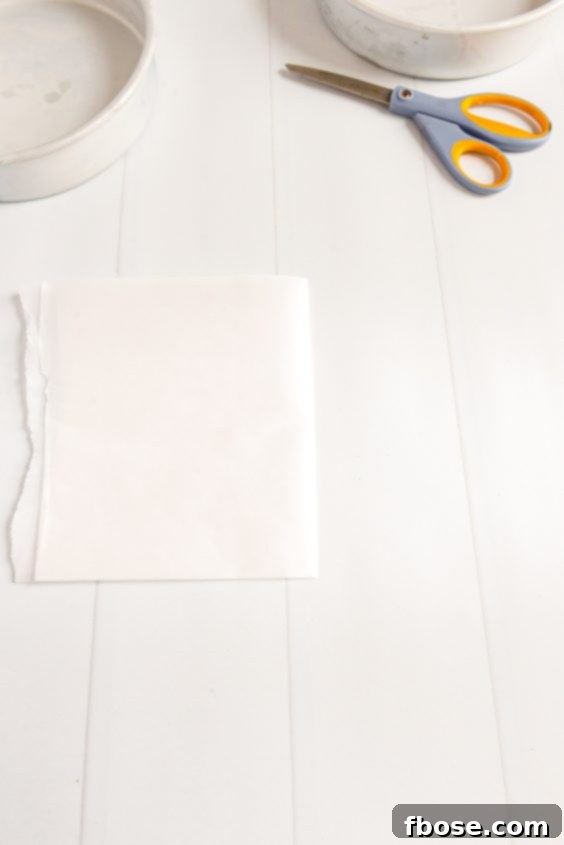
Prepare Your Parchment Paper: Begin by tearing a piece of parchment paper from the roll. Make sure it’s generously sized, significantly larger than the cake pan you intend to line. An easy way to estimate is to place your pan on the paper and ensure there’s at least a few inches of overhang on all sides. This extra paper will give you ample material to work with during the folding and cutting process.

-
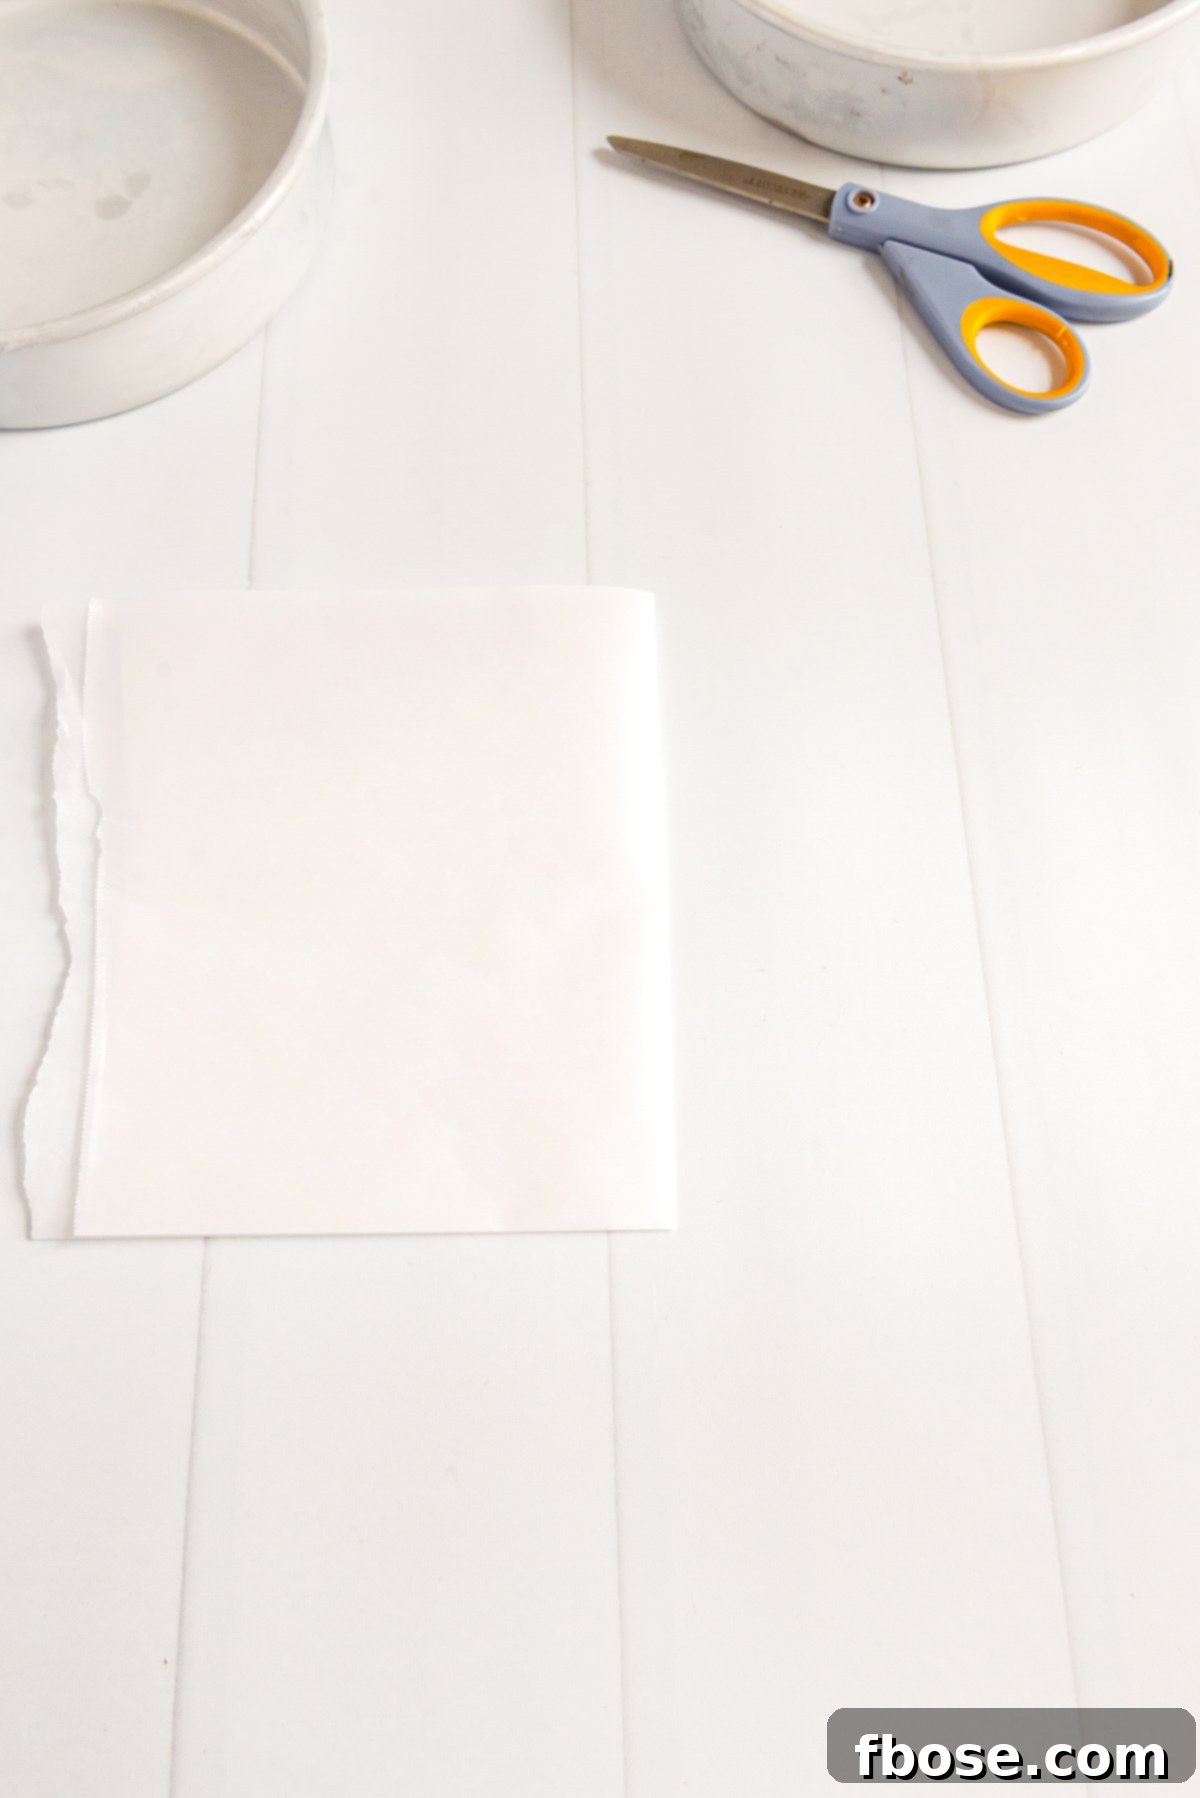
First Fold: In Half: Take your oversized piece of parchment paper and fold it in half. Aim for a neat, straight fold. This initial fold helps you find the center point of your paper and makes subsequent folds more manageable and accurate. It also compacts the paper, allowing for easier manipulation.
-
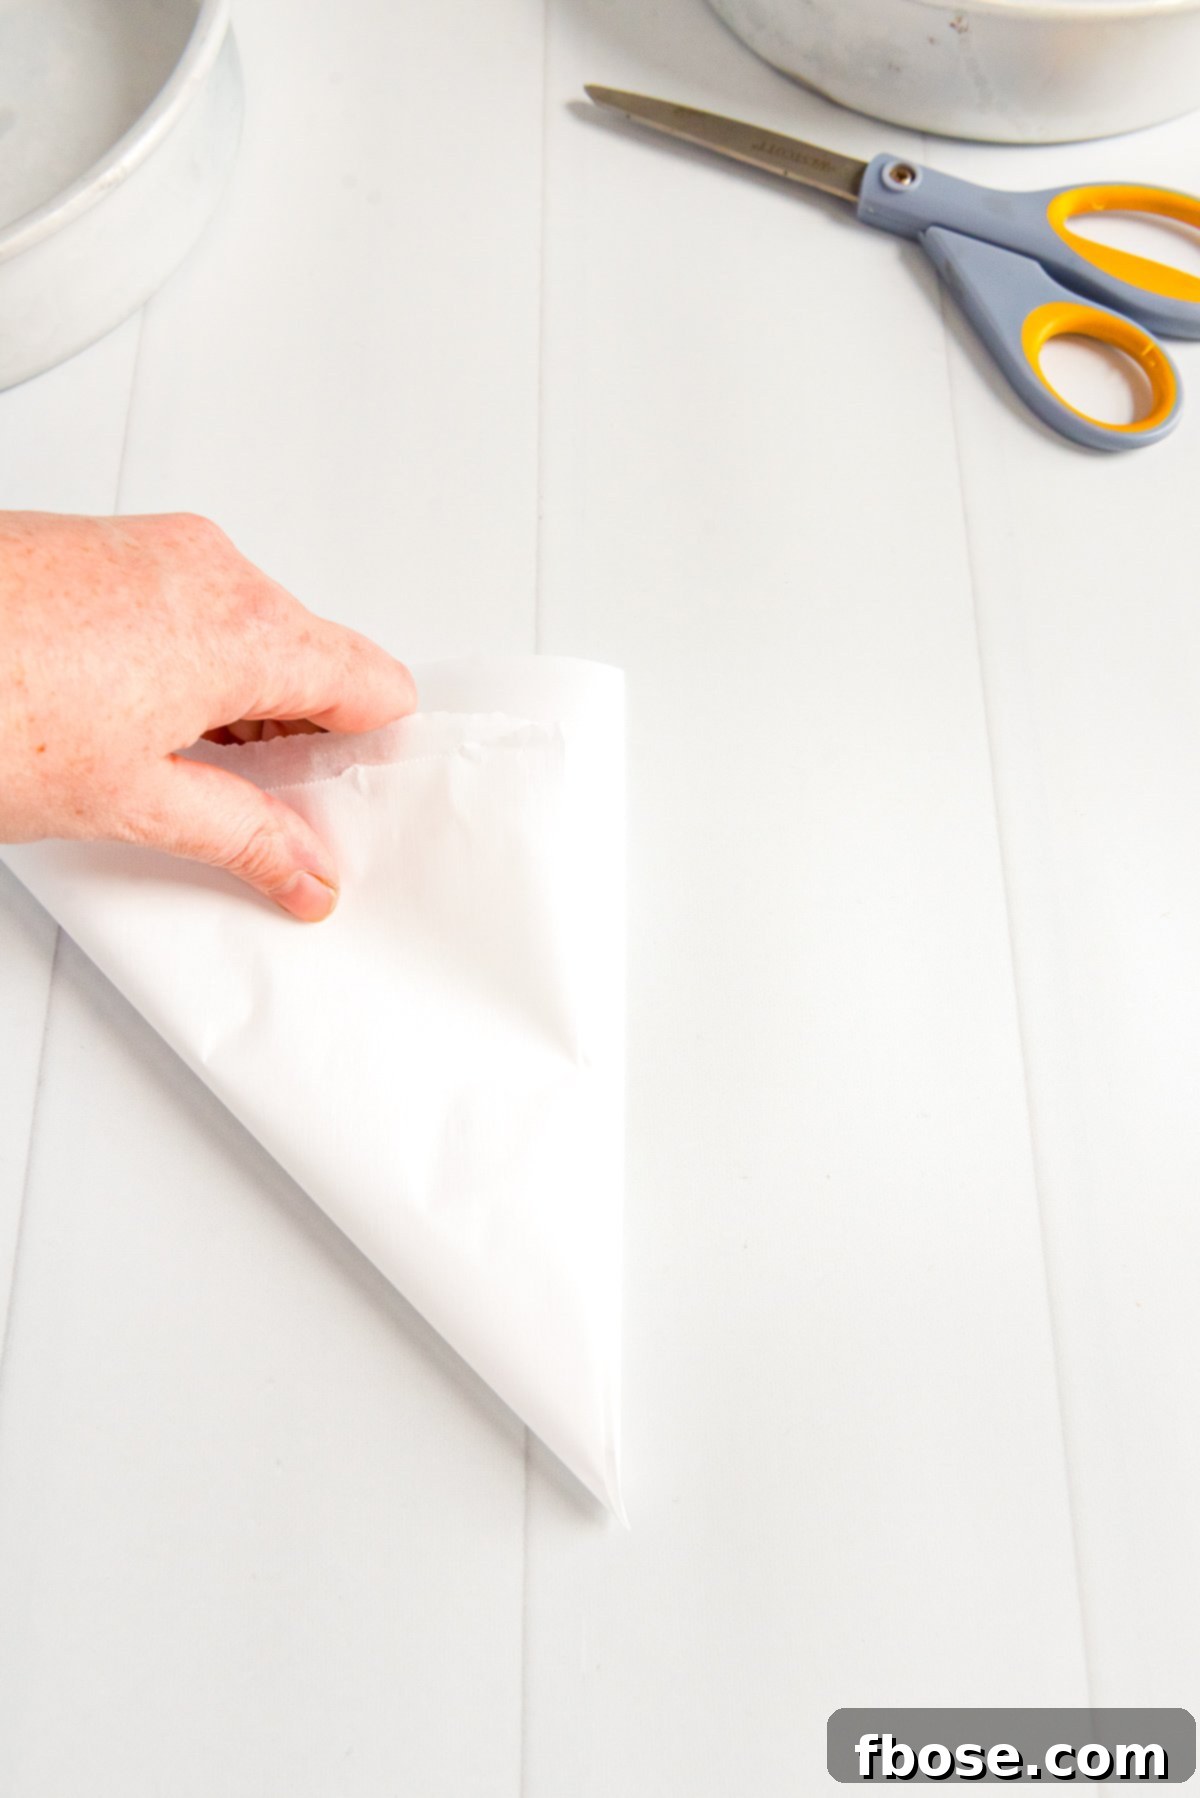
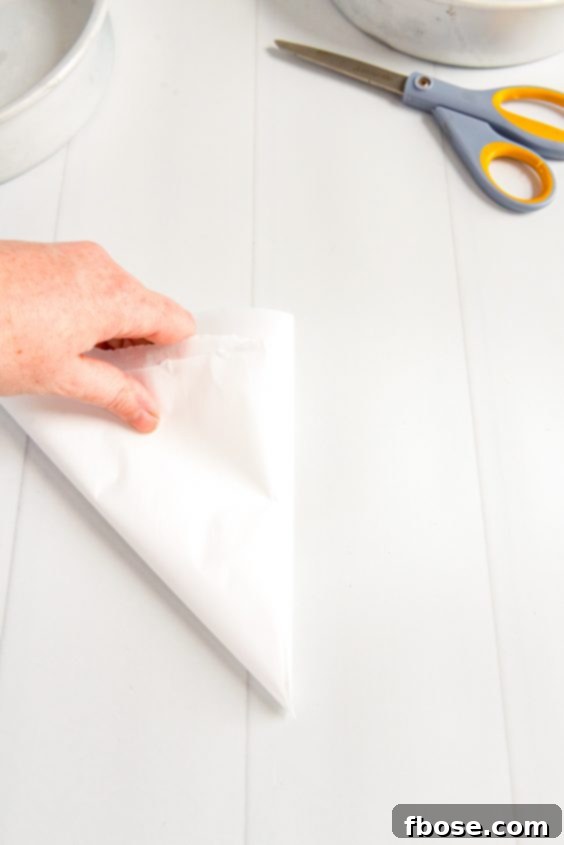
Second Fold & Creating the First Triangle: Now, fold the parchment paper in half again, but this time, fold it in the opposite direction from your previous fold. This will create a smaller square or rectangle. From this shape, fold it diagonally into a triangle. The critical detail here is to ensure that the corner where all the folds meet (the completely folded corner) becomes the sharpest point of your triangle. This point will serve as the crucial center for cutting your perfect circle.
-
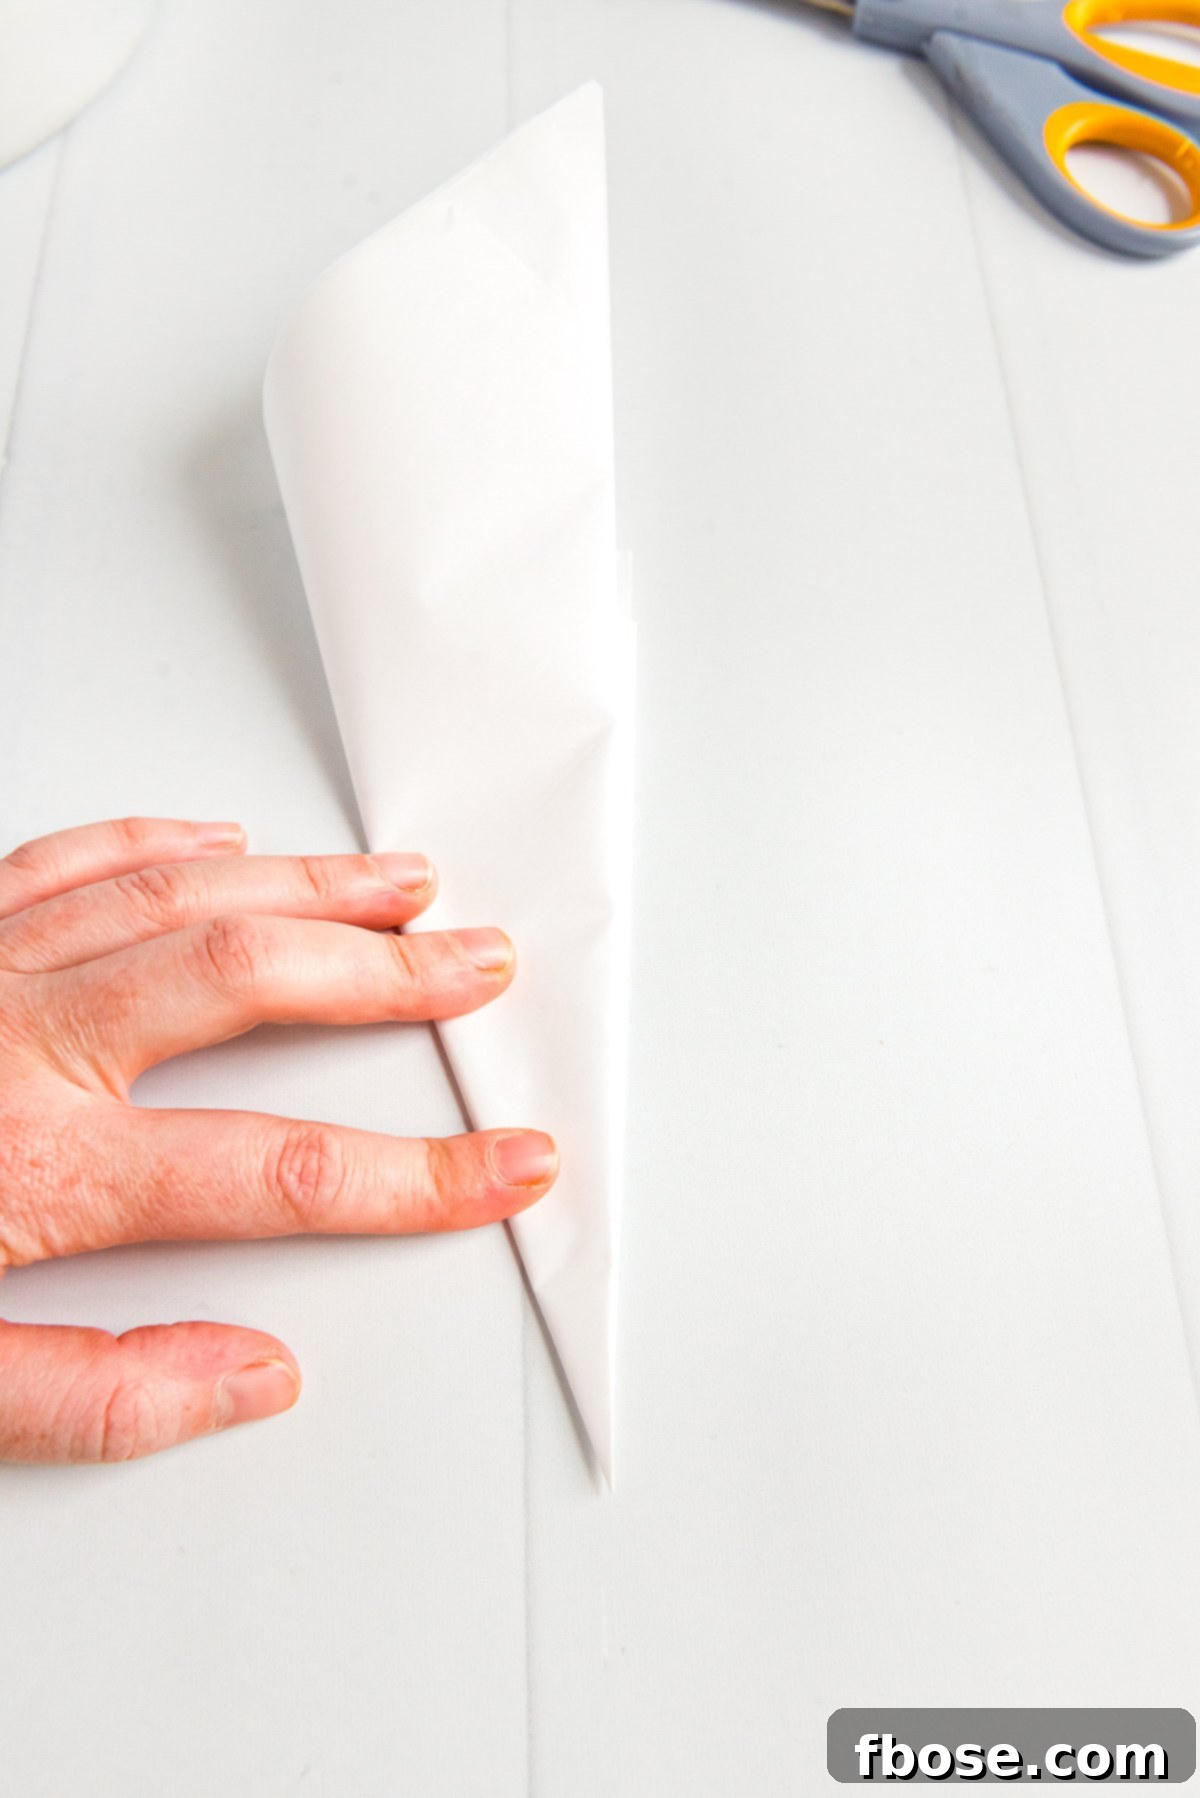
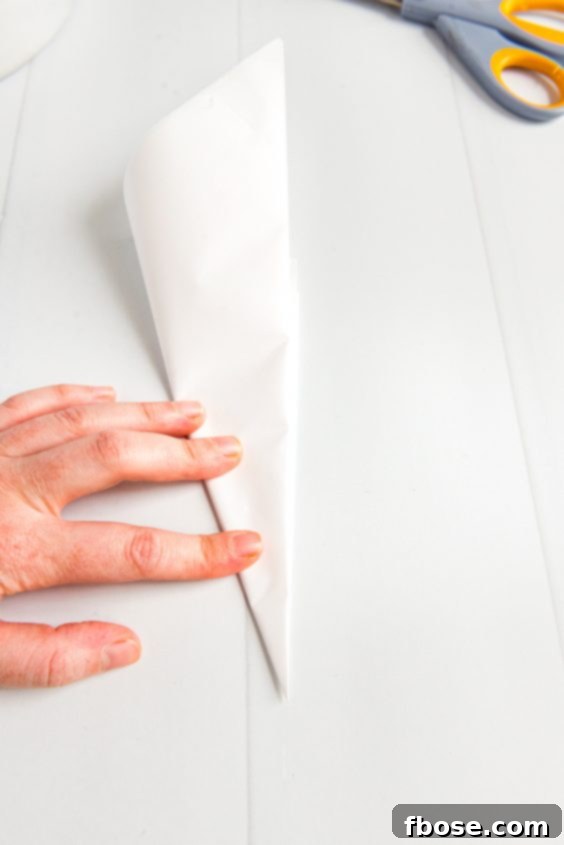
Final Fold for Precision: To achieve even greater precision for your circular cut, fold the triangle into an even smaller triangle. Take one of the outer edges and fold it towards the center fold line, making sure the edges meet cleanly. This last fold makes your cutting easier and helps ensure a perfectly symmetrical circle for your cake pan. The more accurate your folds, the more perfect your parchment circle will be.
-
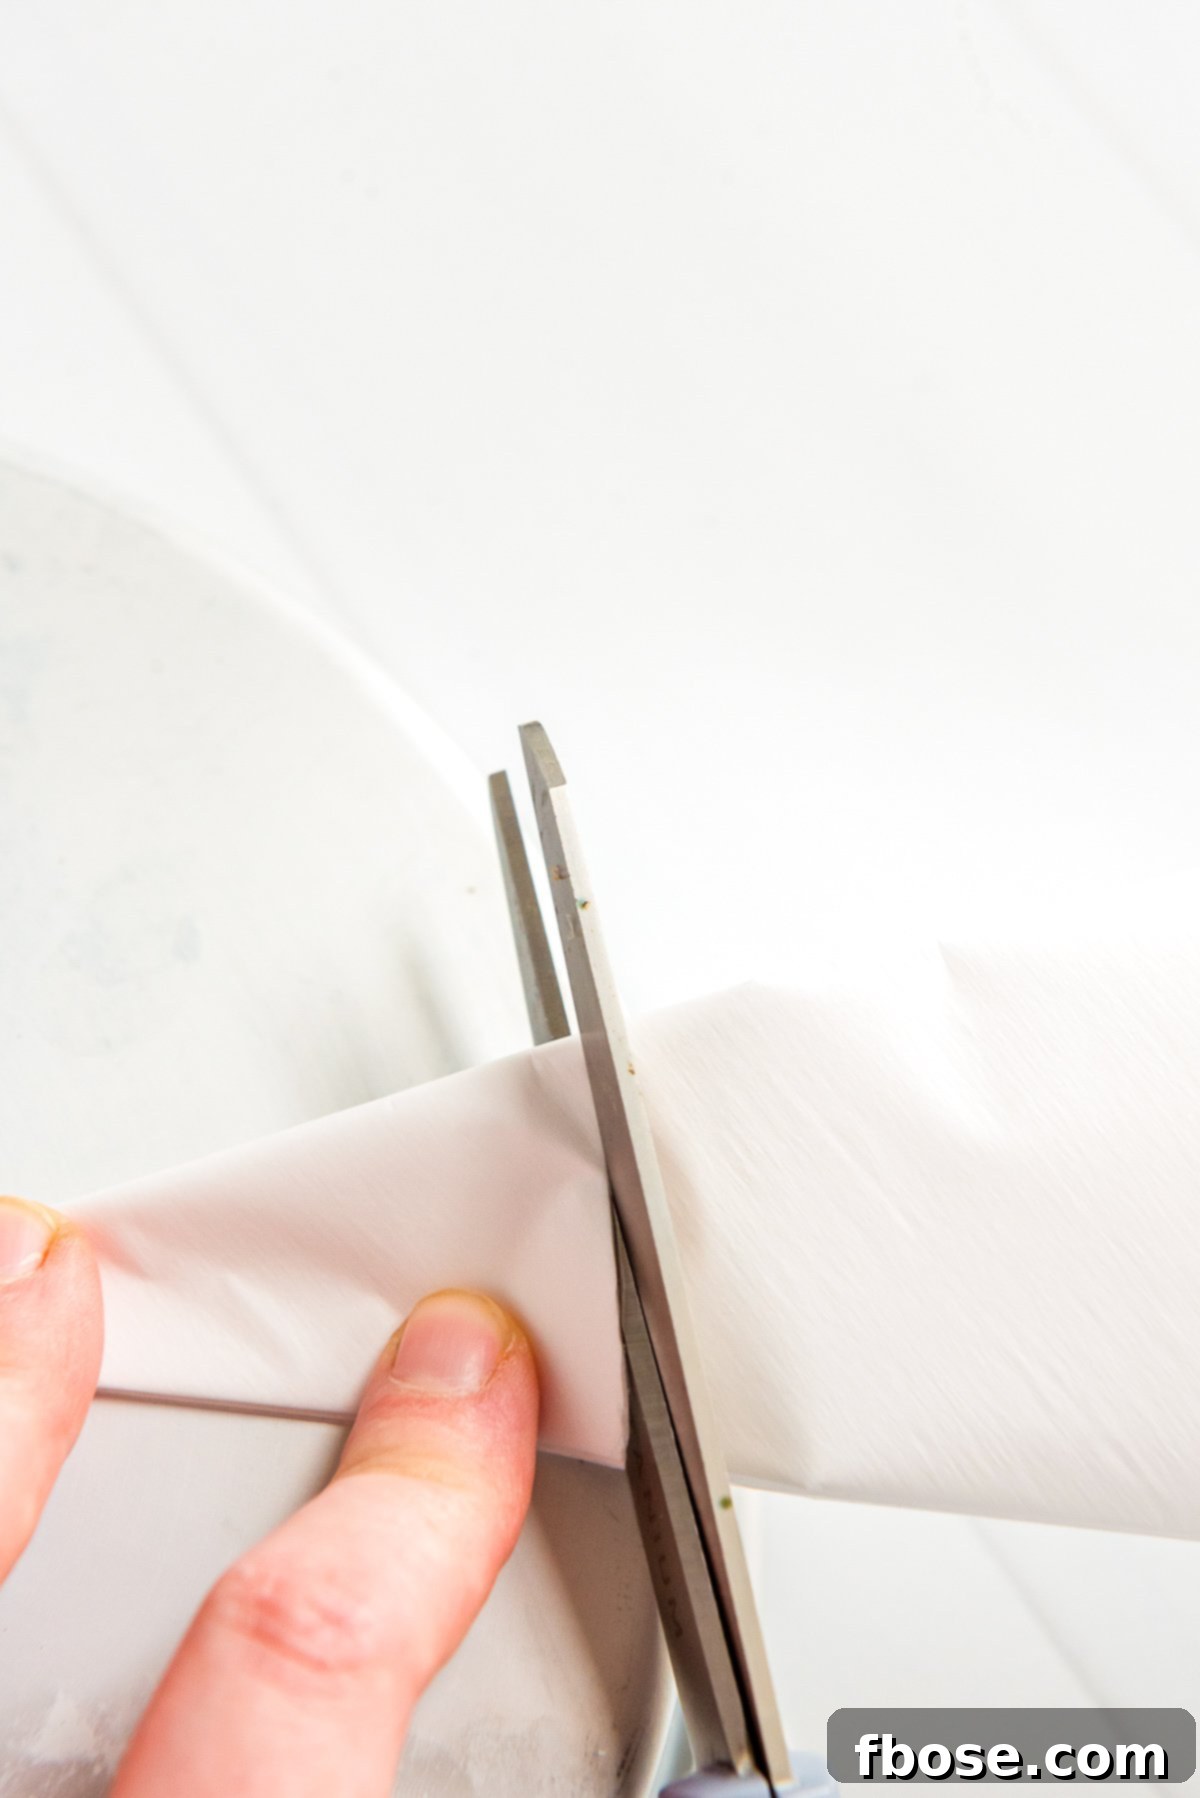
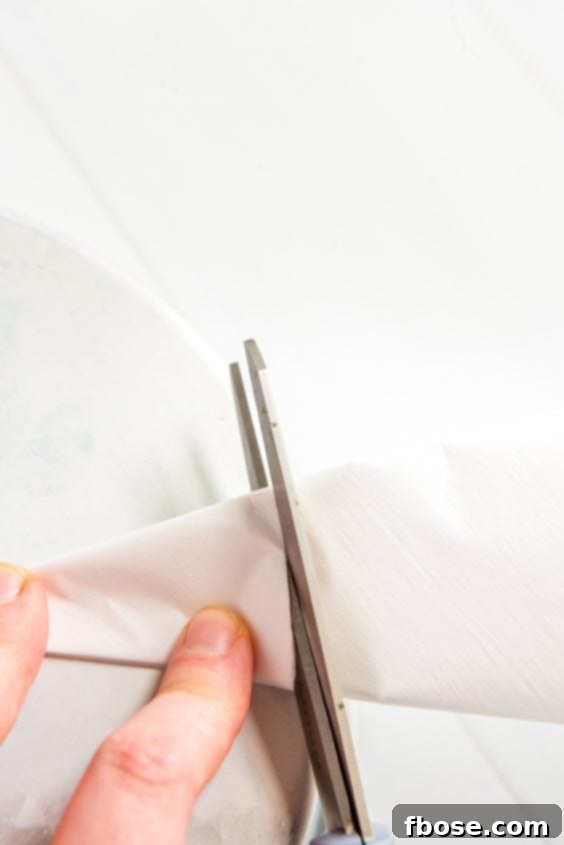
Measure and Cut Your Circle: Take your small, folded triangle and hold its pointed tip (the completely folded corner) directly against the exact center of your cake pan’s bottom. Keeping the tip at the center, rotate the paper and visualize where the edge of the pan meets the paper. With a pair of sharp scissors, cut the overhanging paper off the triangle. Make your cut about 1/4-inch *before* the outer edge of the pan. This slight margin ensures the parchment disc fits snugly without curling up the sides, allowing for an easy lift once the cake is baked.
-
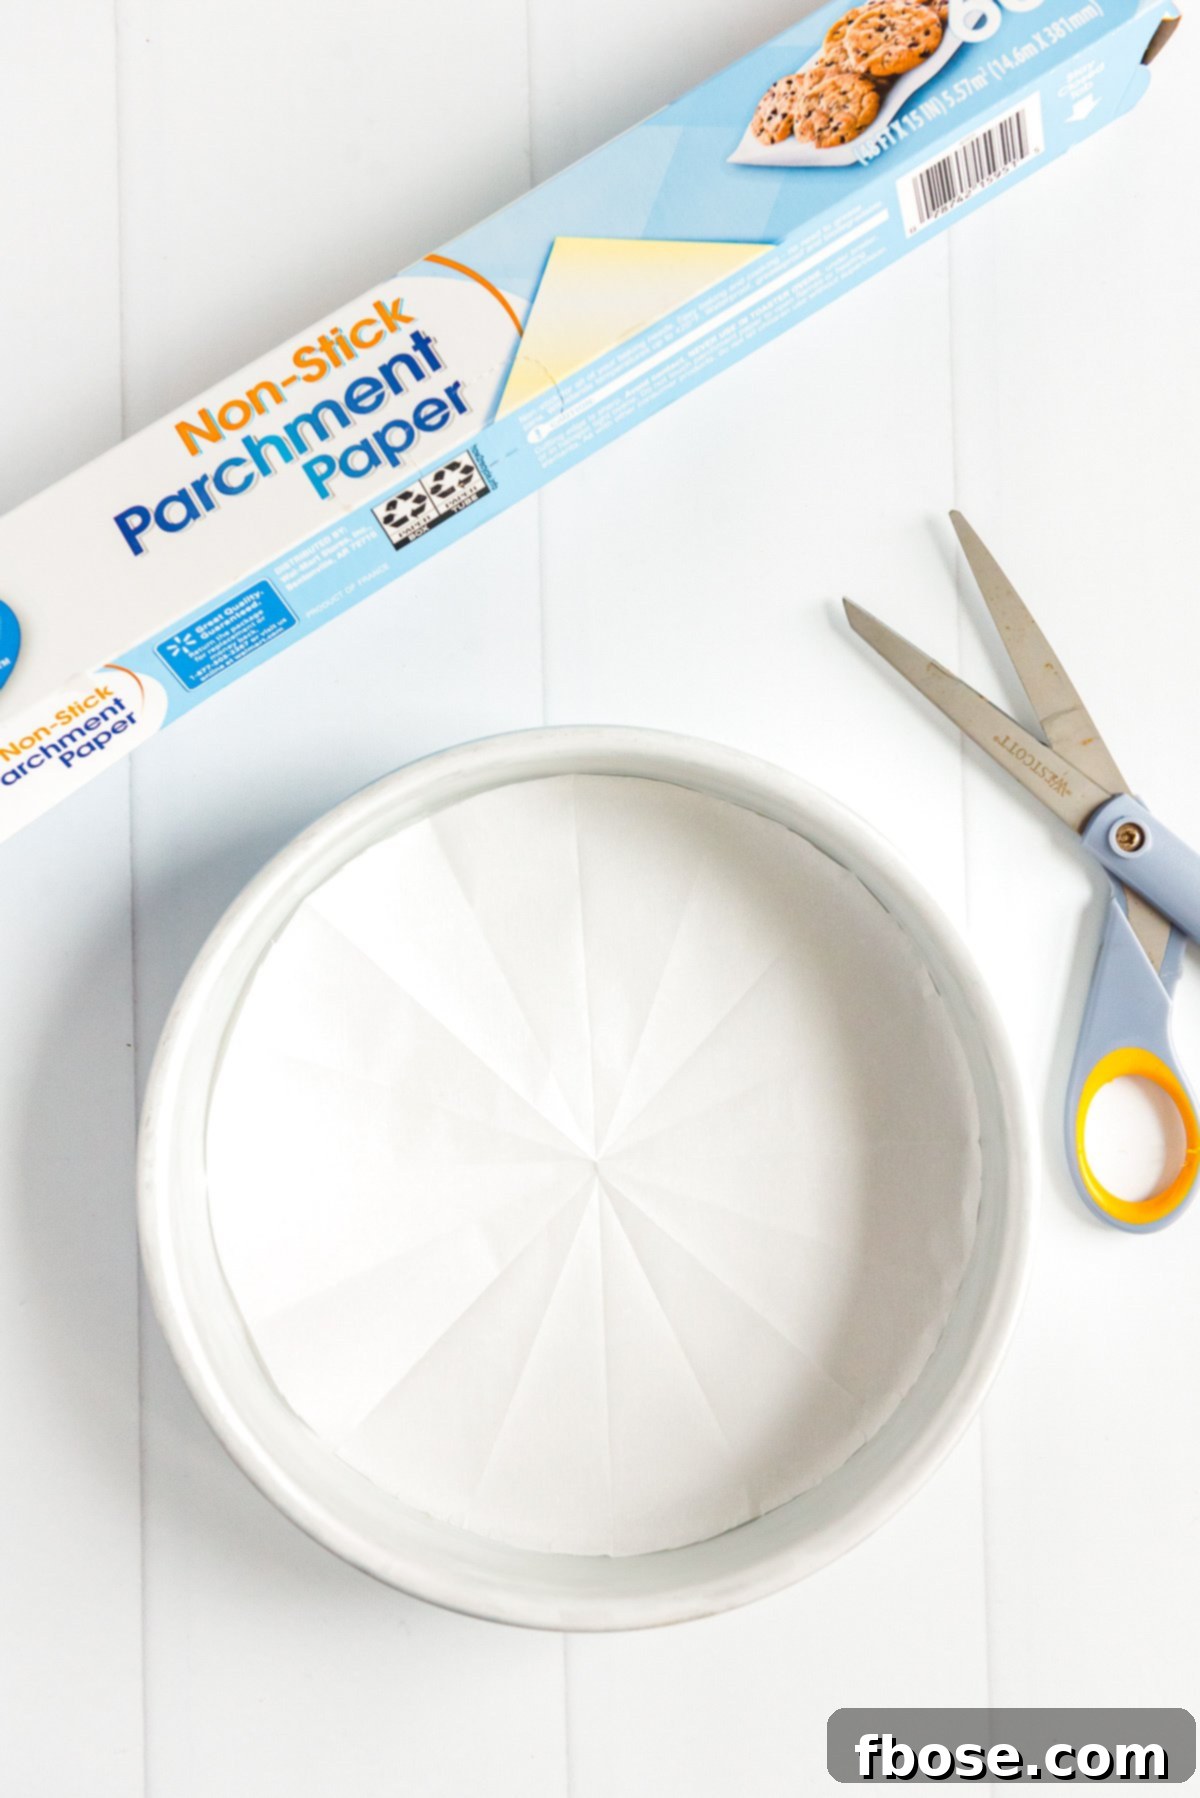
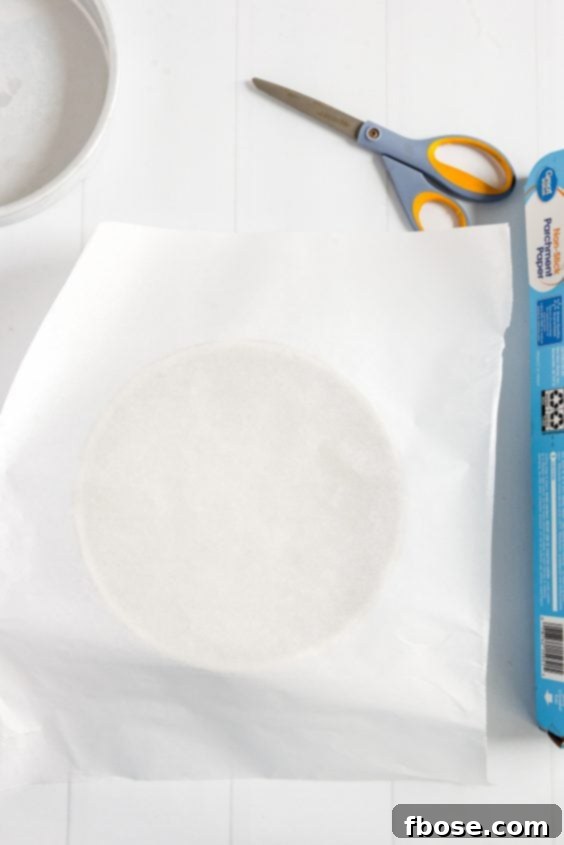
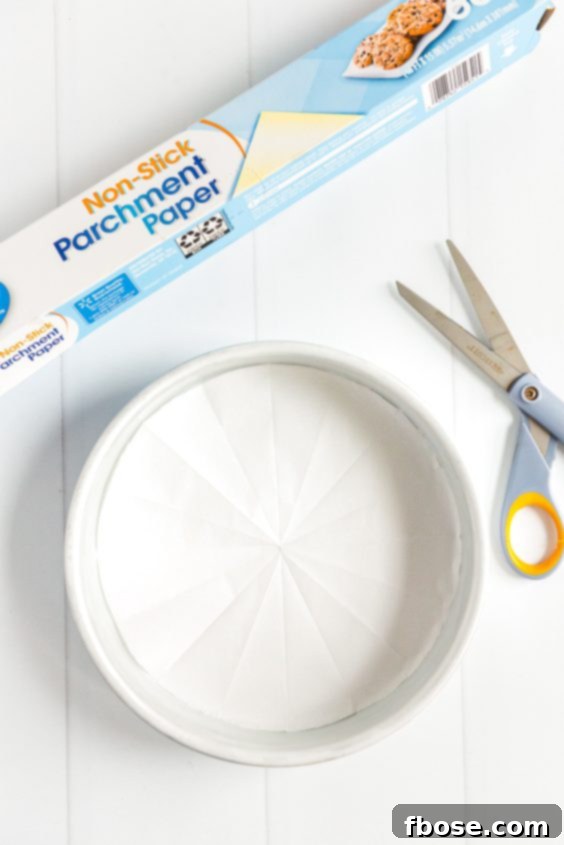
Unfold and Place: Gently unfold your perfectly cut parchment paper. You’ll reveal a flawless circle custom-made for your cake pan! Place this parchment disc inside the bottom of your cake pan. It should lay flat and fit snugly. If you’re baking a multi-layer cake, repeat this simple process for each pan you’ll be using. This ensures every layer gets the same non-stick treatment.
-
Prepare the Pan for Batter: For ultimate non-stick insurance and to help the parchment stay put, lightly spray your parchment-lined cake pan with a non-stick baking spray or brush with a thin layer of butter. I also recommend spraying a tiny bit *under* the parchment paper before placing it down; this acts as an adhesive, ensuring the paper doesn’t shift when you pour in the cake batter. This dual-spray method provides unparalleled peace of mind.
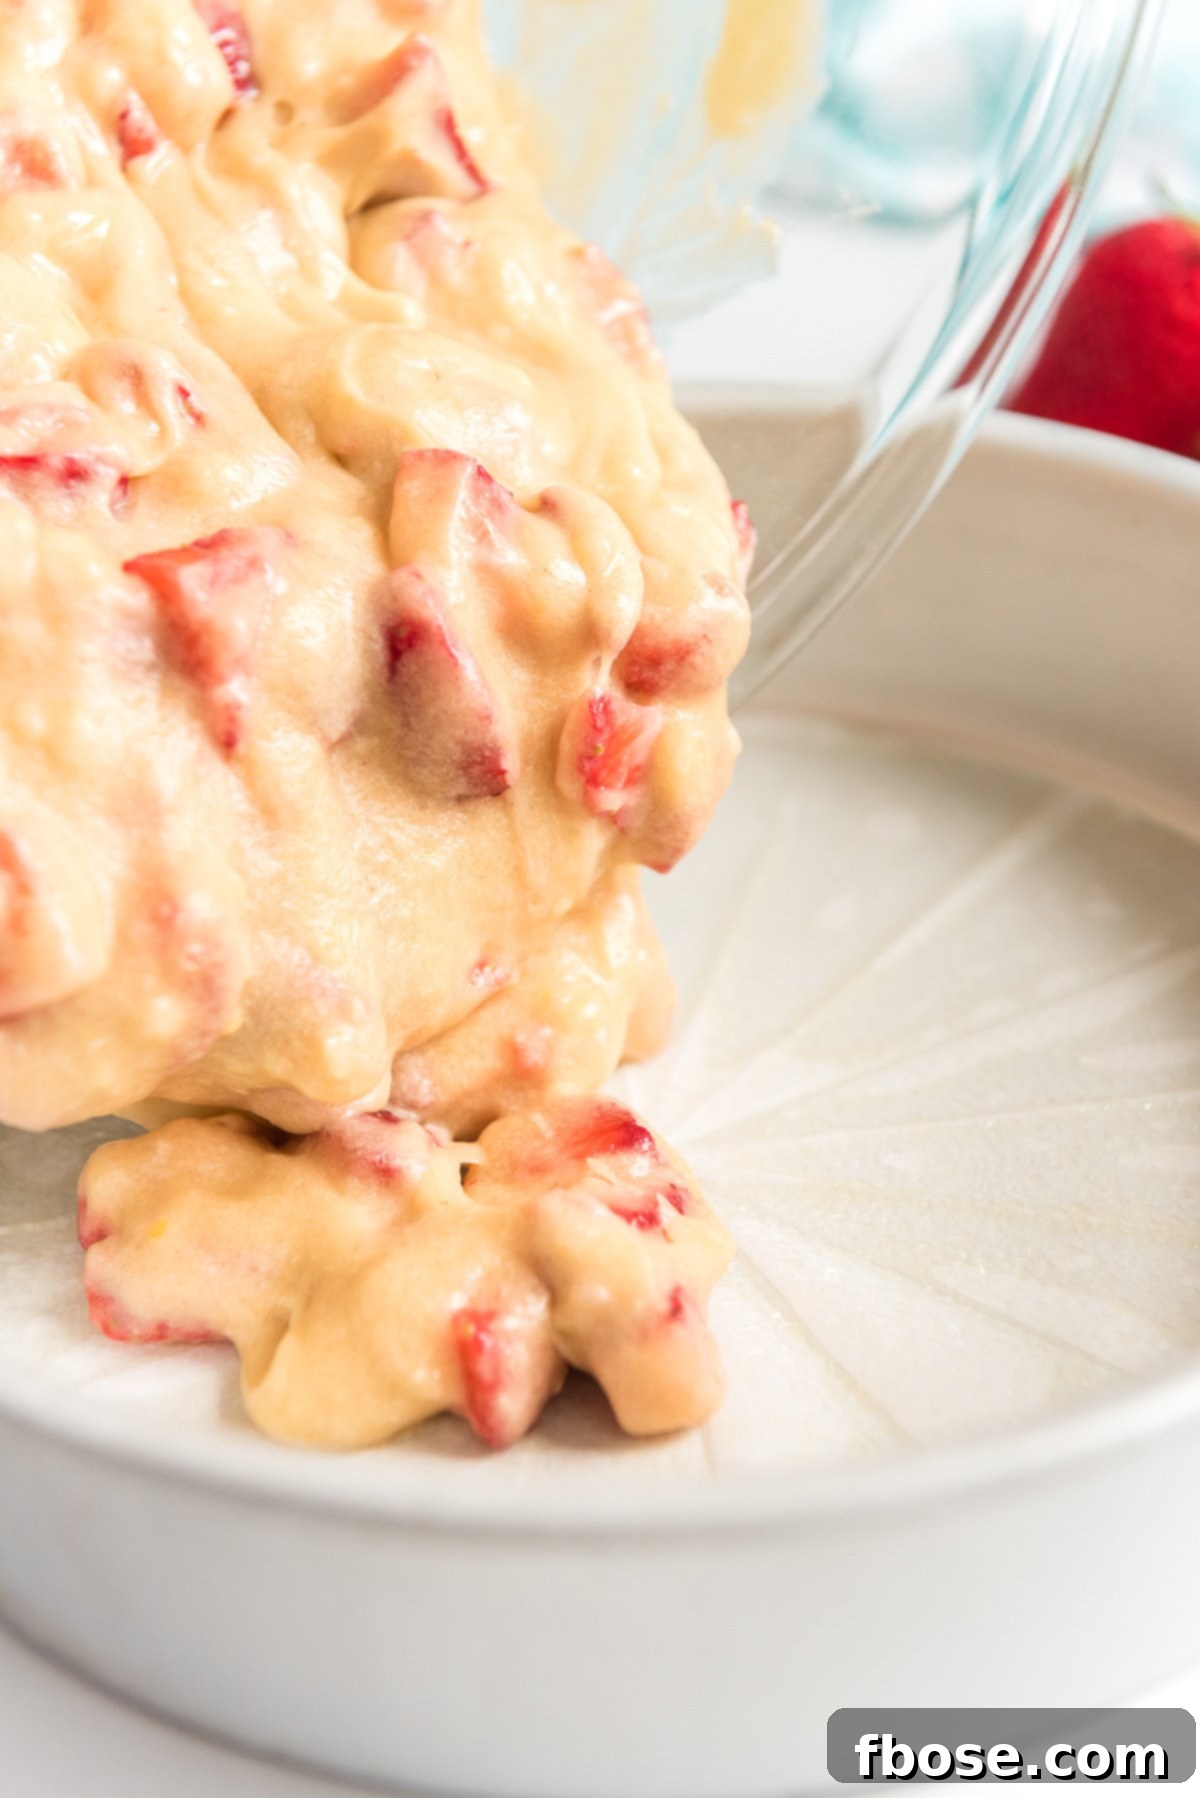
Once your cake has gloriously baked and cooled slightly, you’ll find it slides out of the pan with incredible ease. Simply invert the pan, and the cake, still resting on its parchment paper base, will detach effortlessly. Then, you can simply peel off and discard the parchment paper, revealing a beautifully untouched cake bottom.
See how wonderfully simple and effective that was? This method is not only incredibly easy but also significantly more economical than purchasing pre-cut round parchment paper discs. Plus, it guarantees you’ll always have the perfect size for any round cake pan you own, without having to stock multiple specific sizes.
Essential Baking Insights: Tips for Success
Parchment Paper vs. Wax Paper: Know the Difference
It’s crucial not to confuse parchment paper with wax paper, as they are distinctly different and not interchangeable for baking in high heat. Wax paper has a thin wax coating that will melt and burn when exposed to oven temperatures, potentially ruining your cake and creating a mess. Parchment paper, on the other hand, is treated with a silicone coating, making it heat-resistant, non-stick, and ideal for baking. Always double-check the box to ensure you’re using parchment paper for this technique!
Lining Square and Rectangular Pans
While this tutorial focuses on round pans, lining square or rectangular pans with parchment paper is even simpler! Just measure and cut a strip of parchment paper that covers the bottom and extends up two opposite sides, creating ‘handles’ for easy lifting. For extra security, you can cut another strip for the other two sides, or simply grease and flour those. This also guarantees a clean release and makes lifting the entire cake out of the pan a breeze.
Choosing the Right Parchment Paper
Parchment paper comes in various brands, bleached (white) and unbleached (brown) options, and sometimes different thicknesses. For general baking, any good quality parchment paper will work perfectly. Unbleached parchment is a great choice if you prefer fewer chemicals, though both types are safe for baking. Investing in a wider roll (like 15-18 inches) ensures you can easily accommodate larger cake pans without having to piece paper together.
Troubleshooting: When Things Still Go Wrong
Even with parchment paper, sometimes a cake might stick. If this happens, consider these factors:
- Over-baking: An over-baked cake can dry out and adhere more firmly to surfaces.
- Insufficient Greasing: While parchment is non-stick, a light spray or grease on top of the parchment, and especially underneath to adhere it to the pan, provides an extra layer of protection.
- Cooling Too Much in the Pan: While some cooling is good, leaving certain cakes in the pan for too long can sometimes cause them to stick as sugars cool and solidify.
Now that you’re equipped with this essential baking hack, what other kitchen tips or culinary techniques would you like me to share? Your perfect baking journey has just begun!
More Delicious Cake Recipes to Try:
- Blueberry Cake
- Strawberry Cake
- Nutella Cake
- Football Cake
- Chocolate Chip Cookie Dough Cake
- Boston Cream Pie
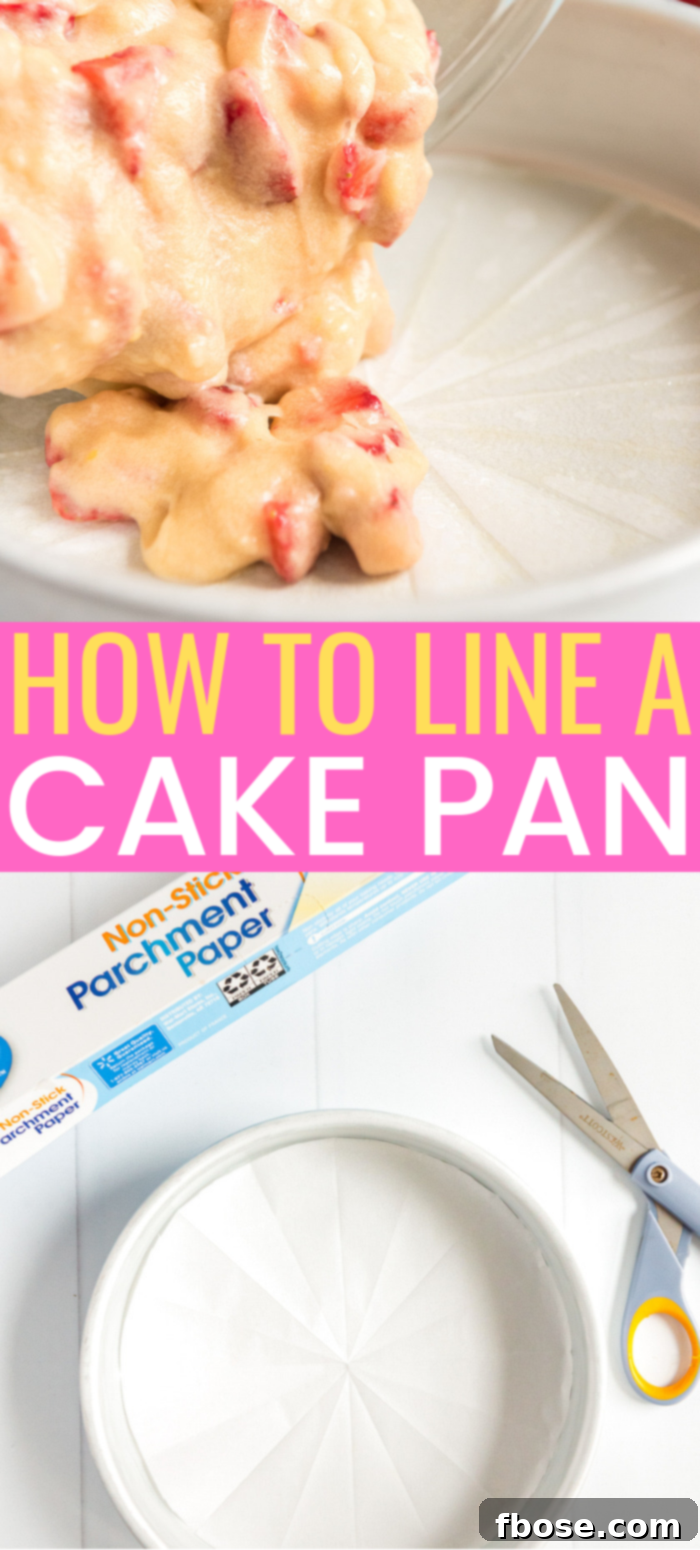
How To Line A Cake Pan With Parchment Paper – Pin It For Later!
Pin this essential baking tutorial to your Pinterest board!
Click the button above to save this invaluable baking tip for your next delicious creation!
Let’s Connect and Share Your Baking Success!
I’ve created a fun and supportive baking community on Facebook, and I would absolutely love for you to join us! It’s a fantastic space where you can ask questions, share your baking triumphs, and stay up-to-date with all the new recipes and tips from Sugar & Soul! If you’d like to check it out and become part of our growing community, you can request to join HERE.
Don’t forget to follow me on Instagram and tag #sugarandsoulco so I can see all the wonderful recipes and baking projects YOU create using the tips from this site! And for an extra dose of deliciousness delivered straight to your inbox, you can Subscribe to my Newsletter so you never miss a mouth-watering recipe or essential baking guide again!
How To Line A Round Cake Pan With Parchment Paper
Equipment
-
Pair of scissors
Ingredients
- Cake Pan(s)
- Parchment Paper
Instructions
-
Begin by tearing a piece off parchment paper off the roll that is larger than the cake pan you need to line.
-
Fold the parchment paper in half.
-
Fold the parchment paper in half in the opposite direction to make a small square/rectangle. Fold the parchment paper into a triangle, making sure the completely folded corner is the point.
-
Fold the triangle into an even smaller triangle, making sure the edges meet.
-
Now hold the point of the parchment paper against the center of the cake pan and cut the overhanging parchment paper off the triangle about 1/4-inch before the edge of the pan.
-
Unfold your parchment paper and spray the cake pan before placing the parchment inside it before adding the cake batter.
Did You Make This Recipe?
Don’t forget to share it with me on Instagram @sugarandsoulco and follow on Tiktok @sugarandsoulco and Pinterest @sugarandsoulco for more!
Pin Recipe
Share Recipe