

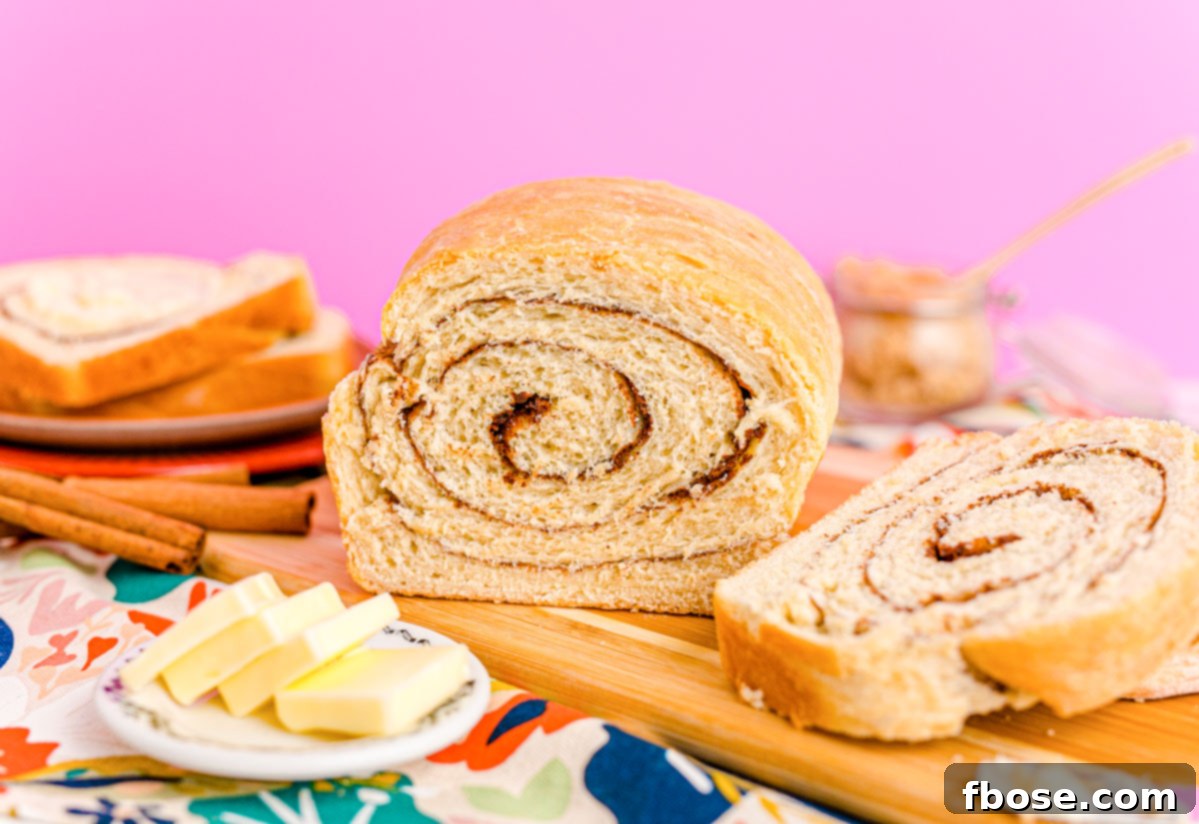
Indulge in the comforting aroma and delightful taste of homemade Cinnamon Swirl Bread. This recipe yields an incredibly tender, moist loaf, generously marbled with a sweet brown sugar and cinnamon swirl that runs through every slice. With just about 30 minutes of active preparation, you can bake up this comforting classic and fill your kitchen with the irresistible scent of freshly baked bread. Perfect for breakfast, brunch, or a simple, satisfying snack, this homemade cinnamon bread is sure to become a family favorite.
There’s nothing quite like the warmth and comfort of homemade bread. If you love baking, be sure to explore other comforting loaves such as my Starbucks Banana Bread, a rich and moist treat packed with walnuts, or a versatile Classic White Bread, ideal for toast, sandwiches, and anything in between.

Creating Cinnamon Swirl Bread from scratch is a surprisingly simple process, relying on readily available pantry staples and minimal hands-on time. The result is a warm, inviting loaf that can be savored at any time of day. Imagine starting your morning by toasting a slice and slathering it with creamy homemade butter for a delicious breakfast that kids and adults alike will adore. Or, elevate your weekend brunch by transforming it into decadent French toast, soaked in a rich custard and cooked to golden perfection.
This bread isn’t just for breakfast; it’s also a fantastic stand-alone snack. There’s a special joy in tearing off a generous hunk of this homemade cinnamon bread and enjoying it alongside a steaming cup of your favorite brew, like a frothy Breve Latte. It’s my ultimate guilty pleasure, offering a few precious moments of quiet indulgence in a busy day.

Mastering the Ingredients: What You’ll Need for Perfect Cinnamon Swirl Bread
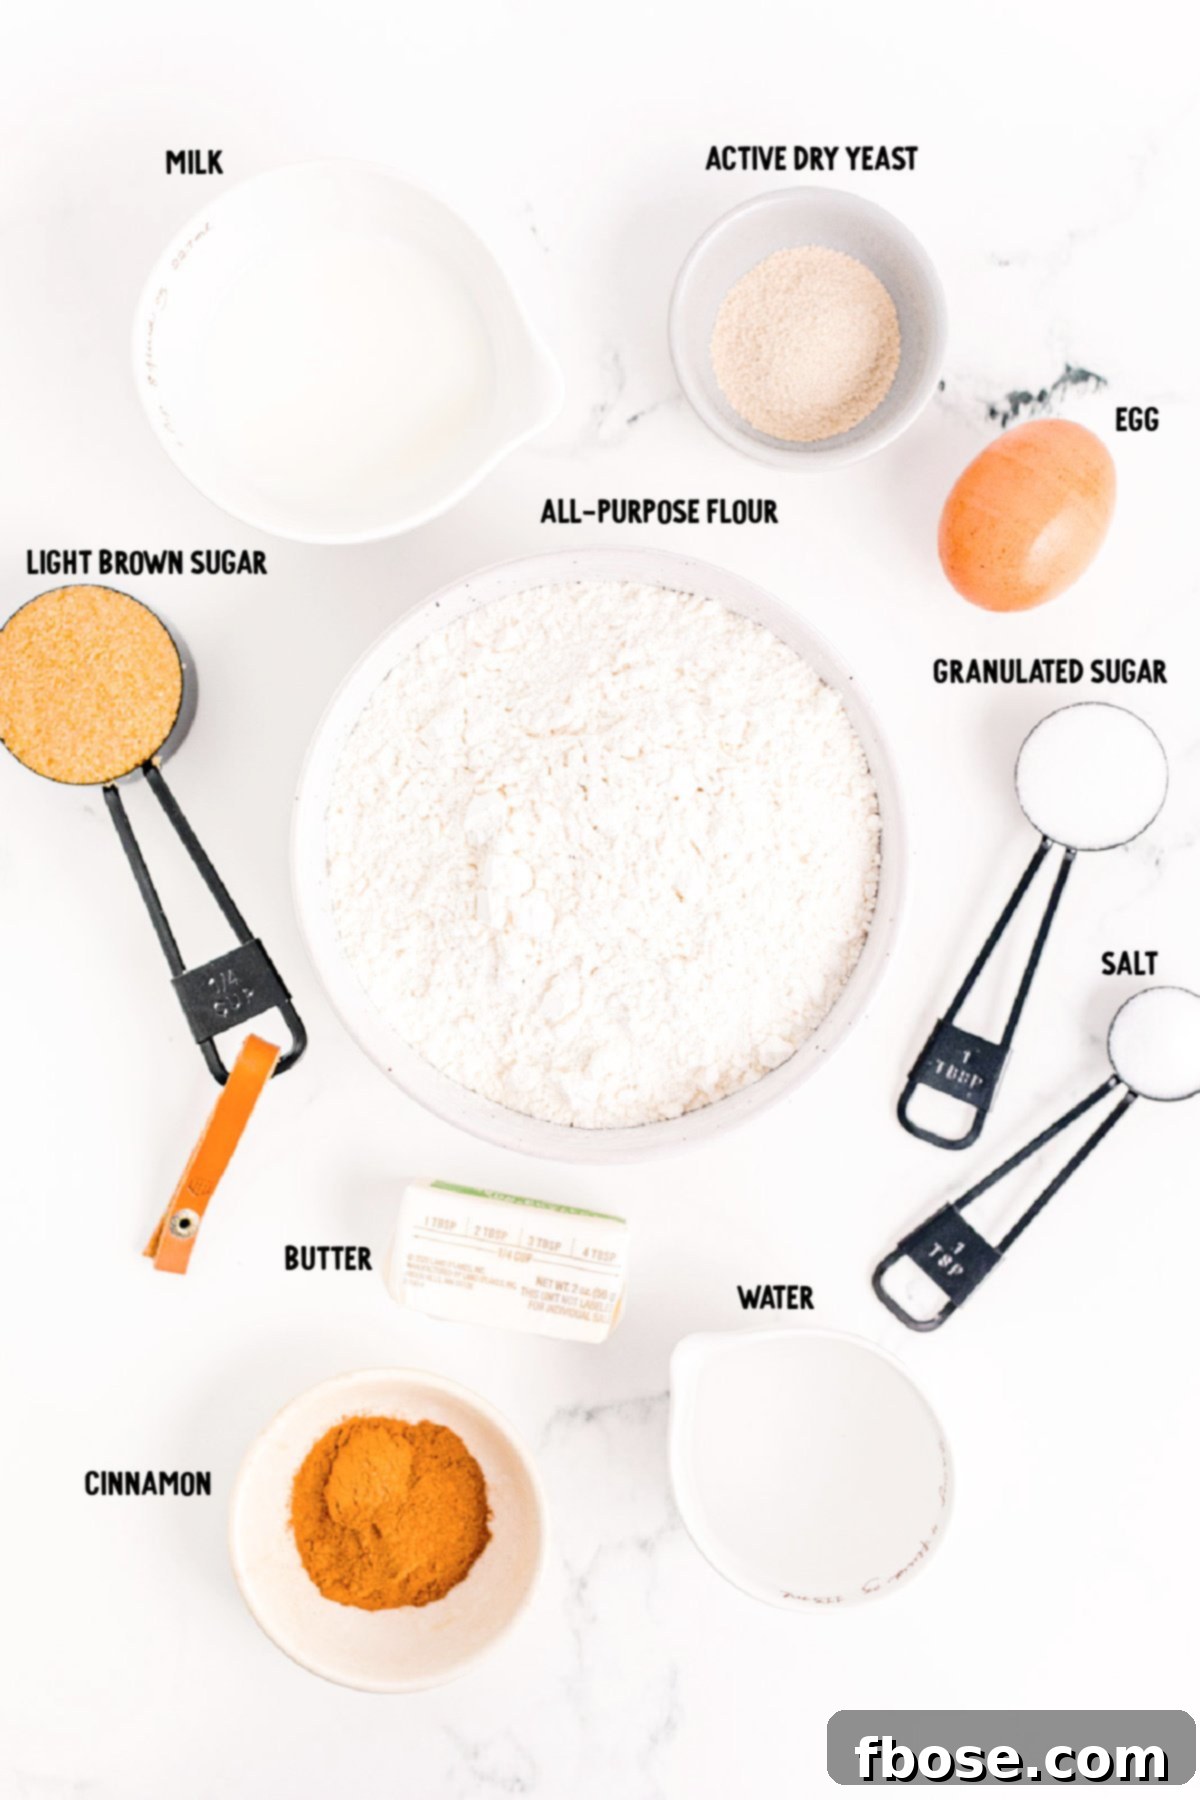
Crafting this delightful cinnamon swirl bread is straightforward, primarily using ingredients you likely already have in your pantry, along with dry active yeast. Understanding the role of each component is key to baking success. For your tender loaf, you’ll need to gather:
- All-Purpose Flour: This is the structural backbone of your bread. All-purpose flour has a balanced gluten level, which is crucial for the yeast to work its magic, allowing the dough to rise and maintain its shape, resulting in a perfectly textured loaf.
- Salt: Far from being just a seasoning, salt plays a vital role in balancing and enhancing the overall flavor profile of the bread. It also helps to regulate yeast activity, ensuring a controlled rise and preventing the dough from over-proofing too quickly.
- Granulated Sugar: Beyond just adding sweetness, sugar is the primary food source for the yeast. When mixed with yeast and warm liquids, it kickstarts the fermentation process, producing carbon dioxide gas. This gas is what causes the dough to rise, creating that light and airy texture we all love in fresh bread.
- Dry Active Yeast: This is your leavening agent, the driving force behind the bread’s rise. Dry active yeast requires activation in warm liquid before being incorporated into the dough, ensuring it’s vibrant and ready to create those beautiful air pockets.
- Warm Water: The warmth of the water is essential for activating the dry active yeast. Aim for a temperature between 105-110°F (40-43°C) – warm enough to awaken the yeast, but not so hot that it kills it.
- Warm Whole Milk: Whole milk adds richness, tenderness, and a lovely golden hue to the bread. Like warm water, it also helps support the yeast, contributing to a robust and consistent rise. The fat in whole milk also contributes to a softer crumb.
- Salted Butter: Butter provides richness and incredible flavor to the bread dough itself. Additionally, melted butter is brushed onto the loaf before baking, contributing to a beautiful golden crust and a delectable buttery aroma.
While your bread dough is undergoing its first rise, you’ll prepare two essential components. First, an egg wash, made simply from one egg whisked with a touch of water, which gives the finished loaf a glossy, golden-brown crust. Second, the irresistible cinnamon-sugar swirl filling, a delightful mixture of rich brown sugar, aromatic ground cinnamon, and a small amount of flour. The flour in the filling helps absorb moisture and prevents the swirl from completely melting and disappearing into the bread during baking, ensuring that distinct, delicious swirl in every slice.
Baking Perfection: Step-by-Step Guide to Your Homemade Cinnamon Swirl Loaf
Baking homemade bread might seem daunting, but this cinnamon swirl loaf recipe simplifies the process, ensuring a delicious result even for novice bakers. Follow these detailed steps to create your masterpiece:
-
Begin by preparing your loaf pan. Lightly grease a standard 9-inch loaf pan to prevent sticking, then set it aside. This ensures it’s ready when your dough is.
-
Activate the Yeast: In a small bowl, dissolve the dry active yeast in ¾ cup of warm water. The water should be between 105-110°F (40-43°C) – think lukewarm, not hot. Let this mixture sit undisturbed for 5 minutes. You’ll know the yeast is active when it becomes foamy and frothy on the surface, indicating it’s alive and ready to work.
-
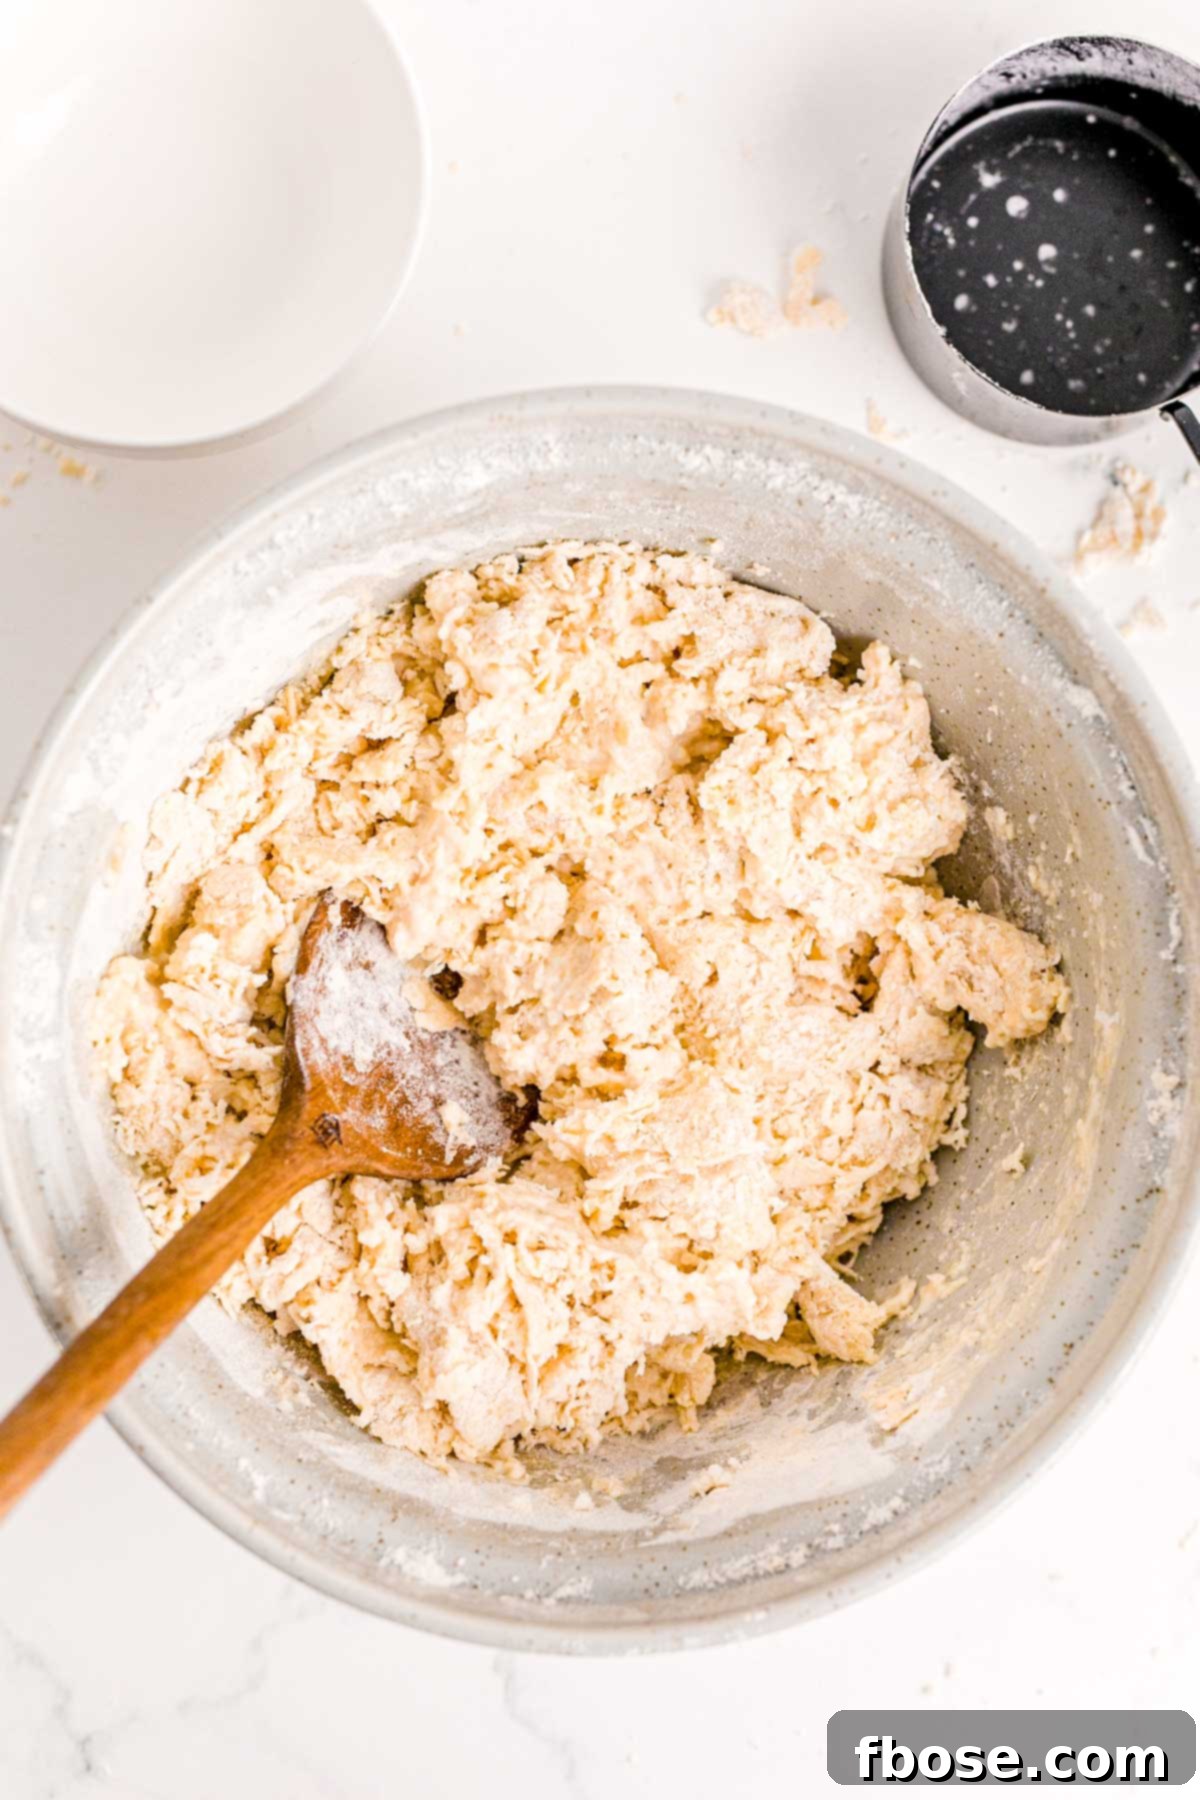
Mix the Dough: In a large mixing bowl (or the bowl of a stand mixer fitted with a dough hook), combine the dissolved yeast mixture with ½ cup warm milk (also 105-110°F), 1 tablespoon granulated sugar, 1 tablespoon softened salted butter, 3 cups of all-purpose flour, and 1 teaspoon salt. If using a stand mixer, mix on low speed. If mixing by hand, use a sturdy wooden spoon. Gradually add in the remaining 1 cup of all-purpose flour, mixing until the dough starts to come together and pull away from the sides of the bowl.
-
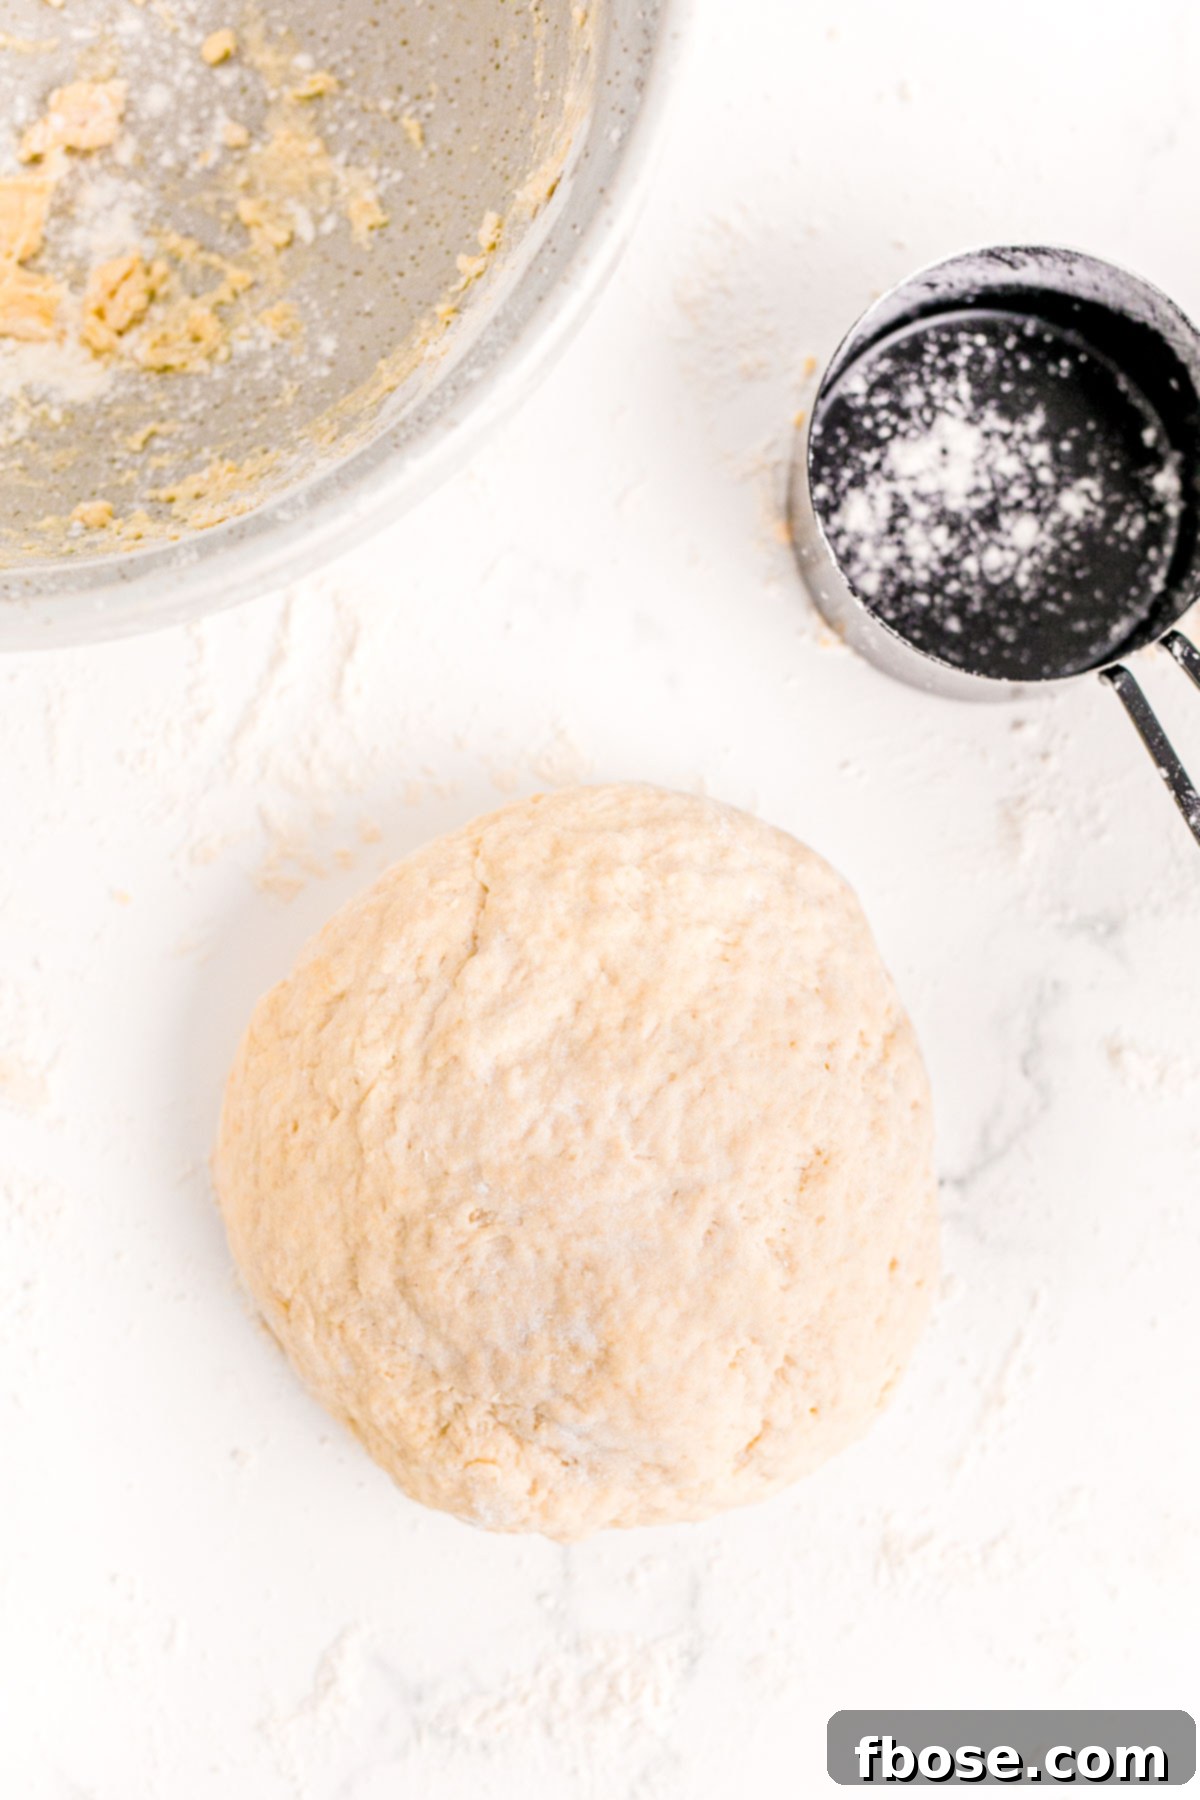
Knead the Dough: Once the dough has formed a rough ball, transfer it to a lightly floured surface. Knead the dough for 5 to 10 minutes. This process develops the gluten, which is essential for a light and chewy texture. Continue kneading until the dough is smooth, elastic, and no longer sticky. It should spring back slowly when gently poked.
-
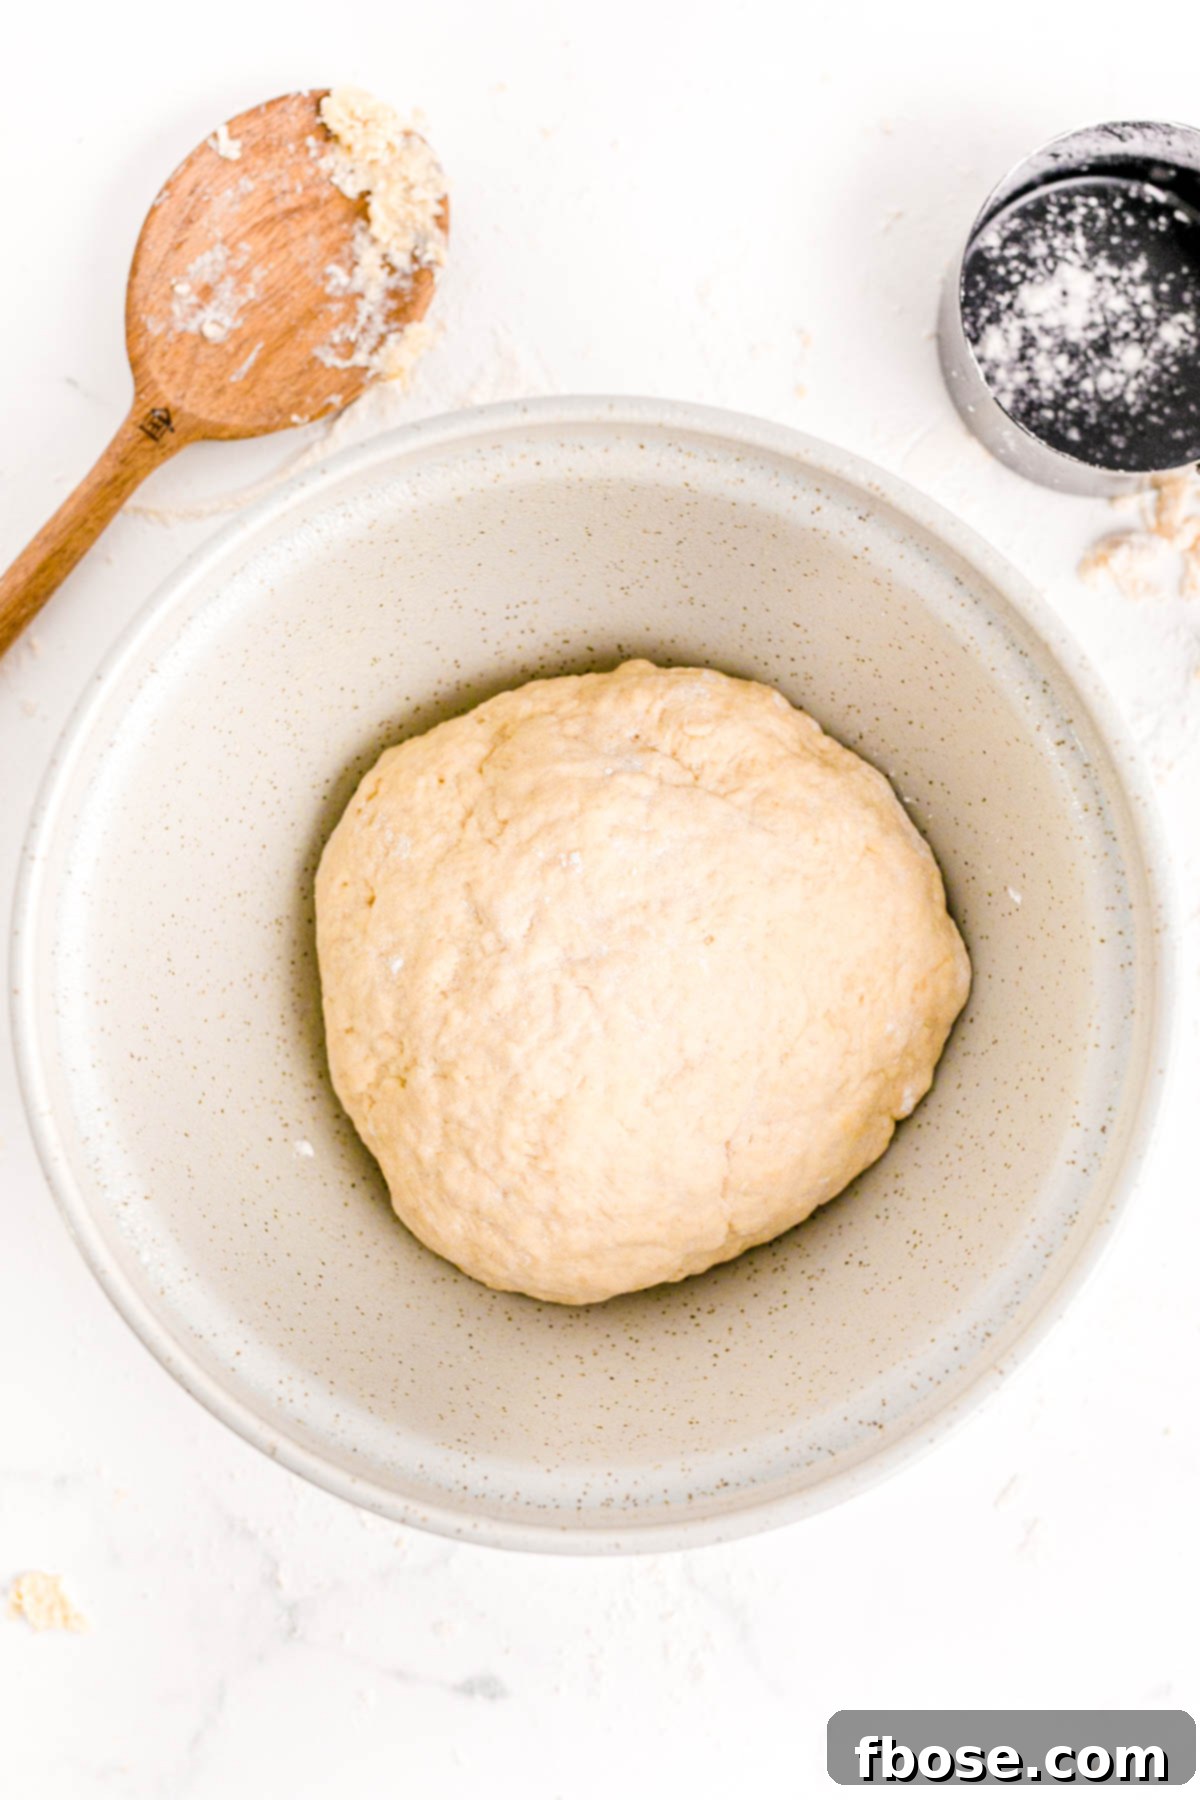
First Rise (Proofing): Shape the kneaded dough into a large ball. Place it in a large, lightly greased bowl, then turn the dough over once to ensure it’s completely coated with a thin layer of oil. Cover the bowl tightly with plastic wrap or a clean, damp kitchen towel. Place the covered bowl in a warm, draft-free spot (around 80-90°F or 27-32°C). Allow it to rise for approximately 1 hour, or until it has visibly doubled in size. Patience is key here for a fluffy loaf!
-
While the dough is rising, preheat your oven to 350°F (175°C).
-
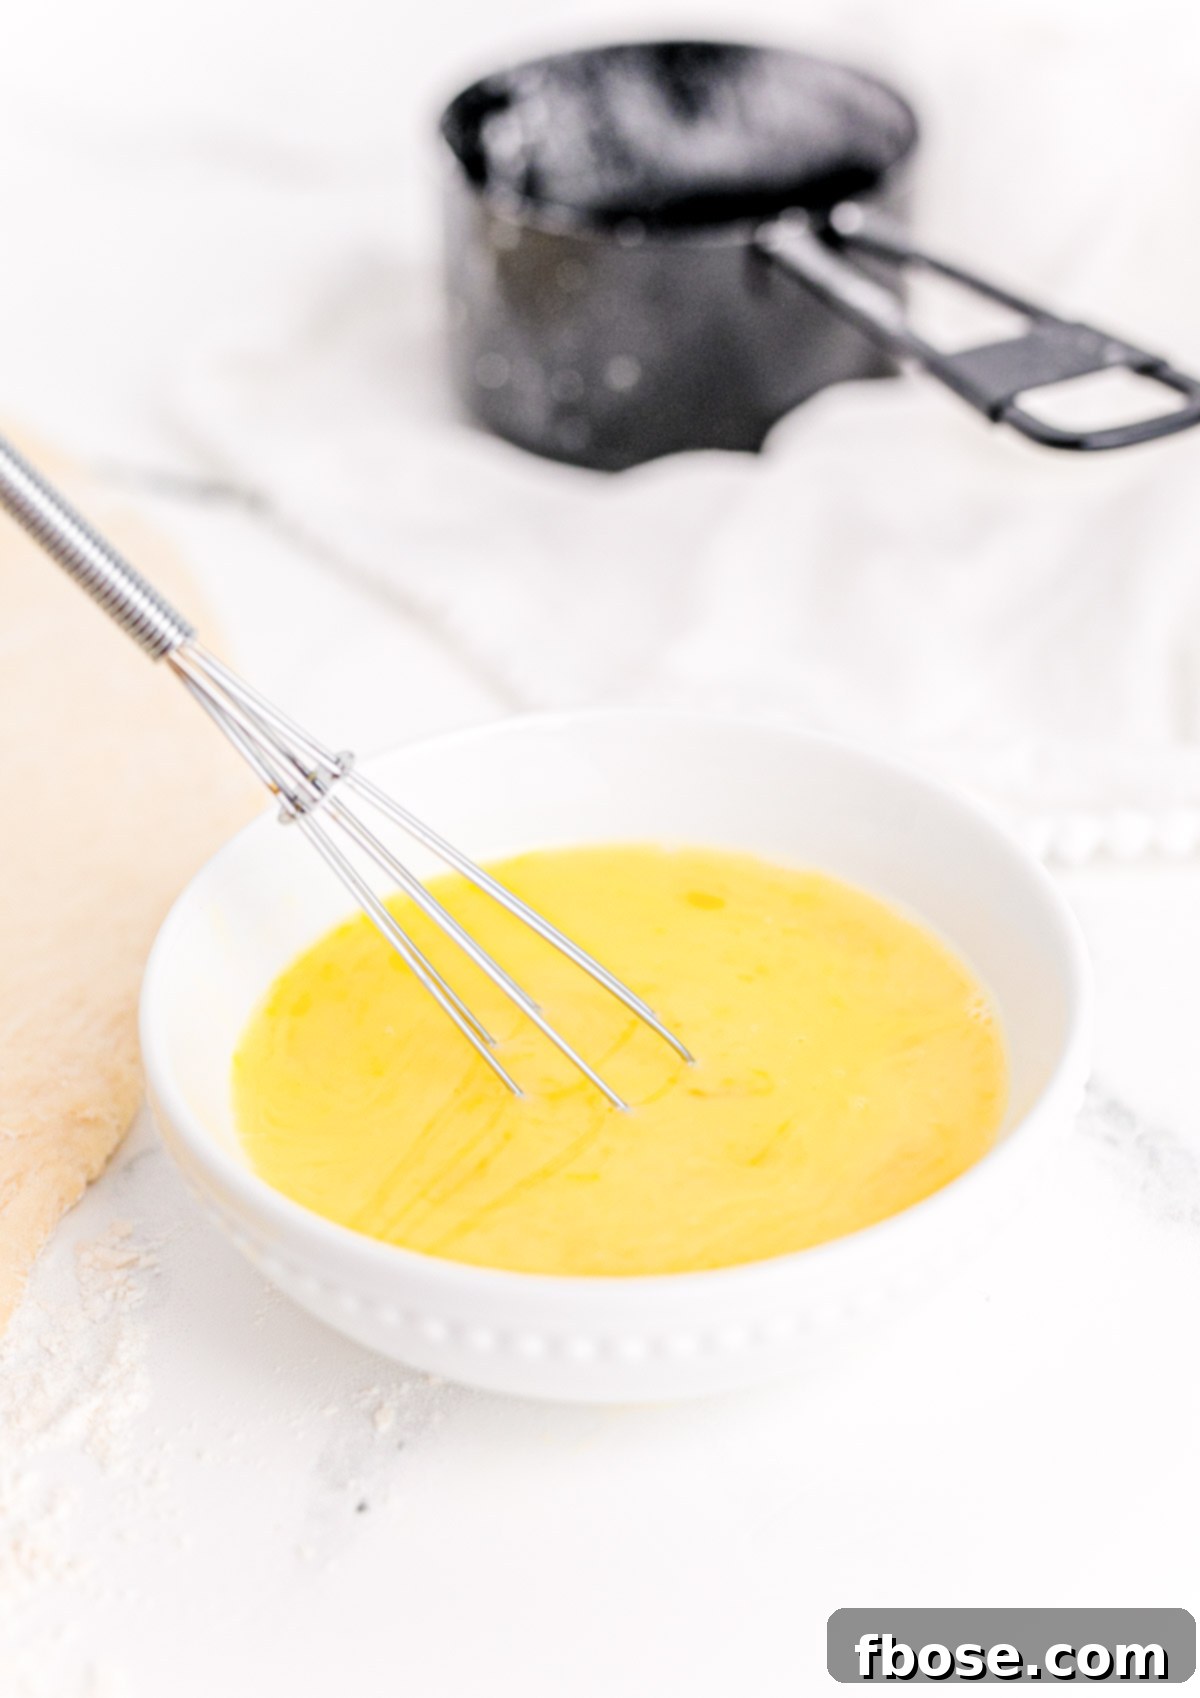
Prepare Egg Wash: In a small bowl, whisk together 1 large egg and 1 tablespoon of water until well combined. This egg wash will give your bread a beautiful golden, slightly crisp crust. Set it aside.
-
Make the Cinnamon Swirl Filling: In another small bowl, stir together ¼ cup packed light brown sugar, 2 teaspoons ground cinnamon, and 2 teaspoons all-purpose flour. The flour helps to thicken the mixture and prevent the cinnamon-sugar from dissolving completely during baking, ensuring a distinct swirl. Set this mixture aside.
-
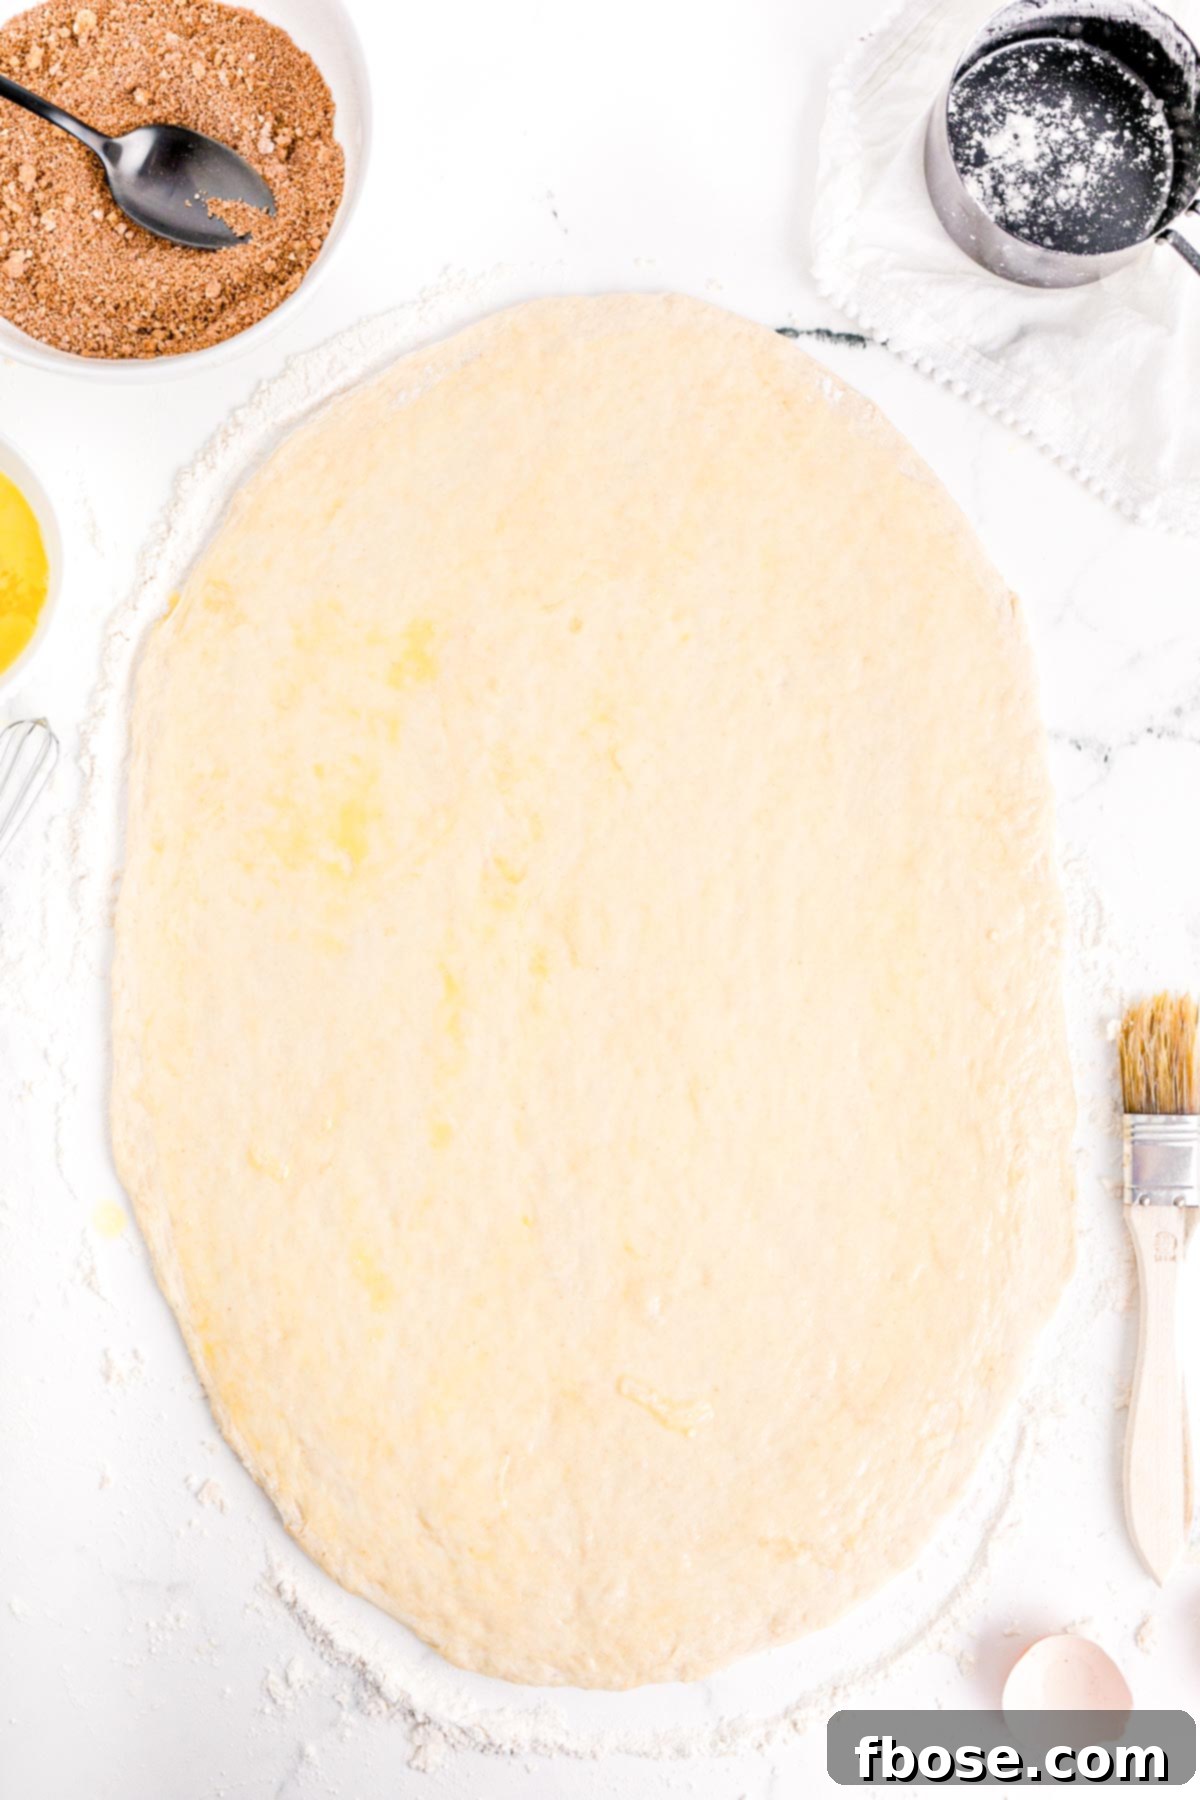
Shape the Loaf: Once the dough has doubled, gently punch it down to release the air. Turn the dough out onto a lightly floured surface and roll it into a rectangle measuring approximately 16×8 inches. Aim for an even thickness across the entire surface.
-
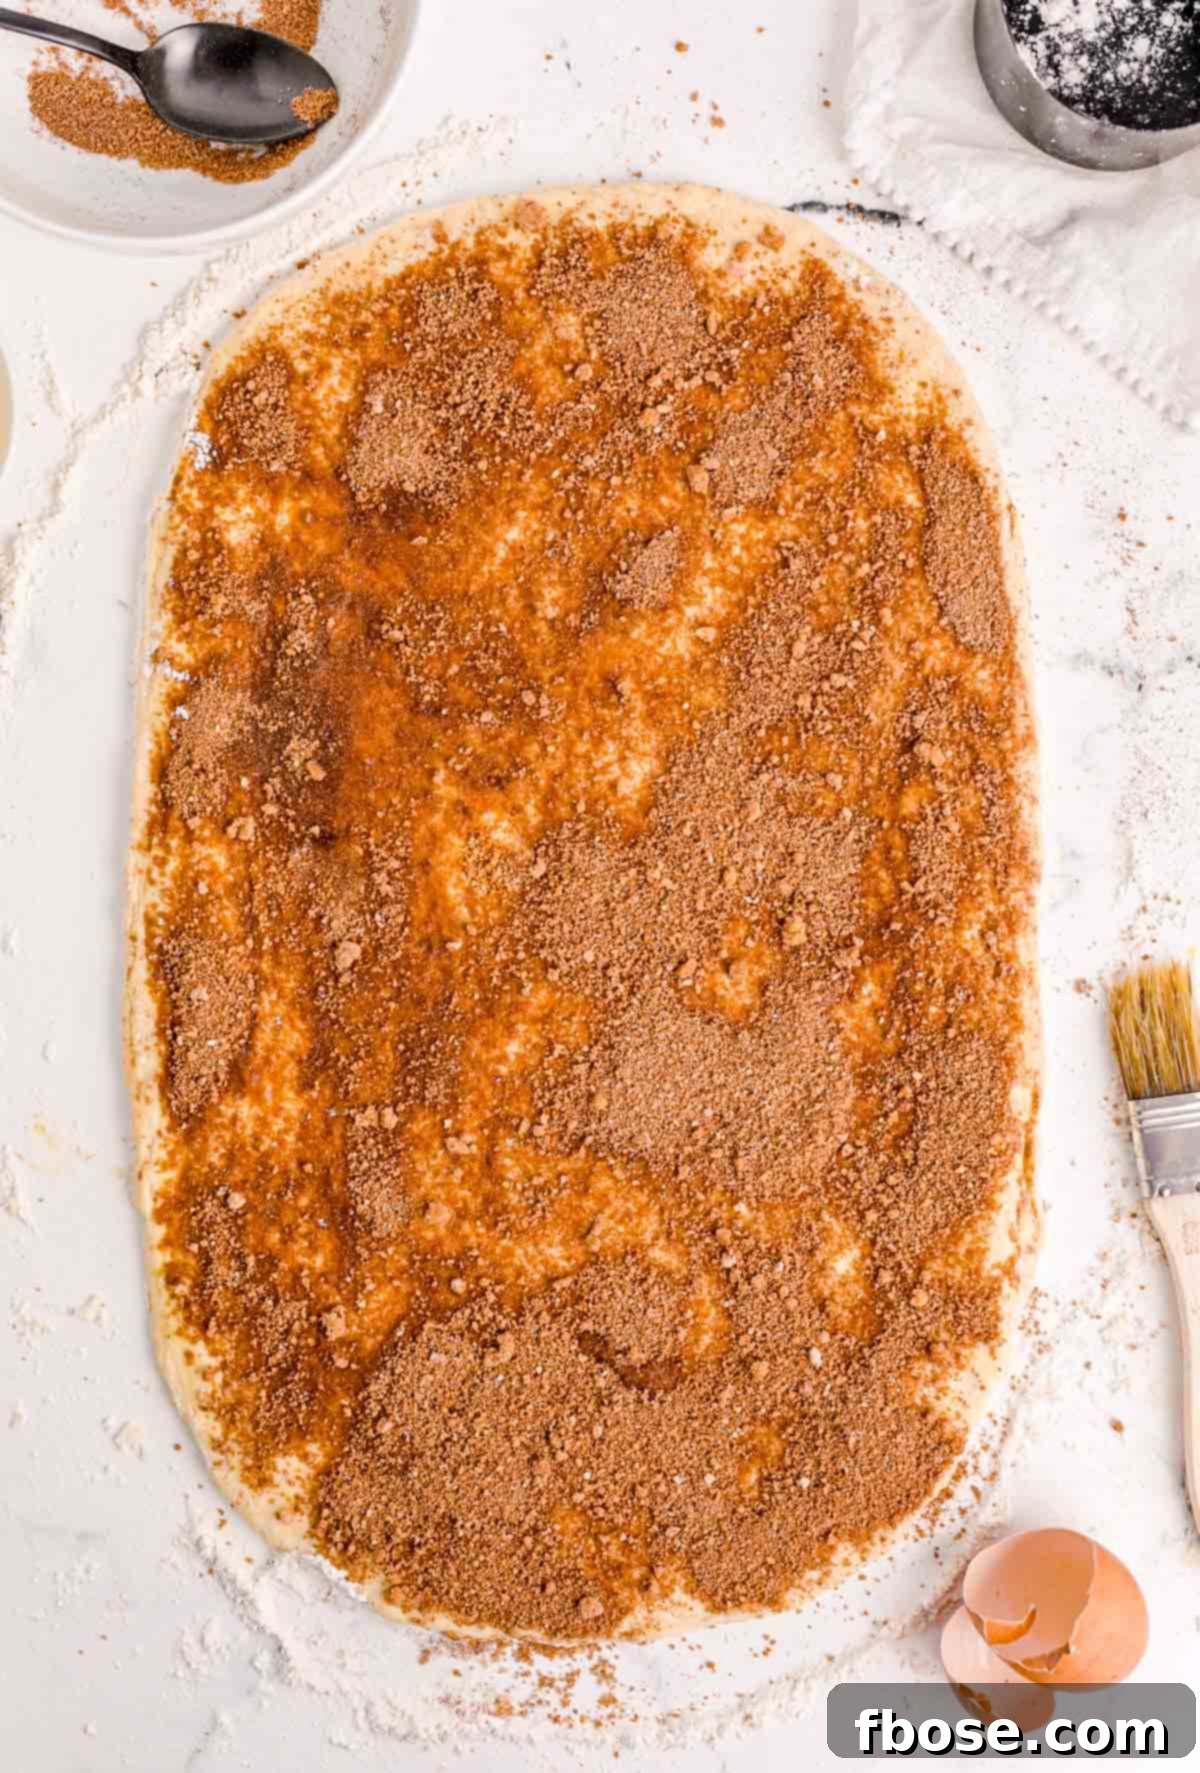
Apply Filling: Brush a thin, even layer of the egg wash over the entire surface of the rolled-out dough, leaving a small border (about ½ inch) along one of the 8-inch sides if you want a cleaner seal. Then, generously sprinkle the cinnamon-sugar mixture evenly over the egg-washed dough. The egg wash acts as a glue, helping the filling adhere and preventing gaps in the swirl.
-
Roll and Prepare for Baking: Starting from one of the shorter (8-inch) sides, carefully roll up the dough fairly tightly into a log. Pinch the seam closed to seal the loaf. Place the rolled loaf, seam-side down, into your prepared 9-inch loaf pan. Using a sharp knife, make three shallow slashes (about ¼ inch deep) across the top of the loaf. These slashes help the loaf expand evenly during baking and add a rustic touch. Finally, brush the top of the loaf with 1 tablespoon of melted salted butter. This enhances the crust’s flavor and color.
-
Bake: Place the loaf pan on the lowest rack of your preheated oven. Bake for approximately 40 minutes. To check for doneness, gently tap on the top of the loaf; it should sound hollow. If it doesn’t, continue baking for another 5 minutes, checking again. The internal temperature should be around 200-210°F (93-99°C) for a fully baked loaf.
-
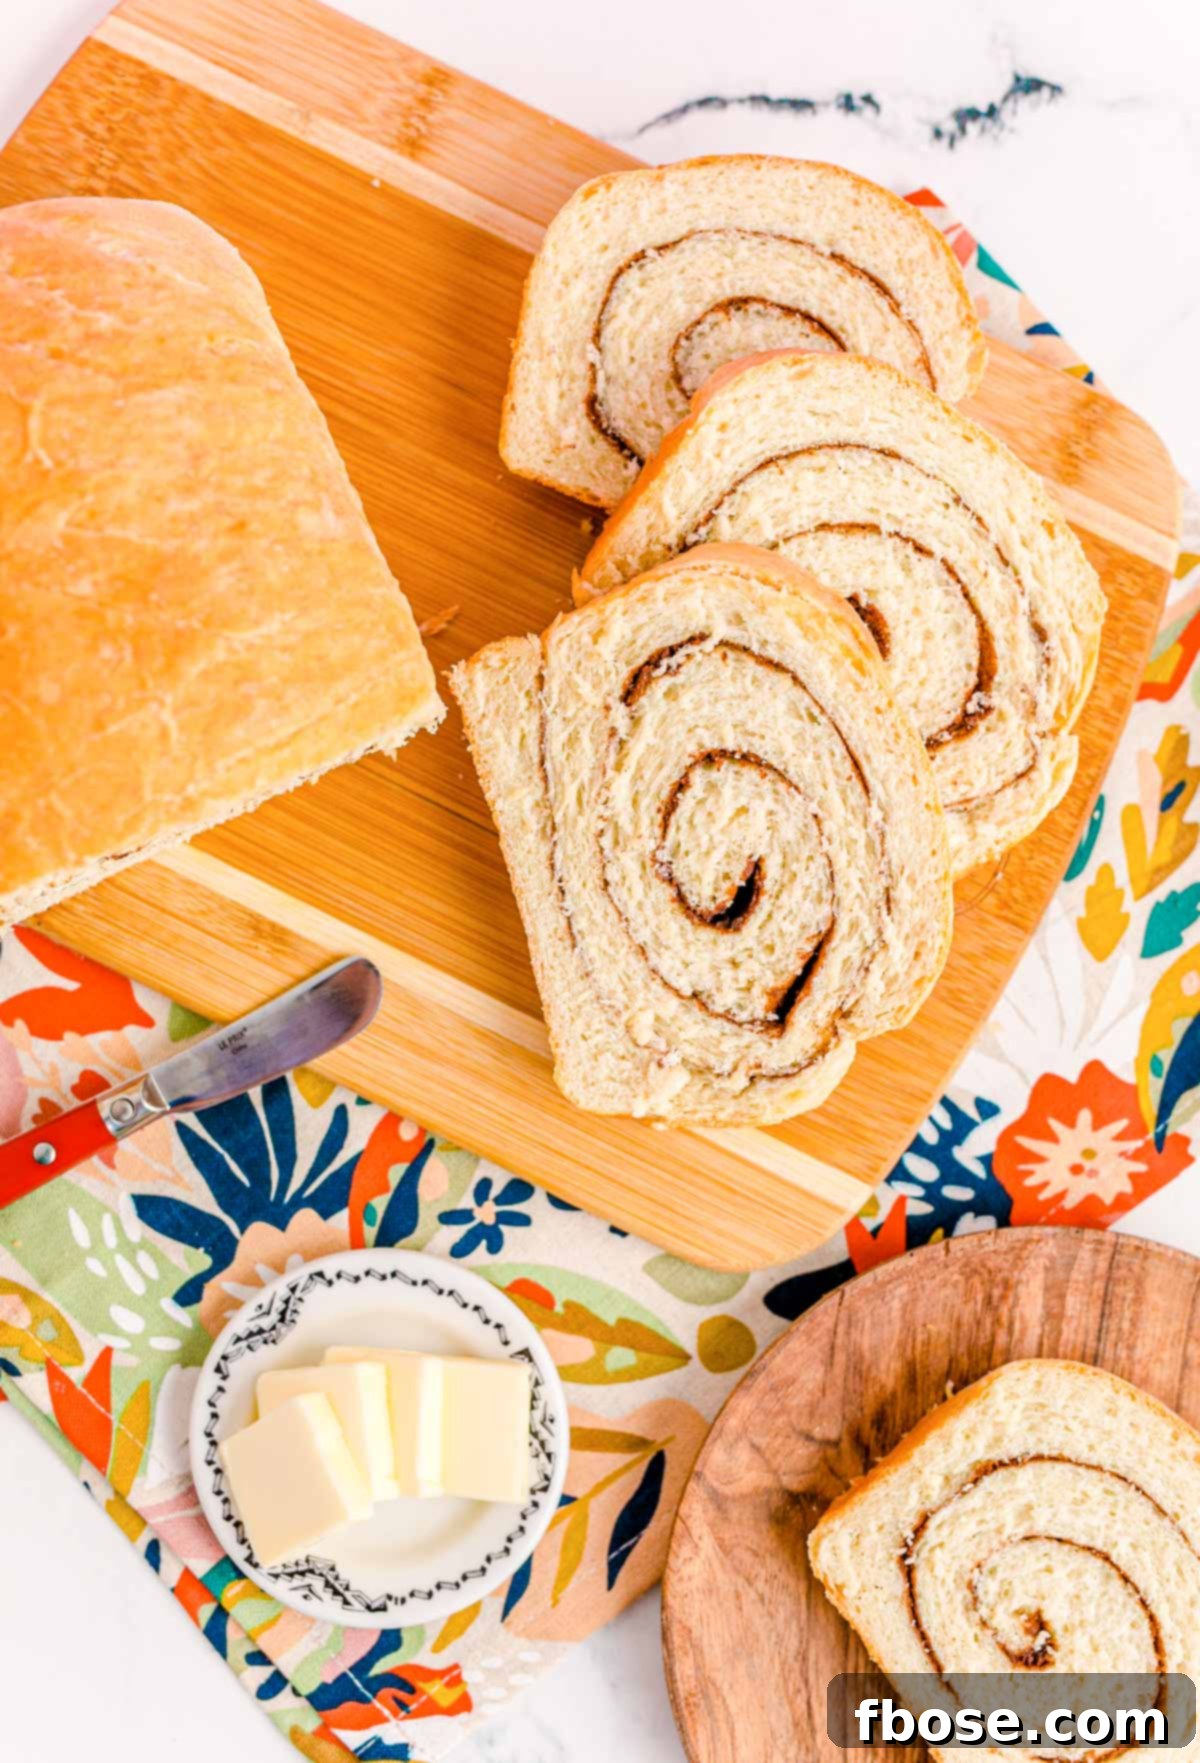
Cool and Serve: Once baked, remove the loaf from the oven. Allow it to cool in the pan for 10 minutes. This crucial step prevents the bread from collapsing and helps it retain its shape. After 10 minutes, carefully remove the loaf from the pan and transfer it to a wire rack to cool completely to room temperature before slicing. Slicing too early can result in a gummy texture.




Demystifying Yeast: Helpful Proofing Tips for a Perfect Rise
Many home bakers hesitate when a recipe calls for yeast, but it’s actually quite approachable once you understand its needs. Yeast is a living organism that thrives in warm, moist environments, and proper proofing (allowing the dough to rise) is crucial for light, airy bread. Here are some reliable methods to ensure your yeast dough rises perfectly:
- The Classic Warm Spot: The most common and often sufficient method. After coating your dough ball in a lightly oiled bowl, cover it with plastic wrap or a slightly damp kitchen towel. Then, simply place the covered bowl in a warm, draft-free area of your kitchen. Ideal temperatures are between 80-90°F (27-32°C). This warmth encourages yeast activity without overdoing it.
- The “Off” Oven Method: For a consistently warm environment, preheat your oven to its absolute lowest temperature (usually around 150-200°F or 65-93°C) for just 5 minutes. Then, turn the oven off completely. Place your covered dough bowl inside the now gently warm oven until it doubles in size. The residual heat provides a perfect environment without being too hot.
- Warm Water Bath: If your kitchen is particularly cool, you can create a makeshift proofing box. Place the covered dough bowl on top of a larger bowl filled with very warm (but not boiling) water. The gentle heat radiating from the water will provide the necessary warmth for the yeast to flourish.
- Heating Pad Technique: Set a heating pad to its lowest setting. Drape a kitchen towel over the heating pad, then place your covered bowl of dough on top of the towel. This creates a controlled, gentle warmth from below, ideal for a steady rise.
- Oven with Boiling Water: This method adds humidity, which yeast also appreciates. Place your covered dough bowl in the oven (which should be OFF). On the rack below the dough, place an oven-safe baking dish filled with boiling water. Close the oven door. The steam from the hot water creates a humid, warm environment that helps the dough rise beautifully.
- “Proof” Setting on Modern Ovens: Many modern ovens come equipped with a dedicated “Proof” setting. If your oven has this feature, feel free to use it! It’s designed to maintain the optimal temperature and humidity for dough rising.
As you can see, there are plenty of easy methods to ensure your dough rises perfectly! Remember, the exact rise time will vary depending on your chosen method and the ambient temperature, so always rely on visual cues (doubled in size) rather than strict timing.
If you’re looking to expand your baking repertoire, consider these other popular bread recipes: Homemade Brioche (for a rich, buttery treat), French Baguette (for a crusty, iconic loaf), or Bannock (a traditional quick bread). Each offers a unique baking experience and delicious results!
Frequently Asked Questions About Cinnamon Swirl Bread
Can I add raisins to this cinnamon bread recipe?
Absolutely! Raisins are a wonderful addition to cinnamon bread. For the best results, we recommend pulsing the raisins briefly in a food processor along with the brown sugar, flour, and cinnamon mixture for the swirl. This technique helps break them down into smaller pieces (aim for about ¼ inch or smaller). Smaller raisins integrate more seamlessly into the dough and prevent them from creating large air pockets within the bread, which can affect its structure and texture. This ensures a consistent, delightful bite in every slice.
Can I substitute white sugar for brown sugar in the swirl?
Yes, you can certainly use white granulated sugar instead of light brown sugar for the swirl. However, be aware that it will result in a slightly different texture and flavor profile. Brown sugar contains molasses, which adds a deeper, more caramel-like flavor and contributes to a moister, chewier swirl. White sugar will create a crisper, sweeter swirl with a less complex flavor. While still absolutely delicious, the subtle nuances will differ. Feel free to experiment based on your preference!
What is the purpose of using egg wash before adding the filling?
The egg wash serves two critical functions when preparing the cinnamon swirl. First, it acts as a binder, creating a slightly sticky surface that helps the cinnamon-sugar filling adhere firmly to the dough. This prevents the filling from shifting or falling out as you roll the dough. Second, along with the flour included in the cinnamon-sugar mixture, it helps to create a barrier that binds the dough layers together. Without the egg wash and flour, the pure sugar mixture might melt too quickly and create distinct gaps or air pockets within the bread layers during baking, compromising the loaf’s integrity and aesthetic swirl.
What is the ideal temperature for proofing bread dough?
The optimal temperature range for allowing bread dough to rise is between 80 and 90 degrees Fahrenheit (27-32°C). This warmth encourages the yeast to activate and ferment effectively, producing carbon dioxide and causing the dough to double in size. If your kitchen tends to be cooler than this, a simple trick is to fill a large bowl with hot tap water and cover it with a plate. Then, place your covered bowl of bread dough directly on top of this warm plate. The gentle, consistent heat from the water bath will create a conducive environment for your dough to rise beautifully.
Does this cinnamon swirl bread toast well?
Absolutely! This homemade cinnamon swirl bread toasts wonderfully, developing a slightly crispy exterior while remaining tender on the inside. The warmth from toasting also re-activates the delightful aroma of cinnamon and brown sugar. Even better, this bread makes truly *wonderful* French toast! Its inherent sweetness and soft texture are perfect for soaking up custard and creating an indulgent breakfast or brunch treat.
Storage and Freezing Tips for Homemade Cinnamon Swirl Bread
Once you’ve baked a delicious loaf of Cinnamon Swirl Bread, you’ll want to ensure its freshness lasts as long as possible. Here are some helpful tips for storing and freezing your homemade creation:
- How To Store: To maintain its tenderness and prevent it from drying out, store your cinnamon swirl bread in a dry, airtight container at room temperature. A bread box, a large resealable bag, or plastic wrap are all excellent choices. When stored properly, it will remain fresh and delicious for up to 3 days. For best results, avoid refrigerating bread as it can cause it to dry out and become stale more quickly.
- How To Freeze: Freezing is a fantastic way to extend the life of your homemade bread. First, ensure the bread has cooled completely to room temperature. Warm bread will create condensation in the freezer bag, leading to ice crystals and freezer burn. Once cooled, wrap the entire loaf or individual slices tightly in plastic wrap, then place it in a heavy-duty freezer bag. Squeeze out any excess air before sealing. Frozen cinnamon swirl bread can be stored for up to 6 months, though for optimal flavor and texture, it’s best enjoyed within 2 months of freezing. To thaw, simply remove from the freezer and let it come to room temperature on the counter, or toast slices directly from frozen for a quick treat.
More Homemade Bread Recipes to Savor
I absolutely adore having a freshly baked loaf of Cinnamon Swirl Bread ready for my family to enjoy whenever they desire. If you share this love for homemade goodness, you’ll be thrilled to discover these other popular bread recipes that are perfect for sharing with friends and family:
- Homemade Bread: A foundational and incredibly easy homemade bread recipe, complete with clear step-by-step instructions and photos, making it perfect for beginners.
- Pumpkin Cream Cheese Bread: This delicious fall bread is a true indulgence, featuring a rich, sweet caramel cream cheese filling that perfectly complements the pumpkin flavor.
- Easy Cranberry Banana Bread: A wonderfully moist and tender quick bread recipe, generously loaded with bright, tart cranberries for a burst of flavor.
- Best Spiced Pumpkin Bread: Bursting with the warm, inviting flavors of the best fall spices and crunchy walnuts, this bread is a quintessential autumn treat.
- Zucchini Bread: A delightful way to use garden zucchini, this recipe is packed full of tender zucchini, walnuts, and cinnamon, with the option to add a zesty lemon glaze or sweet chocolate chips.
Let’s Connect and Share Your Creations!
If you’ve tried this incredible Cinnamon Swirl Bread recipe, please share your experience! Let me know how much you liked it in the comments below and consider leaving a star review. Your feedback truly brightens my day!
Don’t forget to tag me – @sugarandsoulco – on Instagram and Pinterest with your photos of this delicious bread. You can also join our Sugar & Soul Show-offs Community on Facebook and share your creations there, where you can also participate in our fun recipe challenges!
5 from 1 vote
Cinnamon Swirl Bread
Rebecca Hubbell
Bread
American
30
50
1
2 20
Servings
1 loaf
Ingredients
Bread
- 2¼ teaspoons dry active yeast (1 packet)
- ¾ cup warm water (between 105-110°F)
- ½ cup warm whole milk (between 105-110°F)
- 1 tablespoon granulated sugar
- 1 tablespoon salted butter (softened)
- 4 cups all-purpose flour (spooned and leveled, divided)
- 1 teaspoon salt
- 1 tablespoon salted butter (melted)
Egg Wash
- 1 large egg (beaten)
- 1 tablespoon water
Filling
- ¼ cup light brown sugar (packed)
- 2 teaspoons ground cinnamon
- 2 teaspoons all-purpose flour
Notes
- How To Store: Store in a dry, air-tight container for up to 3 days at room temperature.
- How To Freeze: Allow bread to cool completely before wrapping tightly in plastic wrap and placing it in a freezer bag. Freeze for up to 6 months, but best used within 2 months for optimal freshness.
- I like raisins in my cinnamon bread – will that work in this recipe? Yes! If you decide to add raisins, it is best to pulse them in your food processor with the sugar, flour, and cinnamon mixture. This will make them small enough so that they don’t create extra air pockets in the bread (try to get them down to at least ¼ inch size).
- Can I use white sugar instead of brown? Yes, it will change the texture and flavor slightly but still be absolutely delicious!
- Why use egg wash when adding the filling? This helps to bind the bread together to avoid the swirl creating gaps in the bread. That is also the reason for including the flour in the cinnamon/sugar mixture.
- How warm is the best temperature for allowing bread to rise? The best temperature is between 80 and 90 degrees Fahrenheit. If your kitchen is colder than this, you could fill a large bowl with hot water and cover it with a plate. Place the covered bowl with the bread dough on top of this bowl of hot water.
- Does this bread toast nicely? Absolutely!! And it even makes WONDERFUL French toast!
Nutrition
Did You Make This Recipe?
Don’t forget to share it with me on Instagram @sugarandsoulco and follow on Tiktok @sugarandsoulco and Pinterest @sugarandsoulco for more!
Pin Recipe
Share Recipe