Lemon Sweet Rolls
Pillowy soft dough rolled with swirls of lemon curd makes these lemon sweet rolls a dream. Top with lemon cream cheese icing for a bright citrus sweet for breakfast, brunch, or dessert!
- Total 47 minutes
- Serves 18 rolls
- Breakfast
- American
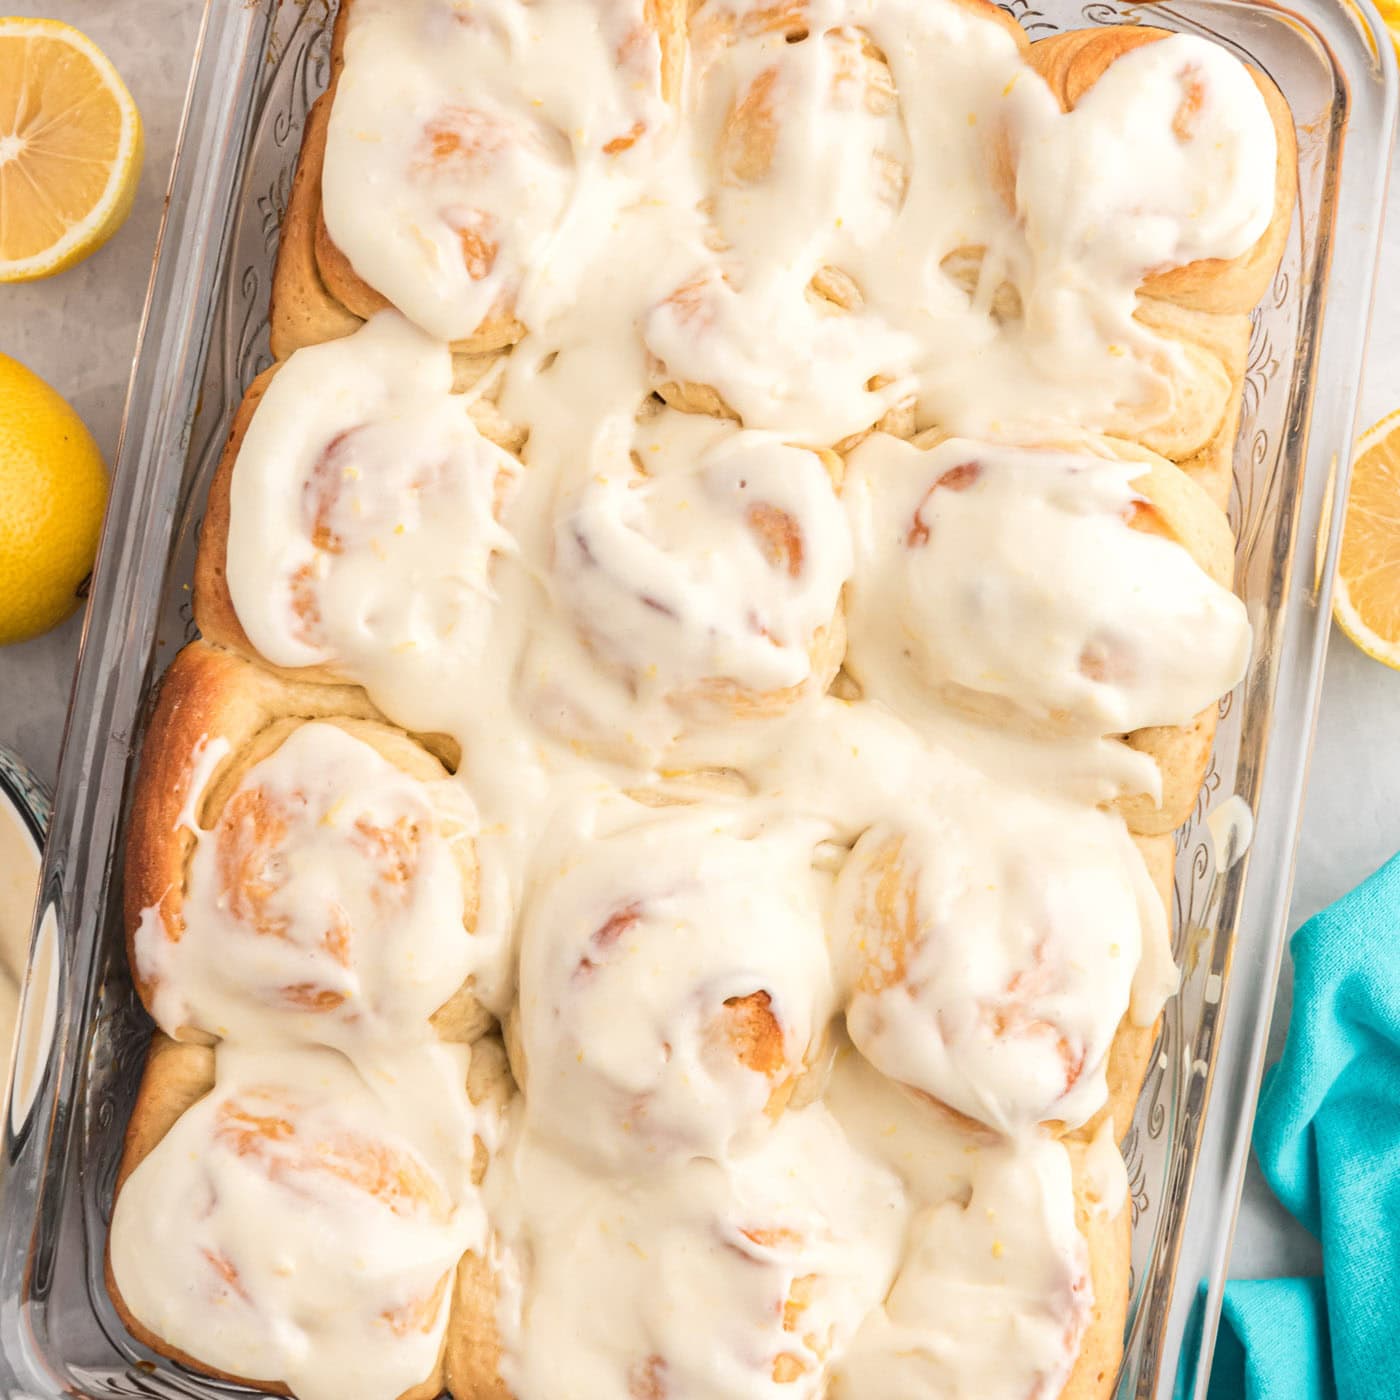
Pillowy soft dough rolled with swirls of lemon curd makes these lemon sweet rolls a dream. Top with lemon cream cheese icing for a bright citrus sweet for breakfast, brunch, or dessert!
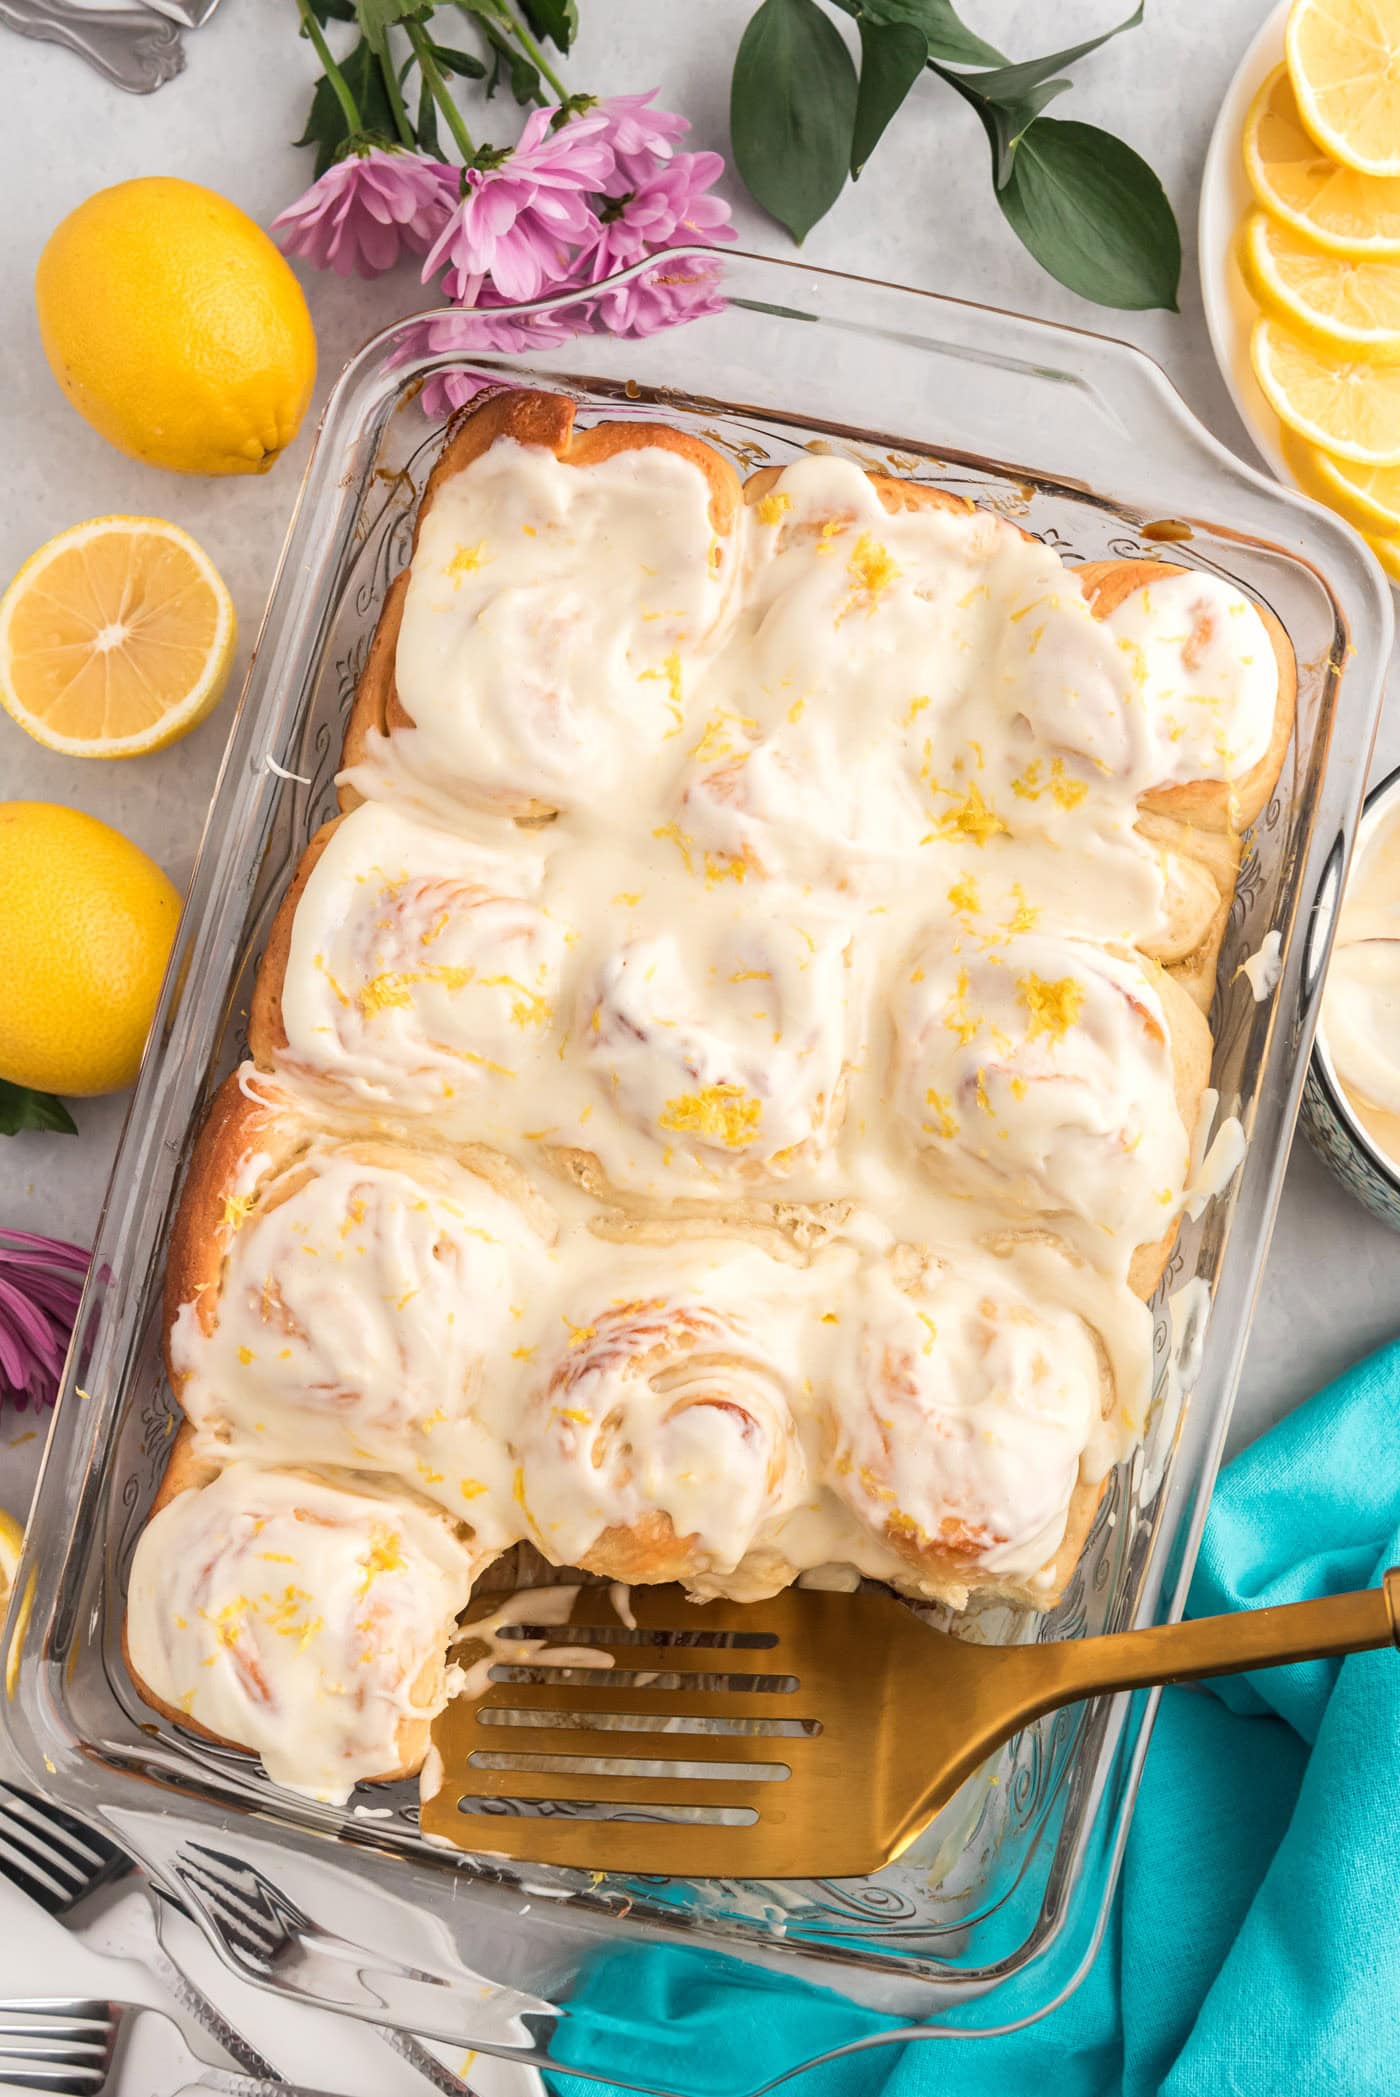 more
more
Why this recipe works
If you love homemade cinnamon rolls and the refreshing zing of lemon, I can almost guarantee you’ll love these lemon sweet rolls. We’re swapping the classic cinnamon sugar layer with homemade lemon curd here which makes these rolls pop with vibrant citrus freshness similar to our quick orange rolls.
Top your fluffy lemon stuffed rolls with a rich lemon cream cheese icing and you’ll understand exactly why I’m doting over them so much!

Ingredients you will need
Get all measurements, ingredients, and instructions in the printable version at the end of this post.
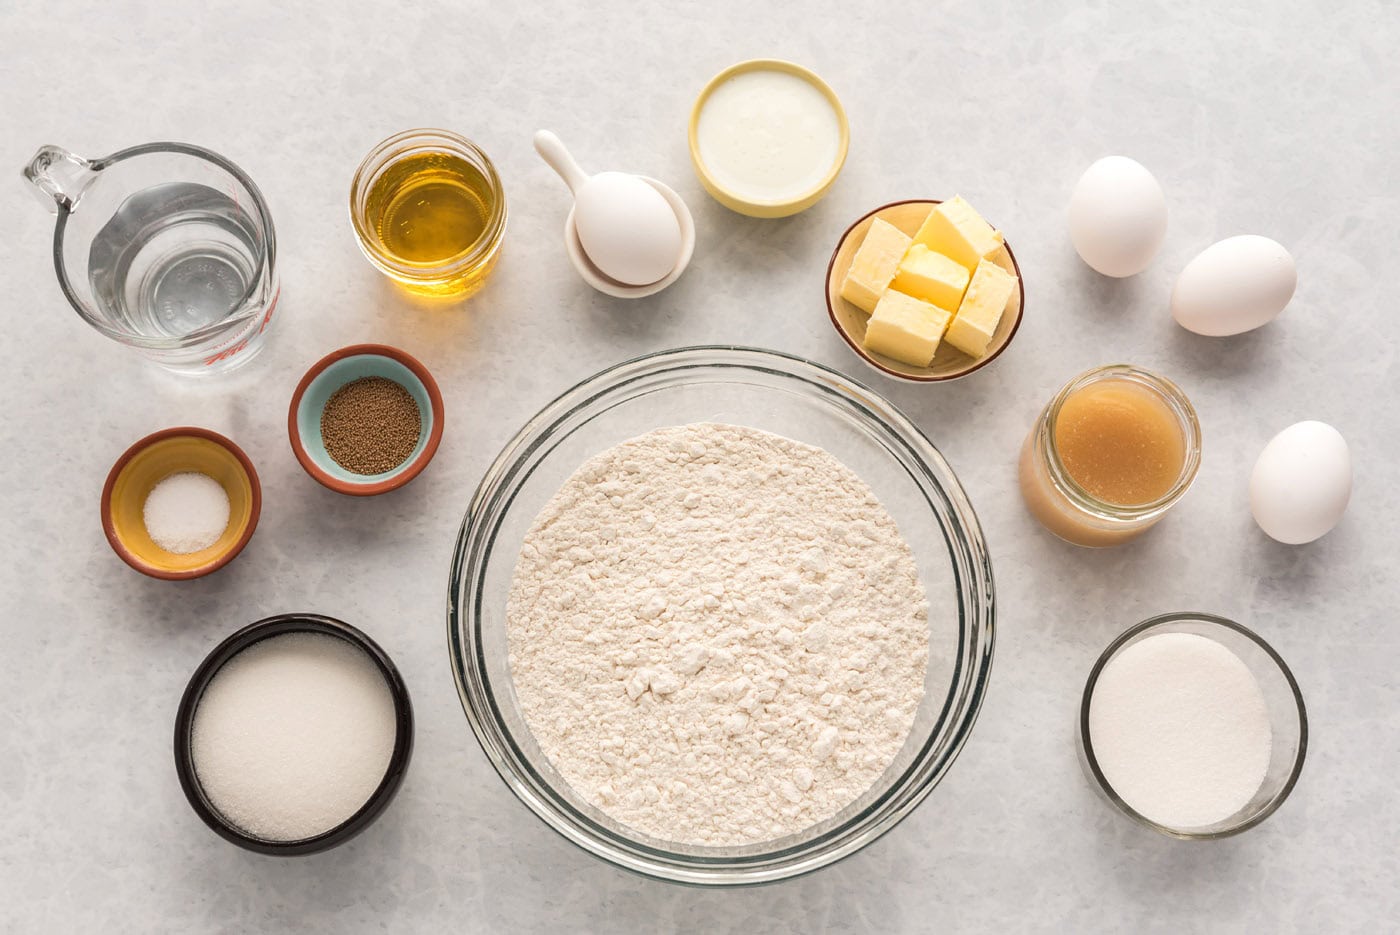
Ingredient Info and Substitution Suggestions
LEMON CURD – Homemade lemon curd is surprisingly really simple to make. You can easily substitute with a store-bought jar of lemon curd to make this recipe quicker if preferred. I highly recommend sticking to fresh lemons for this recipe as the flavor is superior and the star of this dish. You will need about 2 1/2 lemons to yield 1/2 cup of juice called for in the lemon curd portion of this recipe.
BUTTERMILK – If you don’t have buttermilk on hand, you can use whole milk for this recipe (no need to add vinegar). I like keeping the powdered buttermilk on hand, just in case.
YEAST – Be sure to check the expiration date on your yeast. If it does not bubble or foam when combined with warm water and sugar then it is no longer active or “alive” and your dough will not rise properly.
ICING – The lemon cream cheese icing is like the cherry on top of a sundae. You can thicken the icing by simply adding more powdered sugar if needed (though you shouldn’t have to)! It should be spreadable but not too thick. Use fresh lemons and lemon juice for the best flavor. You should only need 1 lemon for the icing portion of this recipe.
How to Make Lemon Sweet Rolls
These step by step photos and instructions are here to help you visualize how to make this recipe. You can Jump to Recipe to get the printable version of this recipe, complete with measurements and instructions at the bottom.
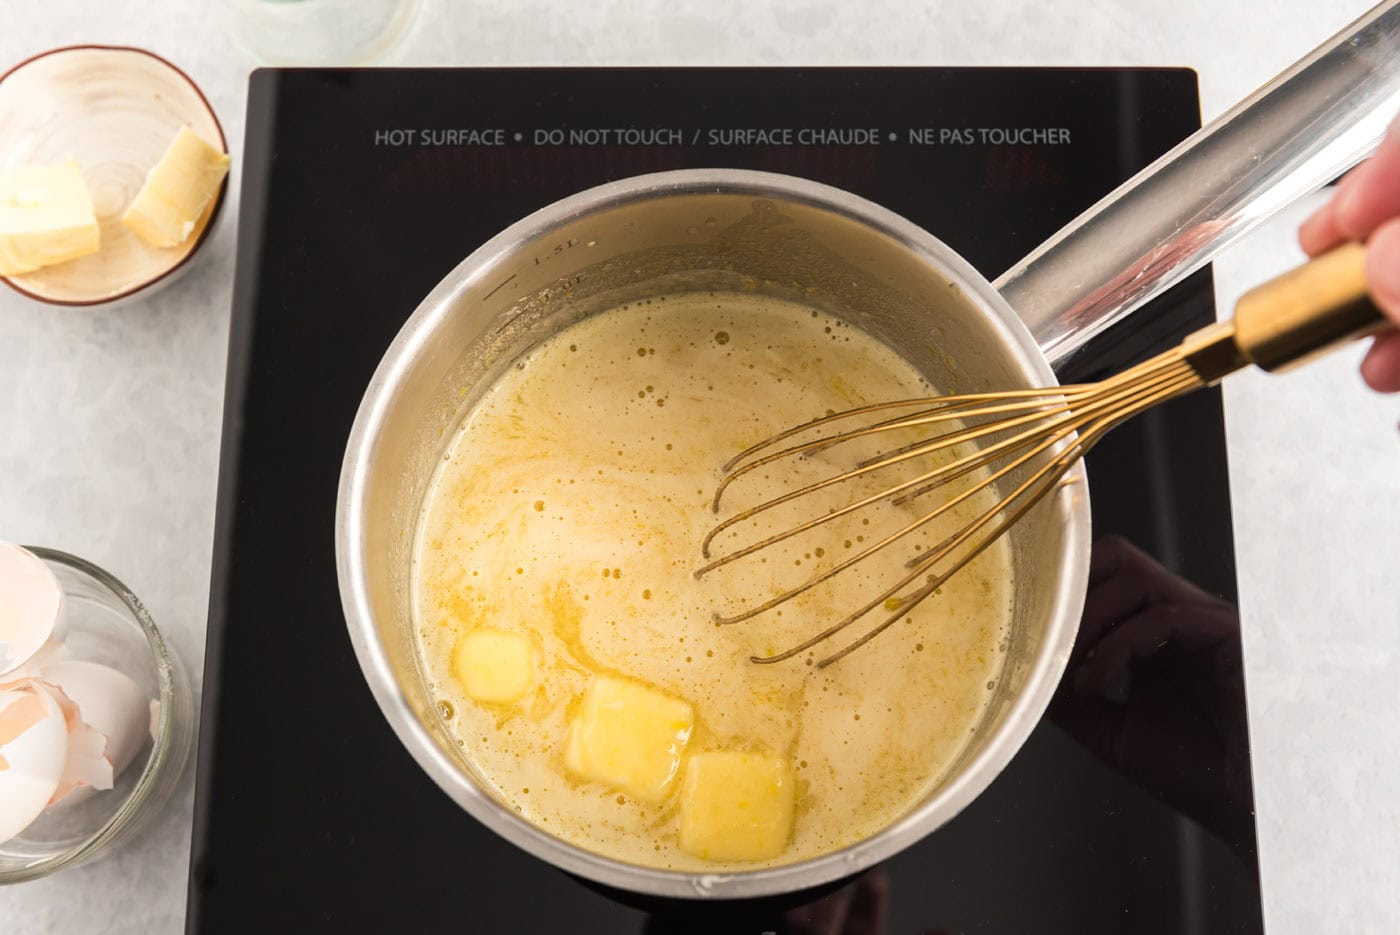
- To make the lemon curd, combine the lemon juice and sugar in a saucepan, whisk well, then add in the eggs. Heat over medium-low heat and start to whisk in the butter.
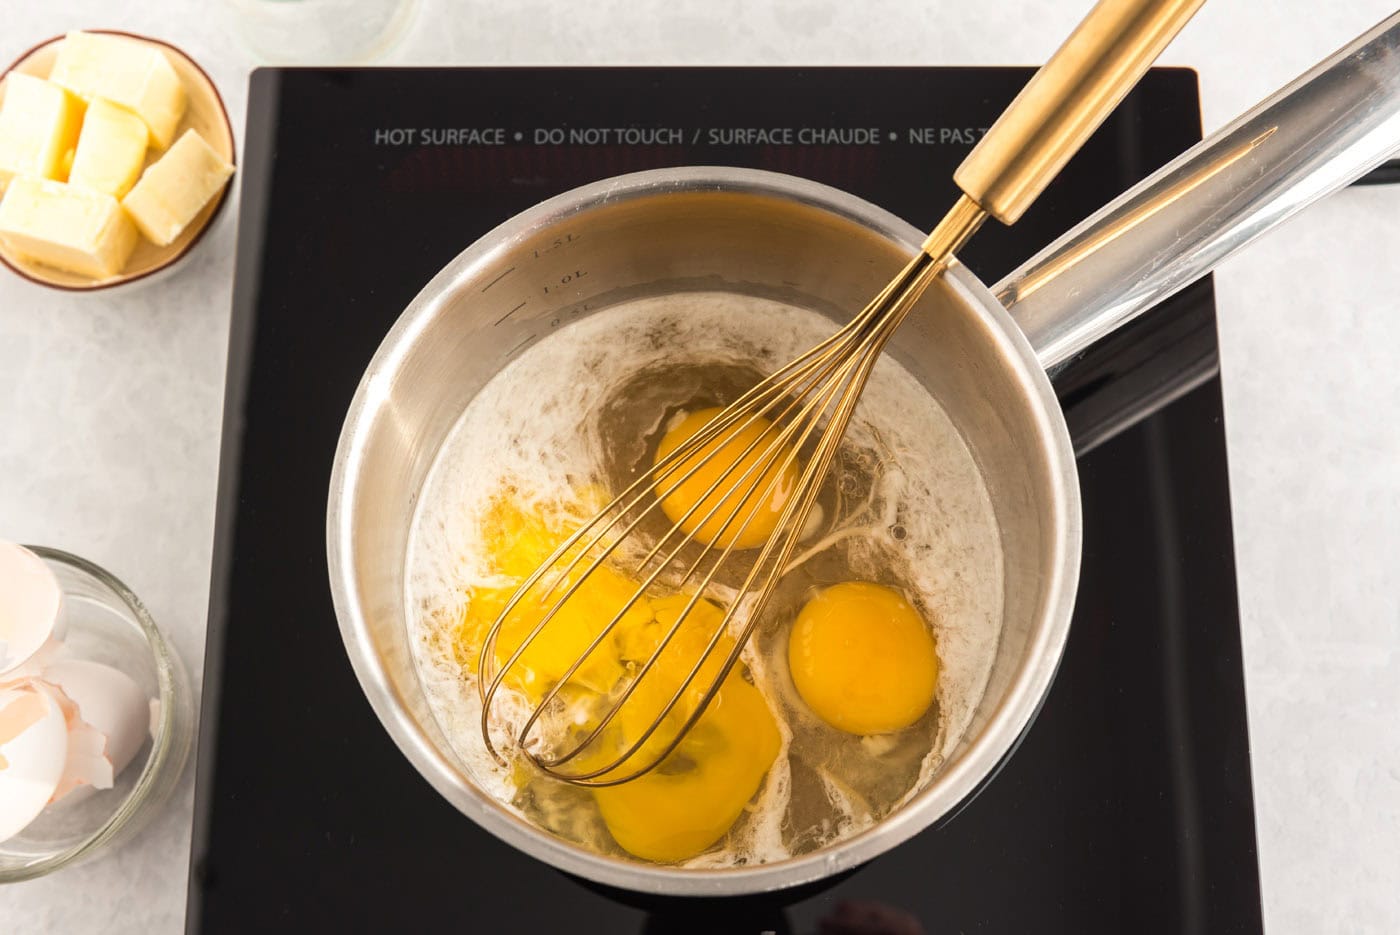
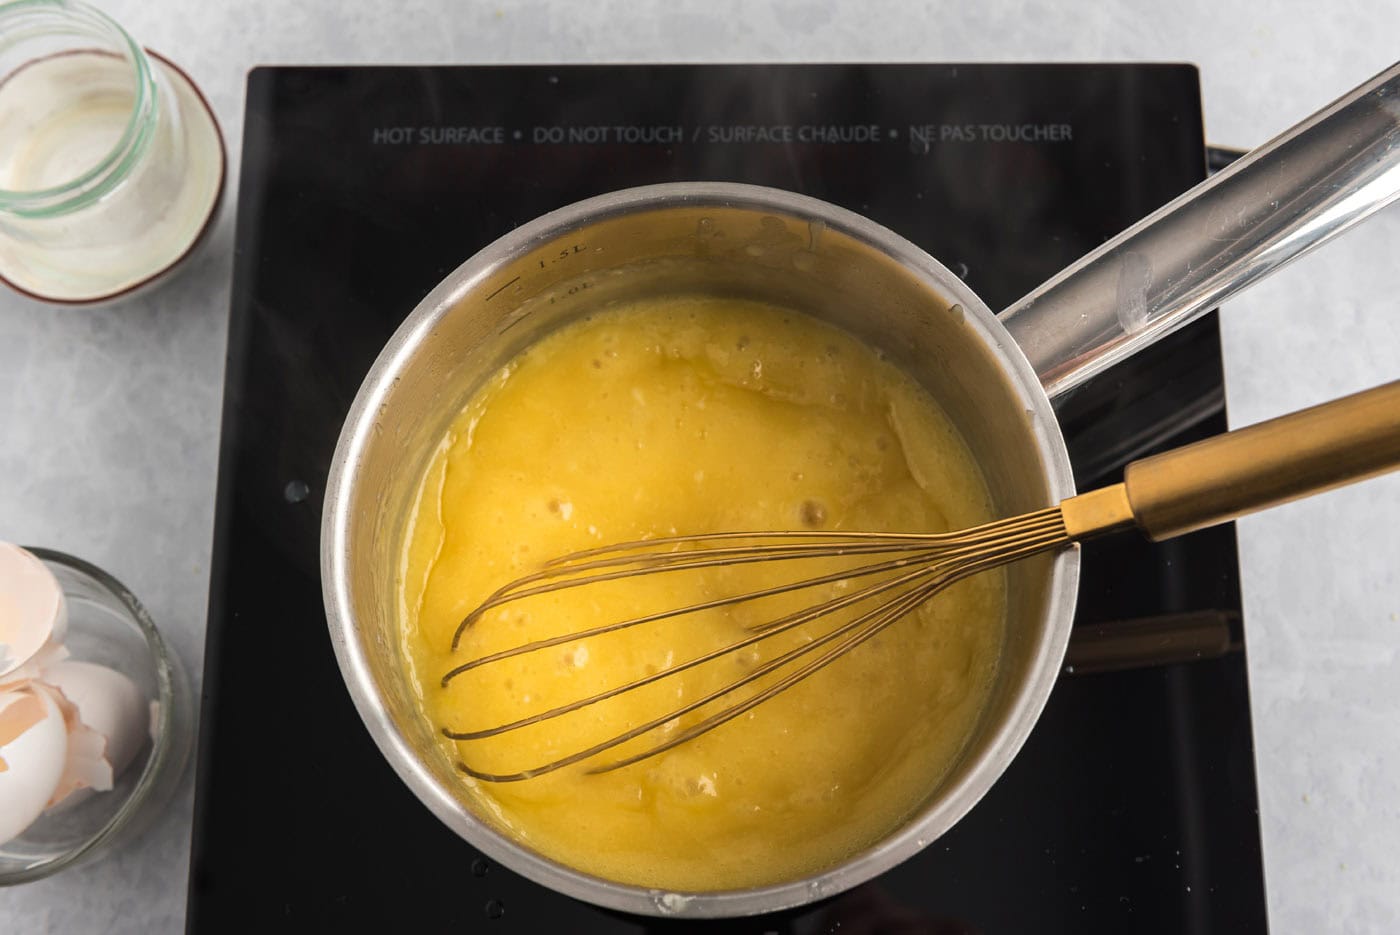
- Allow the mixture to bubble for about 2-3 minutes until starting to thicken before removing from heat. Allow to cool (you can transfer into a mason jar after it has cooled a bit to continue chilling in the fridge).
- Grease and line a 13×9 casserole dish and set aside.
- To make the dough, combine the warm water, yeast, salt, and 2 Tablespoons of the sugar in a large bowl.
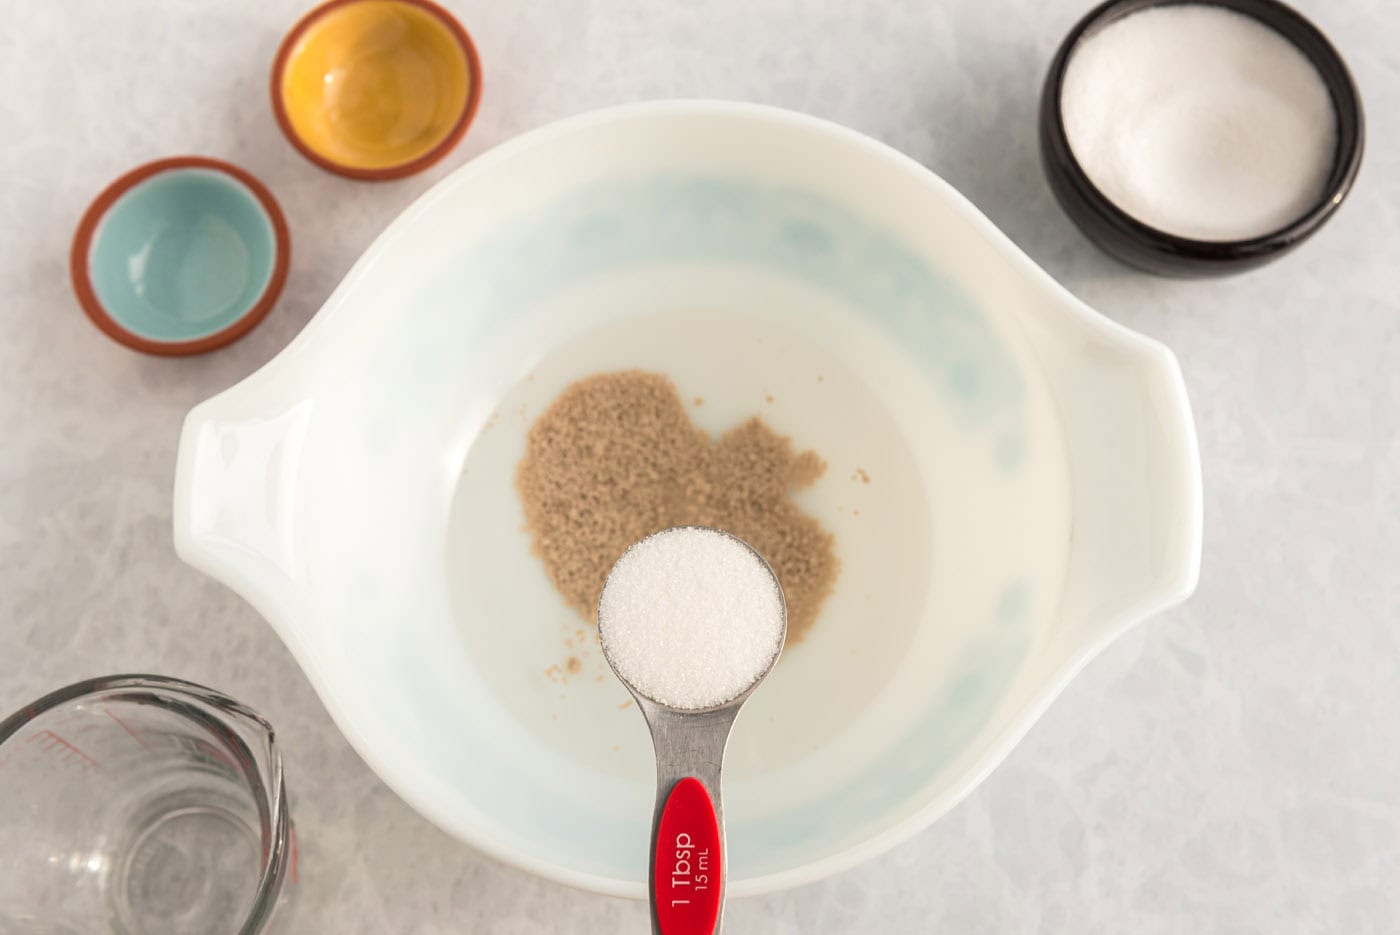
- Allow the mixture to “proof” (bubble) for 5 minutes before continuing with the recipe.
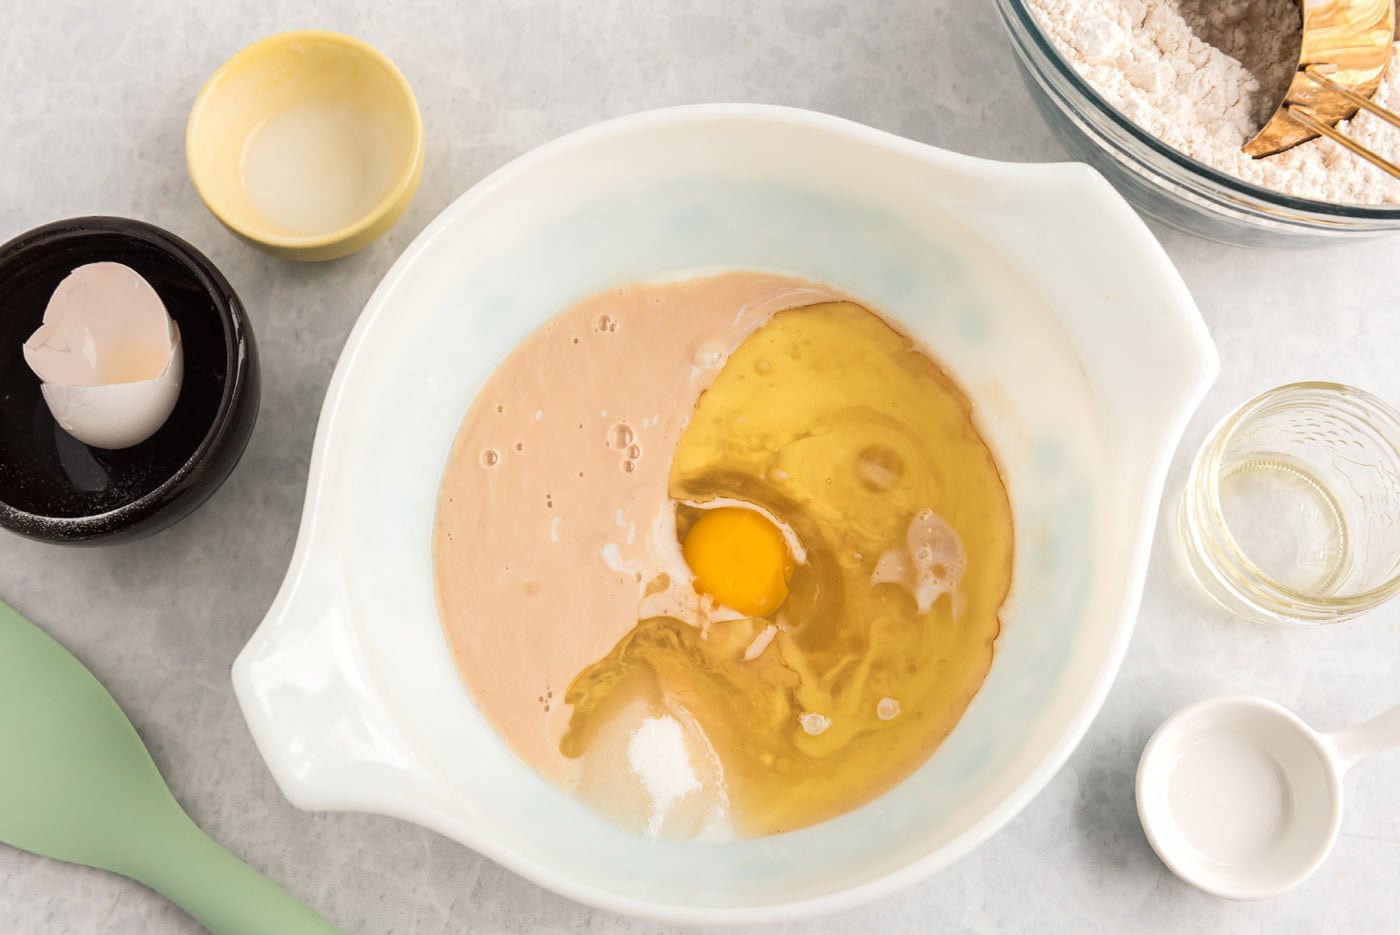
- Add the remaining 6 tablespoons sugar, buttermilk, egg, and vegetable oil and stir well.
- Add in the flour, 1 cup at a time, until well incorporated.
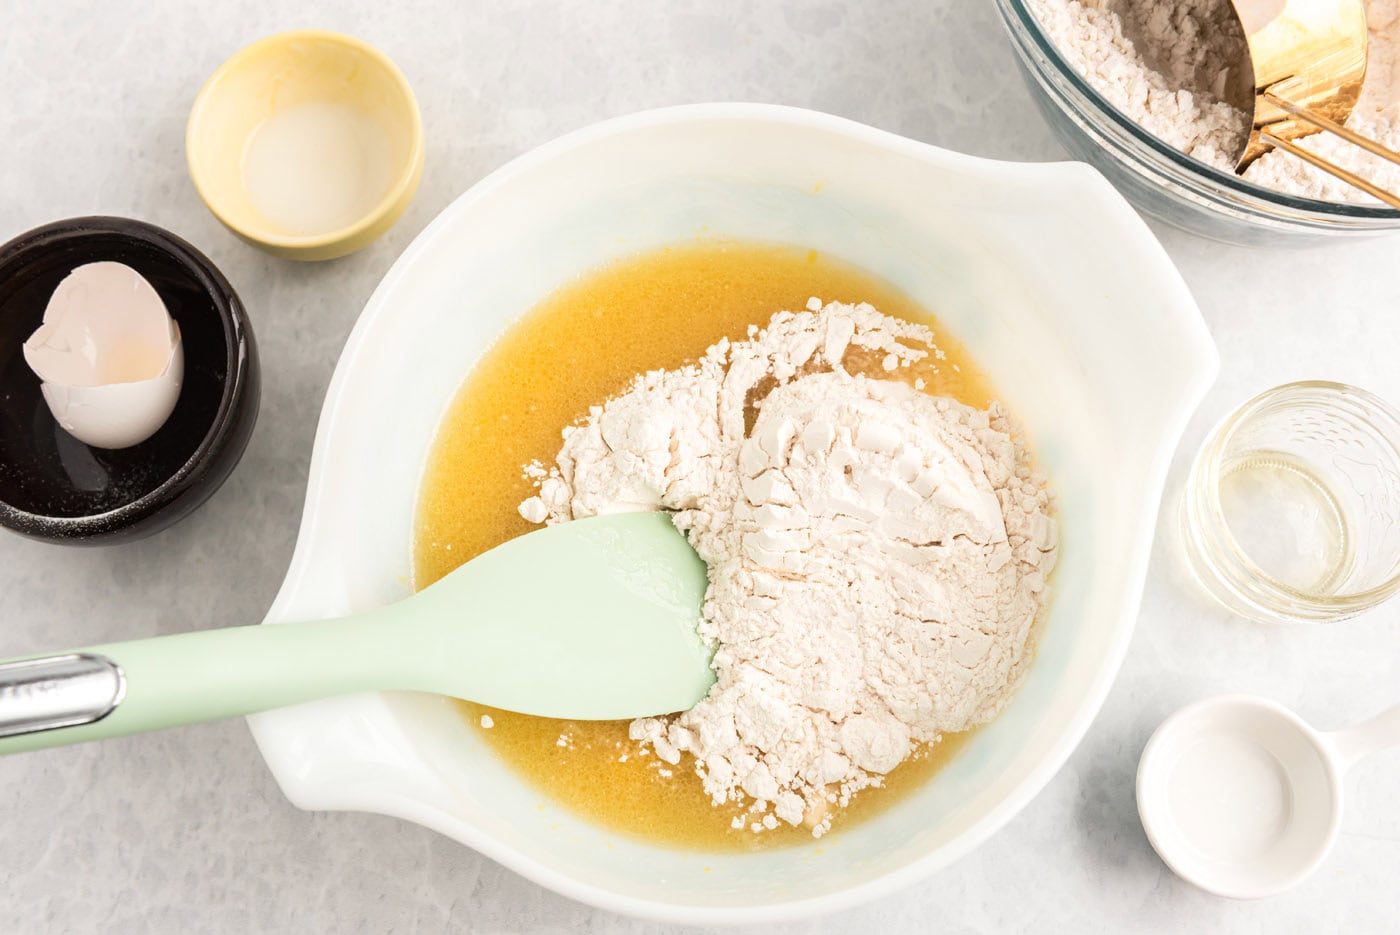
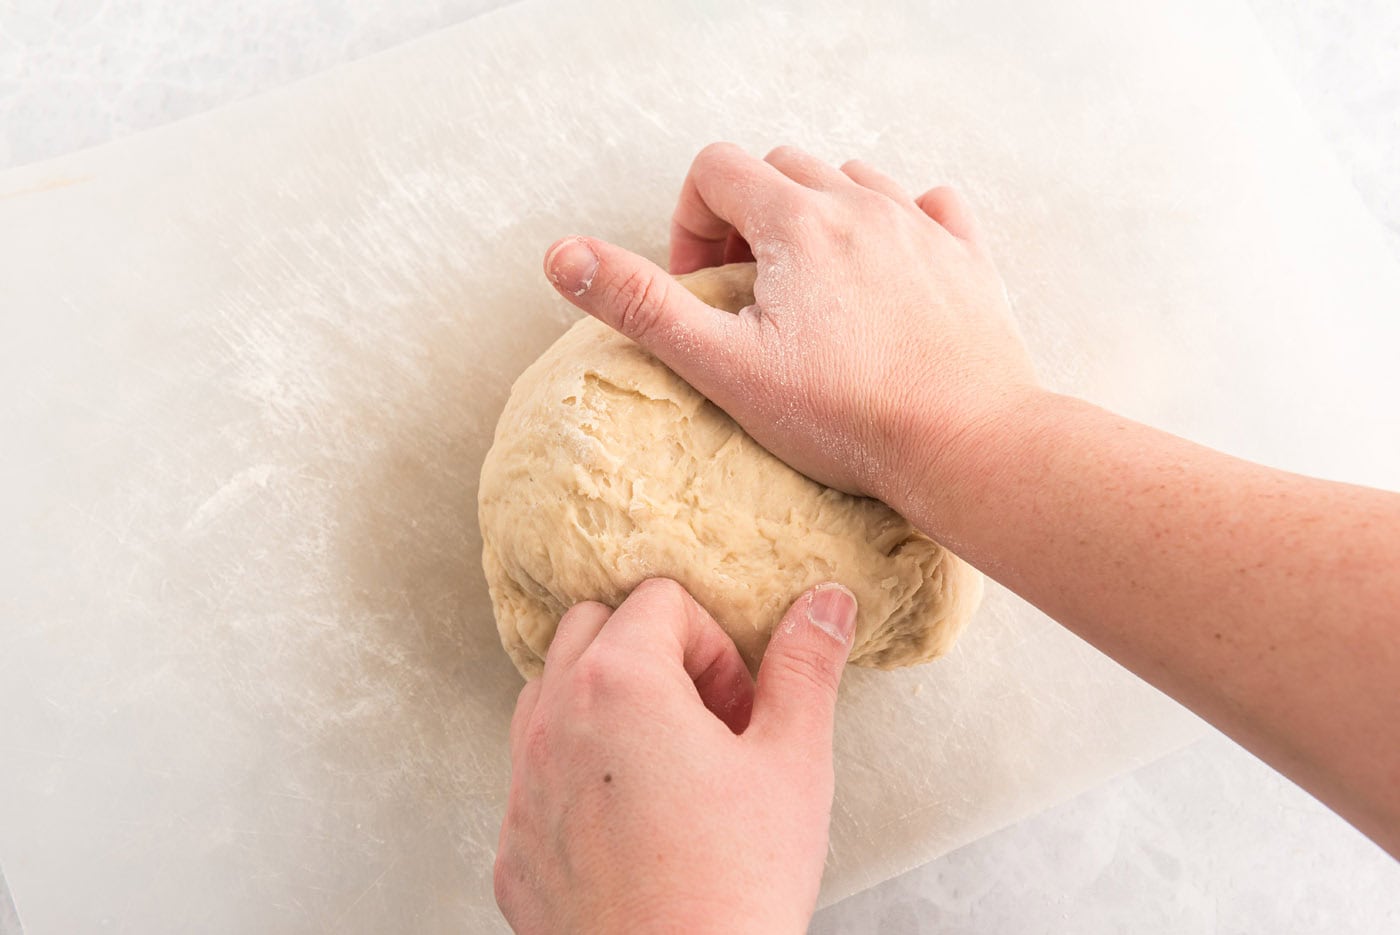
- Knead the dough for 5 minutes, then cover the bowl with a clean kitchen towel and allow to rise, about an hour.
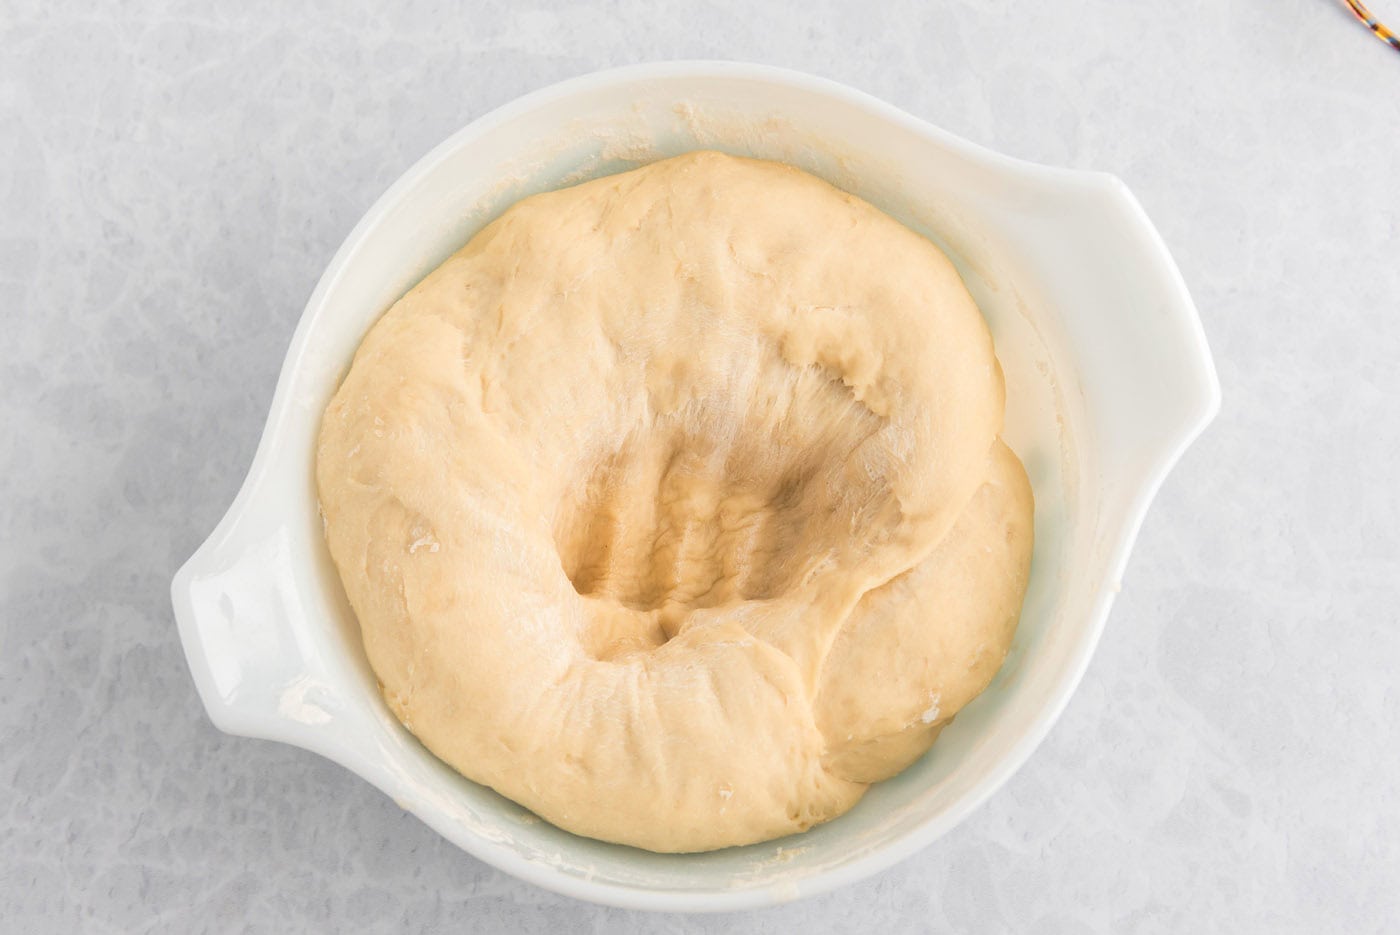
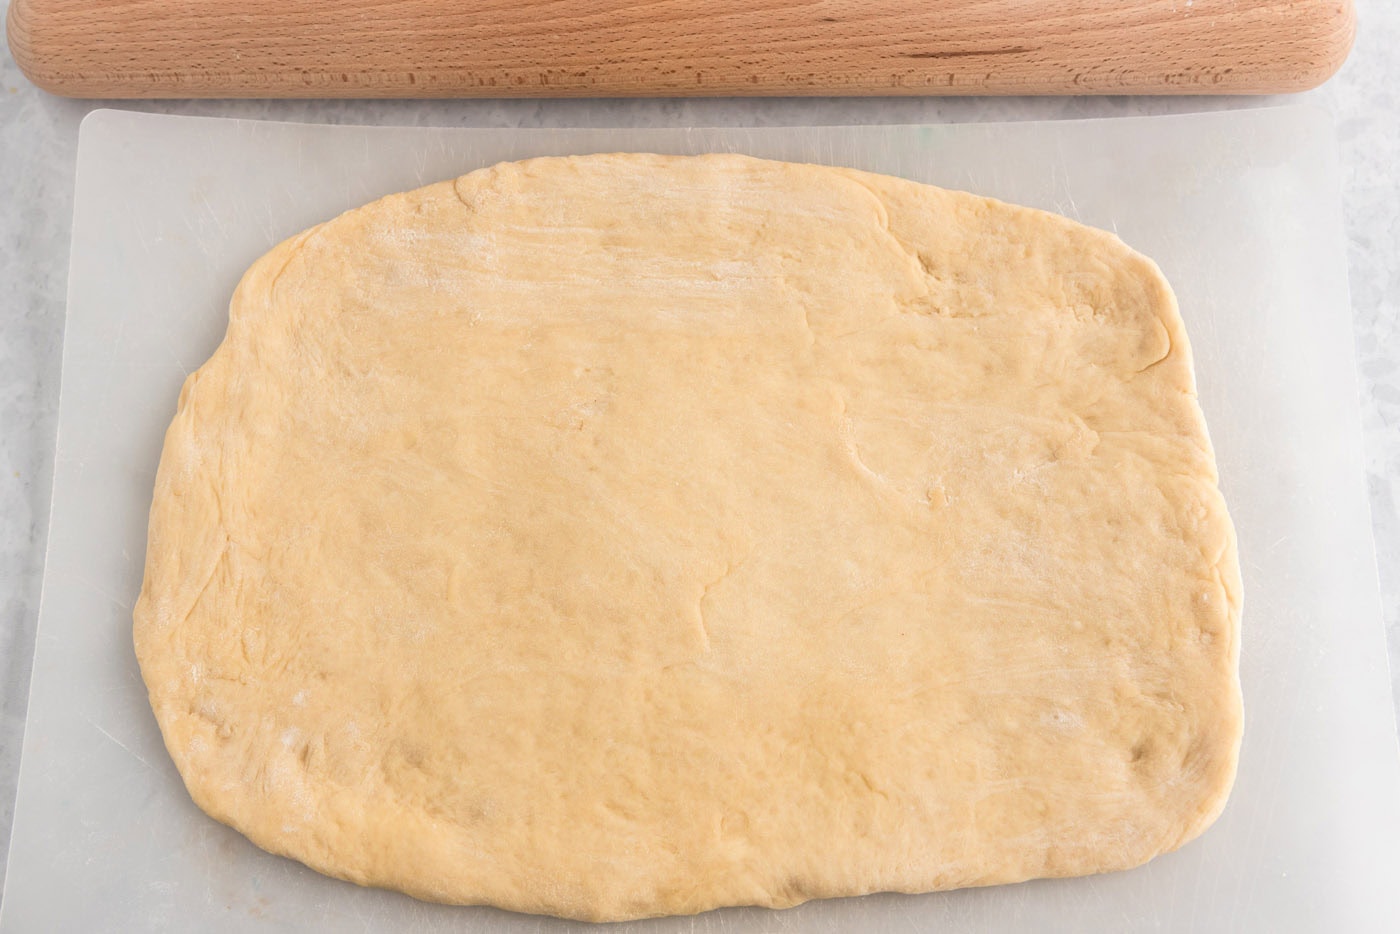
- Punch down the dough and then roll out on a floured surface into a large rectangle about 1/2″ thick. (Use flour to prevent the dough from sticking to the rolling pin as well.)
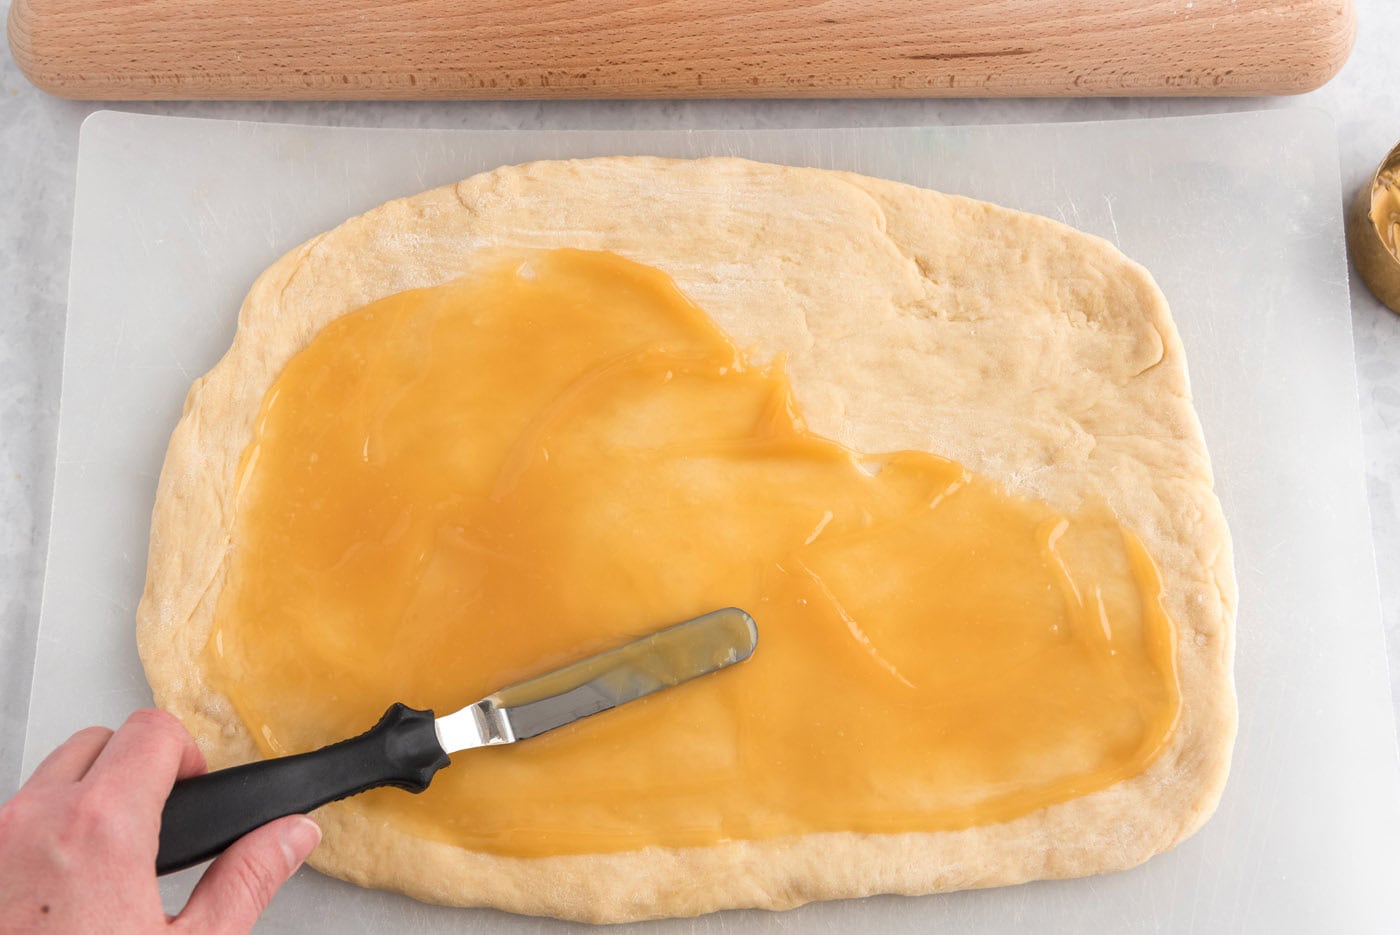
- Spread the lemon curd over the rolled dough and then roll one long side of the rectangle towards the other, forming a tight log.
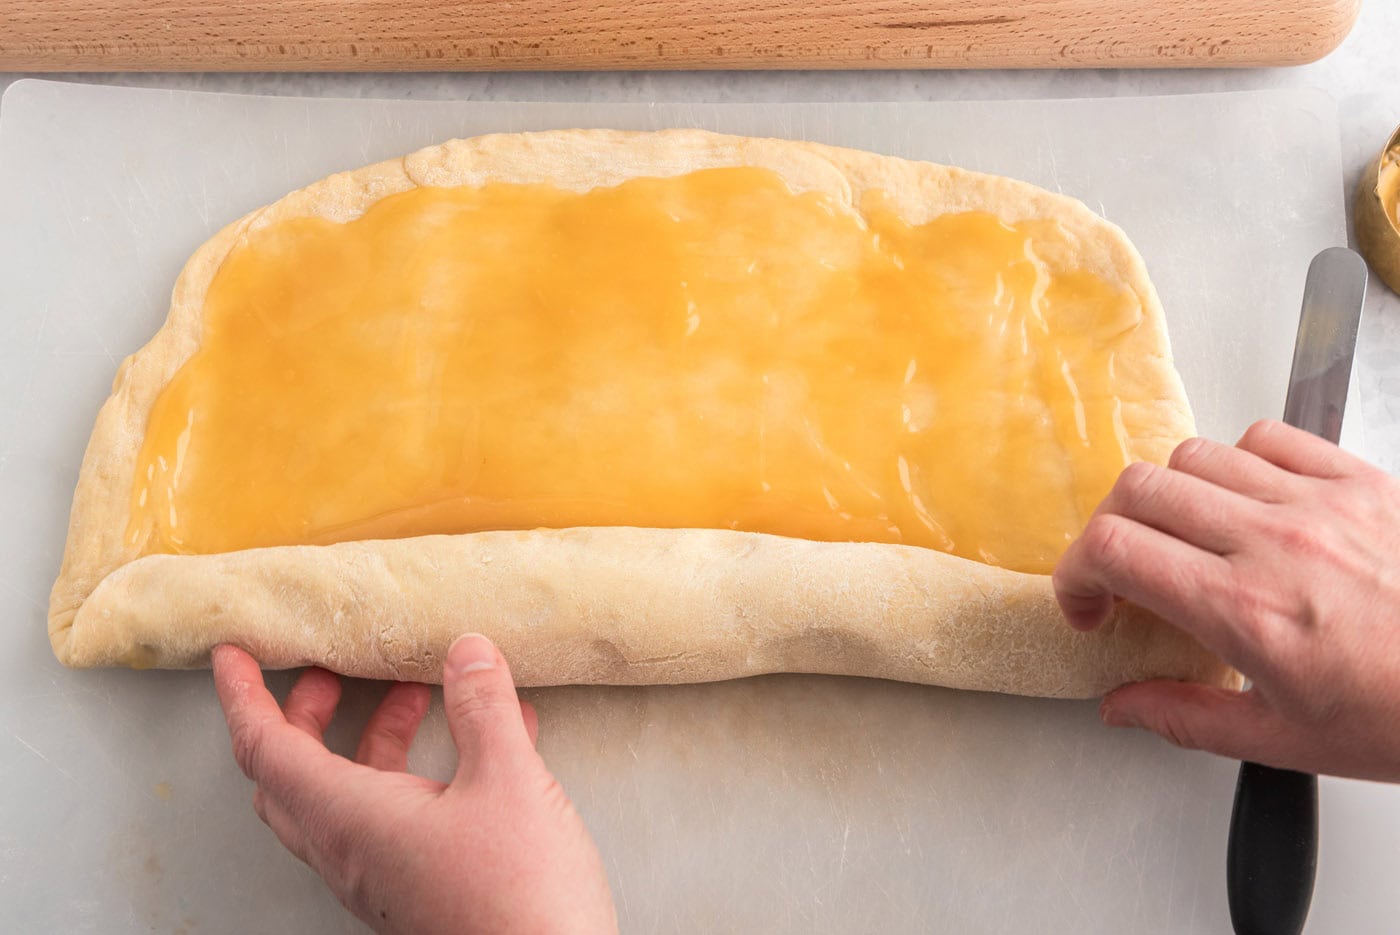
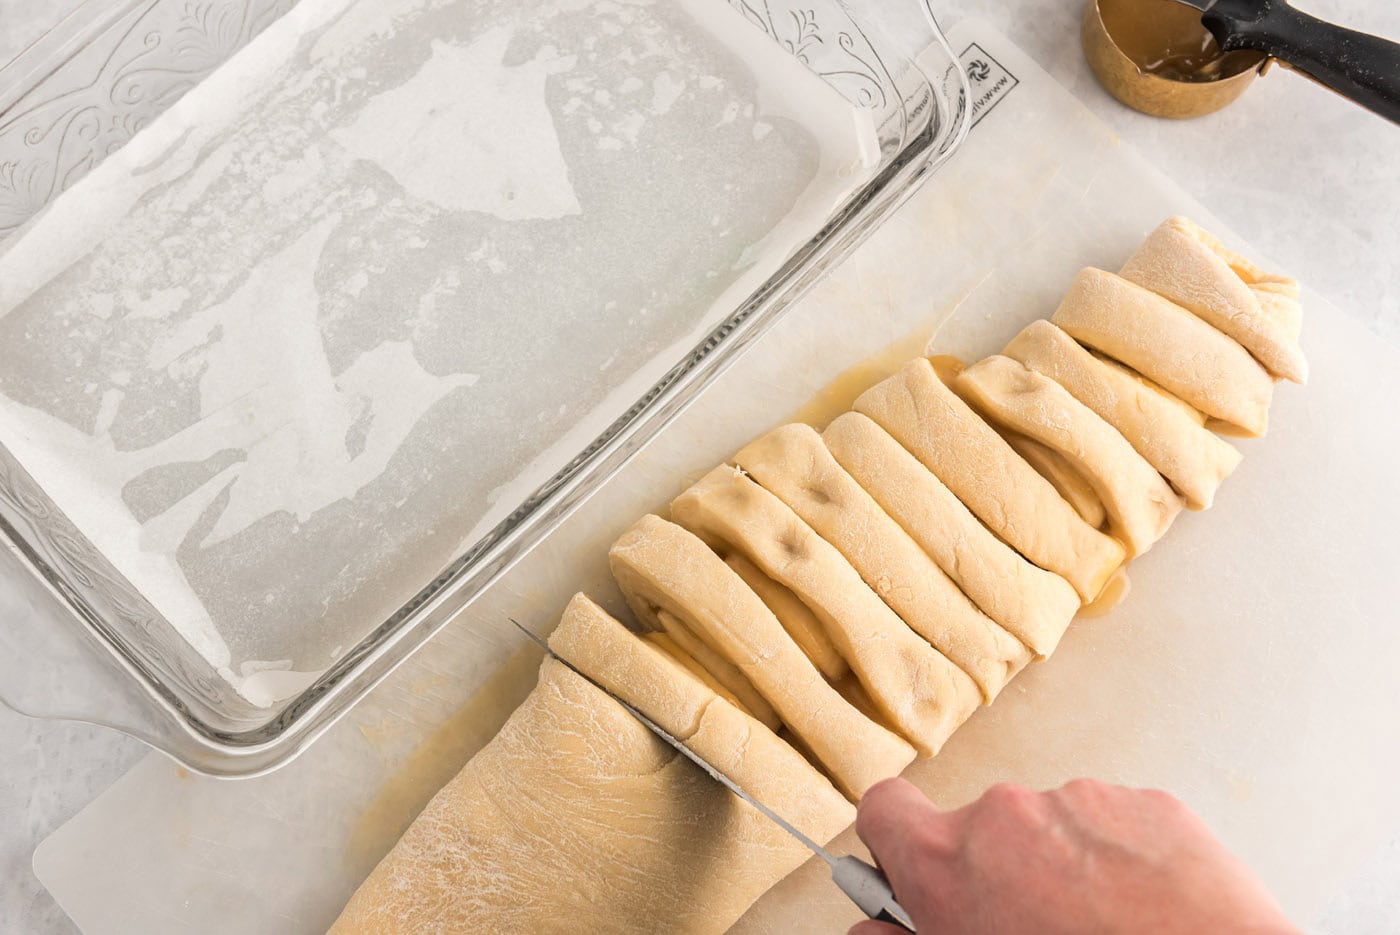
- Cut the log into 2″ sections to form the sweet rolls.
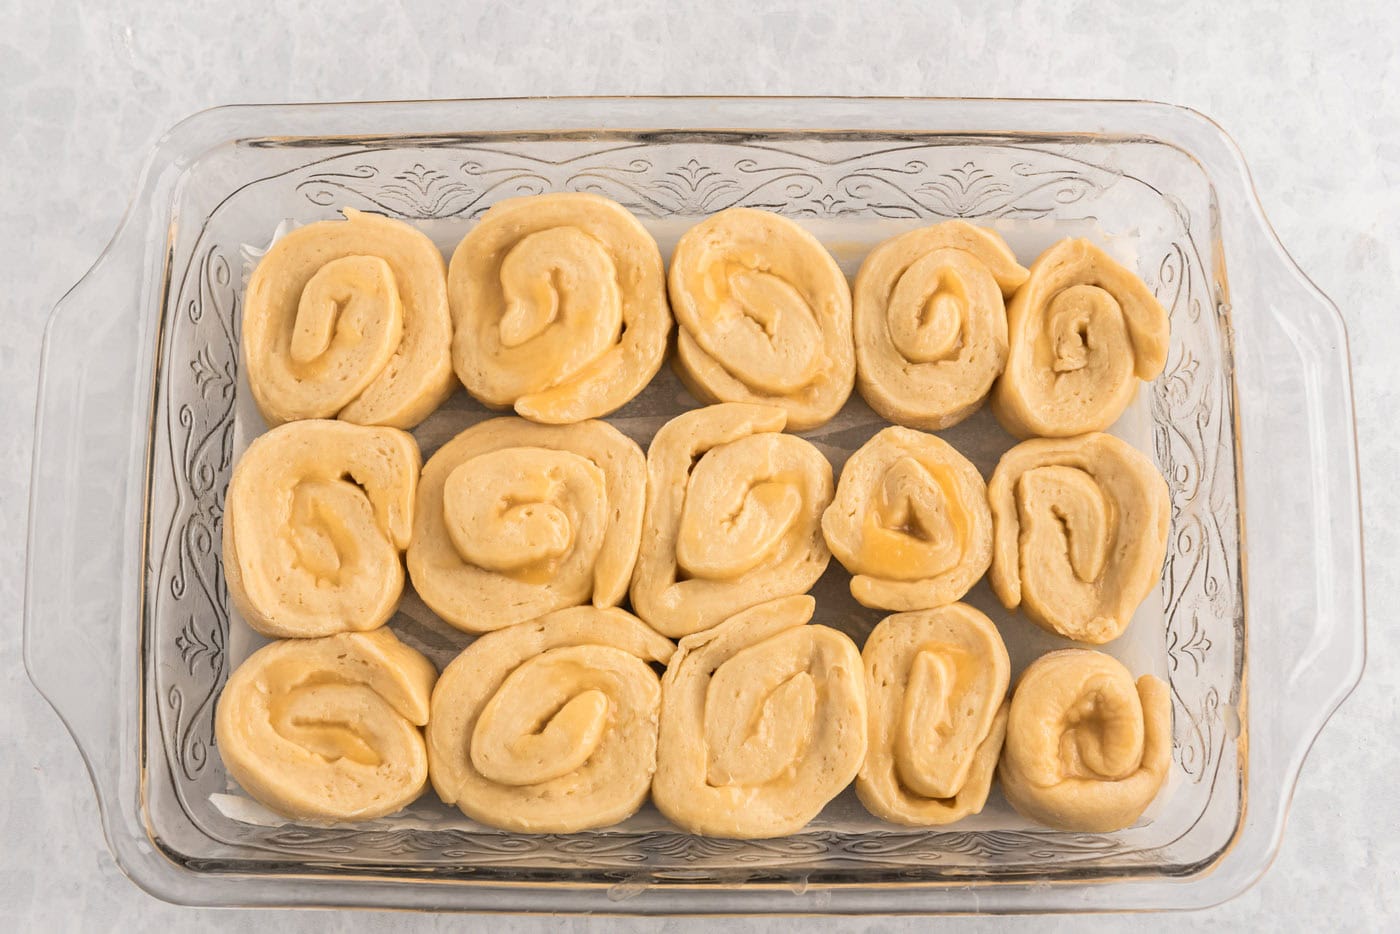
- Place the buns in the prepared casserole dish and cover with tinfoil, allowing to rise one last time, approximately 1-2 hours.
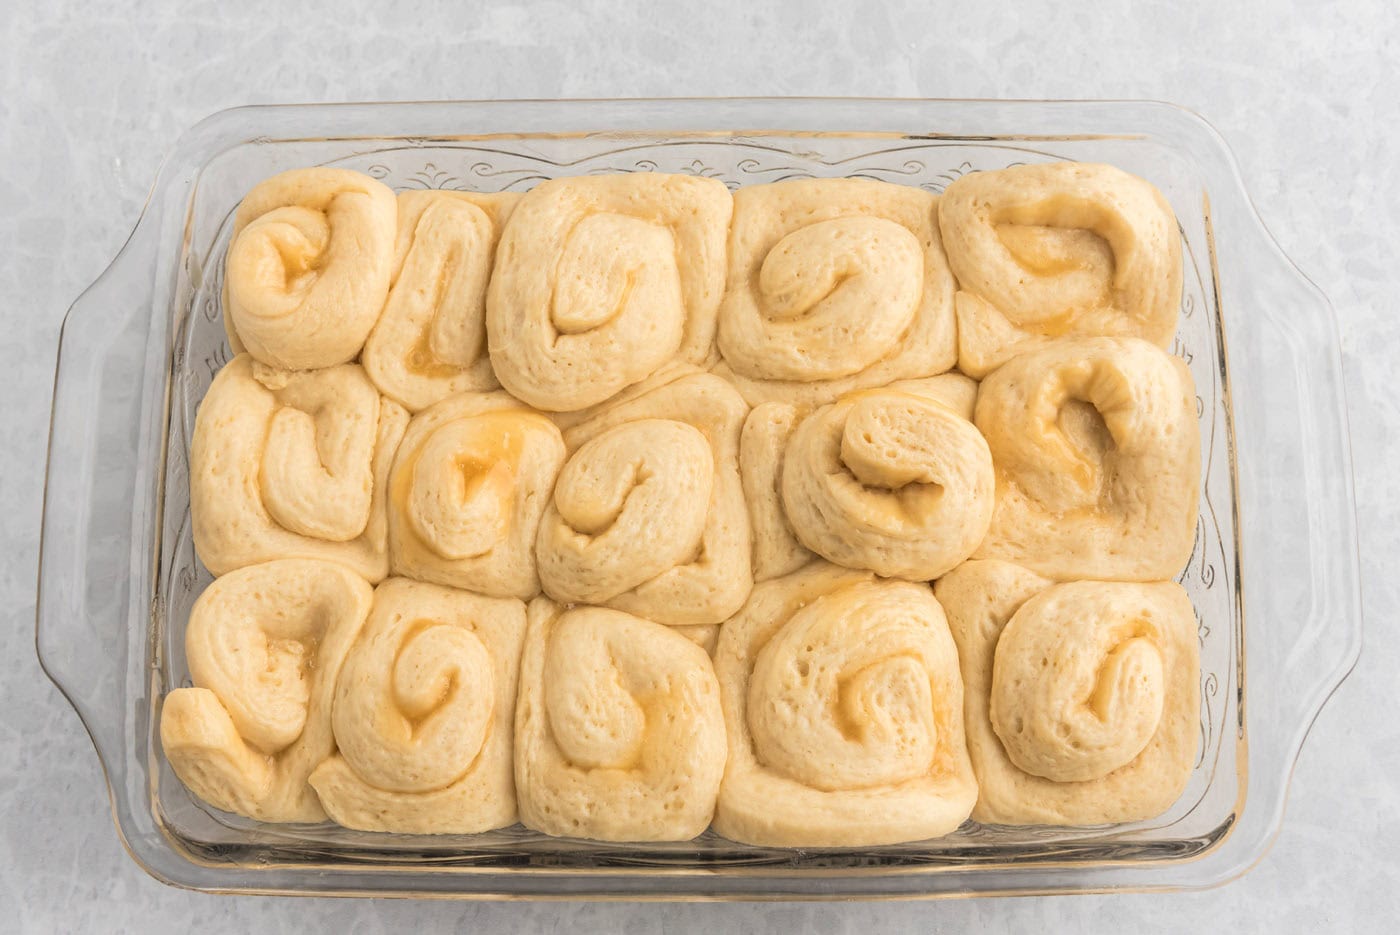
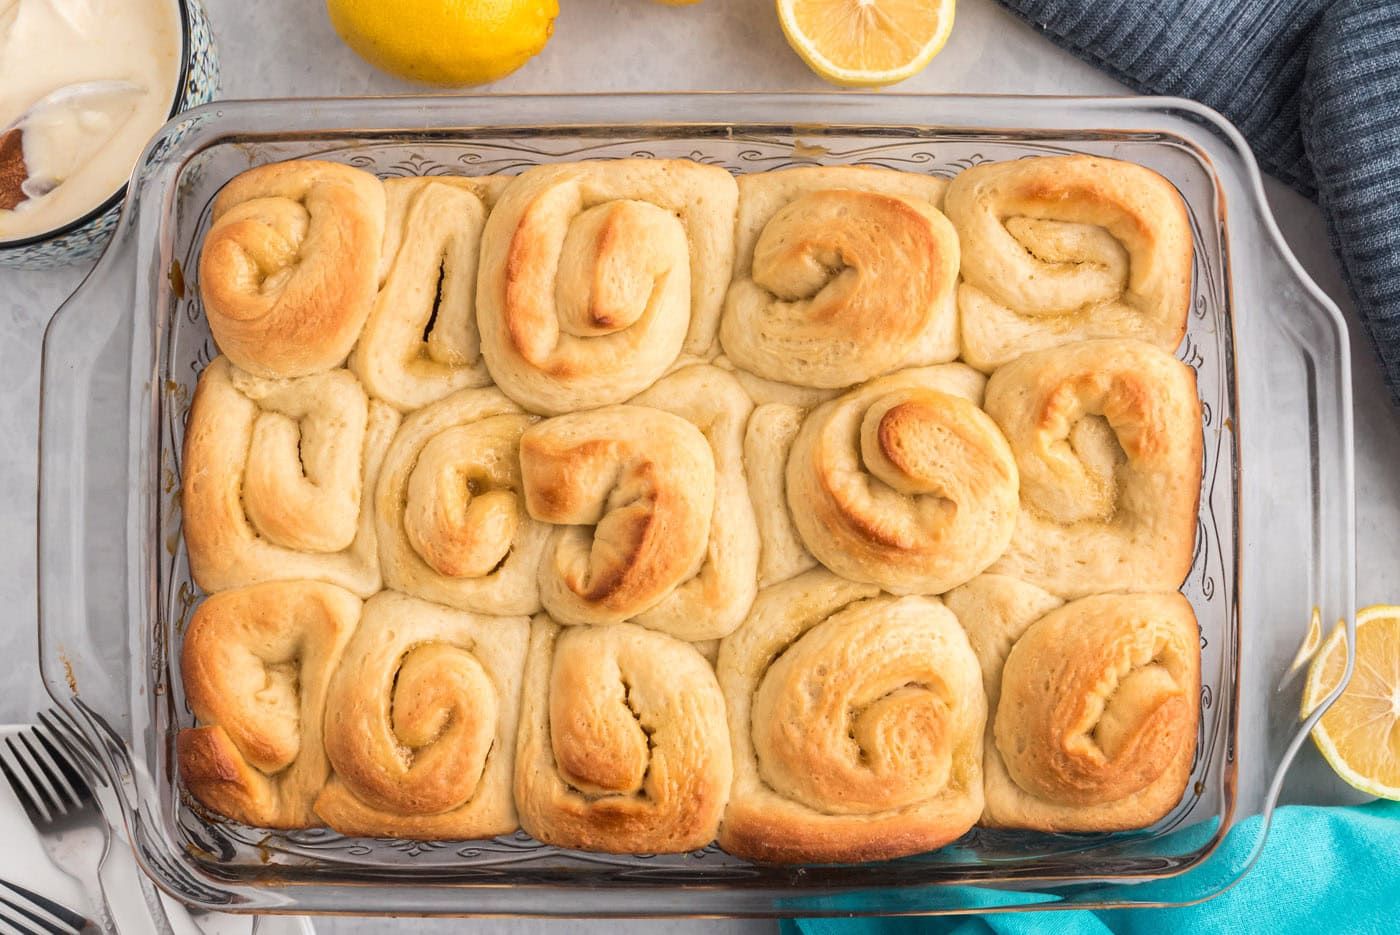
- Heat the oven to 350F and bake the rolls for 17 minutes.
Lemon Cream Cheese Icing
- Start the icing while the lemon rolls are baking. Beat the cream cheese with an electric mixer until smooth.
- Add the butter and continue mixing until combined. Add the lemon juice, zest, and powdered sugar and beat until combined.
- Use an icing spatula to spread the icing over the top of the baked rolls. You may have extra icing, which I like to serve on the side!
Frequently Asked Questions & Expert Tips
How do you store lemon rolls?Allow your lemon sweet rolls to cool, cover the top of the pan with aluminum foil, and refrigerate them for up to 4 days after baking. Reheat a lemon roll in the microwave for 15-20 seconds or until warm.
Can I use instant yeast instead?Yes, you can substitute the active dry yeast with instant yeast to make this recipe a little quicker. You will only need to let the dough rise once (when in the bowl) and can skip the rise called for in step 12.

Serving Suggestions
You can top your lemon sweet rolls with either the lemon cream cheese icing we provided, or opt for a simple powdered sugar glaze (powdered sugar, milk, and lemon juice). Optionally garnish with a light dusting of lemon zest.
These lemon rolls are best when they are warm and fluffy, and the icing is melty and smooth. I love a sweet roll along with my coffee in the morning but these could honestly pass for either brunch or dessert as well. Enjoy!
More Related Recipes
- Quick Orange Rolls
- Lemon Baked Donuts
- Blueberry Breakfast Cake
- Cherry Cream Cheese Coffee Cake
- Blueberry Donuts
I love to bake and cook and share my kitchen experience with all of you! Remembering to come back each day can be tough, that’s why I offer a convenient newsletter every time a new recipe posts. Simply subscribe and start receiving your free daily recipes!
This recipe originally appeared here on May 19, 2018 and has since been updated with new photos and expert tips. Original recipe contributed by Jennifer at SugarSpiceandGlitter.
More recipes to try
Eight more recipes from the kitchen.

John Wayne Casserole
Have you ever heard of John Wayne Casserole? Delicious layers of…

Hot Toddy
A classic hot toddy begins with only 4 ingredients – water, whiskey…
Tatertot Casserole
Layers of beef, veggies, melty cheese, and crispy golden tots make…
Brookies
Brookies are the best of both worlds, chewy chocolate chip cookies and…
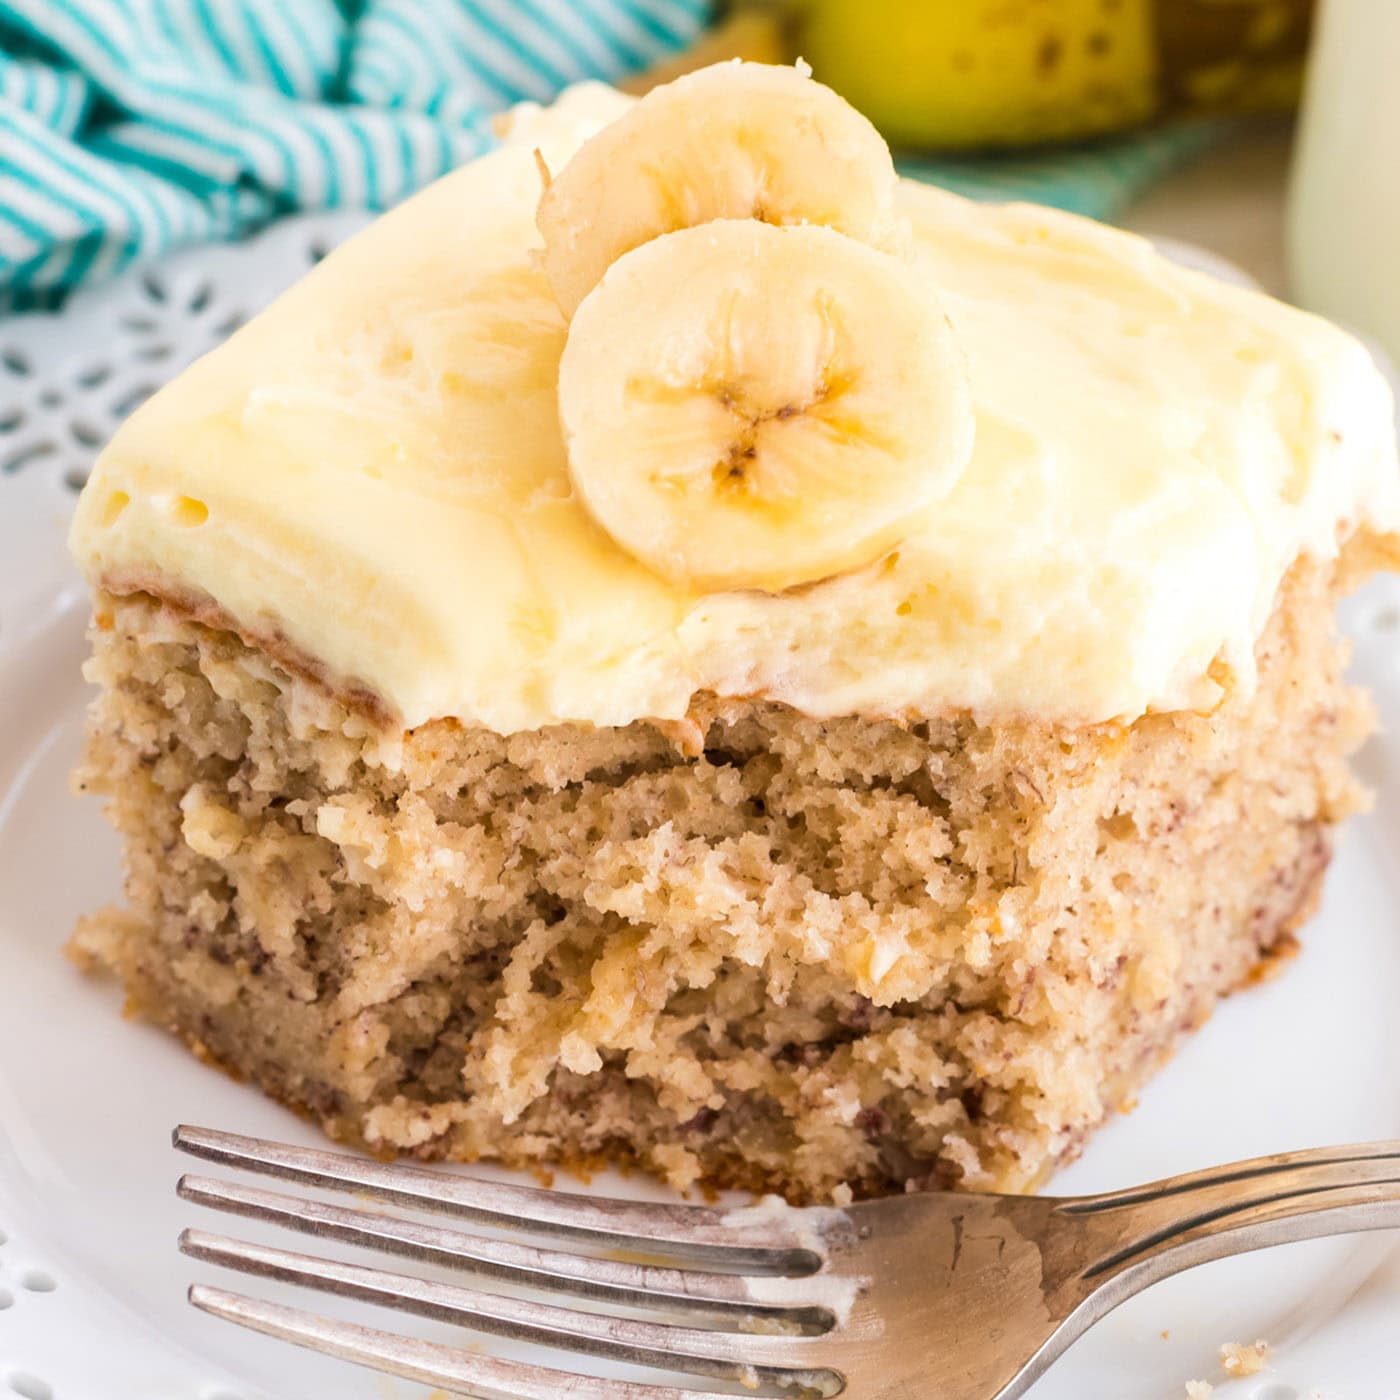
Easy Banana Cake
Once you sink your teeth into this easy banana cake topped with a…
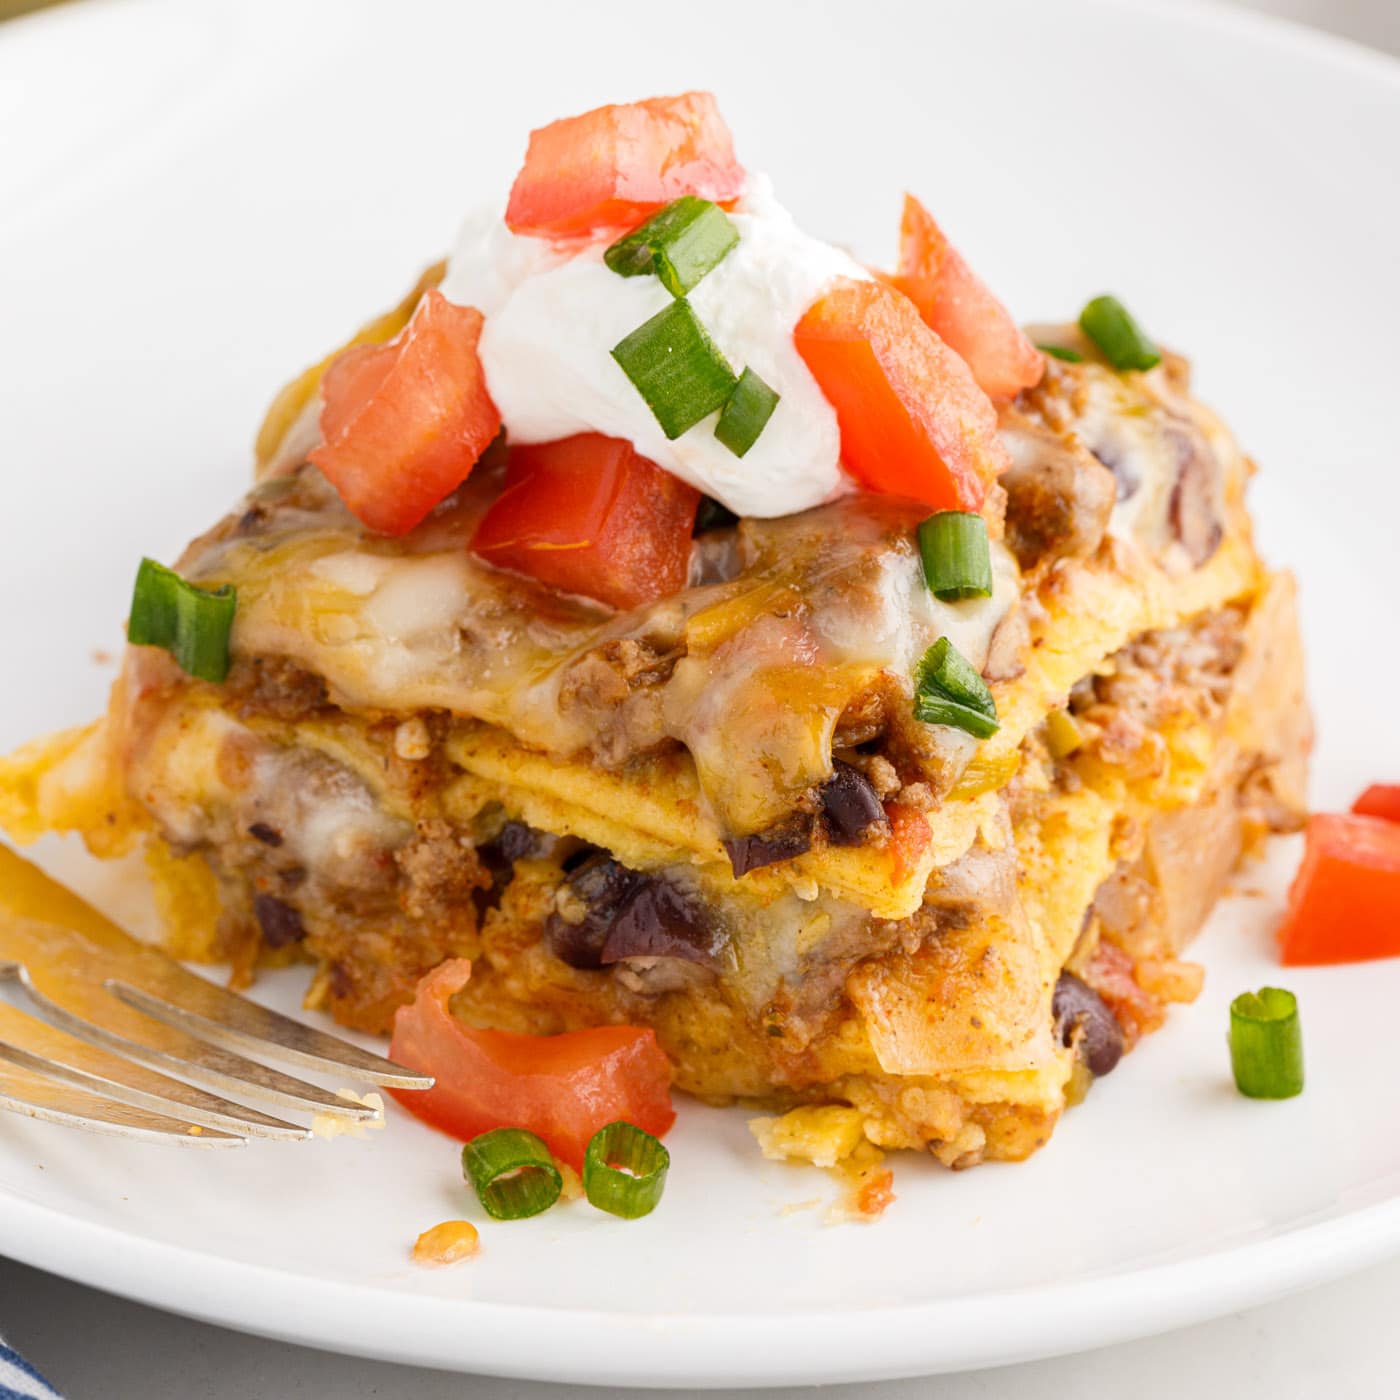
Mexican Lasagna
Easy, cheesy Mexican lasagna is made with a seasoned beef mixture…
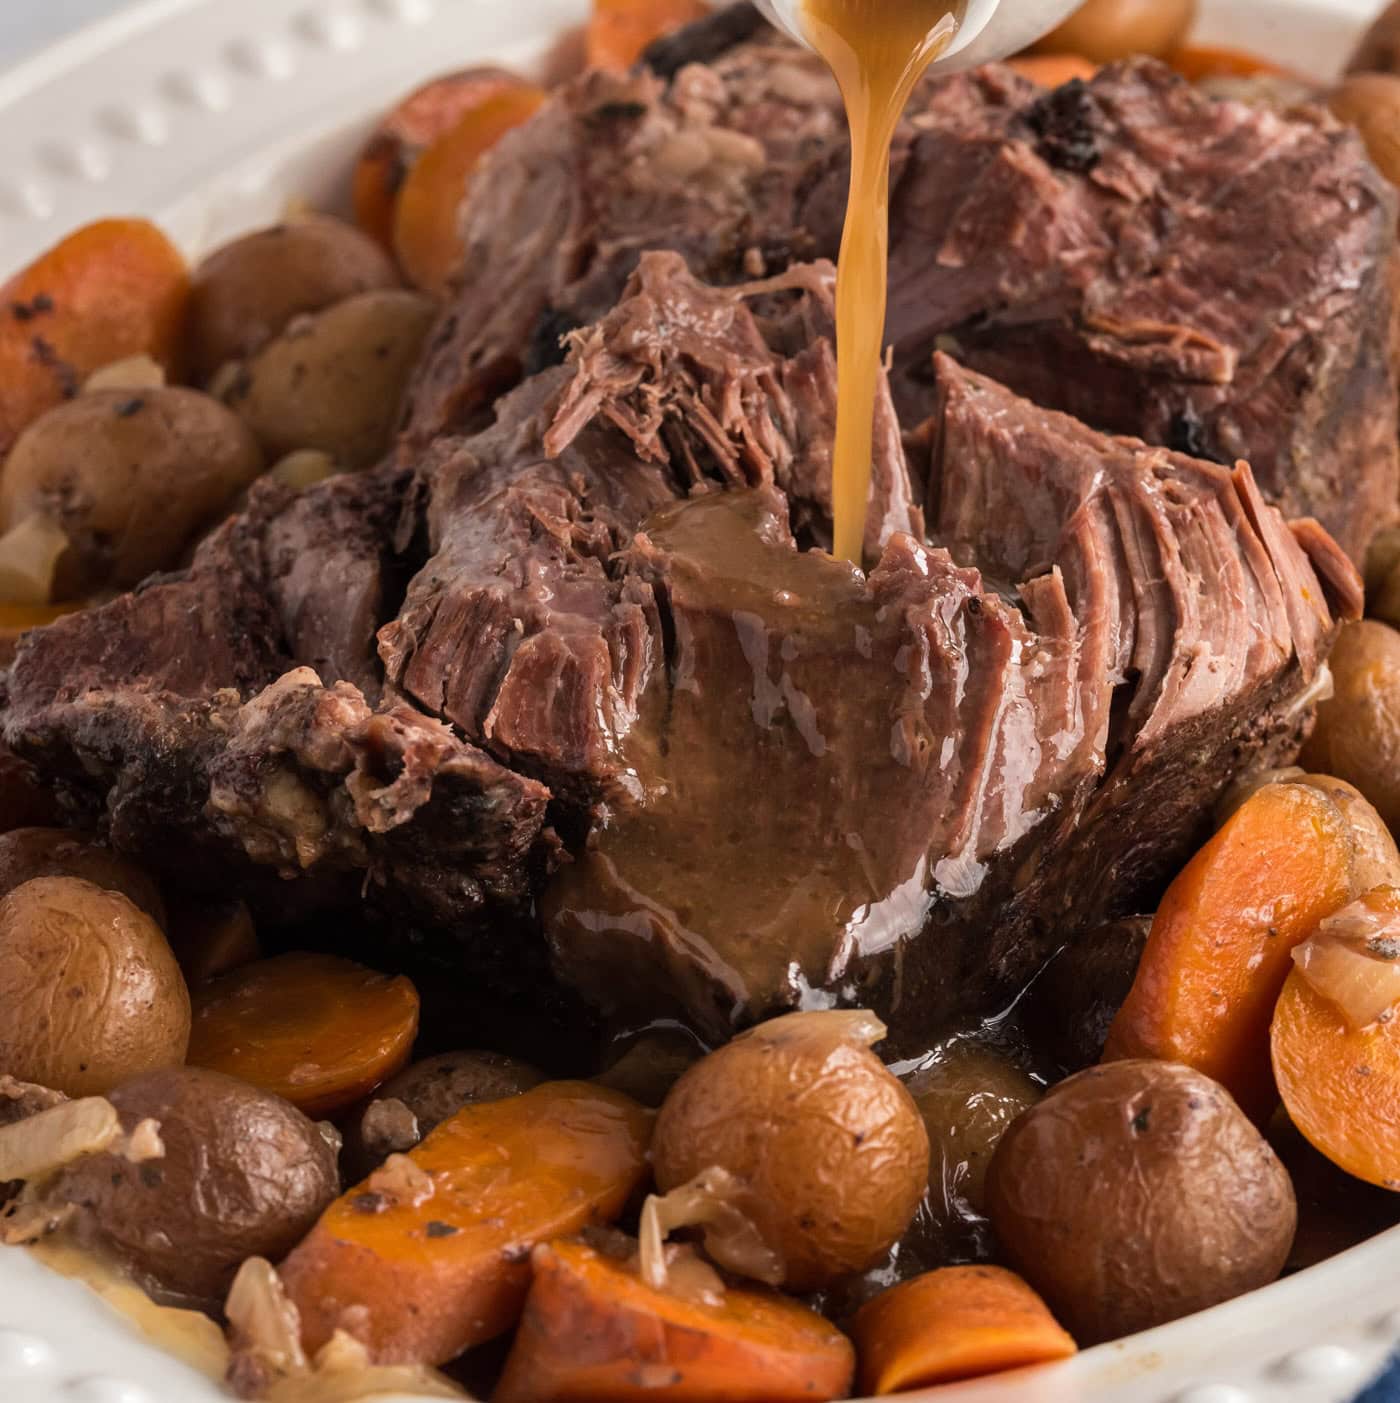
Crockpot Roast Beef
Melt-in-your-mouth crockpot roast beef made with flavorful gravy and…
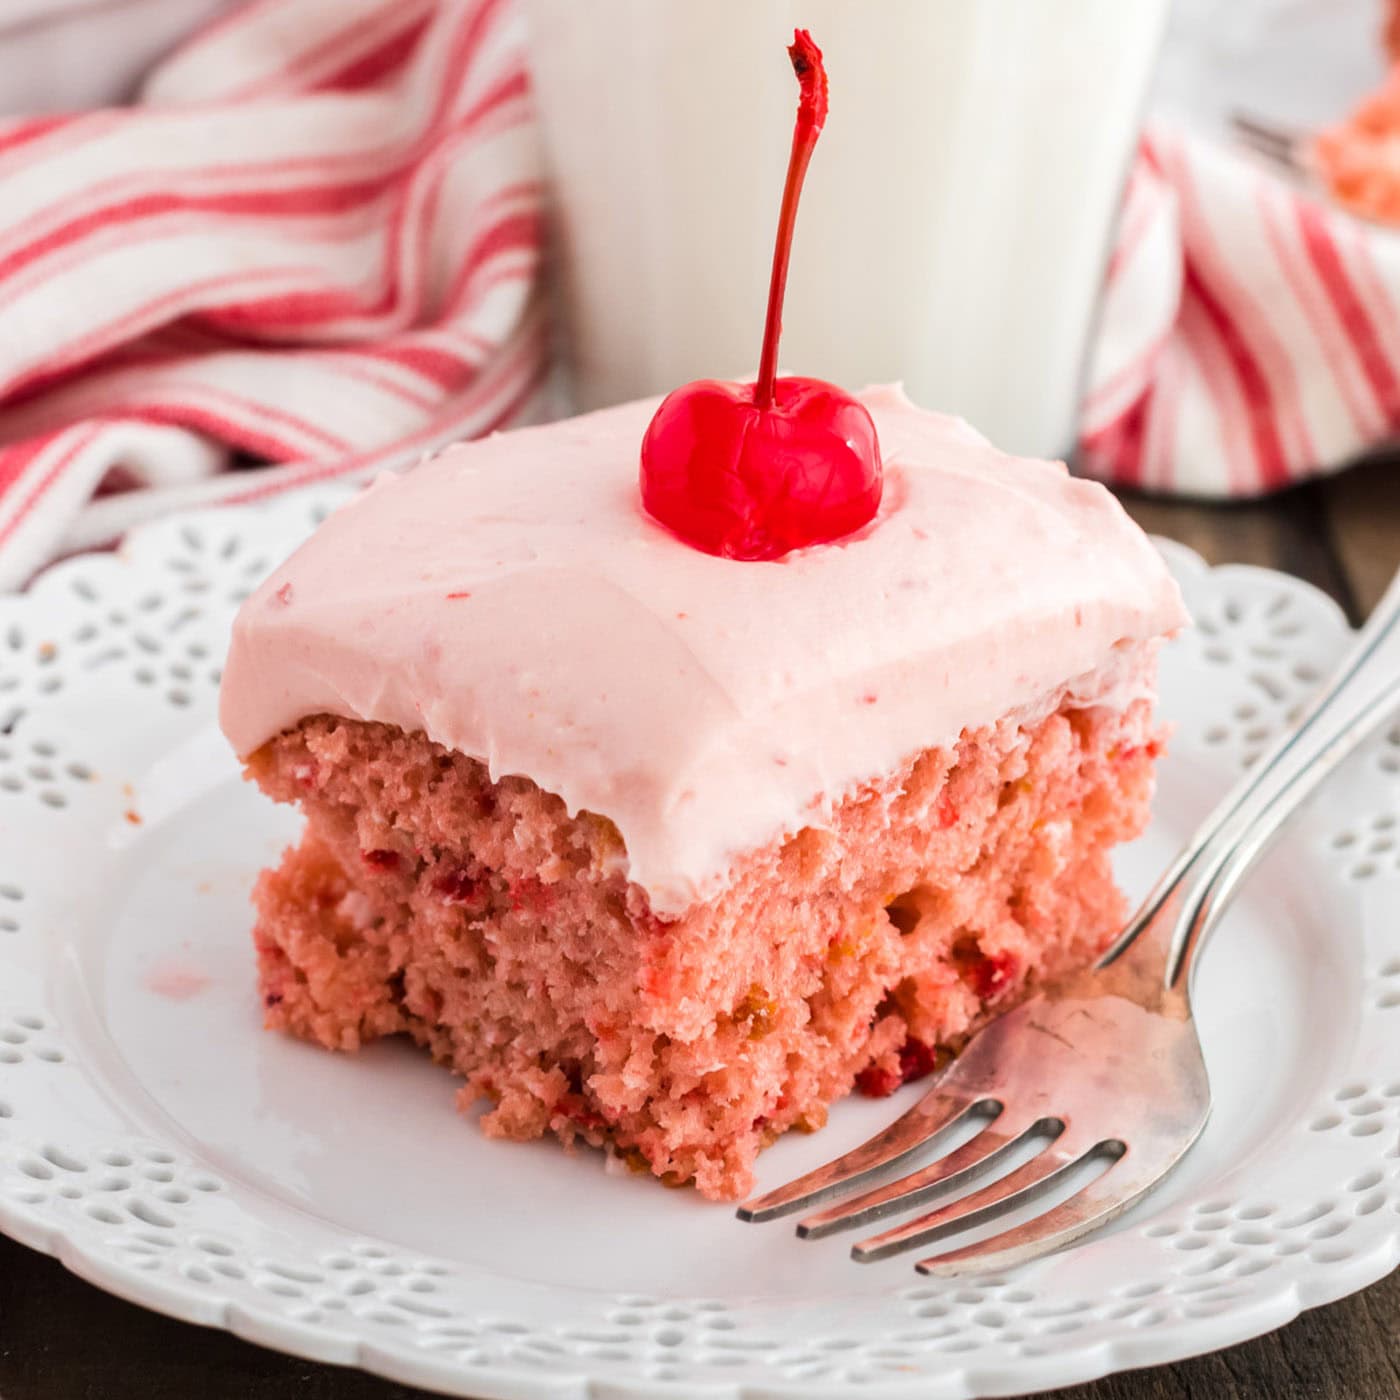
Cherry Cake with Cherry Frosting
If you love cherry flavored everything, this cherry cake is definitely…