
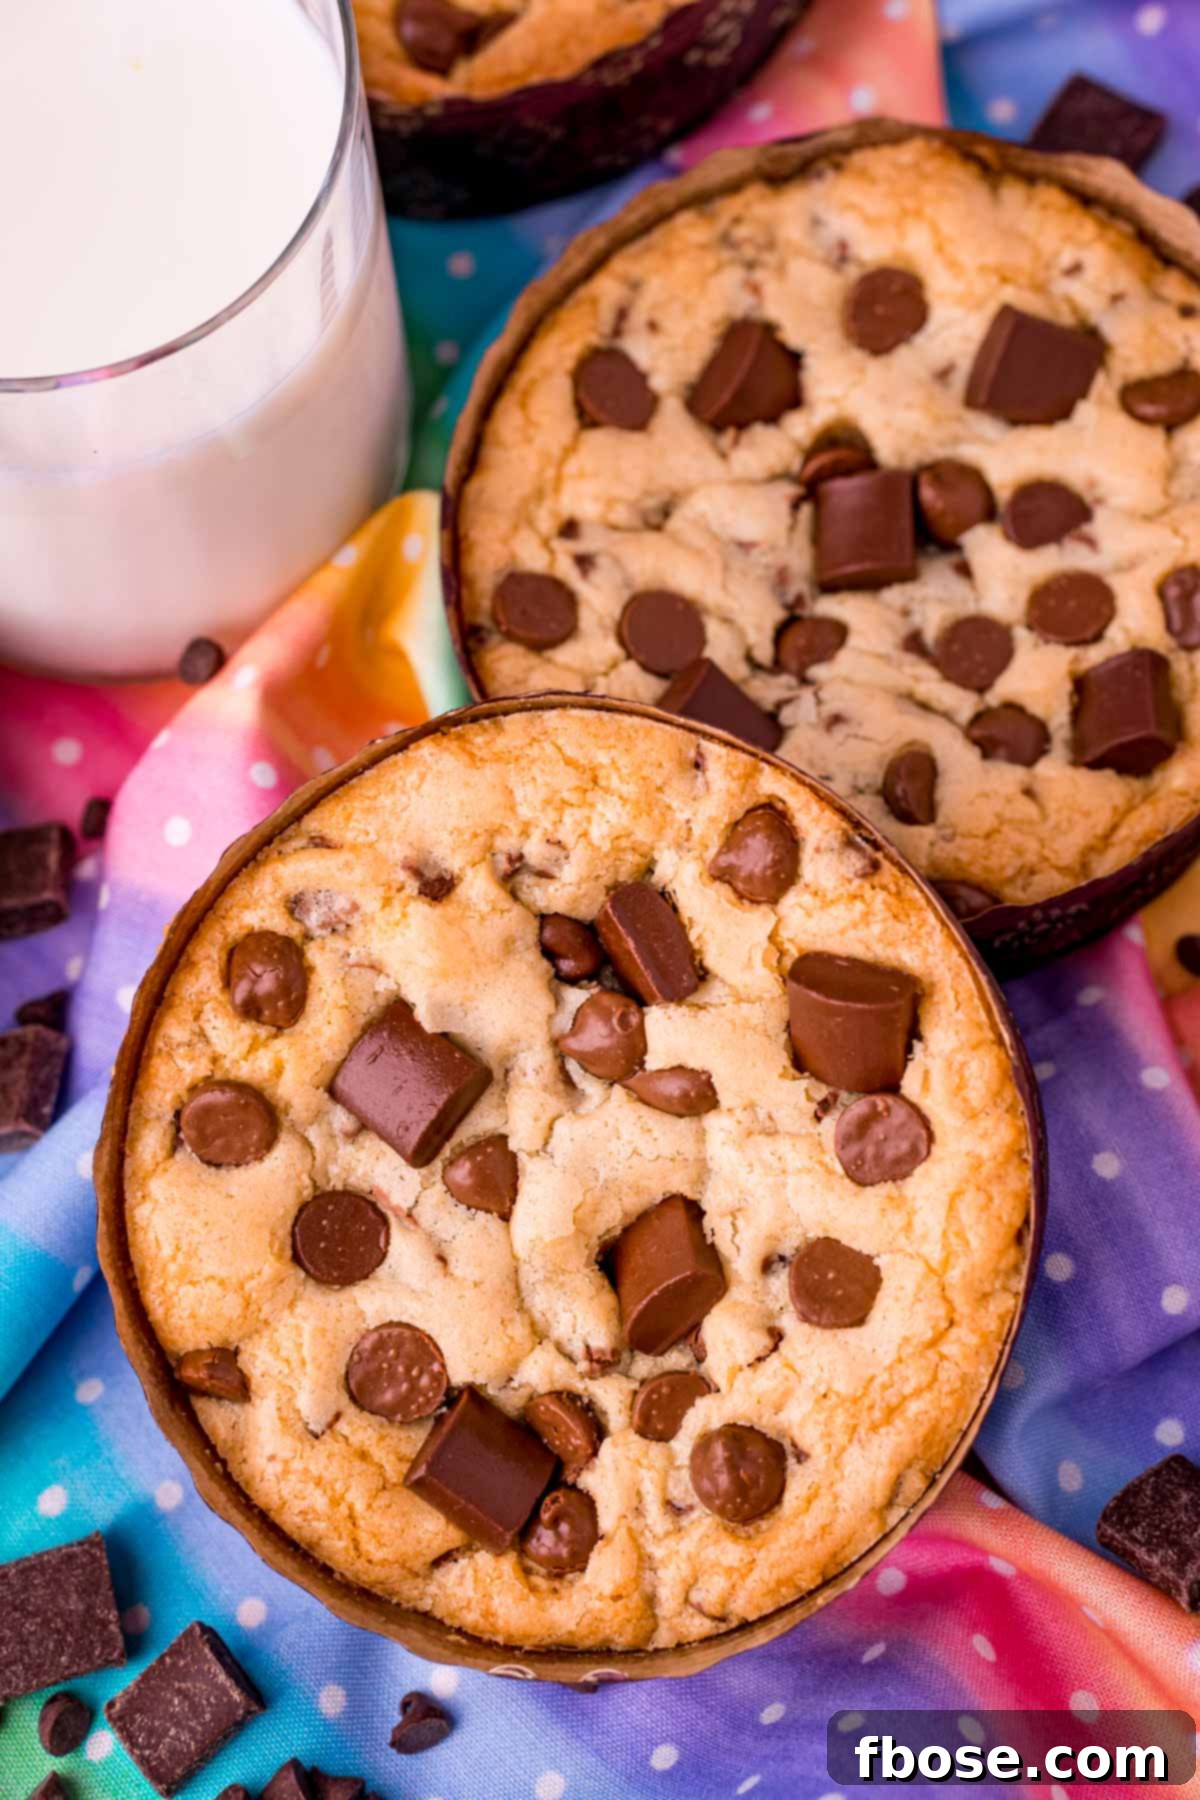
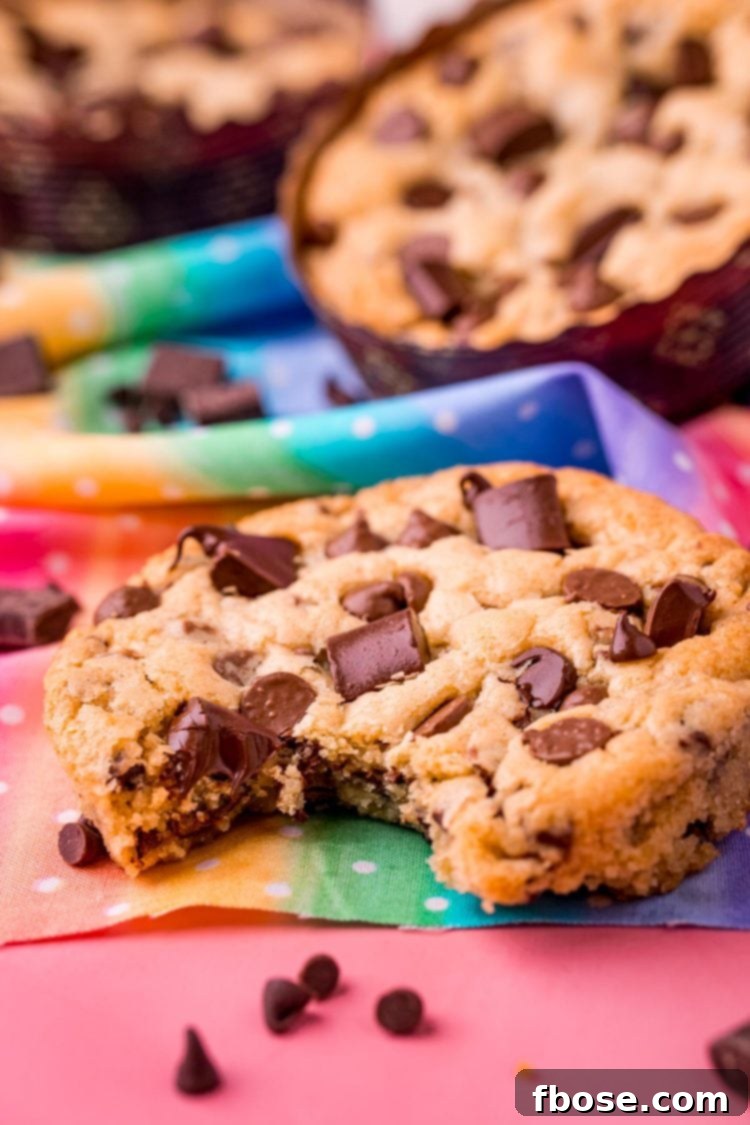
Welcome to the enchanting world of Disney treats, where magic meets mouthwatering deliciousness! Among the myriad of iconic snacks that capture the hearts (and taste buds) of park-goers, the **Disney Num Num Cookies** stand out as a true star. These aren’t just any chocolate chip cookies; they are a thick, gloriously chewy, and utterly irresistible indulgence, generously packed with a delightful blend of chocolate chips and chunks. Imagine sinking your teeth into a warm, gooey cookie, brimming with rich chocolate – that’s the Num Num experience. The best part? You no longer need a trip to a Disney park to savor this legendary dessert. With our expertly crafted copycat recipe, you can bring the magic of Hollywood Studios and Pixar Pier right into your kitchen in just about 40 minutes, using simple pantry ingredients.
For many, the culinary delights are as much a part of the Disney experience as the thrilling rides and captivating shows. From refreshing Disney Dole Whip to playful Disney’s Frozen Cake Pops, these treats create lasting memories. But the Num Num Cookie, famously associated with the beloved character Jack-Jack from *The Incredibles*, holds a special place. Its substantial size and decadent chocolatey goodness make it a truly unforgettable dessert. Now, you can recreate these slightly gooey, perfectly chewy cookies at home, allowing you to relive cherished Disney moments or create new ones with your family. Picture yourself settling down with your favorite *Incredibles* movie, a tall glass of ice-cold milk, or a generous scoop of vanilla ice cream, and one (or maybe two!) of these warm, freshly baked cookies. It’s an instant ticket to happiness, no travel required!
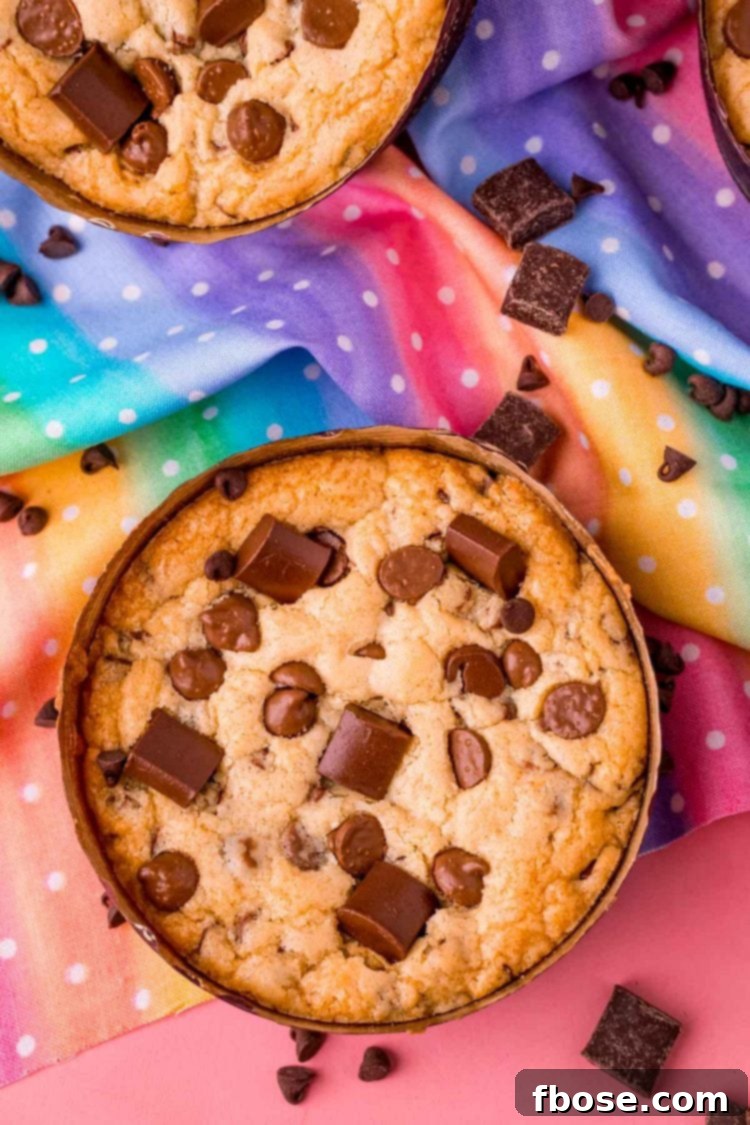
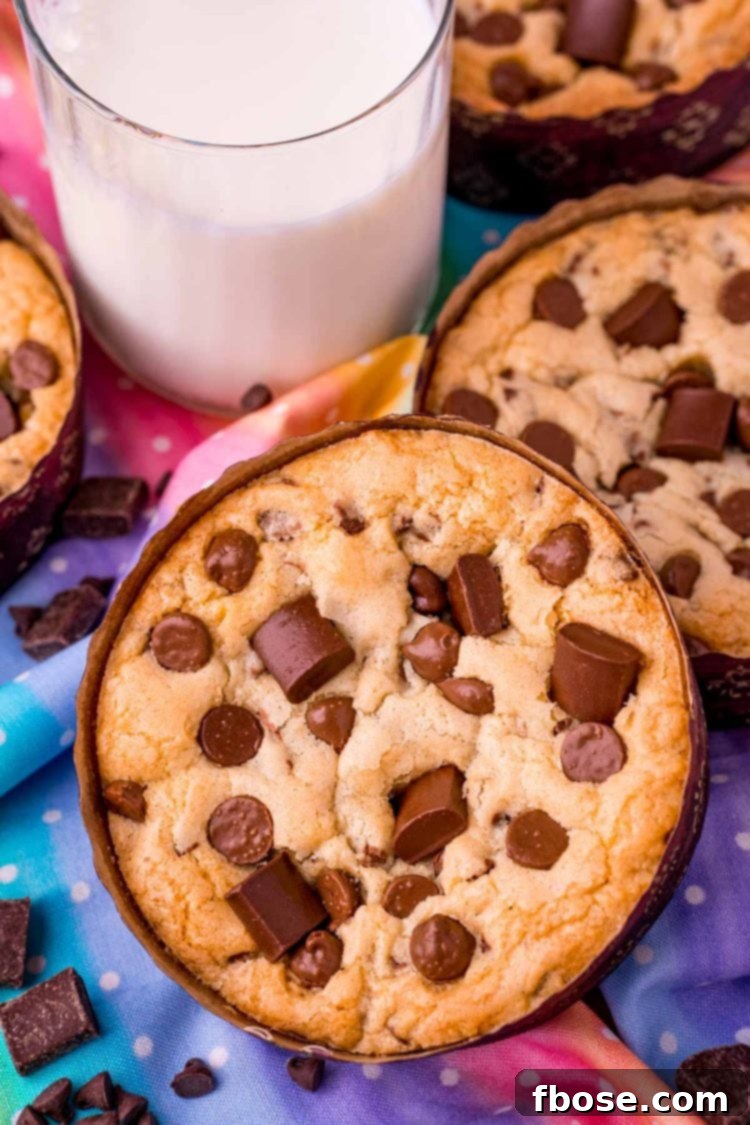
The Num Num Cookie, officially known as Jack-Jack’s Num Num Cookie, has garnered a cult following, charming visitors at Walt Disney World’s Hollywood Studios and Disney California Adventure’s Pixar Pier. Its sheer size and delightful texture set it apart from your average chocolate chip cookie. This recipe is designed to replicate that iconic experience, delivering cookies that are not just delicious but also capture the essence of Disney’s culinary artistry. Forget the long lines and the travel; with minimal effort, you can enjoy these legendary treats in the comfort of your own home, making them perfect for a cozy movie night, a special gathering, or simply satisfying that sudden craving for something truly extraordinary. Get ready to bake a batch that will impress everyone and bring a touch of Disney magic to your day.
Essential Ingredients for Your Num Num Cookies
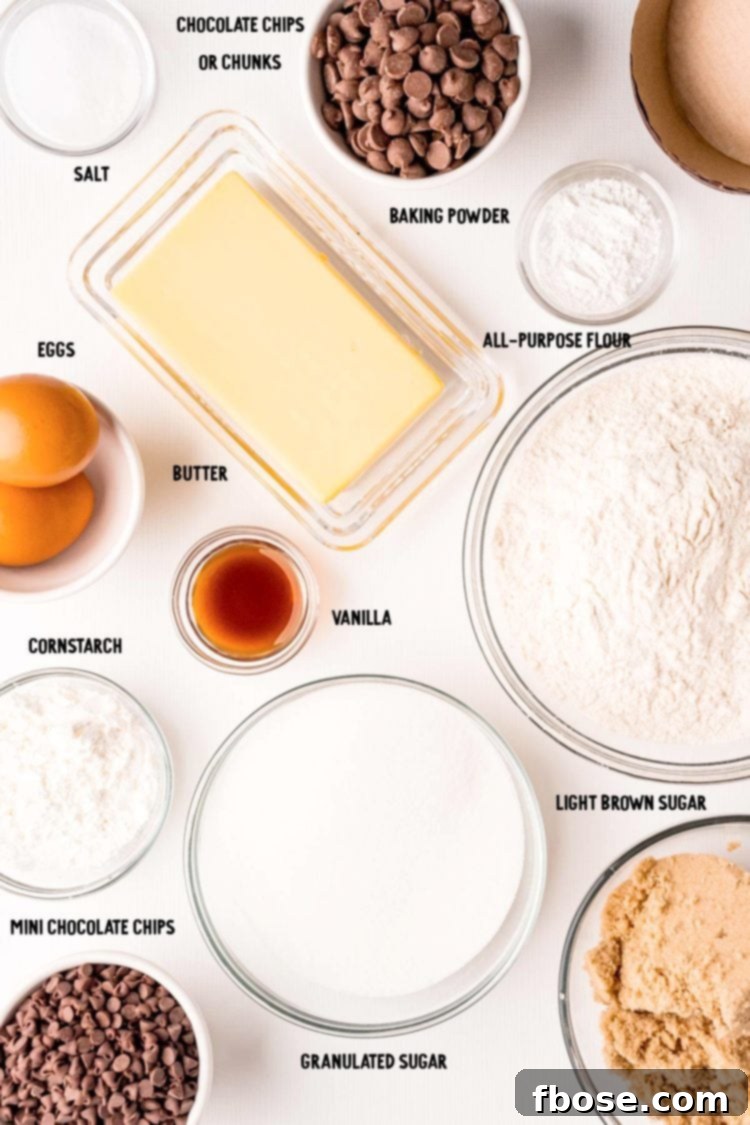
Crafting these delectable Num Num Cookies doesn’t require a scavenger hunt for exotic ingredients. In fact, you’ll likely find most of what you need already stocked in your pantry. The beauty of this copycat recipe lies in its reliance on common baking staples, transformed into something truly magical. The thoughtful combination of these ingredients is what gives these cookies their signature thickness, chewiness, and rich flavor profile.
To embark on your Num Num Cookie adventure, gather these foundational elements: **salted butter**, which provides a delicious depth of flavor and helps balance the sweetness; a blend of **light brown sugar** and **granulated sugar**, crucial for achieving that perfect balance of chewiness and crisp edges; **large eggs**, acting as binders and adding moisture; a touch of **vanilla extract**, enhancing the overall sweetness and aroma. For the dry components, you’ll need **all-purpose flour** for structure, **cornstarch** – a secret ingredient that contributes significantly to the cookie’s tender and chewy texture, **baking powder** for a slight lift, and a pinch of **salt** to highlight all the sweet flavors. And, of course, no Num Num Cookie would be complete without an abundance of chocolate! We recommend a generous mix of **mini semi-sweet chocolate chips** and **semi-sweet chocolate chunks**. The variety in size ensures a burst of chocolate in every single bite. A clever trick is to reserve some of those delightful chocolate chunks to press into the top of the dough just before baking. This not only enhances their visual appeal, making them look professionally baked, but also guarantees that glorious chocolatey goodness is visible and abundant throughout the cookie, satisfying even the most ardent chocolate lovers.
Crafting Jack-Jack Num Num Cookies: A Step-by-Step Guide
Creating your own batch of Jack-Jack Num Num Cookies is a straightforward and rewarding process. Follow these simple steps to ensure your cookies turn out perfectly thick, chewy, and irresistibly chocolatey, just like the ones from the parks.
- Prepare Your Oven and Baking Cups: Begin by preheating your oven to 350°F (175°C). This ensures a consistent baking temperature from the start. On a large baking sheet, arrange nine 4-inch shallow baking cups. These cups are essential for achieving the iconic thick and round shape of Num Num Cookies. For easy removal, lightly spray the inside of each cup with nonstick spray. Set them aside.
- Cream Butter and Sugars: In the bowl of an electric mixer fitted with a paddle attachment, combine the cold, cubed salted butter with both light brown sugar and granulated sugar. Beat these ingredients together on medium speed for about 3 minutes until the mixture becomes light, fluffy, and noticeably paler in color. This creaming process is vital as it incorporates air, contributing to the cookie’s final texture and lift.
- Incorporate Wet Ingredients: Add the large eggs, one at a time, mixing well after each addition to ensure full incorporation. Then, stir in the vanilla extract. Continue mixing until everything is thoroughly blended and smooth, scraping down the sides of the bowl as needed.
- Combine Dry Ingredients: In a separate medium bowl, whisk together the all-purpose flour, cornstarch, baking powder, and salt. This step ensures that the leavening agents and salt are evenly distributed throughout the flour, preventing pockets of unmixed ingredients in your cookies.
- Gradually Add Dry to Wet: With the electric mixer on low speed, slowly add the dry flour mixture to the wet ingredients. Mix until just combined. It’s crucial not to overmix the dough at this stage, as overmixing can develop the gluten in the flour too much, resulting in tough cookies. Stop mixing as soon as no streaks of flour remain.
- Fold in the Chocolate: Gently fold in the mini semi-sweet chocolate chips and about half of the semi-sweet chocolate chunks. Use a spatula for this step to avoid overworking the dough. Distribute the chocolate evenly throughout the dough.
- Scoop and Press Dough: Divide the cookie dough evenly among the prepared shallow baking cups, placing approximately ½ cup of dough into each. Gently press the dough down into the bottom of the cups to ensure it fills the space and forms a uniform base.
- Add Finishing Touches: Take the remaining ½ cup of chocolate chunks and evenly press them into the tops of each cookie dough portion. This step is key for that “bakery-style” look and guarantees extra pockets of melted chocolate on the surface of your baked cookies.
- Bake to Golden Perfection: Bake the cookies for 20 to 25 minutes, or until the edges are golden brown and the centers are still slightly soft. Keep an eye on them, as oven temperatures can vary.
- Cool and Enjoy: Once baked, remove the baking sheet from the oven and let the cookies cool in their cups on the sheet for about 5 minutes. This allows them to set slightly before transferring them to a wire cooling rack to cool completely. Enjoy them warm for the ultimate gooey experience, or store them for later.
Pro Tip for Perfect Presentation: For an extra gourmet touch and an explosion of chocolate in every bite, press additional chocolate chips or chunks onto the surface of each cookie dough portion *before* baking. This ensures beautiful, melted chocolate pools right on top!

Frequently Asked Questions About Num Num Cookies
Here are some common questions about making and enjoying these delightful Disney Num Num Cookies, along with helpful answers to ensure your baking success.
How to Store Num Num Cookies for Freshness
Proper storage is key to maintaining the delightful chewiness and flavor of your homemade Num Num Cookies. Once completely cooled, these cookies will remain fresh and delicious for 3 to 5 days when stored in an airtight container at room temperature. For longer preservation, individual wrapping is recommended. Wrap each cookie tightly in plastic wrap, then place them in a heavy-duty Ziploc freezer bag. Stored this way, they can last in the freezer for up to 3 months. When you’re ready to enjoy a frozen cookie, simply thaw it at room temperature or warm it slightly in the microwave for a fresh-baked feel.
Can I Experiment with Different Types of Chocolate Chips?
Absolutely! The beauty of baking is the ability to customize. While semi-sweet chocolate is traditional for Num Num Cookies, feel free to use milk chocolate chips and chunks for a sweeter, creamier profile. You can also get creative by using a combination of chocolates – try half milk chocolate and half semi-sweet for a balanced flavor, or even introduce dark chocolate for a richer, more intense taste. White chocolate chips could also be a fun addition for a different visual and flavor dynamic, though they might not fully capture the original Num Num essence.
Where to Find the Ideal Shallow Baking Cups
The signature thick, puck-like shape of the Disney Num Num Cookie is largely achieved by baking them in shallow baking cups. These cups help contain the dough, encouraging it to rise upwards rather than spread outwards. I personally had great success with these specific 4-inch shallow baking cups from Amazon. However, a crucial tip is to grease them thoroughly with nonstick cooking spray before adding the dough, as cookies can sometimes stick to the paper liner. If you prefer to shop locally, craft stores, specialty kitchen stores, or even larger supermarkets in their baking aisle may carry similar shallow baking cups or muffin liners that could work just as well.
Baking Num Num Cookies Without Baking Cups
While the shallow baking cups are essential for the authentic “Num Num Cookie” shape and thickness, you can certainly make a delicious chocolate chip cookie without them. To do so, simply scoop medium-sized portions of dough onto a baking sheet lined with parchment paper. Keep in mind that without the confinement of the cups, these cookies will spread more and be flatter, resembling a more traditional large chocolate chip cookie. Bake these for a shorter duration, typically 7 to 10 minutes, or until the edges are golden and the centers are still slightly soft. They will still be incredibly tasty, but just note that their appearance will differ from the original Disney version.
Beyond the Magic: More Chocolate Chip Cookie Delights
My family is absolutely thrilled to be able to enjoy their favorite chocolate chip Disney cookies right at home whenever the craving strikes! If you share our deep love for chocolate chip cookies, you’ll be delighted to explore some of these other fantastic recipes. Each offers a unique twist on this timeless classic, perfect for expanding your baking repertoire and satisfying every chocolate chip cookie desire.
- Oatmeal Chocolate Chip Cookies: Discover a delightful blend of comforting oats and rich chocolate in these soft, chewy cookies, made with the surprising addition of applesauce for extra moisture.
- Double Chocolate Chip Pudding Cookies: For the ultimate chocolate lover, these cookies are a dream come true. They’re incredibly gooey, intensely chocolatey, and amazingly, ready to enjoy in under 30 minutes!
- Chocolate Chip Cookie For One: Sometimes you just need a single, perfect cookie. Skip the large batch and whip up a homemade chocolate chip cookie designed just for you when that specific craving hits.
- Bakery Style Chocolate Chip Cookies: Elevate your cookie game with these impressive, big, and thick cookies. They are generously loaded with a harmonious blend of both milk chocolate chips and semi-sweet chocolate chips for complex flavor.
- Chocolate Chip Pan Cookies: Perfect for feeding a crowd or for easy portioning, these tender and incredibly simple-to-make cookies are baked on a large jelly roll pan, making cleanup and serving a breeze.
Connect With Us!
We absolutely adore hearing from our readers! If you’ve tried this fantastic Disney Num Num Cookie recipe, please take a moment to let us know how much you loved it in the comments section below. Your feedback and reviews are invaluable to us!
And don’t forget to share your culinary creations with the world! Tag us – @sugarandsoulco – on Instagram and Pinterest with your gorgeous photos. You can also join our vibrant Sugar & Soul Show-offs Community on Facebook, where you can share your masterpieces and participate in our fun recipe challenges!

Disney Jack Jack Num Num Cookies
Rebecca Hubbell
Dessert
American
15 minutes
25 minutes
40 minutes
9 cookies
Equipment
-
9 4-inch Shallow Baking Cups
Ingredients
- 1 cup salted butter, cold and cubed
- 1 cup light brown sugar
- 1 cup granulated sugar
- 2 large eggs
- 2 teaspoons vanilla extract
- 2¾ cups all-purpose flour
- 3 tablespoons cornstarch
- 1 teaspoon baking powder
- ½ teaspoon salt
- 1 cup mini semisweet chocolate chips
- ½ cup semisweet chocolate chunks or chips, divided
Instructions
-
Preheat oven to 350°F (175°C). Place nine 4-inch shallow paper baking cups onto a large baking sheet, spray them with nonstick spray and set aside.
-
Cream butter and both sugars in the bowl of an electric mixer fitted with a paddle attachment for 3 minutes, until fluffy.
-
Add the eggs and vanilla and mix until blended.
-
Whisk together the flour, cornstarch, baking powder, and salt in a medium bowl. Slowly add to a mixing bowl on low speed until flour is incorporated.
-
Add the mini chocolate chips and ½ cup of chocolate chunks until chocolate is evenly distributed. Do not overmix.
-
Place ½ cup of dough into reserved baking cups, gently pressing dough into the bottom of each cup.
-
Evenly divide the remaining ½ cup of chocolate chunks among cookies and press into the top of the cookies.
-
Bake for 20 to 25 minutes, or until golden brown. Cool for 5 minutes, then transfer to wire cooling racks.
Notes
- How To Store: These cookies will last 3 to 5 days when stored in an airtight container at room temperature. You could also wrap them up individually and place them in a Ziploc freezer bag to store them in the freezer for up to 3 months.
- Can I Use Milk Chocolate Chips and Chunks In These Cookies? Of course! You could also mix it up and do half milk chocolate and half semi-sweet!
- Where Can I Get Shallow Baking Cups? I got these ones off of Amazon and they worked great! I would however recommend greasing them with nonstick spray since the cookies do stick a little bit to the bottom of the wrapper. You could also check to see if a craft store near you carries them!
- Can I Make These Cookies Without Baking Cups? You sure can! Just put a scoop of dough onto a baking sheet lined with parchment paper and bake for 7-10 minutes. Just note that it’s the shape and thickness of the cups that make them true Num Num Cookies.
- Recipe inspired by Disney’s Hollywood Studios at Walt Disney World Resort.
Nutrition
Carbohydrates: 97g |
Protein: 8g |
Fat: 36g |
Saturated Fat: 22g |
Polyunsaturated Fat: 2g |
Monounsaturated Fat: 10g |
Trans Fat: 1g |
Cholesterol: 94mg |
Sodium: 336mg |
Potassium: 345mg |
Fiber: 4g |
Sugar: 59g |
Vitamin A: 718IU |
Vitamin C: 1mg |
Calcium: 80mg |
Iron: 4mg
Did You Make This Recipe?
Don’t forget to share it with me on Instagram @sugarandsoulco and follow on Tiktok @sugarandsoulco and Pinterest @sugarandsoulco for more!
Pin Recipe
Share Recipe