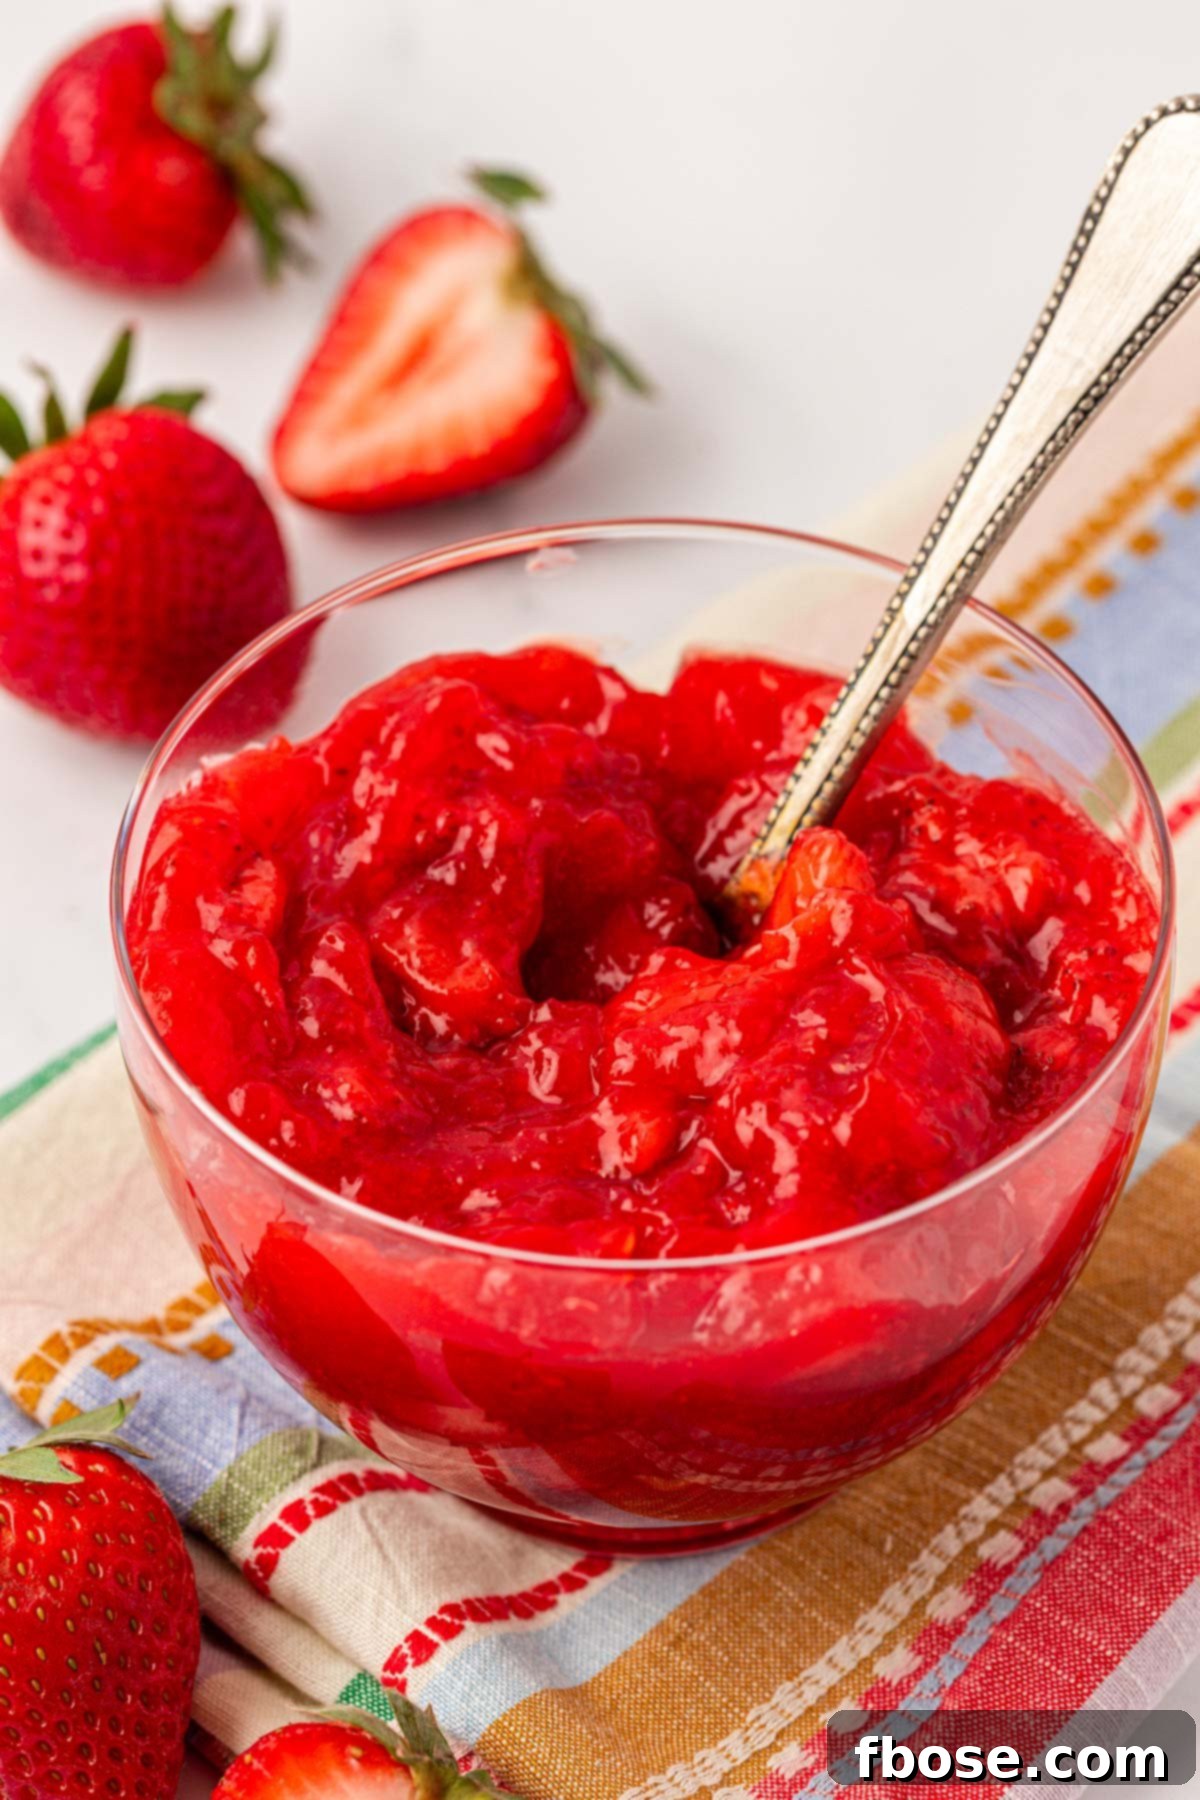
Transform your everyday desserts into an extraordinary, edible masterpiece with this incredibly easy and delicious homemade Strawberry Cake Filling! Whether you’re layering a grand celebration cake or adding a delightful surprise to the center of your cupcakes, this sweet, vibrant strawberry filling delivers that elusive “WOW!” factor you’ve been searching for. Best of all, it requires minimal ingredients and a small time investment, making gourmet results accessible to every home baker. Prepare to elevate your baking from simply good to truly unforgettable.
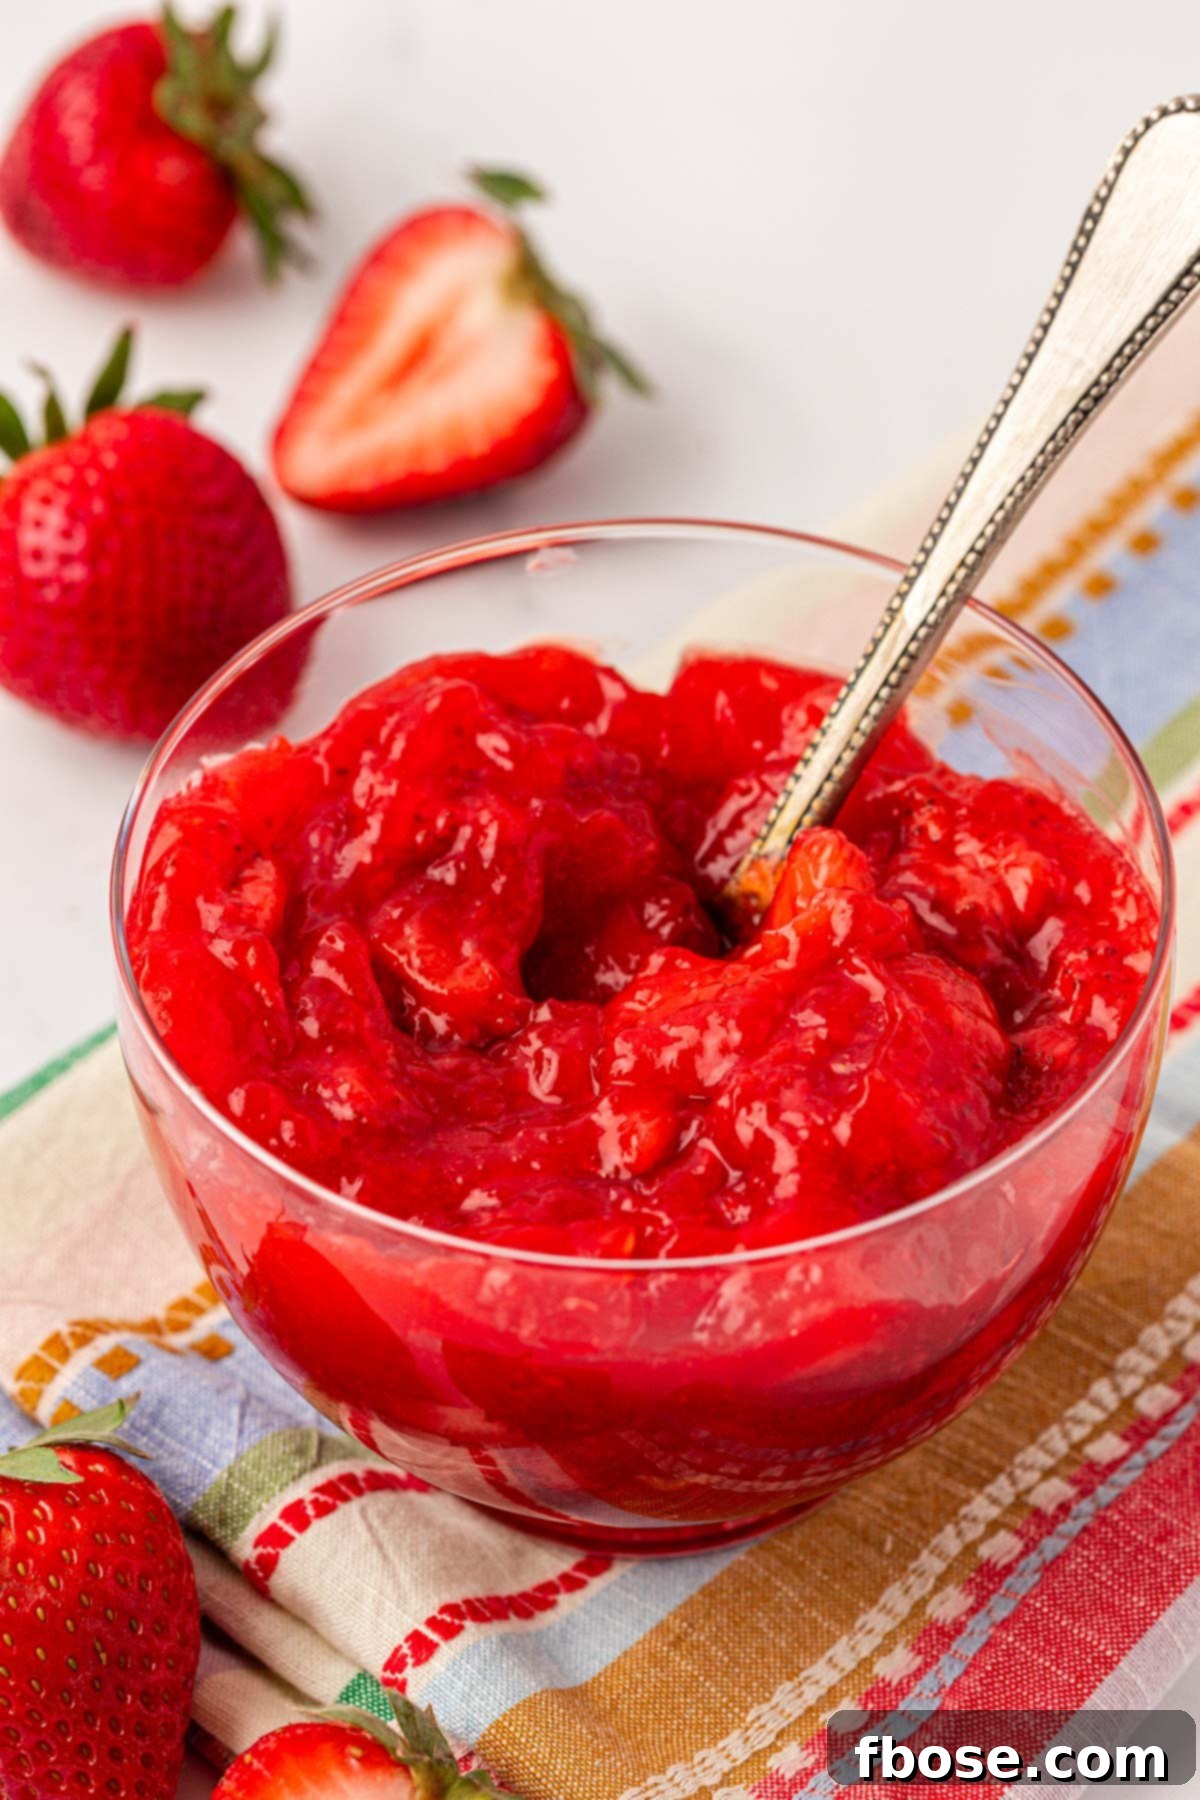
Strawberry Filling: A Versatile Delight for Cakes, Cupcakes, and Beyond!
There’s nothing quite like the joy of biting into a dessert that reveals a luscious, gooey, and sweet center. The perfect harmony of a tender, moist cake or cupcake complemented by a burst of fresh strawberry flavor is a sensation that tantalizes the taste buds. While often associated with the vibrant flavors of summer, this homemade strawberry filling is a phenomenal addition to your dessert repertoire any time of year.
Whether you’re aiming to elevate your baked goods to a new level of sophistication or you’re fully embracing the charm of homemade creations, this easy strawberry filling recipe is an absolute essential. The rich, authentic flavor of a homemade filling far surpasses the bland, often artificial taste of store-bought canned versions. Furthermore, by making it yourself, you gain complete control over the ingredients, eliminating unnecessary preservatives, artificial colors, and additives, and ensuring a pure, wholesome taste.
Incredibly simple to prepare, this recipe calls for just four fundamental ingredients and takes less than 30 minutes from start to finish. The result is a perfect small-batch strawberry filling, designed to make any dessert a memorable standout. This adaptable recipe can also be easily scaled up for larger baking projects, ensuring you always have enough of this delightful filling on hand.
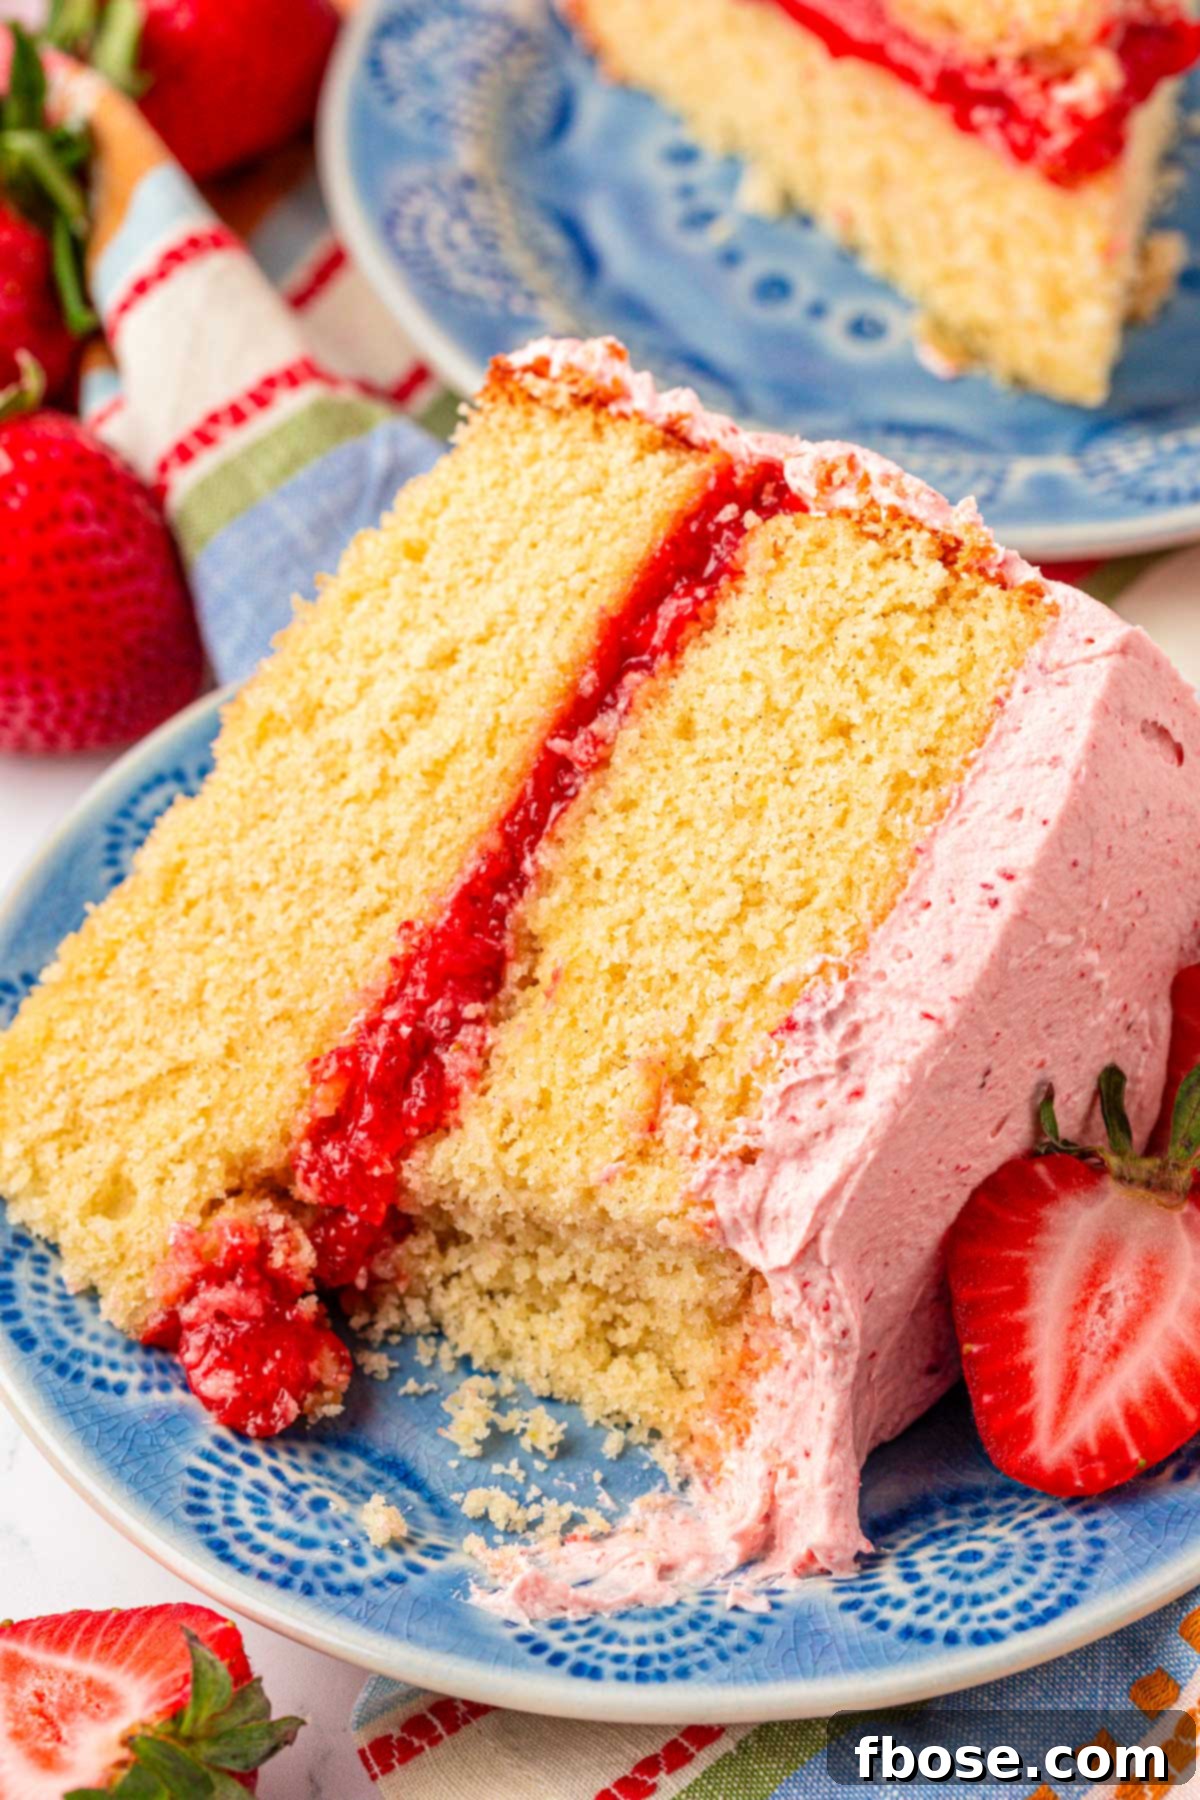
Rebecca’s Sweet Seal of Approval: A Taste Test
Taste: Experience an intensely sweet and authentic strawberry flavor that truly pops!
Texture: Delightfully gooey and jam-like, featuring enticing small lumps of perfectly cooked strawberries that add natural texture.
Ease: A breeze to make with a rating of 2/10, making it incredibly beginner-friendly.
Would I Make This Again? Absolutely! The consistency is simply ideal – thick enough to hold its shape beautifully between cake layers, yet soft enough to be lusciously spreadable. It’s super yummy and consistently delivers a small, manageable batch, which is perfect for single-layer cakes or a dozen cupcakes, but can effortlessly be multiplied for larger baking endeavors.
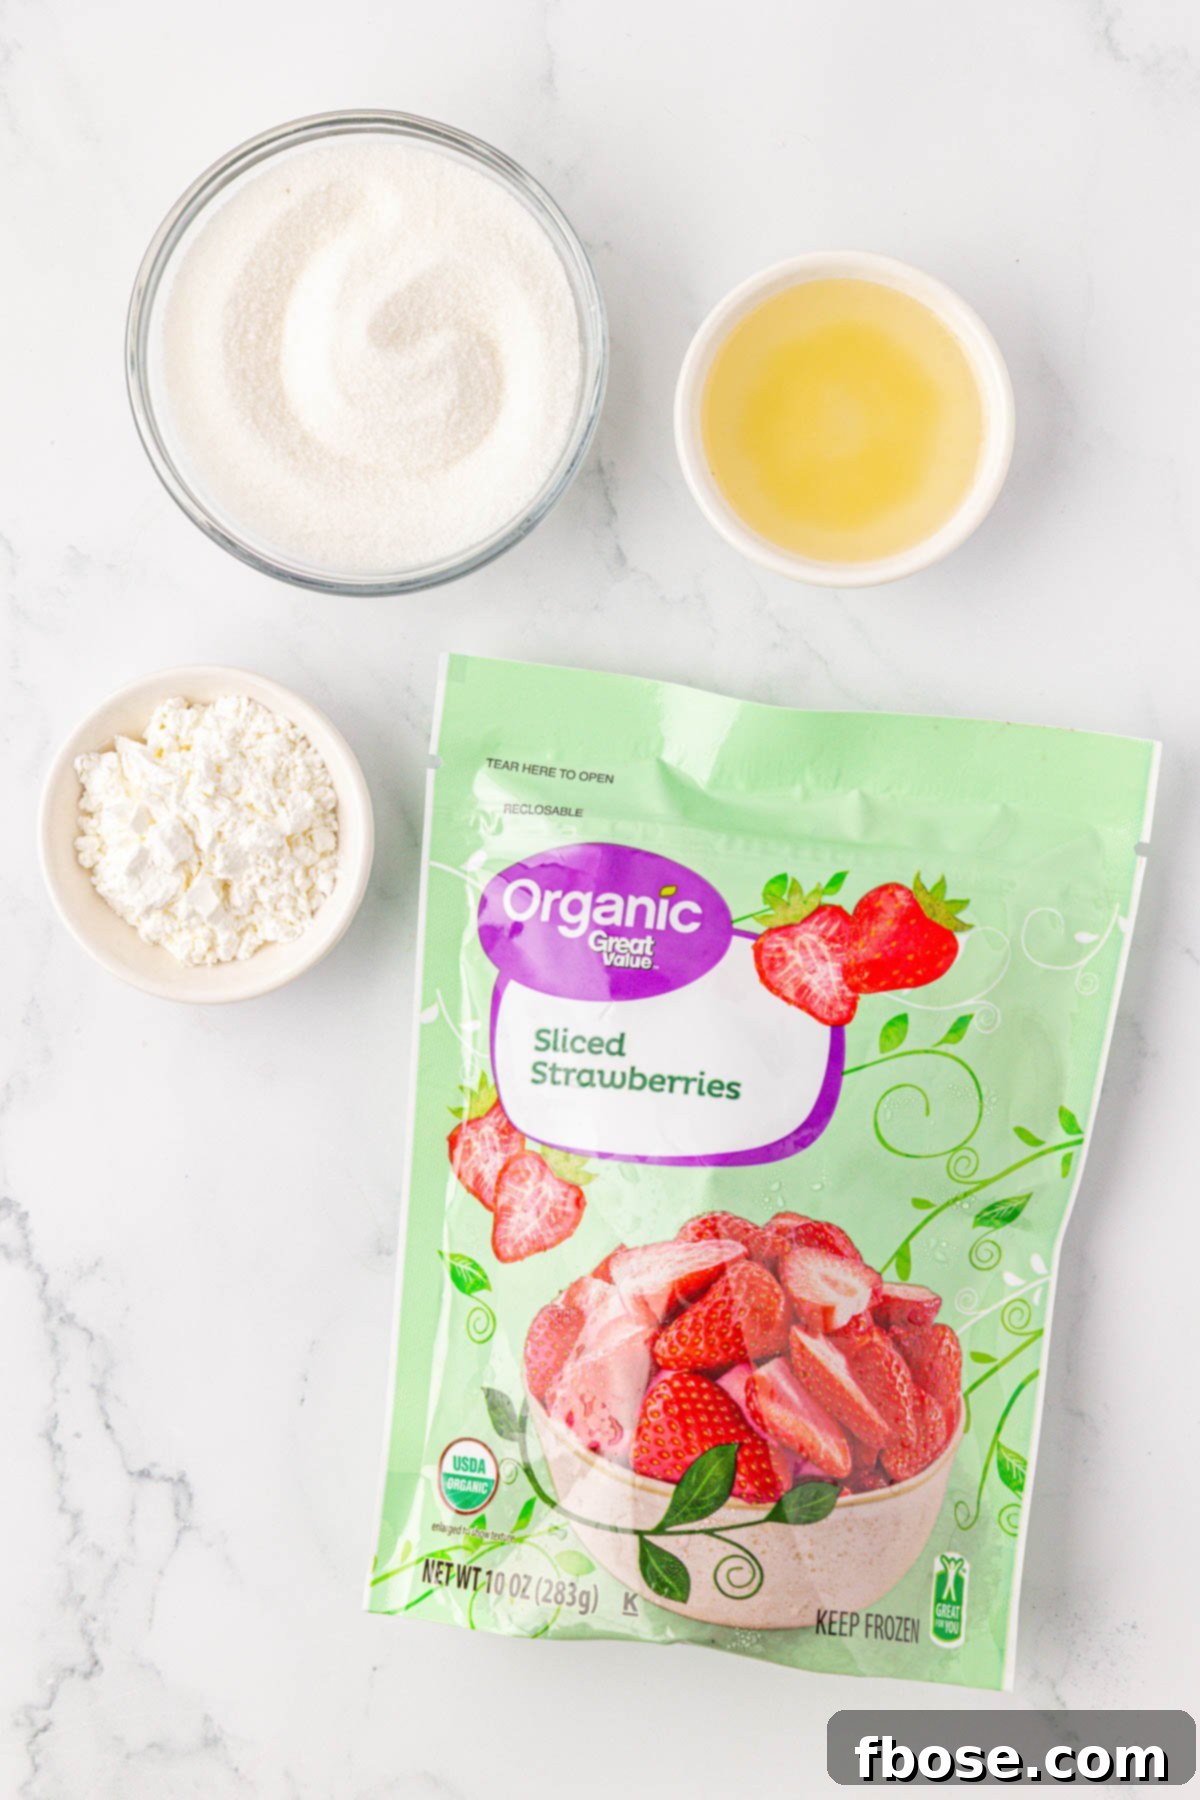
The Simple Ingredients Behind Your Perfect Strawberry Cake Filling
Crafting this irresistible homemade strawberry filling requires only a handful of common ingredients, each playing a crucial role in achieving its perfect balance of flavor and texture:
- Frozen Strawberries: We specifically recommend using frozen strawberries for this recipe. Why? Because they are typically harvested and flash-frozen at their peak ripeness. This process locks in their vibrant flavor, ensuring that your filling will have the best, most consistent taste, regardless of the season. Frozen berries also release more liquid as they thaw and cook, which contributes to the ideal jam-like consistency.
- Granulated Sugar: This provides the essential sweetness that balances the tartness of the strawberries. You can adjust the amount slightly to suit your preference for sweetness, but the recommended amount creates a beautifully balanced flavor.
- Lemon Juice: A squeeze of fresh lemon juice is a secret weapon in fruit fillings. It not only brightens the overall flavor of the strawberries, making them taste even fresher and more intense, but its acidity also helps to activate the pectin naturally present in the fruit (and the cornstarch), aiding in the thickening process.
- Cornstarch: This acts as our primary thickening agent, giving the filling its wonderful gooey texture that holds its shape without being overly stiff. It creates a smooth, glossy finish, ensuring your filling won’t become runny and seep out of your desserts. It’s a key ingredient for achieving that desirable “set.”
While frozen berries offer superior consistency, you can certainly use fresh strawberries if you prefer. Just be aware that fresh berries may contain varying amounts of water, which could result in a slightly thicker or thinner filling. If using fresh, ensure they are ripe and flavorful for the best results.
Pin This Recipe For Later
Crafting Your Dream: How To Make Easy Strawberry Cake Filling
Making this incredible strawberry filling is surprisingly straightforward. Follow these simple steps for a perfect batch every time:
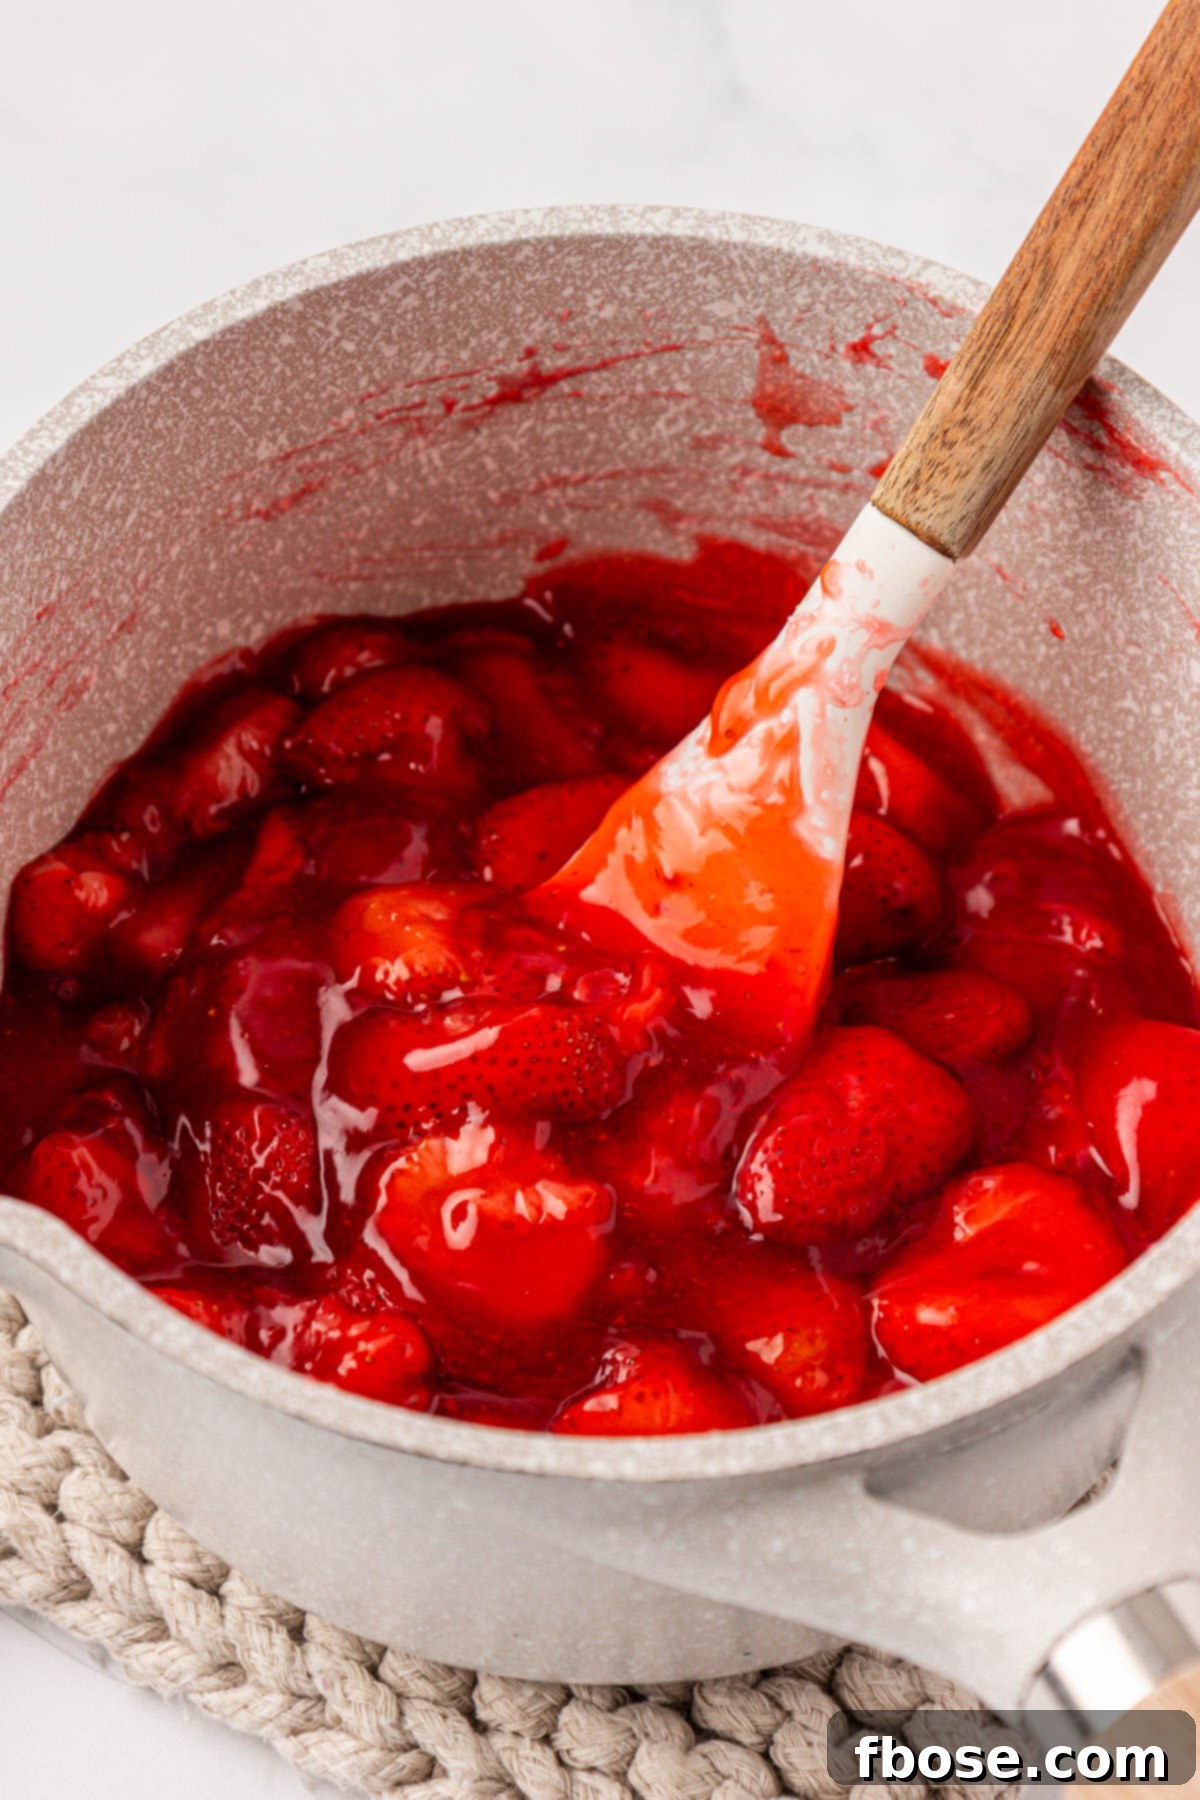
- Combine and Simmer Berries: Begin by adding your frozen strawberries and granulated sugar to a small saucepan. Place the pot over medium-high heat. As the berries thaw and heat, they will release their juices. Stir the mixture frequently to ensure the sugar dissolves evenly and the strawberries don’t stick to the bottom of the pan. Allow the mixture to gently simmer for about 5 minutes, giving the berries time to soften and break down, and for the flavors to meld beautifully.
- Prepare the Cornstarch Slurry: While the strawberries are simmering, in a small prep bowl, whisk together the lemon juice and cornstarch with a fork until a smooth, lump-free slurry is formed. This step is crucial, as adding cornstarch directly to hot liquid can cause it to clump. The lemon juice helps to dissolve the cornstarch thoroughly, ensuring a silky-smooth thickener.
- Thicken the Filling: Once the strawberries have begun to break down and the mixture is actively simmering, slowly pour the cornstarch and lemon juice slurry into the pot. Continue stirring constantly as you pour. You’ll notice the mixture beginning to thicken almost immediately as the cornstarch activates with the heat.
- Simmer to Perfection: Continue to stir and simmer the filling for another 2-3 minutes. The goal is a luscious, thick consistency that coats the back of a spoon without running off. If the strawberries haven’t broken down sufficiently to your liking, gently use a potato masher directly in the pot to achieve smaller, desirable chunks. Avoid over-mashing if you prefer some berry texture.
- Cool Completely: Remove the pot from the heat. It’s absolutely vital to allow the strawberry filling to cool completely to room temperature before you use it in any dessert. This cooling period allows the filling to fully set and thicken to its final consistency. Using warm filling will cause it to melt into your cake or cupcakes, leading to a soggy and undesirable outcome.
Rebecca’s Expert Tips for a Flawless Strawberry Filling
- Embrace Frozen Berries: For the most consistent flavor and texture, always opt for frozen berries. They are picked at their peak, ensuring a consistently delicious outcome every time. If using fresh, make sure they are very ripe and flavorful.
- Stirring is Key: While the mixture simmers, stir frequently. This prevents the berries and sugar from sticking to the bottom of the pan and burning, which can impart an unpleasant taste. Constant stirring also promotes even cooking and thickening.
- Achieve the Right Consistency: As the berries cook, some may remain larger. Don’t hesitate to use a potato masher or the back of a spoon to gently break them down. The ideal filling should have small, appealing strawberry chunks, not large, unwieldy pieces.
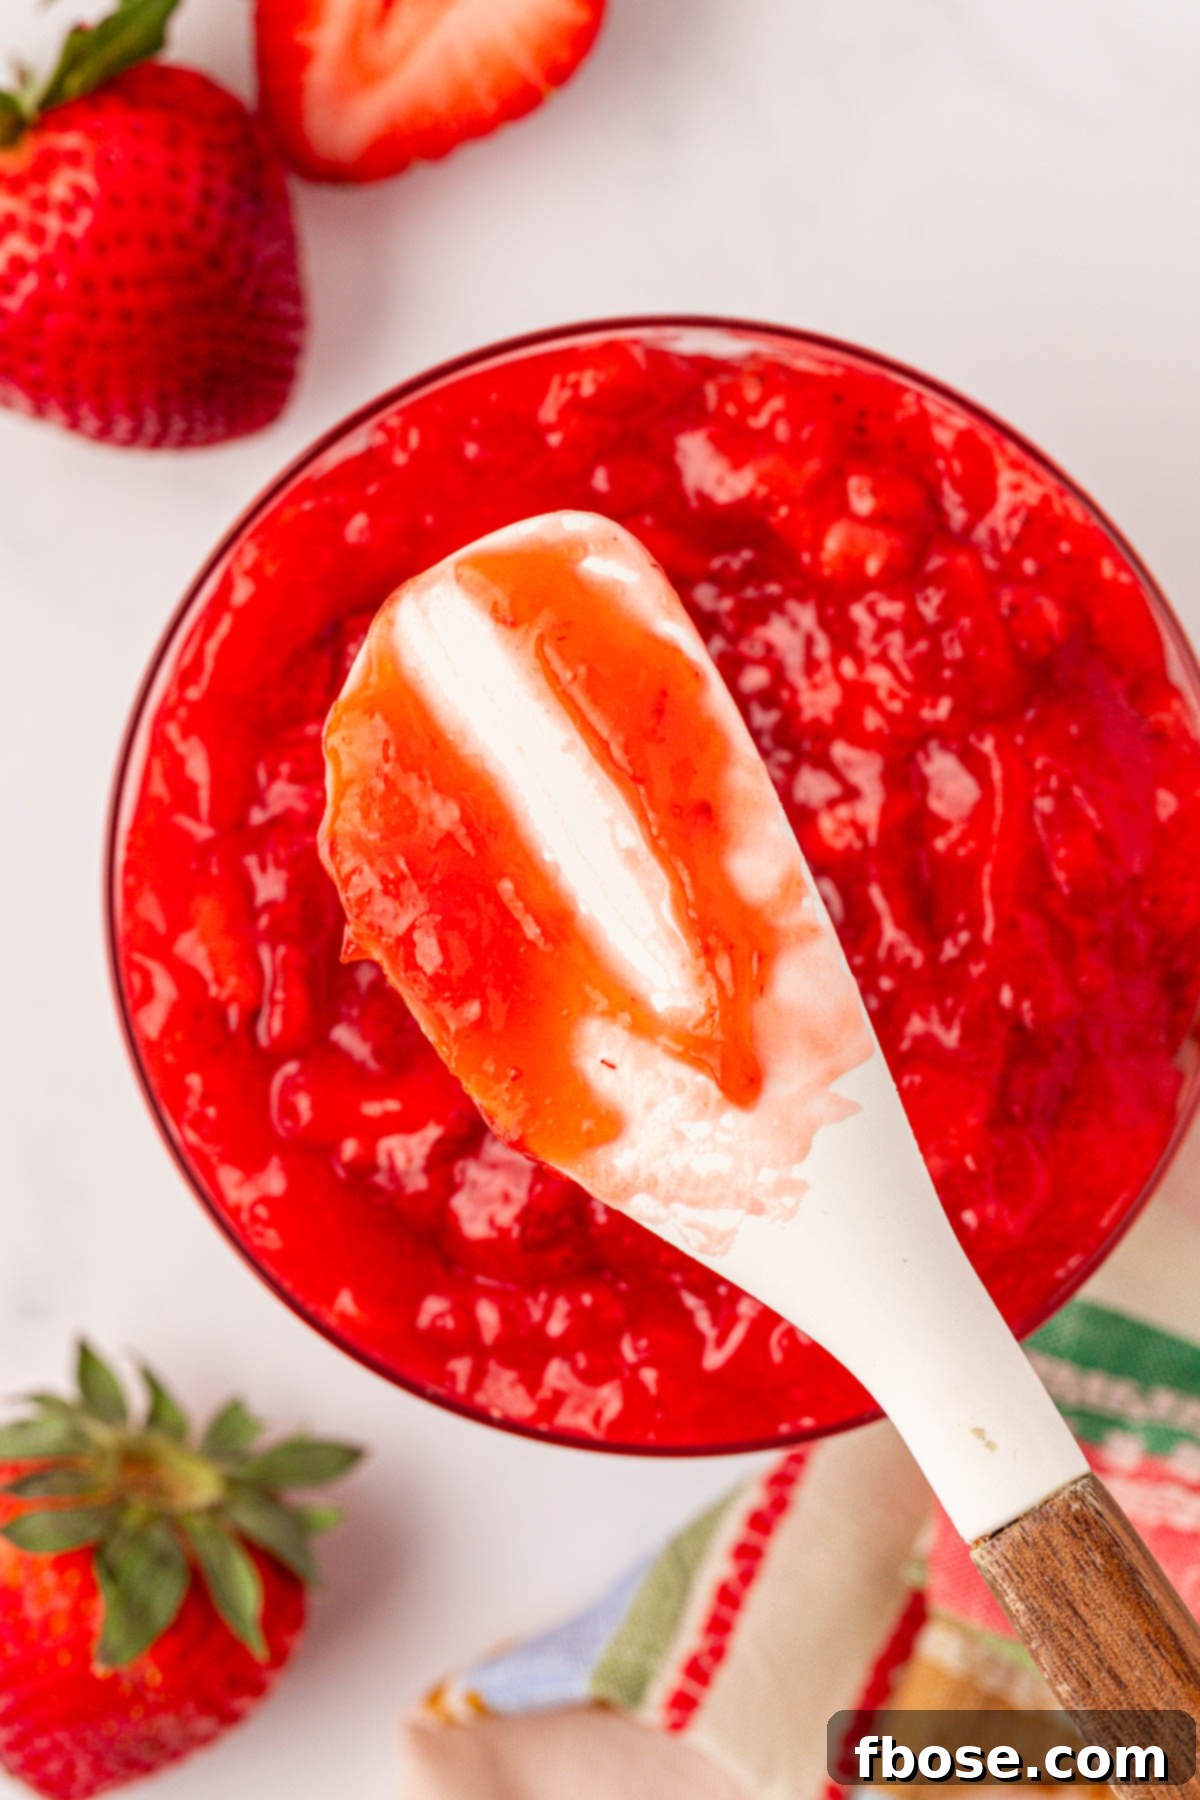
- The “Spoon Test”: A foolproof way to check if your filling is perfectly thickened is the “spoon test.” Dip a clean spoon into the mixture, then lift it out. If the filling coats the back of the spoon without running off quickly, it’s reached the desired consistency. It should leave a clear path if you run your finger across it.
- Patience During Cooling: This is arguably the most crucial tip! Allow the filling to cool completely to room temperature before incorporating it into your cakes, cupcakes, or any other desserts. Warm filling can cause delicate baked goods to become soggy, making your hard work go to waste. For best results, chill it in the refrigerator for a few hours until firm.
- Consider Pan Choice: A heavy-bottomed saucepan is ideal for making fruit fillings. It distributes heat more evenly, reducing the risk of scorching and ensuring a consistent simmer.
- Adjust Sweetness: While the recipe provides a balanced sweetness, feel free to adjust the amount of granulated sugar to your personal taste. If your strawberries are particularly sweet or tart, you might slightly increase or decrease the sugar.
Beyond the Cake: Creative Ways to Enjoy Homemade Strawberry Filling
This vibrant strawberry filling is incredibly versatile and can elevate a multitude of desserts and breakfast dishes. Here are some of our favorite ways to incorporate this sweet, fruity goodness:
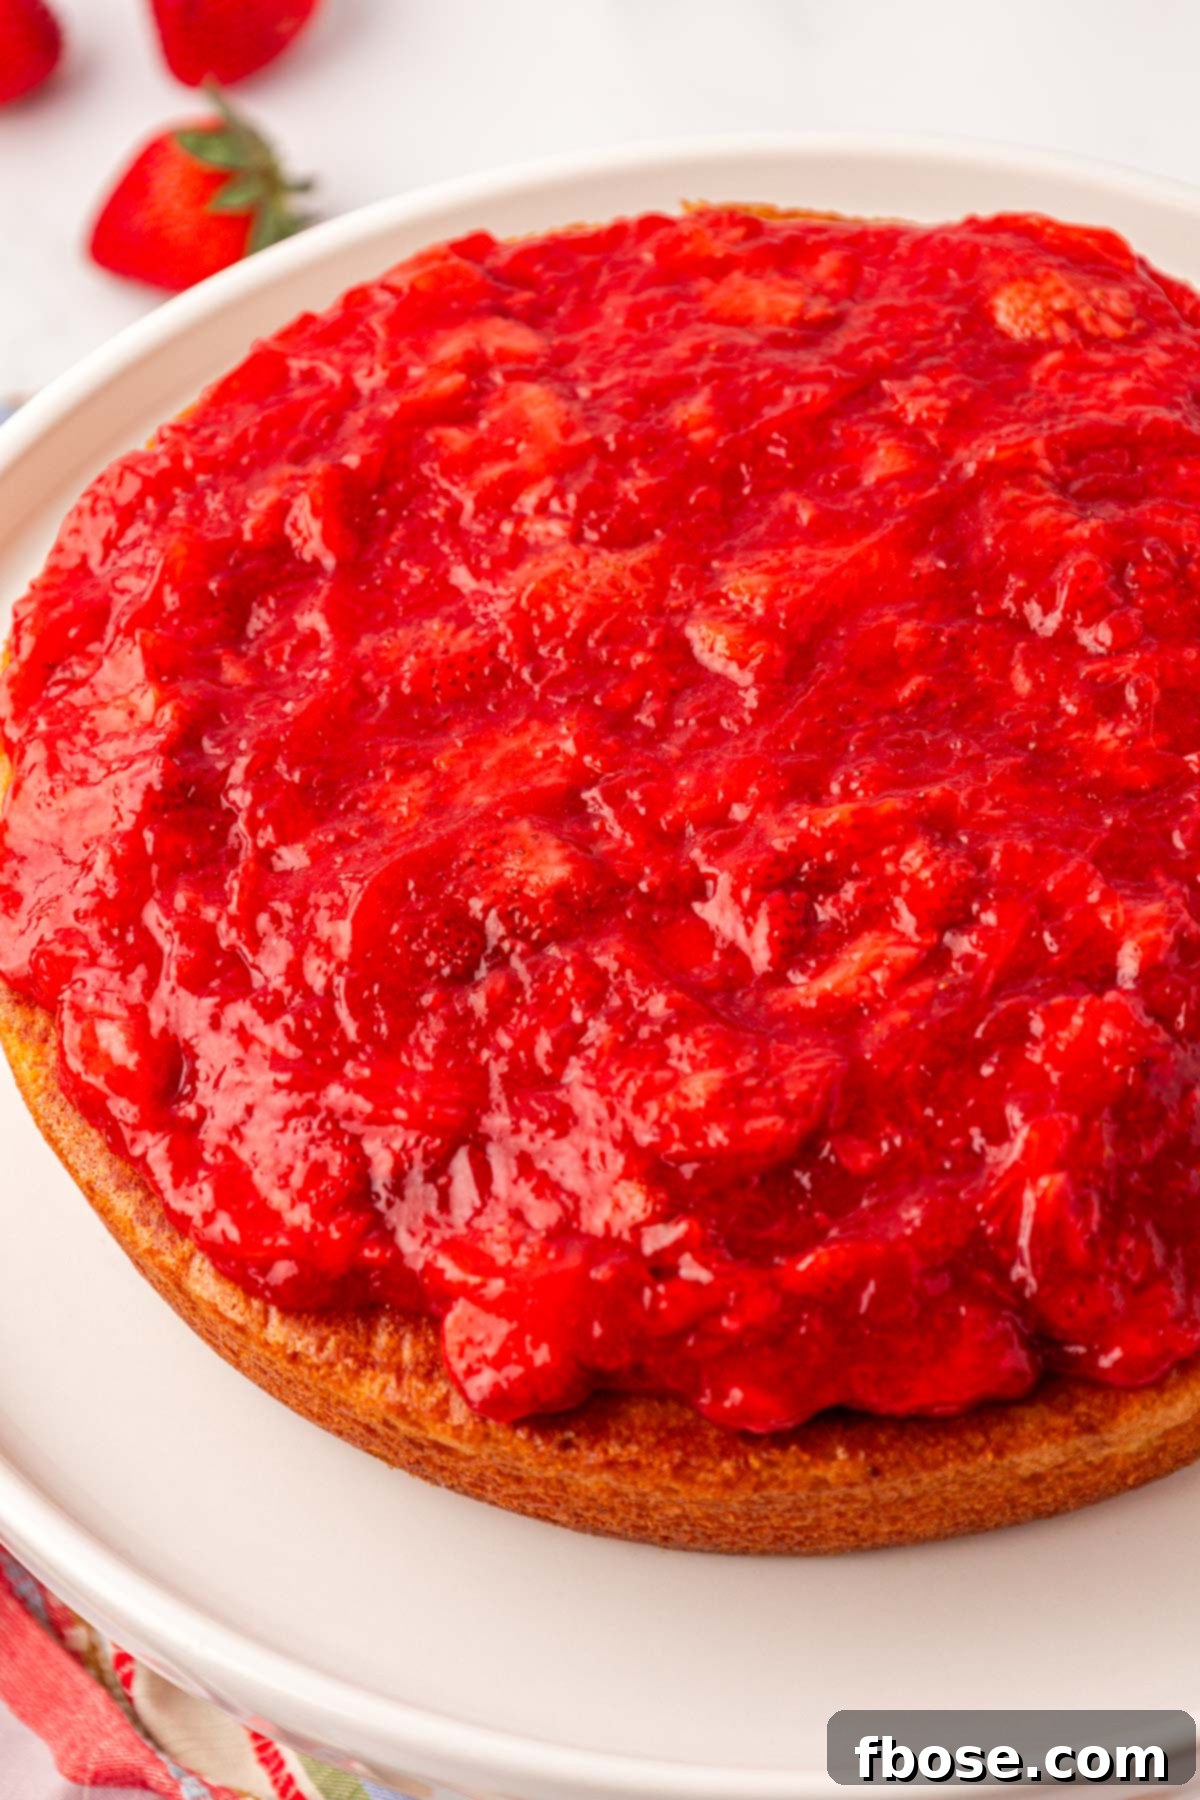
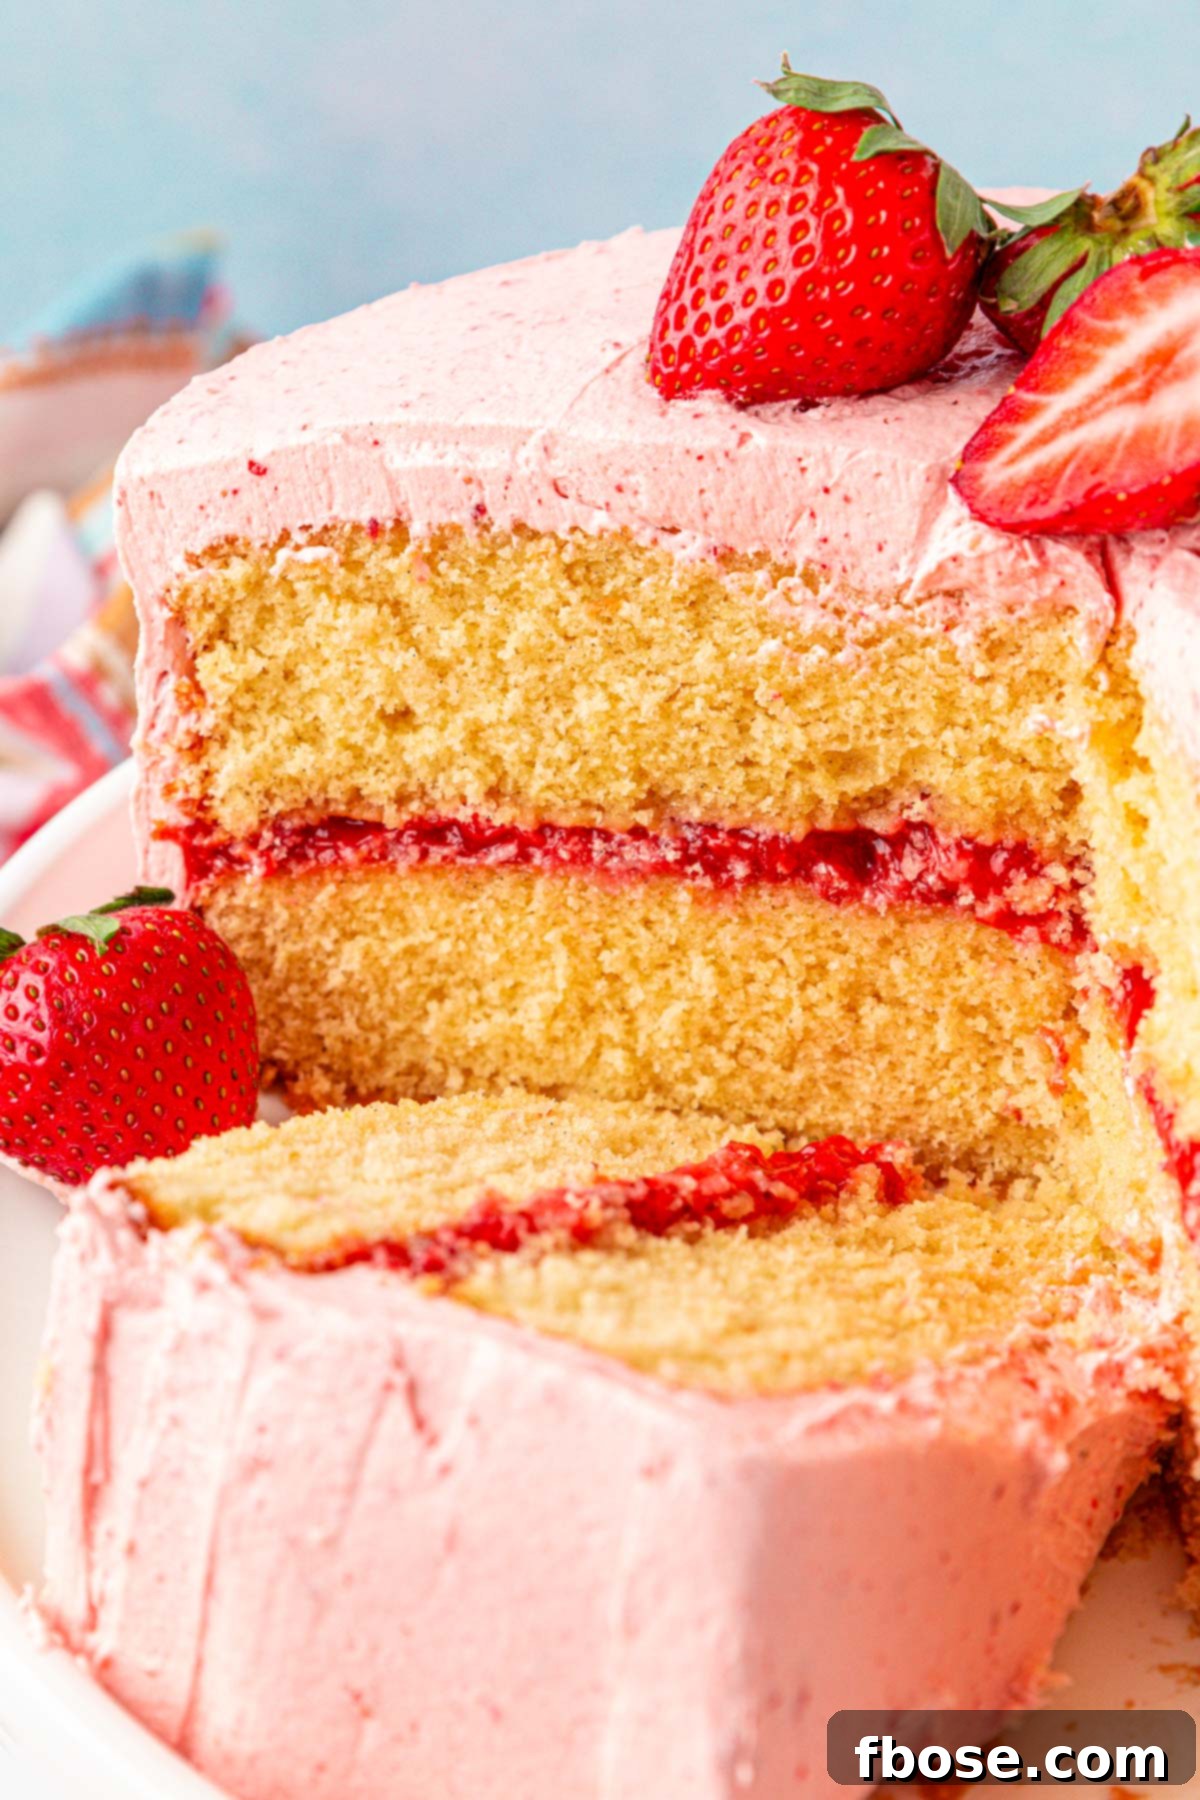
- Layered Cakes – This is its most classic and perhaps most spectacular use! Nestle generous amounts of this sweet, gooey goodness between layers of your favorite tender homemade cake for an undeniably decadent dessert. It pairs exceptionally well with a classic Vanilla Cake, adding a bright contrast, or complements the richness of a Chocolate Cake for a sophisticated flavor combination. Imagine it under a fluffy cream cheese frosting!
- Cupcakes – Turn ordinary cupcakes into an exciting surprise! Use a cupcake corer or a small knife to create a hidden pocket in the center of baked cupcakes, then fill it generously with this luscious strawberry filling. Top with frosting for an unexpected burst of flavor in every bite.
- Breakfast Pastries & Danishes – Elevate your morning or afternoon treat. Whether it’s a flaky croissant, a puff pastry tart, or a sweet turnover, pastries filled with homemade strawberry filling are always a delightful idea. A batch of these Strawberry Danish With Cream Cheese with this homemade filling will genuinely blow your mind with their fresh, fruity zest!
- Pancakes or French Toast – Start your day on an incredibly sweet and luxurious note! Layer warm strawberry filling between a stack of fluffy buttermilk pancakes or delicate slices of brioche French Toast instead of traditional syrup. It’s a breakfast upgrade you won’t forget.
- Yogurt Parfaits: Layer this homemade filling with Greek yogurt, granola, and fresh berries for a healthy yet indulgent breakfast or snack.
- Ice Cream Topping: Drizzle warm or cool strawberry filling over vanilla bean ice cream, cheesecake, or pound cake for an instant upgrade.
- Thumbprint Cookies: Use a dollop of this filling in the center of your favorite thumbprint cookie recipe before baking for a fruity twist.
Preserving Sweetness: How To Store and Freeze Strawberry Filling
Making a larger batch of strawberry filling to freeze is a brilliant way to prepare ahead for all your future delicious desserts and impromptu baking projects! This ensures you always have a taste of homemade goodness ready at your fingertips.
- Refrigeration: Once the strawberry filling has completely cooled to room temperature, transfer it to an airtight container. It can be stored in the refrigerator for up to 5-7 days. Always ensure it’s fully cooled before placing it in the fridge to prevent condensation and maintain its texture.
- Freezing for Long-Term Storage: To freeze your homemade strawberry filling, first ensure it has cooled entirely to room temperature. Transfer the filling into a freezer-safe container, a heavy-duty Ziploc freezer bag (squeeze out excess air), or even mason jars (leaving about an inch of headspace for expansion).
- Portioning: For convenience, consider freezing the filling in smaller, usable portions. This allows you to thaw just the amount you need for a specific recipe, reducing waste.
- Thawing: When you’re ready to use your frozen filling, simply transfer it from the freezer to the refrigerator and let it thaw overnight. You can also gently reheat it on the stovetop over low heat, stirring occasionally, if you prefer a warm consistency, though it’s best used cold for cake fillings.
- Shelf Life: Stored properly in the freezer, your delicious homemade strawberry filling will retain its quality and flavor for up to 3 months, ready to transform any dessert into a special treat.
Frequently Asked Questions (FAQ) About Homemade Strawberry Filling
- Q: Can I use fresh strawberries instead of frozen?
A: Yes, you absolutely can! If using fresh strawberries, ensure they are ripe and flavorful for the best results. You might find the filling comes out slightly thicker or thinner depending on the water content of your fresh berries. If it’s too thick, a tiny splash of water can help. If too thin, simmer for a few extra minutes or add a touch more cornstarch slurry (mixed with a small amount of water) to thicken. - Q: How do I know when the filling is thick enough?
A: The best way to tell is by performing the “spoon test.” Dip a spoon into the simmering filling, then lift it out. If the filling coats the back of the spoon and doesn’t run off too quickly, it’s ready. You can also run your finger across the coated spoon; if it leaves a clear path, you’ve achieved the perfect consistency. Remember, it will thicken further as it cools. - Q: What if my strawberry filling is too thin?
A: Don’t panic! Simply create a small slurry with 1 teaspoon of cornstarch mixed with 1 tablespoon of cold water. Slowly whisk this into your simmering filling and continue to cook for another minute or two until it reaches your desired thickness. Repeat if necessary, adding small amounts at a time. - Q: What if my strawberry filling is too thick?
A: If your filling becomes too thick, you can easily thin it out by stirring in a tablespoon of water or a little extra lemon juice (for added brightness) at a time, until it reaches your preferred consistency. - Q: Can I reduce the amount of sugar in the recipe?
A: Yes, you can. The amount of sugar can be adjusted to your taste and the sweetness of your strawberries. Start with less if you prefer a tarter filling, and taste as you go. Keep in mind that sugar also plays a role in the texture and preservation of the filling, so drastic reductions might slightly alter the final consistency. - Q: How long does homemade strawberry filling last?
A: When stored in an airtight container in the refrigerator, this homemade strawberry filling will stay fresh for about 5 to 7 days. For longer storage, it can be frozen for up to 3 months.
More Irresistible Strawberry Recipes to Delight Your Senses
- Strawberry Lemonade – The quintessential hot weather sip, crafted with only 5 refreshing ingredients!
- Baked Strawberry Glazed Donuts – A truly delicious baked breakfast treat, each bite bursting with intense berry flavor!
- Easy Strawberry Shortcake – Relish this delightful summer classic that has captured everyone’s hearts for generations!
- Strawberry Spinach Salad – A vibrant salad made with fresh, seasonal produce, perfect for a light lunch or a refreshing dinner!
- Strawberry Margarita – Savor this summery cocktail, equally enchanting whether served frozen or on the rocks!
Did You Make This Recipe?
If you’ve tried this recipe, please share your thoughts and leave a review in the comments below. We love hearing from you! Don’t forget to tag us – @sugarandsoulco – on Instagram and Pinterest with your beautiful photos, or join our Sugar & Soul Show-offs Community and share them there. We can’t wait to see your creations!
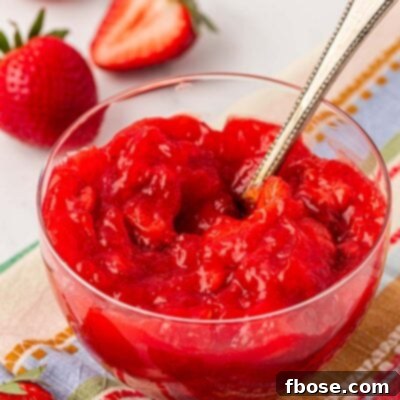
Homemade Strawberry Cake Filling
Author: Rebecca Hubbell
Course: Dessert
Cuisine: American
Prep Time: 5 minutes
Cook Time: 25 minutes
Cooling Time: 30 minutes
Total Time: 1 hour
Yields: 2 cups (approximately, adjustable)
Pin Recipe
Rate This Recipe
This homemade strawberry cake filling is quick to prepare, bursting with fresh strawberry flavor, and perfect for cakes, cupcakes, pastries, and more!
Ingredients
- 10 ounces frozen strawberries (283g)
- ½ cup granulated sugar (100g)
- 1 tablespoon lemon juice
- 1 tablespoon cornstarch (18g)
Instructions
- Add 10 ounces frozen strawberries and ½ cup granulated sugar to a small pot and bring to a simmer over medium-high heat, stirring frequently. Let simmer for 5 minutes.
- In a small prep bowl, mix together 1 tablespoon lemon juice and 1 tablespoon cornstarch with a fork until smooth.
- Once the berries start breaking down, quickly pour in the cornstarch and lemon mixture while stirring continuously.
- Continue stirring for 2 minutes, until the mixture has thickened and coats the back of a spoon. Use a potato masher to break down the berries further if needed; aim for small strawberry chunks.
- Then, remove from the heat and let cool completely in the pot before using in your desired recipe.
Notes
- For best results, use high-quality frozen strawberries.
- Ensure the filling is completely cool before adding it to baked goods to prevent sogginess.
Nutrition Facts (per serving)
- Calories: 255kcal
- Carbohydrates: 65g
- Protein: 1g
- Fat: 1g
- Saturated Fat: 0.03g
- Polyunsaturated Fat: 0.2g
- Monounsaturated Fat: 0.1g
- Sodium: 2mg
- Potassium: 226mg
- Fiber: 3g
- Sugar: 57g
- Vitamin A: 17IU
- Vitamin C: 86mg
- Calcium: 24mg
- Iron: 1mg
(Nutritional information is an estimate and may vary based on specific ingredients and preparation methods.)
Loved This Recipe?
Don’t forget to share your creations with us on Instagram @sugarandsoulco and follow us on Tiktok @sugarandsoulco and Pinterest @sugarandsoulco for more delicious recipes and baking inspiration!
Pin Recipe
Share Recipe on Facebook