

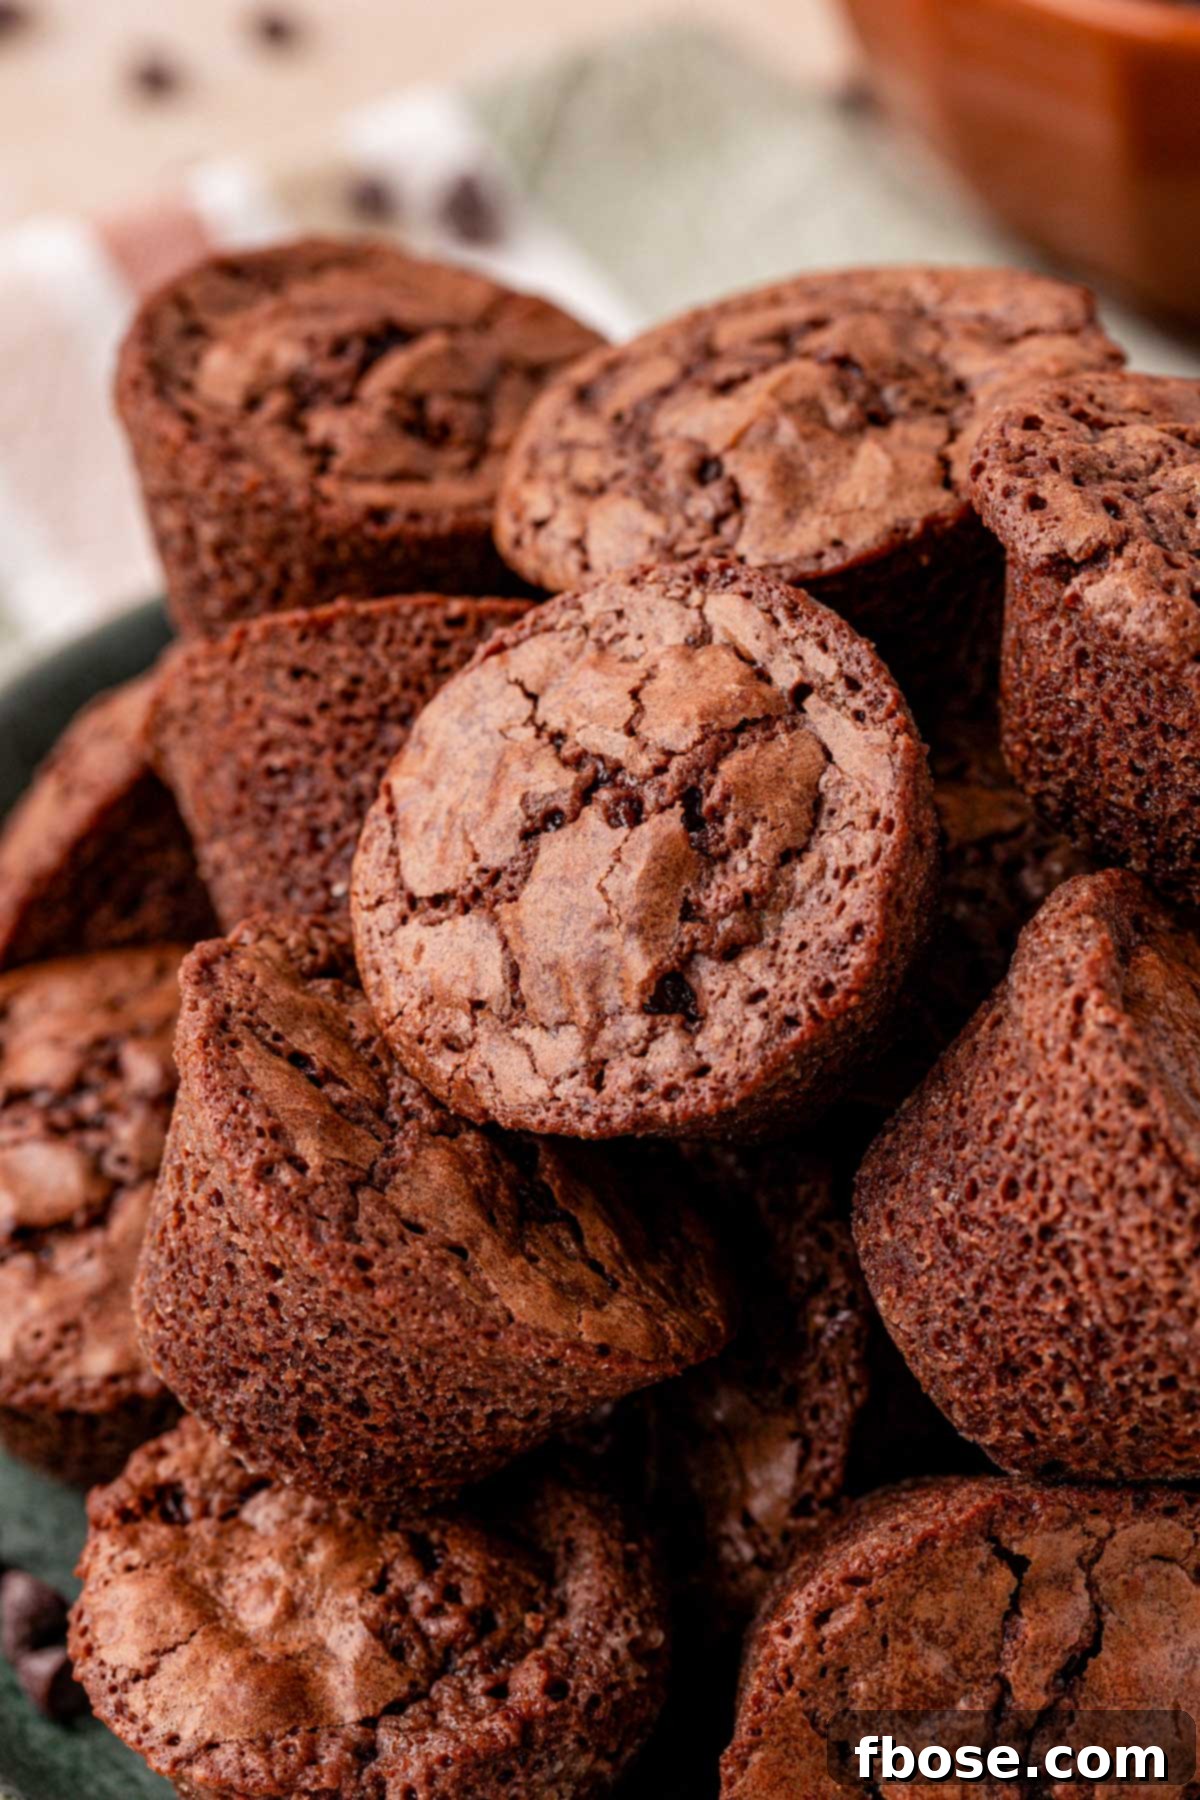
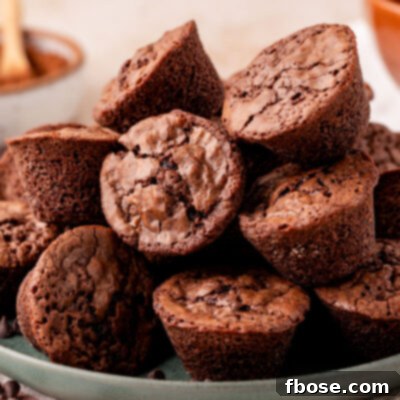
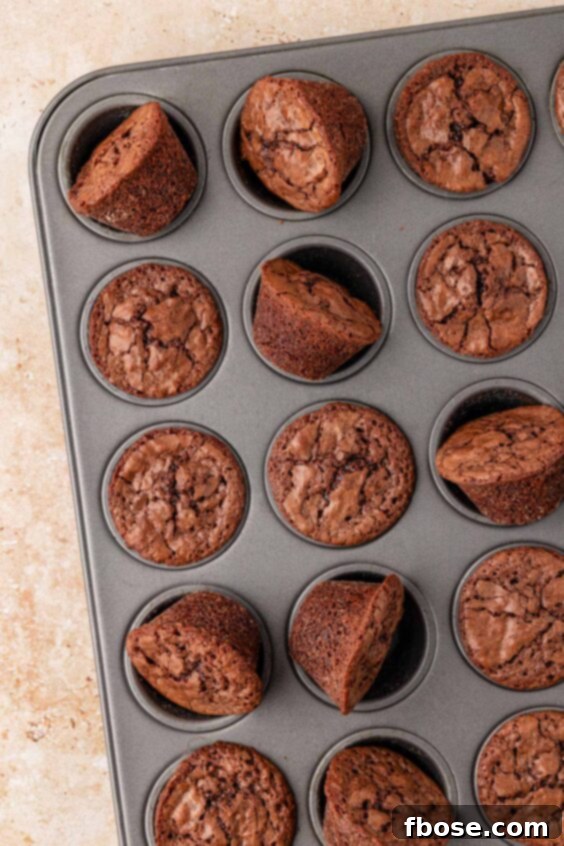
Indulge in the pure bliss of homemade treats with these irresistible Homemade Brownie Bites. Each miniature delight boasts a deeply fudgy center, perfectly crisp edges, and that signature crinkly top that promises decadent flavor in every bite. Whether you savor them as a simple mid-week pick-me-up, transform them into an elaborate brownie sundae, or involve the kids in decorating them for festive holidays with colorful frosting and sprinkles, these brownie bites are a versatile and beloved dessert that will quickly become a household favorite. Forget about settling for store-bought mediocrity; prepare to elevate your dessert game with a recipe that guarantees superior taste and texture, ensuring you’ll never look back.
Unlock Unforgettable Flavor: Why Homemade Brownie Bites Always Win
In a world of convenience, store-bought brownie bites might seem like an easy win, but they often fall short on the very qualities that make a brownie truly special: rich flavor and a melt-in-your-mouth texture. These mass-produced versions typically lack the intense chocolate punch and the desirable fudginess we all crave, leaving a lot to be desired when you’re truly seeking to satisfy your sweet tooth. They frequently arrive dry, crumbly, and with an artificial taste that simply can’t compare to a freshly baked treat.
However, thanks to this meticulously crafted Homemade Brownie Bites Recipe, you no longer have to compromise. Each delightful bite delivers an unparalleled experience, bursting with rich, deep chocolate goodness and a signature fudgy center that will have you reaching for another — and another. We’ve gone beyond merely combining ingredients; our technique focuses on preserving moisture and intensifying flavor. By incorporating ingredients with a gentle touch to prevent excess air, and crucially, by “blooming” the cocoa powder, we unlock its full aromatic potential. The result? Brownie bites that are not just better than store-bought, but truly exceptional, with an unforgettable chocolate flavor and an irresistibly dense, chewy texture.
A Connoisseur’s Take: What Makes These Brownie Bites Stand Out
Our resident baking expert, Rebecca, rigorously tested and perfected this recipe, offering her honest insights into what makes these brownie bites truly exceptional:
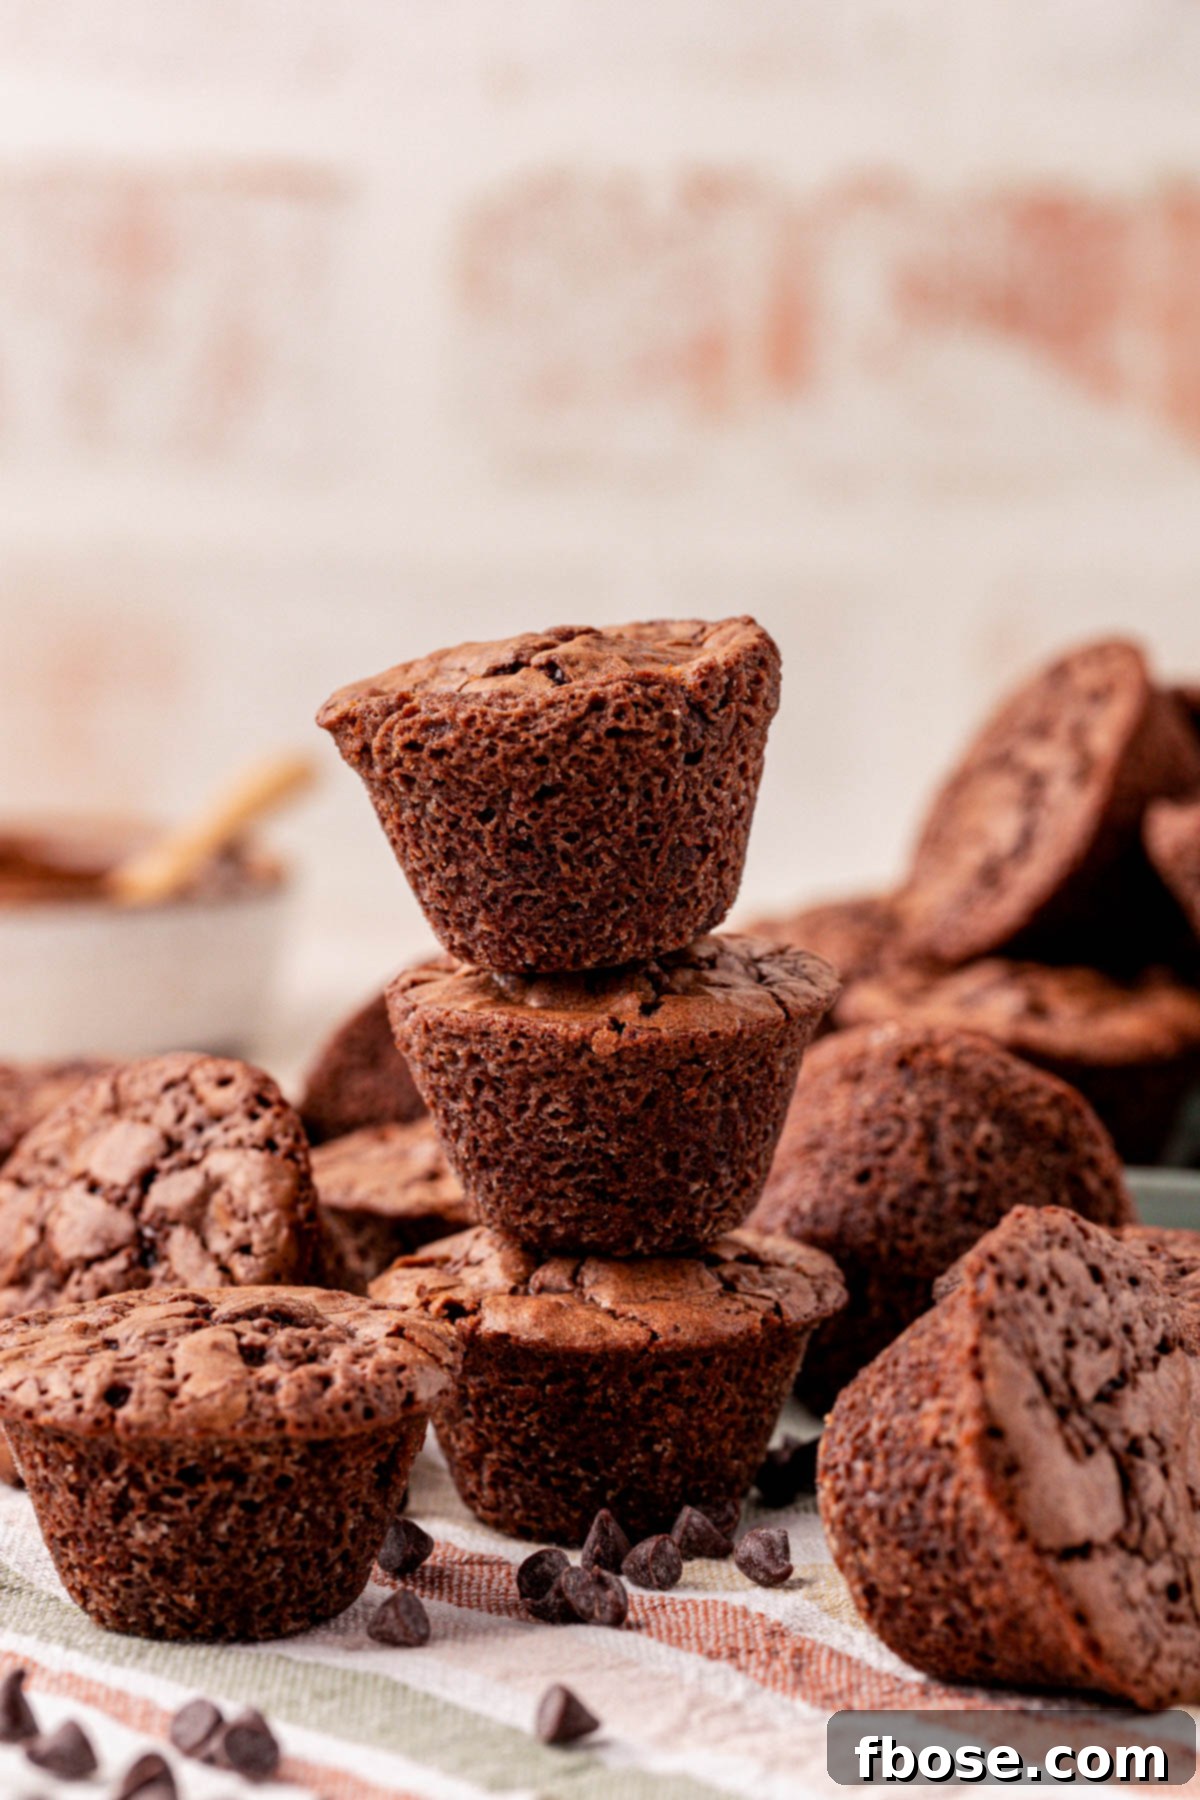
Taste Profile: Prepare for an explosion of flavor! These brownie bites are intensely rich and deeply chocolaty, striking the perfect balance between sweetness and cocoa bitterness. The flavor lingers delightfully, a testament to the quality ingredients and expert techniques used.
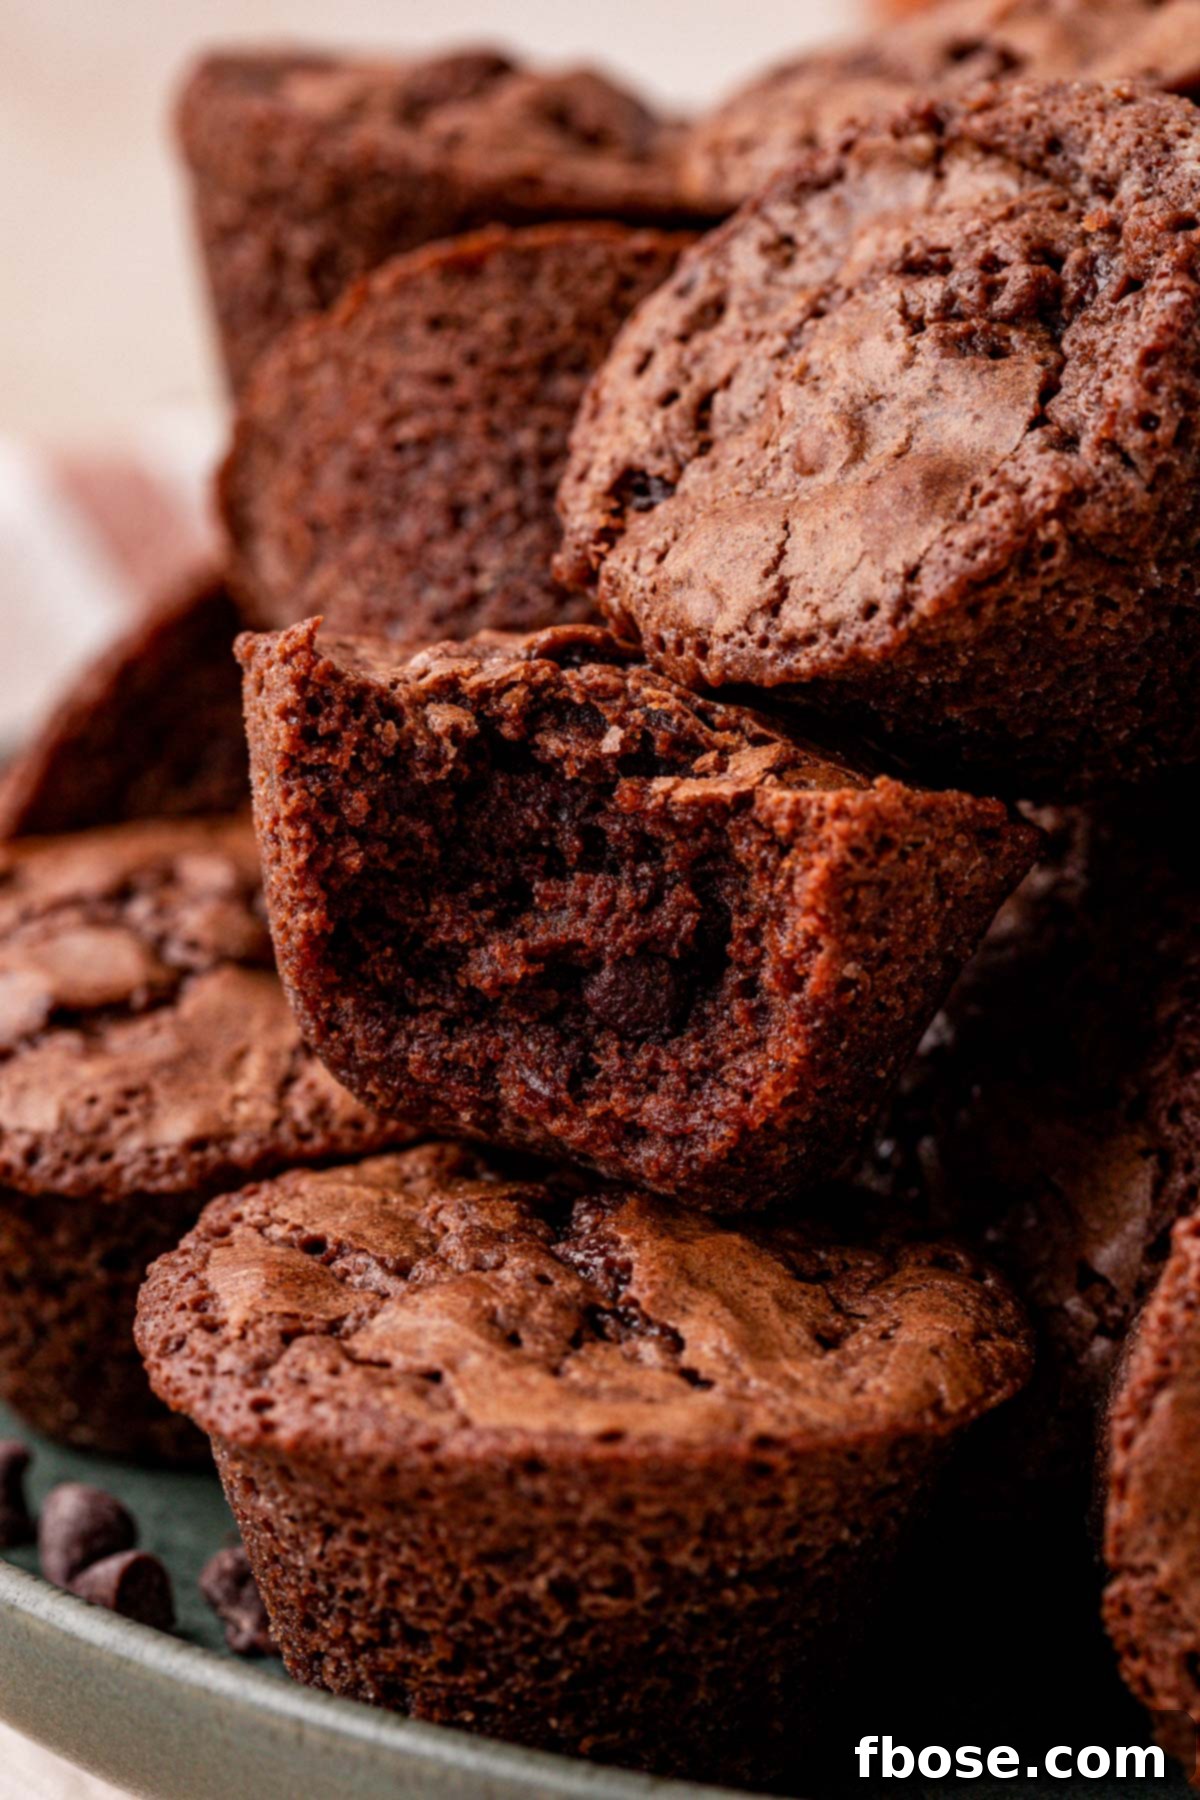
Texture Perfection: The texture is arguably the highlight. Expect a lusciously fudgy interior that yields with every bite, perfectly complemented by a delicate, crinkly top. The edges are subtly crisped, ensuring that every single bite offers the coveted “edge piece” experience. It’s a symphony of contrasts — soft, chewy, and slightly crisp — all in one tiny package.
Effort Level: 5/10 – While not inherently difficult, the process is a bit more involved than simply mixing a typical pan of brownies. However, the extra steps are entirely worth it for the superior results, and we’ve designed the instructions to be as clear and manageable as possible for home bakers of all skill levels.
Key Advantages: The individual servings are incredibly convenient, making them ideal for portion control, easy sharing, and elegant presentation at any gathering. They are perfect for events, potlucks, or simply as a special treat for yourself.
Minor Drawbacks: The only minor inconvenience noted was the cleaning of the mini muffin pan. We’ve included a crucial tip in our instructions to mitigate this, ensuring easy release and minimizing cleanup efforts.
Repeatability: An emphatic yes! This recipe is a go-to for countless events, consistently delighting both children and adults alike. Its versatility and universal appeal make it a staple in any baker’s repertoire.
Crafting Perfection: Essential Ingredients for Your Mini Brownie Bites
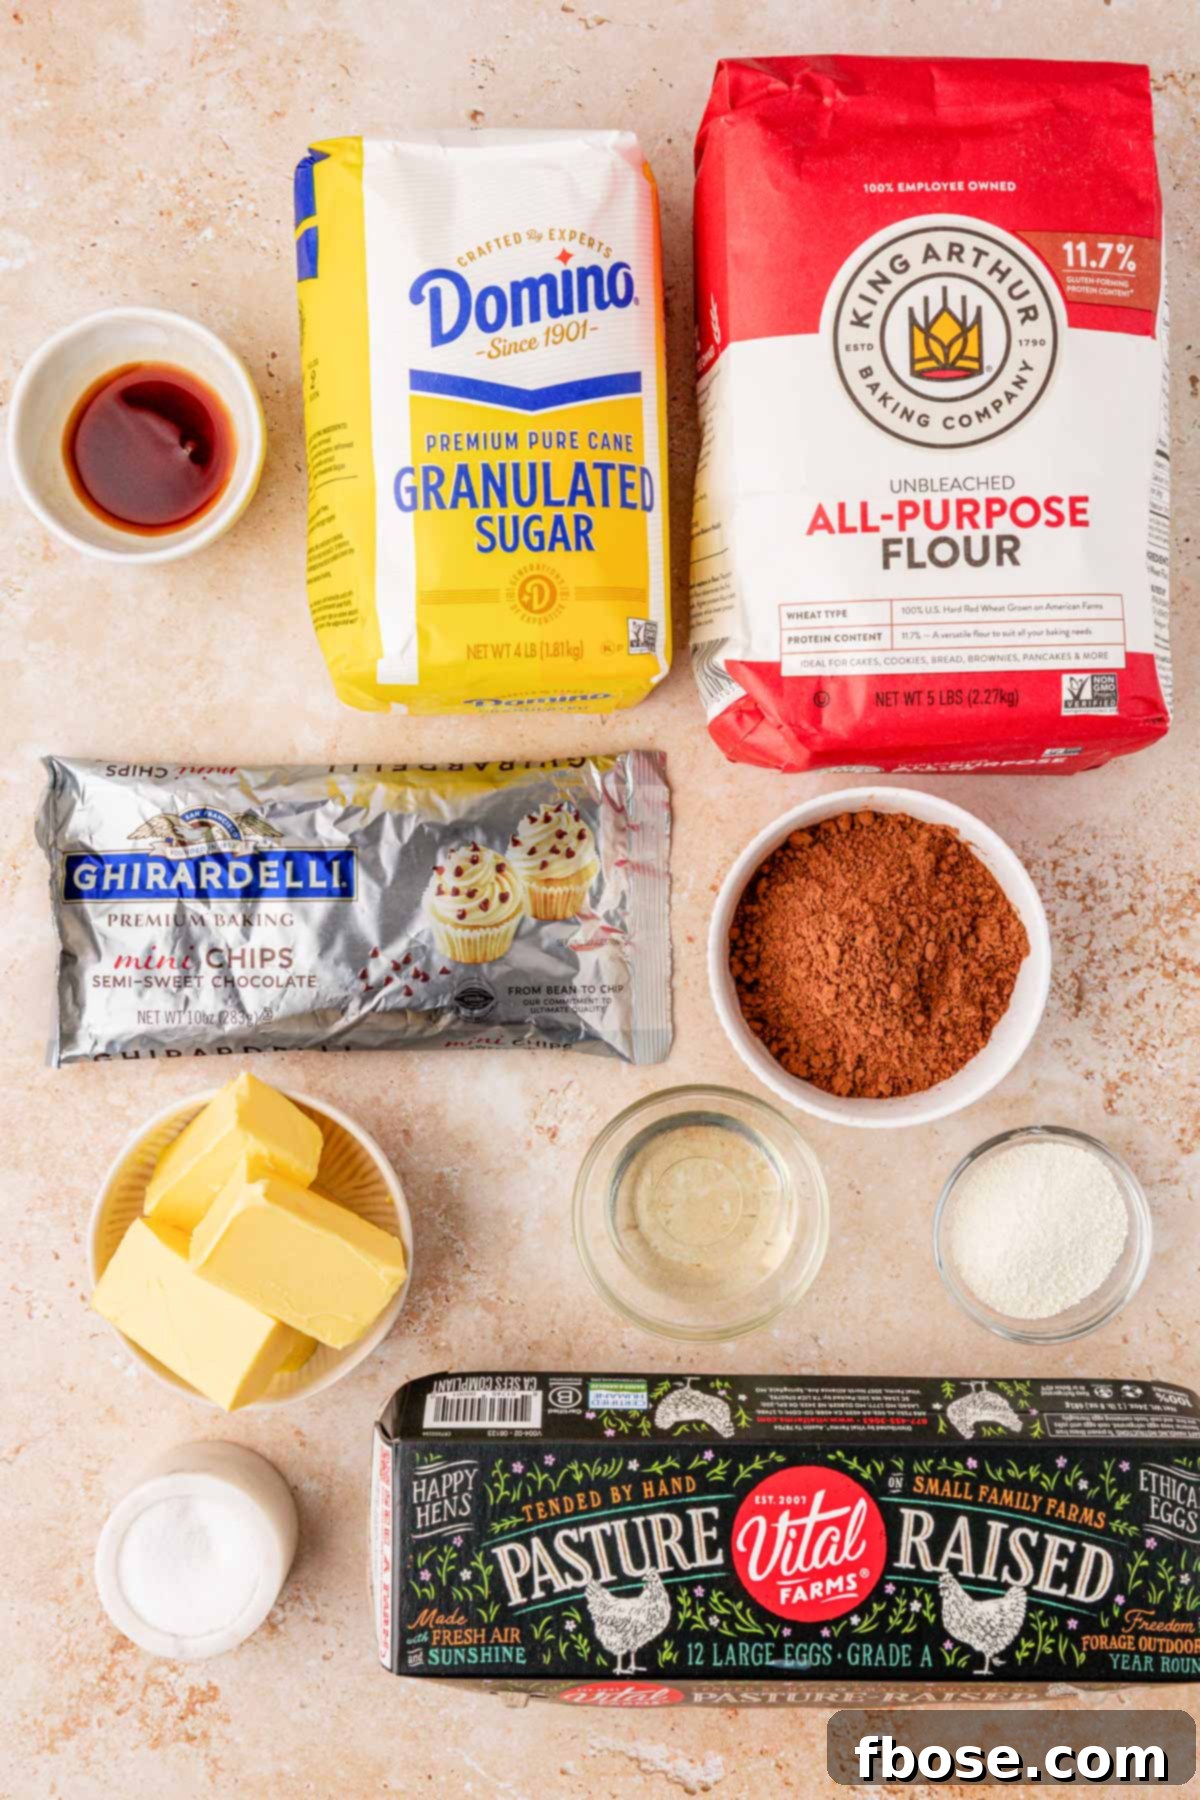
While this brownie recipe is proudly made from scratch, you’ll find that the majority of the ingredients are common pantry staples, making it both convenient to prepare and deeply satisfying to bake. For your foundational pantry items, gather all-purpose flour, granulated sugar, canola oil (or another neutral-flavored oil), vanilla extract, salt, and unsweetened cocoa powder.
The choice of cocoa powder offers an exciting opportunity to customize the depth and nuance of your brownie’s chocolate flavor. You’re welcome to use any unsweetened cocoa powder you have on hand, but understanding the differences can elevate your baking:
- Natural Unsweetened Cocoa Powder: This type of cocoa powder, often simply labeled “unsweetened cocoa,” will yield brownies that are lighter in color and possess a more concentrated, sometimes slightly fruity or acidic chocolate flavor. It reacts with baking soda (though not used in this particular recipe, it’s good to know for other applications) to create lift.
- Dutch-Process Cocoa Powder: If you seek a brownie with a more intense, richer, and darker chocolate flavor, Dutch-process cocoa powder is your go-to. It’s been treated with an alkali to neutralize its acidity, resulting in a smoother, mellower taste and a strikingly darker hue. This is an excellent choice for a truly decadent brownie.
- Black Cocoa Powder: For those adventurous bakers looking for a unique twist, black cocoa powder (similar to what’s found in Oreo cookies) will produce brownies with an incredibly deep, almost black color and a distinctive, smooth, and less bitter chocolate flavor. It offers a sophisticated and intriguing profile.
Feel free to experiment with these options to discover your favorite! Beyond the cocoa, you’ll also need high-quality unsalted butter (we recommend Kerrygold for its rich flavor), large eggs (Vital Farms are a great choice for quality), malted milk powder (an optional but highly recommended ingredient that adds an extra layer of depth and chewiness), and mini semi-sweet chocolate chips (or finely chopped baking chocolate for melty pockets of goodness).
Your Guide to Perfect Brownie Bites: Step-by-Step From Scratch
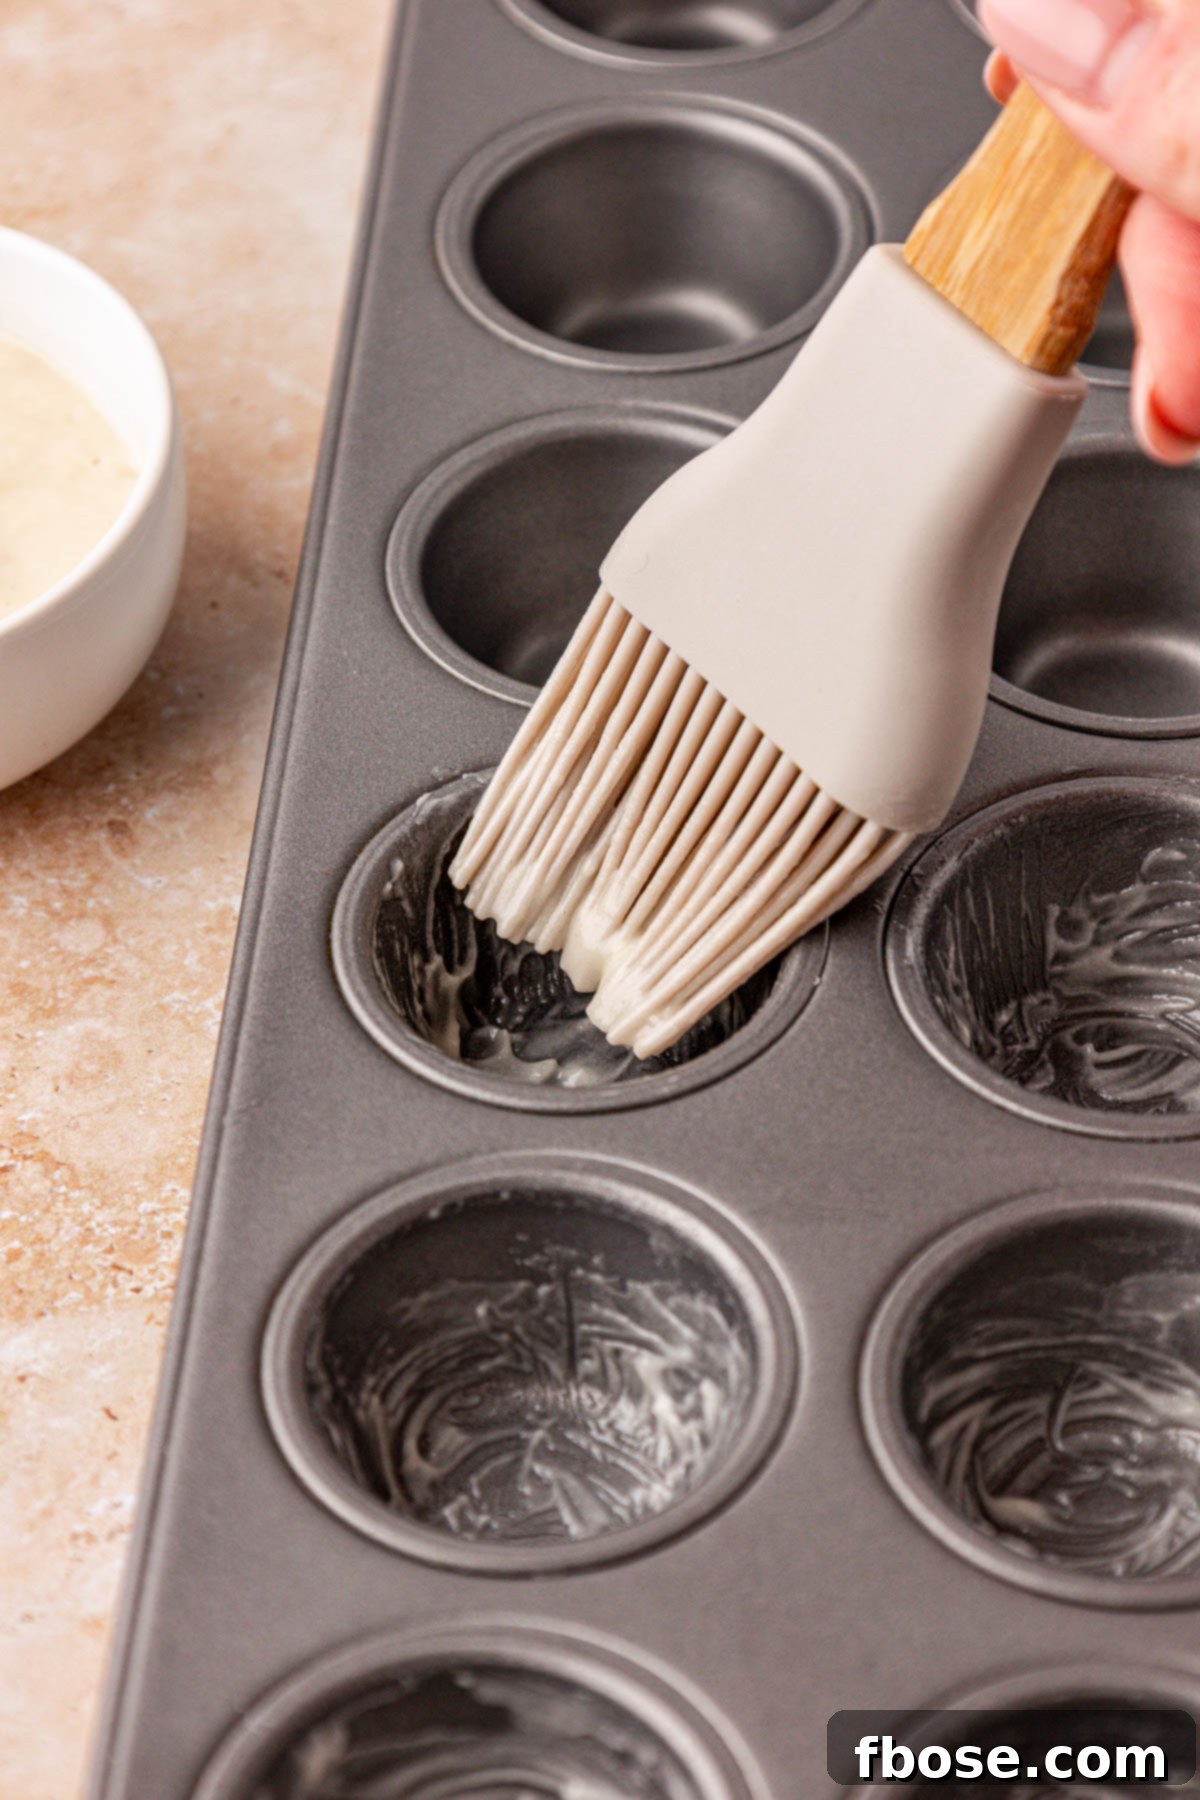
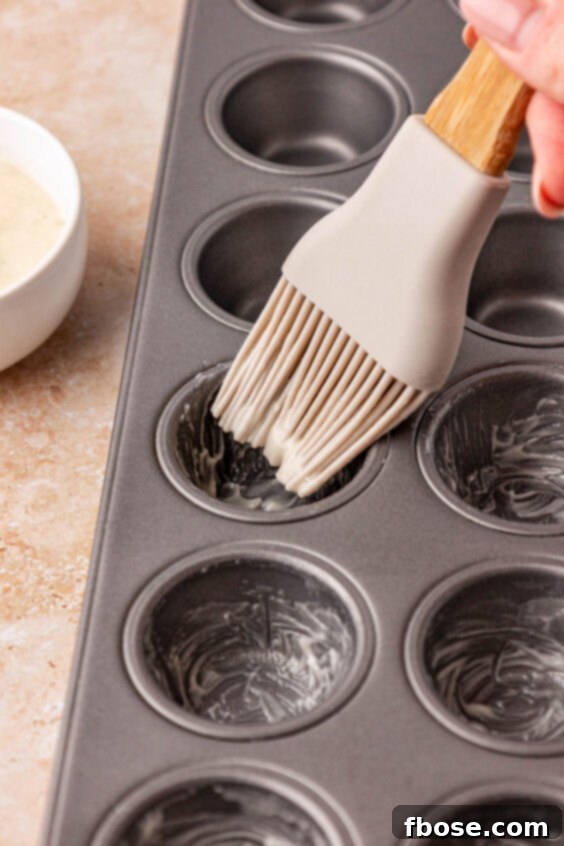
- Prepare Your Pan: Begin by preheating your oven to 350°F (175°C). This ensures even baking from the moment your brownies enter the oven. While the oven preheats, take a moment to meticulously grease the wells of a mini muffin pan. For the absolute best results and effortless release, we highly recommend using Cake Goop (Magic Pan Release). Brush a generous, even layer into each well and set the prepared pan aside.
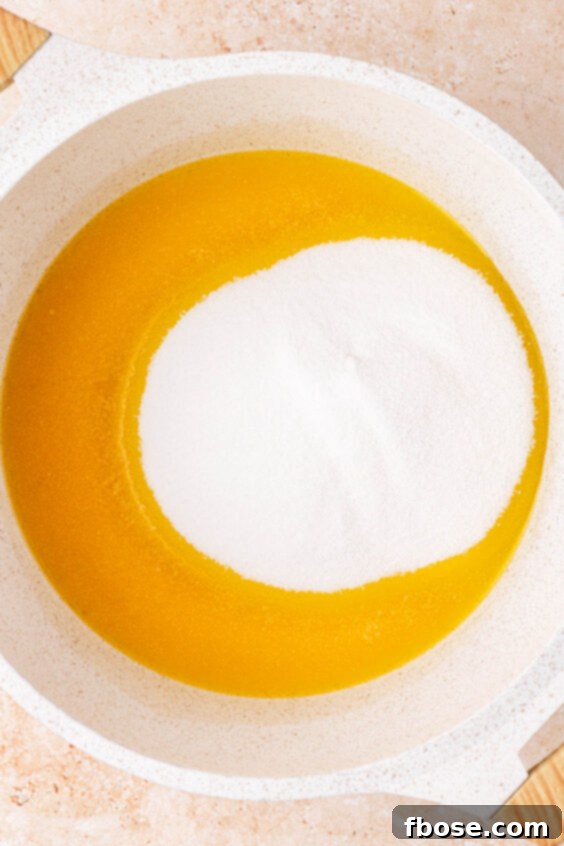
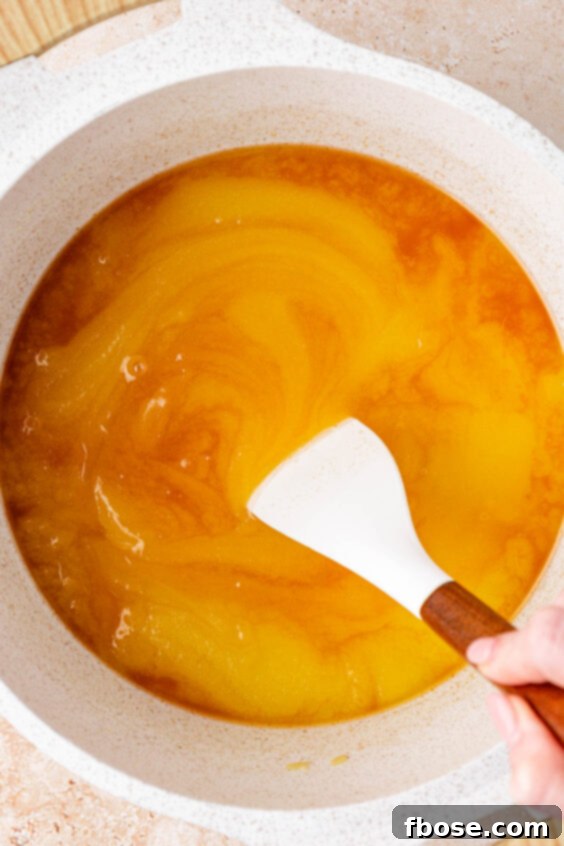
- Melt Butter and Sugar: In a heavy-bottomed saucepan, melt the unsalted butter over low heat. Once fully melted, stir in the granulated sugar. Continue to stir gently until the mixture is completely smooth and you observe a subtle emulsification between the butter and sugar, meaning there’s no separation. Immediately remove the mixture from the heat to prevent it from getting too hot and allow it to cool slightly, stirring frequently for about 5 minutes to help it cool evenly. This crucial step prevents extra air from being incorporated, which is key to a fudgy texture.
- Incorporate Liquids: Once the butter-sugar mixture has cooled slightly, add the canola oil and vanilla extract. Beat these into the mixture thoroughly with a rubber spatula until they are fully combined. Ensure there’s no visible separation of oil on top — this creates a cohesive base for your brownie batter.
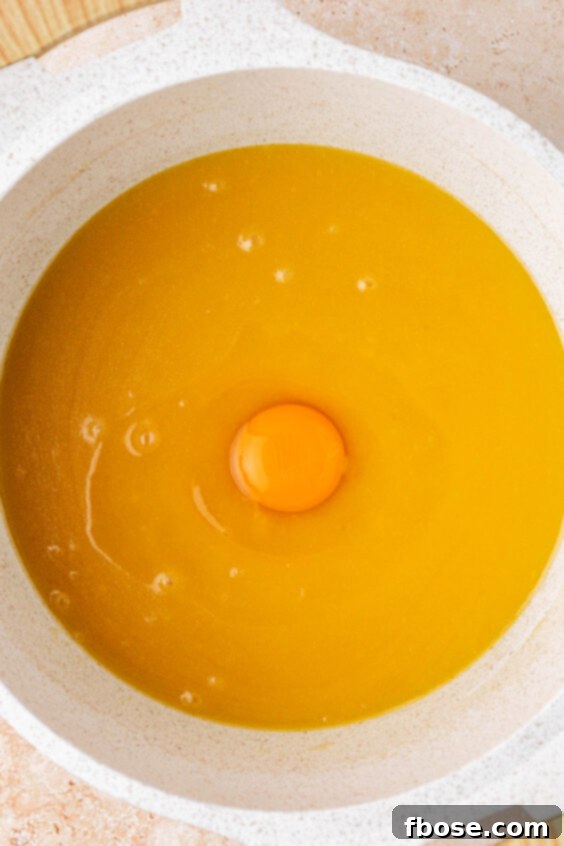
- Add Eggs Gradually: Beat in the large eggs one at a time. After each egg addition, mix with a fork or rubber spatula just until it’s fully incorporated into the batter. Adding them individually ensures proper emulsification and a smooth, consistent batter.
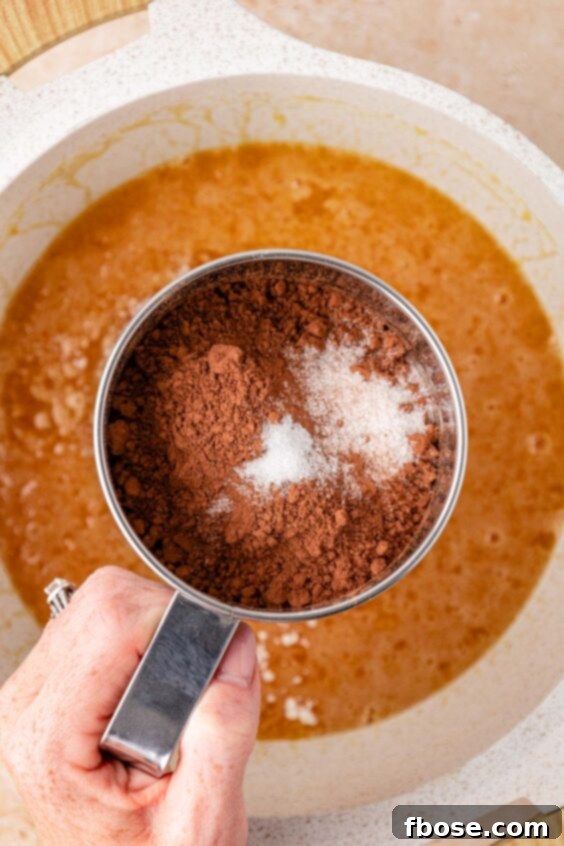
- Sift Dry Ingredients: Sift the all-purpose flour, unsweetened cocoa powder, malted milk powder (if using), and salt directly into the melted butter and sugar mixture. Sifting prevents lumps and helps distribute the dry ingredients evenly. Gently stir the batter together using your rubber spatula. Mix only until almost all of the dry streaks have disappeared. Be careful not to overmix, as this can lead to tough brownies.
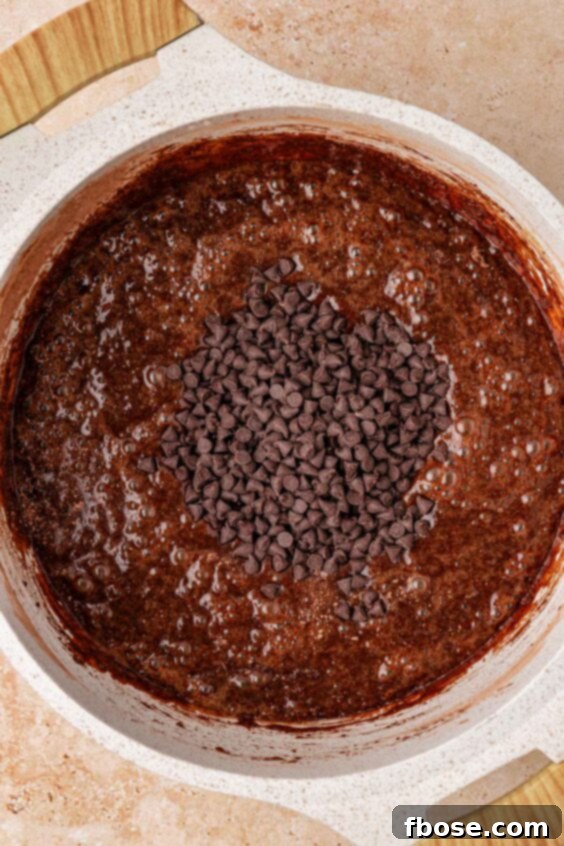
- Fold in Chocolate Chips: Finally, gently fold in the mini semi-sweet chocolate chips. Distribute them evenly throughout the batter to ensure delicious pockets of melted chocolate in every bite.
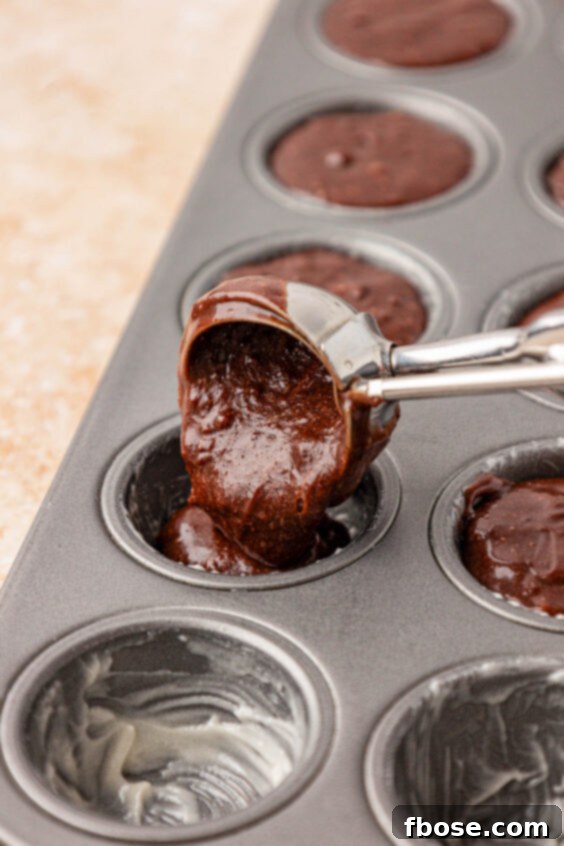
- Fill and Bake: Evenly distribute the brownie batter into the wells of your meticulously greased mini muffin pan. A small cookie scoop (approximately 1.5 tablespoons) works wonderfully for this, ensuring consistent sizing. Bake them in your preheated oven for approximately 14 to 16 minutes. Keep a close eye on them; brownies can quickly go from fudgy to dry. A toothpick inserted into the center should come out with moist crumbs, not wet batter.
- Cool Before Serving: Allow the homemade brownie bites to cool completely in the pan before attempting to remove them. This waiting period is essential as it allows them to set and firm up, making them easier to handle and preventing them from crumbling. If needed, a small paring knife can gently assist in releasing them from the pan.
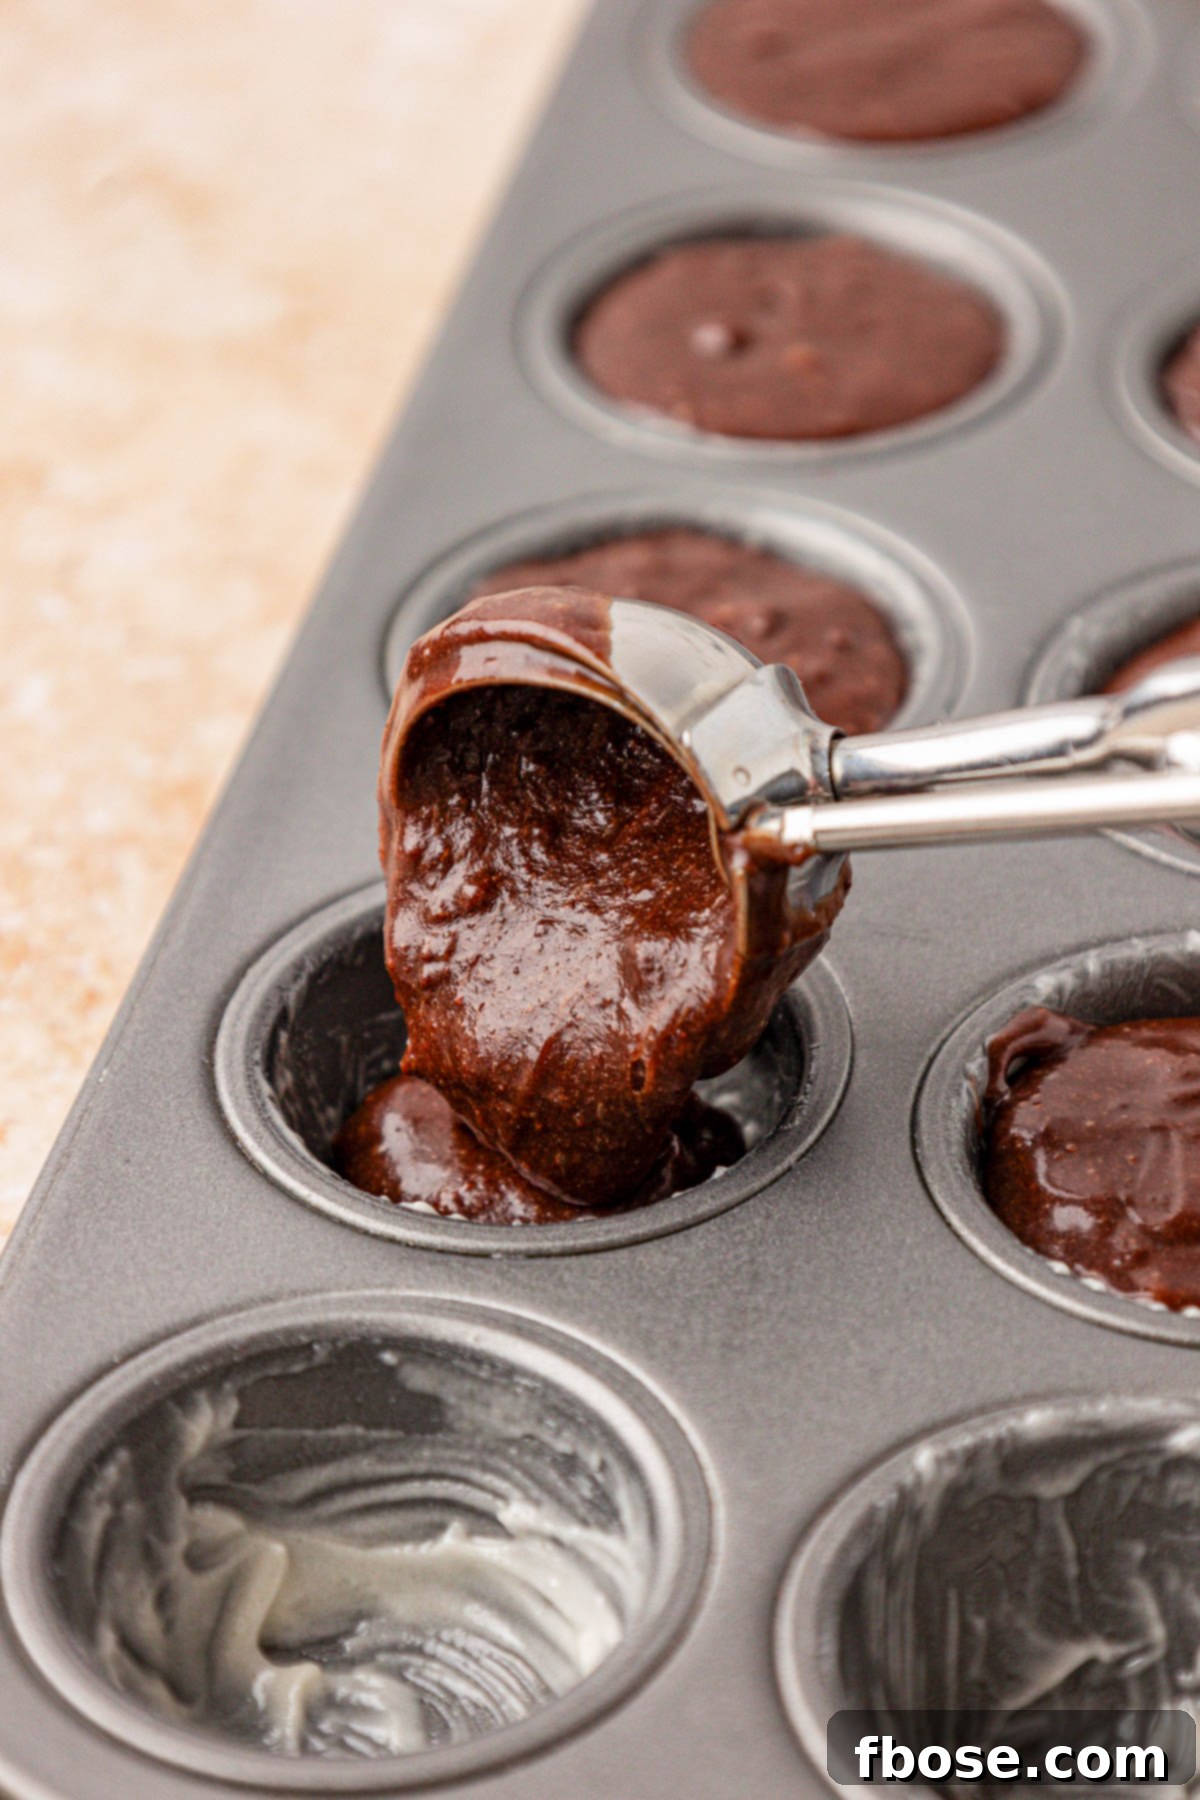
- The Secret to Effortless Pan Release: After extensive testing (five different methods!), we definitively found that Cake Goop (Magic Pan Release) is the ultimate solution for ensuring your brownie bites pop right out of the tin without any sticking or hassle. Other methods simply don’t compare. Regular butter made the edges too crispy and stuck; baking spray created an odd, soufflé-like texture on the batter; basic nonstick spray still required prying; and no coating, unsurprisingly, led to stubborn sticking. Even mini muffin liners, while functional, often caused some brownie to cling to the paper. Trust us on the Cake Goop — it’s a game-changer!
- Adapting for Different Sizes: While this recipe is optimized for mini brownie bites, its versatility shines through. If you prefer larger individual treats, simply swap out the mini muffin pan for a regular-sized muffin tin. Remember that the baking time will need to be adjusted upwards to accommodate their increased size; start checking around 20-25 minutes.
- One Recipe, Any Pan: Surprisingly, this robust recipe can also be used to make a full pan of brownies — whether an 8×8, 9×9, or even a 9×13 pan. No adjustments to the ingredient quantities are necessary! Just like with larger muffin tins, the key is to modify the baking time. An 8×8 pan might take 30-35 minutes, a 9×9 about 25-30 minutes, and a 9×13 around 20-25 minutes, depending on your oven. Always bake until a toothpick inserted into the center comes out with moist crumbs.
- Unleash Your Creativity with Mix-Ins: While mini semi-sweet chocolate chips are a classic for a reason, don’t hesitate to customize your brownie bites with other delicious additions. Consider swapping them out for peanut butter chips for a salty-sweet twist, peppermint chips for a festive holiday flair, or even finely chopped walnuts or pecans for a delightful textural crunch. White chocolate chips or butterscotch chips are also fantastic options!
- The Importance of Melted Butter for Fudginess: This step is non-negotiable for achieving the perfect fudgy texture! Unlike traditional brownie recipes that involve creaming butter and sugar together (which incorporates air and results in a cake-like texture), we melt the butter directly with the sugar on the stovetop. This technique actively *eliminates* adding extra air to the batter, creating a denser, chewier, and profoundly fudgy brownie bite that simply melts in your mouth.
- Blooming Cocoa Powder for Intense Flavor: Another critical step in our recipe’s success is “blooming” the cocoa powder. By sifting the cocoa powder into the warm, melted butter and sugar mixture, you allow the heat to activate and intensify the cocoa’s flavor. This process releases the full aromatic compounds of the cocoa, yielding brownies with a mouthwatering, rich, and truly pronounced chocolate taste. Therefore, for both superior texture and an unparalleled chocolate flavor, do not skip the step of melting the butter and incorporating the cocoa powder into this warm base!
Creative Ways to Serve Your Delectable Brownie Bites
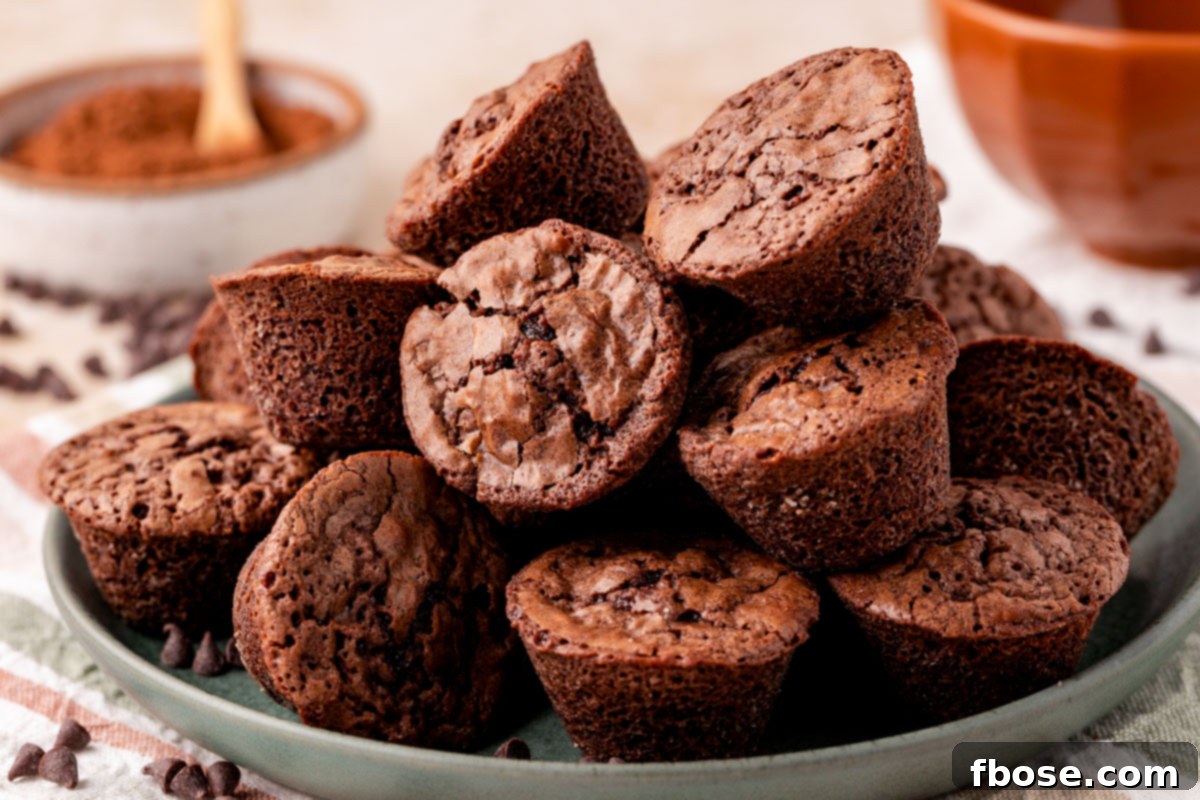
- Pure and Simple Delight: These brownie bites are an exquisite treat entirely on their own! Their perfect individual portion size makes them a fantastic, easy-to-grab dessert for any occasion. They are also a wonderful and universally loved contribution for potlucks, offering a sophisticated yet approachable sweet treat.
- Elevate with Frosting: For an extra layer of sweetness and indulgence, crown your brownie bites with a swirl of your favorite frosting. For a delightful salty-sweet experience, try a dollop of our Fluffy Peanut Butter Frosting. Alternatively, unleash a touch of decadent hazelnut flavor with our rich Nutella Frosting. Classic chocolate or vanilla buttercream also works beautifully!
- The Ultimate Brownie Sundae Base: Who could possibly resist a towering, glorious brownie sundae? Use these perfectly sized brownie bites as the foundational base. Warm them slightly for an extra gooey effect, then pile on generous scoops of your favorite ice cream, drizzles of hot fudge or caramel, a cloud of whipped cream, and a showering of nuts and sprinkles!
- Engaging Edible Entertainment for Kids: Turn dessert into a fun, interactive activity! These brownie bites are the perfect canvas for children’s creativity. Top them with our smooth American Buttercream Frosting or a rich Chocolate Buttercream Frosting, then unleash a variety of fun seasonal sprinkles and candies. This hands-on edible craft is fantastic for holiday parties like Halloween, Christmas, or Valentine’s Day!
- Festive Holiday Brownie Bites: Beyond just decorating, these homemade brownie bites can be transformed into specific seasonal delights. Adapt this recipe to create themed treats like our charming Christmas Tree Brownie Bites or comforting Hot Chocolate Brownie Bites. The possibilities for seasonal creativity are endless!
Keeping Your Mini Brownies Fresh: Storage Tips
To ensure your homemade mini brownies retain their delicious fudgy texture and fresh flavor, proper storage is key. Once completely cooled, place your brownie bites in an airtight container. If you need to stack them, use layers of parchment paper between each row to prevent them from sticking together. Stored at room temperature, these delectable brownies will remain wonderfully fresh and enjoyable for up to 3 to 4 days. Keep them away from direct sunlight and heat to maintain their quality.
Extend the Joy: How to Freeze Brownie Bites
Freezing your homemade brownie bites is an excellent way to prepare them in advance or save extras for future cravings. First, ensure the brownie bites are completely cooled to room temperature. This is crucial to prevent condensation and ice crystals from forming, which can affect texture. Next, arrange the cooled bites in a single layer on a baking sheet and flash-freeze them for about one hour. This brief freezing period will harden them individually, preventing them from sticking together when you later transfer them for long-term storage.
After flash-freezing, transfer the frozen brownie bites into a freezer-safe airtight container or a heavy-duty gallon Ziploc freezer bag. You can stack them carefully in the container or bag. Flash-freezing is the secret weapon here, as it ensures each brownie bite remains separate and easy to grab without thawing the whole batch.
Alternatively, if you prefer, you can individually wrap each brownie bite tightly in plastic wrap, and then again in aluminum foil for maximum protection against freezer burn. For a slightly less labor-intensive storage option for shorter freezing periods, you can simply place the bites into an airtight container with parchment paper separating the layers, though flash-freezing first is always recommended for best results. Store your Brownie Bites in the freezer for up to 3 months. When you’re ready to enjoy them, simply take out the desired number and thaw them at room temperature for about 30-60 minutes, or warm them slightly in the microwave for an extra gooey treat.
Explore More Decadent Brownie Creations
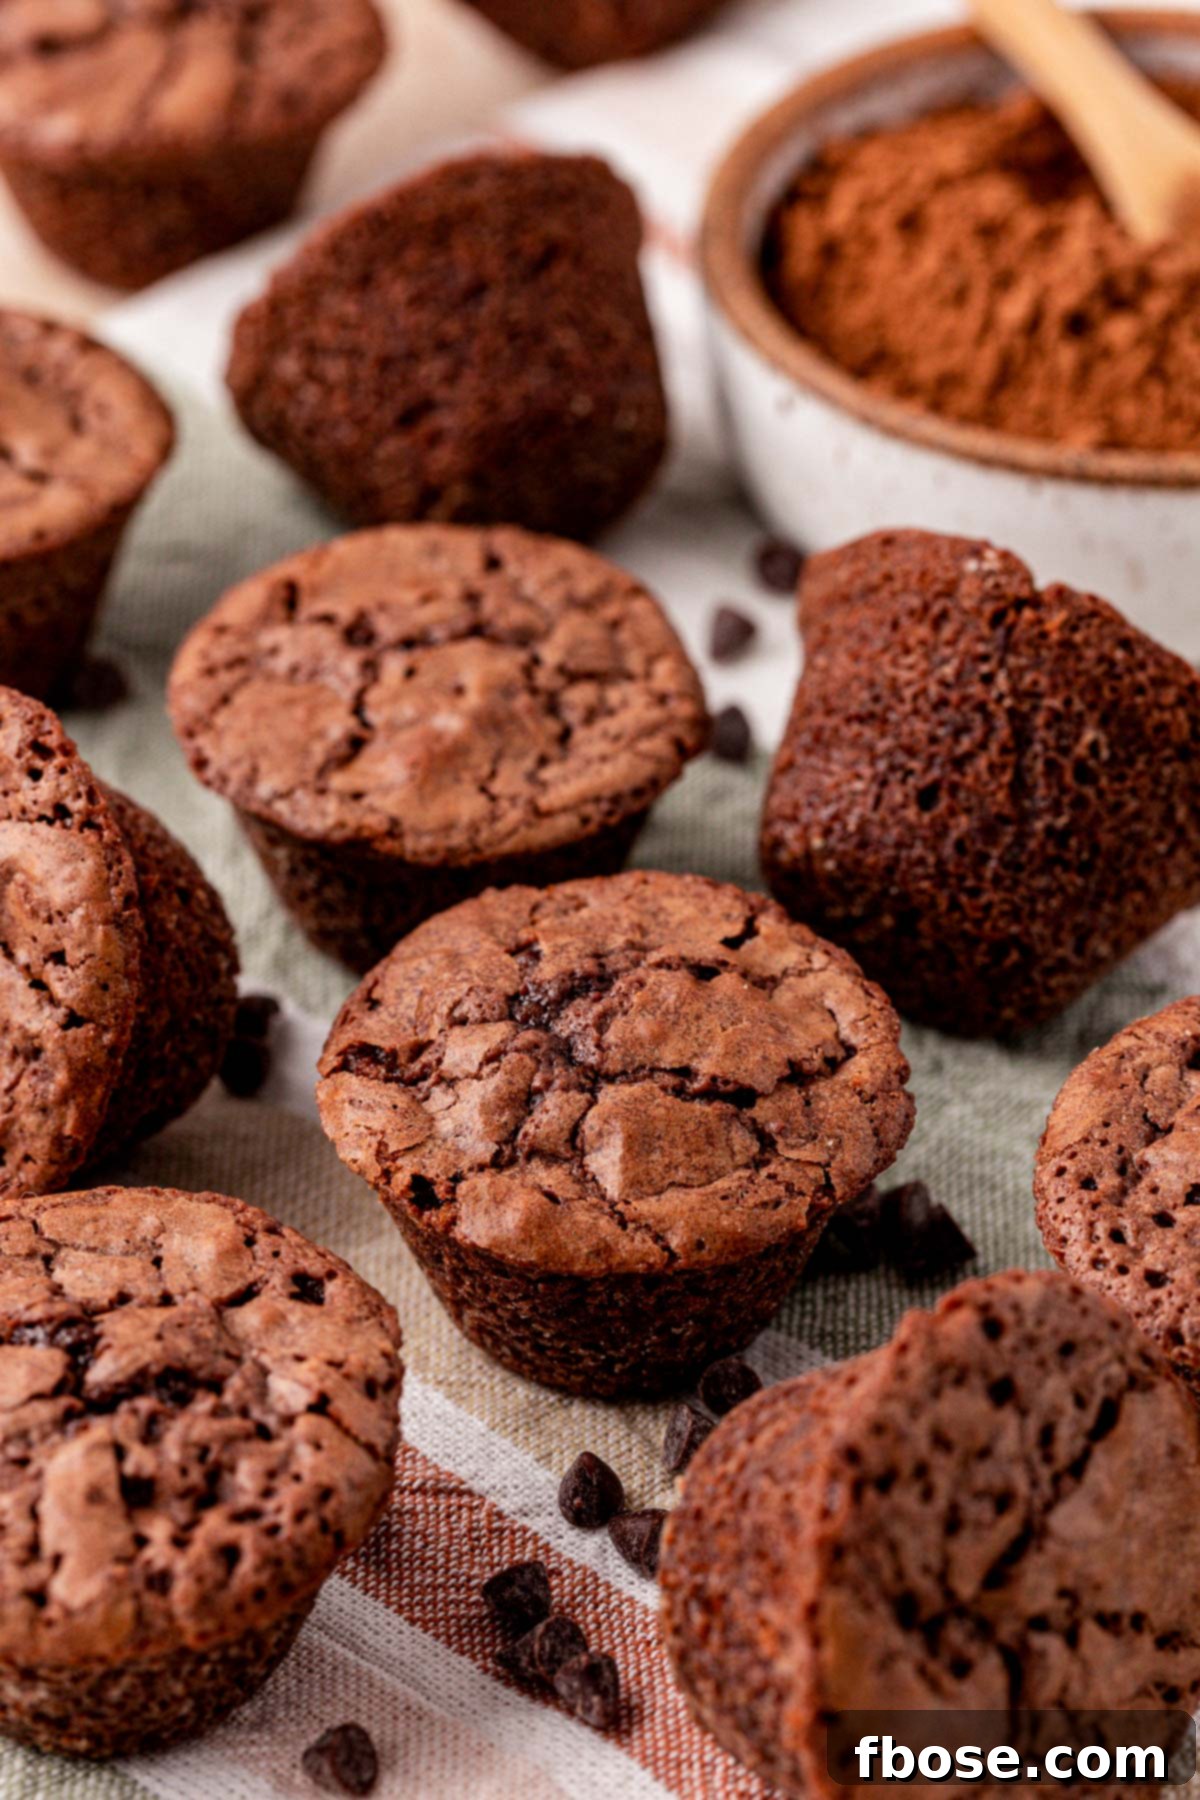
If you’ve fallen in love with these homemade brownie bites, you’ll be thrilled to discover our other irresistible brownie recipes, each offering a unique twist on this classic dessert:
- Gourmet Pecan Pie Brownies – Experience the best of both worlds with rich, fudgy brownies topped with a sweet, nutty pecan pie filling. A truly decadent treat for special occasions!
- S’mores Brownies – Recreate the campfire magic indoors! These brownies feature a crunchy graham cracker crust, a luscious brownie layer, and a toasted marshmallow topping that will transport you to summer nights.
- Peanut Butter Crunch Brownies – The ultimate brownie for lovers of sweet and salty combinations, offering an exquisite balance of chewy brownie and crunchy peanut butter layers.
- Cosmic Brownies – A nostalgic trip back to childhood! This homemade version perfectly captures the iconic flavors and fun sprinkles of the classic lunchbox treat, but with superior taste and texture.
- Brownies with Cream Cheese Swirl – Indulge in this no-fuss recipe featuring rich, chocolatey brownies beautifully swirled with a tangy and creamy cheesecake filling for an elegant dessert.
Did You Make This Recipe?
If you’ve tried this recipe, please leave a review in the comments below. We love hearing from you! Don’t forget to tag us – @sugarandsoulco – on Instagram and Pinterest with your photos, or join our Sugar & Soul Show-offs Community and share them there.
Brownie Bites Recipe
Ingredients
- 1 cup unsalted butter 227g, I use Kerrygold
- 2½ cups granulated sugar 500g, I use Domino
- 2 tablespoons canola oil
- 1 tablespoon vanilla extract
- 5 large eggs I use Vital Farms
- 1 cup all-purpose flour 130g, I use King Arthur
- ¾ cup + 1 tablespoon unsweetened cocoa powder 80g, I use Ghirardelli
- 2 tablespoons malted milk powder 20g, optional
- ¾ teaspoon salt
- ½ cup mini semi-sweet chocolate chips or 4oz. chopped baking chocolate
Instructions
-
Preheat the oven to 350°F (175°C). Grease a mini muffin pan with cake goop (magic pan release) by brushing it generously into the wells of the pan. Set aside.

-
Melt 1 cup unsalted butter in a heavy-bottomed saucepan over low heat. Add 2½ cups granulated sugar and stir until smooth and emulsified. Remove from heat and cool for 5 minutes, stirring often.
-
Add 2 tablespoons canola oil and 1 tablespoon vanilla extract to the butter-sugar mixture. Beat with a rubber spatula until fully combined with no separation.
-
Beat in 5 large eggs one at a time, mixing with a spatula or fork after each addition until fully incorporated.
-
Sift the 1 cup all-purpose flour, ¾ cup + 1 tablespoon unsweetened cocoa powder, 2 tablespoons malted milk powder, and ¾ teaspoon salt into the wet mixture. Gently stir with a rubber spatula until almost all dry streaks are gone.
-
Fold in the ½ cup mini semi-sweet chocolate chips.
-
Divide the brownie batter evenly into the prepared mini muffin pan wells (about 1½ tablespoons each). Bake for 14 to 16 minutes.
-
Cool completely before removing from the pan. Use a paring knife to help gently release them if needed.
Notes
- We tested this recipe 5 times using different methods of greasing the pan to find the absolute best release:
- Regular butter did not allow the bites to release easily and created edges that were crispier than desired.
- Baking cooking spray caused the batter that touched it to bake up oddly, almost soufflé-like, out of the pan.
- Regular nonstick spray did not release as smoothly as expected, requiring the brownies to be carefully pried out with a knife.
- Using no coating resulted in the brownies sticking to the non-stick pan, making removal very difficult.
- Mini muffin liners do work, but some of the delicious brownie will inevitably stick to the liners when pulled away.
- Cake Goop, despite being an extra step to prepare, is the superior method. It guarantees that the brownies pop right out of the pan without any issues, preserving their perfect shape and texture.
Nutrition
Did You Make This Recipe?
Don’t forget to share it with me on Instagram @sugarandsoulco and follow on Tiktok @sugarandsoulco and Pinterest @sugarandsoulco for more!
Pin Recipe
Share Recipe