Icebox Cookies
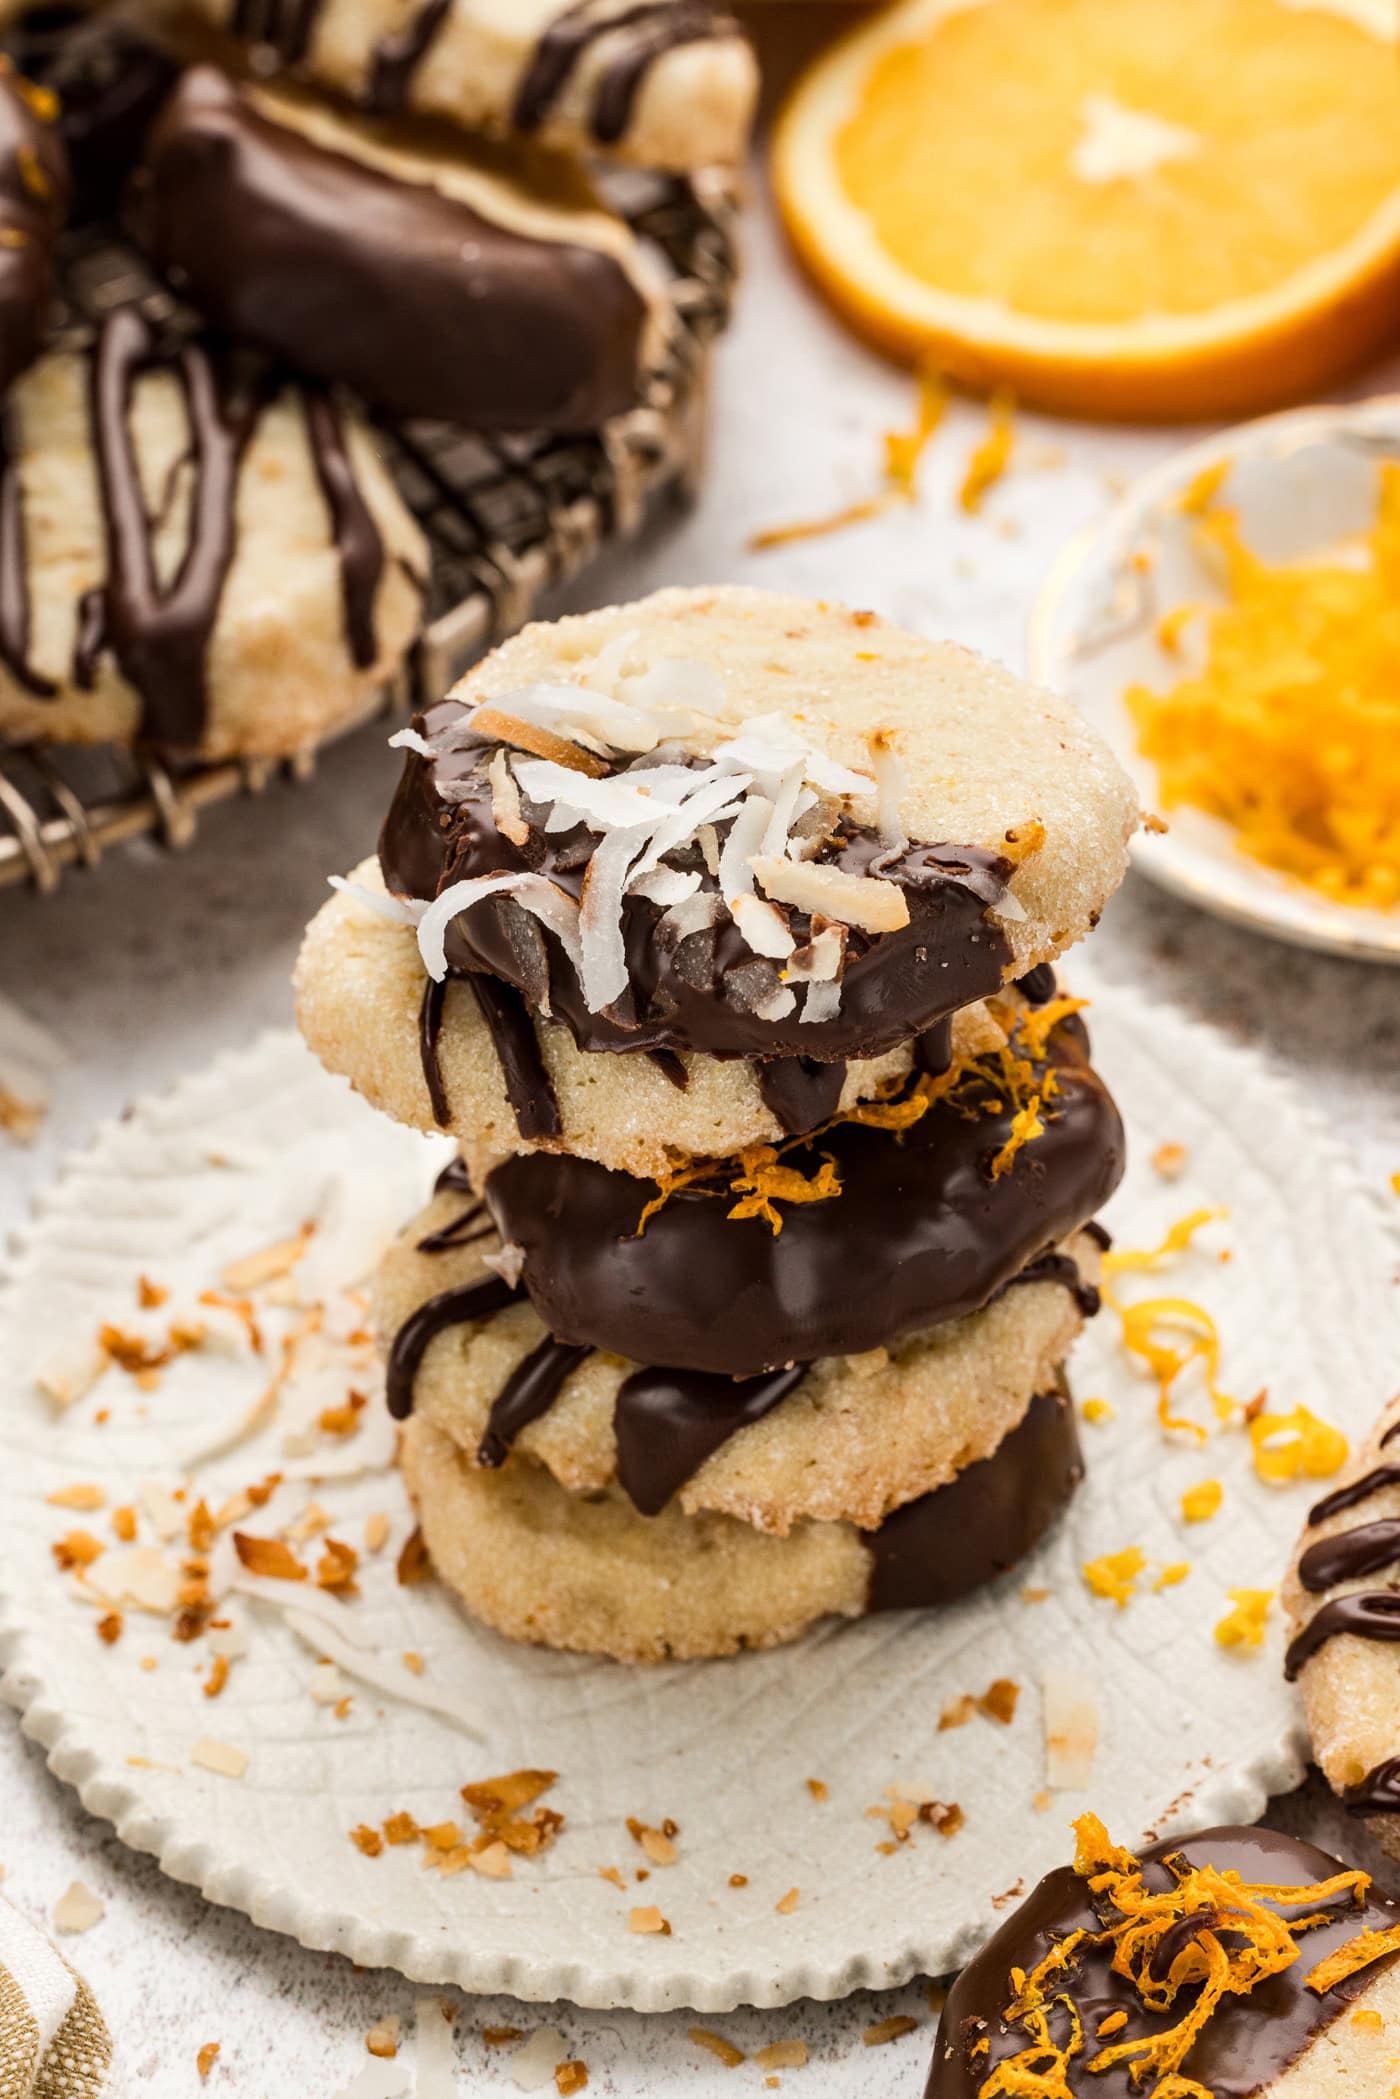
These old fashioned icebox cookies are jazzed up with hints of orange zest and toasted coconut, followed by a dip in melted chocolate. They’re soft, chewy, and can be prepped and refrigerated to bake whenever!
- Total 1 hour 48 minutes
- Serves 36 cookies
- Dessert
- American

These old fashioned icebox cookies are jazzed up with hints of orange zest and toasted coconut, followed by a dip in melted chocolate. They’re soft, chewy, and can be prepped and refrigerated to bake whenever!
 more
more
Why this recipe works
Icebox cookies are prepared much like classic shortbread cookies. The dough is rolled into a log then sliced into round cookies, each with its own unique shape. It’s sort of like having your own homemade break-and-bake cookies that you can keep in the fridge and bake whenever. These cookies have a little more flair than your traditional shortbread, with a soft and chewy texture, a hint of orange, and a subtle taste of toasted coconut. And of course, how can you forget that iconic half dip of chocolate?
These old fashioned icebox cookies are pretty special. They’ve been in my cookie binder for over 10 years at this point, and have been tweaked quite a few times to get them just right! They’re equally as good without being dipped in chocolate. Just ask my son, who polished off at least 7 or 8 of them before I’ve had the chance to give them a dip.
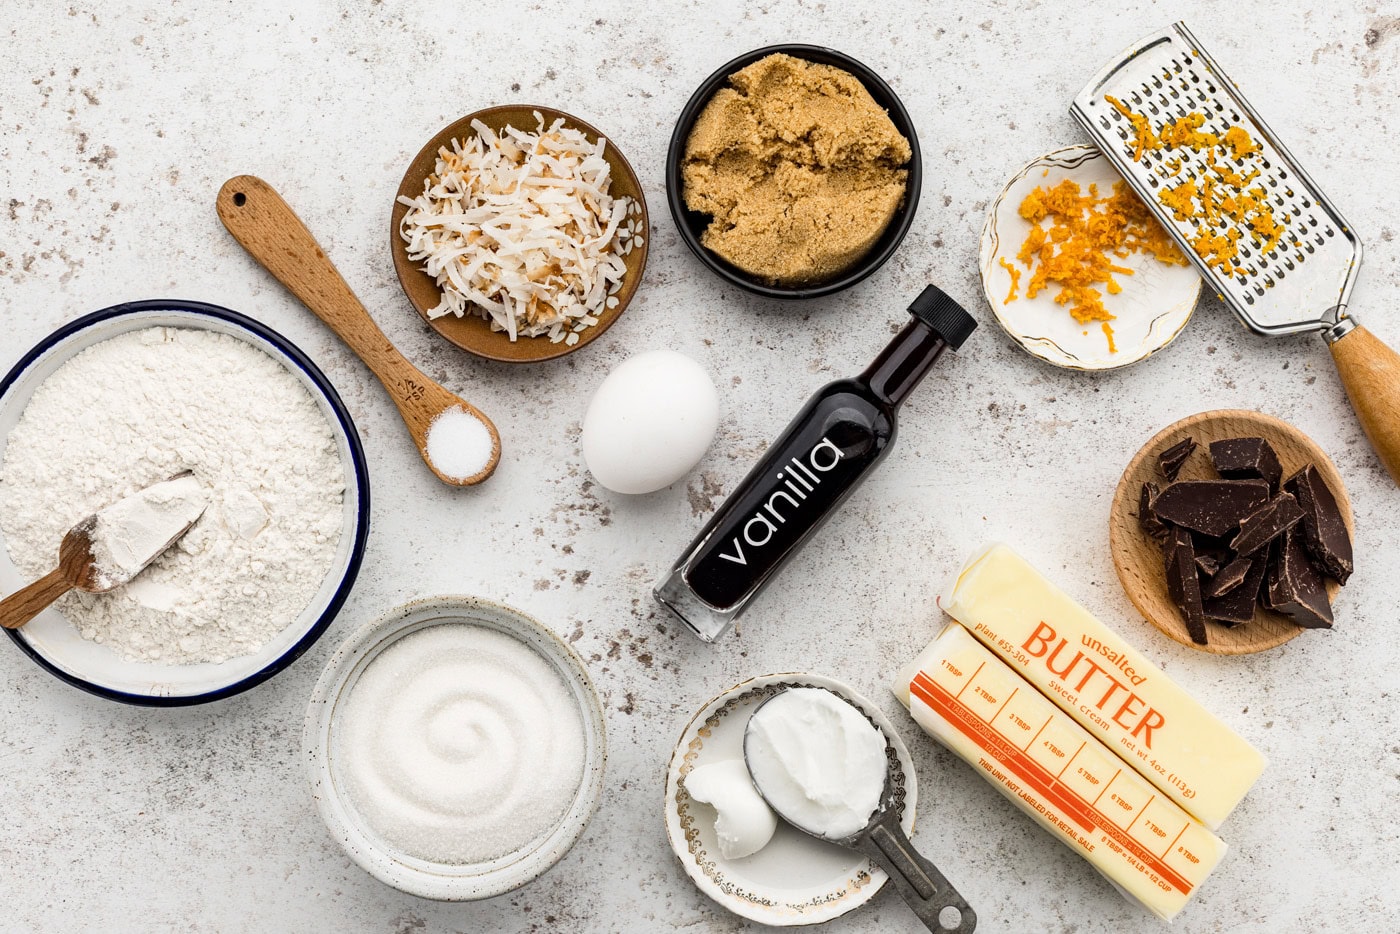
Ingredients you will need
Get all measurements, ingredients, and instructions in the printable version at the end of this post.
Ingredient Info and Substitution Suggestions
FLOUR – Weighing your flour with a kitchen scale is the absolute best course of action when it comes to baking goodies. If you don’t own a scale, use the spoon and sweep method. Scoop the flour into a measuring cup using a spoon until overflowing. Gently level the top with the back end of a butter knife. Too much flour can equal crumbly, dry cookies, whereas too little flour will cause your cookies to spread overly thin.
BUTTER – Take your butter out of the fridge about 20 minutes before beginning, or while you prep your other ingredients. Cut it into thin slices and allow it to rest on the counter. Your butter should leave a slight indent when gently poked. That’s how you know when it’s room temperature (AKA softened).
EGG – Remove your egg from the fridge when you take out the butter, as you’ll also want it to be at room temperature.
ZEST – You’ll need about 1 large orange or 2 medium oranges to yield 2 tablespoons of packed orange zest. Use a microplane grater to get a good zest. Don’t zest too far into the pith, otherwise it will be bitter.
CHOCOLATE – A bar of baking chocolate is best for dipping, though candy melts will work as well. I wouldn’t suggest using chocolate chips, it thickens up too much and is difficult to dip in.
How to Make Icebox Cookies
These step by step photos and instructions are here to help you visualize how to make this recipe. You can Jump to Recipe to get the printable version of this recipe, complete with measurements and instructions at the bottom.
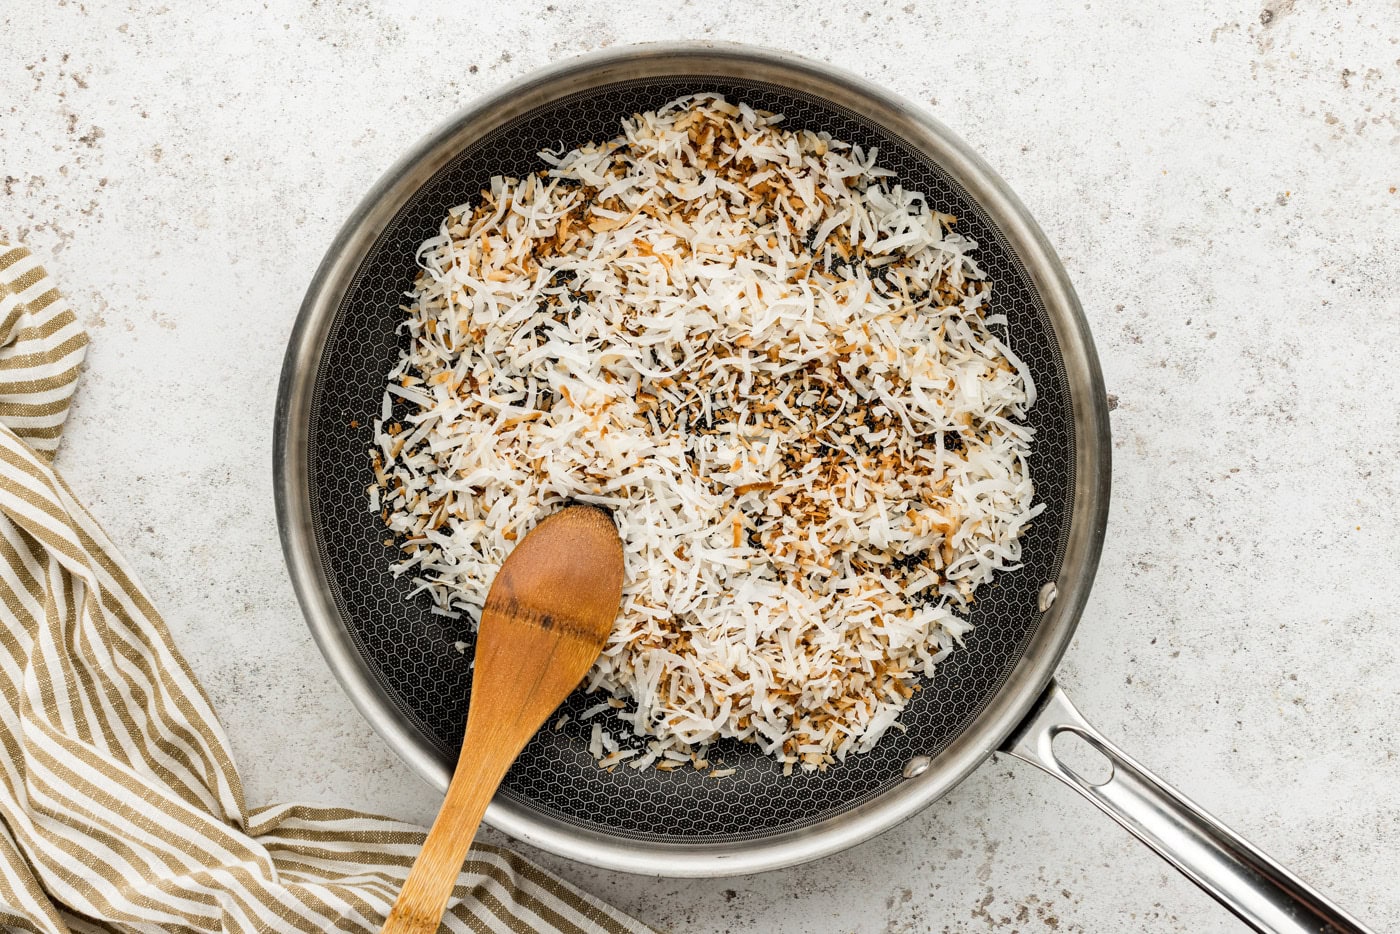
- Toast one cup of sweetened flaked coconut in a dry skillet over medium heat. Stir continuously until the coconut begins to turn light brown.
- Watch it carefully, it can burn quickly. Turn the coconut out onto a piece of paper towel and let it cool.
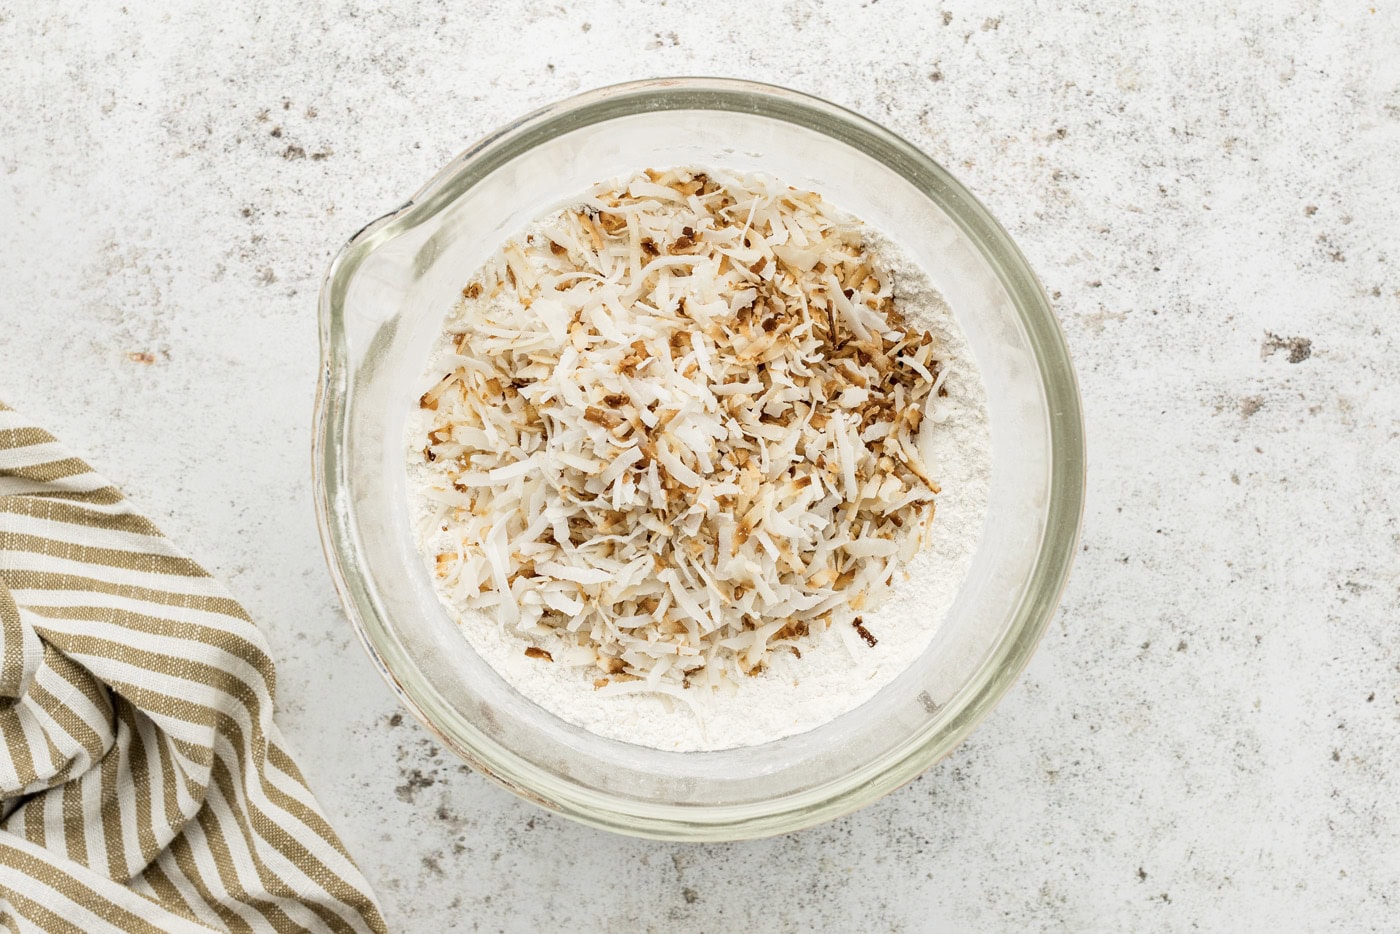
- Combine the flour and salt in a large bowl and whisk until evenly combined. Toss in the coconut until combined.
- In a medium bowl, using your fingers, rub the orange zest into the granulated sugar. It will be fragrant and moist.
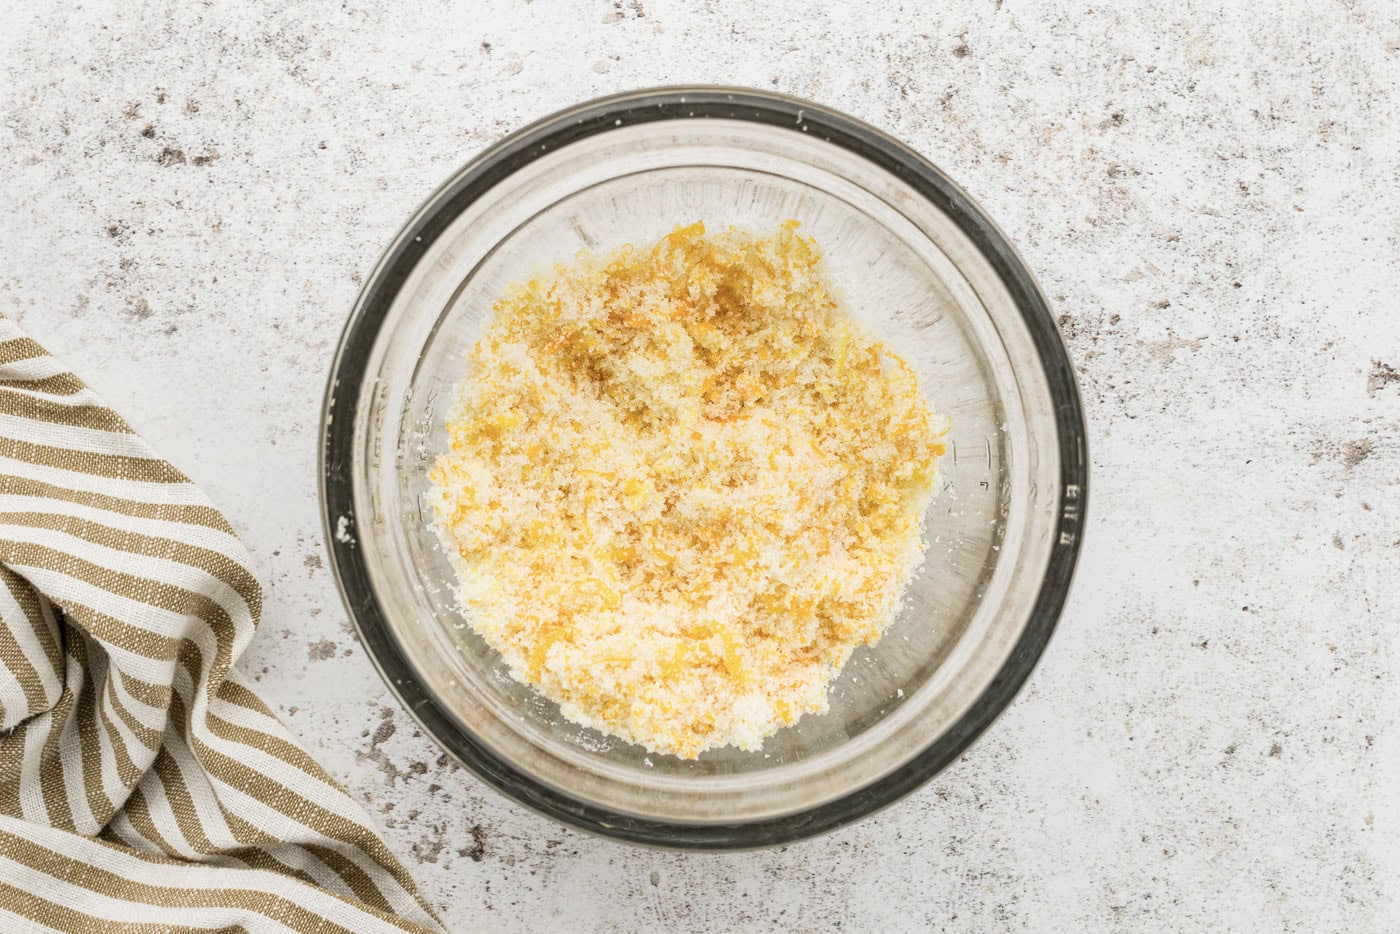
- Add the brown sugar and toss to combine.
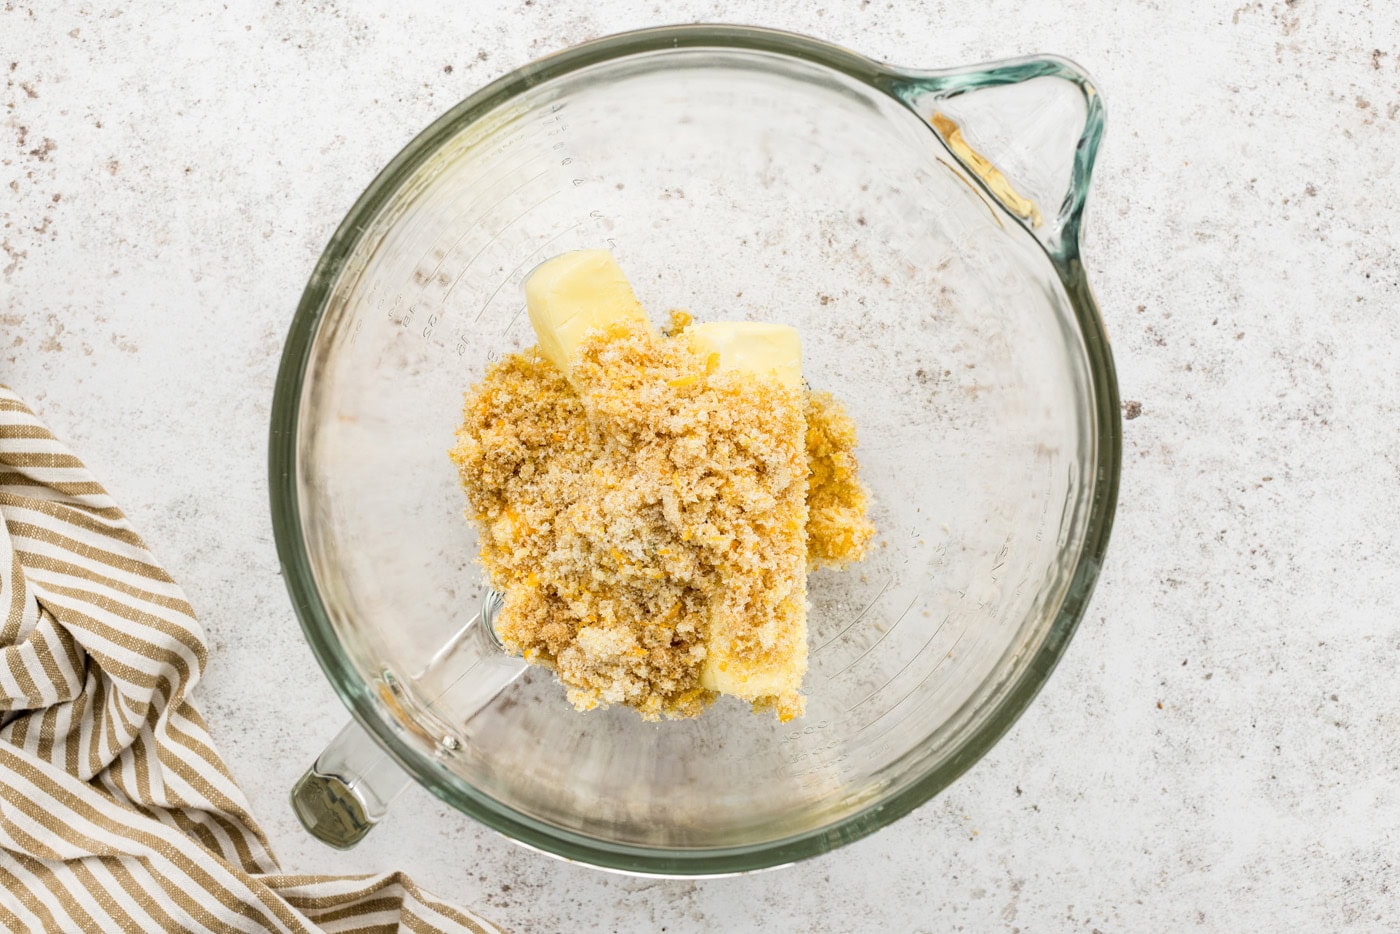
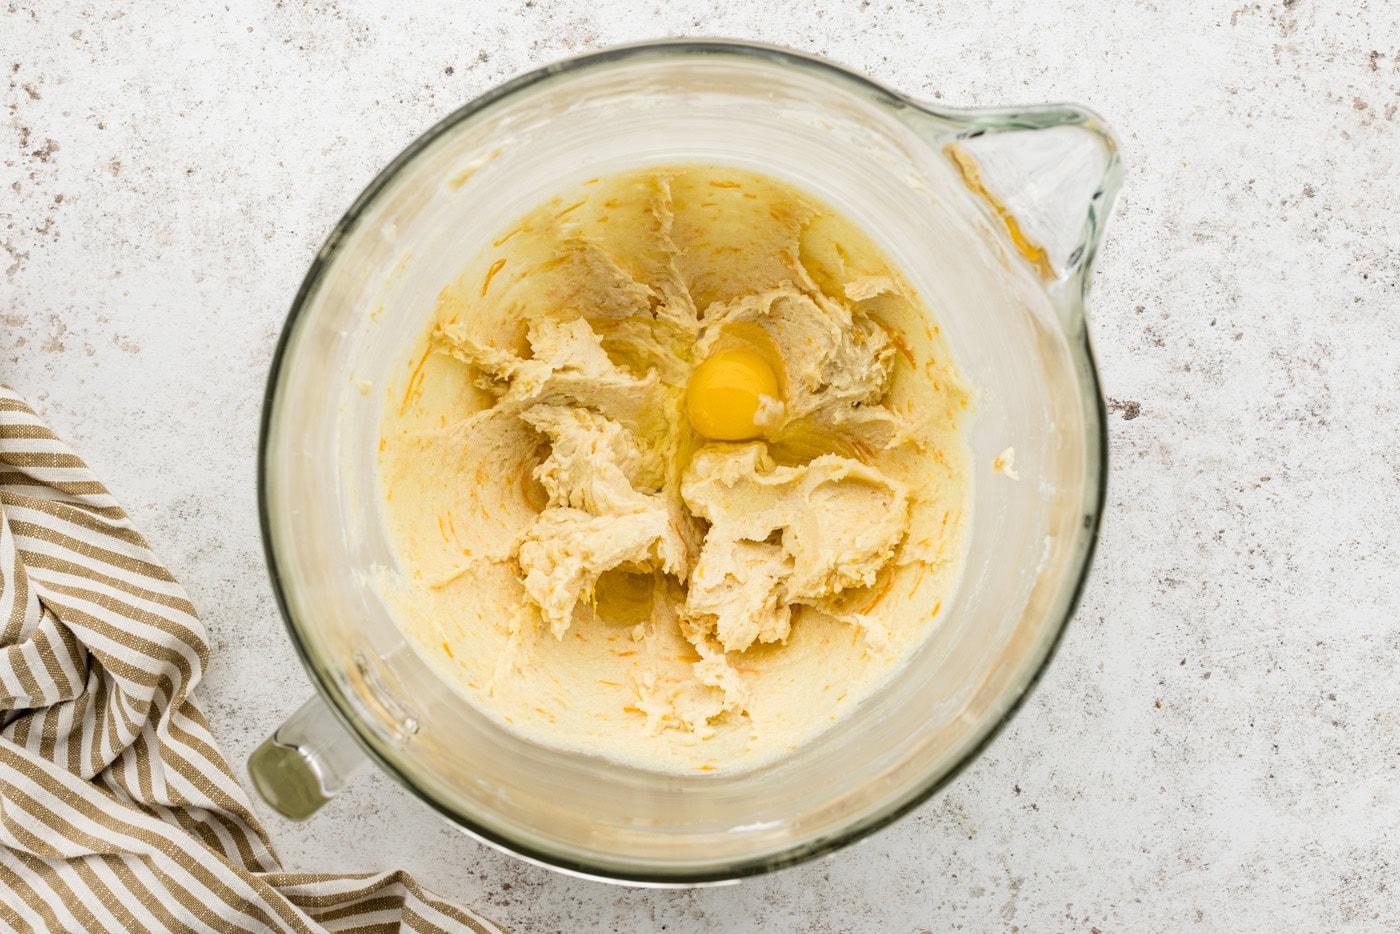
- Using a stand mixer fitted with a paddle attachment, beat together butter and sugars over medium-high speed until light and fluffy, about 2 minutes. Add the egg and beat for about 2 more minutes. Add the vanilla and mix until just combined.
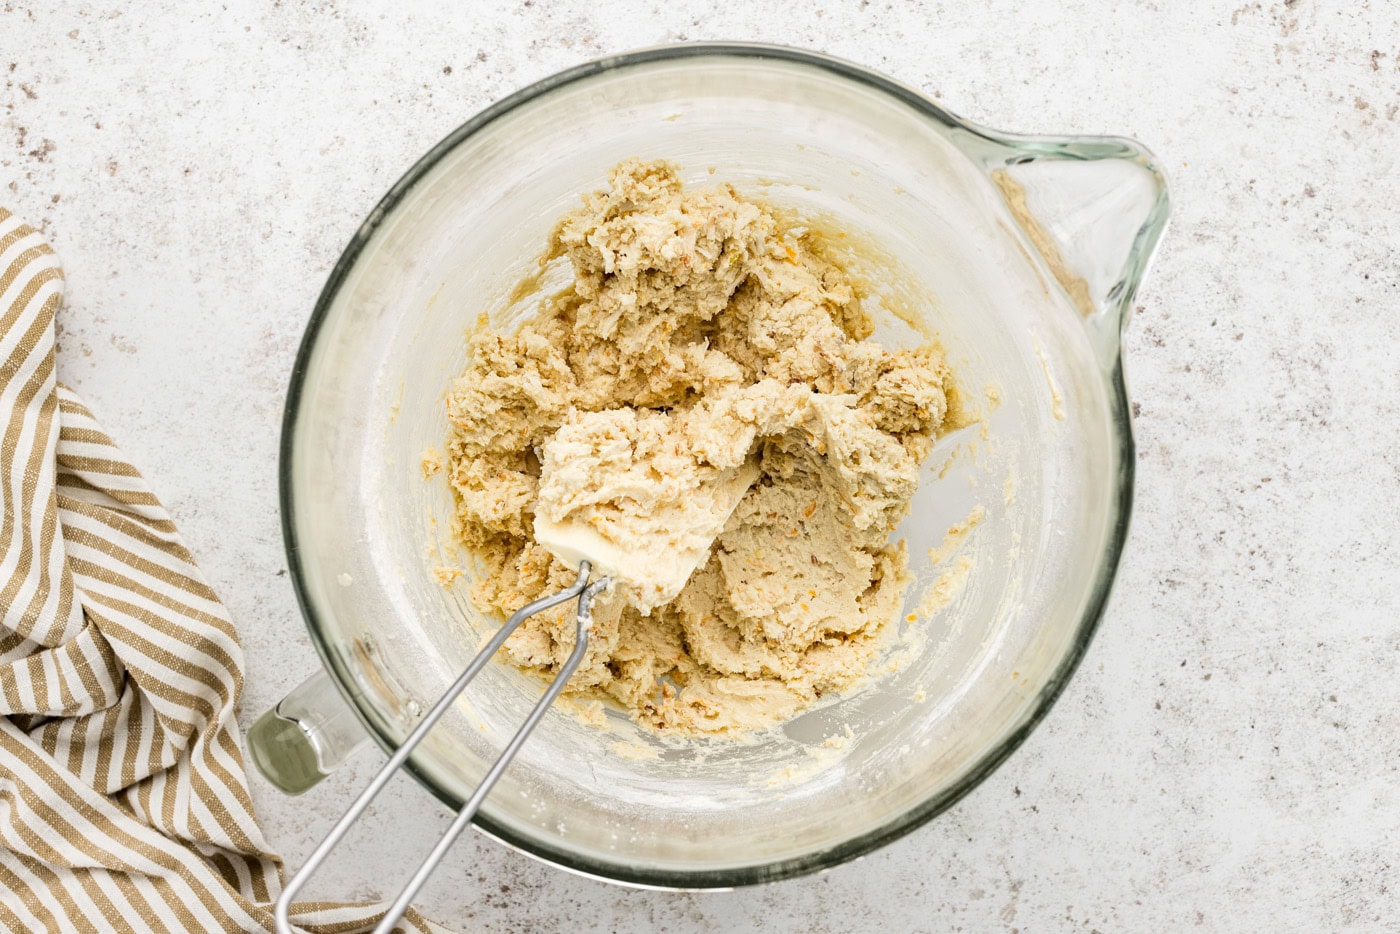
- Reduce the speed to low and add the flour mixture, beating just until evenly combined. If you have to, use a wooden spoon or rubber spatula to combine any remaining flour.
- Lay 2 large pieces of parchment paper on a clean work surface and put half of the dough along the center of each piece. Shape the dough into 2 logs measuring about 1 1/2-inches in diameter and 10-inches long. Roll logs up in the parchment and refrigerate for at least 1 hour.
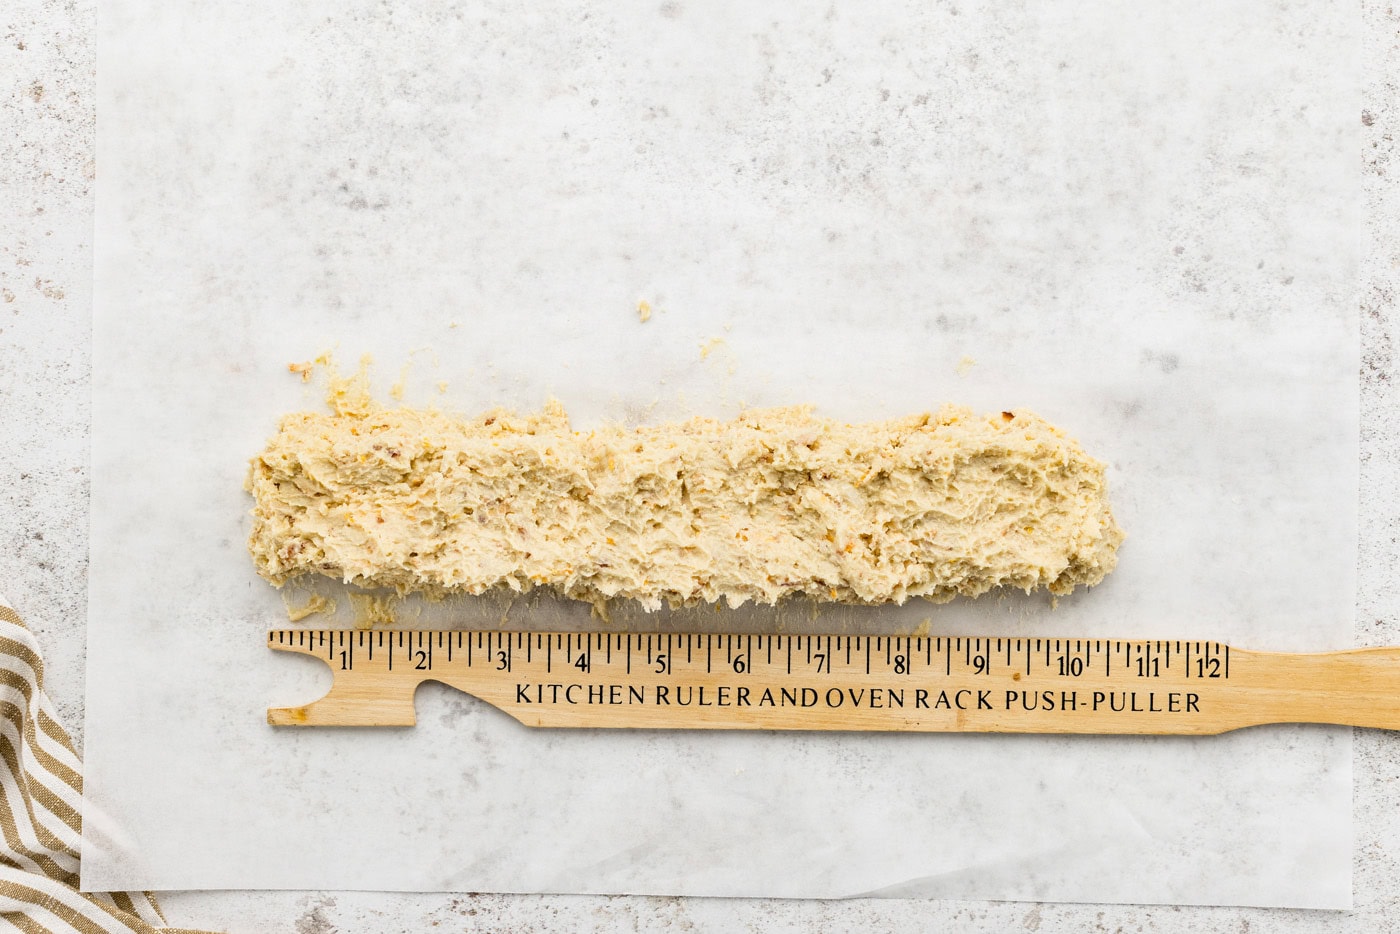

- Preheat oven to 350 F and position rack in the center of the oven.
- Cut the logs into 1/2-inch slices. Roll the edges of the cookies in sugar to coat and shake off excess. Arrange on a baking sheet, leaving 1/2-inch between the cookies.
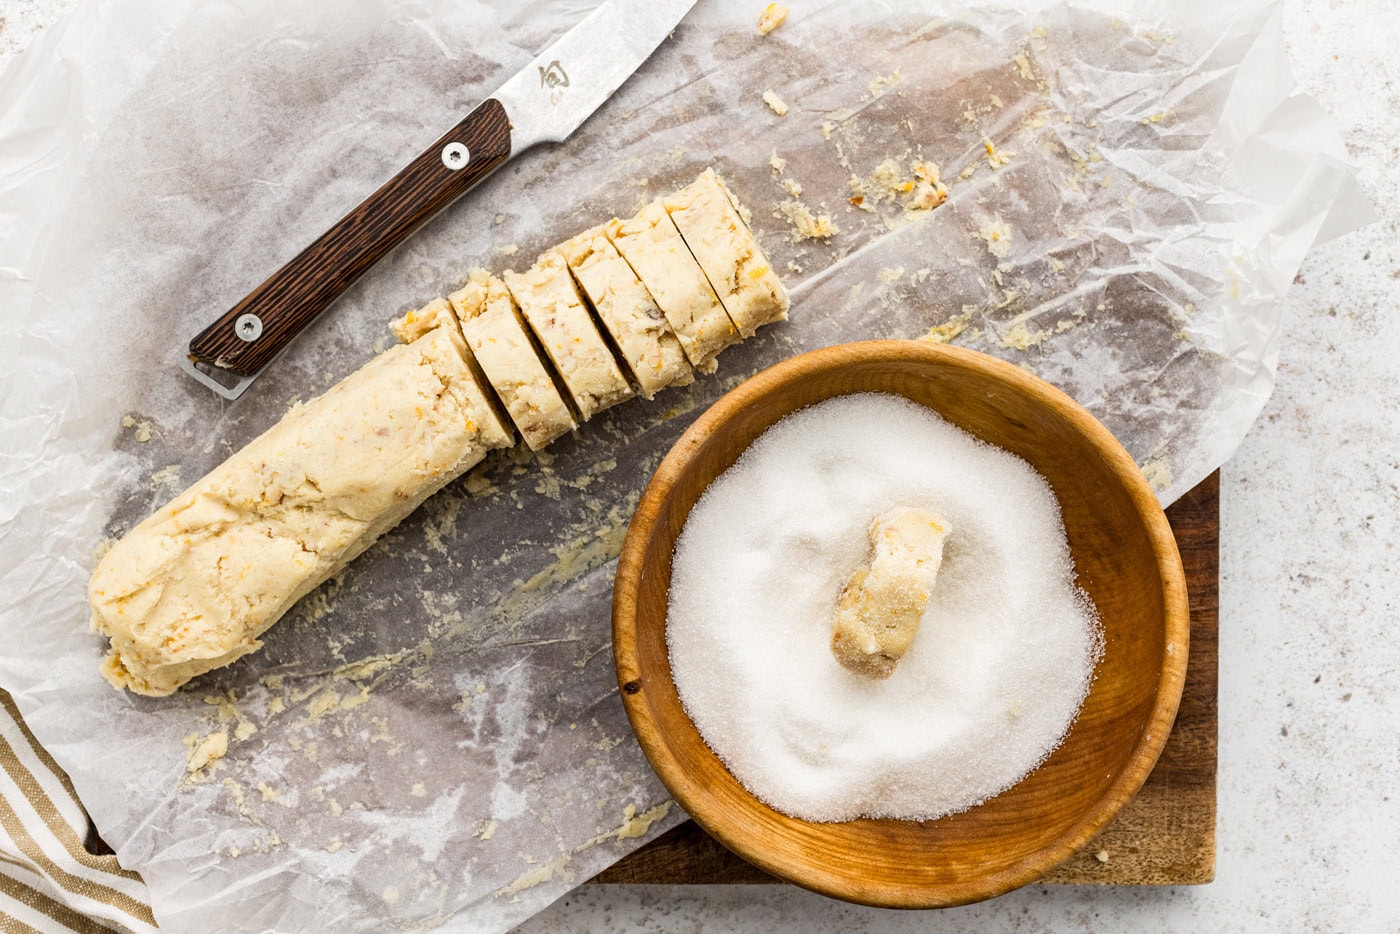
- Bake until set and golden on the edges, about 13 to 18 minutes. Place parchment paper underneath the wire cooling racks, then transfer the cookies to the racks to cool completely.
To Dip the Cookies in Chocolate
- Place the chopped chocolate and shortening in a glass or metal bowl and place it over a pot of simmering water (about an inch or so of water). The bowl should not touch the water.
- Stir chocolate and shortening with a rubber spatula until smooth. Dip half of each cookie into the chocolate, shake off excess, and set on a cooling rack. Now is the time to add optional garnishes such as extra orange zest or toasted coconut.
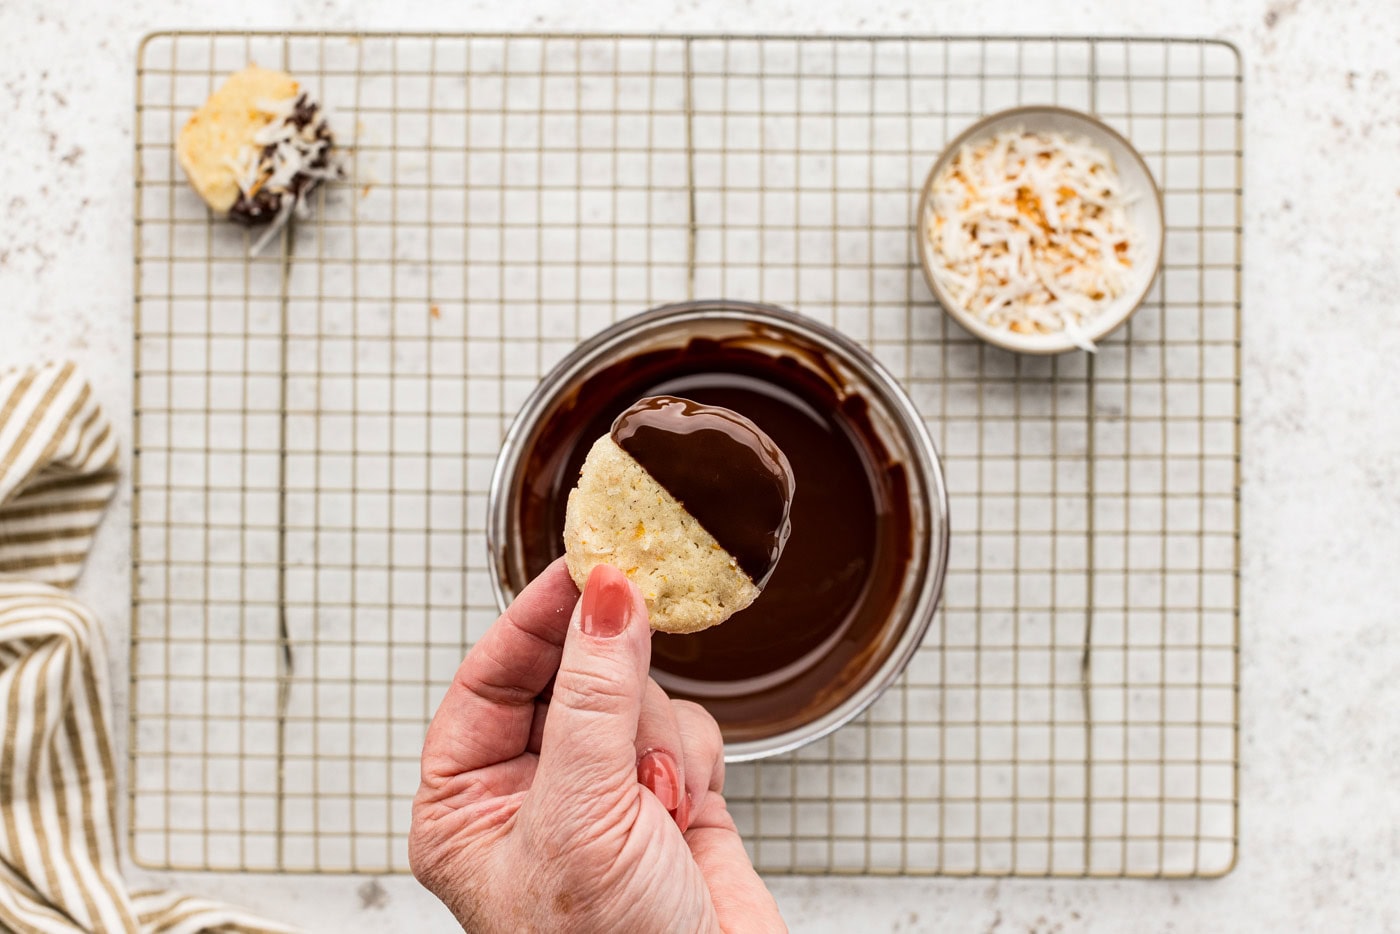
- Allow the chocolate dipped cookies to harden at room temperature. If you are short on time, you can pop them in the refrigerator for at least 15 minutes to help them set up quickly.
Frequently Asked Questions & Expert Tips
Why are they called icebox cookies?Icebox cookies are named after the old fashioned iceboxes people used before modern refrigerators. Cookie dough was often chilled in the icebox to firm up, making it easy to slice and bake whenever needed. Today, the name just refers to any cookie dough you chill and slice before baking!
Can I make the dough ahead of time?Absolutely. You can prepare the dough logs and allow them to rest in the refrigerator for 4-5 days. Slice and bake as normal when you’re ready!
Can you freeze icebox cookie dough?Yes, the dough itself freezes really well! Wrap the dough logs a few times with plastic wrap and place them in a large ziptop bag. Freeze for up to 3 months. Allow the log to thaw some before slicing it into cookies. Alternatively, you can pre-slice the cookies, flash freeze them on a baking sheet, and transfer them to an airtight container or large ziptop bag. Place the cookies on a baking sheet while you preheat the oven and bake as called for in the instructions.
How do you store them?Store your fully baked and cooled orange icebox cookies in an airtight container kept at room temperature for up to 5 days.

Serving Suggestions
As with all my Christmas cookie recipes, I suggest wrapping a few of these orange icebox cookies up in a treat bag tied off with a festive ribbon for gift giving. I’ve snuck my fair share of these cookies with my morning cup of coffee over the years. Chocolate and orange simply pair so well with coffee, what’s a girl to do?
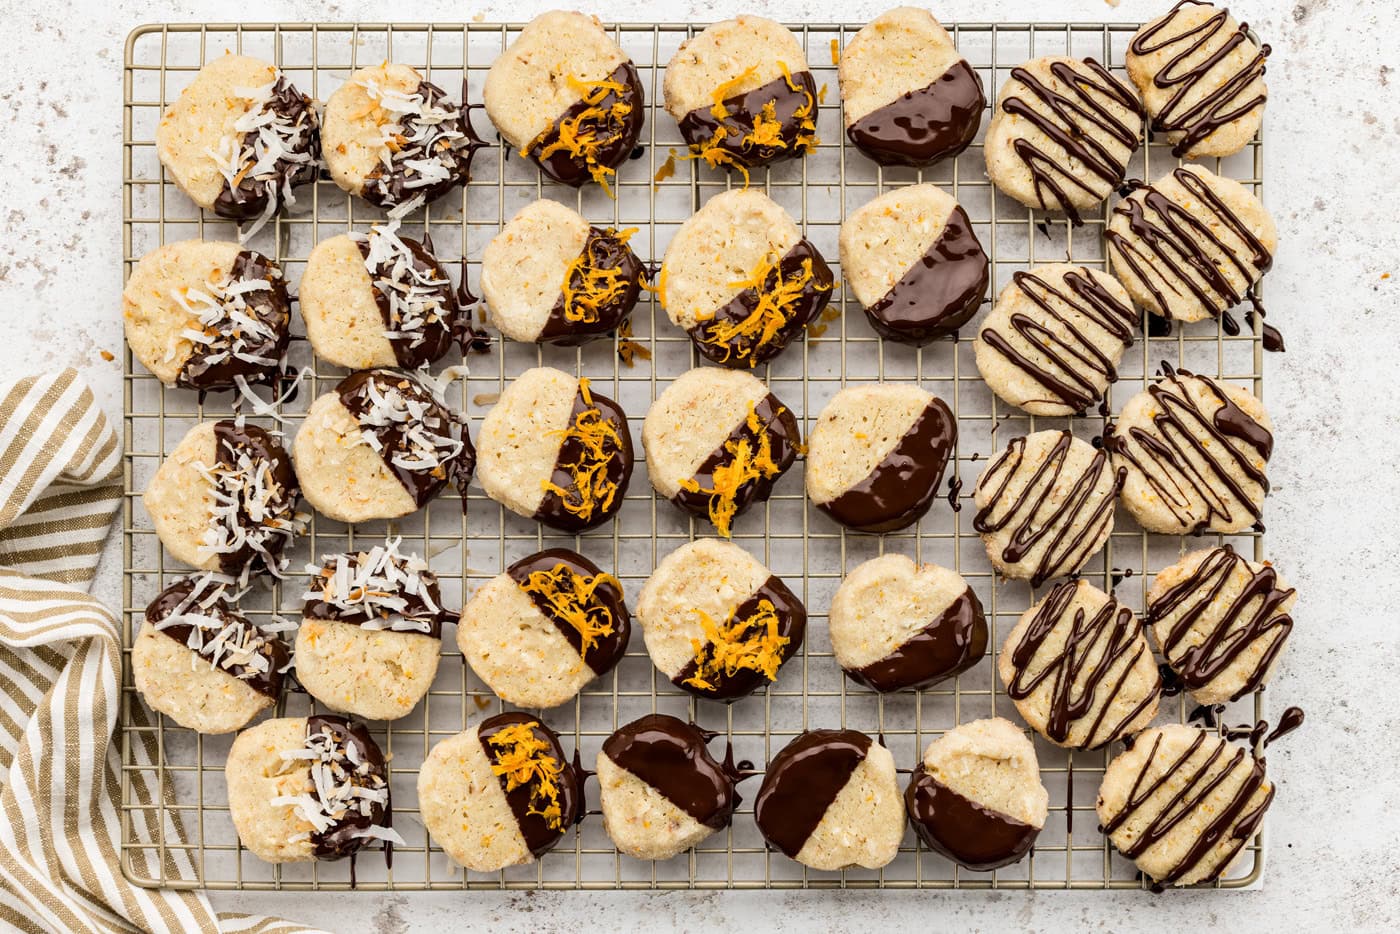
For garnishing, try drizzling instead of dipping if that’s your fancy. Optionally top with extra orange zest or toasted coconut. Or, leave them as is in all their glory.
More Cookie Recipes
- Butter Cookies
- Orange Crinkle Cookies
- Coconut Macaroons
- Cranberry Orange Spiral Cookies
- Homemade Samoas
I love to bake and cook and share my kitchen experience with all of you! Remembering to come back each day can be tough, that’s why I offer a convenient newsletter every time a new recipe posts. Simply subscribe and start receiving your free daily recipes!
More recipes to try
Eight more recipes from the kitchen.
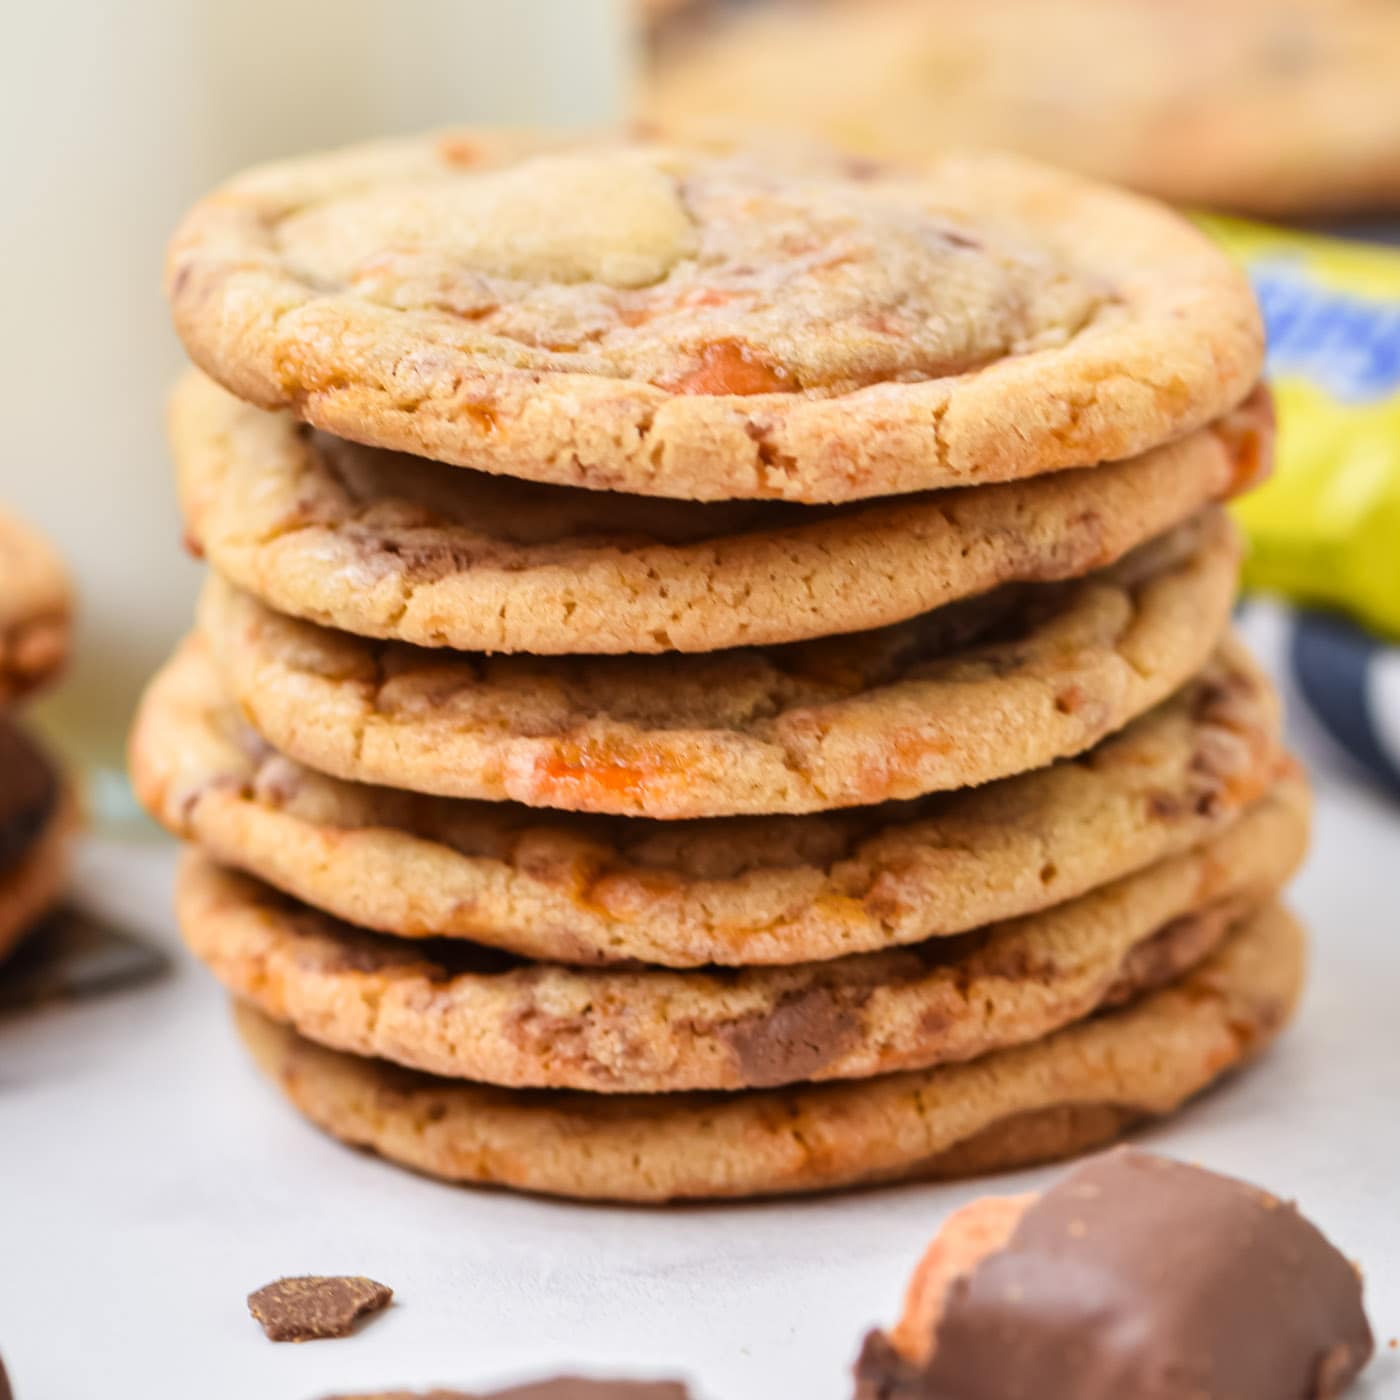
Butterfinger Cookies
If you’re a fan of the stick-to-your-teeth goodness Butterfinger is…
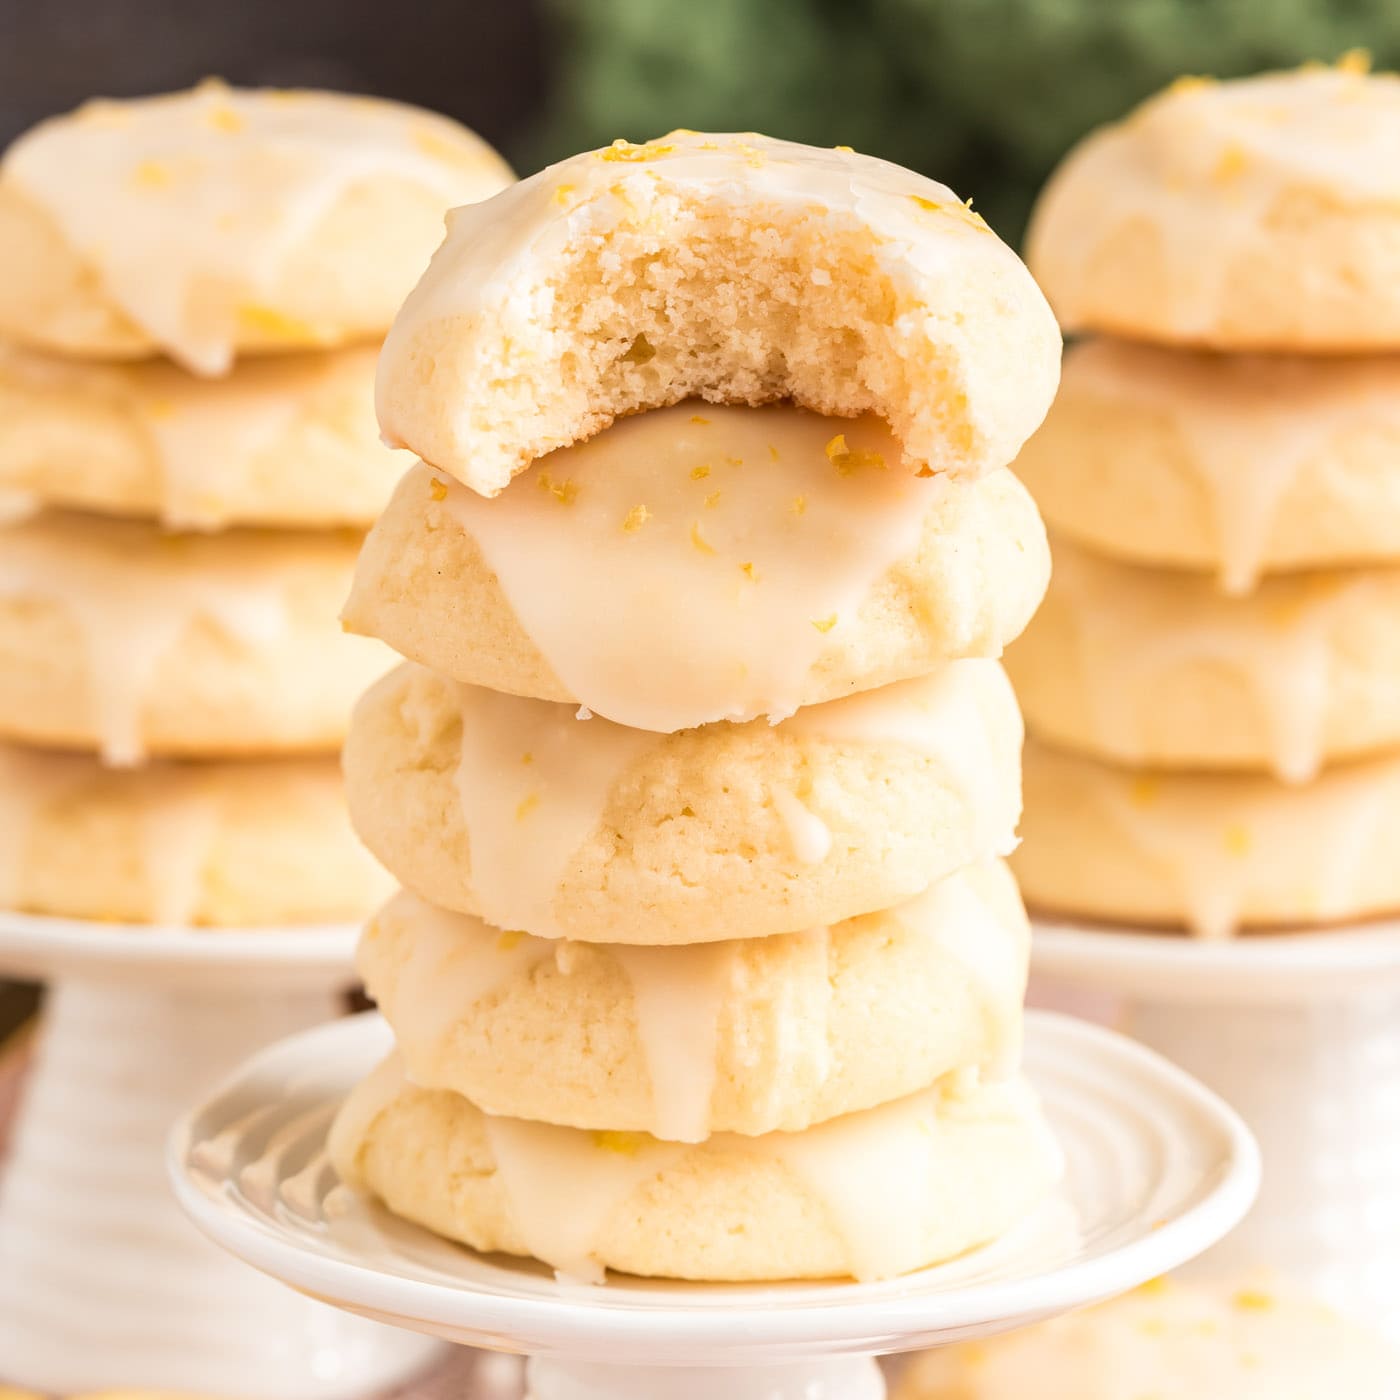
Lemon Drop Cookies
These bright and refreshing lemon drop cookies are topped with a…
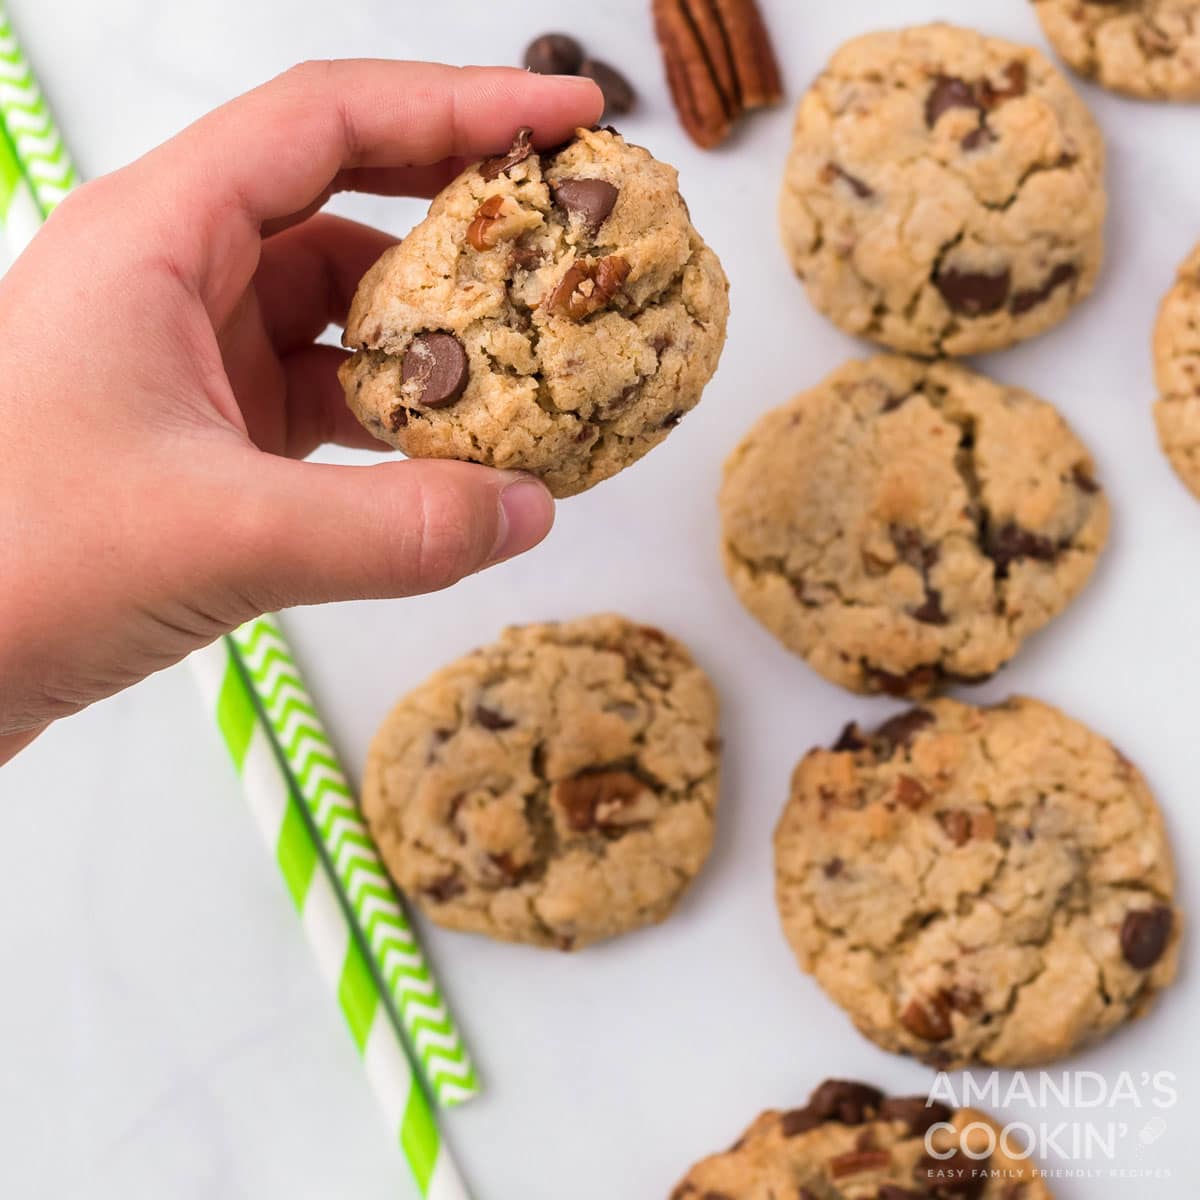
Neiman Marcus Cookies
Have you ever tried the famous “$250 Neiman Marcus cookie” recipe?…
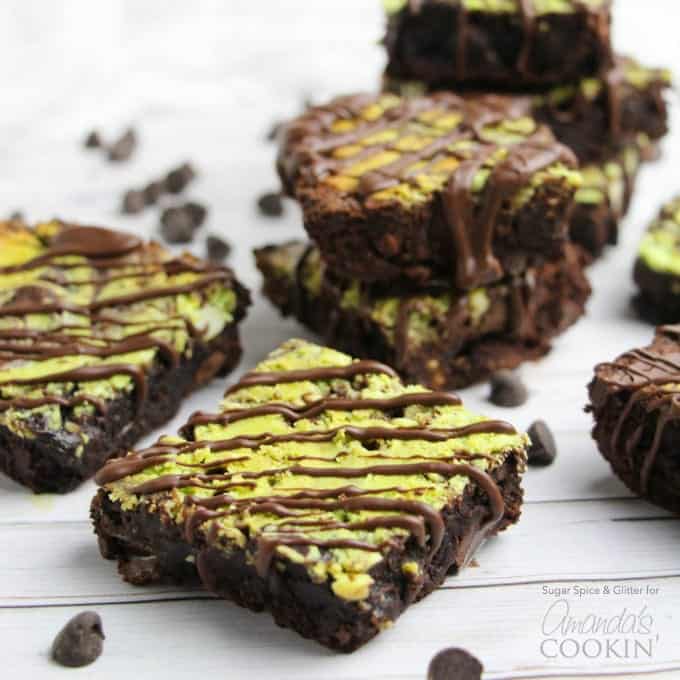
Marbled Mint Cheesecake Brownies
Ok, I admit it – I’m a theme person. I just cannot let a holiday or…
Thumbprint Cookies
Thumbprint Cookies are made from a simple spritz dough, rolled into…
Peanut Butter Blossoms
I think it was probably Betty Crocker that first debuted the famous…
Chocolate Chip Pudding Cookies
I have been known to make a batch of these Chocolate Chip Pudding…
Mexican Cookies
Mexican Cookie Rings are a delicious buttery sugar cookie with a…