
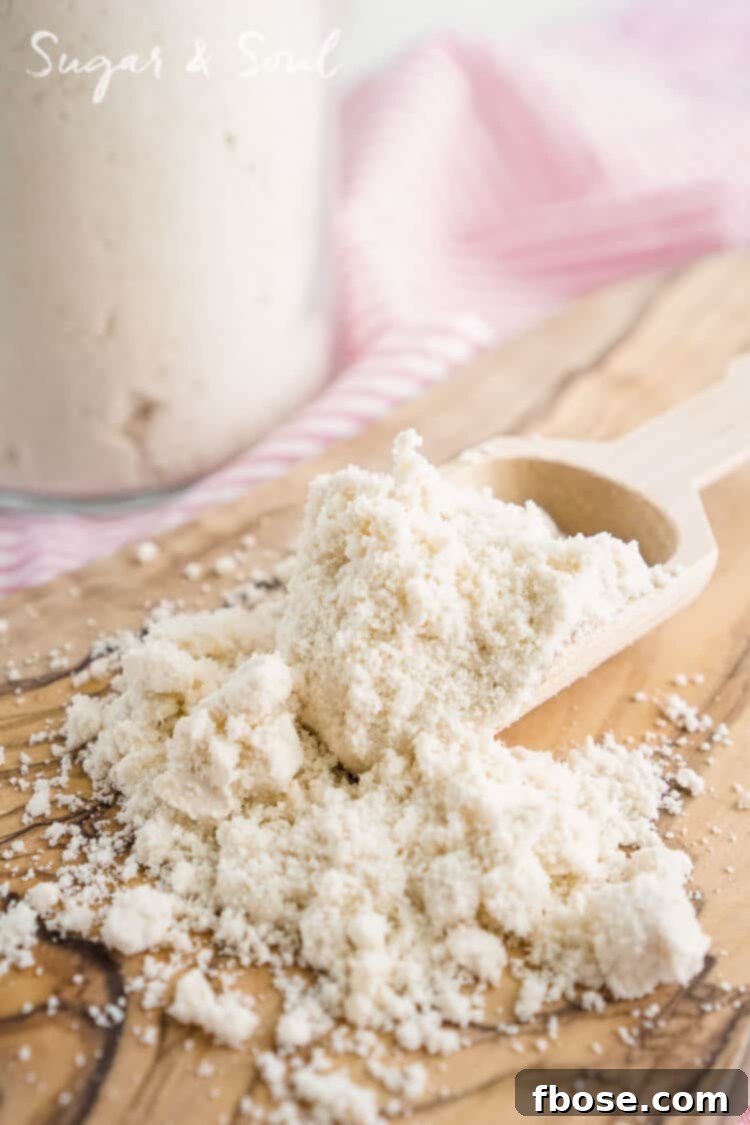
The Ultimate Homemade Bisquick Substitute: Easy, Economical & Versatile Baking Mix
Craving fluffy pancakes, golden waffles, or tender biscuits but found yourself out of store-bought Bisquick? Don’t let an empty pantry derail your breakfast or baking plans! This incredible Homemade Bisquick Mix is your perfect solution. It’s incredibly simple, budget-friendly, and effortlessly replaces the commercial version for all your culinary adventures. Forget late-night grocery runs; with this recipe, a delicious meal is always just minutes away.
Why Choose Homemade Bisquick? Beyond Convenience
We’ve all been there: a sudden craving for a stack of warm, syrupy pancakes, only to discover the Bisquick box is empty. While the convenience of a store-bought mix is undeniable, making your own offers a multitude of benefits that extend far beyond just having it on hand. This DIY Bisquick mix recipe empowers you to take control of your ingredients, save money, and ensure you’re always prepared for any baking whim.
1. Cost-Effectiveness: Smart Savings in Your Kitchen
One of the most compelling reasons to prepare your own Bisquick substitute is the significant cost savings. The individual ingredients — flour, baking powder, salt, and shortening — are pantry staples that are far less expensive when purchased separately compared to a pre-packaged mix. Over time, these savings truly add up, making homemade Bisquick a smart choice for any budget-conscious household. You’re essentially paying for the convenience of assembly when you buy store-bought, a convenience you can easily replicate at home in just a few minutes.
2. Ingredient Control: Know What’s in Your Food
When you make your own baking mix, you have complete control over every ingredient. This means you can avoid unwanted preservatives, artificial flavors, and excessive sodium often found in commercial products. If you have dietary preferences or restrictions, or simply prefer a cleaner label, crafting your own mix is the ideal solution. You can even choose organic ingredients for an all-natural version of this versatile kitchen staple.
3. Unmatched Freshness: Superior Flavor and Performance
Fresh ingredients always yield superior results. Homemade Bisquick ensures that your leavening agents (baking powder) are fresh and active, leading to lighter, fluffier pancakes and biscuits. The shortening is freshly incorporated, preventing any stale flavors that can sometimes develop in older, pre-packaged mixes. This freshness translates directly to better texture and taste in all your baked goods.
4. Always Ready: Your Emergency Baking Buddy
No more midnight pancake emergencies! Once you’ve whipped up a batch of this homemade mix, you’ll have a reliable baking base ready for up to four months when stored correctly. It transforms from a convenience item to a true pantry powerhouse, ensuring you’re never caught off guard when a craving strikes or an unexpected guest arrives for breakfast.
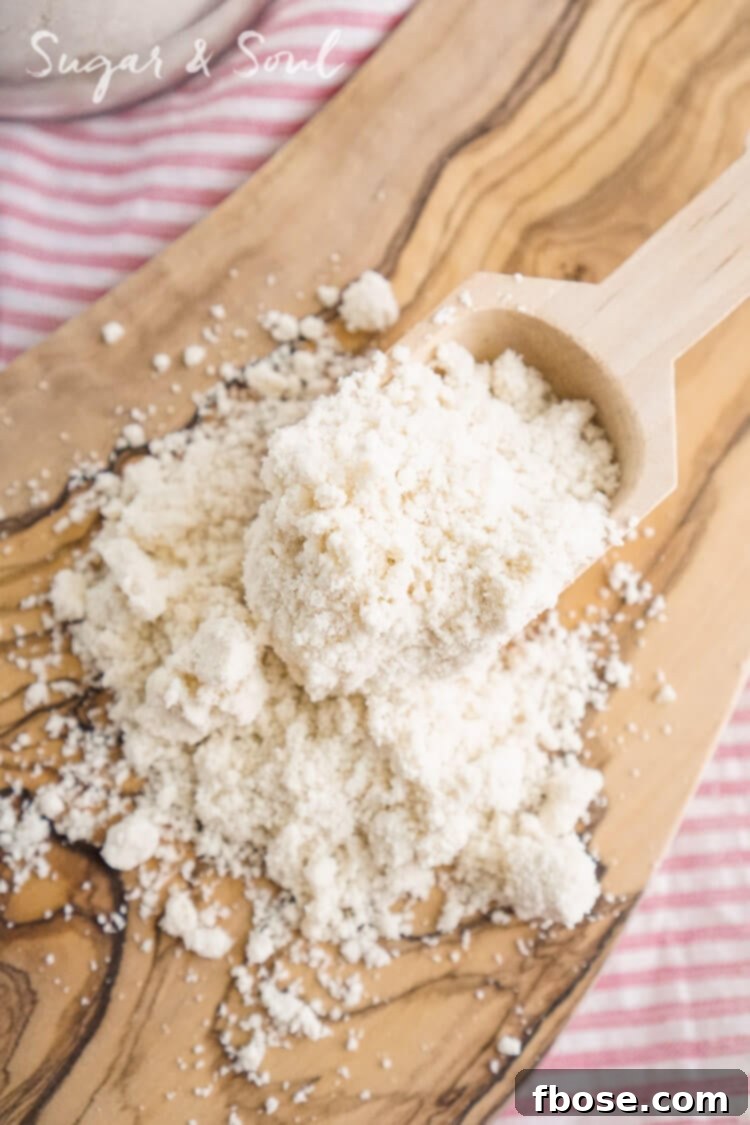
Essential Ingredients for Your DIY Bisquick Mix
This incredibly versatile homemade baking mix requires only four basic ingredients, all of which are likely already in your pantry. Understanding the role each plays will help you appreciate the simplicity and effectiveness of this recipe.
- All-Purpose Flour: The foundation of our mix, providing the necessary structure for your baked goods. For best results, use unbleached all-purpose flour.
- Baking Powder: The primary leavening agent that makes your pancakes fluffy and your biscuits rise. Ensure your baking powder is fresh for optimal performance.
- Salt: Enhances the flavors of all the other ingredients, balancing the sweetness and richness in your final dishes.
- Vegetable Shortening: This is the key fat component that gives your baked goods their tender texture. Shortening has a higher melting point than butter, which creates pockets of steam during baking, resulting in a flakier product.
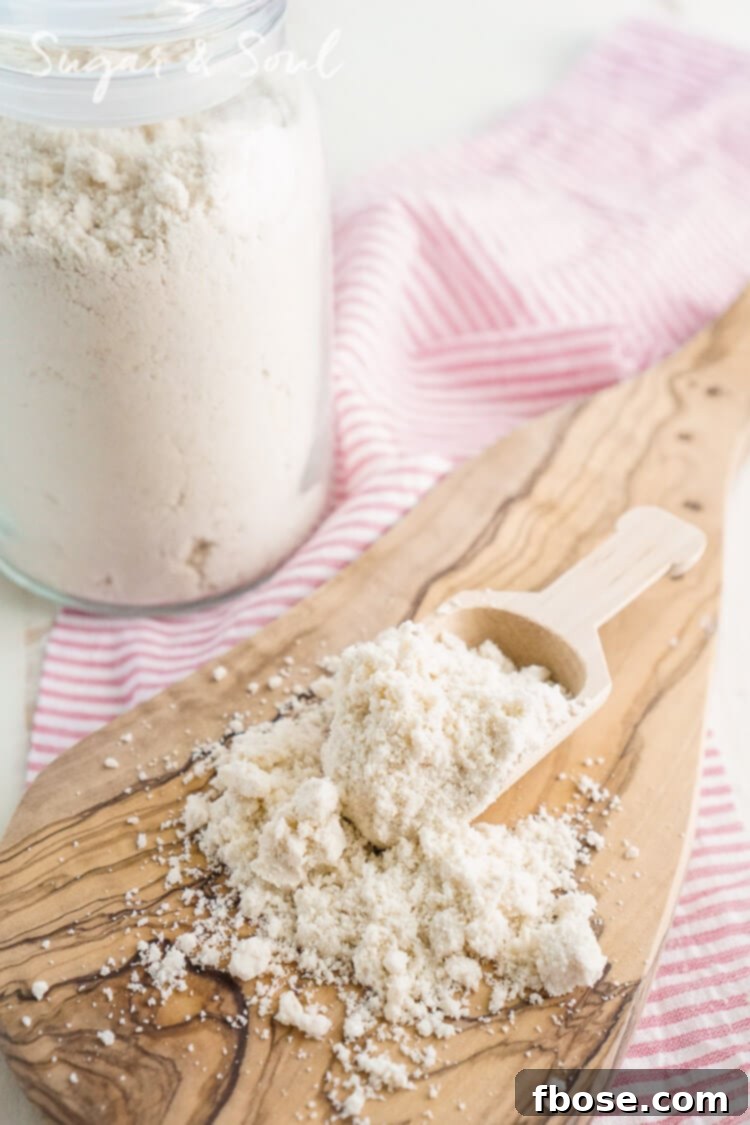
Homemade Bisquick Mix
Rebecca Hubbell
Basic Baking Mix
10 minutes
10 minutes
3 1/2 cups
Pin
Rate
Ingredients
- 3 cups All-Purpose Flour
- 1 1/2 tbsp Baking Powder
- 1 1/2 tsp Salt
- 1/2 cup Vegetable Shortening (chilled and cut into small pieces for easier blending)
Instructions
- In a large bowl, whisk together the flour, baking powder, and salt until well combined. This ensures the leavening agents are evenly distributed.
- Transfer the dry mixture into a blender or food processor. Add the chilled vegetable shortening.
- Pulse the blender or food processor until the shortening is evenly incorporated into the flour mixture, resembling coarse crumbs. Be careful not to over-process.
- Your homemade Bisquick mix is now ready to use! Store it properly (see notes below) and use it just as you would store-bought Bisquick.
Notes
Recipes adapted from Food.com.
Store the homemade Bisquick mix in an airtight container in the refrigerator for up to 4 months. Ensure it’s kept away from moisture and direct heat to maintain its freshness and leavening power.
Unleash the Versatility: How to Use Your Homemade Bisquick Mix
The beauty of having homemade Bisquick on hand lies in its incredible versatility. From breakfast staples to savory dinners, this mix can do it all. Here are some popular ways to put your DIY Bisquick to good use:
1. Fluffy Pancakes
One of the most classic applications for Bisquick is making light and airy pancakes. To make a batch of delicious pancakes:
- For about 8-10 pancakes, combine 2 cups of your homemade Bisquick mix with 1 cup of milk and 1 large egg.
- Whisk until just combined. Don’t overmix; a few lumps are perfectly fine.
- Pour about 1/4 cup of batter onto a preheated, lightly oiled griddle or non-stick pan over medium heat.
- Cook for 2-3 minutes per side, or until golden brown and cooked through.
- Serve immediately with your favorite toppings like syrup, fresh fruit, or whipped cream.
2. Golden Waffles
Transform your breakfast routine with crispy, golden waffles using your homemade mix. The process is similar to pancakes but often requires a slightly different batter consistency:
- For approximately 4-6 waffles, combine 2 cups of homemade Bisquick mix with 1 1/3 cups of milk, 1 large egg, and 2 tablespoons of vegetable oil (or melted butter).
- Whisk gently until the ingredients are just incorporated. Again, avoid overmixing.
- Preheat your waffle iron according to the manufacturer’s instructions. Lightly grease it if necessary.
- Pour the batter into the center of the hot waffle iron, close the lid, and cook until the waffle is golden brown and steaming stops, typically 3-5 minutes.
- Carefully remove the waffle and serve warm with syrup, berries, or a dusting of powdered sugar.
3. Tender Biscuits
Homemade biscuits are a comforting classic, and your Bisquick mix makes them incredibly easy. These are perfect alongside gravy, with soup, or simply with butter and jam:
- Preheat your oven to 450°F (230°C).
- In a bowl, combine 2 cups of homemade Bisquick mix with 2/3 cup of cold milk.
- Stir with a fork until a soft dough forms. Do not overmix.
- Turn the dough out onto a lightly floured surface and gently knead about 5-8 times.
- Pat or roll the dough to about 1/2 inch thickness. Cut with a 2-inch biscuit cutter or a knife into squares.
- Place biscuits on an ungreased baking sheet about 1 inch apart.
- Bake for 8-10 minutes, or until golden brown on top. Serve warm.
4. Beyond Breakfast: Other Creative Uses
Don’t limit your homemade Bisquick to just breakfast! Its balanced blend of flour, leavening, and fat makes it an excellent base for various savory and sweet dishes:
- Dumplings: Add mix to boiling soup or stew for quick, fluffy dumplings.
- Cobbler Topping: Mix with a little milk and sugar, then spoon over fruit fillings for a quick cobbler.
- Chicken Pot Pie Topping: Roll out dough and place over a savory chicken filling for a comforting meal.
- Sausage Balls: Combine with cooked sausage and cheese for an easy appetizer.
- Pigs in a Blanket: Wrap hot dogs or sausages in thin strips of Bisquick dough before baking.
- Quick Bread: With a few additions, it can even form the base for simple quick breads.
Storage and Shelf Life Tips for Your Homemade Mix
Proper storage is key to maintaining the freshness and effectiveness of your homemade Bisquick mix. Because it contains shortening, refrigeration is essential to prevent the fat from going rancid and to keep the leavening agents potent.
- Airtight Container: Always store your mix in a completely airtight container. This protects it from moisture, which can activate the baking powder prematurely, and from absorbing odors from the refrigerator. Glass jars with tight-fitting lids or high-quality plastic containers work best.
- Refrigerate: Unlike commercial mixes that are often shelf-stable, your homemade version must be stored in the refrigerator. The cool temperature helps preserve the freshness of the shortening and maintains the potency of the baking powder.
- Label and Date: Always label your container with the date you prepared the mix. This will help you keep track of its shelf life, which is typically up to 4 months when stored correctly in the fridge.
- Check for Freshness: Before using, always give your mix a quick sniff. If it smells off or like old oil, it’s best to discard it and make a fresh batch. You can also test a small amount of baking powder in hot water; if it fizzes, it’s still active.
Frequently Asked Questions (FAQ) About Homemade Bisquick
Q: Can I use butter instead of vegetable shortening?
A: While butter can be used, vegetable shortening is traditionally preferred for Bisquick-style mixes because it creates a flakier, more tender result due to its higher fat content and different melting properties. If you use butter, ensure it’s very cold and cut into small pieces, and be aware that the texture of your baked goods might be slightly different.
Q: Can I store the mix at room temperature?
A: It is strongly recommended to store homemade Bisquick in the refrigerator. The shortening can become rancid at room temperature over time, and the cool environment helps maintain the stability of all ingredients, especially the leavening agents.
Q: How can I make this mix gluten-free?
A: To make a gluten-free version, simply substitute the all-purpose flour with a high-quality gluten-free all-purpose flour blend that contains xanthan gum. The ratios of baking powder, salt, and shortening should remain the same.
Q: What if my pancakes aren’t fluffy?
A: Several factors can affect pancake fluffiness. Ensure your baking powder is fresh. Avoid overmixing the batter, as this can develop the gluten too much and lead to tough pancakes. Also, make sure your griddle is preheated to the correct temperature.
Customizing Your Homemade Bisquick Mix
One of the joys of DIY recipes is the ability to customize. Here are a few ideas to tailor your Bisquick mix to your preferences:
- Sweeter Mix: For sweeter pancakes or waffles, add 1-2 tablespoons of granulated sugar to the dry ingredients.
- Whole Wheat Option: You can substitute up to half of the all-purpose flour with whole wheat flour for a nuttier flavor and added fiber. Keep in mind this might result in a slightly denser product.
- Flavor Boosts: Consider adding a teaspoon of vanilla powder or a pinch of cinnamon to the dry mix for an extra layer of flavor, especially for sweet applications.
Did You Make This Recipe?
Don’t forget to share it with me on Instagram @sugarandsoulco and follow on Tiktok @sugarandsoulco and Pinterest @sugarandsoulco for more! If you loved this recipe, please consider leaving a rating and comment below.
Pin Recipe
Share Recipe
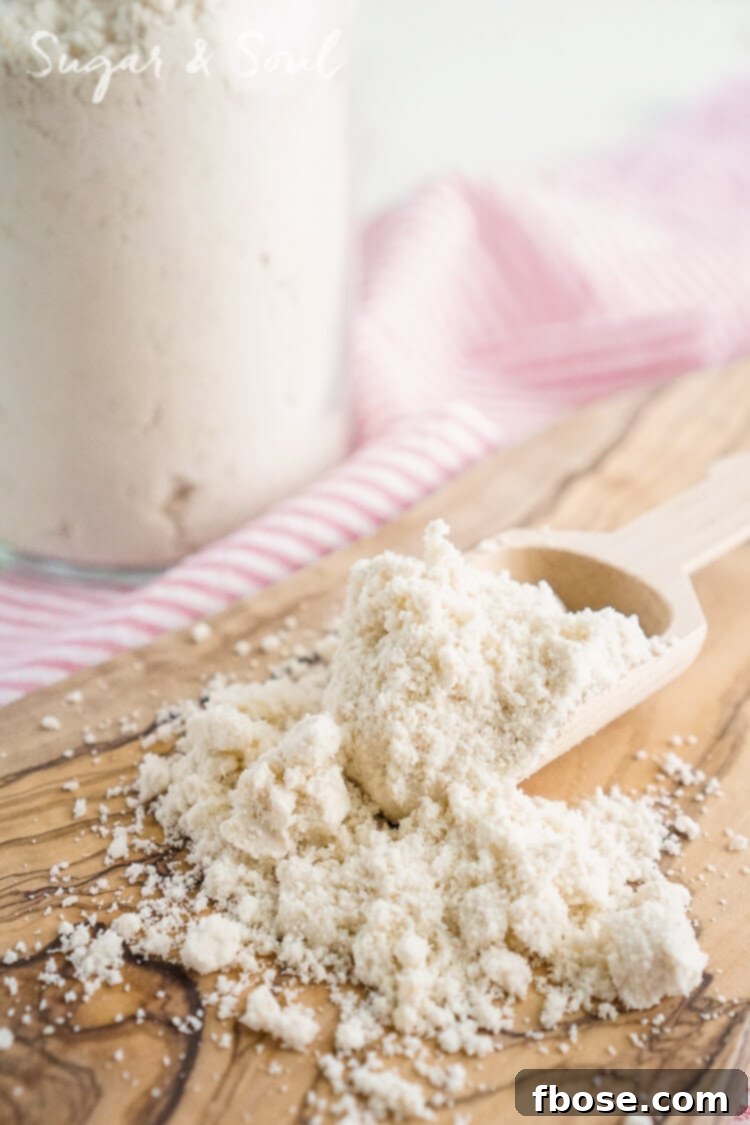
With this comprehensive guide and easy-to-follow recipe, you’ll never have to worry about running out of Bisquick again. Enjoy the convenience, savings, and delicious results of your very own homemade baking mix!