
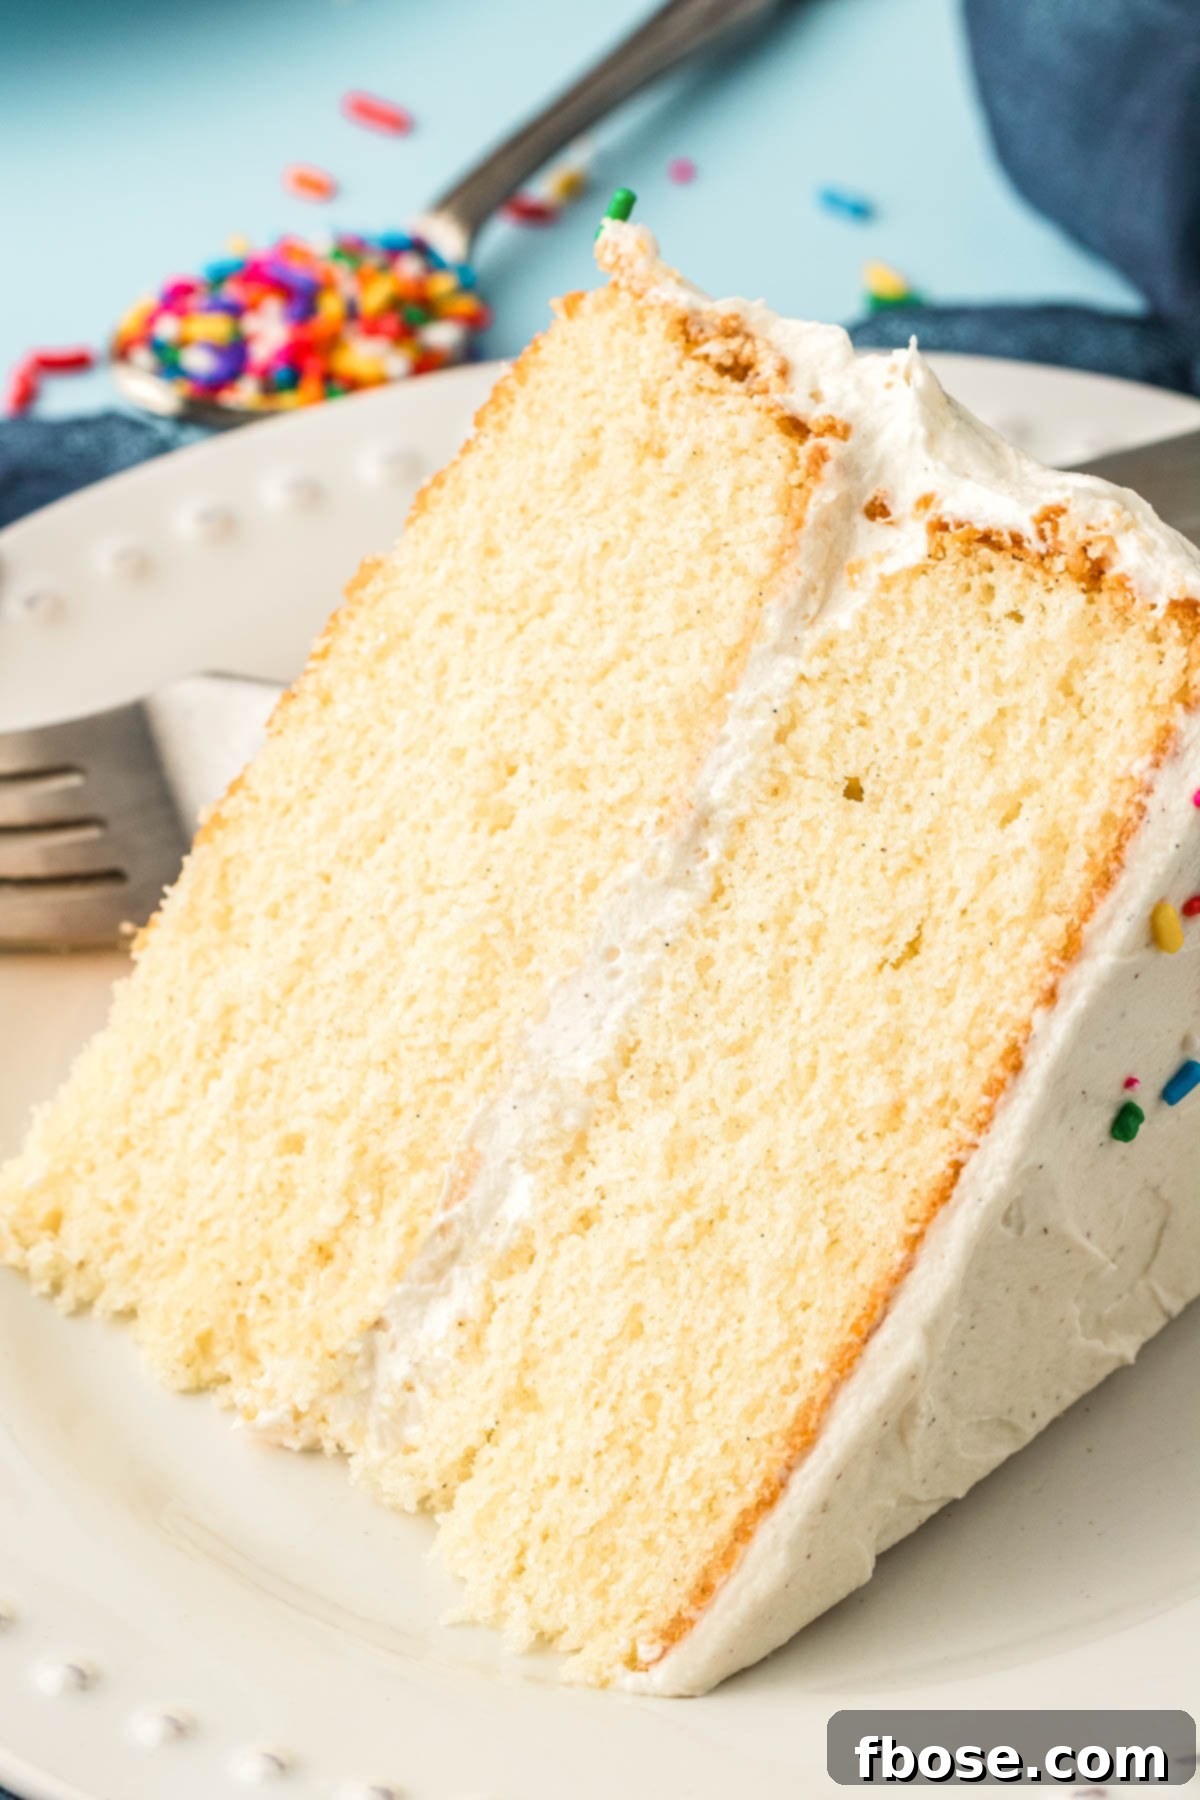
The Ultimate Homemade Vanilla Bean Cake Recipe
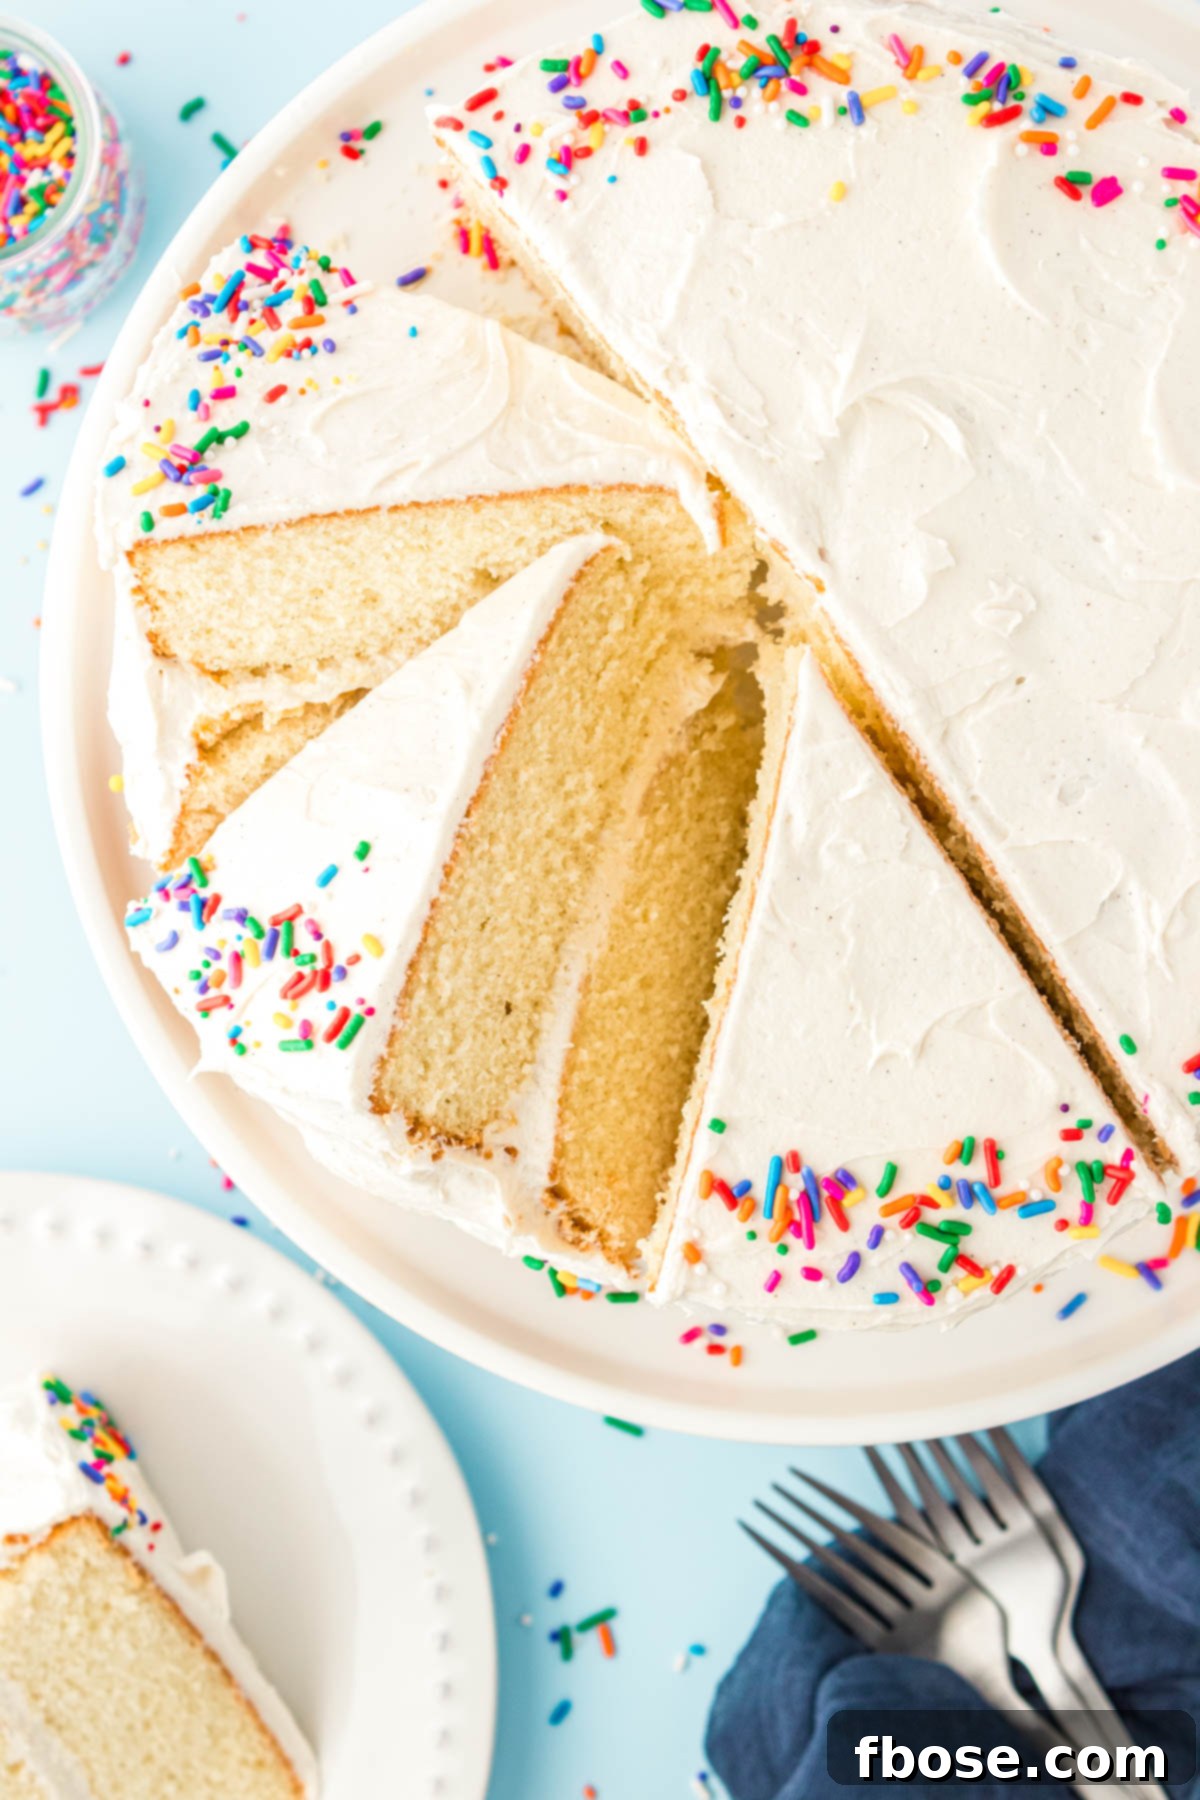
This exquisite Vanilla Bean Cake Recipe offers a buttery white cake overflowing with authentic, sweet vanilla flavor. It serves as the perfect foundation for any of your favorite fillings and frostings. Boasting an incredibly tender crumb and a taste far superior to any box mix, this 100% from-scratch, bakery-style vanilla cake is guaranteed to impress everyone who takes a bite. Get ready to bake a truly memorable dessert that will become a staple in your kitchen!
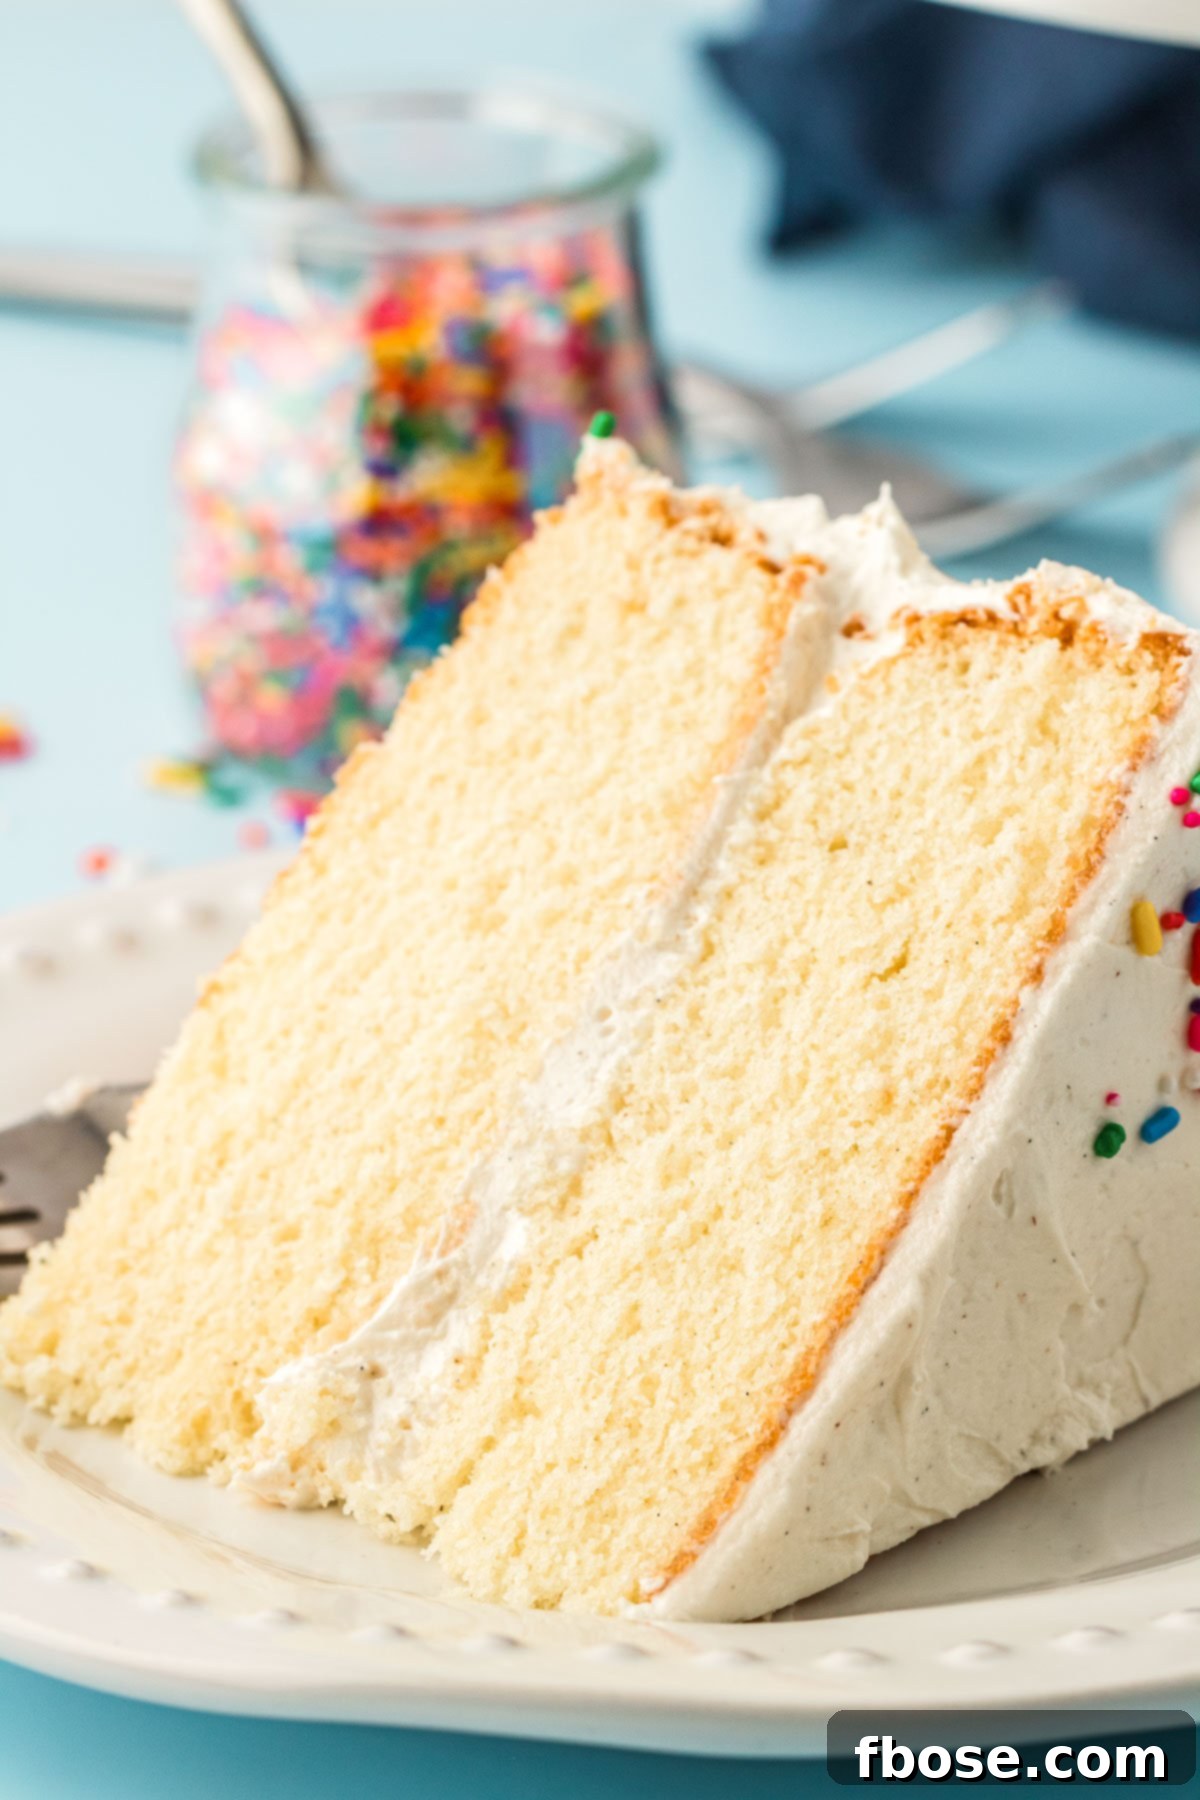
Homemade Vanilla Cake From Scratch
If you’re a true connoisseur of exceptional cake, then this Vanilla Bean Cake recipe is tailor-made for you. This comprehensive guide provides detailed, easy-to-follow instructions to help you create the absolute BEST-tasting vanilla bean cake you’ll ever experience. Forget dry, bland cakes; prepare for a moist, flavorful masterpiece.
Many home bakers might feel intimidated by the idea of baking a cake from scratch, especially one that promises bakery-quality results. However, rest assured, this recipe is designed to be incredibly straightforward and manageable, even if baking elaborate cakes isn’t your usual pastime. With a little patience and attention to detail, you’ll be able to achieve a stunning and delicious cake that tastes like it came from a professional patisserie, all from the comfort of your own kitchen.
Rebecca’s Recipe Review
Taste: The journey of sweet vanilla begins right in the batter, infused with premium vanilla bean paste. It continues as the freshly baked cake layers are brushed with a fragrant vanilla simple syrup, ensuring every pore is saturated with flavor. The experience culminates with a luxurious, creamy vanilla bean frosting, creating a symphony of pure vanilla delight in every bite.
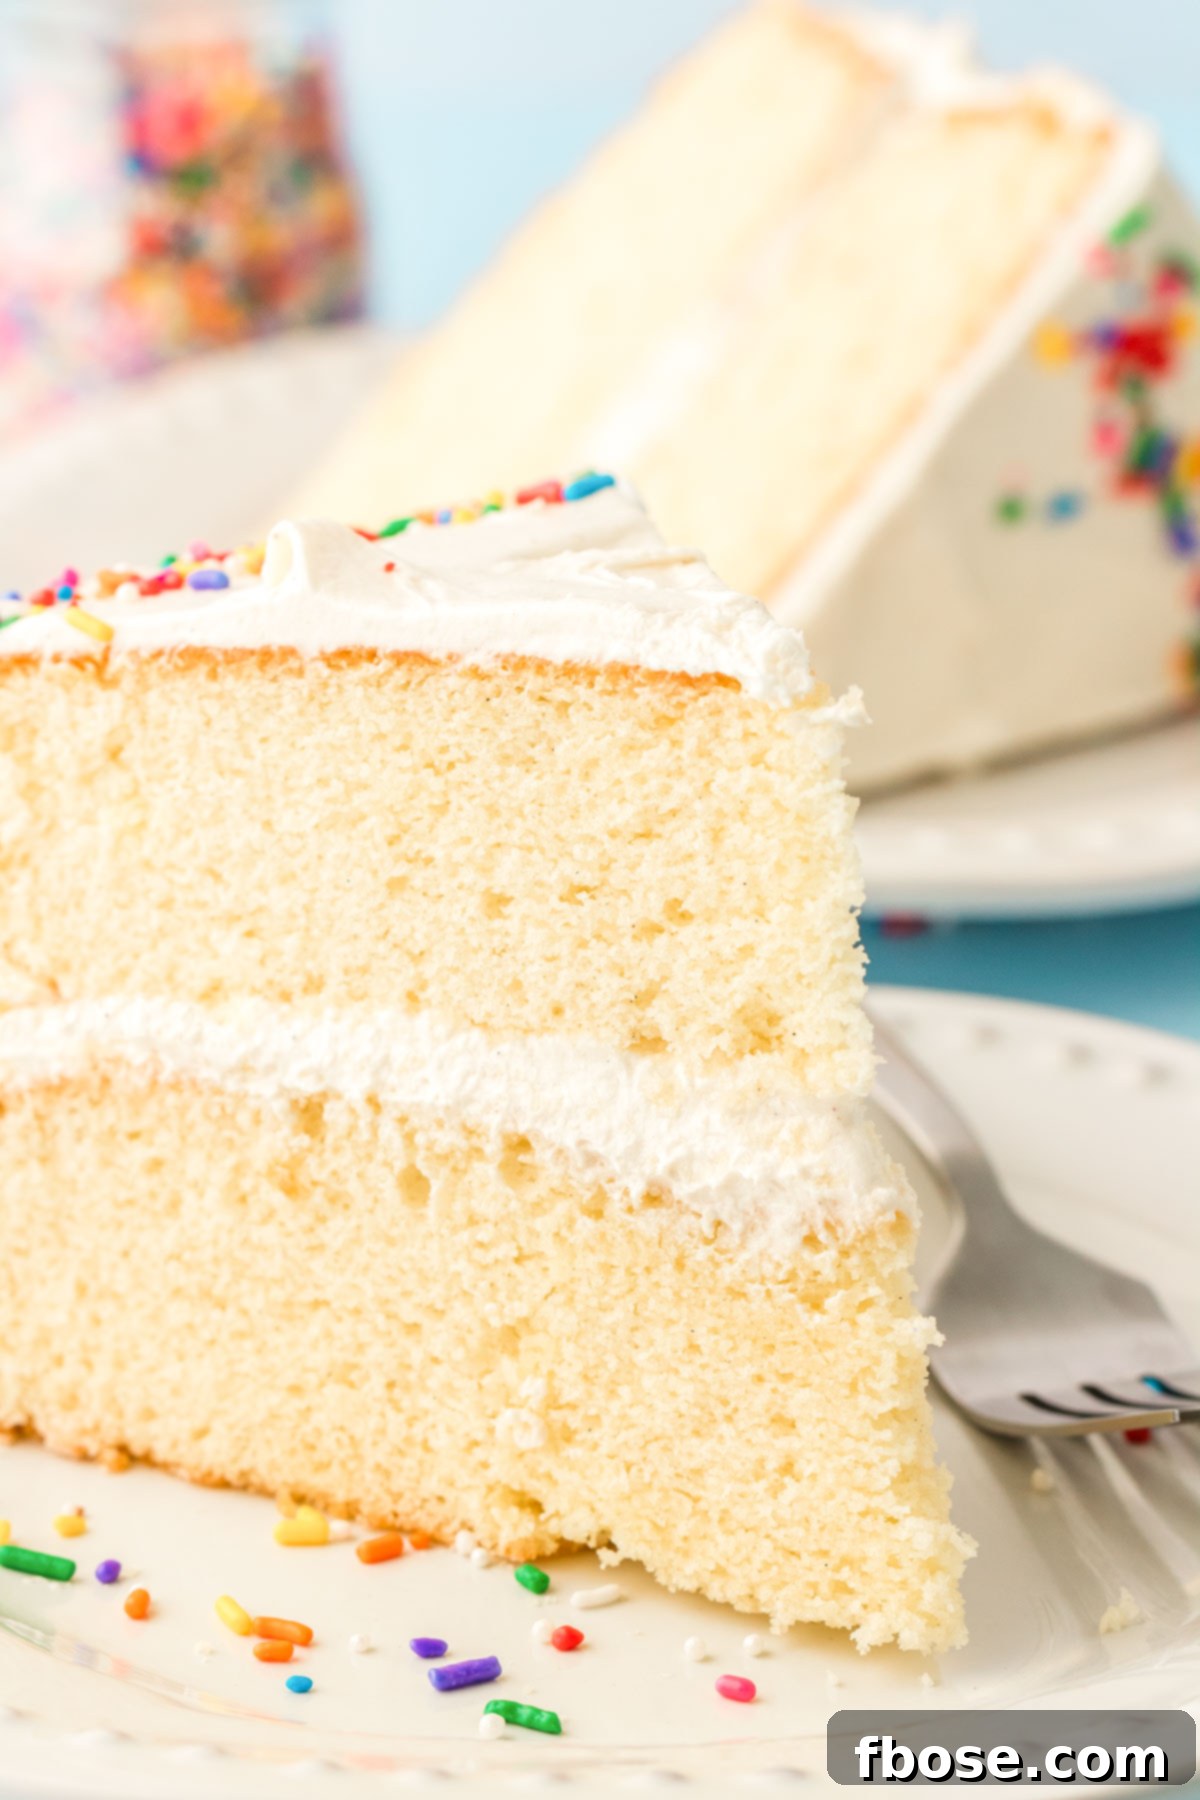
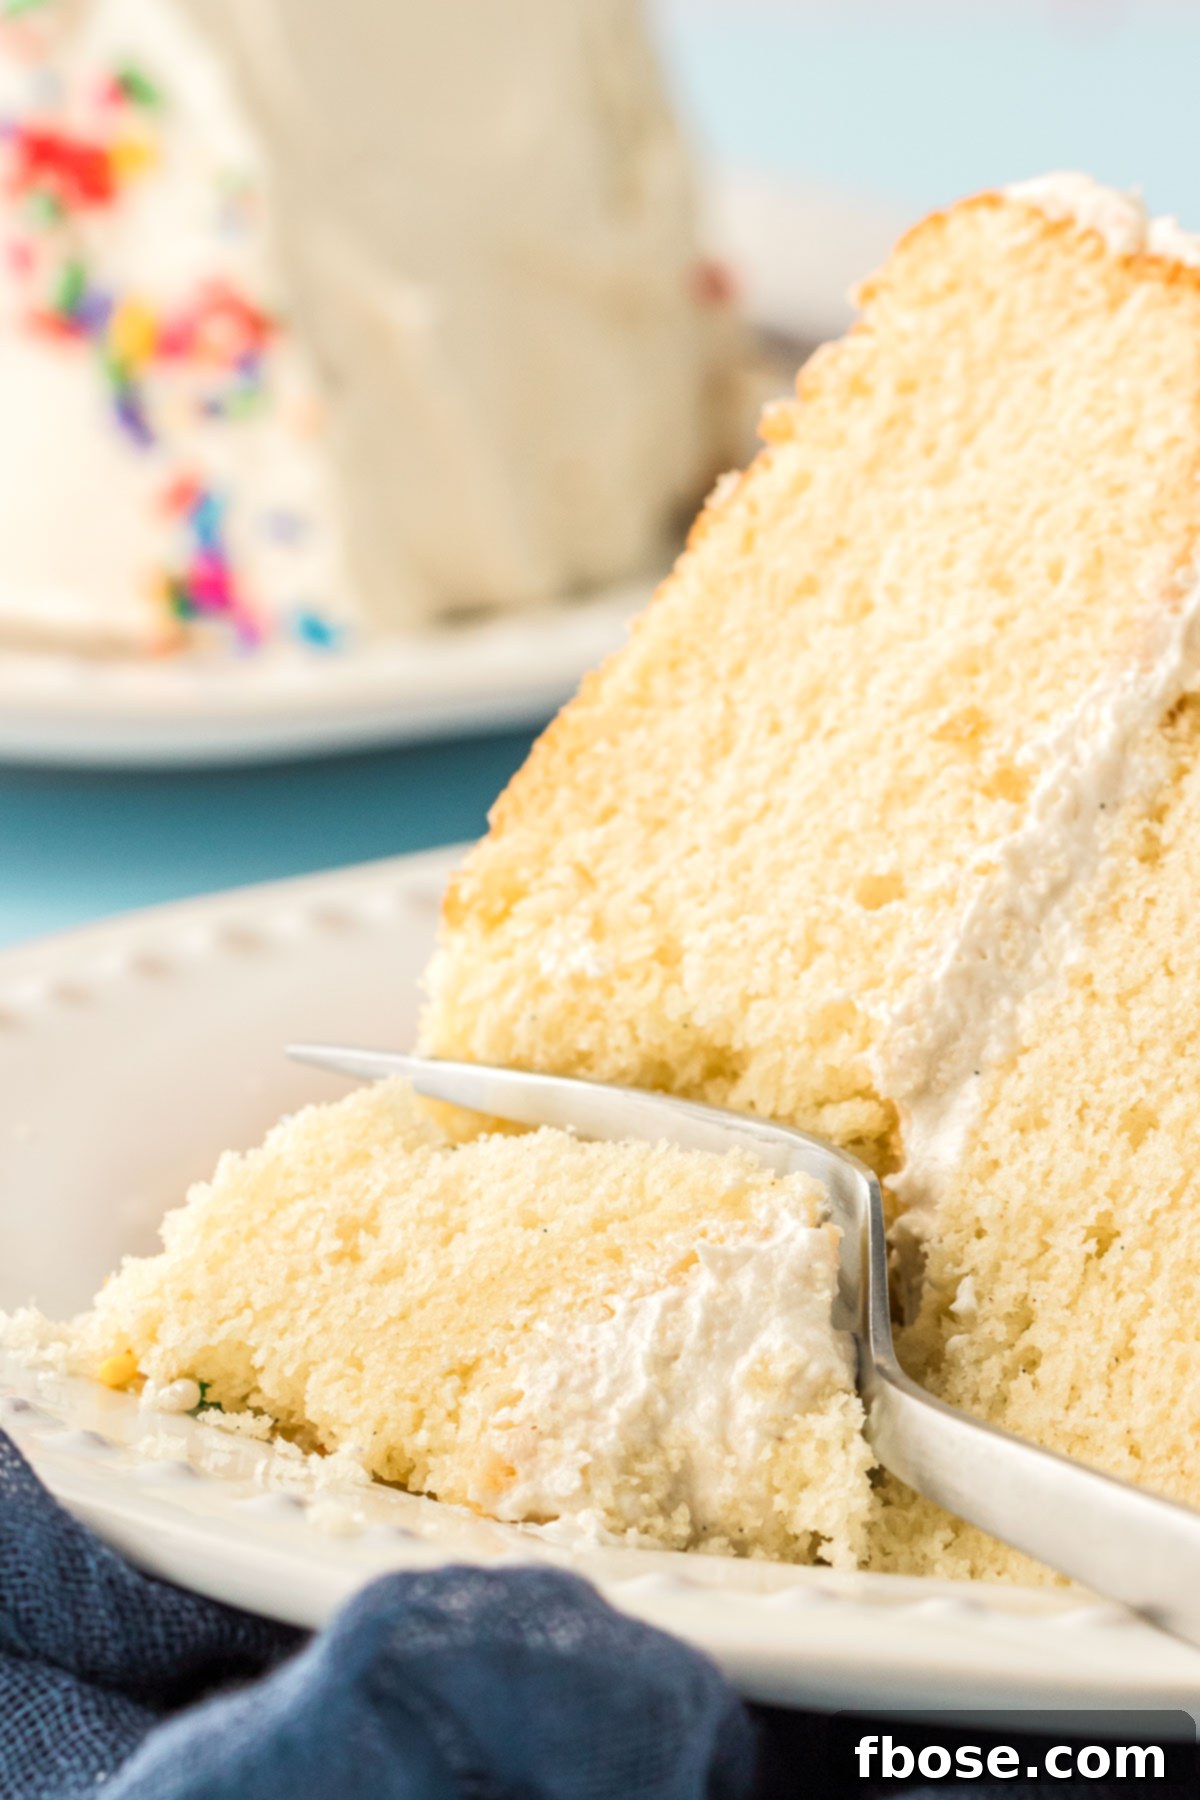
Texture: This cake boasts an exquisitely tender, moist, and airy crumb that practically melts in your mouth. Complementing this is a light and fluffy frosting, adding a smooth, velvety finish that perfectly balances the cake’s delicate structure. The combination creates a truly indulgent and satisfying textural experience.
Ease: 6/10. While not as quick as a box mix, this recipe is highly achievable for home bakers of all skill levels. The steps are clear, and the results are incredibly rewarding. The slightly higher rating accounts for the multi-step process, but no advanced techniques are required beyond standard baking practices.
Pros: This cake presents a truly decadent appearance, making it a showstopper for any occasion. Despite its sophisticated look and rich flavor profile, it’s crafted using readily available, easy-to-find ingredients. The deep vanilla flavor is genuinely unparalleled.
Cons: Crafting this cake from scratch does require a bit more time and effort compared to simpler desserts. However, every minute spent on preparation and baking is absolutely worth it, as the resulting flavor and texture are a testament to homemade perfection. Every single crumb is a reward!
Would I Make This Again? Absolutely! This is my go-to recipe for a classic vanilla cake that never fails to impress. Its reliability and exceptional taste make it a frequently requested dessert.
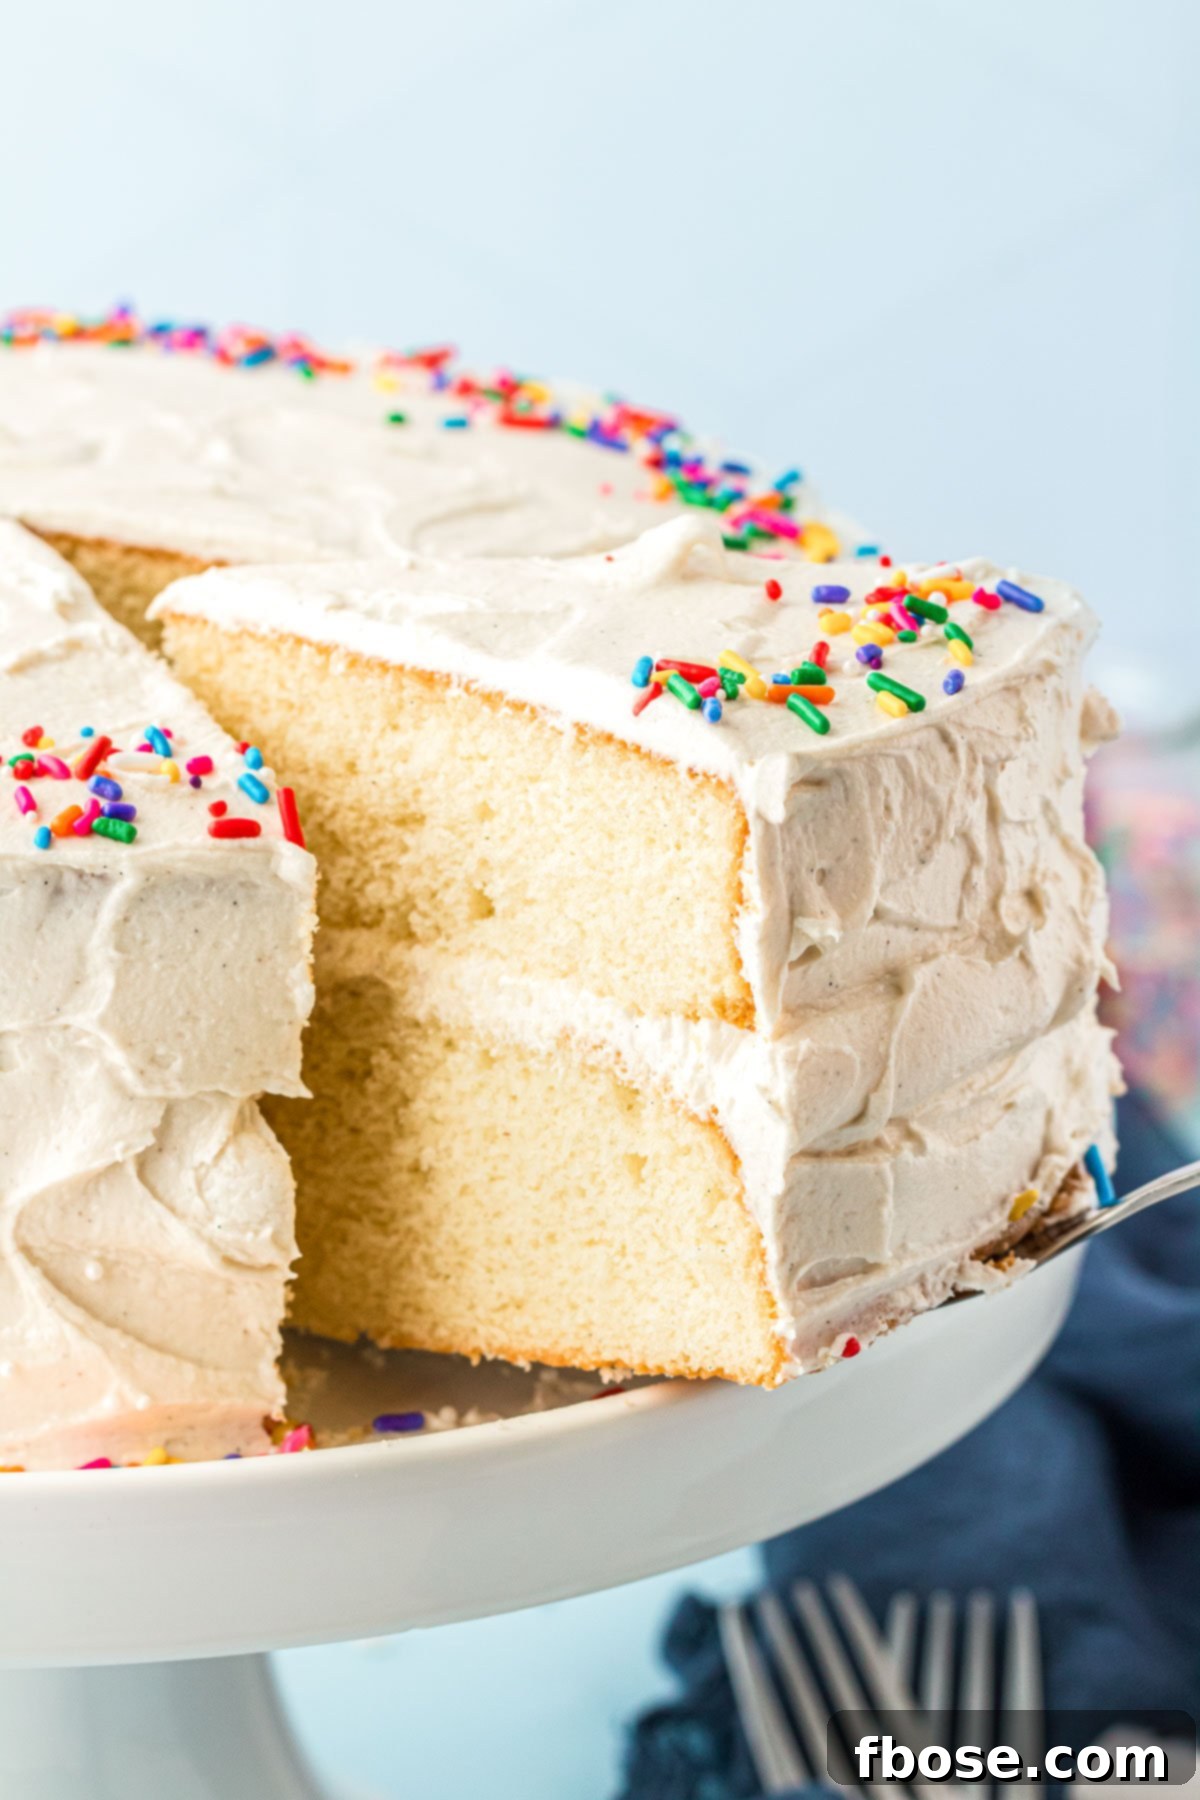
Essential Vanilla Cake Ingredients
To achieve the perfect vanilla bean cake, selecting high-quality ingredients is key. Here’s what you’ll need:
- Cake Flour
- Granulated Sugar
- Powdered Milk
- Baking Powder
- Salt
- Unsalted Butter
- Large Eggs
- Large Egg Whites
- Whole Milk
- Vanilla Bean Paste
- Vanilla Simple Syrup
- Powdered Sugar
- Heavy Cream
Why These Ingredients Make a Difference
Certain ingredients truly elevate this recipe, transforming a good cake into an extraordinary one. Cake flour, vanilla bean paste, and high-quality unsalted butter are the stars that ensure an unparalleled baking experience and a phenomenal final product.
Cake flour is a critical component for achieving that signature light and tender crumb. Unlike all-purpose flour, which typically has a protein content of 10-12%, cake flour contains only 7-9% protein. This lower protein content results in less gluten formation during mixing, which directly translates to a softer, more delicate, and airy cake texture. This simple swap significantly impacts the final crumb, giving you a dessert that is delightfully fluffy and refined, far removed from dense, heavy cakes.
To infuse this cake with the most exquisite and authentic vanilla flavor, I highly recommend using vanilla bean paste in the batter. Vanilla extract is good, but the paste delivers a more intense, rich, and complex vanilla profile. Furthermore, the paste’s thick consistency often contains visible specks of vanilla bean seeds, which not only enhance the flavor but also add an elegant, sophisticated visual appeal to the cake, signaling its premium quality.
Finally, the choice of butter is paramount for a truly rich and flavorful vanilla cake. For the best possible results, I strongly suggest opting for a high-quality European-style butter. These butters typically boast a higher fat content and a lower water content compared to standard American butters, contributing to a superior taste and a more tender cake. Brands like Kerrygold or Finlandia are excellent choices that impart a luxurious depth of flavor and a wonderfully moist texture to your finished cake.
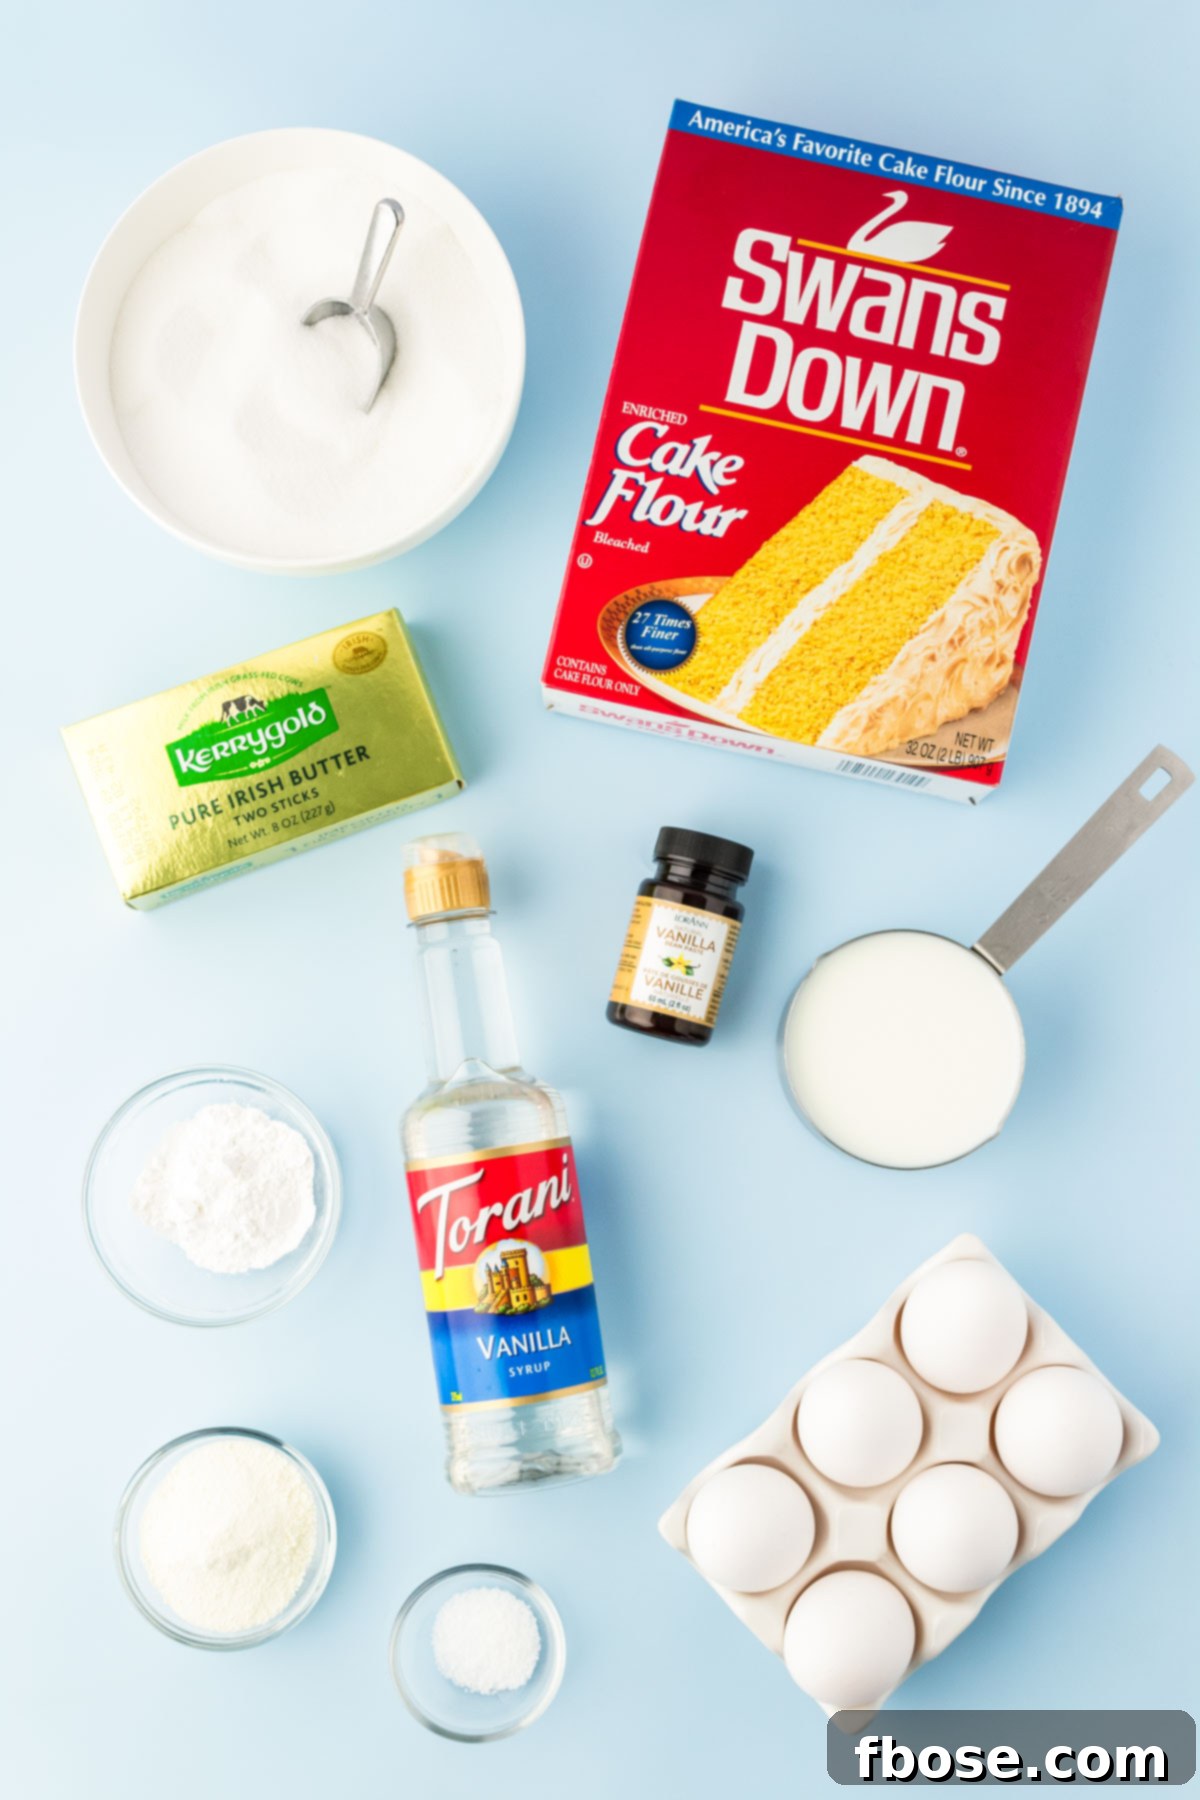
How To Make A Vanilla Cake From Scratch
Creating this spectacular vanilla bean cake is a rewarding process, made easy with these detailed steps. We’ll be using the “reverse creaming method” to ensure an incredibly tender crumb. Follow these instructions carefully for the best results:
- Begin by preheating your oven to 325°F (160°C). Prepare two 9-inch round cake pans by generously greasing them with magic cake release (or “cake goop”). Alternatively, you can use non-stick cooking spray and then line the bottoms with parchment paper for easy removal. Set the prepared pans aside.
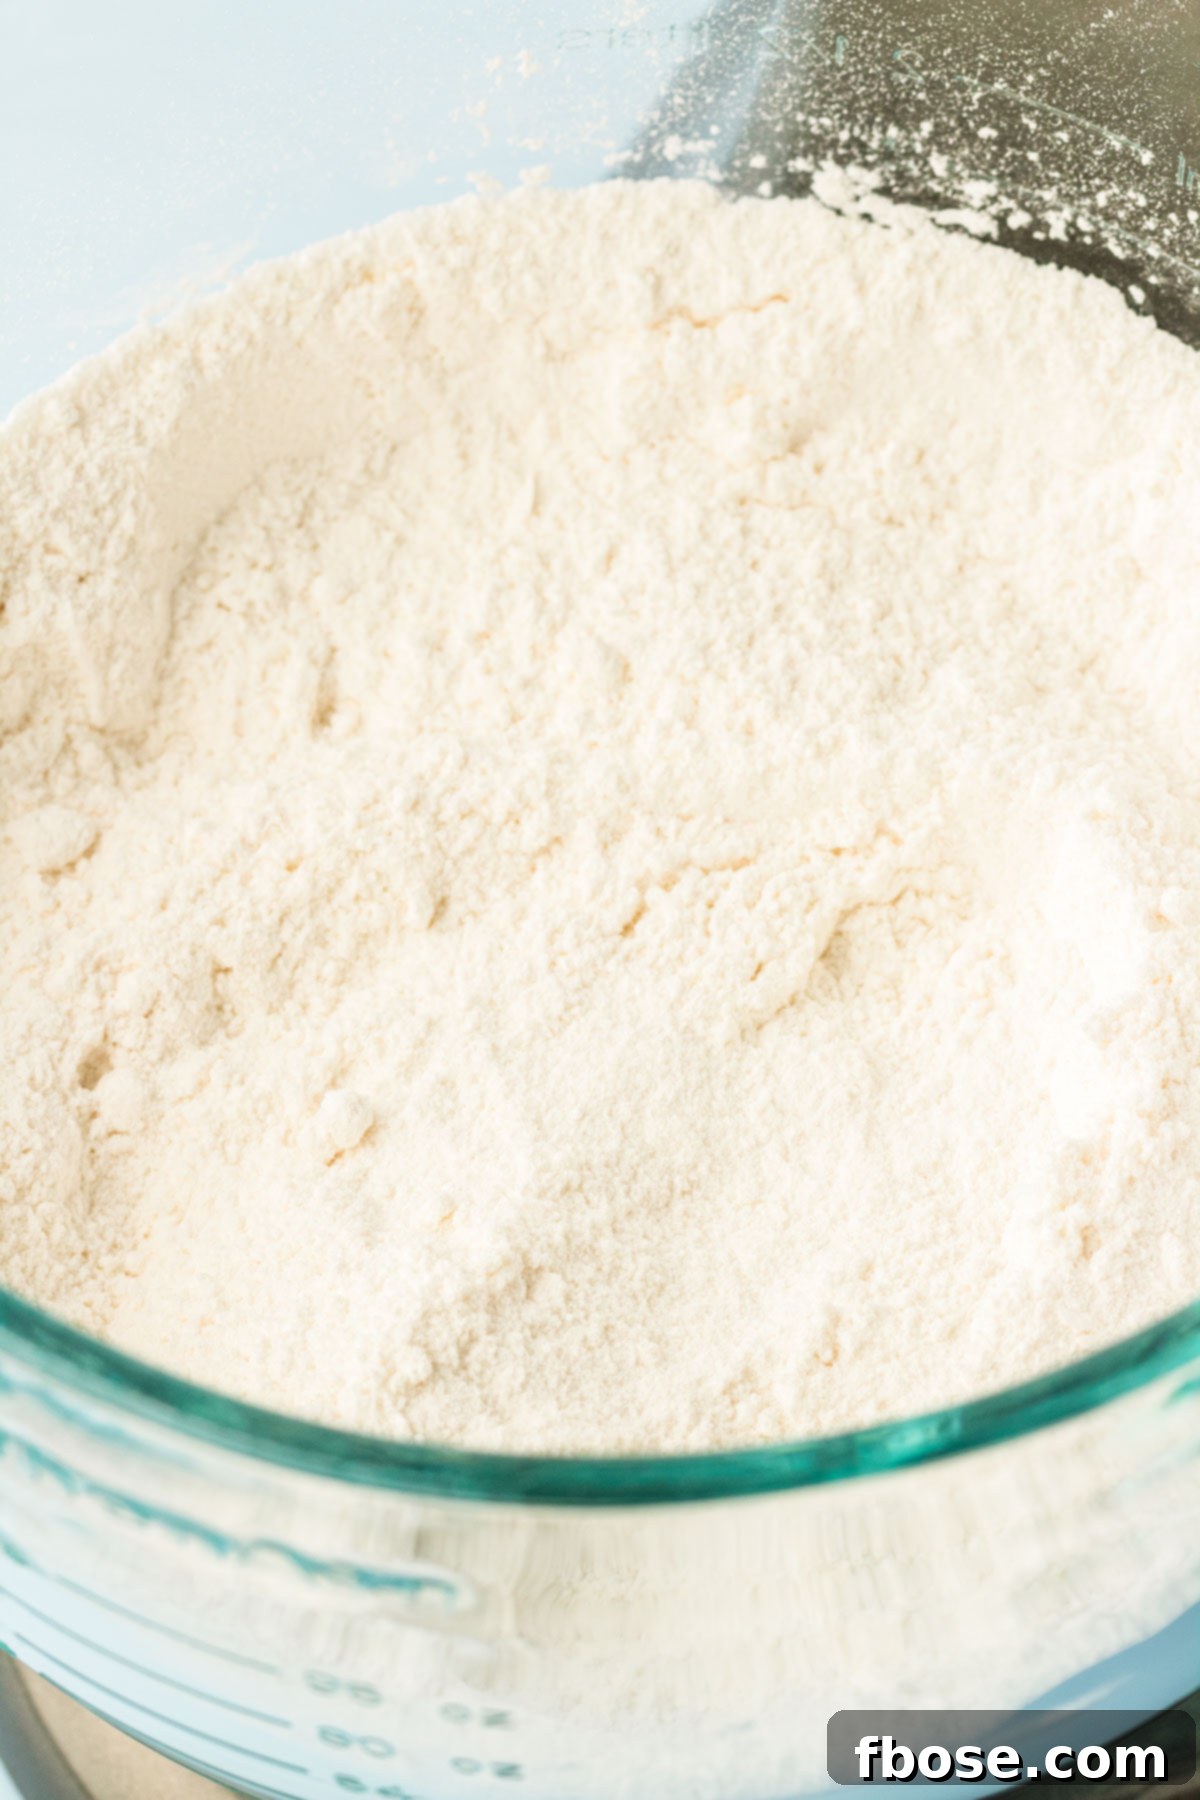
- In the bowl of a stand mixer fitted with a paddle attachment, combine your dry ingredients: cake flour, granulated sugar, powdered milk, baking powder, and salt. Mix these ingredients together on low speed for about 1 minute to ensure they are thoroughly combined and aerated. This initial mixing helps prevent lumps and ensures even distribution of the leavening agents.
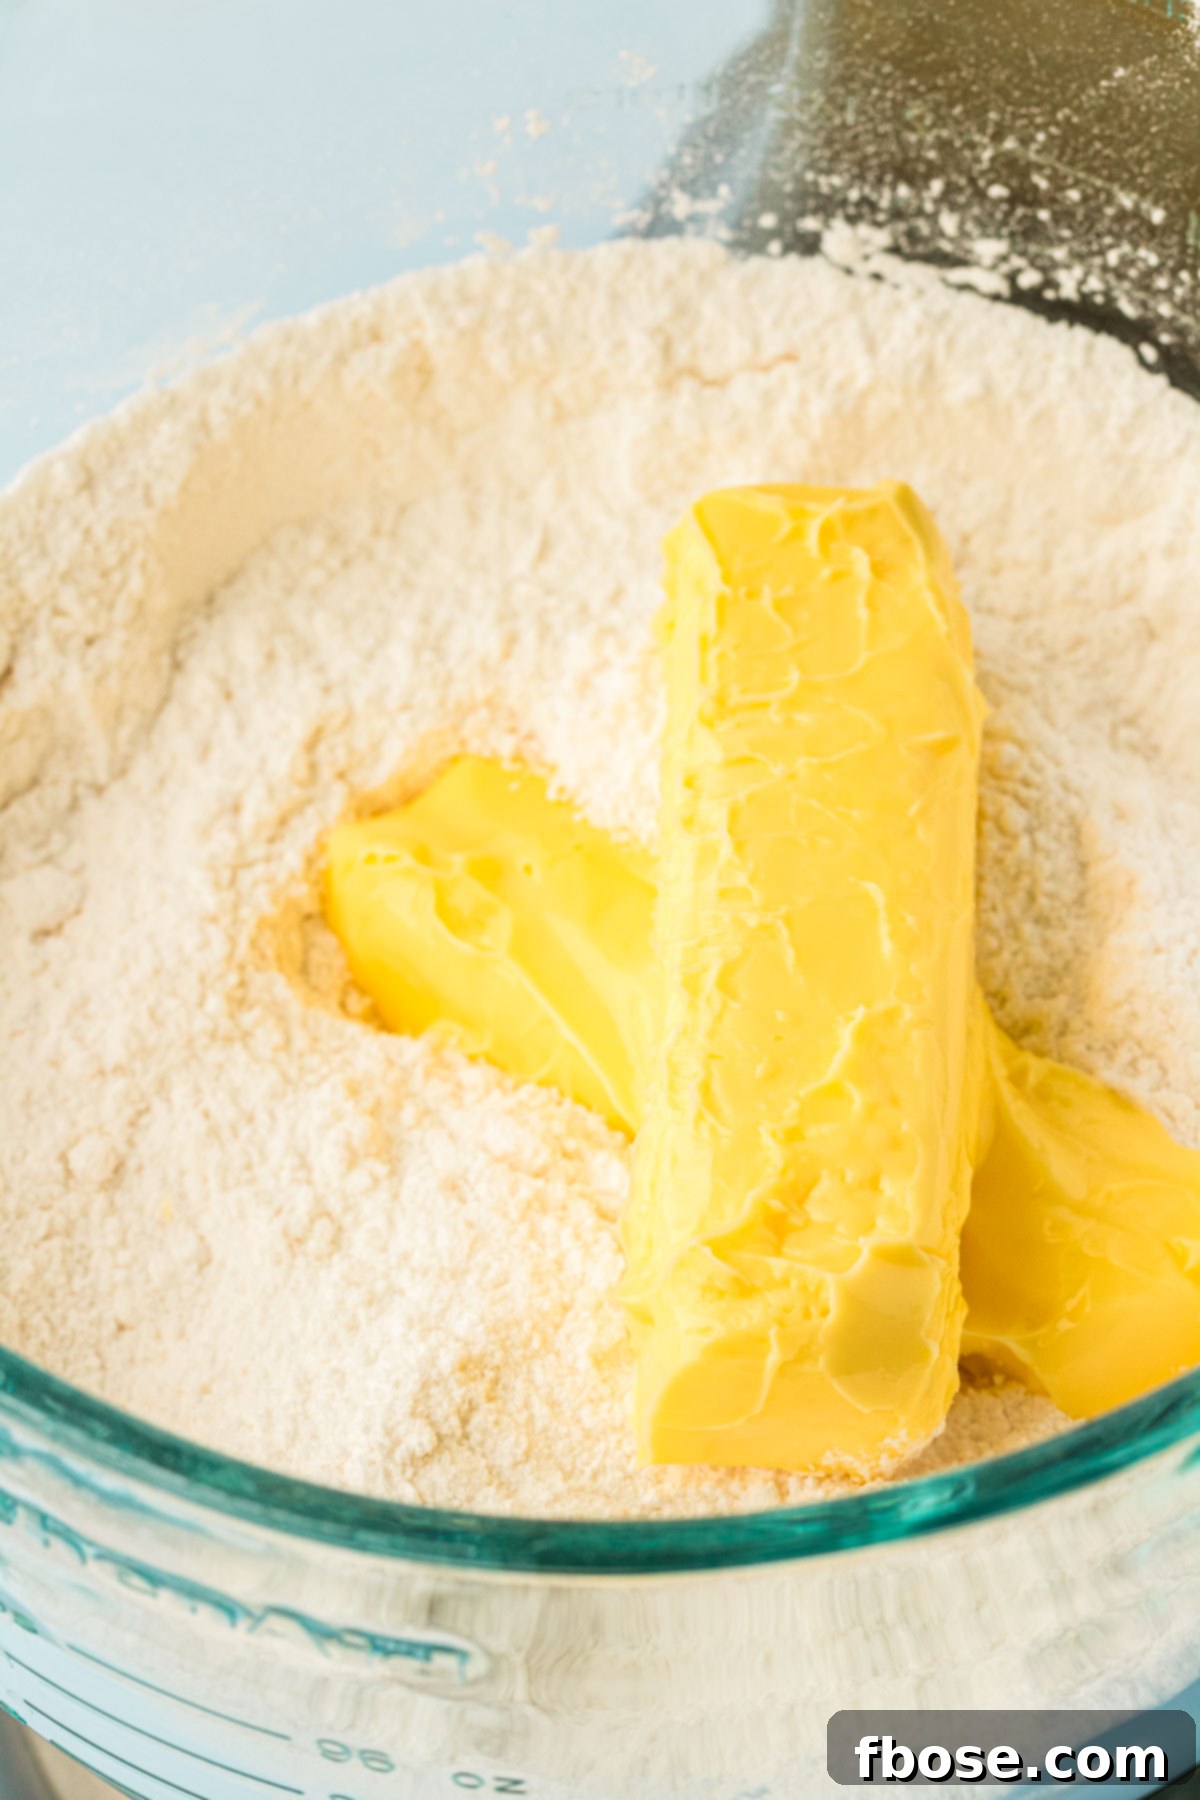
3. Next, add the softened unsalted butter to the dry ingredients. Mix at medium-low speed until the mixture transforms into a sandy, crumbly texture. This technique is known as the reverse creaming method, where butter coats the flour particles, inhibiting gluten development and contributing to a softer cake.
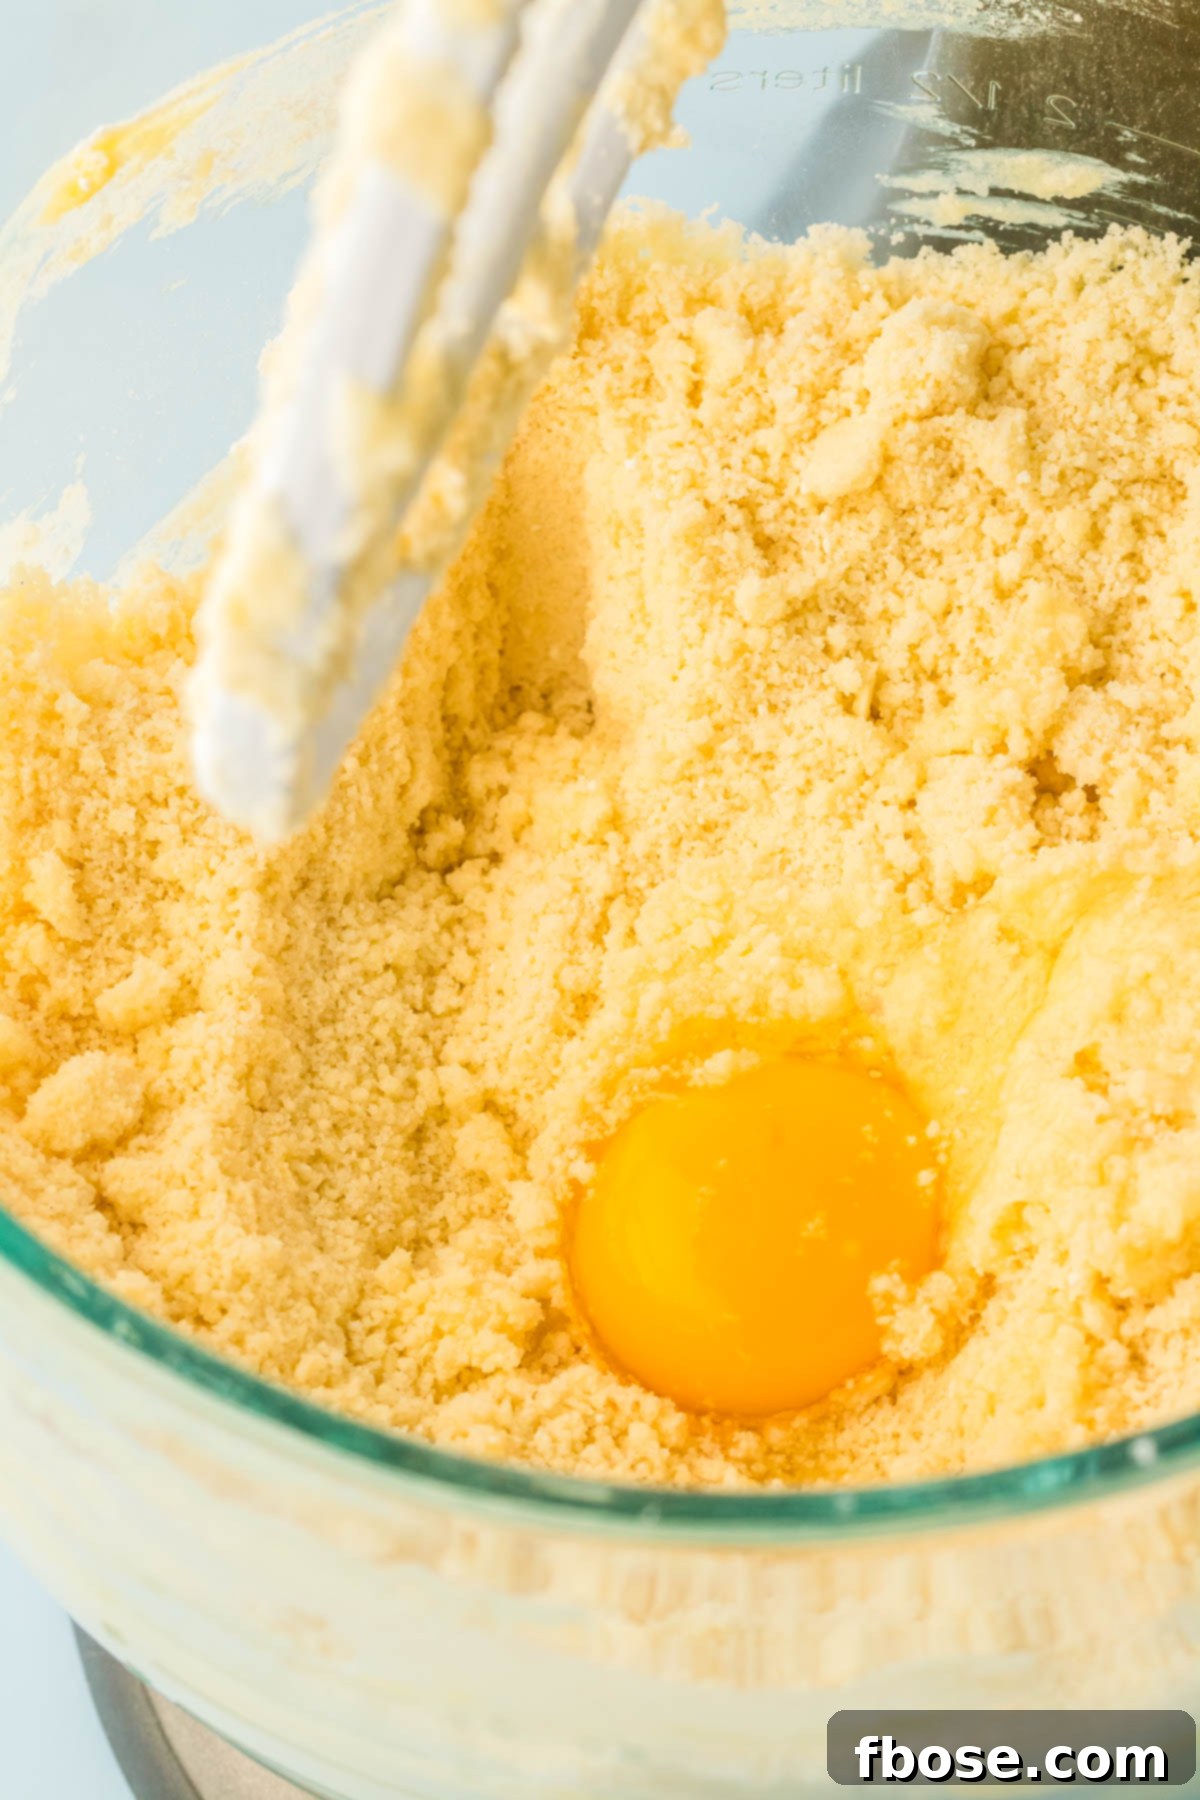
4. With the mixer still running at medium-low, add the large eggs and large egg whites one at a time, allowing each addition to fully incorporate before adding the next. Use a rubber spatula frequently to scrape down the sides and bottom of the bowl, ensuring all ingredients are evenly mixed and no dry pockets remain. This step is crucial for a smooth and homogenous batter.
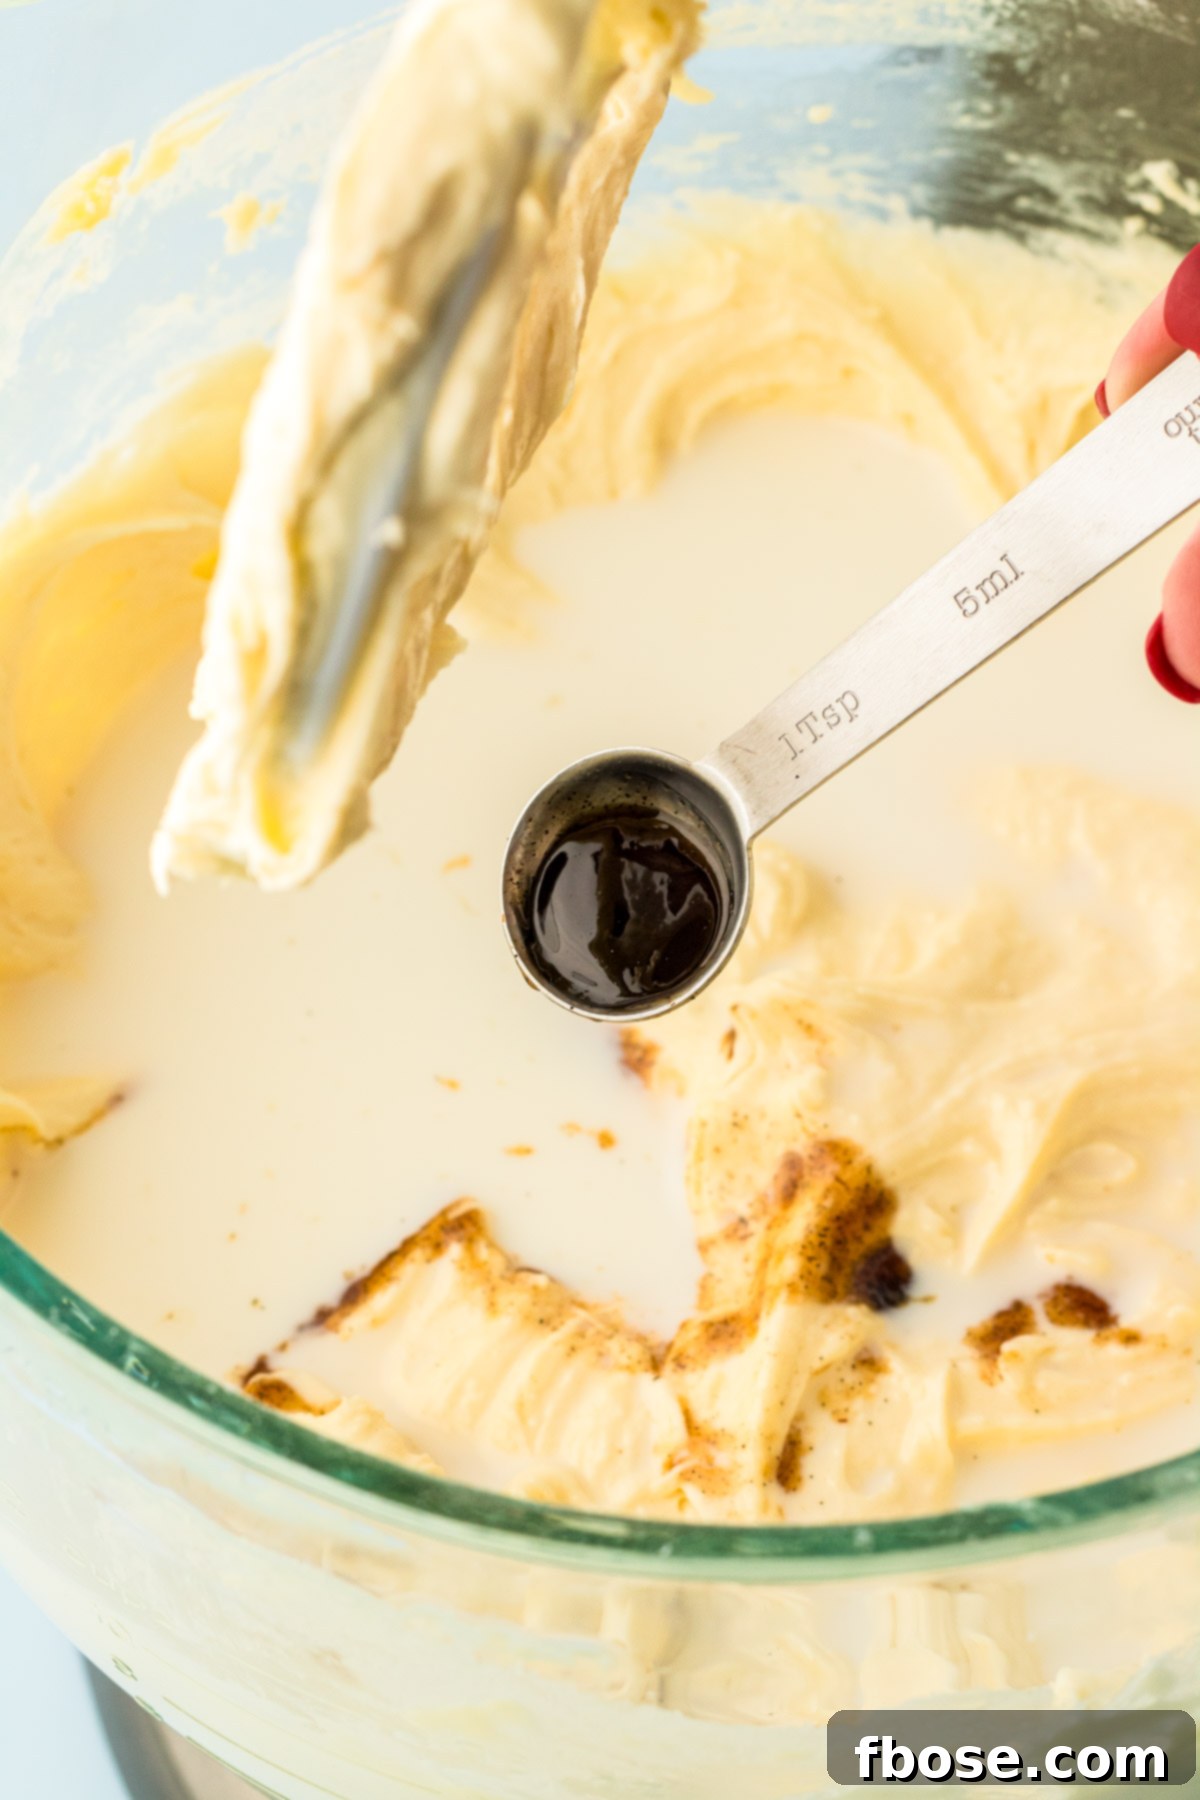
5. Now, incorporate the vanilla bean paste, followed by the whole milk. Add the whole milk in three separate additions, mixing thoroughly after each part for about 1 minute. Continue to scrape down the sides of the bowl as needed. Once all the milk has been added, mix the batter until it appears smooth and luscious, with no visible streaks of dry ingredients. Be careful not to overmix, as this can develop too much gluten and result in a tougher cake.
6. Divide the batter equally between your two prepared cake pans. For perfectly even layers, use a kitchen scale to measure the batter, aiming for approximately 765 to 780 grams per pan. Once divided, gently smooth out the top surface of the batter in each pan with an offset spatula. This ensures an even rise and flat cake layers. Place the pans in the preheated oven.
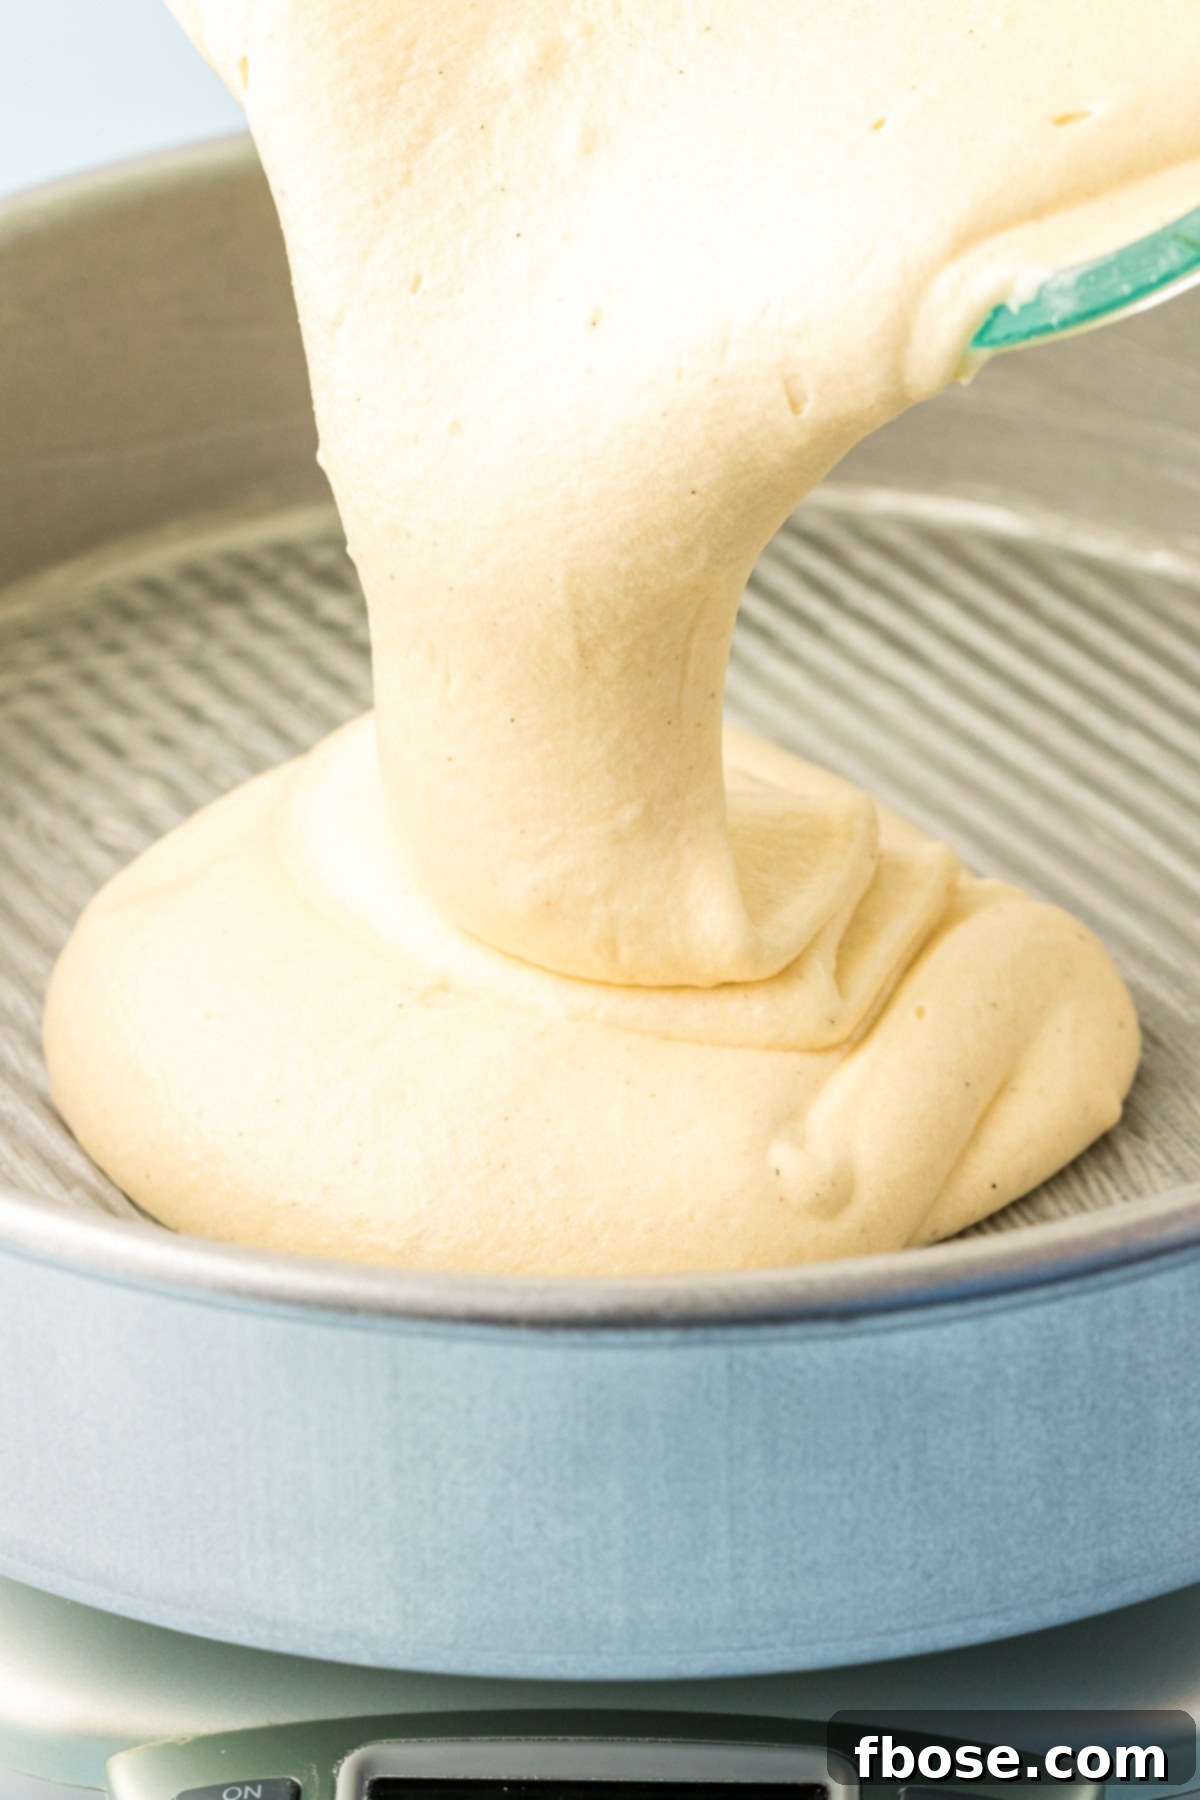
7. Bake the cakes for 35 to 45 minutes. Baking times can vary depending on your oven and pan size. Look for visual cues: the edges of the cake should begin to pull away slightly from the sides of the pan, and the top should spring back gently when lightly touched in the center. For ultimate precision, insert a kitchen thermometer into the center; it should read 200°F (93°C) when fully baked. If using 8-inch pans, the cakes will likely be thicker and may require an additional 5 to 7 minutes of baking time.
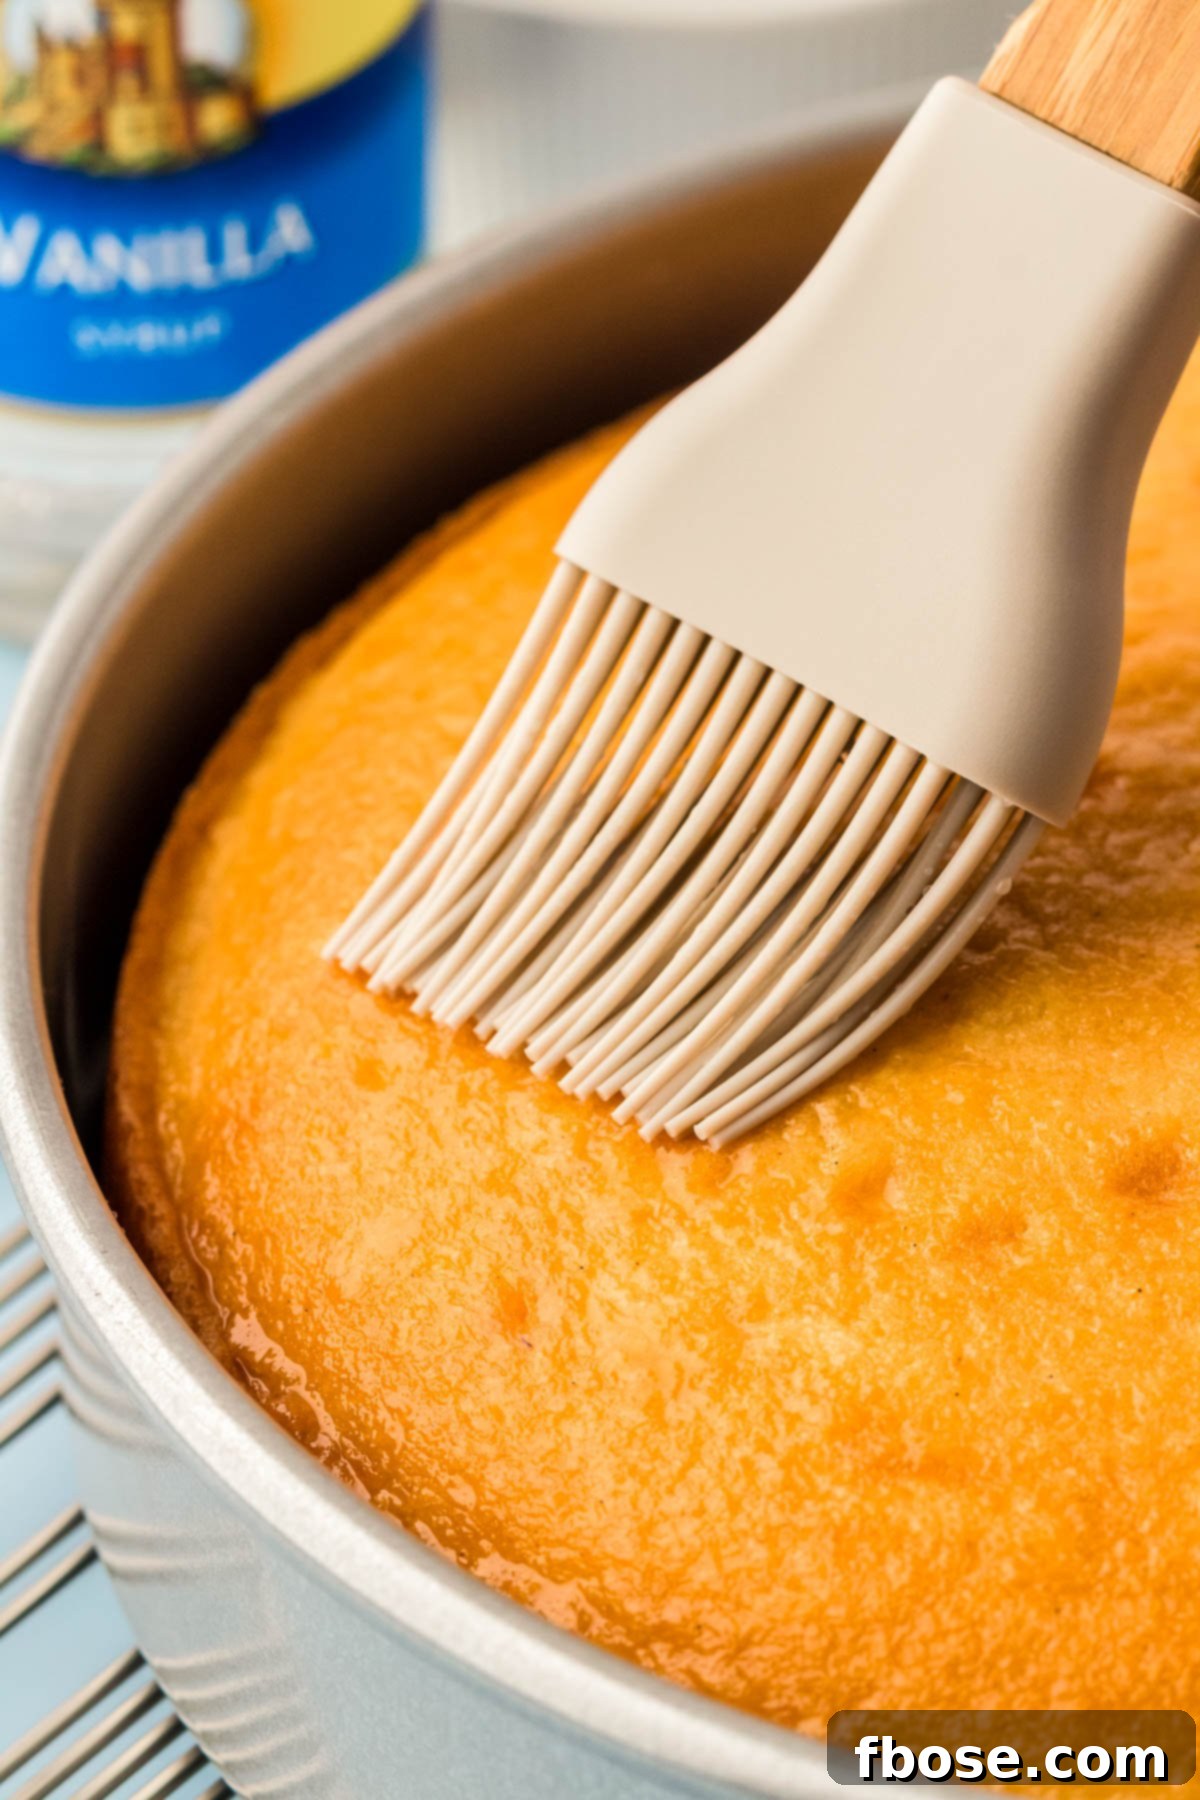
8. As soon as the cakes are removed from the oven, immediately brush the tops of both layers generously with vanilla simple syrup using a pastry brush. This step is crucial for infusing extra moisture and vanilla flavor into the warm cakes. Allow the cakes to cool in their pans for exactly 10 minutes. This brief cooling period helps the cakes firm up before handling.
9. After 10 minutes, carefully invert the cakes onto a wire rack. While still warm, brush the bottoms and sides of both cake layers with the remaining vanilla simple syrup. This ensures maximum moisture and flavor penetration from all angles. Allow the cakes to cool completely on the wire rack for at least an hour before you even think about frosting them. Attempting to frost a warm cake will only lead to melted frosting and a messy result.
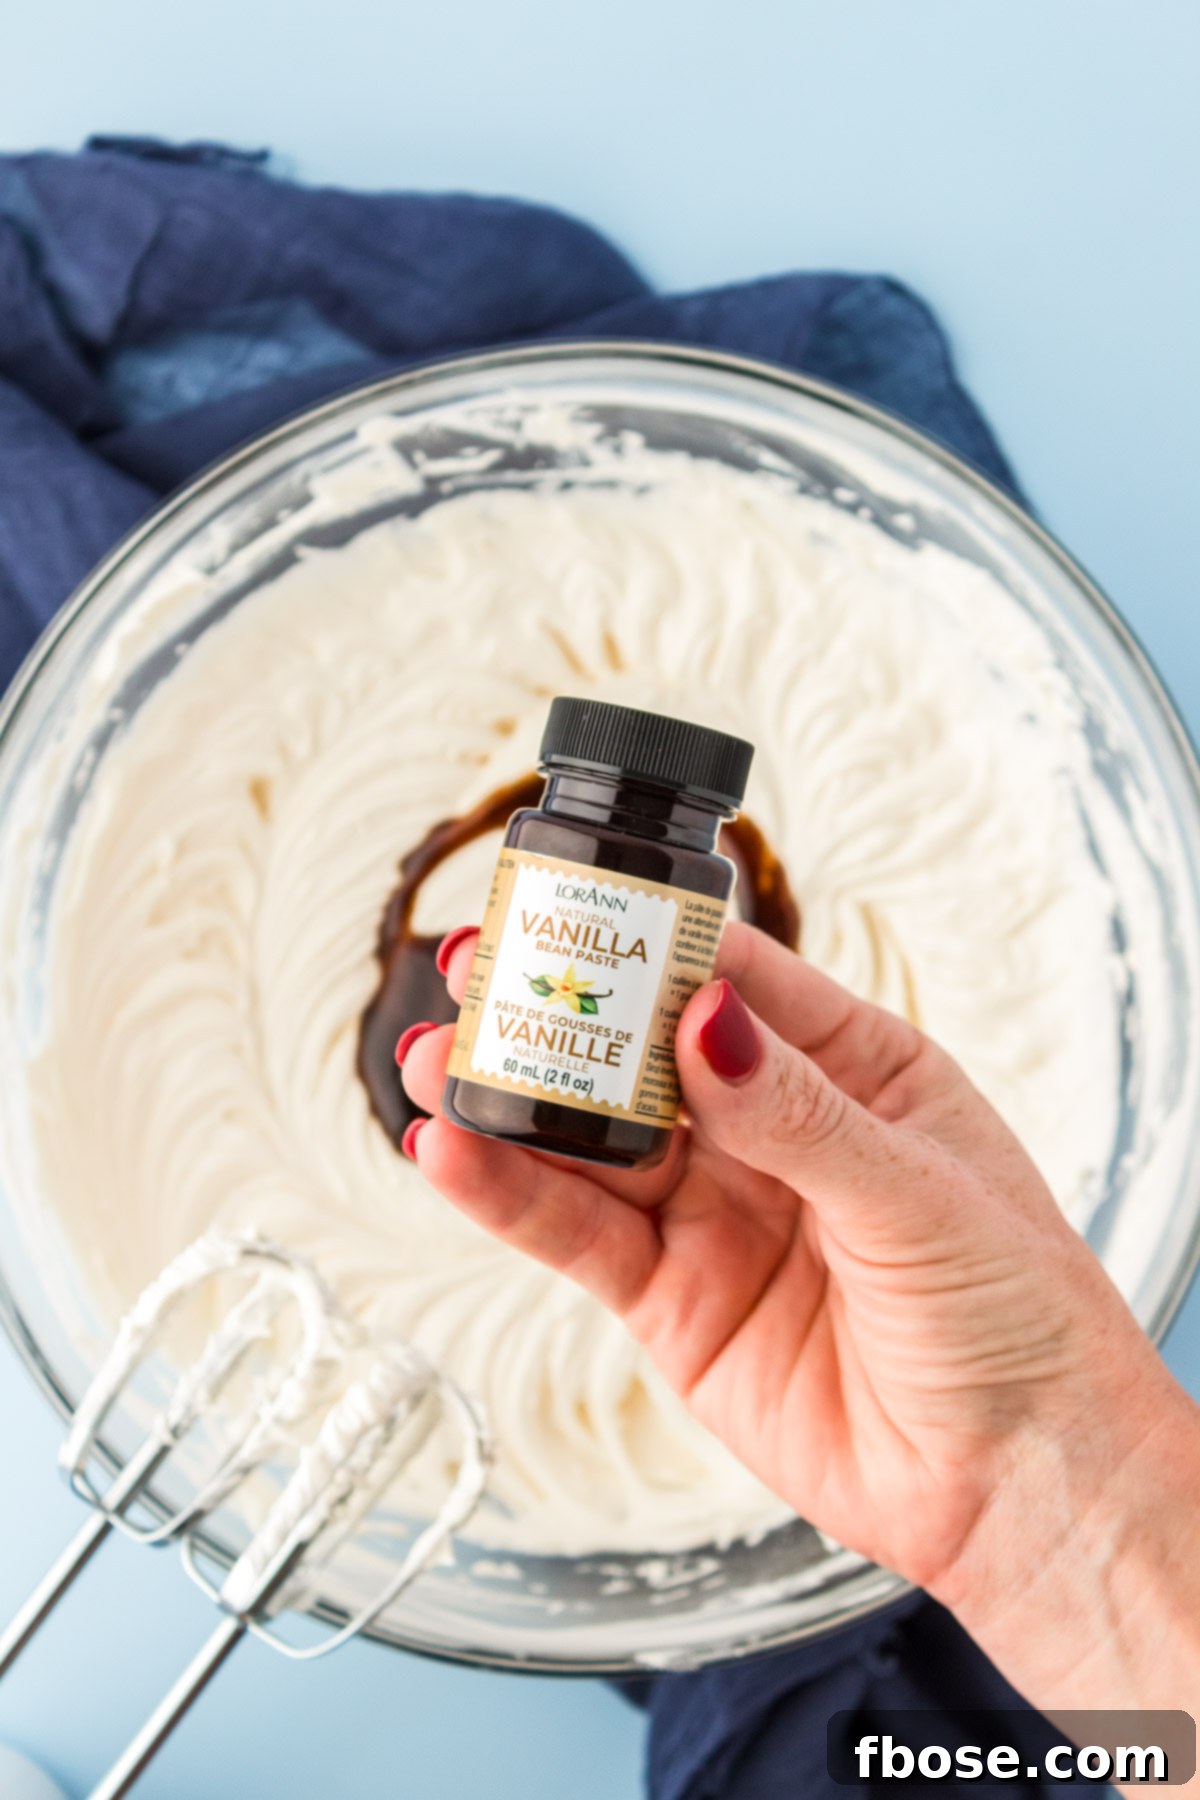
10. While the cakes cool, prepare your luxurious vanilla bean frosting. In a large mixing bowl, cream together the room-temperature unsalted butter, vanilla bean extract, and salt using either a hand mixer or a stand mixer fitted with a paddle attachment. Beat until the mixture is light and fluffy, ensuring no lumps of butter remain.
11. Gradually add the powdered sugar, one cup at a time, alternating with small additions of heavy cream (approximately one ounce at a time). After each addition of sugar and cream, mix on low speed just until incorporated. This prevents a cloud of powdered sugar from forming and ensures a smooth, even consistency.
12. Once all the powdered sugar and heavy cream have been added, increase the mixer speed to high. Whip the frosting for 2 to 3 minutes until it becomes incredibly light, airy, and fluffy. It should hold soft peaks. If the frosting appears too wet or grainy, add an additional half cup of powdered sugar. If it’s too stiff, add a tablespoon of heavy cream until the desired consistency is achieved.
13. To assemble your cake, first spread a small dollop of frosting onto your cake stand, board, or serving plate. This acts as an anchor to prevent the cake from sliding during frosting and serving. Place one of the cooled cake layers directly on top of this frosting base.
14. Apply a generous amount of frosting on top of the first cake layer to create a thick, luscious middle layer. An offset spatula is an excellent tool for spreading frosting evenly and smoothly across the surface.
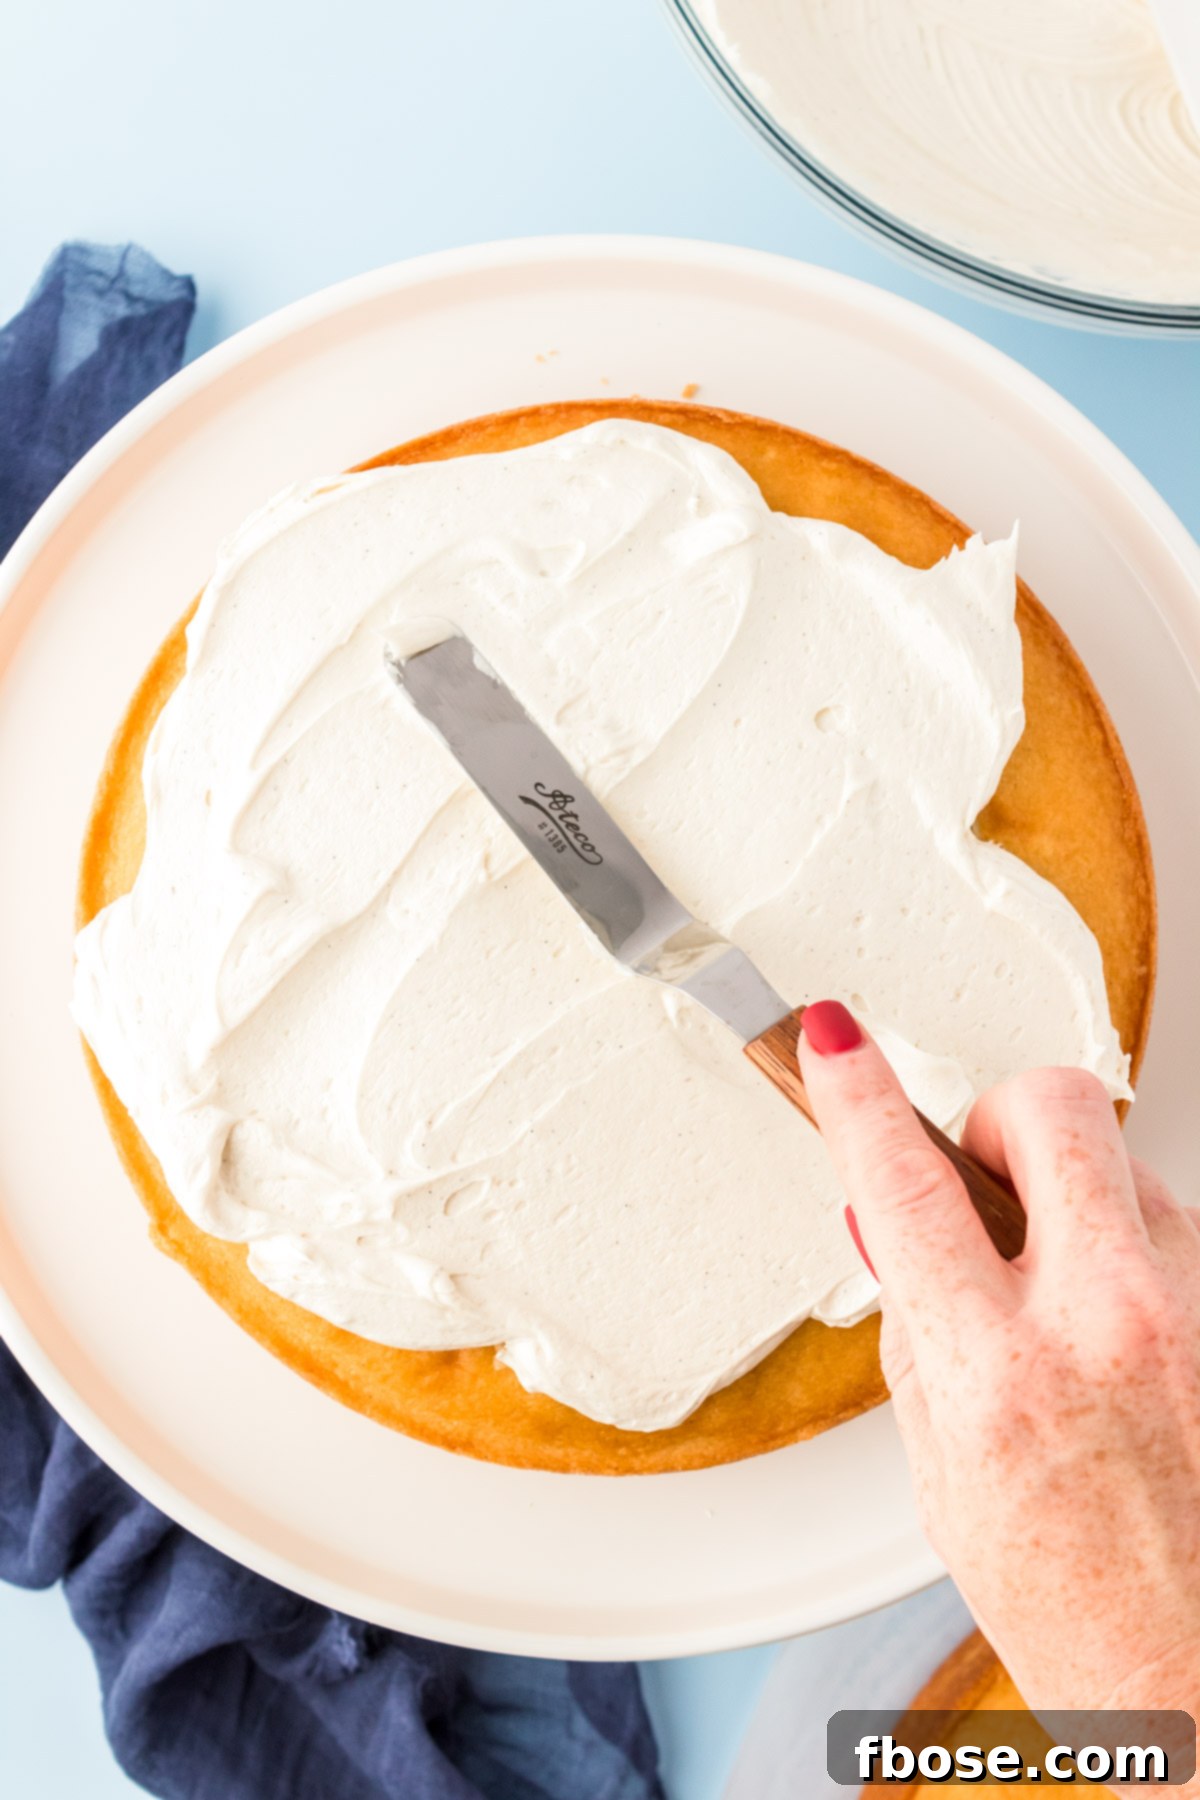
15. Carefully place the second cake layer on top of the frosting. Now, apply a thin layer of frosting all over the entire cake – top and sides. This is known as a “crumb coat,” and its purpose is to trap any loose crumbs, ensuring a smooth and pristine final frosting layer. Once the crumb coat is applied, transfer the cake to the refrigerator for about 15 minutes to chill and allow this initial frosting layer to firm up.
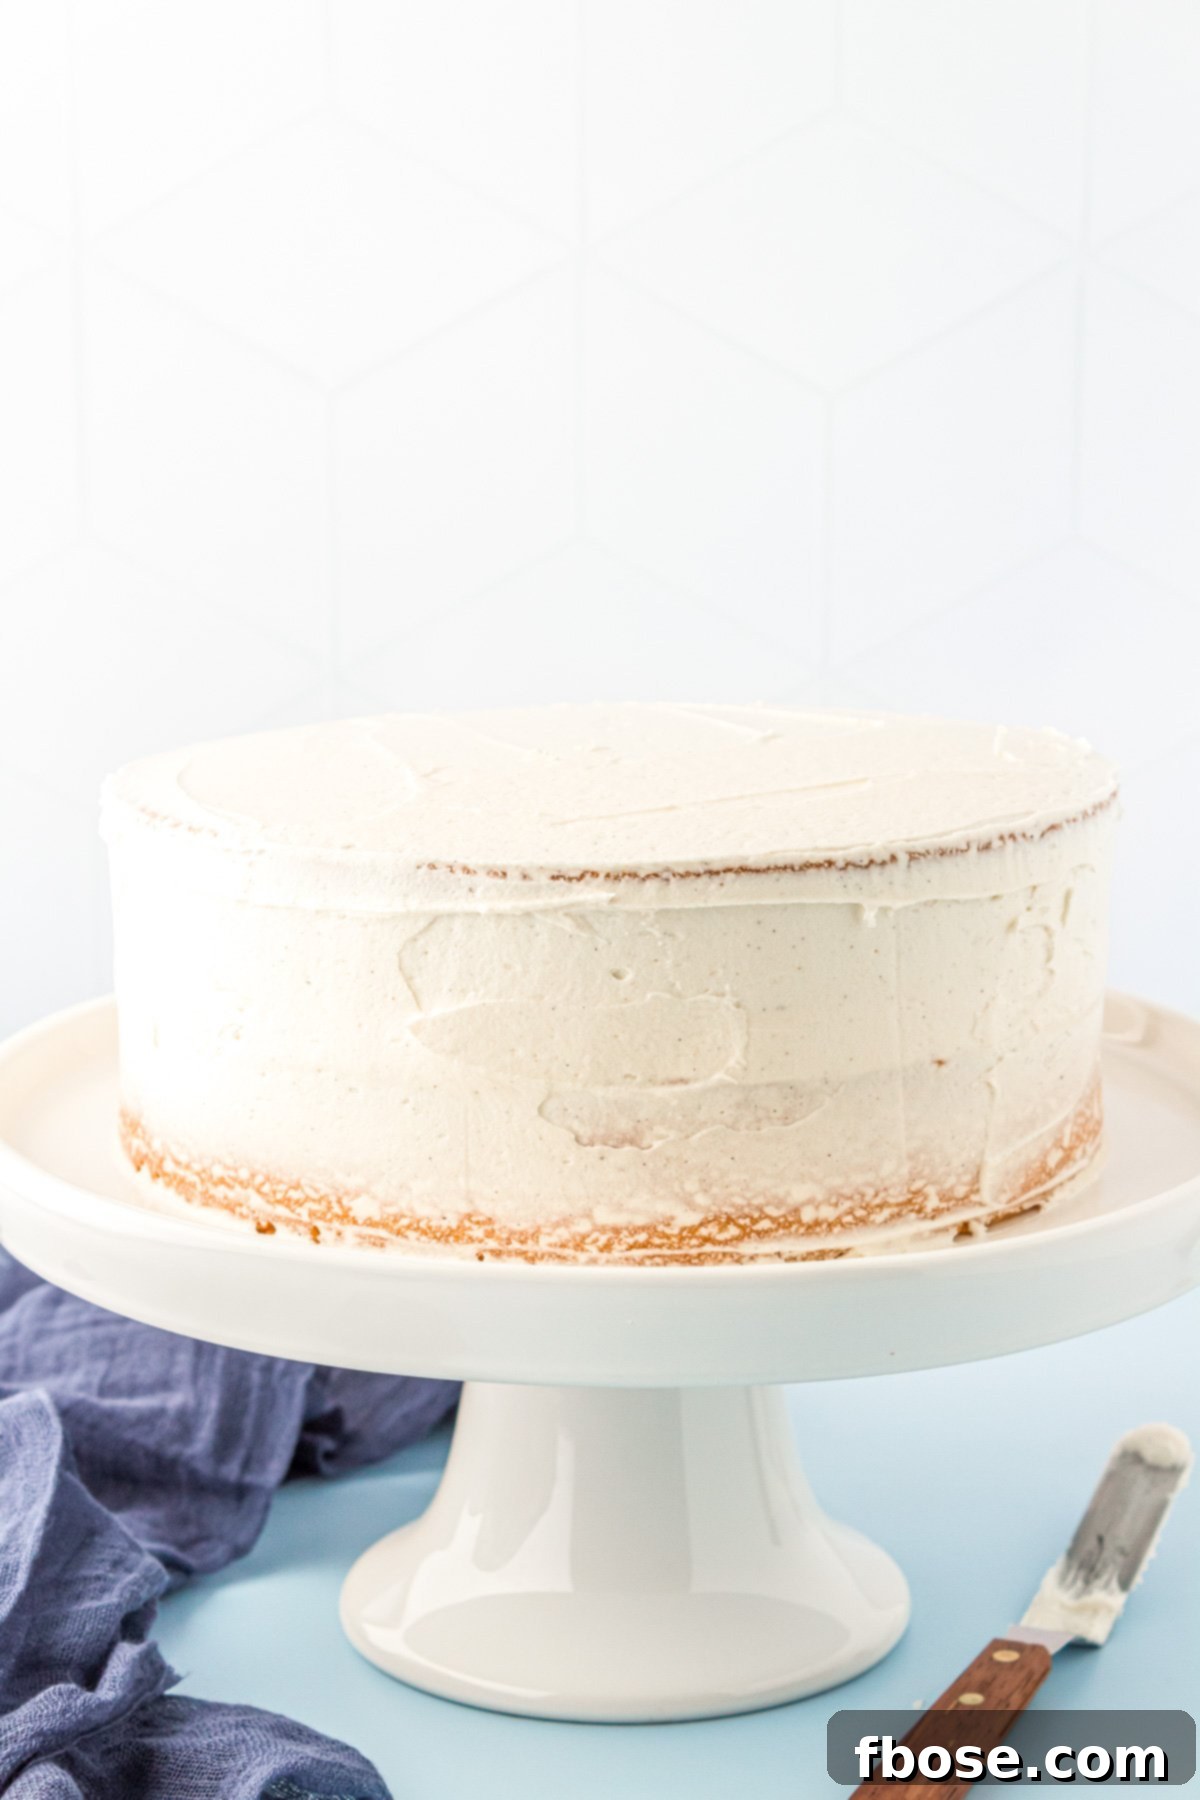
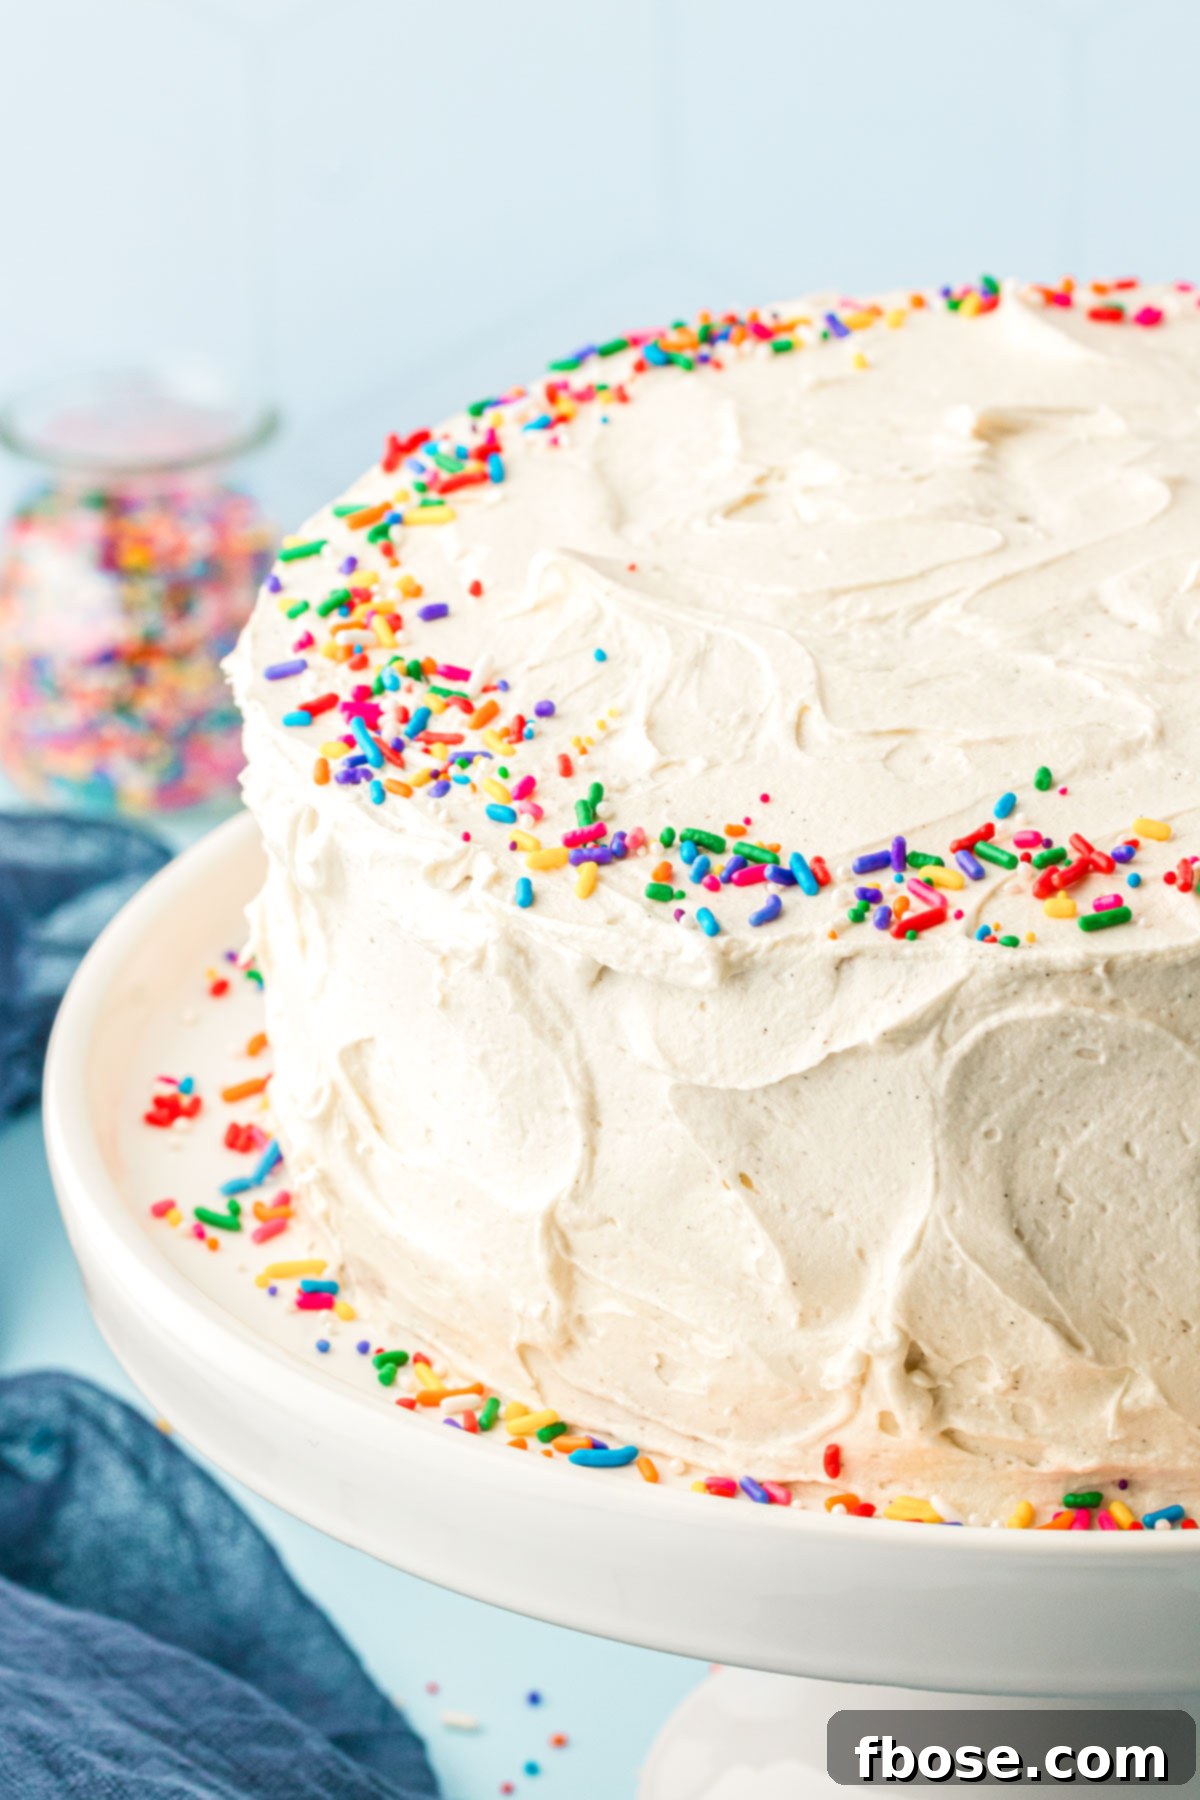
16. Remove the cake from the refrigerator once the crumb coat is firm. Apply the remaining frosting to the cake, creating its beautiful final layer. You can spread it smoothly for a classic look, create luscious swirls with your offset spatula, or pipe on decorative patterns – the choice is yours! If you plan to add sprinkles, do so immediately after the final frosting layer is applied, before the frosting begins to set and crust.
Understanding the Reverse Creaming Method
The “reverse creaming method,” sometimes referred to as the “paste method,” is a baking technique that yields exceptionally tender and fine-crumbed cakes. This innovative approach involves beating very soft butter into the dry ingredients of a cake recipe *before* any liquids or eggs are added. This stands in contrast to the traditional creaming method, where butter and sugar are beaten together first.
This technique gained significant popularity thanks to Rose Levy Beranbaum, who championed it in her iconic cookbook, The Cake Bible, published back in the 1980s. Her detailed explanations helped many home bakers understand and successfully implement this method.
The magic of reverse creaming lies in how the butter interacts with the flour. By coating the flour particles with fat, the butter essentially creates a protective barrier. This significantly inhibits the formation of gluten when the liquids are finally introduced. Less gluten development means a more tender, softer cake crumb. Furthermore, this method also minimizes the risk of overmixing, a common pitfall that can lead to tough cakes, as the fat barrier already protects the gluten from overdevelopment.
Cakes made using the reverse creaming method often exhibit a finer, more velvety texture that many associate with professional bakery cakes. An added benefit is that these cakes tend to bake with flatter tops, reducing or eliminating the need for trimming before frosting. This sturdy, yet tender crumb is also perfect for absorbing flavorful additions like simple syrup, ensuring maximum moisture, and providing a robust structure that can beautifully support thick fillings, such as a rich raspberry cake filling.
Rebecca’s Expert Baking Tips
Achieving a perfect vanilla bean cake is easy with a few insider tips. Here are my best recommendations to ensure your cake turns out flawlessly every time:
- Cake Pan Size: This versatile recipe works beautifully with either 9-inch or 8-inch round cake pans. Keep in mind that 8-inch pans will yield slightly thicker cake layers, which may result in a few small bubbles in the center due to the increased batter depth. I personally use these 8-inch pans with great success, and for 9-inch layers, these are my go-to pans (affiliate links). Adjust baking time accordingly.
- Lining The Pan for Easy Release: Ensuring your cake layers release cleanly from the pan is crucial for a beautifully presented cake. My top recommendation is using homemade cake goop, which creates a magical non-stick surface. If you don’t have cake goop, a reliable alternative is to spray your pans thoroughly with non-stick cooking spray and then line the bottoms with parchment paper circles. This two-pronged approach guarantees a smooth release without any sticking.
- Dividing Batter Evenly: For professional-looking cake layers that stack perfectly, it’s essential to divide your batter as evenly as possible between the prepared pans. The most accurate way to do this is by using a kitchen scale. I typically aim for each pan to hold between 765 to 780 grams of batter. Precision here makes a big difference in the final assembly.
- Determining Cake Doneness: Ovens vary, and even different types of pans can affect baking times. This recipe offers a broad baking window of 35-45 minutes. I advise starting to check your cake layers at the 35-minute mark. Look for the edges to slightly pull away from the pan and for the top to spring back gently when touched. The most accurate test is to insert a kitchen thermometer into the center of the cake; it should register 200°F (93°C) when fully baked. A wooden skewer or toothpick inserted into the center should also come out clean.
- Adjusting Frosting Consistency: Perfect frosting consistency is key to a beautiful cake. If your frosting appears too wet or grainy, gradually add small amounts of additional powdered sugar, mixing until it reaches the desired firmness. Conversely, if the frosting is too stiff or difficult to spread, add heavy cream, one tablespoon at a time, until it becomes smooth and pliable. Always add small amounts and mix thoroughly before adding more to avoid over-correcting.
- Secure Cake Assembly: To prevent your cake from sliding around on its stand, board, or plate, begin by spreading a small dollop of frosting directly onto the surface before placing the first cake layer. This sticky base creates a secure grip, holding your cake firmly in place as you continue to frost and decorate.
Substitutions & Creative Variations
This vanilla bean cake recipe is incredibly versatile! Feel free to customize it to your liking with these simple substitutions and creative variations:
- Cake Flour Substitute: If you don’t have cake flour on hand, you can easily make your own substitute using just two common pantry ingredients: all-purpose flour and cornstarch. This homemade blend will still help achieve a tender crumb, though it might be slightly less delicate than true cake flour.
- Salted Butter: While I prefer unsalted butter for its precise control over the salt content, you can certainly use salted butter. If you do, simply reduce the amount of added salt in the dry ingredients by ¼ teaspoon to maintain the flavor balance.
- Vanilla Bean Paste Alternative: Vanilla bean paste provides the most intense flavor and beautiful specks, but if it’s unavailable, you can substitute it with an equal amount of high-quality vanilla extract. The flavor will still be delicious, though slightly less potent and without the visible bean flecks.
- Creative Frosting Options: This classic vanilla cake is a blank canvas for any frosting you desire! While the included vanilla bean frosting is sublime, don’t hesitate to explore other frosting recipes. For chocolate lovers, pair this moist vanilla cake with a rich Chocolate Cream Cheese Buttercream Frosting for an irresistible combination. Or, consider fruit-based buttercreams for a lighter, summery twist.
- Add Fillings: Elevate your cake further by adding a delicious filling between the layers. Think fruit curds, jams, caramel sauce, or even a light pastry cream.
- Flavor Boost: For an extra layer of flavor, consider adding a hint of almond extract alongside the vanilla, or a touch of lemon zest to the batter for a bright, refreshing note.
Vanilla Bean Cake Storage Guide
Proper storage is essential to keep your homemade Vanilla Bean Cake fresh and delicious. For optimal freshness, cover the cake with a cake plate lid or lightly wrap the entire cake with plastic wrap, ensuring it’s airtight. Individual slices can be transferred into an airtight container.
The Vanilla Bean Cake can be stored at room temperature for up to two days, provided your kitchen is cool and not humid. For extended freshness, store the cake in the refrigerator for up to 5 days. Always ensure it’s tightly covered to prevent it from drying out or absorbing other odors from the fridge. Allow refrigerated cake to come to room temperature for about 30 minutes before serving for the best texture and flavor.
How To Prepare Vanilla Cake Ahead Of Time
Planning ahead for a special occasion or simply want to get a head start on dessert? This vanilla cake is perfect for making in advance! You can prepare the cake layers and freeze them, making assembly a breeze on the day you plan to serve.
To do so, follow the recipe instructions for baking the cake layers. Once baked, allow the cakes to cool completely on a wire rack as directed. At this stage, hold off on applying any frosting or simple syrup. This ensures they are dry and ready for freezing.
For best results, wrap each cooled cake layer individually. First, wrap each layer tightly in plastic wrap, ensuring there are no exposed areas. Then, wrap each plastic-wrapped layer again in aluminum foil. This double layer of protection prevents freezer burn and helps maintain moisture. Afterward, carefully place each double-wrapped cake layer into a large, freezer-safe Ziploc bag, gently squeezing out any excess air before sealing. Store the bagged layers in the freezer for up to 3 months.
When you’re ready to enjoy your cake, transfer the frozen cake layers from the freezer to the refrigerator to thaw overnight, or allow them to thaw at room temperature for a few hours. Once thawed, proceed with making the vanilla bean frosting and assembling and decorating your beautiful cake as per the instructions.
More Delightful Cake Recipes:
If you loved this vanilla bean cake, be sure to explore more of our irresistible cake creations:
- Strawberry Vanilla Cake – A harmonious blend of sweet, sticky strawberry filling nestled between two moist layers of vanilla cake.
- Classic Coconut Cake – An incredibly moist coconut-flavored cake lavishly covered in sweetened flaked coconut for a tropical delight.
- Best Italian Cream Cake Recipe – A truly show-stopping cake featuring pecans, coconut, and a rich cream cheese frosting that’s perfect for any grand celebration.
- Easy Buckeye Cake – Experience the ultimate chocolate and peanut butter indulgence where rich chocolate cake meets creamy peanut butter balls.
- Funfetti Cake – The ultimate dreamy birthday cake, vibrant and festive, generously covered in colorful sprinkles for pure joy.
Vanilla Bean Cake
Ingredients
Vanilla Cake
- 3½ cups cake flour 420g
- 2 cups granulated sugar 400g
- 2 tablespoons powdered milk 10g
- 4 teaspoons baking powder 16g
- 1 teaspoon salt 7g
- 1 cup unsalted butter 227g, room temperature, very soft – see notes
- 2 large eggs room temperature
- 4 large egg whites room temperature
- 1 cup whole milk room temperature
- 1 tablespoon vanilla bean paste
- ⅓ cup vanilla simple syrup
Vanilla Bean Frosting
- 1 cup unsalted butter 227g, room temperature
- 1 tablespoon vanilla bean extract
- 4 cups powdered sugar 500g
- ¼ cup heavy cream
- ½ teaspoon salt
Instructions
Cake
- Preheat the oven to 325°F, grease two 9-inch round cake pans with cake goop, or use non-stick spray and line the bottom with parchment paper, and set aside.
- Add 3½ cups cake flour, 2 cups granulated sugar, 2 tablespoons powdered milk, 4 teaspoons baking powder, and 1 teaspoon salt to a stand mixer bowl fitted with a paddle attachment and mix for 1 minute.
- Add 1 cup unsalted butter and mix at medium-low speed until the mixture becomes sandy in texture.
- Add the 2 large eggs and 4 large egg whites one at a time, mixing after each addition. Scrape down the sides of the bowl.
- Add 1 tablespoon vanilla bean paste, then 1 cup whole milk in three parts, mixing for 1 minute after each addition and scraping down the bowl. Mixing until the batter is smooth.
- Divide the batter between the two prepared pans. (I usually get about 765 to 780g per pan).
- Smooth out the top of the batter and bake for 35 to 45 minutes (see notes) until the edges of the cake begin to pull away from the pan and the top springs back when touched. A cake tester should also come back clean from the center, and the cake should read an internal temperature of 200°F. If using 8-inch pans, the cakes will likely need 5 to 7 additional minutes.
- Immediately after removing from the oven, use a pastry brush to the top of the cakes with some of the ⅓ cup vanilla simple syrup. Allow the cakes to cool in the pans for 10 minutes.
- After 10 minutes, flip them onto a wire rack and brush the bottoms and sides of the cakes with the remaining simple syrup and allow them to cool completely before frosting. About 1 hour.
Frosting
- Cream 1 cup unsalted butter, 1 tablespoon vanilla bean extract, and ½ teaspoon salt in a large mixing bowl with a hand mixer or a stand mixer bowl fitted with a paddle attachment (recommend this method).
- Add 4 cups powdered sugar 1 cup at a time, alternating with ¼ cup heavy cream 1 ounce at a time. Mixing at low speed after each addition just until incorporated.
- Increase speed to high and whip for 2 to 3 minutes until light and fluffy. If the frosting looks wet or grainy, add an additional ½ cup of powdered sugar, if it’s too stiff, add 1 tablespoon of heavy cream.
Assembly
- Spread a small bit of frosting on your cake stand, board, or plate to help grip the cake.
- Place one of the cake layers on top of that frosting and add some frosting on top to create and thick middle layer of frosting. You can pipe this on and smooth it out with a bench scraper also.
- Place the next layer on top of the frosting, then top with frosting and spread all over to create a thin crumb coat. Place the cake in the refrigerator for 15 minutes.
- Remove from the fridge and finish frosting it with the rest of the frosting. I like to make luscious-looking swirls with this cake, but you can pipe it or decorate however you like. Add sprinkles immediately after frosting so they stick before the frosting starts to crust.
Notes
- I recommend using European-style butter and letting it sit out overnight before using it for the best results.
- These are the pans I use: 9-inch or 8-inch will work. Note that the 8-inch pans make pretty thick layers, and the centers of the cakes are likely to have some small bubbles.
- There is a wide range in the doneness time because different ovens and pans bake differently. I recommend starting with 35 minutes and checking for doneness and adding a few minutes at a time as needed. The center of the cake should be 200 degrees F when fully done.