
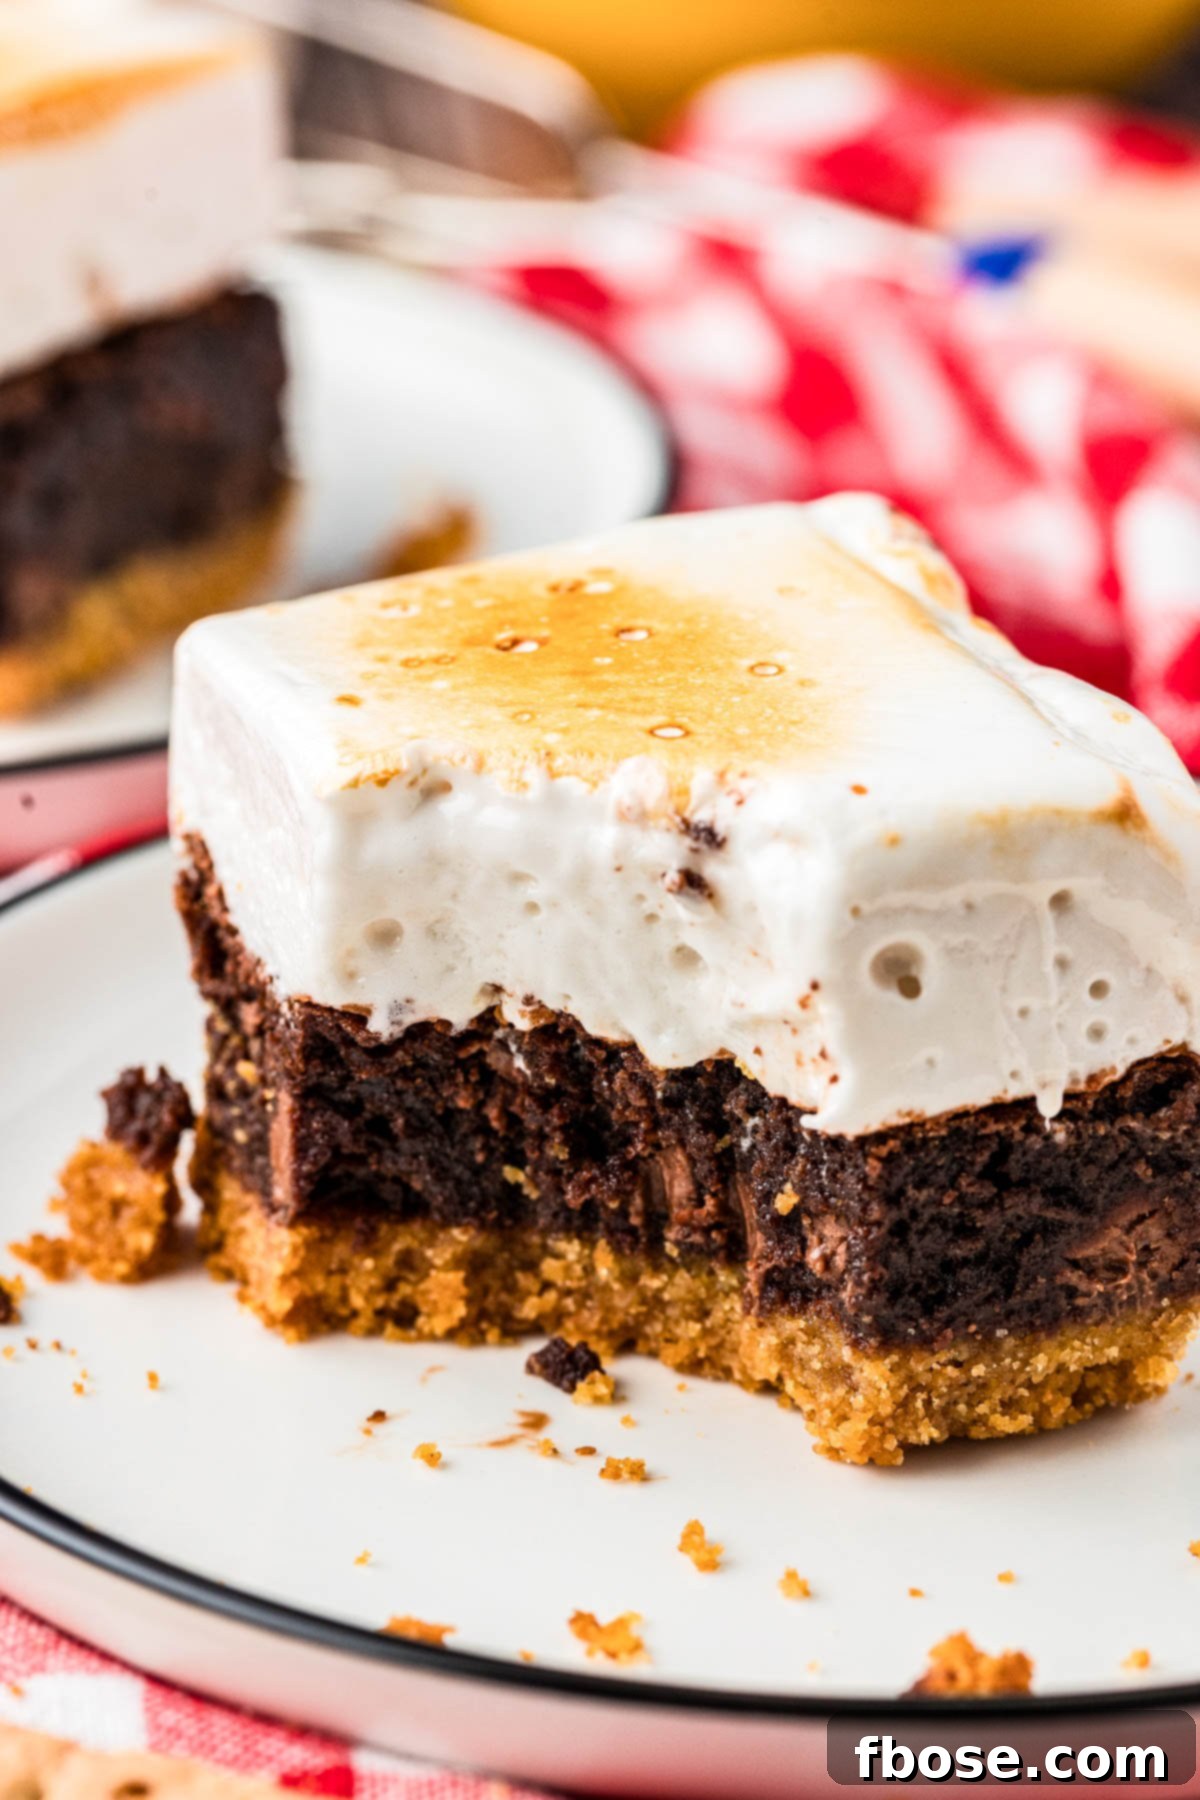
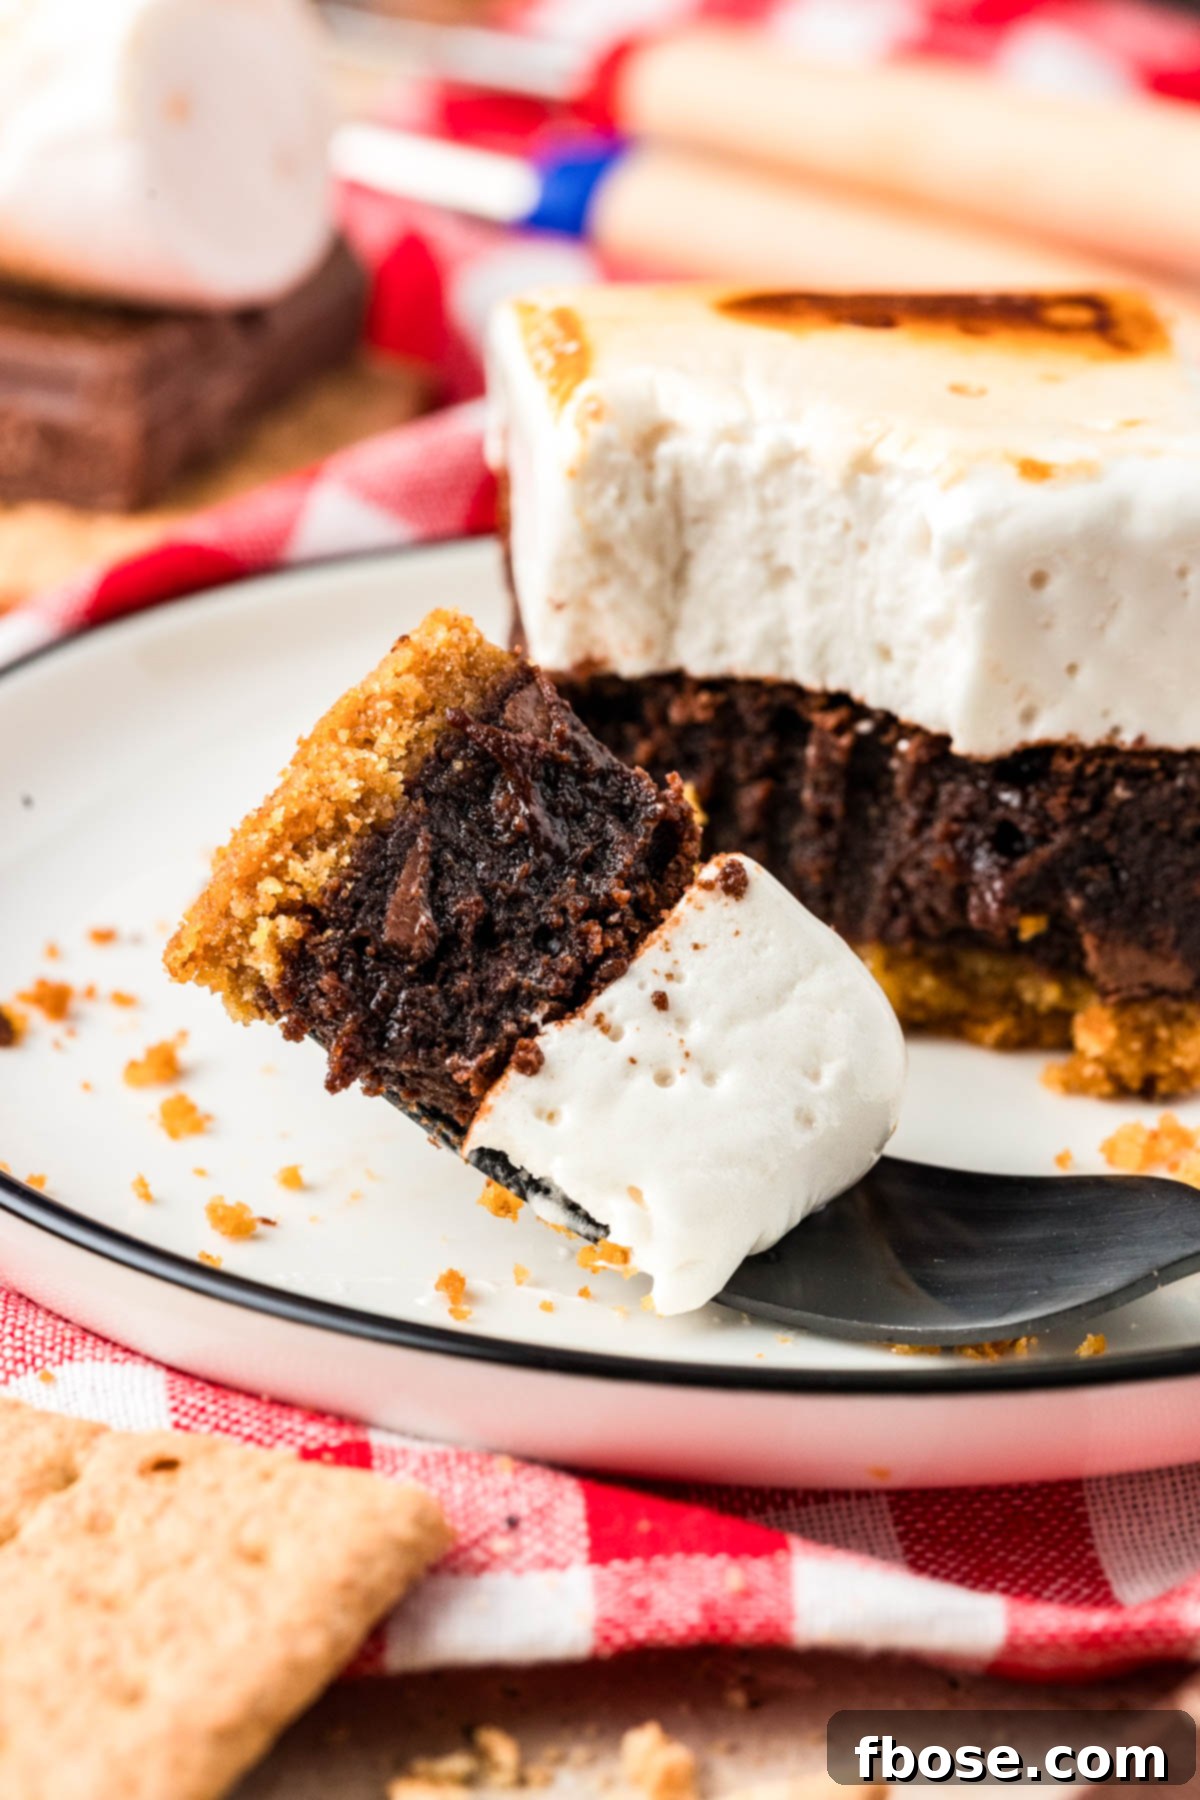
Two words: S’mores Brownies! One look at these recipe photos will have your mouth instantly watering for these easy-to-make gourmet-style brownies that are loaded with yummy s’mores flavor, complete with a graham cracker crust and a perfectly toasted marshmallow top!
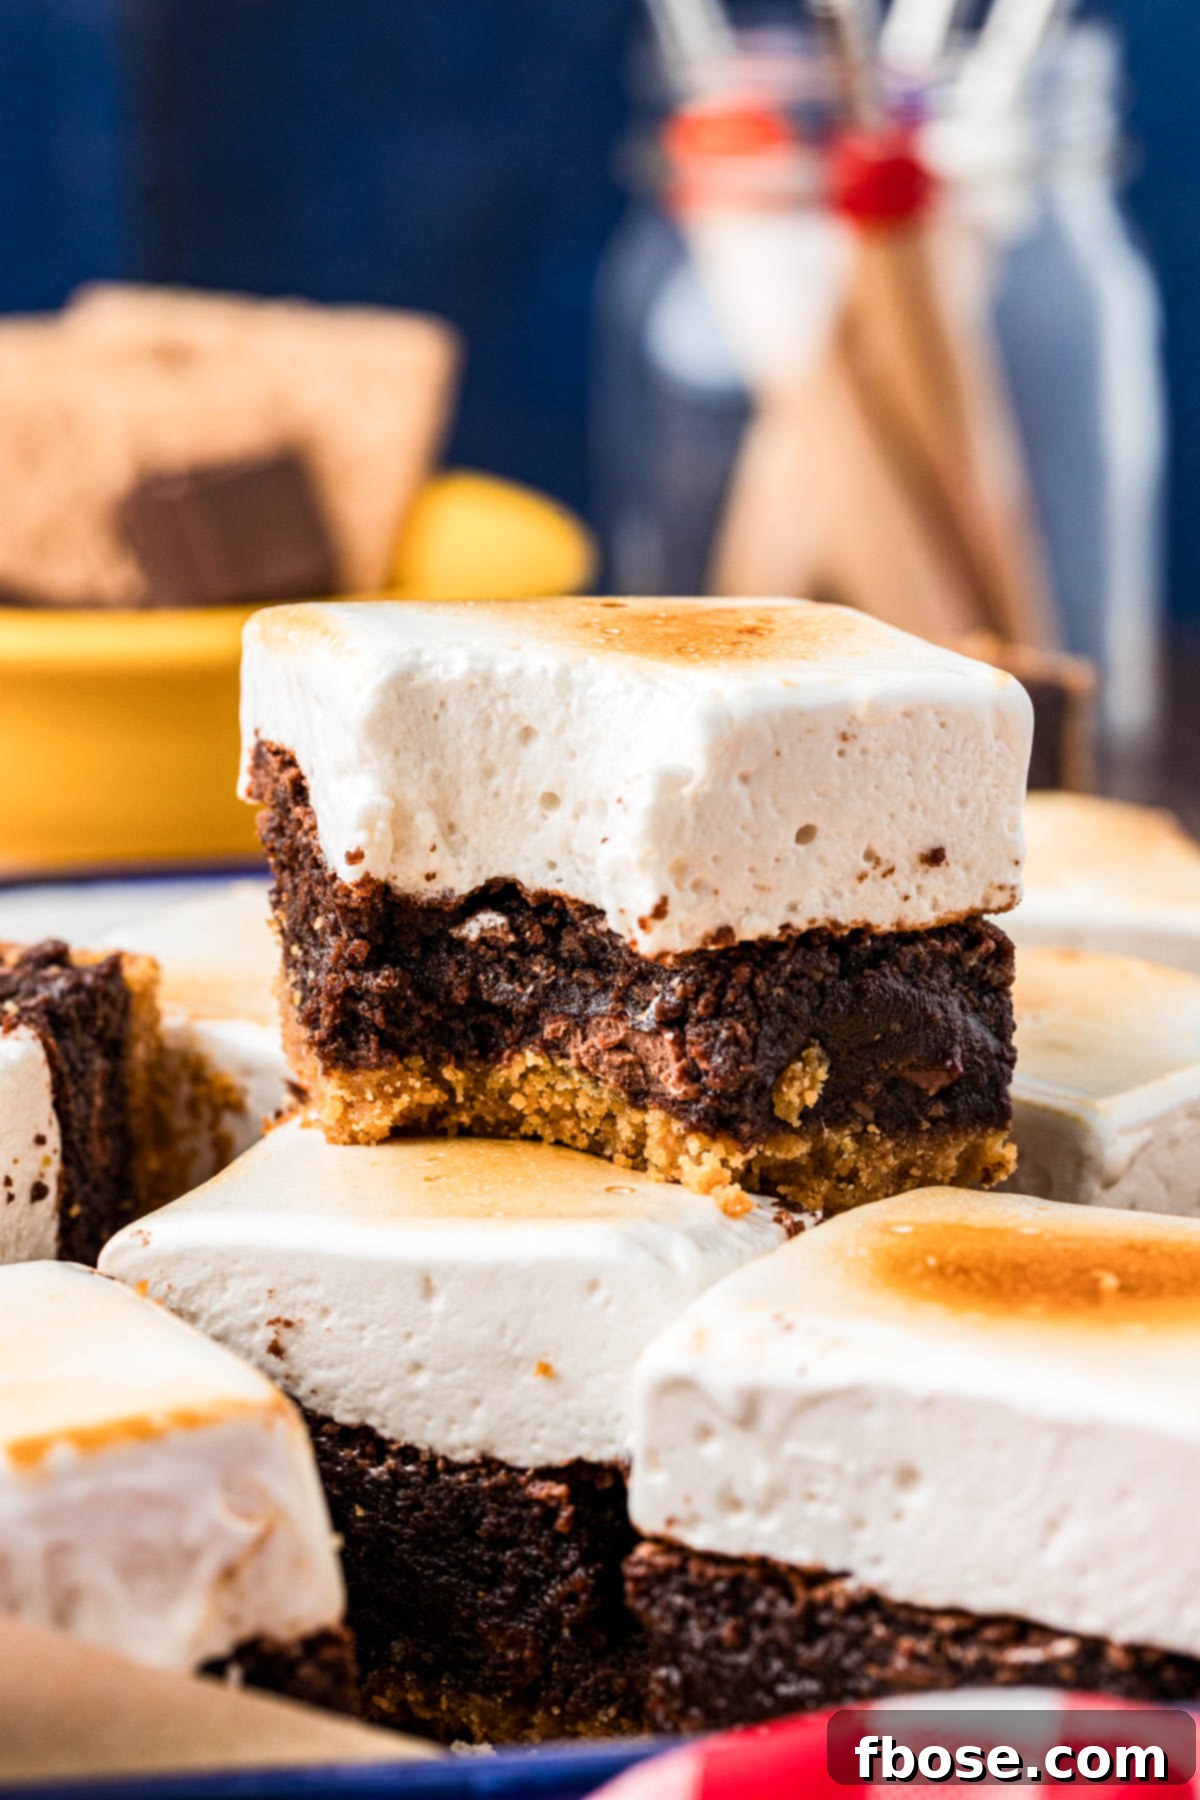
The Ultimate S’mores Brownies: A Gourmet Twist on a Classic Treat
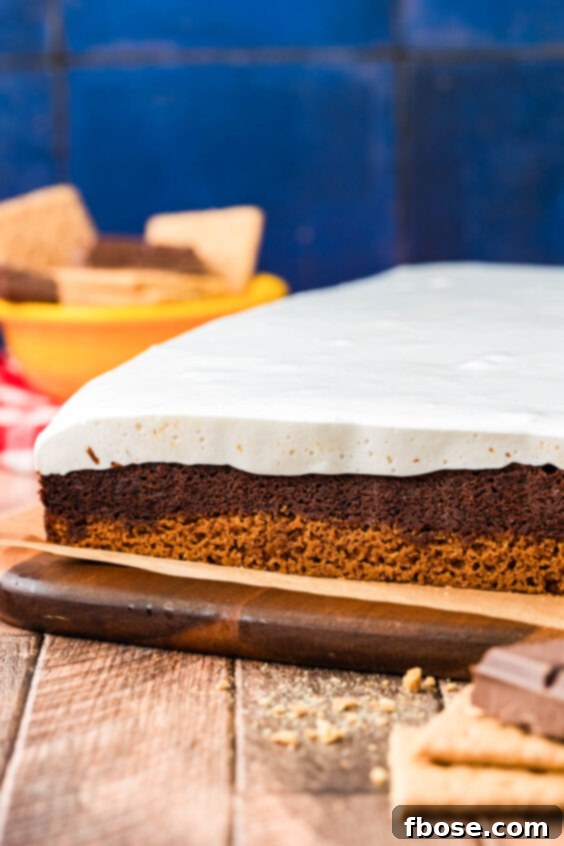
There’s something undeniably magical about s’mores – the crackling campfire, the perfectly toasted marshmallow, the rich chocolate melting between crispy graham crackers. But what if you could capture that nostalgic summer flavor and transform it into a decadent, year-round delight? Enter S’mores Brownies: a truly irresistible dessert that combines the best of both worlds. These gourmet-style brownies are more than just a sweet treat; they’re an experience, featuring a buttery graham cracker crust, a rich, fudgy chocolate brownie layer, and an airy, perfectly toasted homemade marshmallow topping. Get ready to elevate your dessert game and impress everyone with these show-stopping squares!
Why You’ll Fall in Love with This S’mores Brownie Recipe
If you’re anything like me, the allure of s’mores isn’t limited to warm summer nights. This recipe brings that beloved flavor indoors, allowing you to indulge in its comforting deliciousness any time the craving strikes. By combining my popular Chocolate Fudge Brownie Recipe with a simple yet sturdy graham cracker crust and my easy Homemade Marshmallows, we’ve created a dessert that’s truly a cut above the rest. The result is a harmonious blend of textures and flavors: a crisp, buttery crust, a dense, intensely chocolatey brownie, and a soft, gooey, perfectly caramelized marshmallow crown. Each bite delivers that authentic s’mores experience, making these brownies an instant favorite.
Yielding two dozen generously sized brownies, this recipe is ideal for any gathering. Whether you’re hosting a backyard barbecue, a holiday party, or simply treating your family, these S’mores Brownies are guaranteed to be a crowd-pleaser and a memorable addition to your dessert table. They look impressive, taste incredible, and offer a unique twist on two beloved classics.
An Honest Review: What Makes These S’mores Brownies Special
Before diving into the recipe, let’s talk about what makes these S’mores Brownies truly exceptional. From the first glance to the last bite, they deliver on every promise of a gourmet dessert.
Unforgettable Taste & Texture
The flavor profile is incredibly reminiscent of a classic s’mores, but with an added depth and richness from the homemade brownie. The chocolate brownie layer goes beyond a simple chocolate bar, offering a complex, intense cocoa flavor that complements the sweetness of the marshmallow beautifully. If you toast the marshmallow, you get that irresistible smoky, caramelized note that truly elevates the entire experience, creating a symphony of sweet, chocolatey, and slightly smoky flavors that dance on your palate.
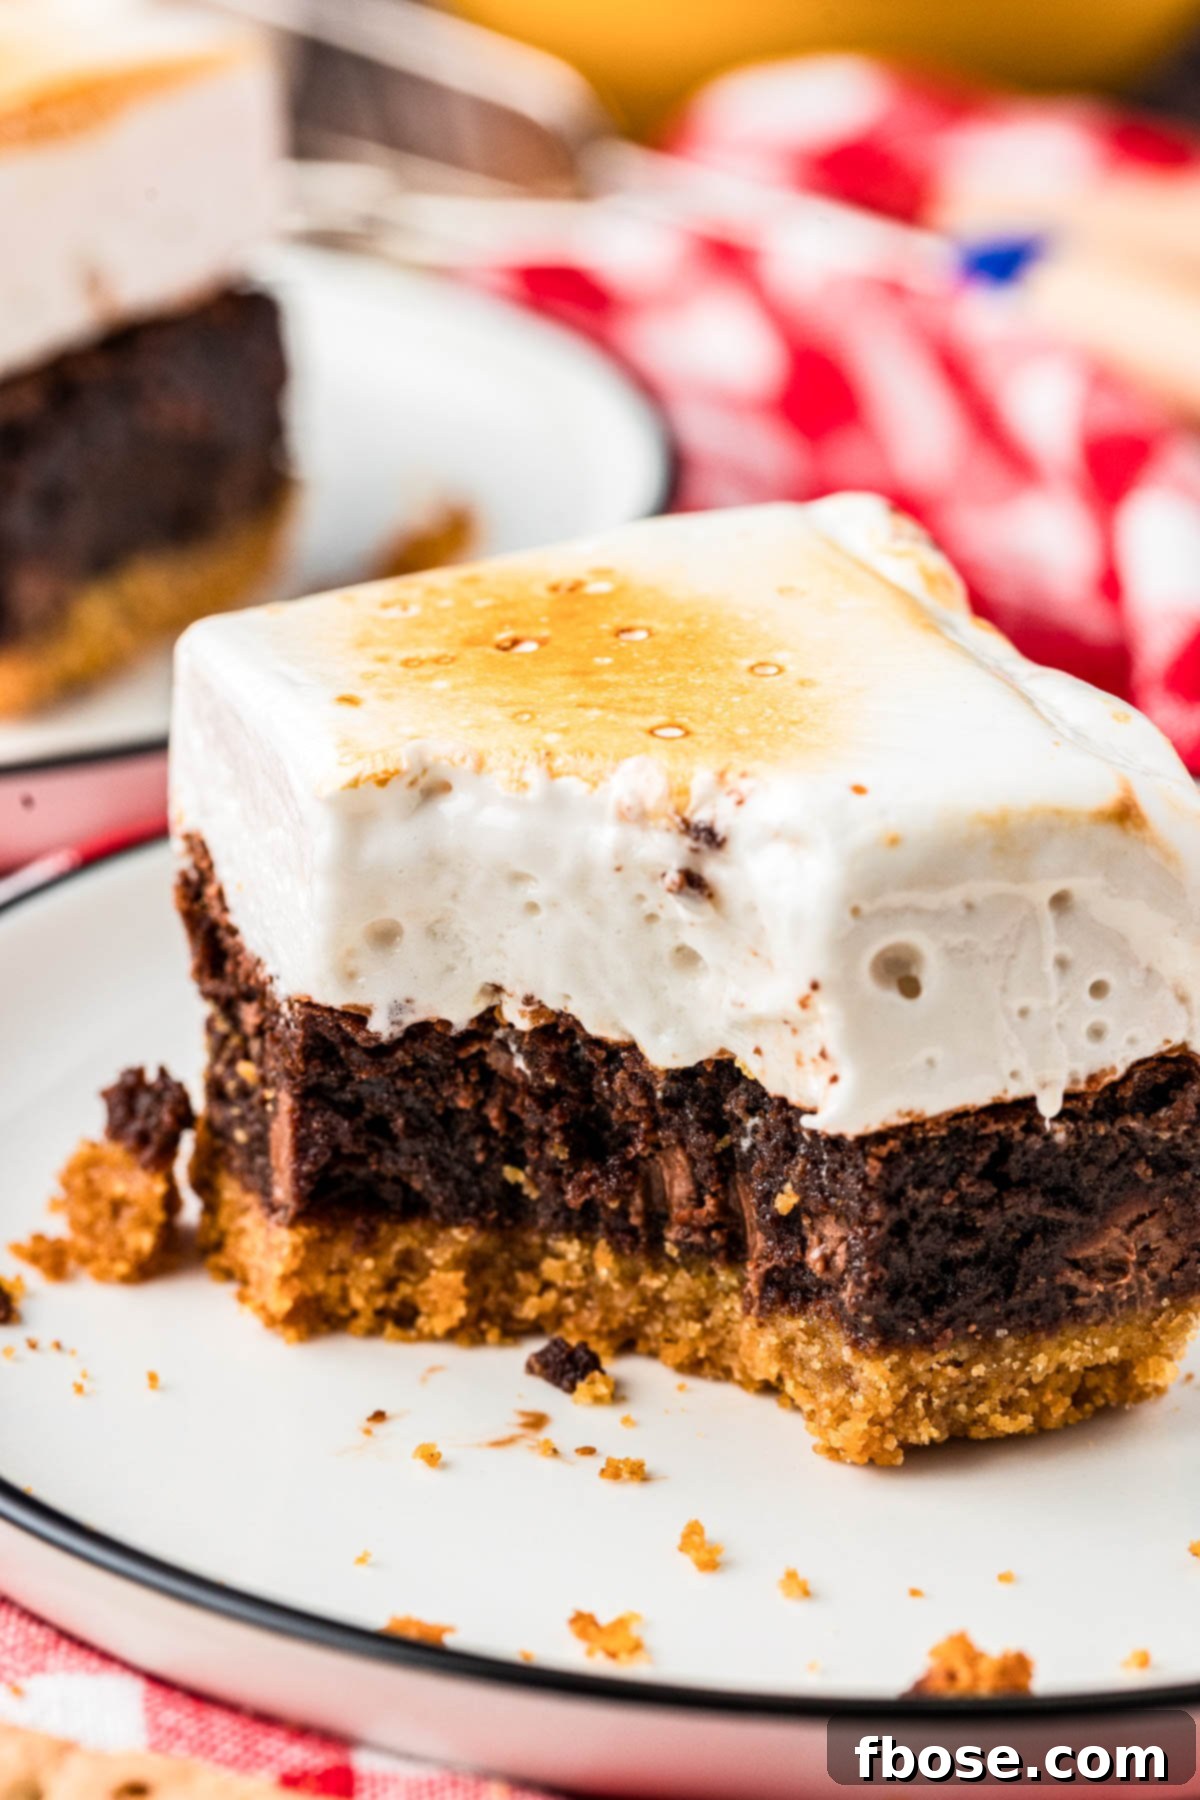
Texture is key in any great dessert, and these S’mores Brownies boast a delightful interplay of contrasts. You’ll encounter a soft yet firm graham cracker crust that provides a pleasant crunch with every bite. Above it lies a dense, fudgy brownie layer that melts in your mouth, packed with chocolatey goodness. Finally, the spongy, airy marshmallow topping, when toasted, develops a glorious gooey center and a slightly crisp exterior. This combination of soft, dense, firm, and gooey textures makes each square a truly captivating treat.
Achievable Elegance (Ease of Baking)
While this recipe involves three distinct layers, don’t let that intimidate you. It’s an 8/10 on the ease scale, meaning it requires a bit more attention than a simple one-bowl recipe, but it’s absolutely manageable for home bakers. Making homemade marshmallows might seem daunting at first, but the steps are straightforward, and the resulting superior flavor and texture are well worth the extra effort. Be prepared for a few extra dishes, but rest assured, this detailed guide will walk you through each stage without a hitch, culminating in a dessert that looks and tastes incredibly impressive.
The “Wow Factor” for Any Occasion
The primary ‘pro’ of these S’mores Brownies is their incredible blend of textures and flavors – a truly unique and satisfying dessert. They also look stunning, making them perfect for impressing guests. The main ‘con’ is that they are slightly more involved than some other s’mores brownie recipes out there due to the homemade marshmallow component. However, the elevated taste and superior quality of homemade marshmallows make these extra steps entirely worthwhile. You’ll be rewarded with a dessert that’s miles ahead of store-bought alternatives and truly embodies the spirit of a gourmet treat.
Would I make these again? Absolutely! This is such a fun and versatile brownie recipe, perfect for any season. Whether it’s a summer potluck, a cozy fall evening, or a festive winter celebration, these S’mores Brownies are sure to be a hit and leave a lasting impression on anyone who tries them. They’re a joyful expression of classic flavors, reimagined for the ultimate indulgence.
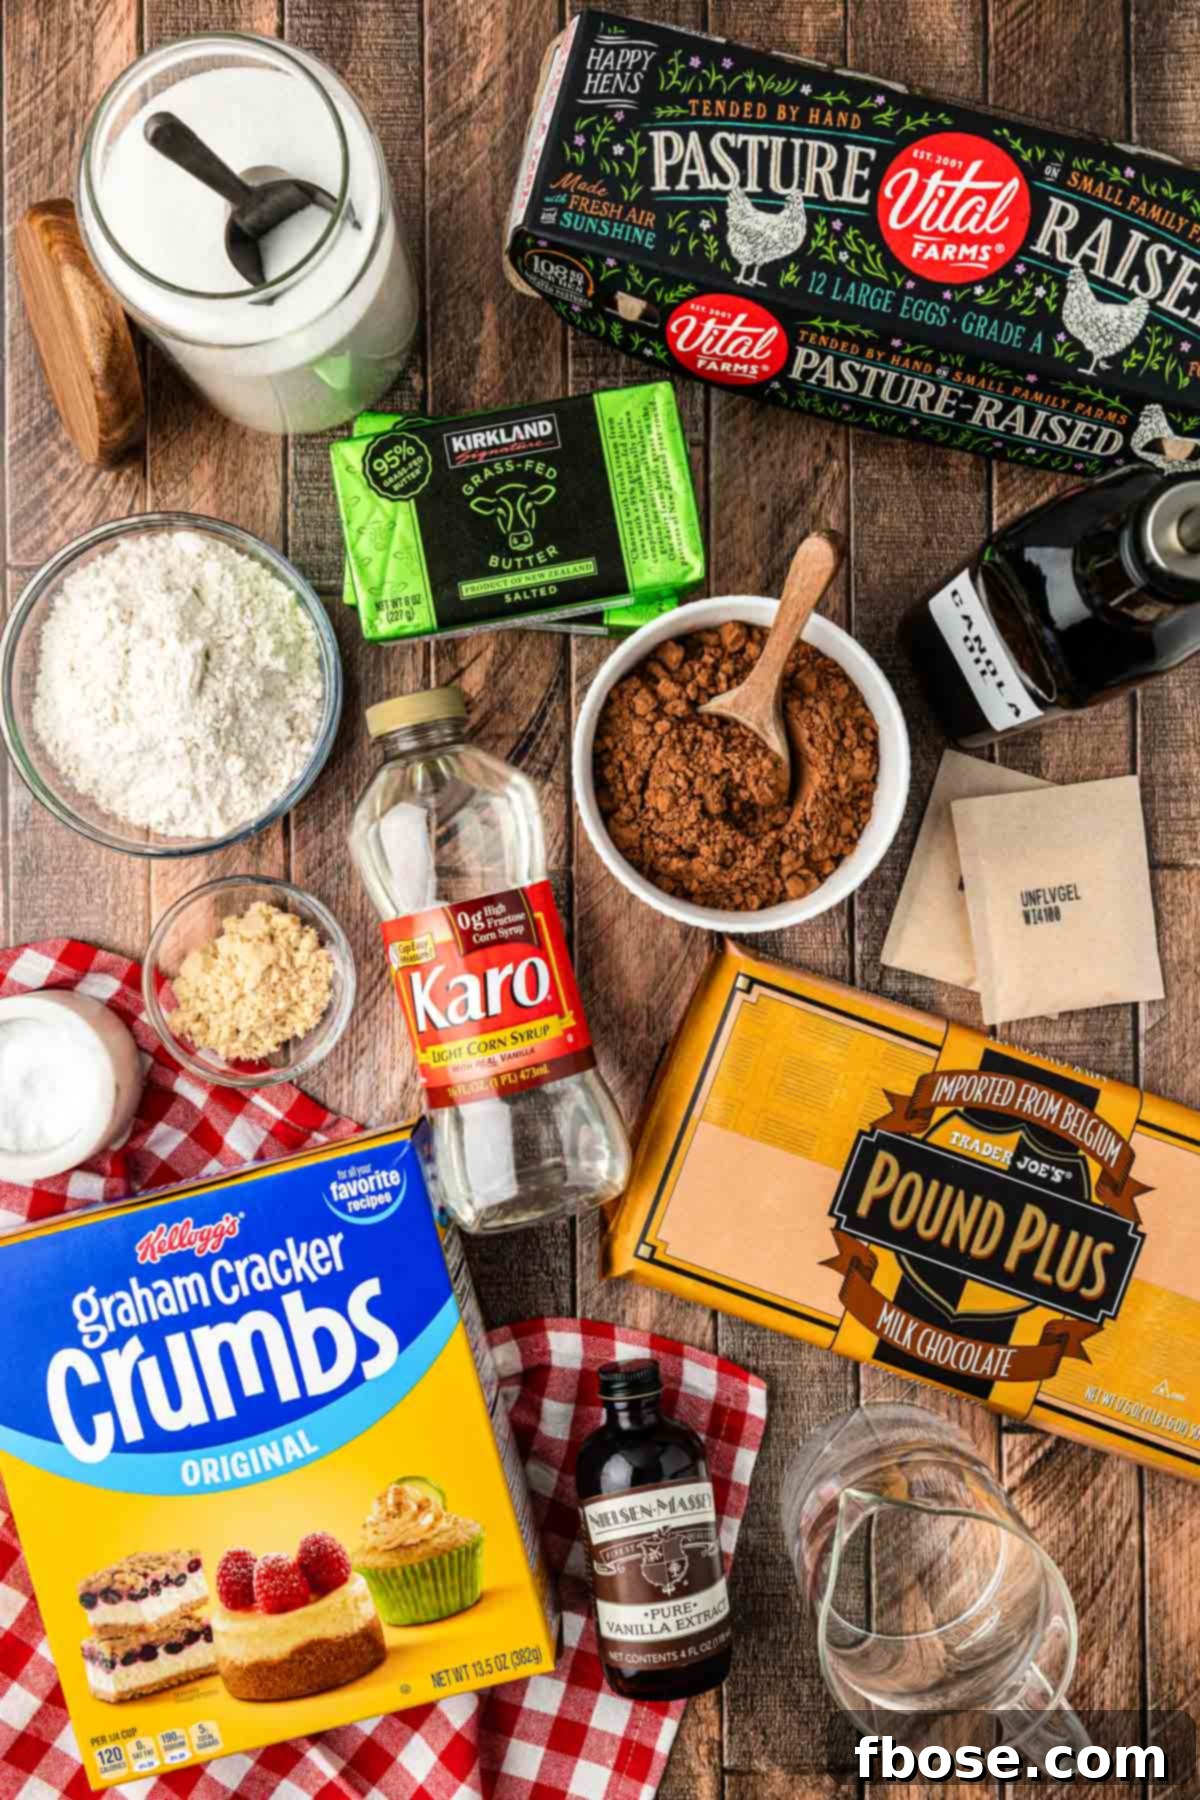
Gather Your Essentials: S’mores Brownie Ingredients Breakdown
Creating these sensational S’mores Brownies begins with sourcing the right ingredients. Each component plays a vital role in achieving that perfect balance of flavor and texture. Here’s a detailed look at what you’ll need for each layer:
The Irresistible Graham Cracker Crust
A true s’mores experience is incomplete without that signature graham cracker flavor. For our foundation, we craft a simple yet robust graham cracker crust. This layer is made by combining finely ground graham cracker crumbs with rich melted salted butter, a touch of granulated sugar for sweetness, and a pinch of salt to balance the flavors. Using store-bought graham cracker crumbs is recommended for the most consistent and flawless crust, ensuring a perfect base for our indulgent brownies.
The Decadent Brownie Batter
Our graham cracker crust is then generously topped with an incredible homemade brownie batter. This fudgy creation relies on both wet and dry ingredients carefully blended to perfection. The dry components include granulated sugar, all-purpose flour, rich unsweetened cocoa powder, milk powder for added chewiness and depth, and salt to enhance the chocolate flavor. A crucial addition is chopped chocolate bar, which melts into luscious pockets throughout the brownie.
For the chocolate bar, I personally love using half of a milk or dark Trader Joe’s Pound of Chocolate bar. Its substantial thickness ensures generous chunks of melted chocolate, roughly the size of a penny, in every bite. This creates a more textural and intense chocolate experience compared to using standard chocolate chips. To complete the brownie batter, you’ll also need creamy salted butter, neutral canola oil, fragrant vanilla extract, and large eggs, all contributing to the ultimate fudgy texture.
The Homemade Marshmallow Topping
If you’ve never ventured into making homemade marshmallows, prepare for an absolute revelation! Not only are they far superior in taste and texture to any store-bought variety, but they are also surprisingly simple to prepare. The marshmallow creme topping requires just a few key ingredients: unflavored gelatin to create that signature bouncy texture, water, granulated sugar, light corn syrup for glossiness and to prevent crystallization, a touch of salt, and a generous splash of vanilla extract for a warm, inviting aroma. This homemade marshmallow truly sets these brownies apart, delivering a light, airy, and deeply satisfying topping that toasts beautifully.
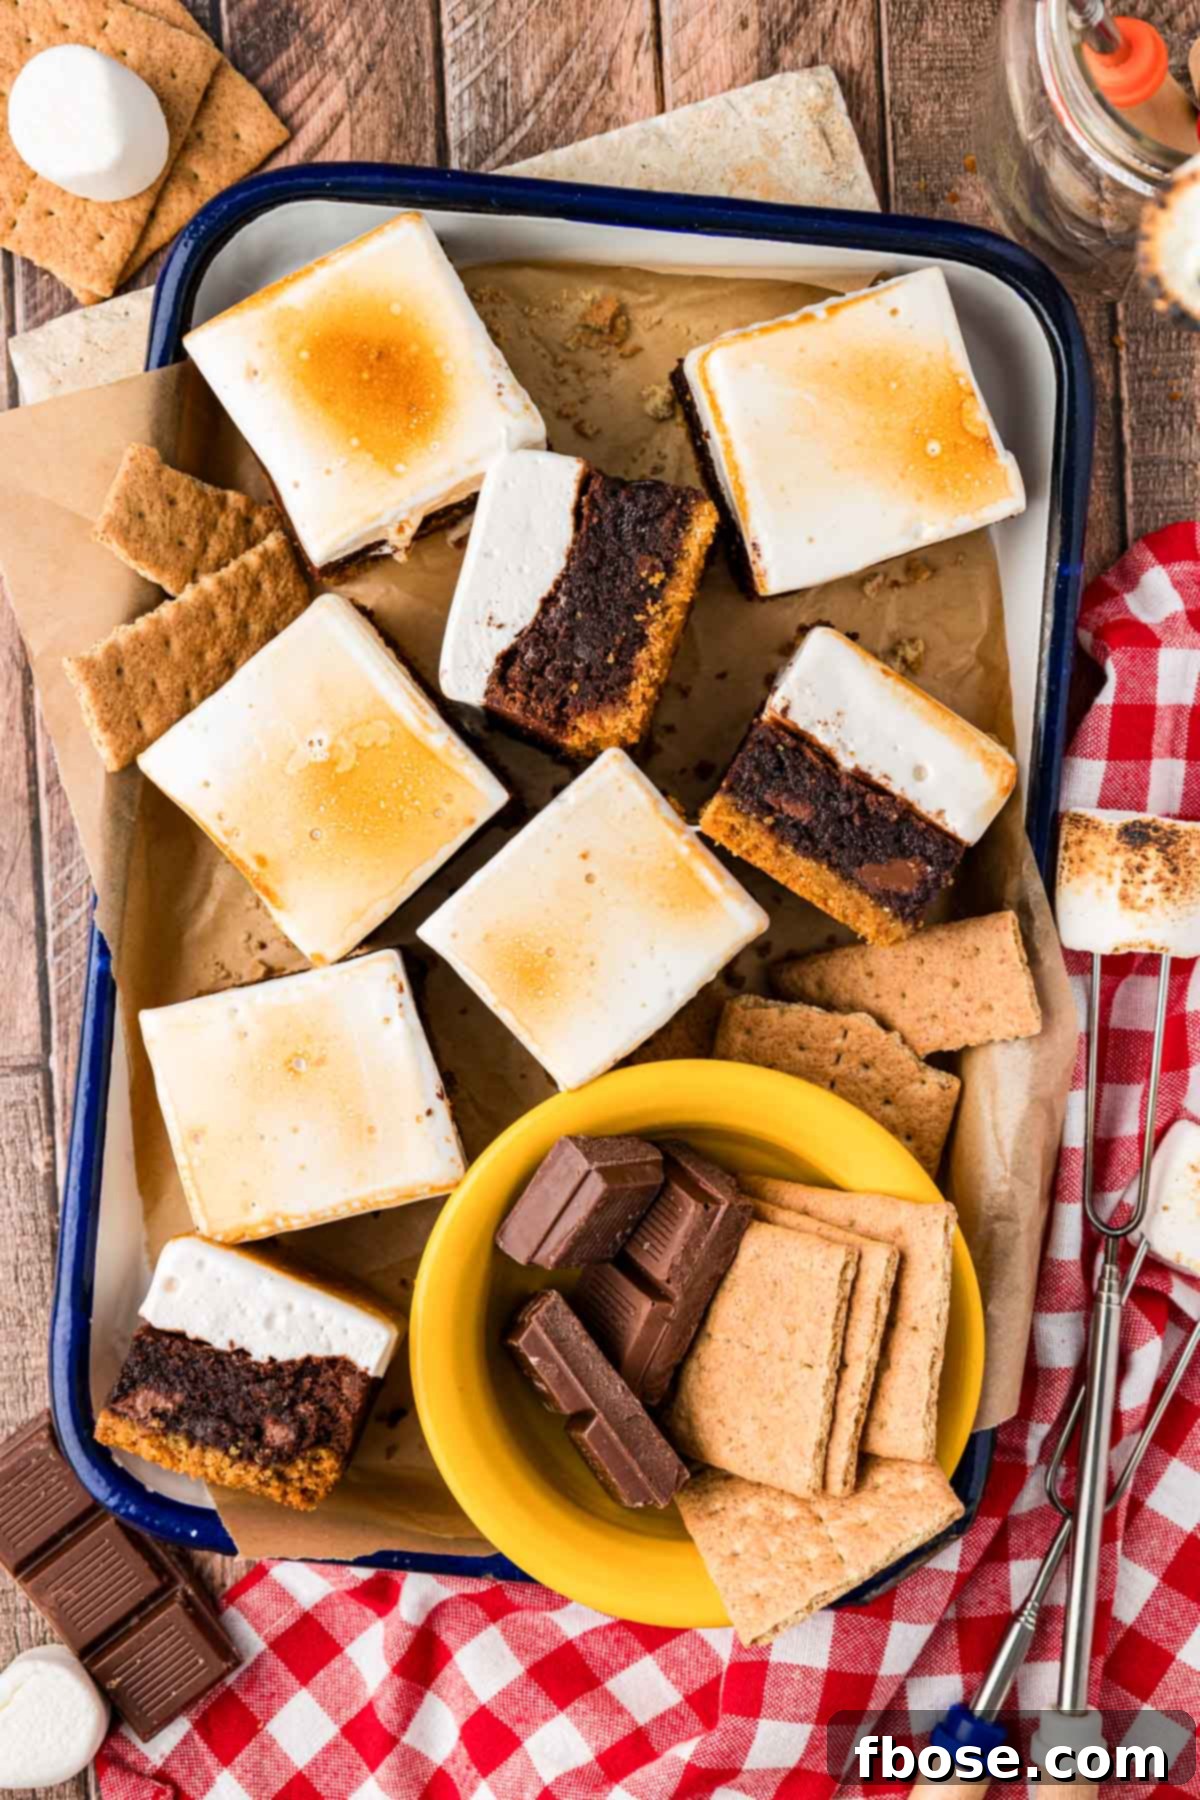
Baking Perfection: How To Make S’mores Brownies From Scratch
Step 1: Preparing The Graham Cracker Crust
- Preheat your oven to 350°F (175°C). Line a 9×13-inch metal cake pan with parchment paper, ensuring that some of the parchment extends over the edges. This overhang will act as handles, making it incredibly easy to remove the baked brownies later. For optimal results, you might need two sheets, with one running in each direction.
- Lightly spray the parchment paper and the bare sides of the pan with nonstick spray or oil. This crucial step prevents the marshmallow topping from adhering to the pan later on, ensuring a clean release.
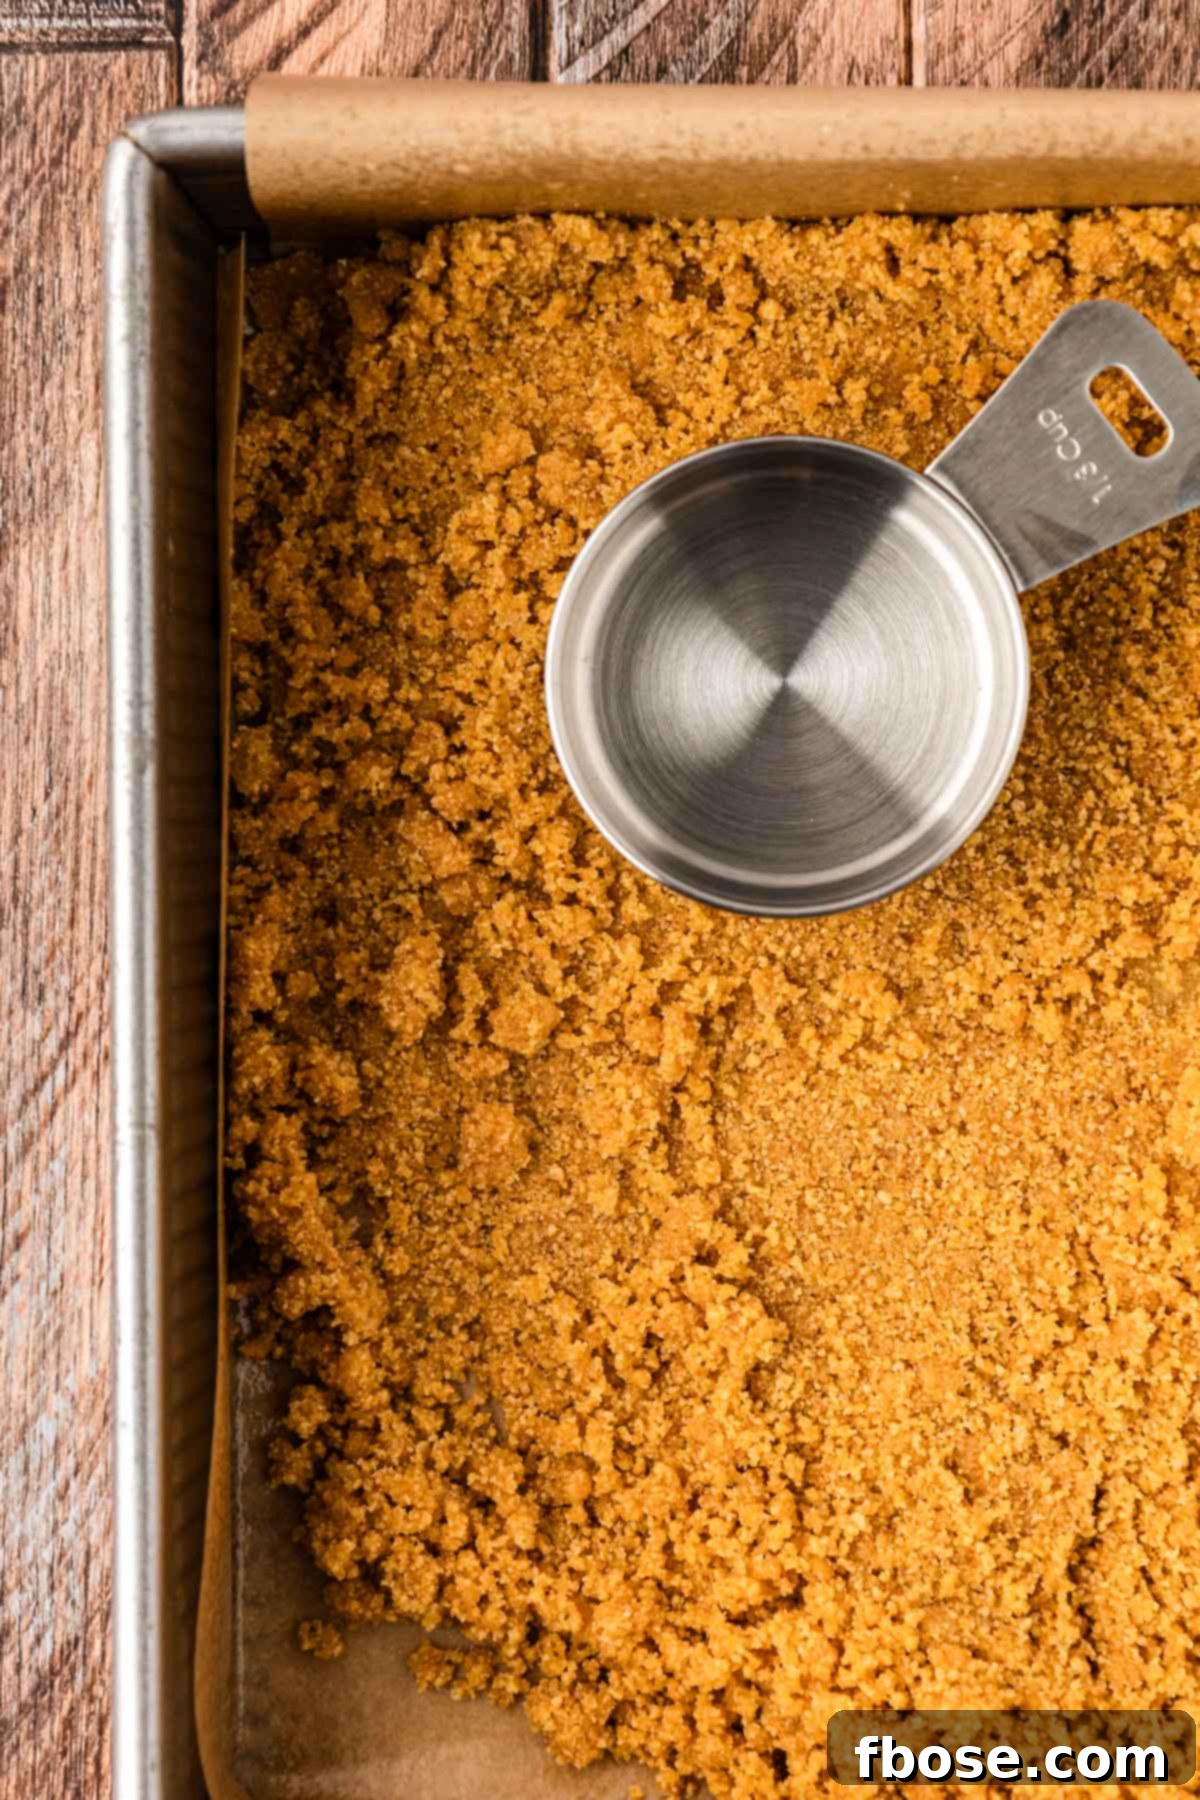
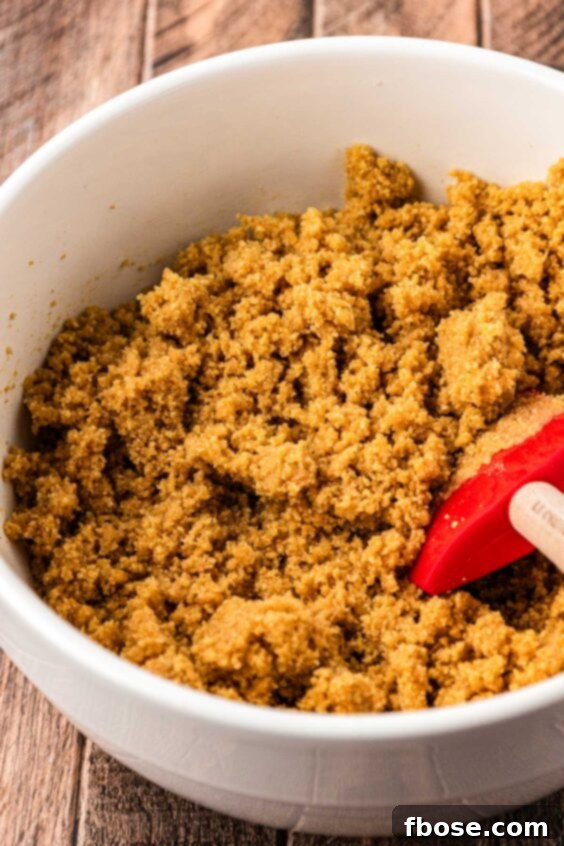
- In a medium bowl, melt 16 tablespoons (227g) of salted butter. Stir in 2½ cups (290g) of graham cracker crumbs, ⅓ cup (70g) of granulated sugar, and ¼ teaspoon of salt. Mix thoroughly until all the crumbs are uniformly moistened and resemble wet sand.
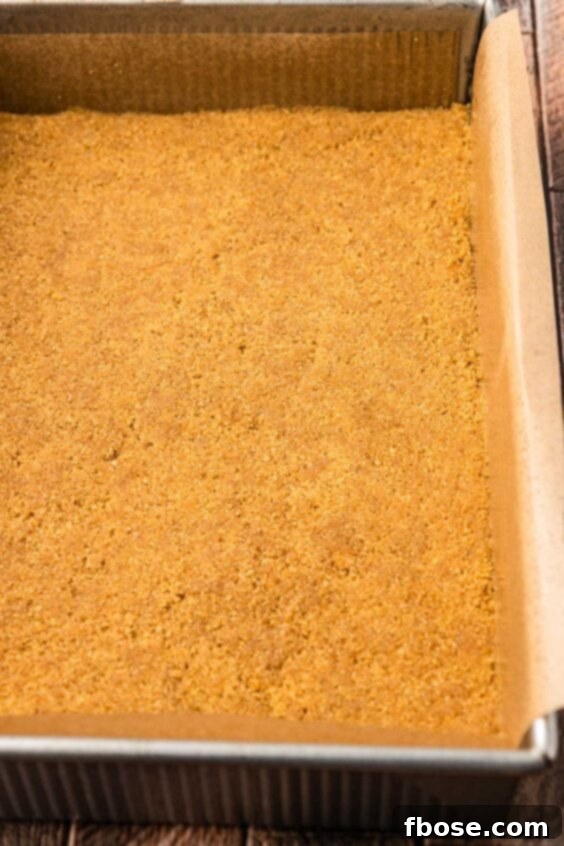
- Evenly spread the graham cracker mixture onto the bottom of the prepared pan. Use your hands or the flat bottom of a glass to firmly press the crumbs into a compact, even layer across the entire base of the pan. A solid crust is key to holding the brownie together.
Step 2: Crafting The Rich Brownie Batter
- In a heavy-bottomed saucepan, melt 1 cup (227g) of salted butter over low heat. Once melted, add 2½ cups (500g) of granulated sugar. Stir constantly until the mixture is smooth and the butter and sugar have begun to emulsify, meaning no butter is visibly separated from the sugar. Remove from heat and allow the mixture to cool for 5 minutes, stirring frequently to help release heat and prevent it from cooking the eggs.
- To the cooled butter and sugar mixture, add 2 tablespoons of canola oil and 1 tablespoon of vanilla extract. Stir well with a rubber spatula until all ingredients are fully combined and there’s absolutely no separation, such as oil resting on top. This ensures a consistent and smooth batter.
- Beat in 5 large eggs, adding them one at a time. Mix vigorously with the spatula or a fork after each addition until the egg is fully incorporated into the batter. This gradual addition helps to create a fudgy texture.
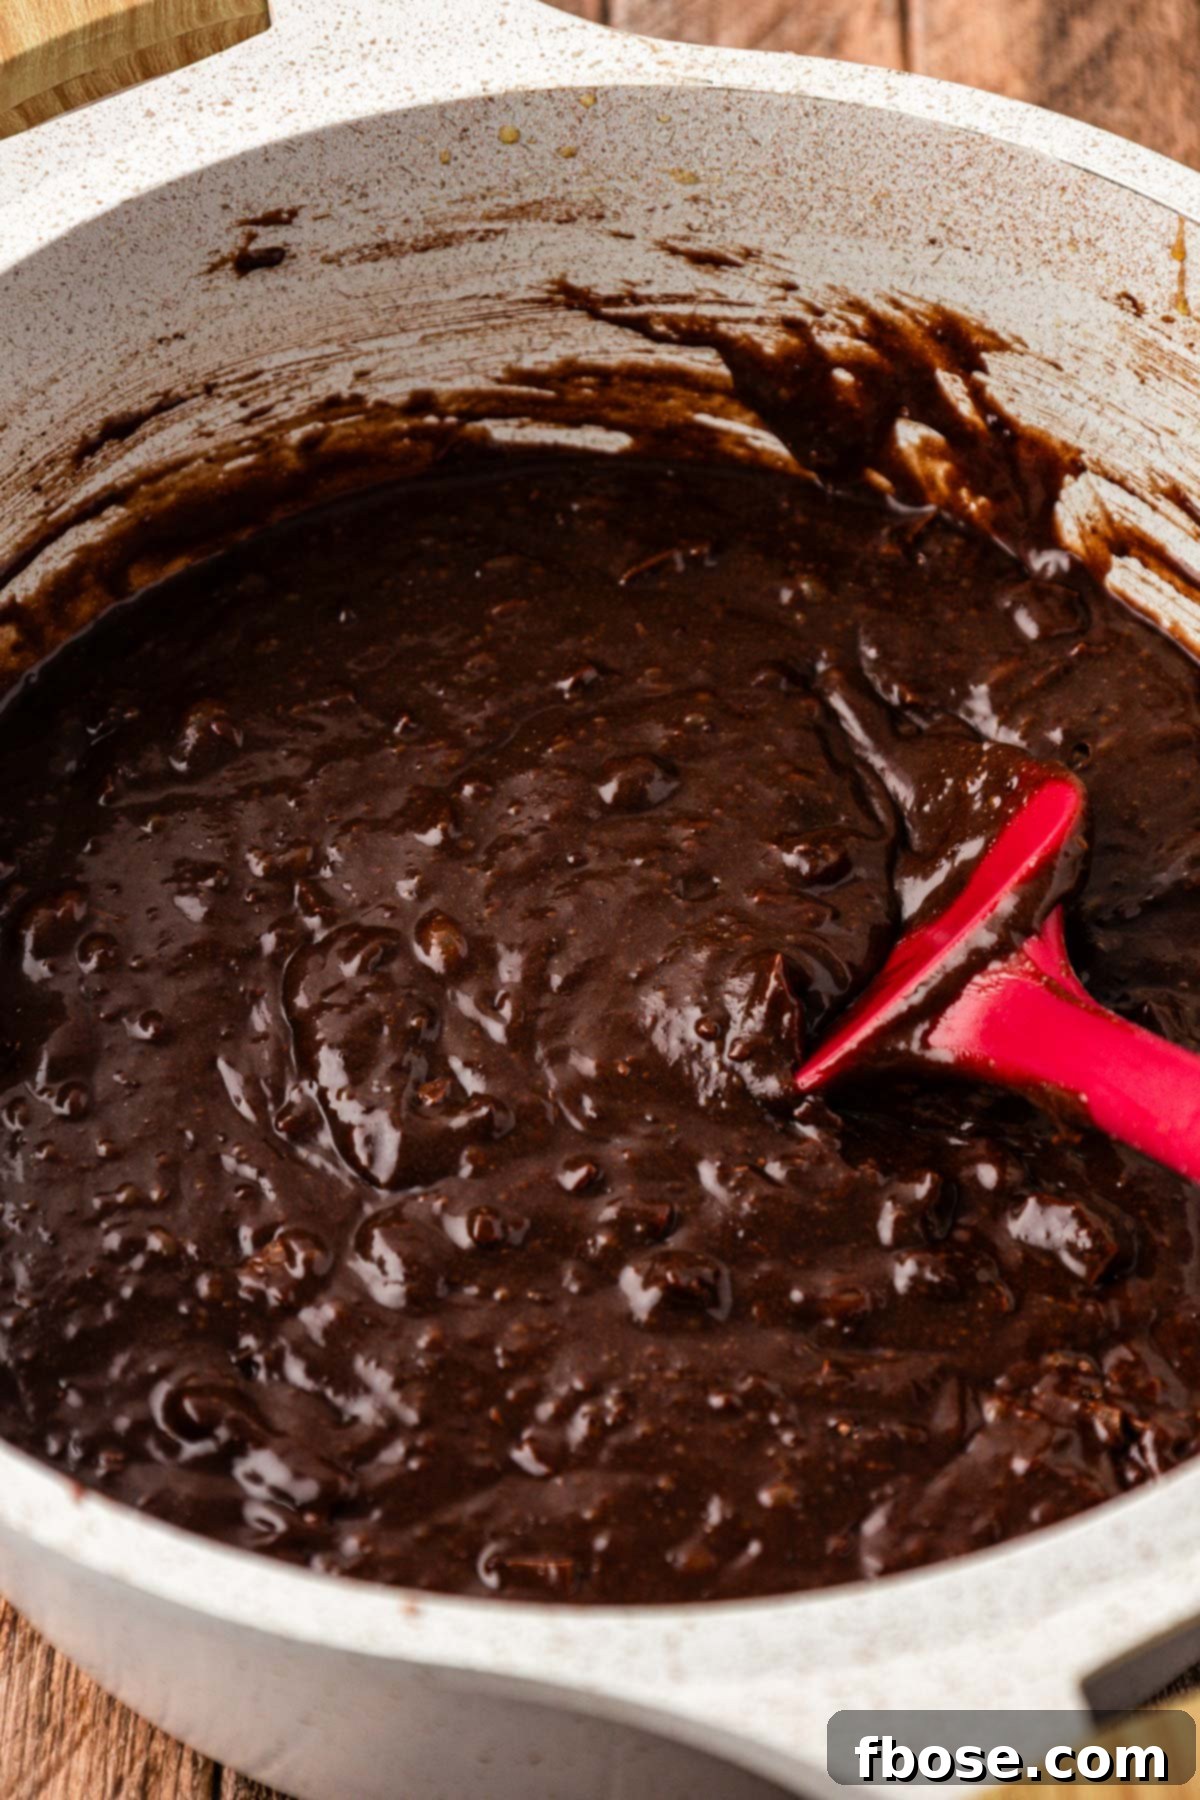
- Into the melted butter and sugar mixture, sift 1 cup (130g) of all-purpose flour, ¾ cup + 1 tablespoon (80g) of unsweetened cocoa powder, 2 tablespoons (10g) of milk powder, and ¾ teaspoon of salt. Gently stir the brownie batter with a rubber spatula just until no dry streaks of flour remain. Be careful not to overmix, as this can lead to tough brownies.
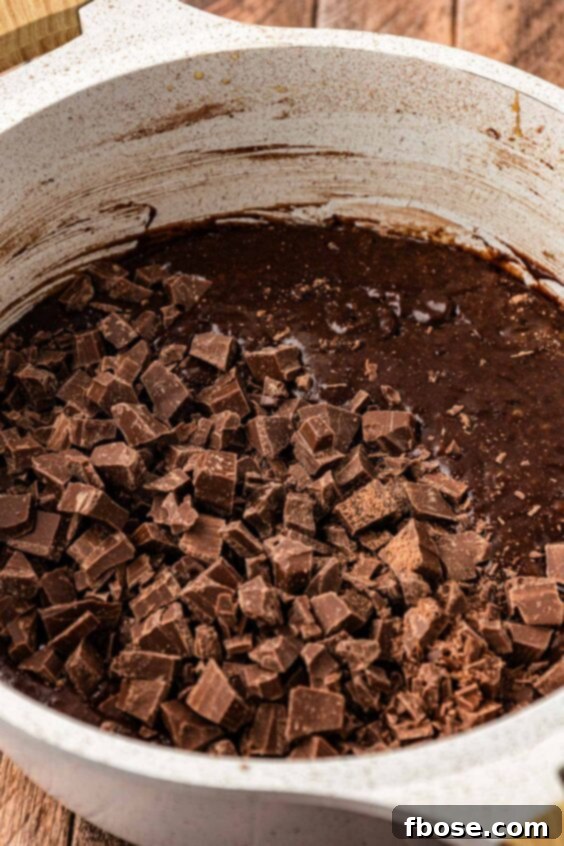
- Fold in 8 ounces of your chosen chocolate bar, ensuring the chopped pieces are evenly distributed throughout the rich batter.
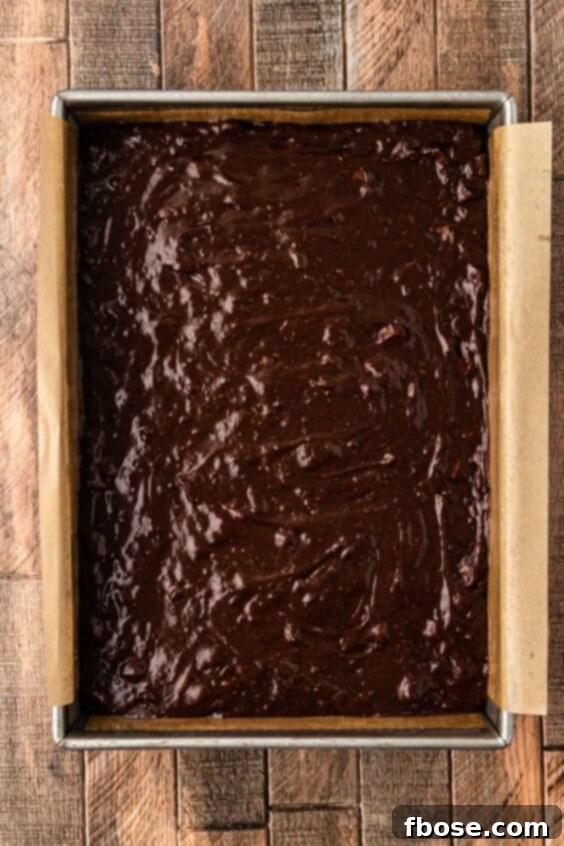
- Pour the brownie batter evenly over the graham cracker crust in the prepared baking pan. Transfer the pan to the preheated oven and bake for 28 to 33 minutes. The brownies should be set around the edges but still slightly fudgy in the center.
Step 3: Creating The Fluffy Marshmallow Topping
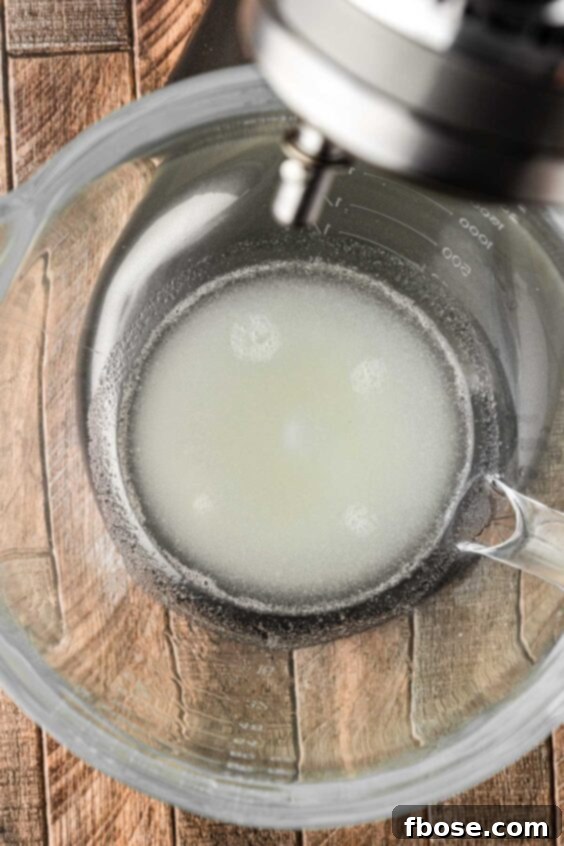
- In the bowl of a stand mixer fitted with a whisk attachment, whisk together 2 envelopes of unflavored gelatin with ⅔ cup (156ml) of water. Let this mixture sit undisturbed for several minutes to allow the gelatin to “bloom” and hydrate while you prepare the sugar syrup.
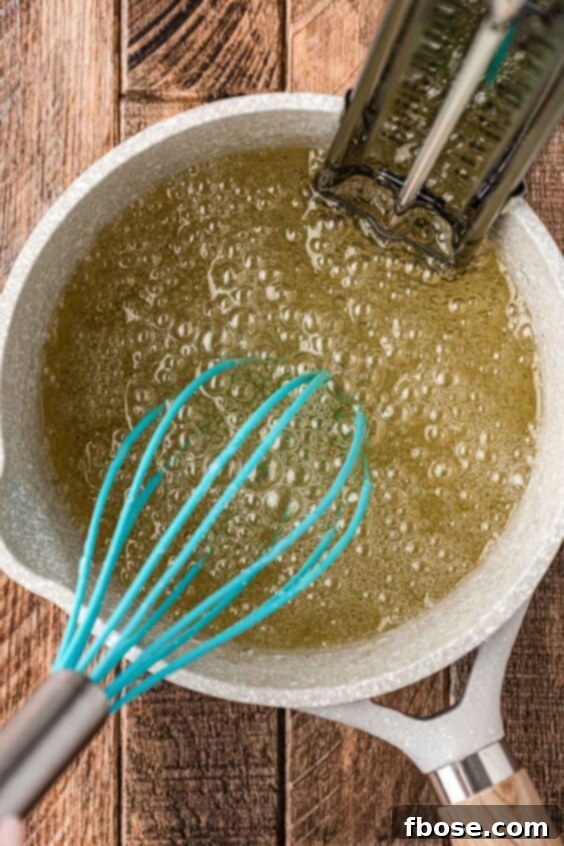
- In a medium saucepan, combine 2 cups (400g) of granulated sugar, ½ cup (118ml) of water, and ¼ teaspoon of salt. Bring this mixture to a simmer over medium-high heat, stirring occasionally. Attach a candy thermometer to the side of the pan (or use a candy thermometer spatula, which I highly recommend for ease and accuracy).
- Cook the sugar mixture, stirring occasionally, until it reaches precisely 225°F (107°C). This usually takes about 5 to 6 minutes. As soon as it hits this temperature, immediately stir in ½ cup of light corn syrup. This will momentarily drop the temperature, but it will quickly rise again. Continue cooking and stirring.
- Remove the pan from the heat once the sugar mixture reaches 238°F (114°C), which should take an additional 2 to 3 minutes of constant stirring. Speed is important here to prevent overcooking.
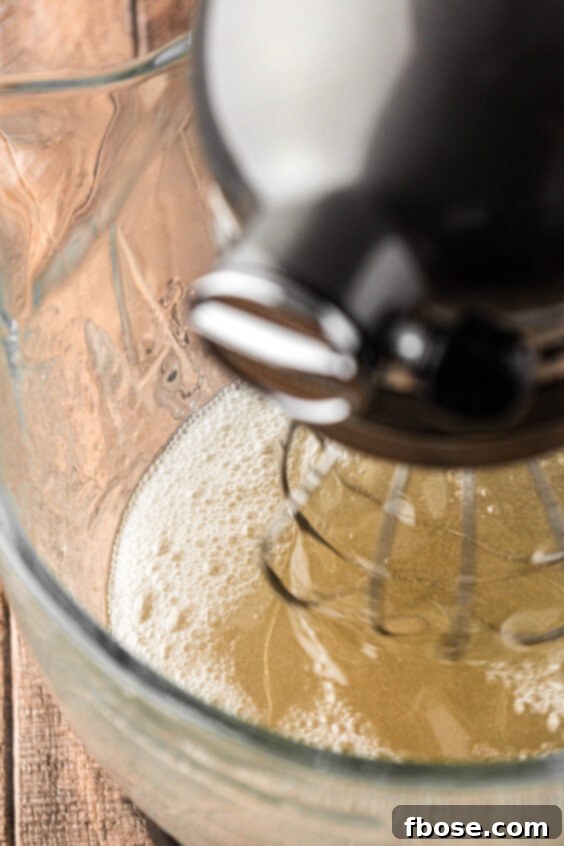
- Turn your stand mixer on low speed (the stir setting). While the mixer is running, carefully and slowly pour the hot sugar mixture down the side of the bowl into the bloomed gelatin mixture. Be cautious as the syrup is very hot. You might notice a peculiar “wet dog” smell during this step due to a chemical reaction, but don’t worry, I promise the finished marshmallow will taste absolutely amazing!
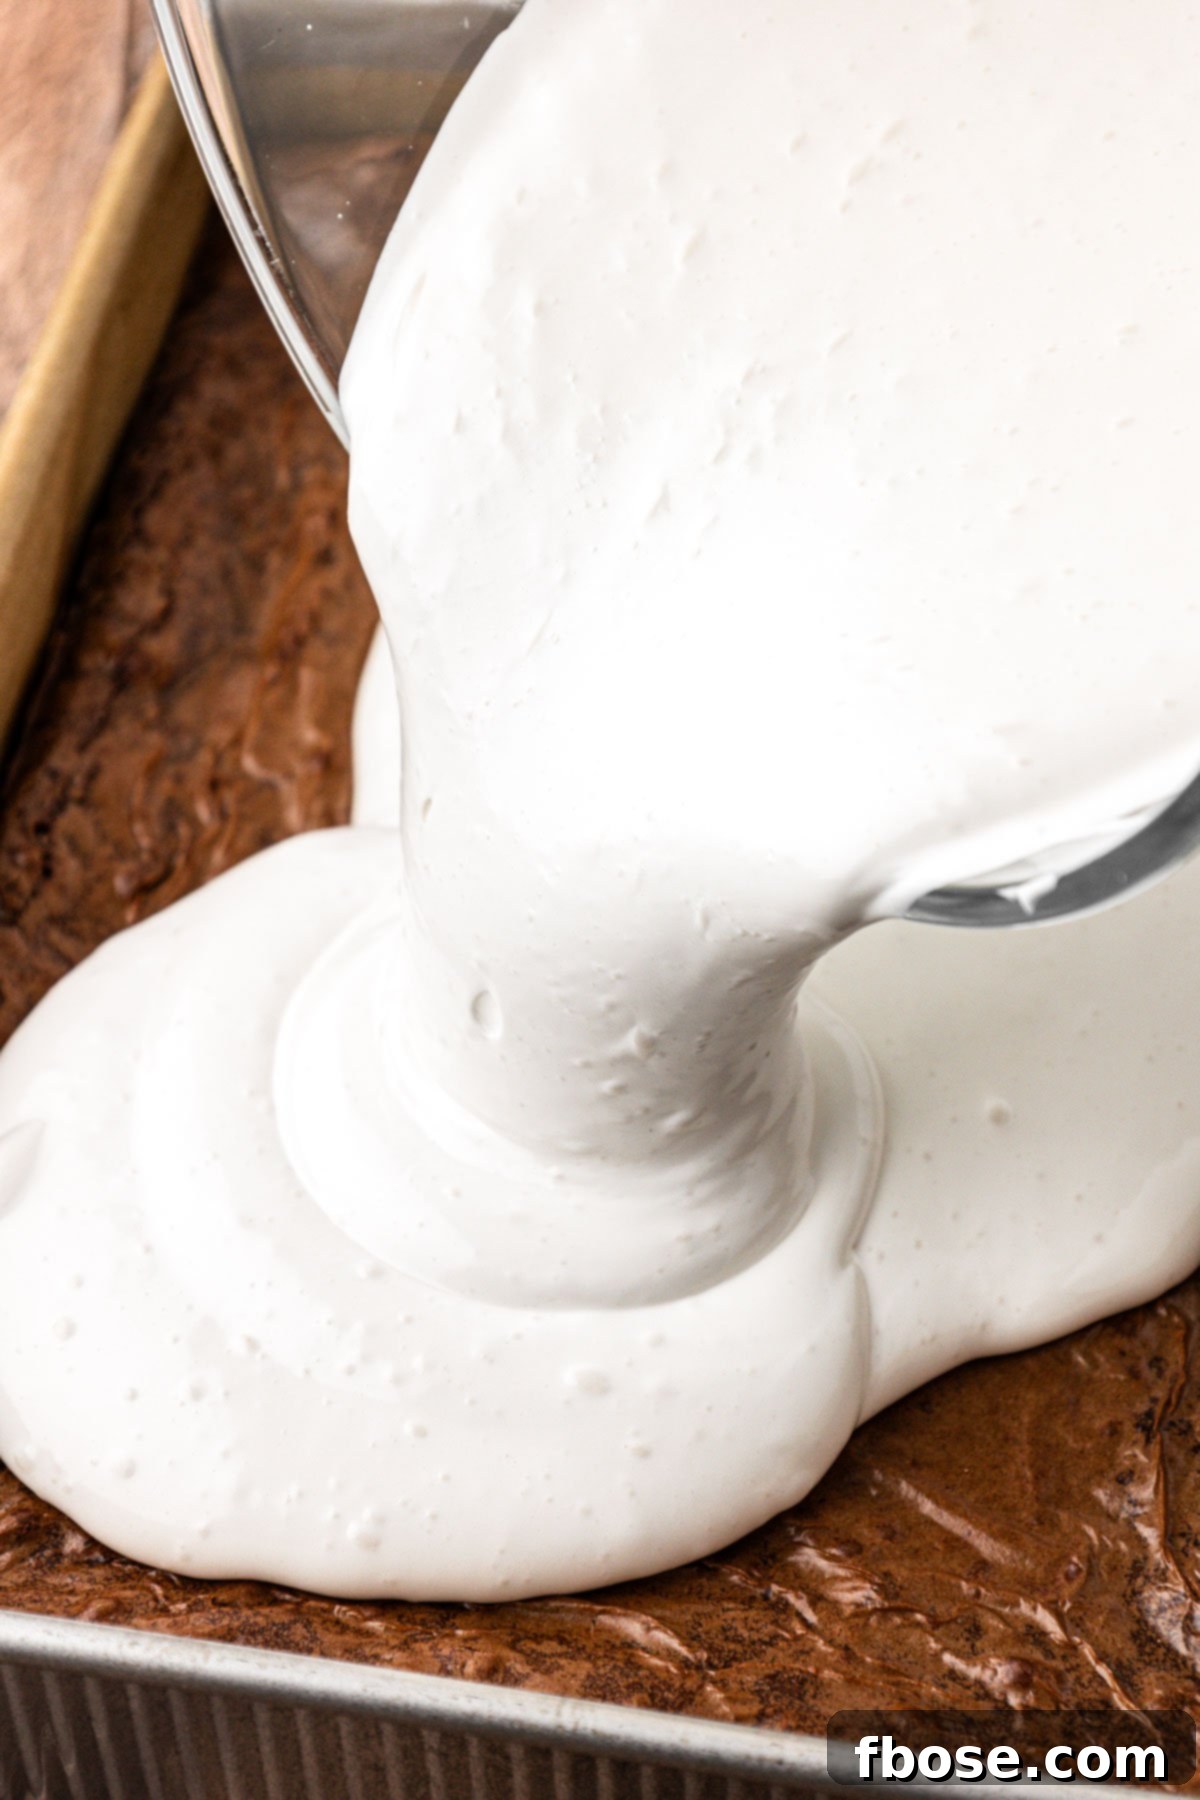
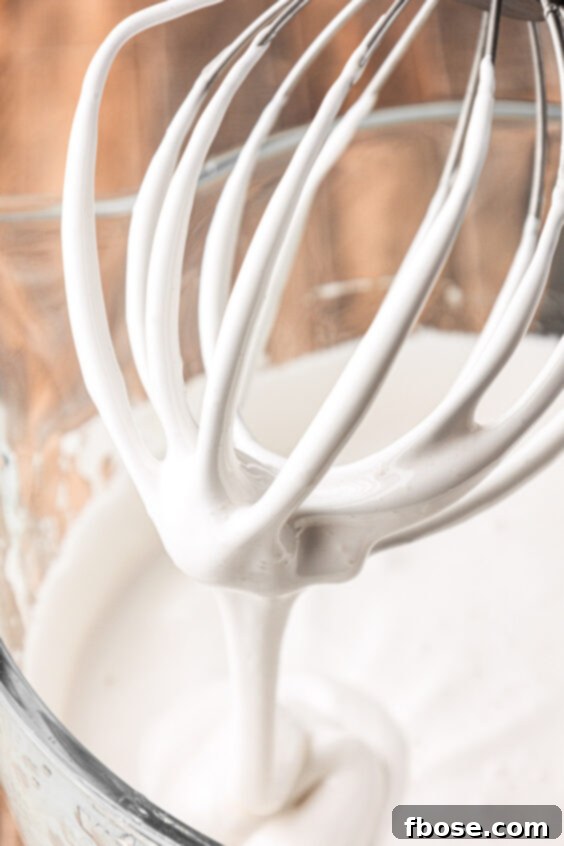
- Once all the sugar syrup has been added, increase the mixer speed to medium (around 6 on a KitchenAid). Whip for about 1 to 2 minutes, then increase to high speed (10 on a KitchenAid) and continue whipping until the marshmallow mixture becomes very thick, fluffy, and glossy. This usually takes about 6 to 7 minutes. The ideal consistency is when the marshmallow holds a soft peak for a few seconds before gently settling back into itself.
- Add 1 tablespoon of vanilla extract and whip for an additional 30 seconds to fully incorporate the flavor. Avoid overwhipping, as this can make the marshmallow too stiff and difficult to spread.
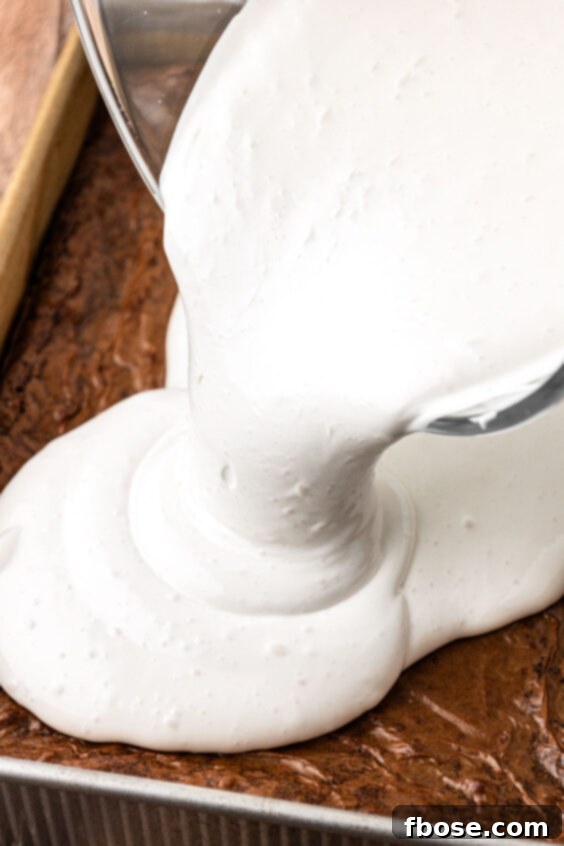
- Generously spread this cloud-like marshmallow cream evenly over the cooled brownies. Afterward, allow the pan of marshmallow-covered brownies to sit undisturbed for at least 4 hours at room temperature, or until the marshmallow is fully set, before attempting to cut into them. This crucial resting period ensures the marshmallow sets properly and allows for clean slices.
The Final Touch: How To Cut and Toast Chocolate Brownies With Marshmallow
Achieving Clean Slices
Cutting through soft brownies and sticky marshmallow can be tricky, but with the right technique, you’ll get perfect squares every time. Here’s how to ensure clean, beautiful slices:
- Heat a large chef’s knife under hot running water for about 30 seconds. Wipe it completely dry.
- Lightly spray the knife with nonstick cooking spray, then wipe off any excess, leaving just a thin, invisible coating. Alternatively, you can dip a paper towel in a neutral oil (like canola or vegetable) and wipe it along the blade. This oily barrier is essential for preventing the marshmallow from sticking.
- Make one swift cut through the brownies. Crucially, after each cut, pull the knife straight back out (do NOT lift it straight up, which can tear the marshmallow). Repeat the heating and oiling process for the knife between *each and every* slice. This diligent approach ensures a smooth, clean cut through all three layers.
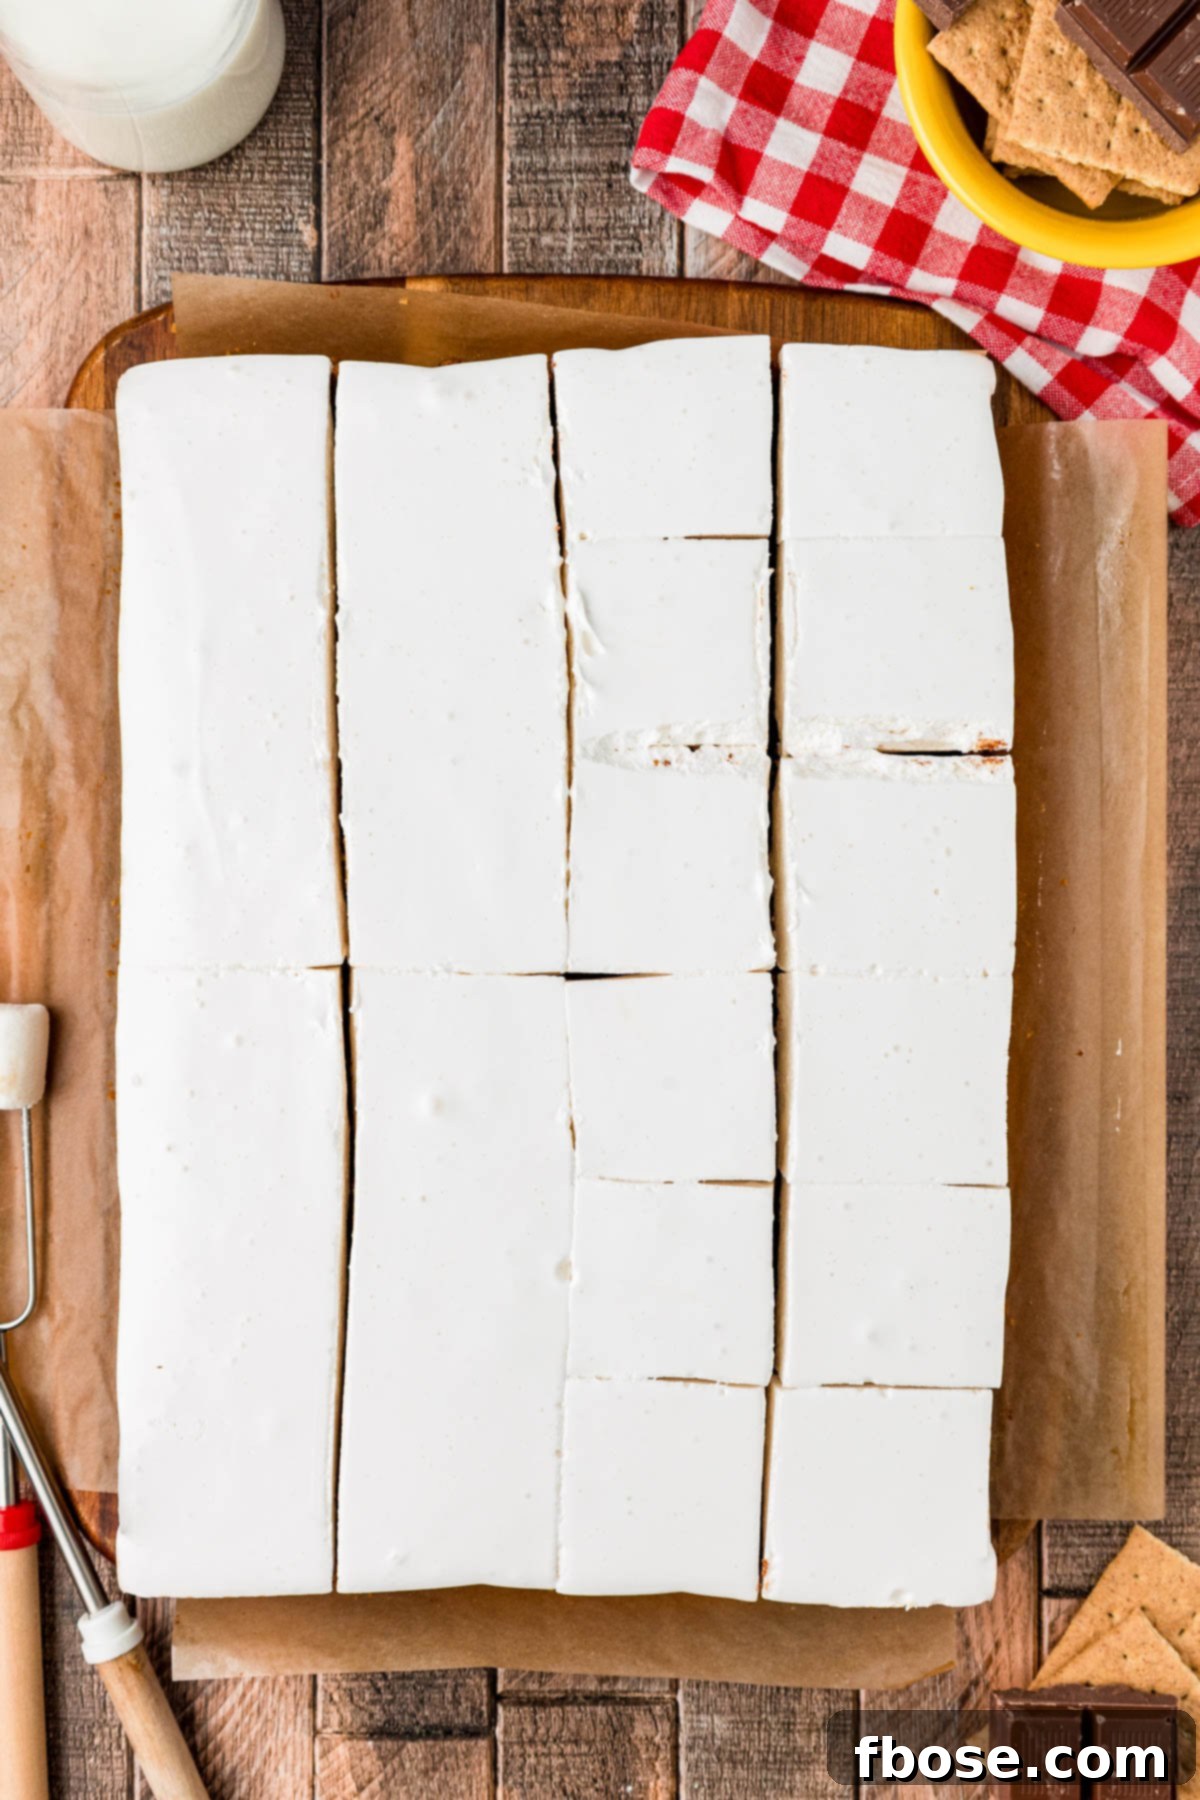
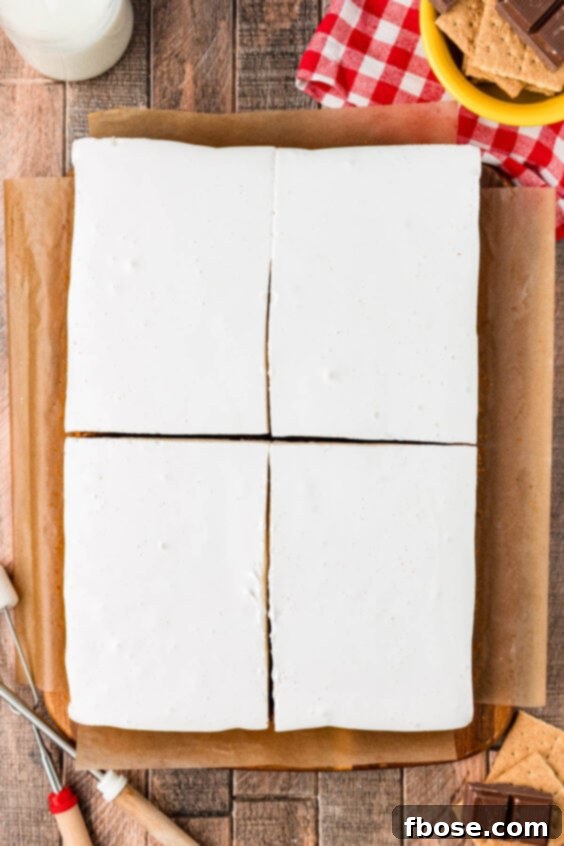
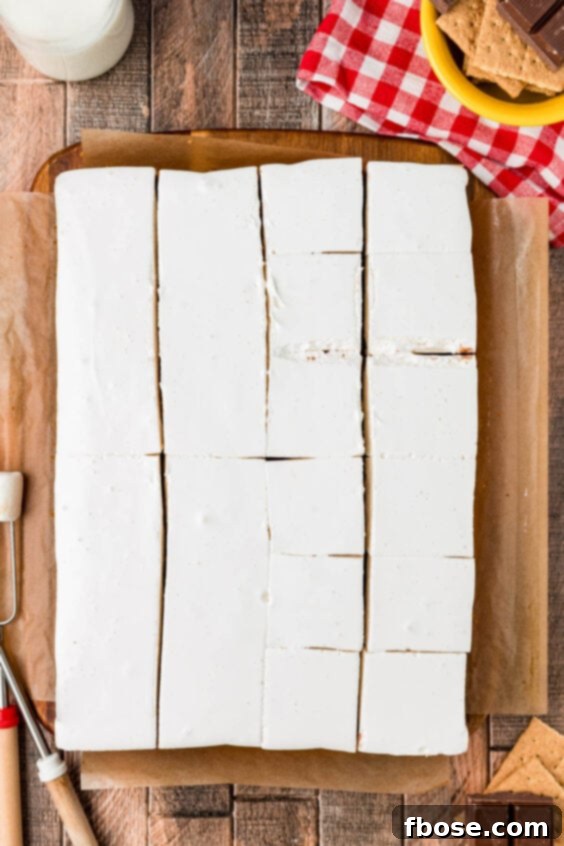
- For consistent portions, I recommend slicing the entire pan of brownies in half horizontally, then in half lengthwise. Afterward, cut each of these four quarters into six even squares, resulting in 24 perfectly sized S’mores Brownies.
- Gently pull the cut brownie squares away from each other just slightly, creating small gaps so they are not touching. This step is important if you plan to toast the marshmallows.
Toasting for That Authentic S’mores Flavor
The final, glorious step is to toast the marshmallow topping, giving it that authentic campfire char and gooey warmth:
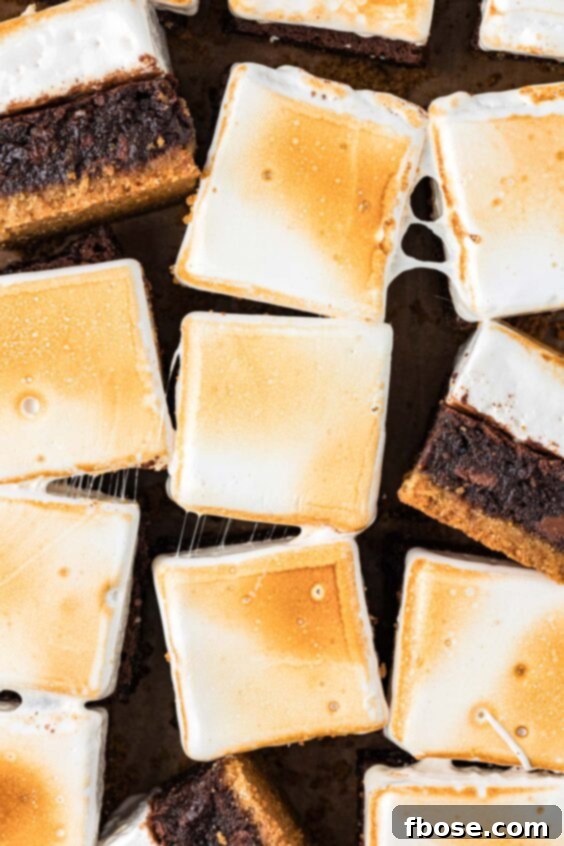
- Using a kitchen torch, carefully toast the top of the marshmallows on each brownie square until they are golden brown and slightly caramelized. The slight separation between squares ensures that the marshmallow melts and toasts individually, rather than re-sticking them together, which would make serving messy.
- Serve immediately and enjoy the warm, gooey, chocolatey goodness!
Pro Tips for S’mores Brownie Success
Achieving the perfect S’mores Brownies is easy with a few insider tricks. Keep these tips in mind as you bake:
- Graham Cracker Crumbs: For the best, most consistent results, I highly recommend using store-bought graham cracker crumbs instead of attempting to crush your own graham crackers. Pre-packaged crumbs are uniformly fine, which creates a more stable and even crust.
- Impeccable Pan Preparation: Lining your 9×13-inch pan with parchment paper, leaving an overhang on the sides, is absolutely essential for flawless removal of these multi-layered brownies. Additionally, make sure to lightly coat not just the parchment, but also the bare metal sides of the pan with nonstick spray. This extra layer of protection is key to preventing the homemade marshmallow from accidentally sticking as it sets, ensuring your brownies slide out perfectly.
- The Perfect Pan Size: To achieve that ideal ratio of crispy crust, dense brownie, and fluffy marshmallow, a 9×13-inch pan is truly the best choice for this recipe. It provides enough surface area for each layer to shine without being overwhelming.
- Chocolate Matters: While the recipe calls for a thick chocolate bar (like half of a Trader Joe’s Pound of Chocolate bar) to create those delightful penny-sized chunks, you have options! Thinner baking chocolate, such as Ghirardelli squares or bars, can also be used. If you prefer convenience, prepackaged chocolate chunks work well, though be mindful that they sometimes contain additional ingredients that can slightly alter the flavor. Feel free to experiment with milk chocolate chips or semi-sweet chocolate chips for a different sweetness level or texture.
- Trust the Marshmallow Process: When you whip together the bloomed gelatin and hot sugar mixture, it’s completely normal for it to smell, well, less than appetizing (some describe it as a “wet dog” scent!). This is a natural part of the chemical reaction. Don’t be alarmed – I promise you that the marshmallow topping will taste absolutely heavenly once it’s finished and infused with vanilla.
- Avoid Overwhipping the Marshmallow: While you want your marshmallow mixture to be thick and fluffy, be careful not to overwhip it. Overwhipped marshmallow can become too stiff and difficult to spread smoothly over the brownies. Instead, look for visual cues: the mixture should be glossy and hold a soft peak for a few seconds before it gently leans and settles back into itself. This indicates the perfect, airy consistency that will be easy to spread and wonderfully soft when set.
How To Store and Freeze S’mores Brownies for Lasting Enjoyment
Storing Your S’mores Flavor Brownies at Room Temperature
Once your delectable S’mores Brownies have been cut and enjoyed, proper storage is key to maintaining their freshness and preventing them from sticking together. Transfer the individual slices into an airtight container. It’s important to arrange them in a single layer, ensuring there’s a little space between each slice. This prevents the marshmallow topping from adhering to adjacent brownies. I highly advise against double-layering them for storage, as this will inevitably squish the delicate marshmallow topping. Stored correctly at room temperature, these yummy treats will remain fresh and delightful for 2 to 3 days.
How To Freeze Homemade Marshmallow Brownies
If you wish to enjoy these amazing marshmallow brownies over a longer period, freezing is an excellent option. Follow these steps for optimal results:
- First, cut the brownies according to the recommended instructions into individual squares.
- Place the cut brownie squares spaced out on a baking sheet lined with parchment paper.
- Transfer the baking sheet to the freezer to “flash freeze” the brownies for approximately one hour. This step prevents them from sticking together when stored in bulk.
- Once they are solid from flash freezing, remove them from the freezer. Wrap each individual brownie first in a layer of plastic wrap, and then again in aluminum foil. This double-wrapping provides an excellent barrier against freezer burn.
- Afterward, transfer the double-wrapped brownies into a heavy-duty Ziploc freezer bag or an airtight freezer-safe container. Place them back in the freezer, where they can be stored for up to 3 months.
- To enjoy your frozen Marshmallow Brownies, simply thaw them at room temperature for an hour or two before serving.
Explore More Gourmet Brownie Recipes
If you’ve loved these S’mores Brownies, you’re in for a treat! Our collection of gourmet brownie recipes offers a delightful array of flavors and textures to satisfy any sweet tooth. Discover your next favorite:
- Cosmic Brownies – A nostalgic journey back to the 90s, complete with the option for vibrant, dye-free candies!
- Peanut Butter Crunch Brownies – The classic combination of rich peanut butter and decadent chocolate creates an elite dessert experience!
- No Bake Cookie Brownies – Indulge in two beloved desserts fused into one incredibly delicious and easy-to-make treat!
- Buckeye Brownies – An effortlessly elegant three-layered brownie that comes together in just 15 minutes of prep time!
- Texas Sheet Cake Brownies – The quintessential dessert for feeding a large crowd, offering a moist cake-like brownie with a generous frosting.
Did You Make This Recipe?
If you’ve tried this recipe, please leave a review in the comments below. I love hearing from you! Don’t forget to tag me – @sugarandsoulco – on Instagram and Pinterest with your photos, or join our Sugar & Soul Show-offs Community and share them there.
S’mores Brownies
These gourmet-style brownies are loaded with s’mores flavor, a graham cracker crust, and a toasted marshmallow top. Just one look at these rich chocolaty squares and your mouth will water.
- Author: Rebecca Hubbell
- Course: Dessert
- Cuisine: American
- Prep Time: 30 minutes
- Cook Time: 45 minutes
- Cooling Time: 1 hour 5 minutes
- Total Time: 2 hours 20 minutes
- Servings: 24 brownies
Ingredients
Graham Cracker Crust
- 2½ cups (graham cracker crumbs, 290g) – use store-bought for best results
- 16 tablespoons (salted butter, 227g), melted
- ⅓ cup (granulated sugar, 70g)
- ¼ teaspoon salt
Brownie Batter
- 1 cup (salted butter, 227g) – I use Kirkland Grass-fed
- 2½ cups (granulated sugar, 500g) – I use Domino
- 2 tablespoons canola oil
- 1 tablespoon (vanilla extract)
- 5 (large eggs) – I use Vital Farms
- 1 cup (all-purpose flour, 130g) – I use King Arthur
- ¾ cup + 1 tablespoon unsweetened cocoa powder (80g) – I use Ghirardelli
- 2 tablespoons milk powder (10g)
- ¾ teaspoon salt
- 8 ounces chocolate bar – I like using half a Trader Joe’s Pound of Chocolate bar, milk or dark is fine
Marshmallow Creme Topping
- 2 envelopes (unflavored gelatin)
- ⅔ cup water (156ml)
- 2 cups (granulated sugar, 400g)
- ½ cup water (118ml)
- ¼ teaspoon salt
- ½ cup (light corn syrup)
- 1 tablespoon (vanilla extract)
Instructions
Preparation
- Preheat oven to 350°F (175°C) and line a metal 9×13-inch cake pan with parchment paper. Make sure some of the parchment is over the edge of the pan for easy removal. This may require two sheets, one going in each direction – make sure the one that goes across the shorter distance is under the one that goes along the full length of the pan.
- Lightly coat the sides of the prepared pan with nonstick spray or oil; this helps prevent the marshmallow from sticking later on.
Crust
- Melt 16 tablespoons salted butter in a medium bowl, then stir in 2½ cups graham cracker crumbs, ⅓ cup granulated sugar, and ¼ teaspoon salt and combine until the crumbs are fully moistened.
- Spread the crust mixture out in the prepared pan and use your hands or the bottom of a glass to press the mixture into the bottom to make an even layer.
Brownies
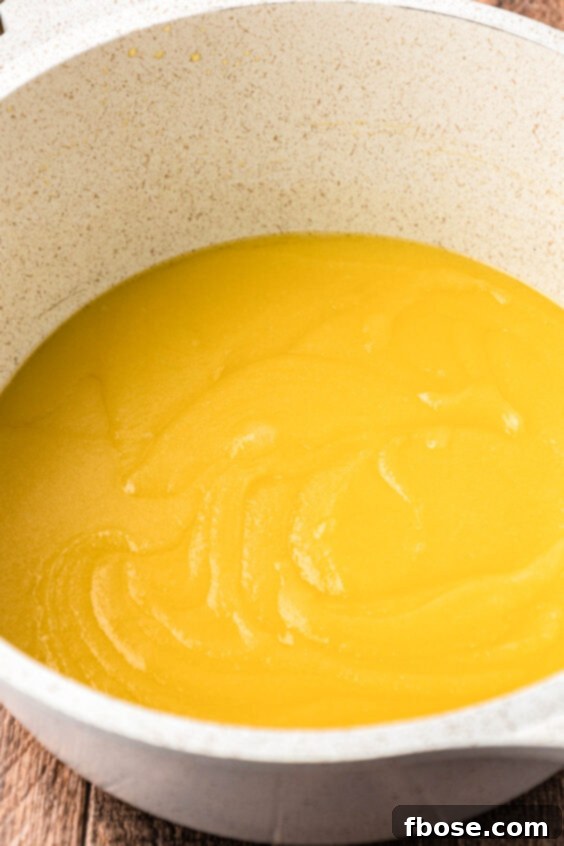
- Melt 1 cup salted butter in a heavy-bottomed saucepan over low heat. Add 2½ cups granulated sugar and stir until smooth, the butter and sugar have started emulsifying, and no butter is separated from the sugar. Remove from heat and let the mixture cool for 5 minutes, stirring often to release heat.
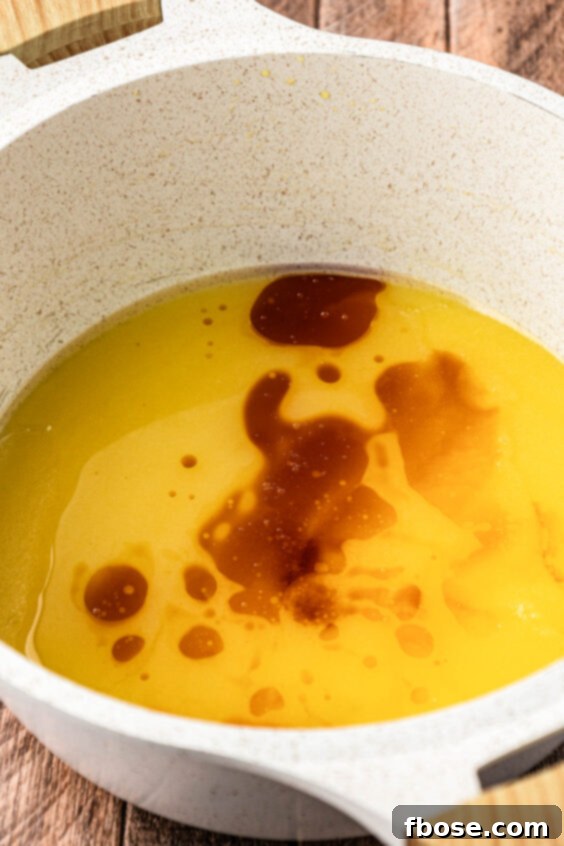
- Add 2 tablespoons canola oil and 1 tablespoon vanilla extract to the butter and sugar and mix them in with a rubber spatula until fully combined and there’s no separation between the ingredients (no oil resting on top).
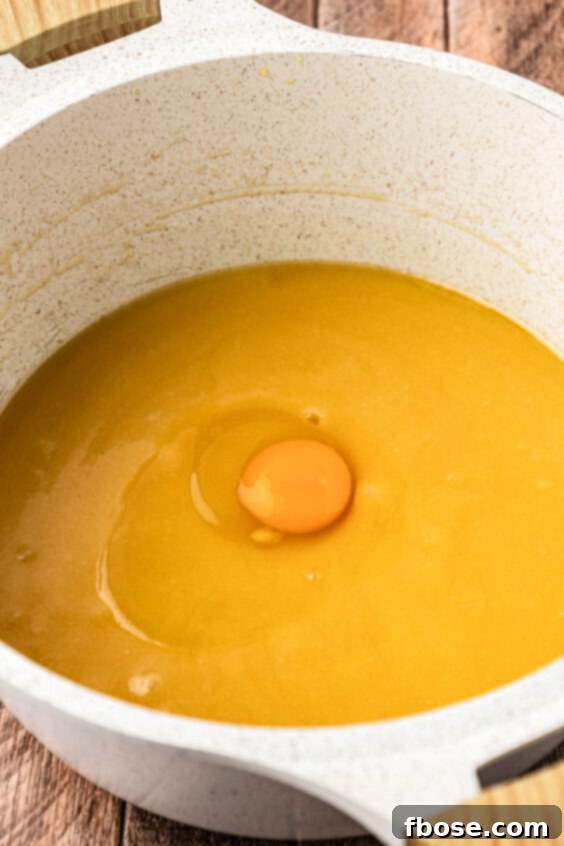
- Beat in 5 large eggs one at a time, beating with the spatula or a fork after each one. Mix until fully incorporated.
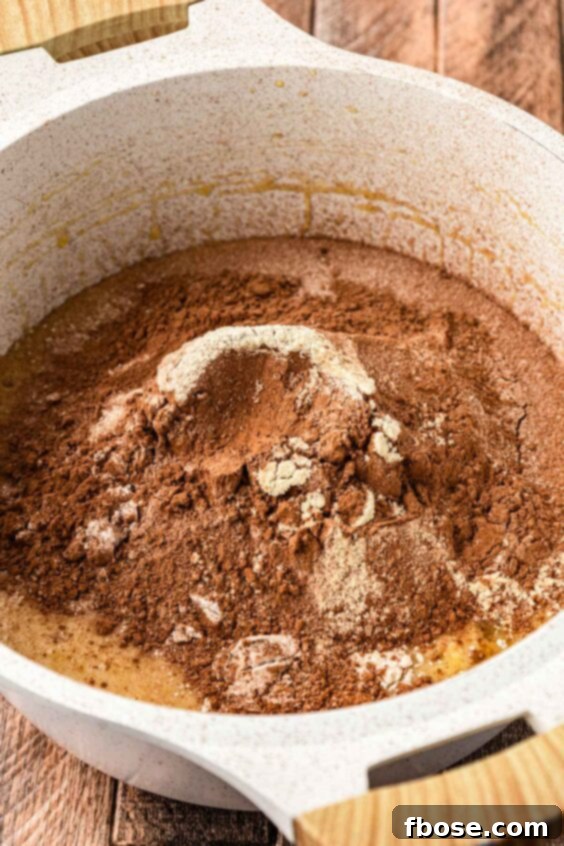
- Sift 1 cup all-purpose flour, ¾ cup + 1 tablespoon unsweetened cocoa powder, 2 tablespoons milk powder, and ¾ teaspoon salt into the butter and sugar mixture, stirring gently with a rubber spatula just until the dry streaks are gone. You can also sift into a bowl first, which is easier if measuring with weighted grams, and then just add them to the pot.
- Fold the 8 ounces chocolate bar into the batter.
- Pour the brownie batter into the prepared baking pan and bake for 28 to 33 minutes.
Marshmallow Topping
- Whisk together 2 envelopes unflavored gelatin and ⅔ cup water in the bowl of a stand mixer. Let the gelatin sit to bloom while you prepare the rest of the ingredients.
- In a medium saucepan, combine 2 cups granulated sugar, ½ cup water, and ¼ teaspoon salt and bring to a simmer over medium-high heat. Attach a candy thermometer to the side or use a candy thermometer spatula.
- Continue to cook, stirring occasionally, until the temperature reaches 225°F (107°C); which should take about 5 to 6 minutes. Once the mixture reaches this temperature, immediately add ½ cup light corn syrup; this will drop the temperature, but it will rise back up quickly.
- Continue to cook, stirring constantly, until the temperature reaches 238°F (114°C), about 2 to 3 minutes more. Once the mixture reaches this temperature, immediately remove the pan from heat.
- Turn the stand mixer on low speed (stir setting); while running, slowly pour the sugar mixture down the side of the bowl into the gelatin mixture. This is going to smell awful, like a wet dog, but I promise it tastes amazing – some serious chemical reaction magic happens here.
- Once you have added all the sugar syrup, increase speed to medium (6 on a KitchenAid mixer) for about 1 to 2 minutes, then to high (10 speed) and whip until the mixture becomes very thick, fluffy, and glossy, about 6 to 7 minutes. Add the 1 tablespoon vanilla extract and whip for 30 additional seconds.
- The marshmallow topping is done when it slowly falls back into the bowl from the whisk. After a few minutes, what’s left on the whisk should start to firm up and have a firmer/airier marshmallow texture.
- Spread marshmallow cream out on the brownies so it’s relatively level.
- Let sit for 4 hours before cutting.
Cutting Brownies
- Cutting these brownies is a bit of a process to get them just right. Begin by heating a large chef knife under hot water and wipe it dry. Then spray with nonstick spray and wipe off so it’s just a thin coating. You could also dip a paper towel in oil and wipe it on.
- Make one slice in the brownies, then pull to slide the knife back out (NOT UP), and repeat heating and oiling the knife between each slice. This allows the knife to slice through the marshmallow and brownies cleanly.
- I like to slice the brownies in half across; then lengthwise. Next, I cut each quarter of the brownie into 6 even squares.
- Pull the brownie squares away from each other slightly so they aren’t touching, then use a kitchen torch to toast the top of the marshmallow. If you toast them while they are touching, the marshmallow melts back together, which makes it a little messy to pull them apart for serving.
Notes
- Thicker chocolate bars are preferred for this recipe, so you have big chunks about the size of a penny. However, thinner baking chocolate, like Ghirardelli, can be used, as well as prepackaged chocolate chunks (although these usually tend to have additional ingredients added, which can impact the flavor).
- Dark or semi-sweet chocolate bars may also be used.
Nutrition Information
Calories: 460kcal | Carbohydrates: 63g | Protein: 4g | Fat: 23g | Saturated Fat: 13g | Polyunsaturated Fat: 1g | Monounsaturated Fat: 7g | Trans Fat: 1g | Cholesterol: 76mg | Sodium: 324mg | Potassium: 152mg | Fiber: 2g | Sugar: 50g | Vitamin A: 542IU | Vitamin C: 0.02mg | Calcium: 32mg | Iron: 2mg
Did You Make This Recipe?
Don’t forget to share it with me on Instagram @sugarandsoulco and follow on Tiktok @sugarandsoulco and Pinterest @sugarandsoulco for more!