
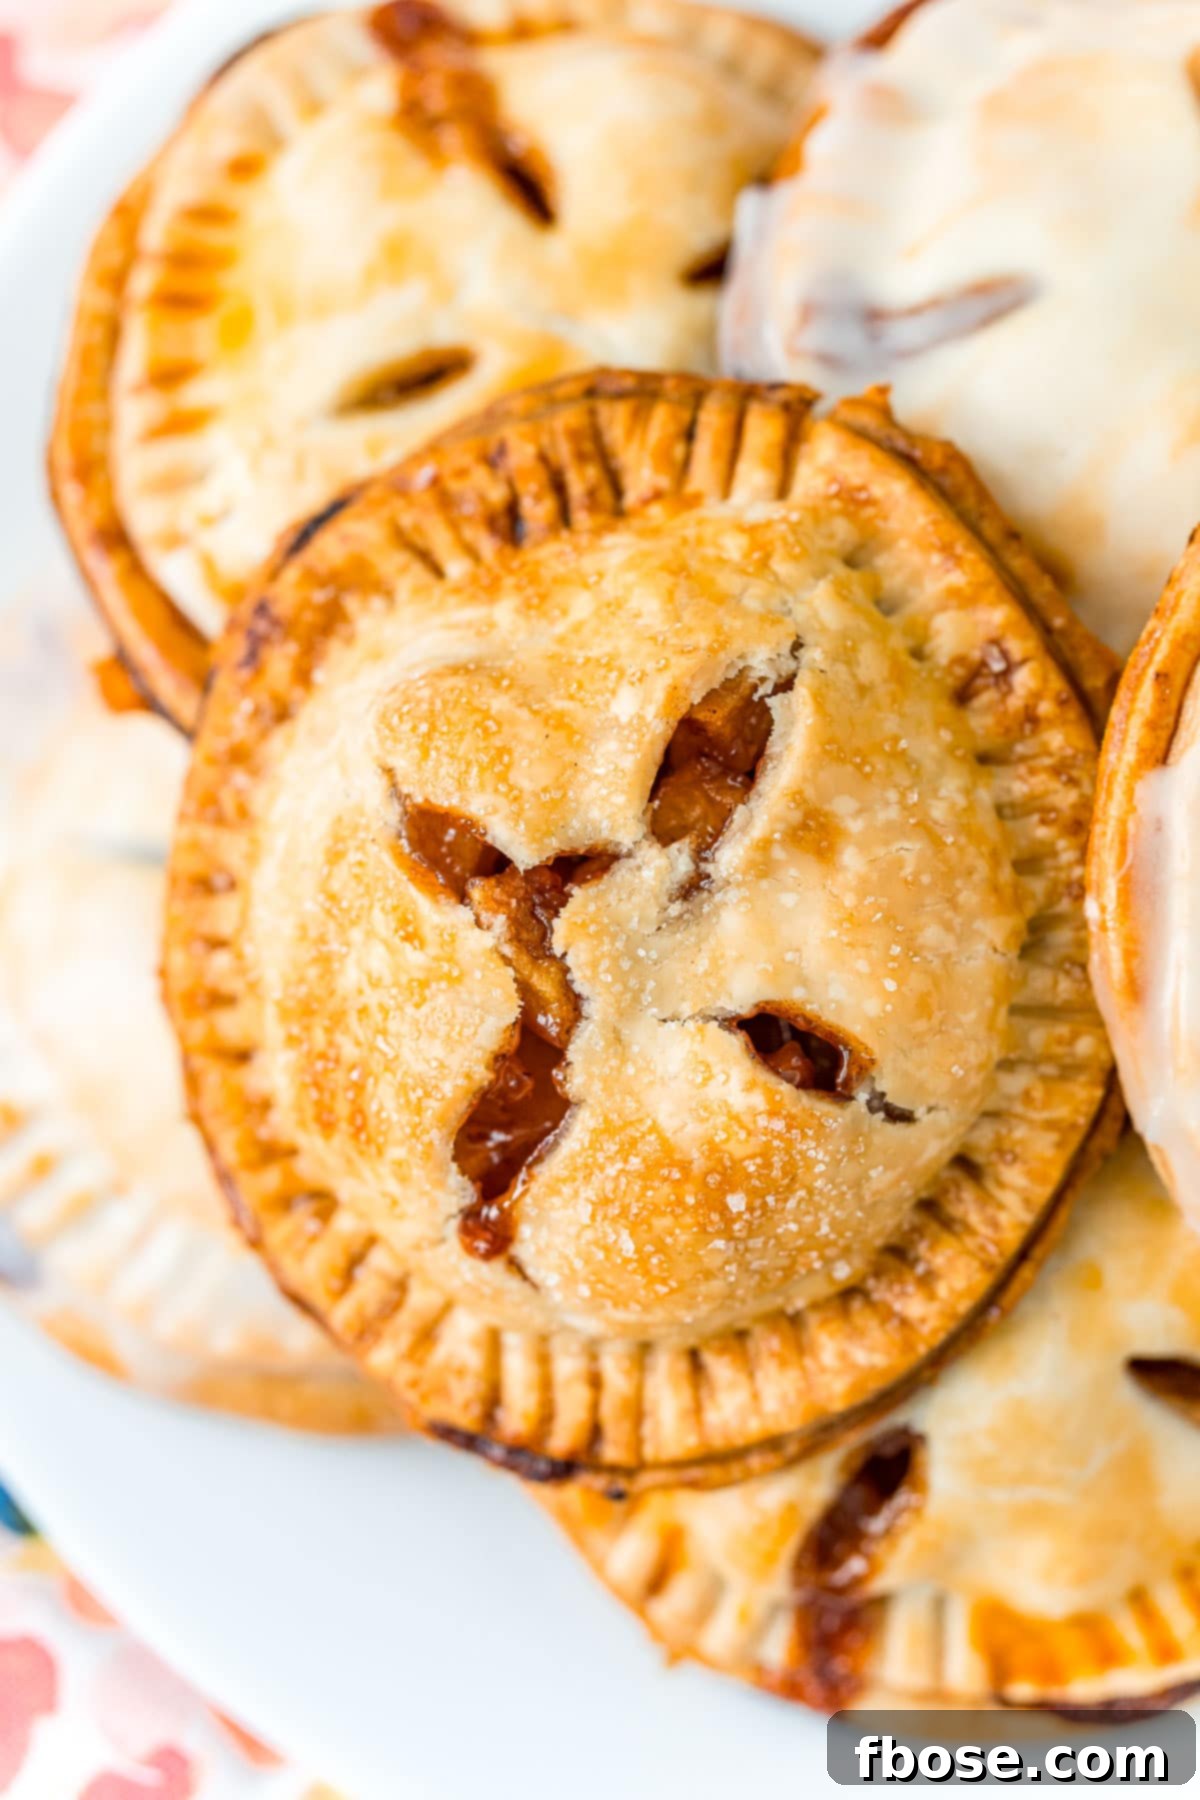
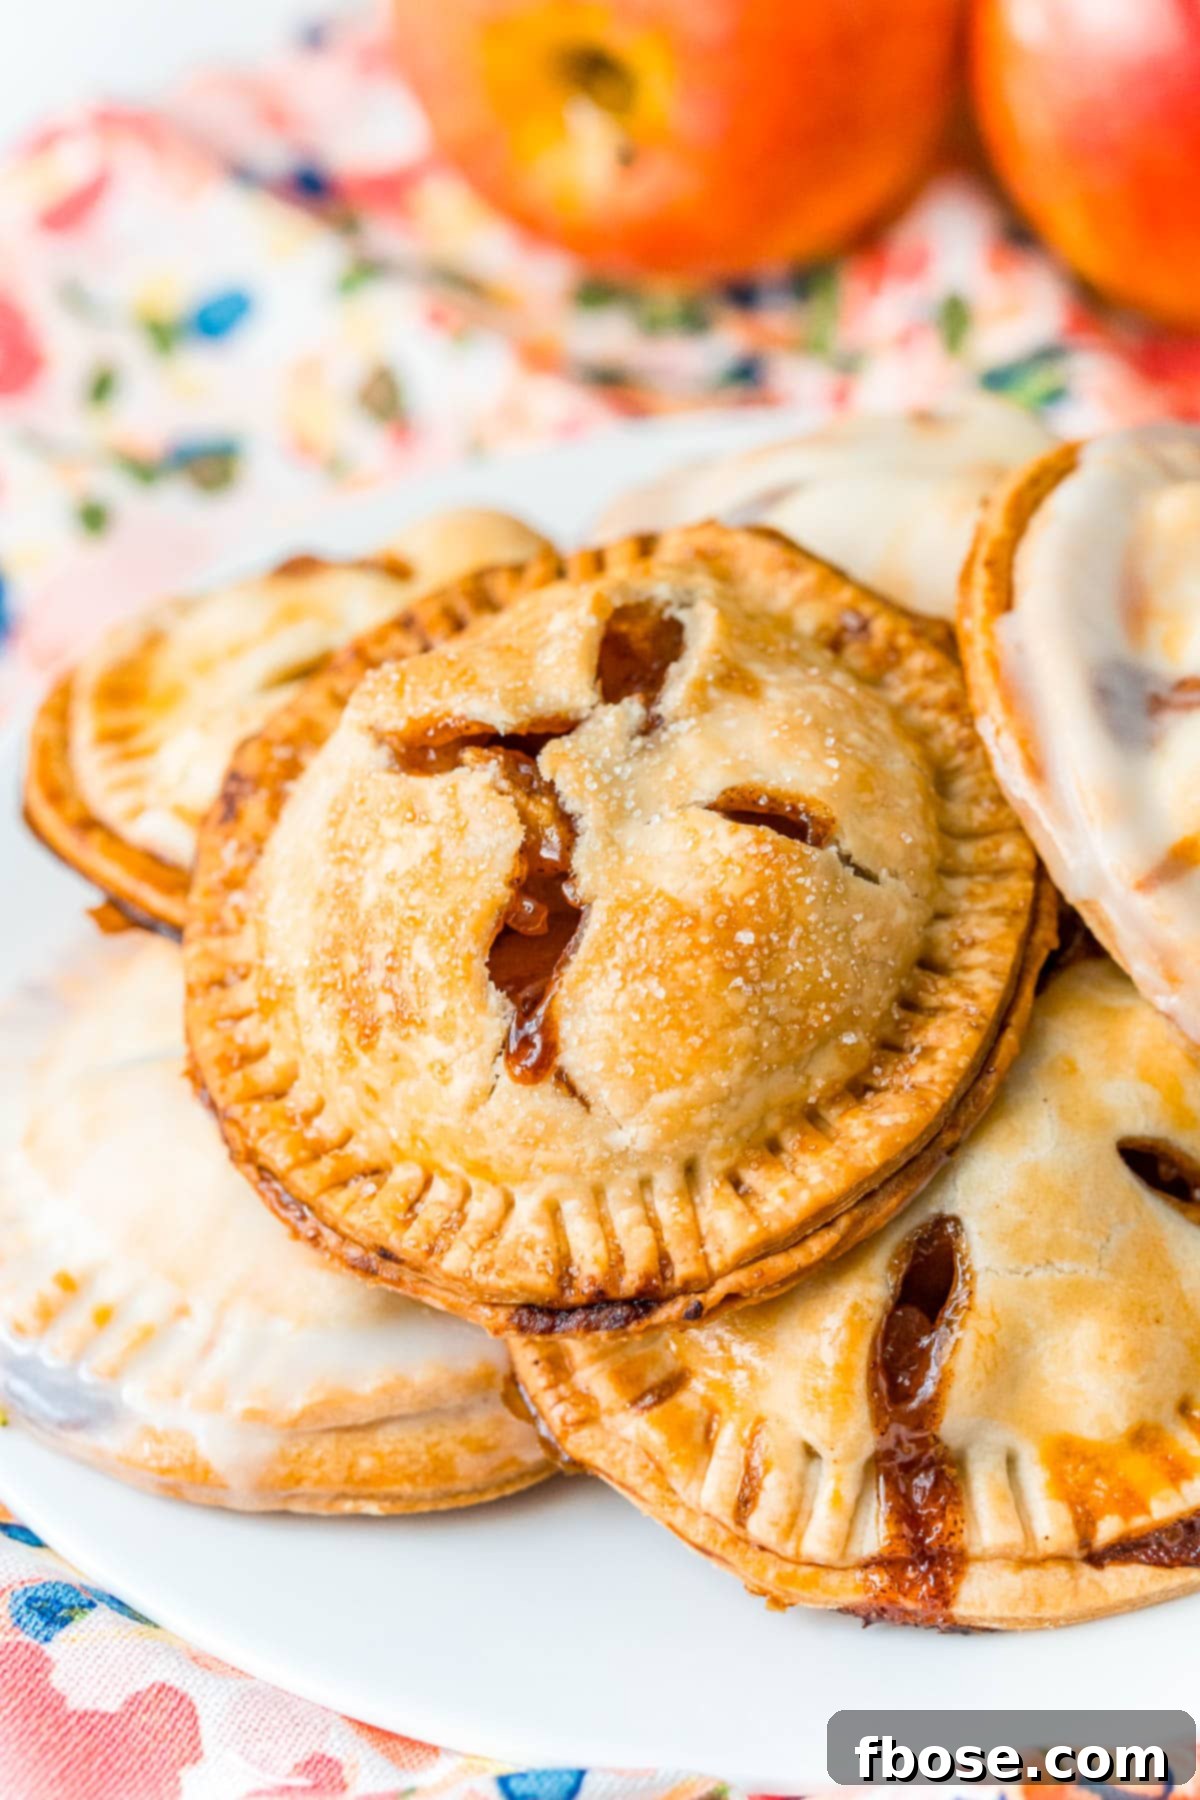
Apple Hand Pies are an utterly delightful and easy-to-make fall dessert, perfect for celebrating the flavors of autumn. Each pie is generously filled with a thick, warmly spiced apple mixture, all encased in a tender, flaky crust. To achieve that perfect finishing touch, you can choose to sprinkle them with a delicate dusting of sugar or a sweet, elegant glaze, making them irresistible for any occasion. These portable treats capture the essence of homemade comfort, bringing joy to every bite.
The luscious apple filling in this recipe is a cherished adaptation from our popular Caramel Apple Pie Dip, ensuring a depth of flavor that’s both familiar and exciting. Much like our beloved Mini Apple Pies, these hand pies are designed for convenience and sharing. They are ideal for potlucks, picnics, or simply as a grab-and-go snack for busy fall days. What makes them even more appealing is their quick preparation time – you can have these delicious delights ready in approximately 30 minutes, from start to finish!
This post was created in partnership with Stop & Shop, and all opinions and experiences shared are genuinely my own.
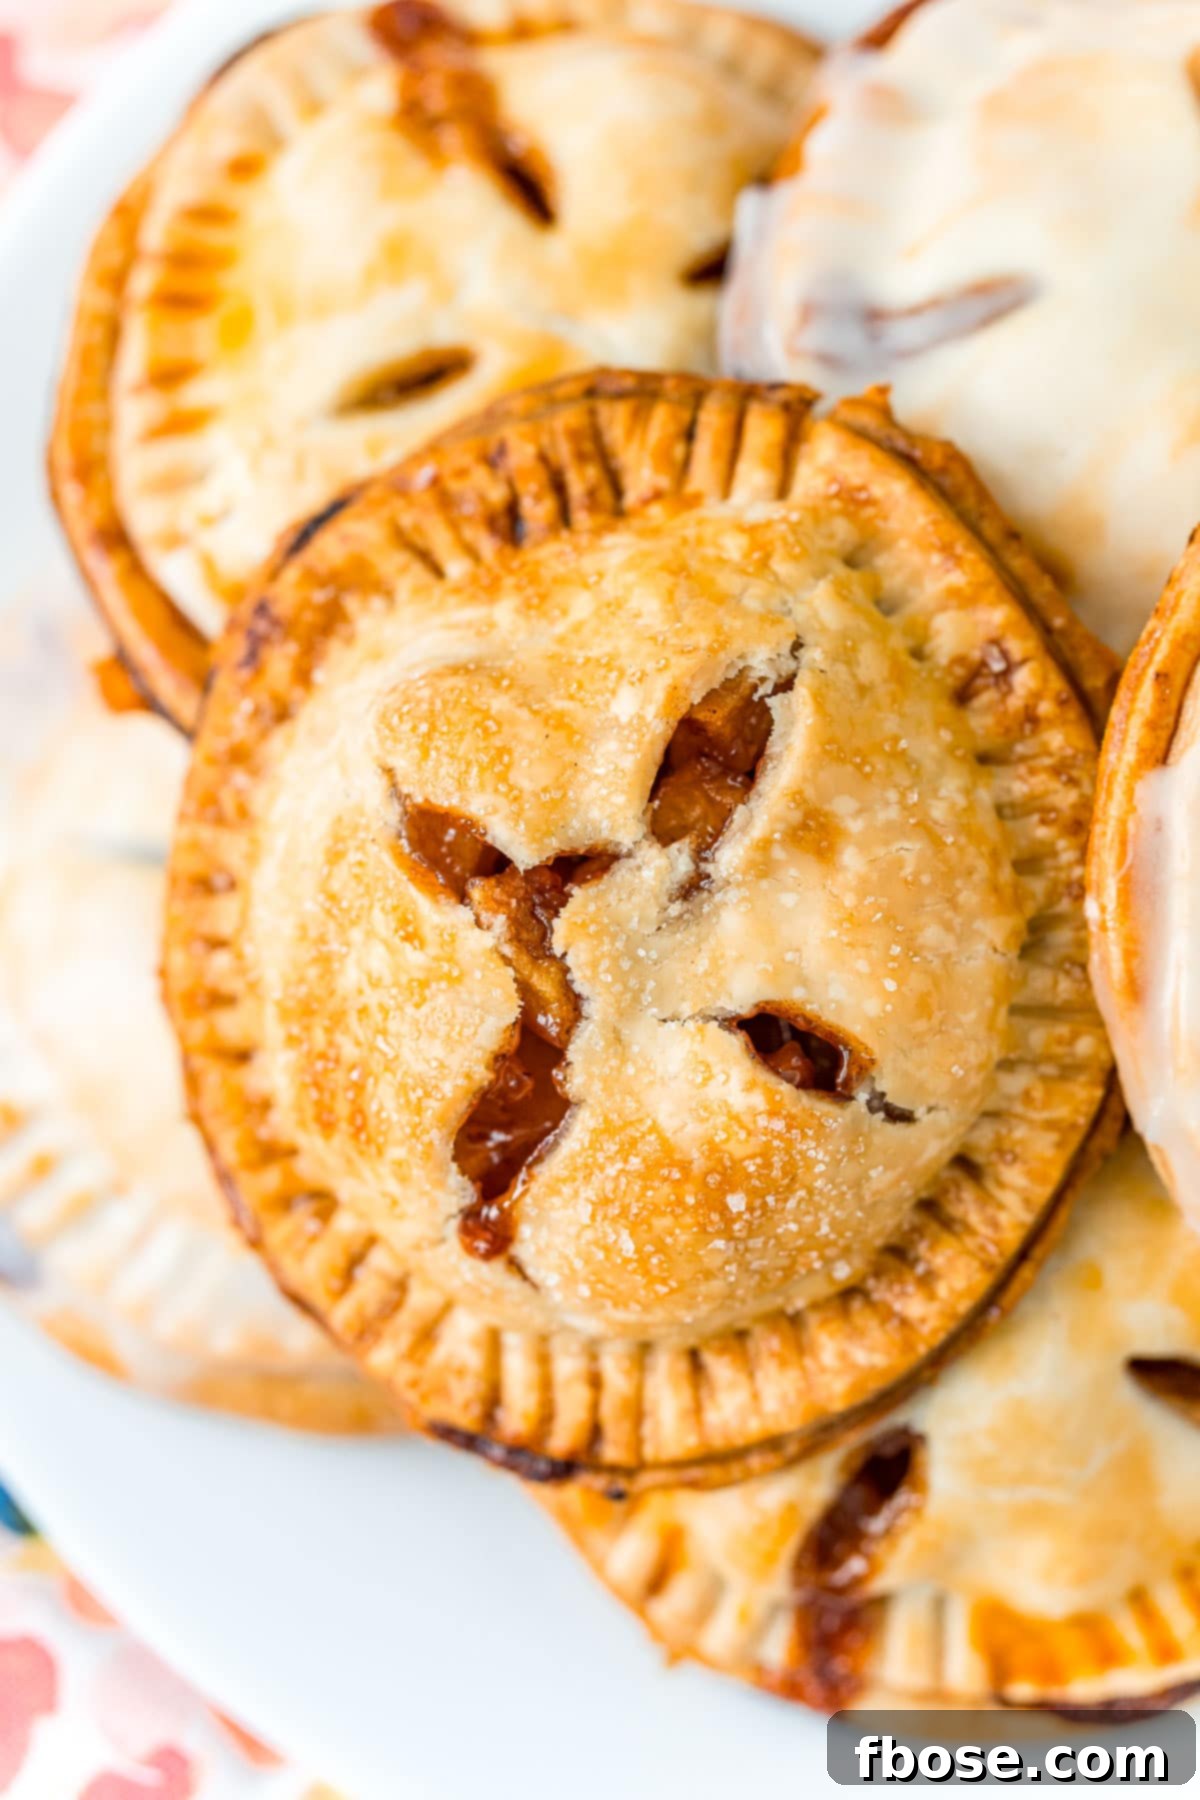
As the vibrant, carefree spirit of Beach Days begins to wane, a refreshing crispness fills the air, signaling the beautiful transition into autumn. Far from feeling sad, I embrace this change, as it ushers in a season rich with cozy traditions and heartwarming flavors. This time of year is synonymous with all things fall, and nothing captures that essence quite like these homemade Apple Hand Pies. They embody the perfect autumn dessert – delightful to bake, and even more wonderful to share with cherished friends and family. These pies are not just a treat; they’re a celebration of the season.
For any true New Englander, the arrival of autumn is incomplete without the time-honored tradition of apple picking. It’s an activity steeped in nostalgia, offering the simple pleasure of wandering through orchards, hand-selecting crisp, fresh apples directly from the trees. Now, with our little family of three, I eagerly anticipate sharing this beloved tradition with our daughter. It’s a joy to introduce her to the magic of the harvest season, creating new memories that will last a lifetime.
There’s an unparalleled satisfaction in the tart-sweet burst of a freshly picked apple. In my enthusiasm, I invariably find myself picking far more apples than we could possibly eat on their own. But that’s part of the fun! With an abundance of beautiful fruit on hand, the natural next step is to transform them into delicious culinary creations. These surplus apples become the star ingredient in a myriad of fall recipes, and these Apple Hand Pies are undoubtedly at the top of that list, showcasing the fruit’s natural sweetness and vibrant flavor.
What Exactly Is A Hand Pie?
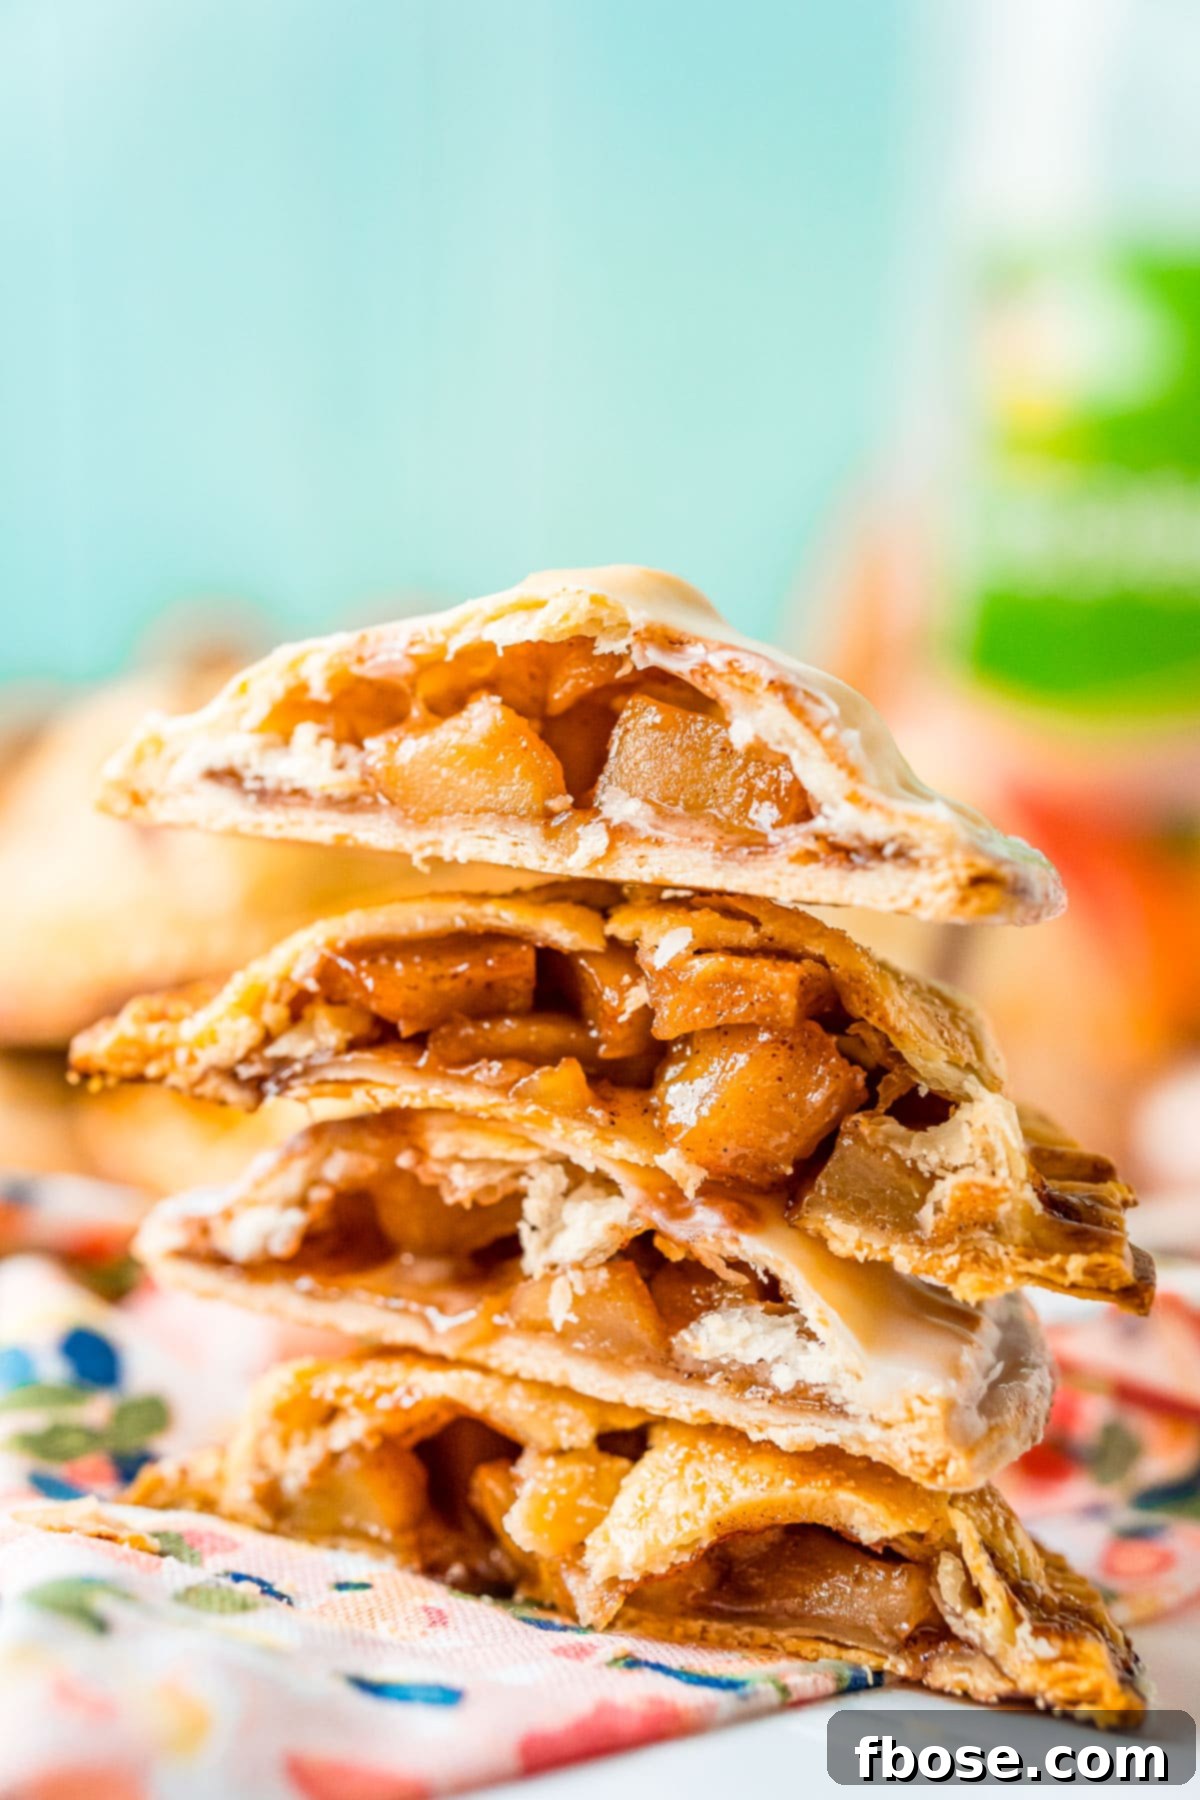
True to its name, a hand pie is a personal-sized pastry designed to be held and eaten with ease, making it the ultimate portable dessert. Unlike a traditional pie baked in a large dish with a single top and bottom crust, hand pies are crafted for individual enjoyment. Each one features two distinct circular pieces of dough that encase a delectable filling. These dough edges are then carefully crimped together, forming a secure seal that locks in all the flavorful goodness. This unique construction not only makes them incredibly convenient but also adds to their charming, rustic appeal. They’re essentially miniature, self-contained versions of your favorite classic pie, ready to be enjoyed anytime, anywhere.
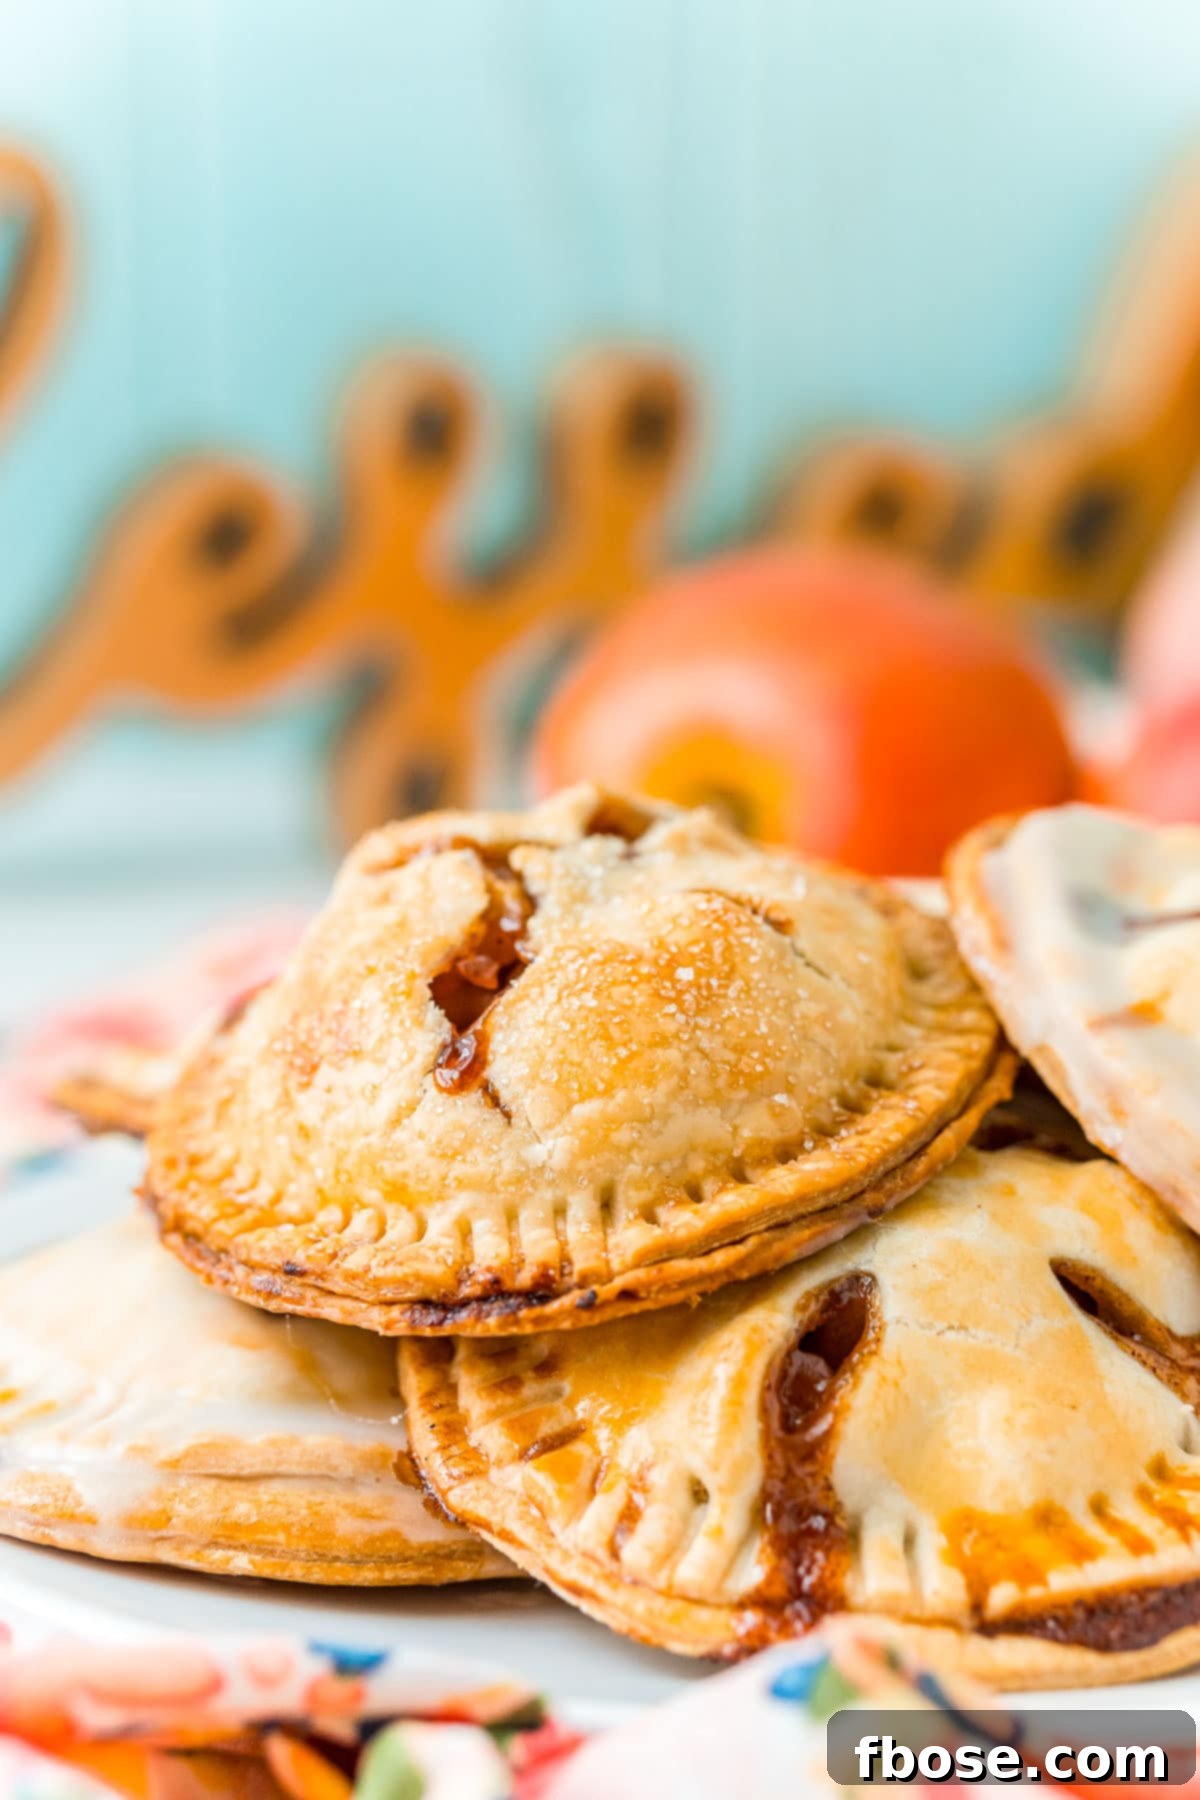
Early fall truly holds a special place in my heart; it’s hands down my absolute favorite time of year. There’s something magical about the contrast of crisp, cool nights that invite cozy evenings indoors, coupled with warm, golden days perfect for outdoor adventures. But the absolute best part of this season is witnessing nature’s spectacular transformation as the leaves begin their magnificent display, bursting forth in robust, fiery shades of red, brilliant orange, and deep gold. This annual spectacle paints the landscape in breathtaking hues, filling every moment with beauty and a sense of renewal.
This year, my excitement for fall traditions is even greater as we embark on new family experiences with our sweet Evie girl. While she was indeed with us last autumn, at just one year old, she’s now truly “leveled up.” This means she can actively participate in and genuinely enjoy more of our seasonal activities, including the occasional delightful treat like these Pumpkin Chocolate Chip Cookies and, of course, these scrumptious Apple Hand Pies. Sharing these moments and flavors with her makes the season all the more special, creating cherished memories for years to come.
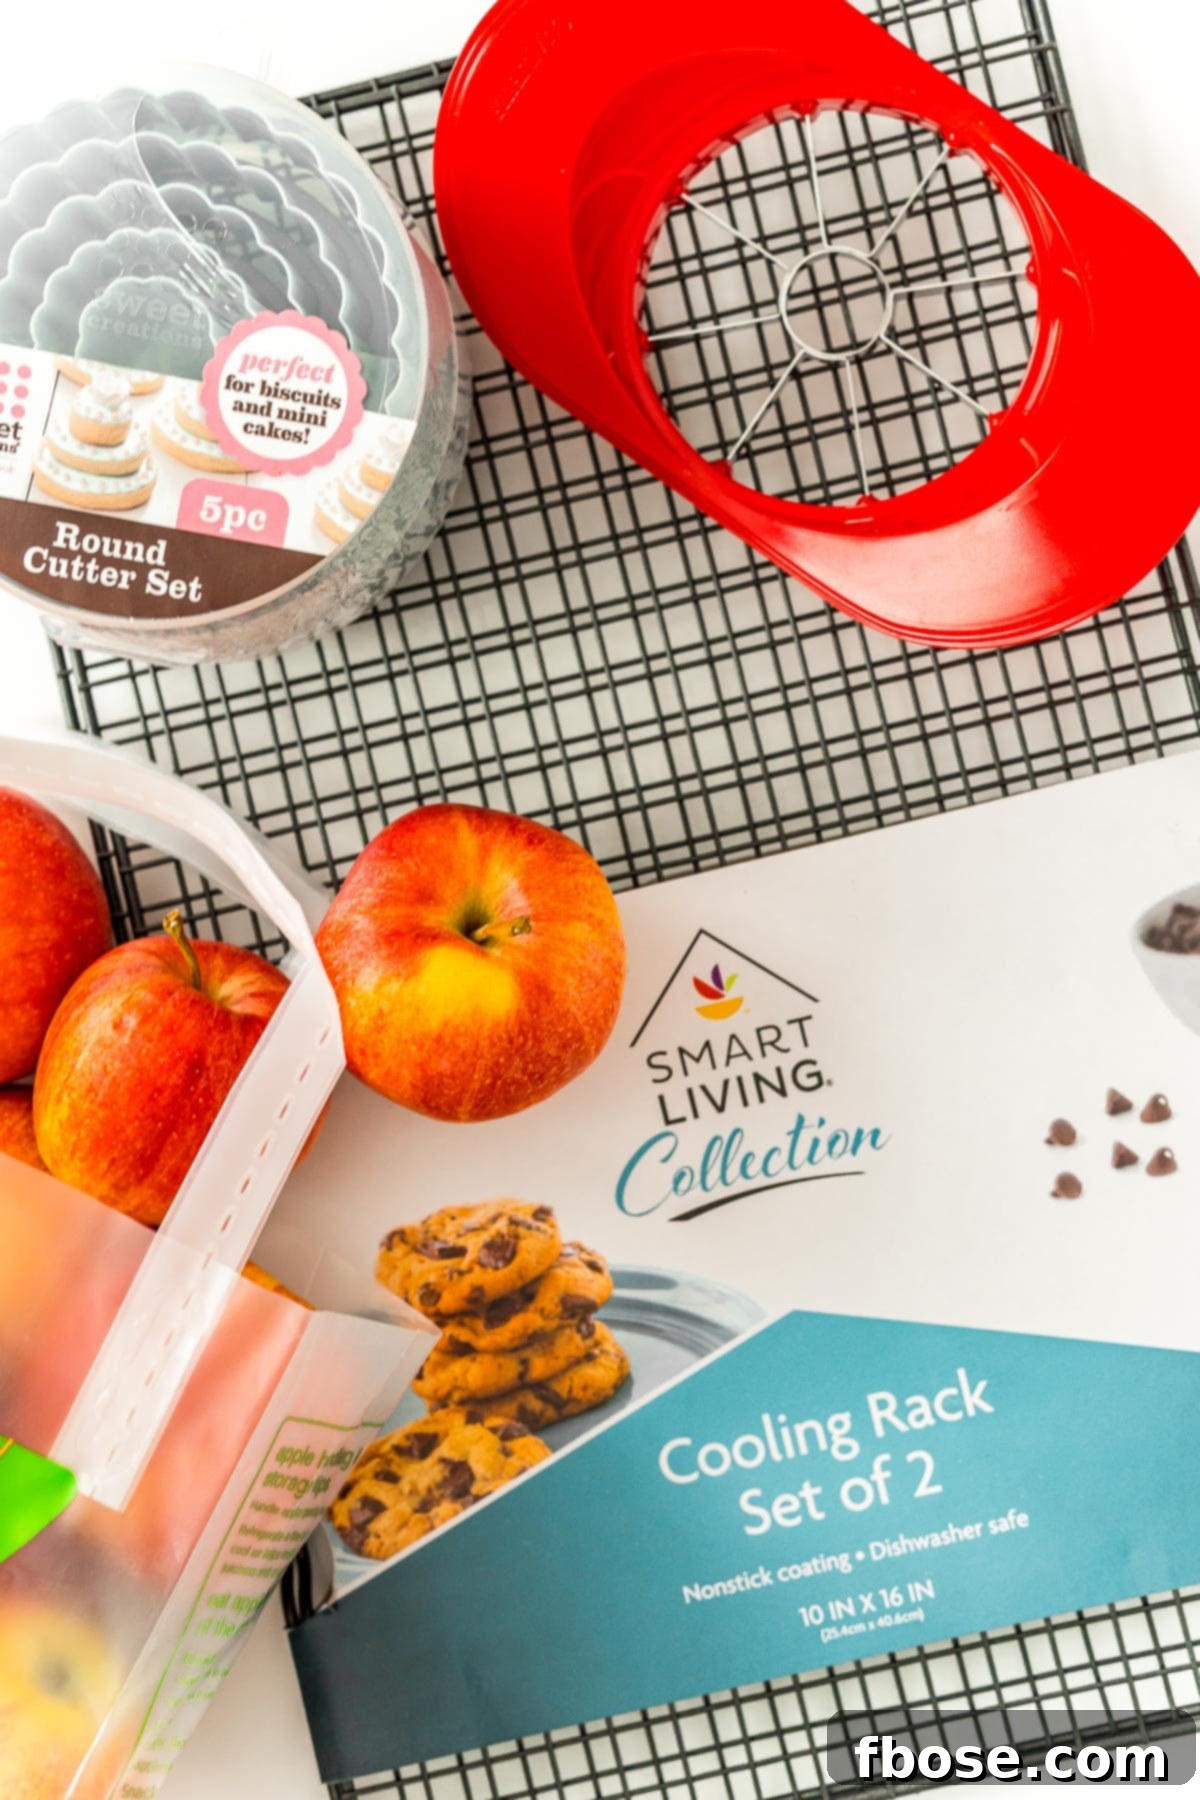
One of the many reasons to adore this Apple Hand Pie recipe is its incredible simplicity. Whether you’re a seasoned baker or just starting out, you can keep the process wonderfully straightforward by opting for convenient store-bought pie crusts. However, for those who enjoy the art of baking from scratch, feel free to use your absolute favorite homemade pie crust recipe. Either choice will result in a perfectly flaky and delicious shell for your sweet apple filling, demonstrating the recipe’s versatility and ease.
To ensure a smooth and enjoyable baking experience for these hand pies, you’ll need a few essential kitchen tools. A round cookie or biscuit cutter, ideally 3½ inches in diameter, is crucial for achieving uniform pastry circles. A reliable rolling pin will help you perfectly flatten your dough, while a sharp paring knife is indispensable for cutting vent slits. Additionally, a wire rack is necessary for cooling the pies, and a silicone baking mat or parchment paper will ensure they don’t stick to your baking sheet, making cleanup a breeze. With these tools ready, you’re all set to create your delectable apple hand pies.
Crafting Your Own Hand Apple Pies: A Step-by-Step Guide
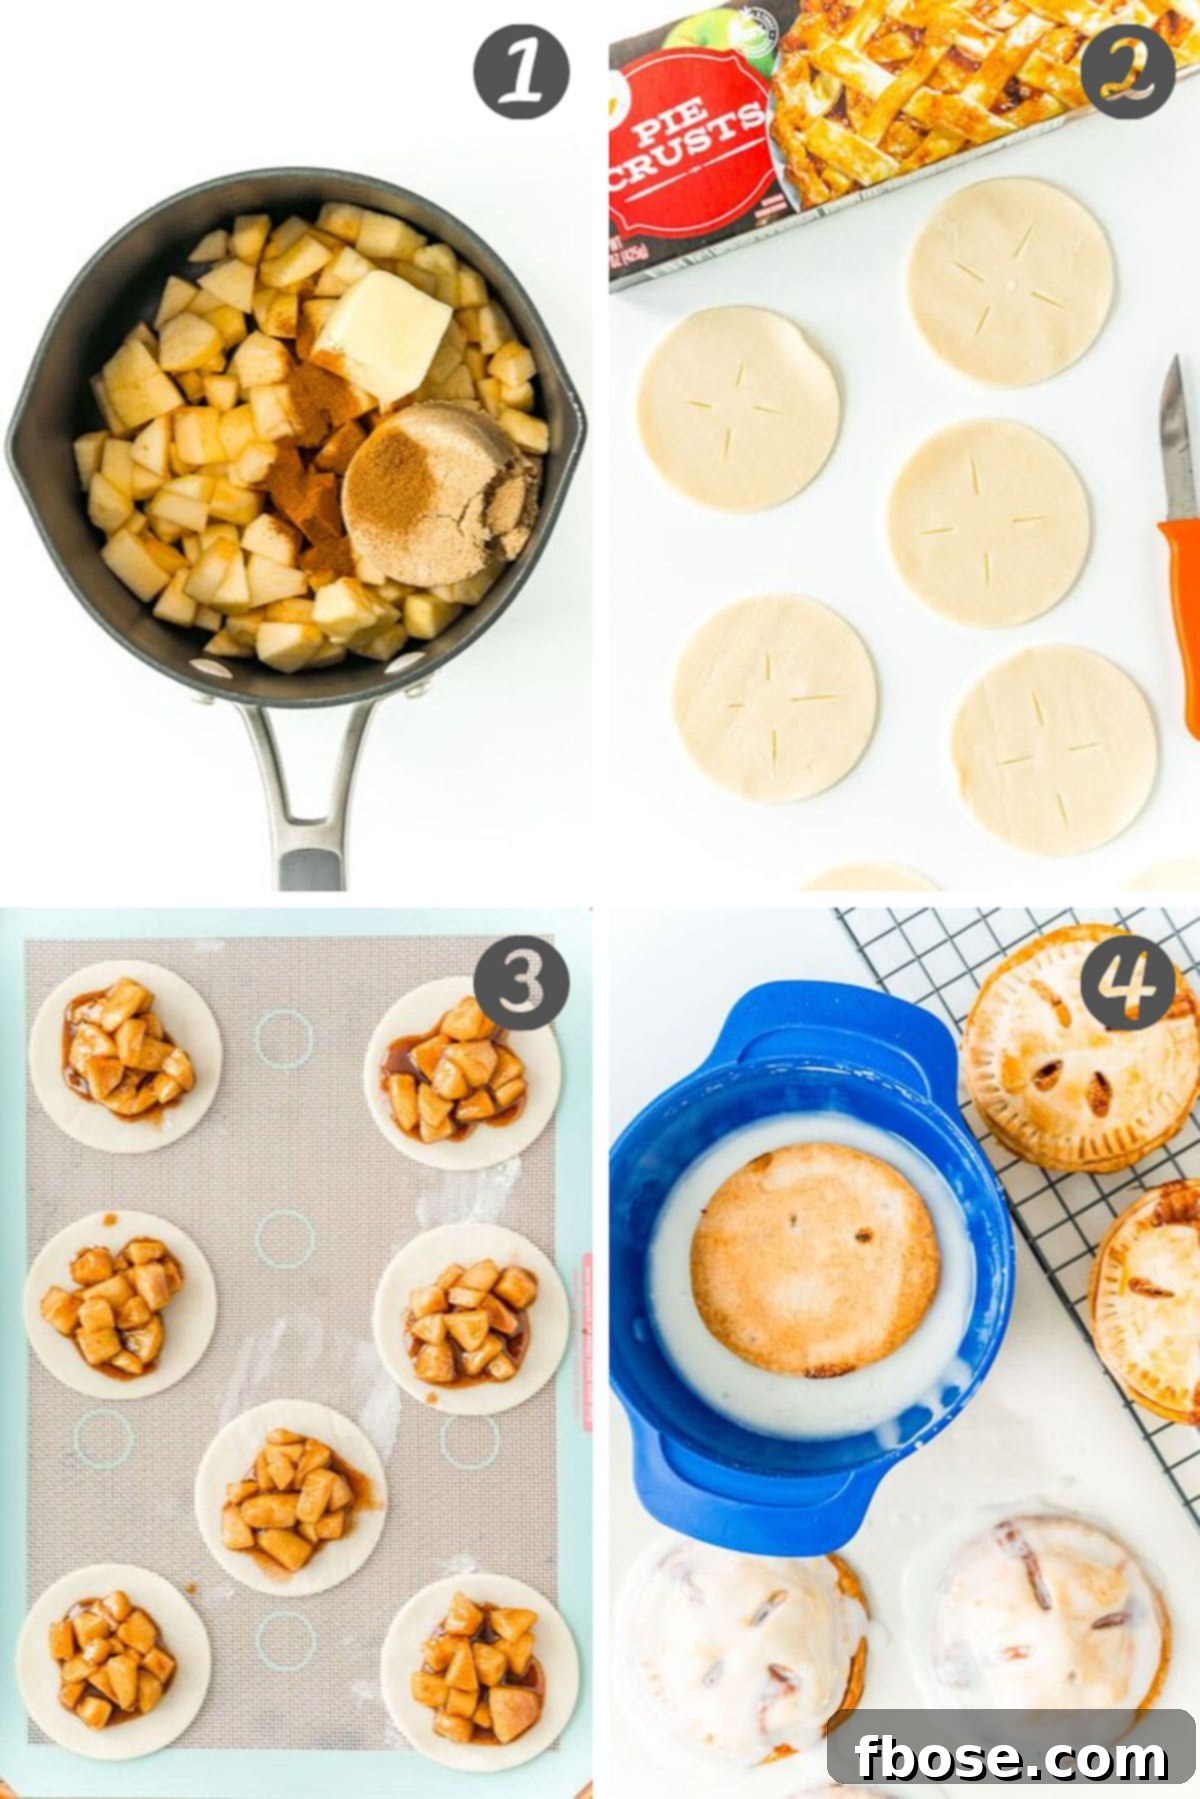
- **Prepare the Apple Filling:** Begin by combining your freshly diced apples, rich brown sugar, creamy butter, a splash of lemon juice, and aromatic spices in a medium saucepan. Cook this mixture gently over medium heat for several minutes, allowing the apples to soften and absorb the warming flavors. Then, to achieve that perfectly thick, gooey consistency characteristic of a classic apple pie, stir in a mixture of water and cornstarch, continuing to cook until the filling visibly thickens. This pre-cooking step is key to developing a rich, deeply flavored center for your pies.
- **Prepare the Pie Crusts:** Next, you’ll need to get your pie crusts ready. Whether you’re using store-bought convenience or your cherished homemade recipe, roll out the dough to an even thickness. Using a round cookie or biscuit cutter, carefully cut out numerous circular pieces from the larger crust. For effective venting during baking – which prevents steam buildup and ensures a perfectly cooked filling – you’ll need to cut small slits into half of these pastry circles. These will form the top crusts of your hand pies.
- **Assemble and Bake:** With your filling and crusts prepared, it’s time to assemble these delightful treats. Arrange the uncut pie crust circles on your prepared baking sheet, ensuring they are evenly spaced. Spoon approximately two tablespoons of the warm, spiced apple filling into the center of each bottom crust. Next, gently place the slit-cut top crusts over the filling. To create a beautiful and secure seal, use the tines of a fork to firmly crimp the edges of both crusts together all the way around. Finally, whisk together an egg and a tablespoon of milk to create an egg wash, and lightly brush this mixture over the top of each pie. This will give them a gorgeous golden-brown sheen as they bake. Transfer the baking sheet to your preheated oven and bake until your hand pies are beautifully golden brown and the filling is bubbly.
- **Optional Glaze Finish:** This final step is entirely optional but highly recommended for an extra touch of sweetness and visual appeal. Once your apple hand pies have cooled slightly, prepare a simple, delicious sugary glaze. You can then dip the tops of the warm pies into this glaze, allowing it to gently cascade down the sides. Place them back on a wire rack or parchment-lined surface and let the glaze set completely, forming a delightful, slightly crisp, and very sweet coating.
Expert Tips For Perfect Apple Hand Pies
1. **The Magic of Pre-Cooking Apples:** While it might seem tempting to use raw apples directly in your hand pies, taking a few minutes to pre-cook them is a game-changer. This crucial step helps the apples soften beautifully, preventing them from being crunchy after baking. More importantly, it allows the spices to deeply infuse into the fruit, creating a richer, more complex flavor profile and a wonderfully gooey, irresistible filling. Yum!
2. **Working with Store-Bought Crusts:** If you opt for the convenience of store-bought pie crusts, a little trick can make them much easier to handle. Allow the packaged crusts to sit at room temperature for about 10 to 15 minutes before unwrapping. This softens the dough, making it more pliable and less prone to cracking when unrolled. Once softened, lightly flour a clean work surface and gently roll out your dough with a rolling pin, carefully smoothing out any small cracks or imperfections.
3. **Accelerating Glaze Setting:** For those eager to enjoy their glazed hand pies sooner, a quick trip to the refrigerator can do wonders. After dipping the pies in the glaze, place them in the fridge for just 10 to 15 minutes. The cool temperature will help the glaze firm up and set much faster, giving you that beautiful, slightly hardened finish without a long wait.
4. **Ideal Apple Varieties:** The choice of apples significantly impacts the flavor and texture of your hand pies. For a balanced sweet-tart profile that holds its shape well during baking, I recommend using a mix of varieties. Honeycrisp offers a crisp texture and sweet flavor, Gala provides mild sweetness, while Granny Smith contributes a delightful tartness that cuts through the richness. Aim for about 2 cups of diced apples for the perfect filling quantity.
5. **Achieving a Flaky Crust:** Don’t overwork your dough, whether it’s homemade or store-bought. Over-handling can develop the gluten too much, resulting in a tough crust. Work quickly and gently when rolling and cutting. Also, ensure your butter (if making from scratch) or crust is cold before baking; this creates steam, which is essential for a wonderfully flaky texture.
Hand Pies vs. Turnovers: Understanding the Delicious Distinction
While often grouped together due to their similar handheld nature and sweet fillings, hand pies and turnovers possess distinct characteristics, primarily in their crust and shape. Turnovers are typically crafted using puff pastry dough, which bakes up into a gloriously light, airy, and multi-layered crust. Occasionally, pie crust can also be used for turnovers, but the flaky puff pastry is their hallmark. Furthermore, turnovers are distinguished by their folded shape – a single piece of dough is filled and then folded over itself, much like a savory calzone, to create a characteristic half-moon or triangular appearance. This folding technique gives them a unique visual and textural appeal.
In contrast, hand pies are traditionally made with a classic pie crust, which yields a tender, buttery, and more substantial texture. Their defining visual feature is their usually circular shape, formed by placing one round of dough on top of another over the filling, then crimping the edges together. This creates a fully enclosed, often rustic, and undeniably charming individual pastry. While both offer a convenient and delicious way to enjoy fruit fillings, the choice between a hand pie and a turnover often comes down to a preference for a rich pie crust versus a lighter, airier puff pastry.
For the sake of both convenience and quality, I consistently choose to gather all my kitchen essentials – and often a little more! – from my local Amesbury, Massachusetts Stop & Shop. It’s a place where I know I can find everything I need to bring my culinary creations to life, and beyond.
During my last visit, while stocking up on all the vital ingredients for these delightful Apple Hand Pies, I couldn’t resist picking up a few extra seasonal treasures that weren’t even on my original list. Among these impulse finds were charming pumpkins and vibrant mums, perfect for adding a touch of autumn elegance to our patio. It’s these unexpected little additions that truly make the season feel special and our home feel welcoming.
Indeed, Stop & Shop has become my go-to, one-stop destination for everything from everyday pantry staples to fresh, seasonal decor that perfectly complements our home. The store’s layout makes everything incredibly easy to find, saving me precious time navigating aisles. Even better, they consistently offer fantastic prices, ensuring that I can enjoy high-quality ingredients and beautiful seasonal items without breaking the bank. It’s a win-win for my family and my autumn budget.
These efficiencies mean I consistently save both time and money with every single trip to Stop & Shop – two resources I genuinely value, especially now with a busy toddler in tow. Every minute and every dollar saved allows me more freedom to focus on what truly matters: creating cherished moments and enjoying quality time with my family.
Soon, our entire home will be wonderfully infused with the inviting aroma of cinnamon and warm apple spice, thanks to this irresistible Apple Hand Pie recipe. Once I’ve positioned the cheerful mums by the front door and arranged the plump pumpkins on the steps, the fall spirit will be undeniable and truly palpable throughout our home. These simple seasonal touches, combined with the scent of fresh baking, create an atmosphere of cozy autumn bliss that we all look forward to.
Then, as the evening draws in, we’ll gather to savor our homemade pies, snuggling down for a quiet and comforting night together. These are the precious, simple memories I am so eager to create and share with my little girl, who is already growing up incredibly fast. Thanks to the ease and convenience of Stop & Shop, I know I’ll be spending less time on errands and more invaluable time at home, doing the things we love most as a family!

Let’s Connect and Share Your Creations!
If you’ve had the joy of trying this delightful Apple Hand Pie recipe, we would absolutely love to hear from you! Please take a moment to share your experience and thoughts in the comments section below, and consider leaving a review. Your feedback not only brightens our day but also helps others discover and enjoy this recipe. We truly love hearing about your kitchen adventures!
And don’t forget to capture your beautiful creations! Tag us – @sugarandsoulco – on Instagram and Pinterest with your photos, or better yet, join our vibrant Sugar & Soul Show-offs Community. There, you can share your culinary triumphs, connect with fellow food enthusiasts, and even participate in our exciting recipe challenges! We can’t wait to see what you’ve baked!

Apple Hand Pies
Ingredients
Crust
- 4 pie crusts1
Filling
- 3 medium apples2 peeled, cored, and diced
- ⅓ cup light brown sugar
- 2 tablespoons unsalted butter
- 2 teaspoons lemon juice
- ½ teaspoon ground cinnamon
- ½ teaspoon apple pie spice
- 1 teaspoon cornstarch
- 1 teaspoon water
Egg Wash
- 1 large egg
- 1 tablespoon whole milk
Glaze
- 2 cups powdered sugar
- ¼ cup whole milk
Instructions
-
Preheat your oven to 375°F (190°C) and line a large baking sheet with a silicone baking mat or parchment paper. This will prevent sticking and make cleanup easier.
-
Prepare your pie crust. If using a homemade recipe, follow its directions. If using refrigerated store-bought pie crusts, take them out of the fridge and let them sit at room temperature for about 10 minutes before carefully unpacking and unrolling. This makes them more pliable and less likely to crack.
-
In a small saucepan, combine the diced apples, light brown sugar, unsalted butter, and all the warm spices (ground cinnamon and apple pie spice). Cook this mixture over medium heat for approximately 4 minutes, stirring occasionally to ensure even cooking and prevent sticking. This step softens the apples and helps the flavors meld beautifully.
-
In a separate small bowl, whisk together the cornstarch and water until smooth to create a slurry. Add this slurry to the apple mixture in the saucepan and continue to cook for another minute, stirring constantly, until the filling thickens to a luscious, gooey consistency.
-
Remove the saucepan from the heat and set the apple filling aside to cool for a few minutes while you finish preparing your crusts. On a lightly floured surface, roll out your pie crusts to an even thickness. Use a 3½-inch round cookie or biscuit cutter to cut out as many circles of crust as possible. Each pie crust should yield roughly 7 circles, for a total of about 28 circles from 4 crusts. With a small paring knife, carefully cut 3-4 small slits into half of the circles; these will serve as the top crusts, allowing steam to escape during baking.
-
Place the uncut pie crust circles onto your prepared baking sheet, spacing them a few inches apart. You may need to bake the hand pies in two batches, depending on the size of your baking sheet. Spoon about 2 generous tablespoons of the cooled apple pie filling into the center of each uncut crust circle. Avoid overfilling to ensure a good seal.
-
In a small bowl, beat together the large egg and one tablespoon of whole milk to create an egg wash. Use a pastry brush to lightly coat the edges of the bottom crusts around the apple filling with this egg wash. This acts as a ‘glue’ to help seal the top and bottom crusts together.
-
Carefully place the slit-cut crust circles on top of the filled bottom crusts. Use the tines of a fork to firmly press and crimp the edges of the two crusts together all the way around, creating a decorative and secure seal. Brush the tops of all the assembled pies with the remaining egg wash. If desired, you can sprinkle a little granulated sugar over the tops before baking for an extra sparkle and subtle crunch.
-
Bake the hand pies in the preheated oven for approximately 24 to 27 minutes, or until the crusts are beautifully golden brown and the filling is bubbly. Baking times can vary, so keep an eye on them. Once baked, remove the pies from the oven and transfer them to a wire rack to cool for 20 to 30 minutes before proceeding with the optional glaze. Cooling allows the filling to set further.
-
To prepare the optional glaze, whisk together the powdered sugar and ¼ cup of whole milk in a medium bowl until completely smooth and lump-free. Once the hand pies have cooled sufficiently, gently dip the tops of each pie into the glaze. Place the glazed pies back onto a parchment-lined surface (like the baking sheet) to allow the glaze to harden completely. If you wish for the glaze to set faster, you can place the pies in the refrigerator for 10 to 15 minutes.
Video
Notes
- You can use either convenient store-bought pie crusts for a quick option or prepare your favorite homemade pie crust recipe for a more artisanal touch.
- You should aim for approximately 2 cups of diced apples for the filling. Excellent apple varieties for baking that hold their shape and offer great flavor include Gala, Honeycrisp, or Granny Smith (for a tarter kick).
- To expedite the setting process of the glaze, simply place the dipped pies in the refrigerator for about 10 to 15 minutes.
Nutrition
Did You Make This Recipe?
Don’t forget to share it with me on Instagram @sugarandsoulco and follow on Tiktok @sugarandsoulco and Pinterest @sugarandsoulco for more!
Pin Recipe
Share Recipe