

Fudgy Sheet Pan Brownies: Your Ultimate Large-Batch Dessert Solution
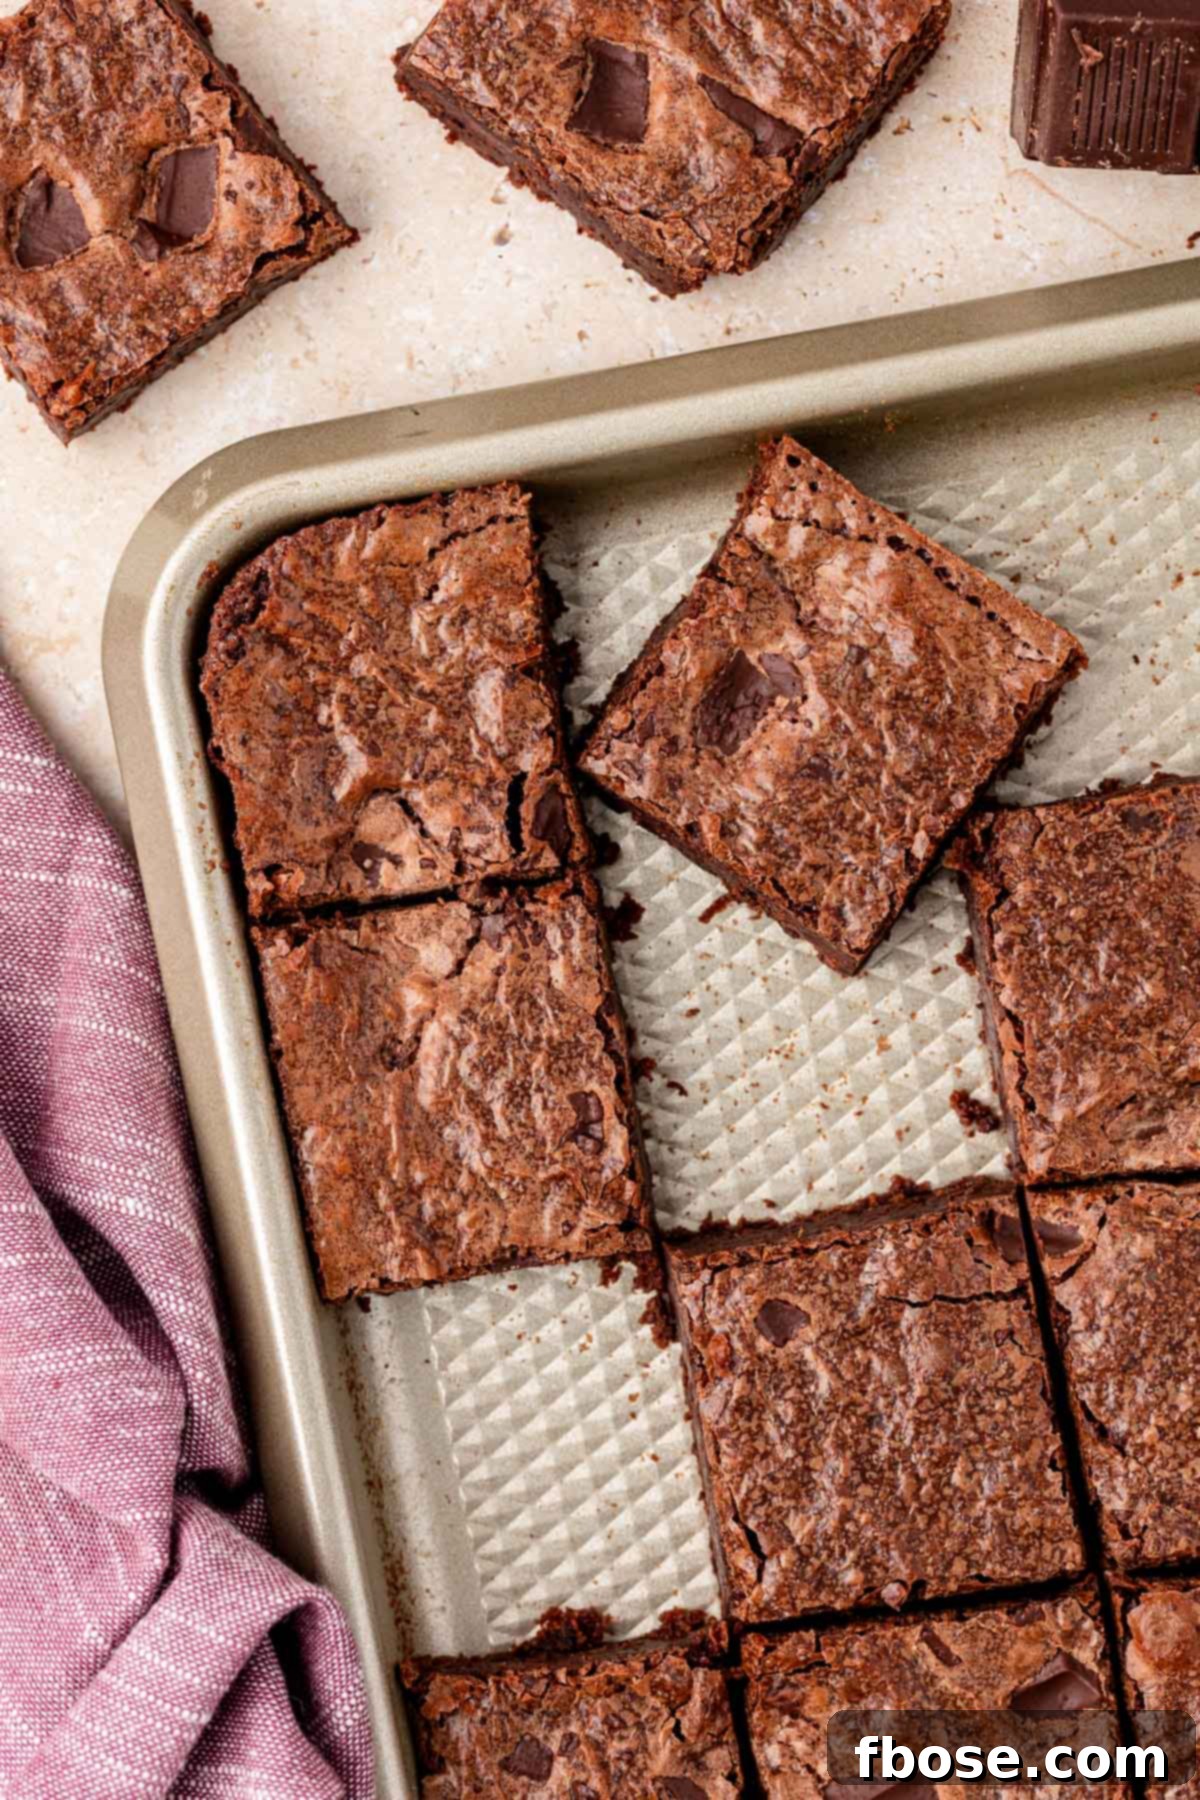
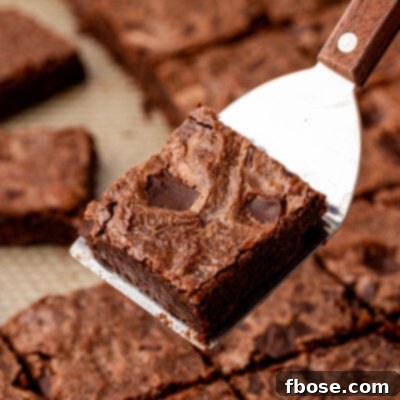
Craving a rich, decadent chocolate treat that’s perfect for sharing? Look no further than these incredible **Sheet Pan Brownies**! This recipe is your go-to for baking a large batch of supremely fudgy, irresistibly delicious brownies. Ideal for potlucks, lively parties, and festive holiday gatherings, these brownies deliver two dozen hand-held, easy-to-serve treats. The best part? They require minimal effort, using simple pantry ingredients and a quick 10-minute prep time.

Why Sheet Pan Brownies Are a Must-Have for Your Next Gathering
Baking for a crowd doesn’t have to be a stressful endeavor. With this fantastic Sheet Pan Brownies recipe, you can effortlessly create a generous dessert that will impress everyone. Forget complicated multi-layered cakes or individually portioned treats; these brownies are designed for simplicity and maximum flavor. In just about 10 minutes of active preparation, followed by a short baking time, you’ll have a delightful dessert ready to go.
This recipe truly shines by delivering an unmatched fudgy texture without any cake-like dryness. The secret lies in a unique one-pot stovetop method that cleverly bypasses the traditional creaming process. By eliminating the incorporation of excess air into the batter, we achieve an intensely chewy and dense brownie that melts in your mouth with every bite. The result is the ultimate large-batch dessert – deeply rich, exceptionally moist, and bursting with chocolate flavor. Whether it’s a school event, a church potluck, or a casual get-together with friends, these brownies are guaranteed to be a crowd-pleaser.
Not only are they easy to make, but sheet pan brownies also offer incredible versatility. They can be served simply on their own, or become the foundation for a variety of creative dessert presentations. Their uniform thickness and convenient size make them perfect for stacking, decorating, or pairing with other treats. This recipe is a game-changer for anyone looking to simplify their baking while still serving a dessert that tastes gourmet.
Pin This Recipe For Later

Rebecca’s Recipe Review
Taste: Experience an incredibly rich, deep chocolate flavor that satisfies any sweet craving.
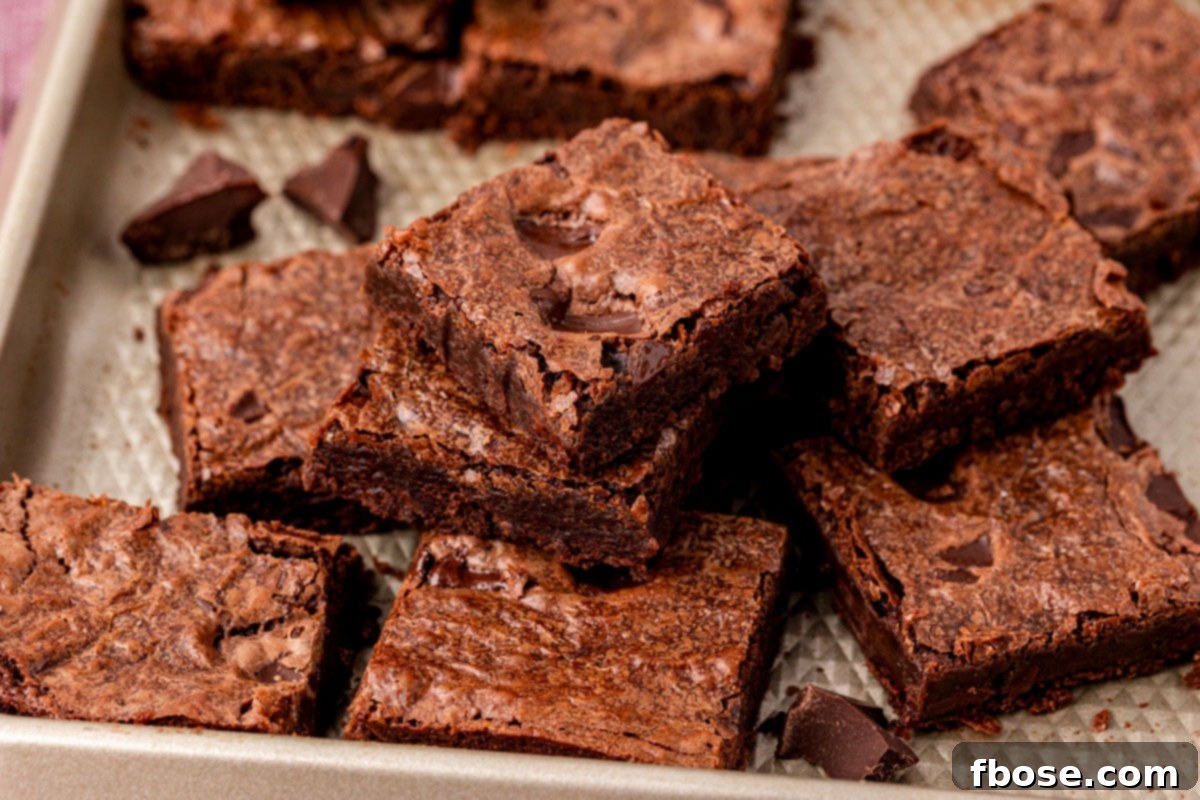
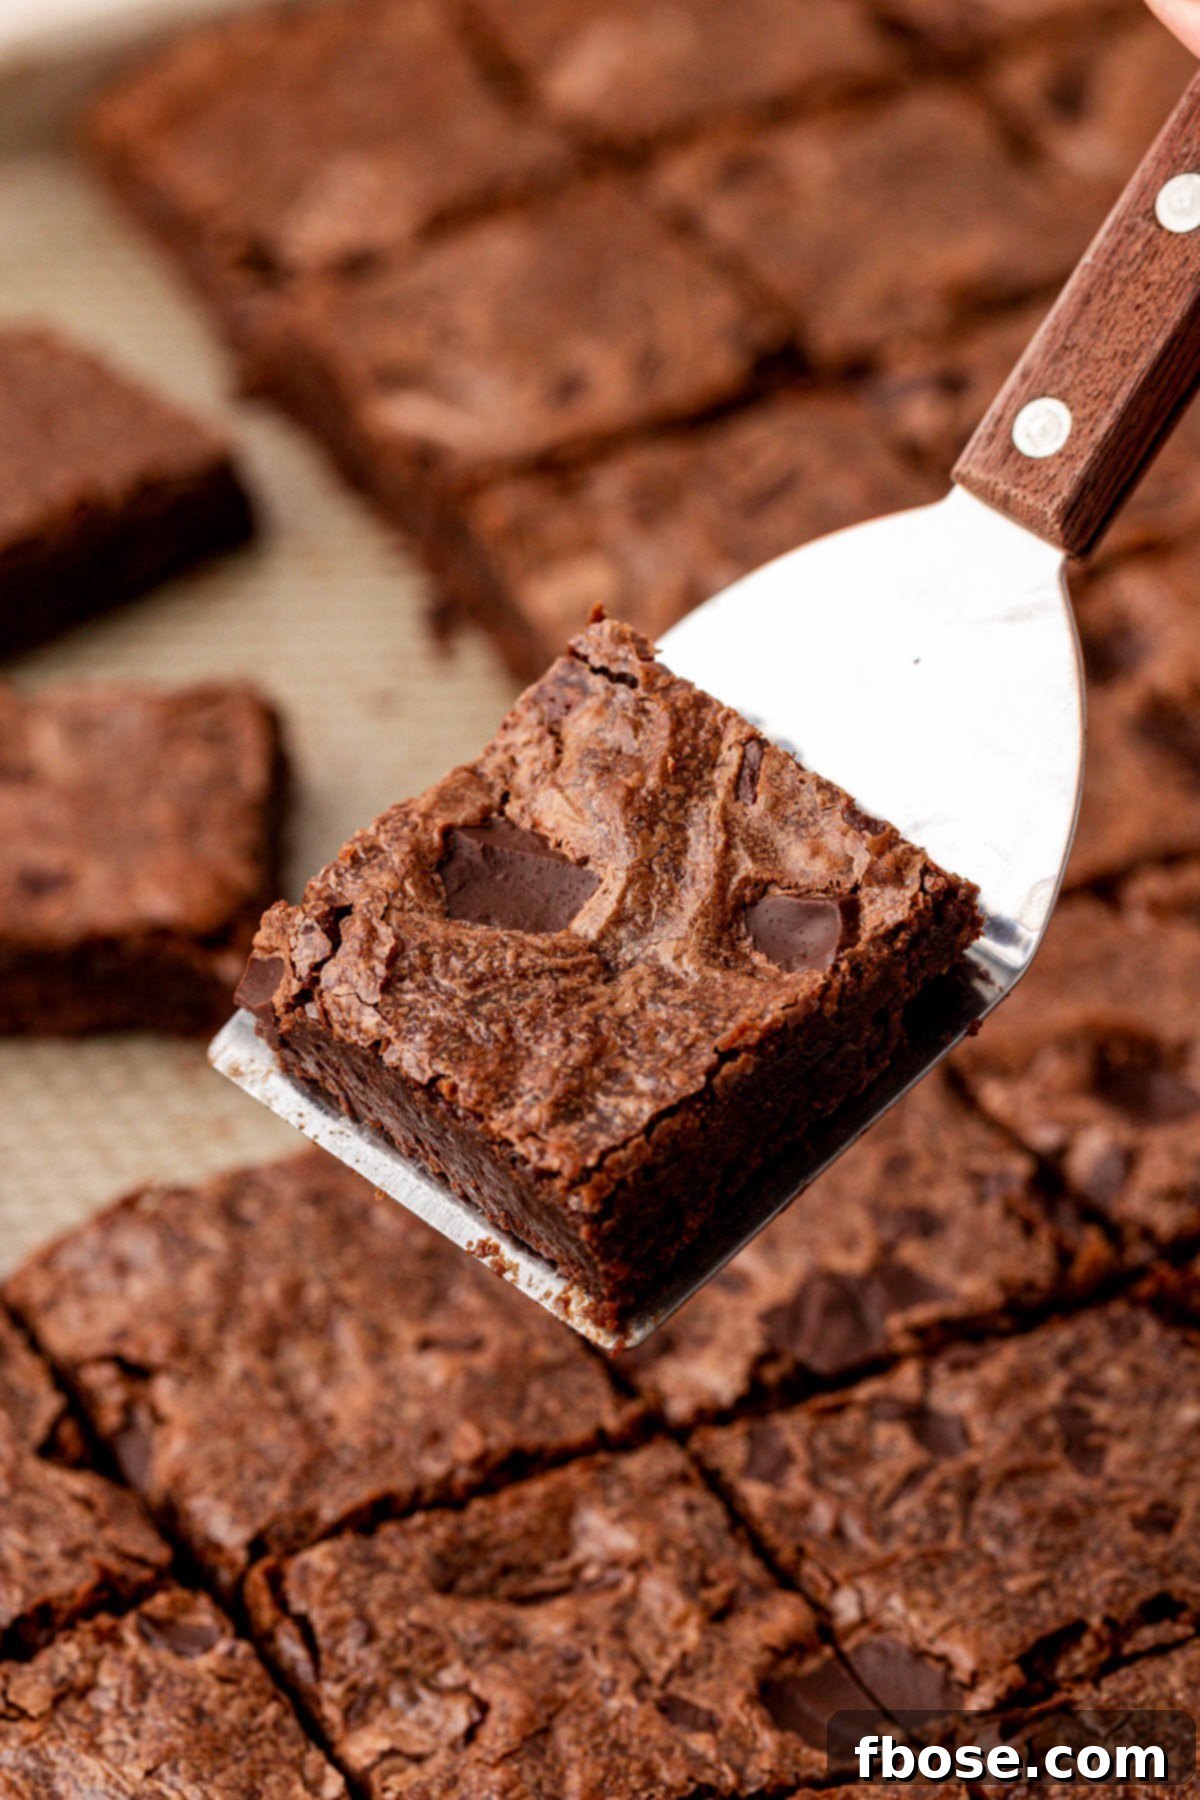
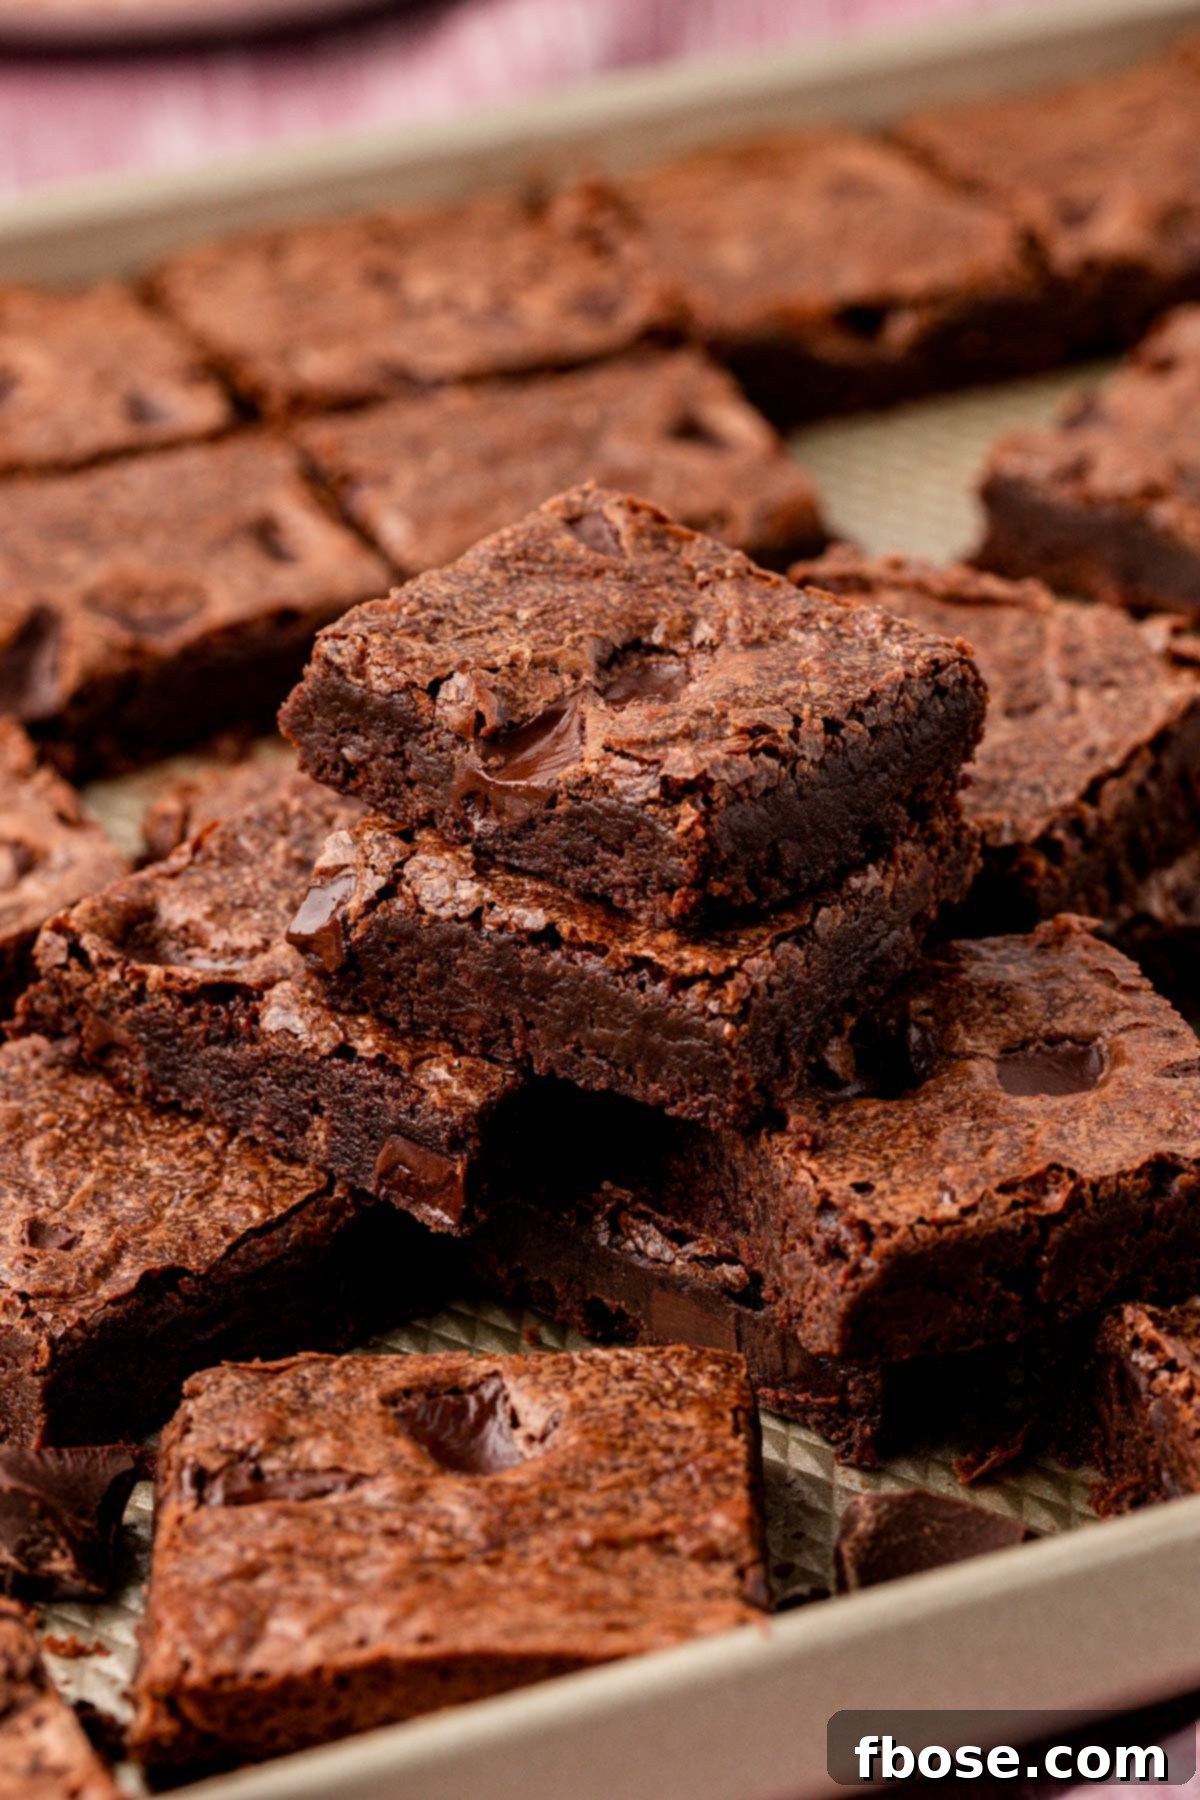
Texture: These brownies are perfectly thin yet wonderfully fudgy, maintaining their shape beautifully after slicing.
Ease: 5/10 – While relatively easy to follow, this recipe does involve a quick stovetop cooking step before the baking process begins. Don’t let that deter you; it’s essential for achieving that signature fudgy texture!
Pros: This recipe yields a generous quantity of thinner brownies, making them absolutely perfect for sharing at various gatherings, school events, potlucks, and beyond. Their size is ideal for portion control and easy handling.
Cons: A 12×17-inch sheet pan is required, which might not be a standard item in every kitchen. However, I wholeheartedly recommend investing in one! It’s an incredibly versatile pan that I use not just for brownies, but also for all my cookie baking.
Would I Make This Again? 100%! This recipe has officially become a staple in my kitchen and will be my fallback for church functions, birthday parties, and any occasion that calls for a delicious, easy-to-make dessert.
Essential Ingredients for Ultimate Fudgy Sheet Pan Brownies
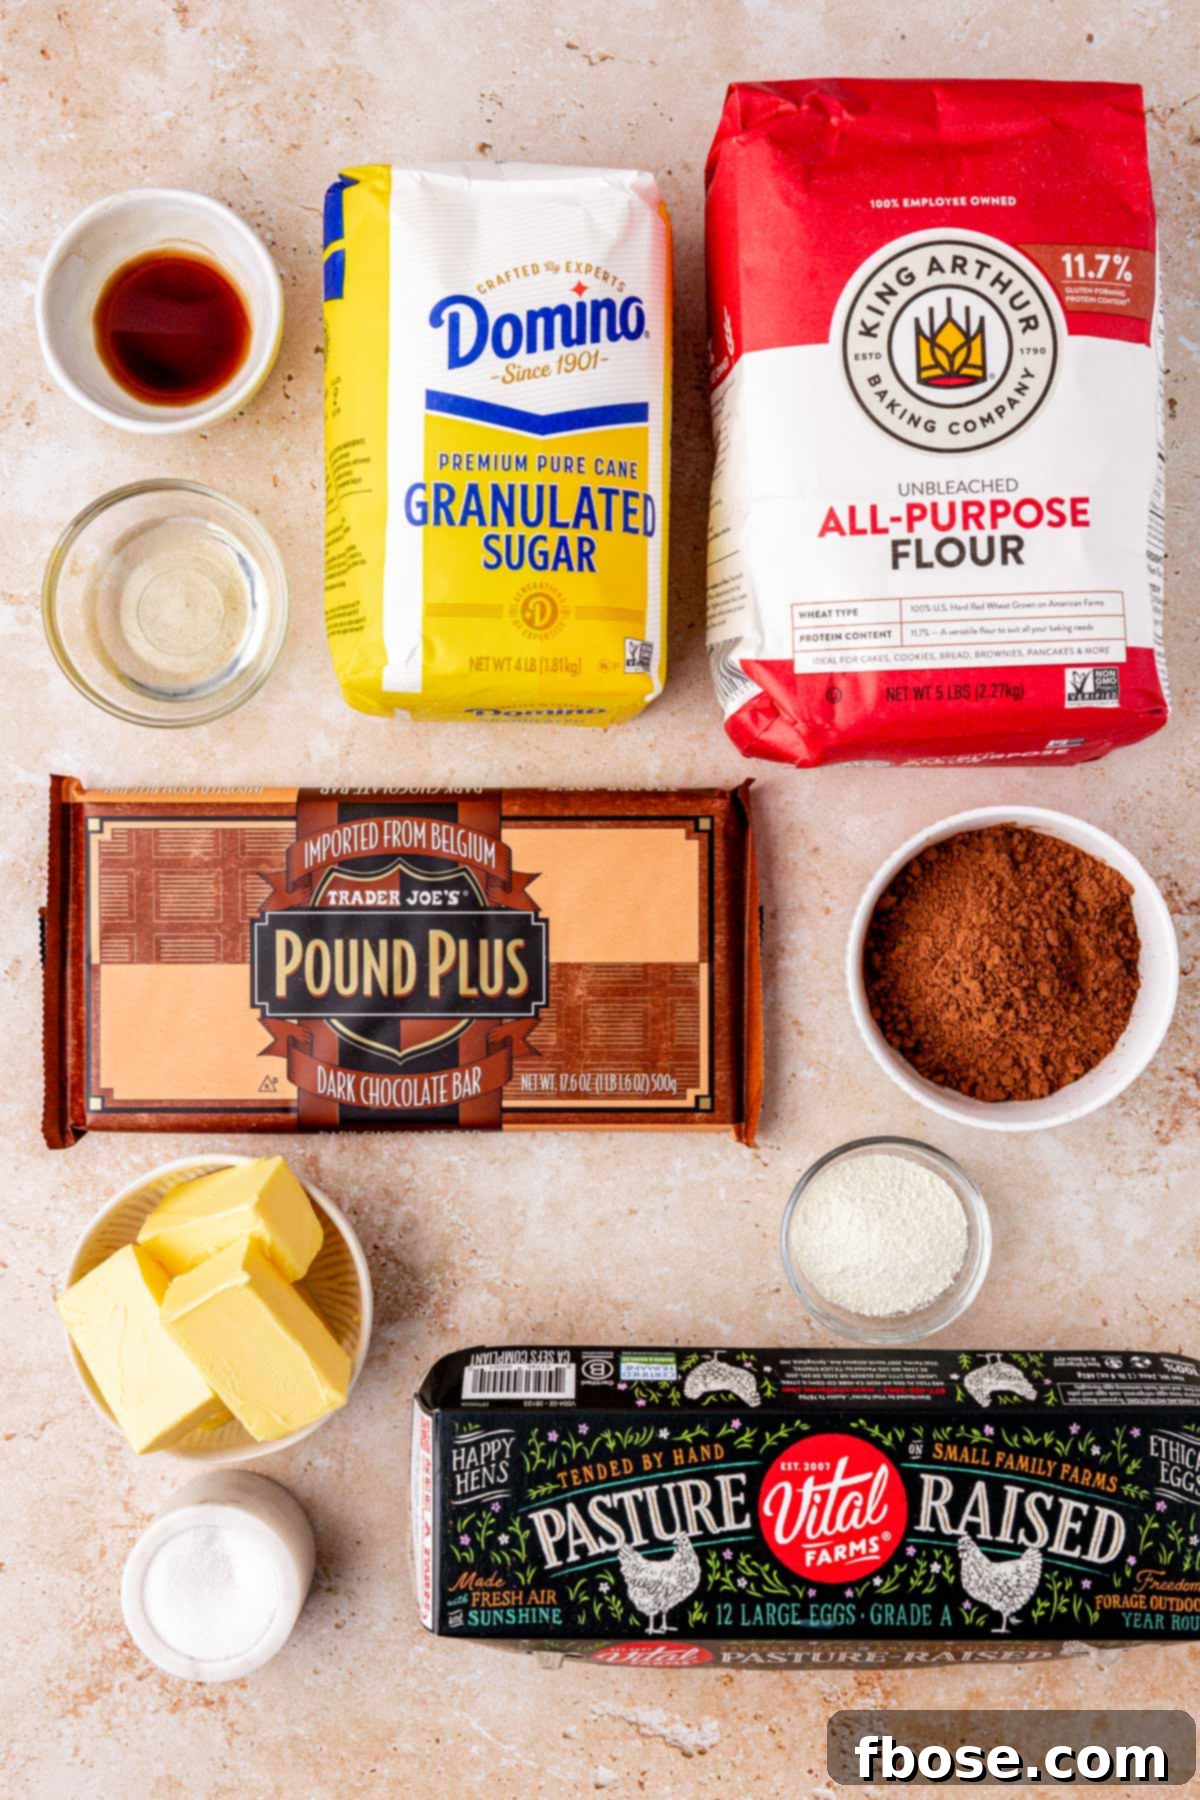
To ensure this brownie recipe is accessible to everyone, I’ve focused on high-quality, readily available pantry staples. Despite the simplicity of the ingredients, the unique one-pot stovetop method elevates them, producing brownies with an unbelievably yummy and mouthwatering flavor and texture.
Your journey to perfect sheet pan brownies begins with a foundational set of ingredients: **unsalted butter**, **granulated sugar**, **canola oil**, **vanilla extract**, **large eggs**, **all-purpose flour**, **unsweetened cocoa powder**, and **salt**. The one ingredient that might be an exception to your usual pantry stock is **powdered milk**.
Adding powdered milk to the batter is a game-changer for enhancing the brownies’ flavor profile, making them truly stand out. It contributes a subtle depth and richness that is hard to achieve otherwise. However, if powdered milk isn’t readily available, don’t worry! It primarily impacts flavor rather than the structural integrity of the brownie, so you can omit it if you prefer.
To finish these irresistible treats, generous chunks of thick dark chocolate are folded into the brownie batter. My personal preference is using half of a Trader Joe’s Pound of Chocolate bar, but any high-quality, thick baking chocolate bar will work wonderfully. The size of the chunks is important here, as they create delightful pockets of melted chocolate throughout the brownies.
If dark chocolate isn’t your preference, feel free to substitute with a milk or semi-sweet chocolate bar. Keep in mind that this swap may subtly alter the overall flavor and sweetness of the brownies. While thinner baking chocolate, such as Ghirardelli squares, or pre-packaged chocolate chunks can also be used, be aware that their smaller size might slightly impact the texture and melt of the chocolate, potentially making the brownies less ‘chunky’ but still delicious.
Step-by-Step Guide: How To Make Irresistible Thin Brownies
- Prepare Your Workspace: Begin by preheating your oven to 350°F (175°C). Next, lightly spray a 12×17-inch metal sheet pan with a nonstick cooking spray. This ensures easy removal of your brownies once baked.
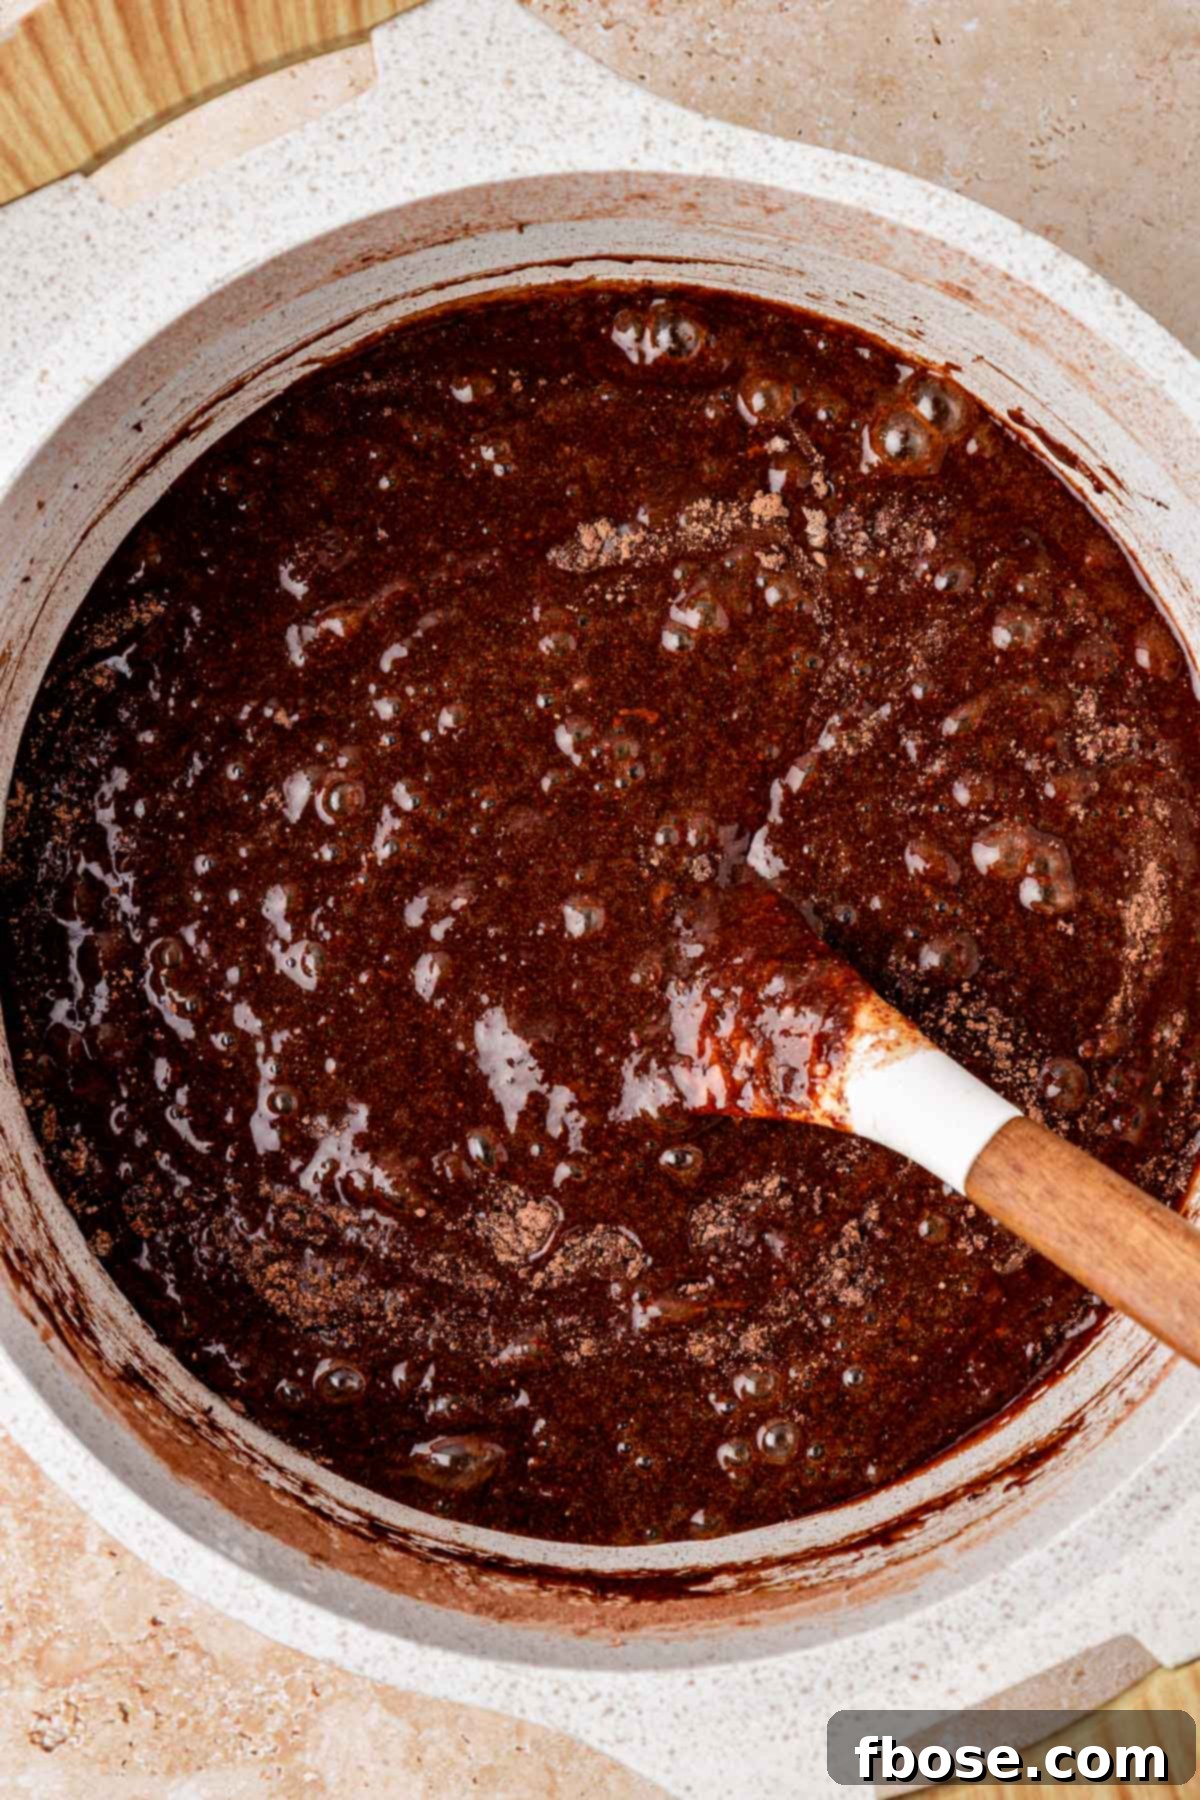
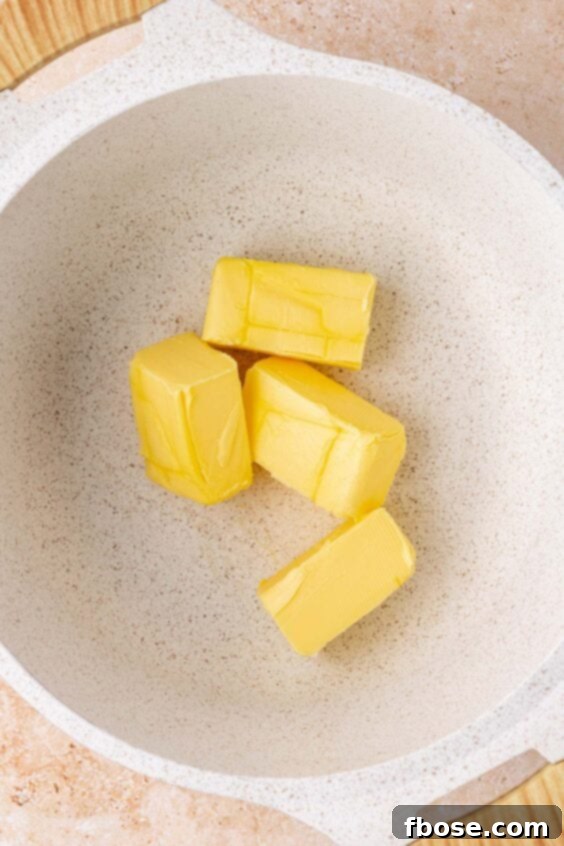
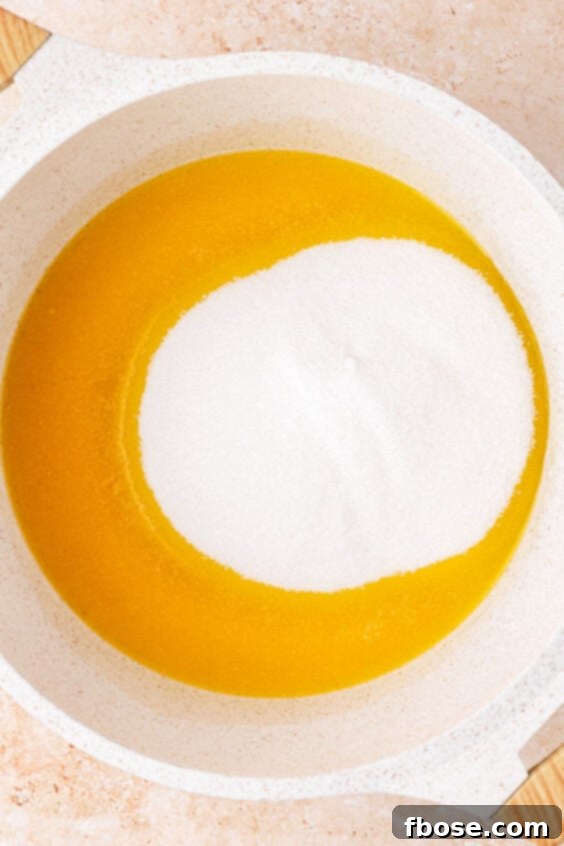
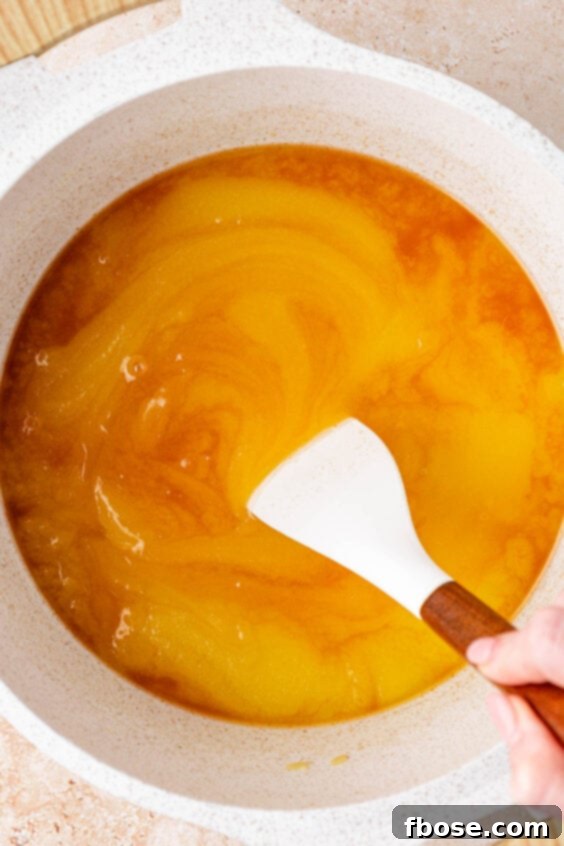
- Melt Butter & Combine with Sugar: In a heavy-bottomed saucepan, melt the unsalted butter over low heat. Once melted, stir in the granulated sugar. Continue stirring gently until the mixture becomes smooth and the butter and sugar have emulsified, meaning no butter is separated or pooling on top. Remove the saucepan from the heat and allow the mixture to cool for about 5 minutes, stirring occasionally to help release the heat and prevent overcooking.
- Incorporate Wet Ingredients: Add the canola oil and vanilla extract to the cooled butter and sugar mixture. Using a rubber spatula, beat these ingredients together until they are fully combined and there’s no separation of oil on the surface. This step adds moisture and contributes to the brownies’ fudgy texture.
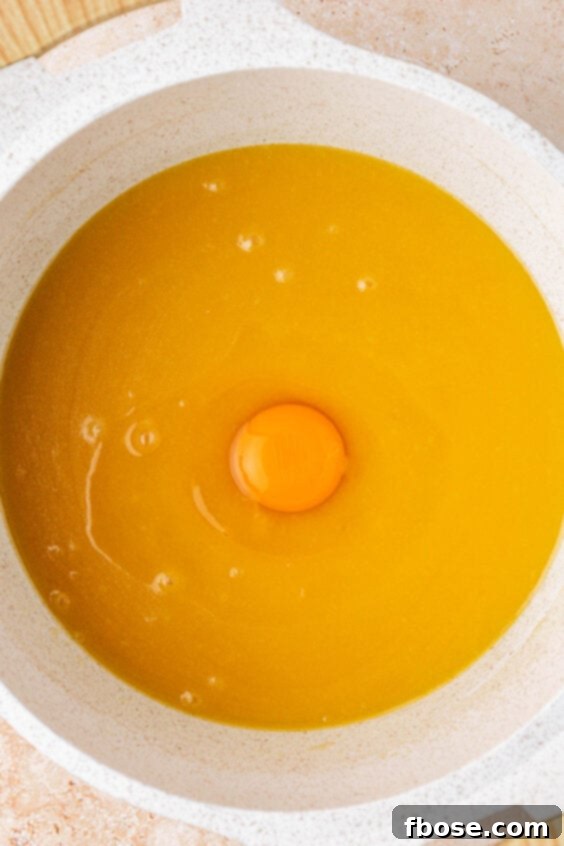
- Add Eggs One by One: Introduce the eggs into the mixture one at a time. After each egg addition, beat thoroughly with the spatula or a fork until it is completely incorporated into the batter. This gradual addition ensures proper emulsification and a smooth consistency.
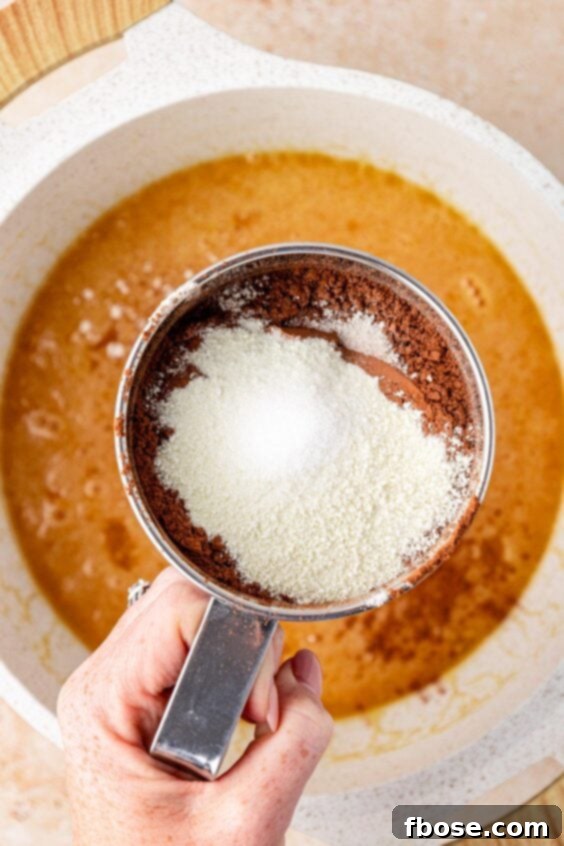
- Fold in Dry Ingredients: Sift the all-purpose flour, unsweetened cocoa powder, powdered milk (if using), and salt directly into the wet mixture in the saucepan. Gently stir with your rubber spatula. Mix just until the dry streaks of flour and cocoa disappear from the batter. Be careful not to overmix, as this can develop the gluten in the flour and lead to a tougher, less fudgy brownie.
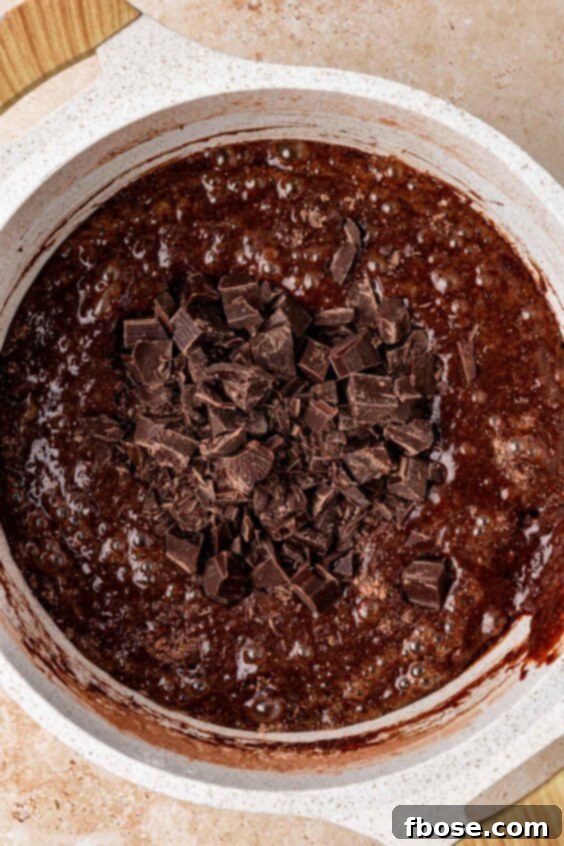
- Add Chocolate Chunks: Take about two-thirds of your dark chocolate chunks and fold them into the brownie batter using a spatula. These chunks will create delicious pockets of melted chocolate throughout the brownies.
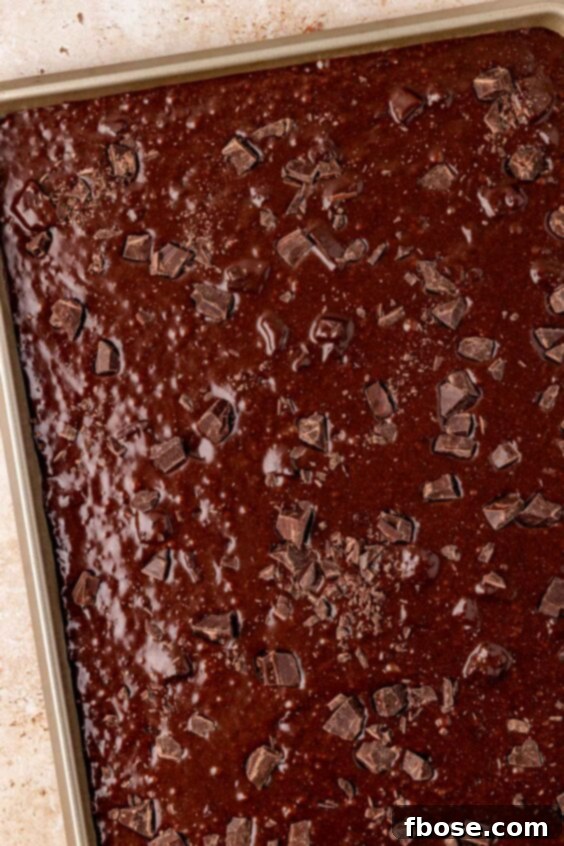
- Transfer and Top: Pour the prepared brownie batter evenly into your greased sheet pan. Sprinkle the remaining chocolate chunks over the top of the batter. This ensures a beautiful distribution of chocolate on the surface of your finished brownies.
- Bake and Cool: Bake the homemade brownies for approximately 16 to 19 minutes. The baking time can vary slightly depending on your oven, so keep an eye on them. The brownies should look set around the edges but may still appear slightly soft in the center for that perfect fudgy consistency. Once baked, allow them to cool completely to room temperature in the pan before attempting to slice them. This cooling step is crucial for achieving clean cuts and the ideal fudgy texture.
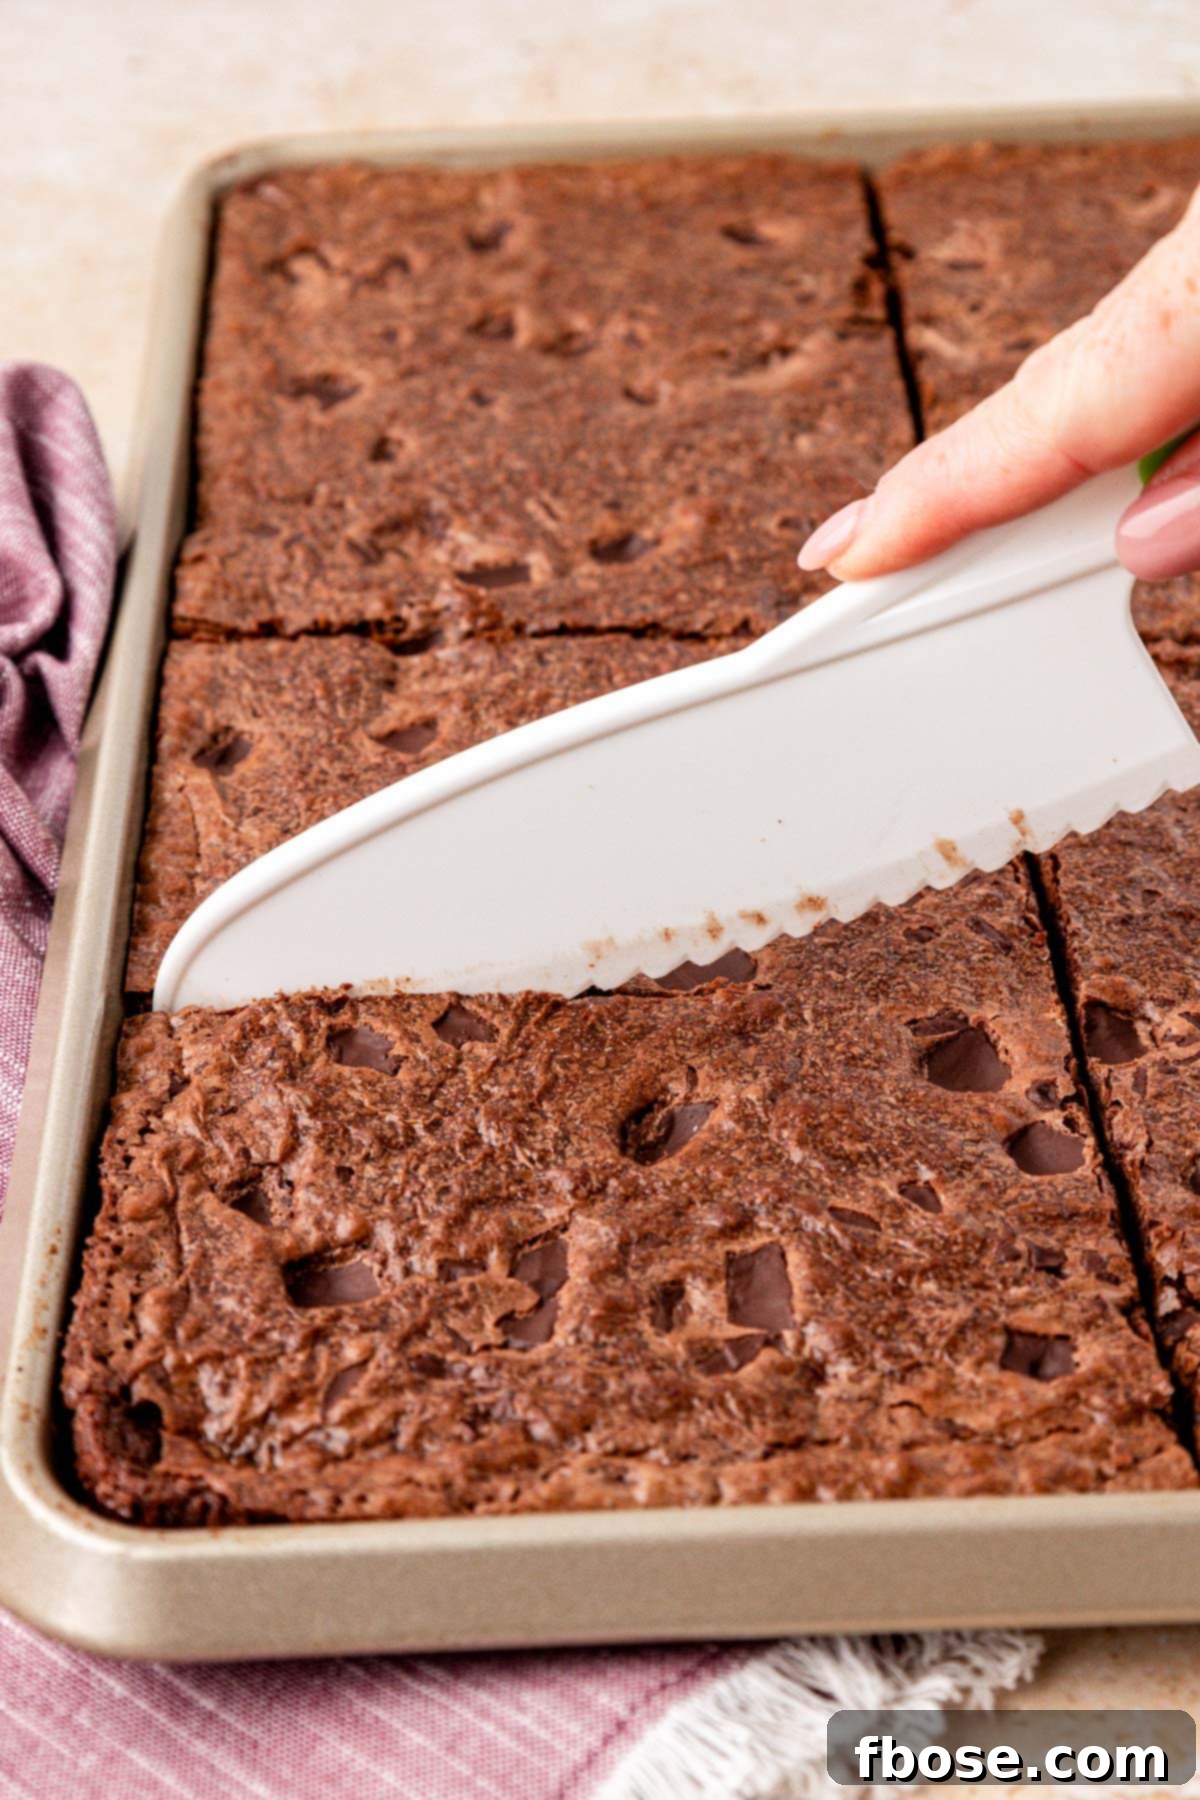
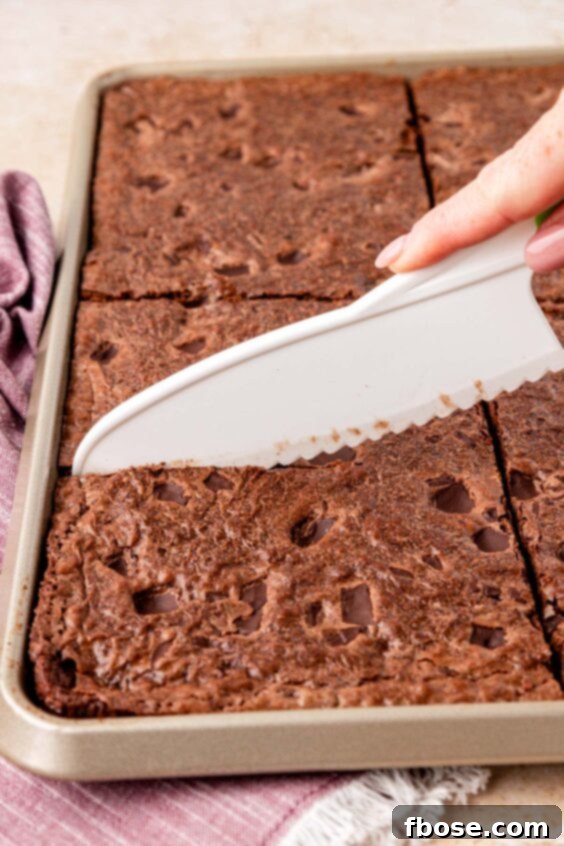
- Slice for Perfection: For the cleanest, mess-free cuts, use a plastic knife to slice your cooled brownies. This simple trick makes a noticeable difference in presentation.
Expert Tips for Baking Perfect Sheet Pan Brownies
- Pan Size Matters: This recipe is specifically designed for a 12×17-inch sheet pan to achieve thin, fudgy brownies perfect for a crowd. While you can bake them in a smaller pan, do not use a larger one, as the batter will spread too thin. If opting for a smaller pan, be prepared to adjust baking times and expect a thicker brownie. A rectangular 9×13-inch pan will yield brownies that are approximately 1 inch thick, while an 8×8 or 9×9-inch pan will result in extra-thick, decadent brownies, about 2 inches in height. Remember to monitor closely for doneness and reduce baking time accordingly.
- Grease for Easy Release: To ensure your brownies can be effortlessly removed from the sheet pan without sticking, thoroughly grease the pan with a good quality nonstick cooking spray before pouring in the batter. Unlike some baking recipes, parchment paper isn’t strictly necessary here, but proper greasing is key.
- Choose a Flat Pan: For the best results and even baking, use a sheet pan that has a flat surface without any ridges or indentations. A completely flat bottom ensures uniform heat distribution and consistent brownie thickness across the entire pan.
- Chunky Chocolate is Key: While any chocolate can be delicious, using substantial chocolate chunks is highly recommended. These larger pieces will melt into delightful pockets within the brownie, adding volume, a chewy texture, and bursts of intense chocolate flavor that thin chips might not provide.
- The Plastic Knife Trick: For impeccably clean and neat slices, reach for a plastic knife! I’ve discovered that a plastic knife glides through cooled brownies without dragging or tearing, resulting in beautifully sharp lines and a mess-free cutting experience. It’s a simple trick that makes a big difference in presentation.
Creative Ways to Serve Your Sheet Pan Brownies
Once completely cooled, sheet pan brownies are remarkably easy to handle, making them perfect for serving right out of the pan. But these versatile and delicious brownies also serve as an excellent blank canvas for creating other incredible desserts:
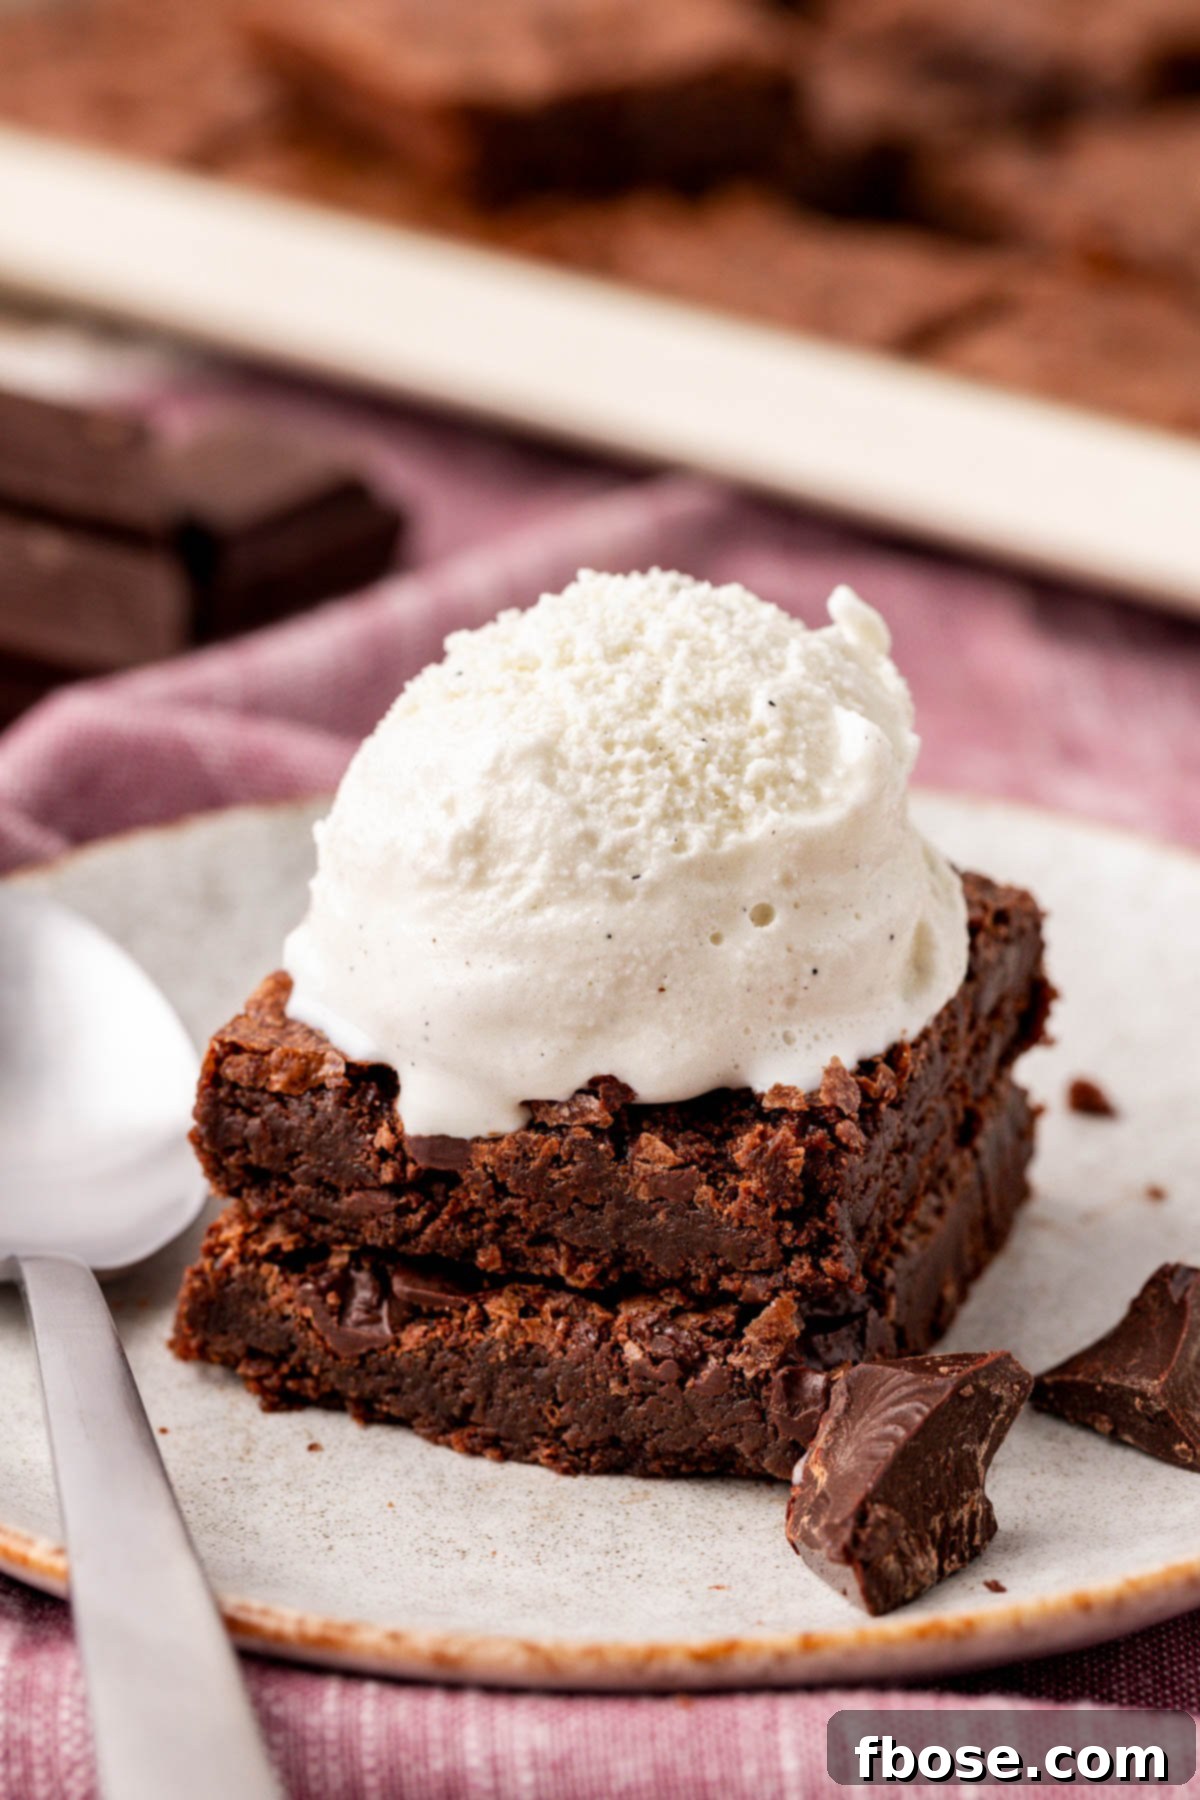
- Brownie Ice Cream Sundaes: Elevate your sundae experience! Place a slice or two of brownie at the bottom of a bowl, then pile high with your favorite sundae toppings. We adore ours with a generous scoop of creamy vanilla ice cream, a dollop of Homemade Whipped Cream, colorful sprinkles, and a maraschino cherry on top. For larger gatherings, set up a “Build Your Own Sundae” bar with different ice cream flavors, a variety of crushed candies, nuts, and a selection of decadent ice cream syrups.
- Ice Cream Sandwiches: A fantastic summer treat! Take two perfectly matched brownie slices and sandwich a generous scoop of your favorite ice cream flavor between them. This recipe yields enough brownies to make a dozen delightful ice cream brownie sandwiches.
- Layered Mini Brownie Cakes: These fun individual desserts can be layered with your choice of luscious frosting. Experiment with classic American Buttercream Frosting, rich Chocolate Buttercream Frosting, creamy Nutella Frosting, or even my personal favorite, Peanut Butter Cream Cheese Frosting!
- Mini Brownie Pizzas: A wonderfully creative and delicious option, especially fun for kids’ parties or holiday celebrations! Cut these sheet pan brownies into triangles to create individual “slices” for a make-your-own Brownie Pizza station. Lay out an assortment of frosting options (like vanilla, chocolate, or cream cheese) and a spread of tasty toppings such as crushed candies, bits of edible cookie dough, colorful sprinkles, and a drizzle of chocolate syrup.
Storing Your Sheet Pan Brownies for Lasting Freshness
Proper storage ensures your fudgy sheet pan brownies remain delicious for days. Here’s how to keep them fresh:
For ultimate convenience, you can leave the brownies right on the sheet pan for storage. Once the pan and brownies have completely cooled to room temperature, tightly wrap the entire pan with plastic wrap or aluminum foil. Ensure there are no gaps for air to enter.
Alternatively, if you prefer to store individual slices, transfer the cut brownies into an airtight container or a large Ziploc bag. To prevent them from sticking together or losing their shape, separate layers of brownies with pieces of parchment paper. This method is particularly useful for grab-and-go treats.
Once covered, store your homemade sheet pan brownies at room temperature. They will maintain their delicious fudgy texture and flavor for approximately 3 to 4 days.
Freezing Sheet Pan Brownies: A Plan-Ahead Dessert Solution
Freezing homemade brownies is an excellent way to prepare for future events or simply to have a ready-made treat on hand. Here’s how to do it effectively:
First, ensure your brownie slices are completely cooled. Transfer them into an airtight freezer-safe container or a large Ziploc freezer bag. For best results and to prevent sticking, place a sheet of parchment paper between each layer of brownies. This makes it easy to grab just one or two slices without defrosting the entire batch.
For even better preservation and to avoid freezer burn, you can individually wrap each sliced brownie. First, wrap each brownie tightly in plastic wrap, then wrap it again in aluminum foil. This double-layer protection is fantastic for maintaining freshness. Afterward, place these individually wrapped brownies into a larger freezer-safe container or a Ziploc freezer bag.
Once frozen, your delicious brownies can be enjoyed for up to 3 months. To thaw, simply remove the desired number of brownies from the freezer and let them come to room temperature on your counter. You can also gently warm them in the microwave for a few seconds for that fresh-out-of-the-oven experience.
Freezing a batch of these sheet pan brownies is a smart strategy for prepping for a church potluck, a school bake sale, or unexpected guests. I personally love having individual slices tucked away in the freezer for a convenient, ready-made treat that I can thaw and enjoy whenever a chocolate craving strikes.
More Delicious Brownie Recipes to Explore
- Cosmic Brownies – Take a nostalgic bite out of the 90s with this homemade fudgy Cosmic Brownies Recipe!
- Flourless Brownies – A gluten-free dessert that’s made without any weird ingredients!
- Brownie Pizza – This fun easy-to-make treat is the perfect dessert for pizza night!
- Brownie Batter Dip – Creamy, dream snack dip that’s made with just 5 easy ingredients!
- Peanut Butter Crunch Brownies – Gourmet style brownies with 3 mouthwatering layers!
Did You Make This Recipe?
If you’ve tried this recipe, please leave a review in the comments below. I love hearing from you! Don’t forget to tag me – @sugarandsoulco – on Instagram and Pinterest with your photos, or join our Sugar & Soul Show-offs Community and share them there.
Rating: 5 from 1 vote
Sheet Pan Brownie Recipe
Ingredients
- 1 cup unsalted butter (227g, I use Kerrygold or Kirkland Grass-fed)
- 2½ cups granulated sugar (500g, I use Domino)
- 2 tablespoons canola oil
- 1 tablespoon vanilla extract
- 5 large eggs
- 1 cup all-purpose flour (130g, I use King Arthur)
- ¾ cups + 1 tablespoon unsweetened cocoa powder (80g, I use Ghirardelli)
- 2 tablespoons powdered milk (10g)
- ¾ teaspoon salt
- 8 ounces dark chocolate (I like using half a Trader Joe’s Pound of Chocolate bar)
Instructions
- Preheat oven to 350°F and grease a metal 12×17-inch sheet pan with nonstick cooking spray.
- Melt 1 cup unsalted butter in a heavy-bottomed saucepan over low heat.

- Add 2½ cups granulated sugar and stir until smooth, the butter and sugar have started emulsifying, and no butter is separated from the sugar. Remove from heat and let the mixture cool for 5 minutes, stirring often to release heat.
- Add 2 tablespoons canola oil and 1 tablespoon vanilla extract to the butter and sugar and beat them in with a rubber spatula until fully combined and there’s no separation between the ingredients (no oil resting on top).
- Beat in 5 large eggs one at a time, beating with the spatula or a fork after each one. Mix until fully incorporated.
- Sift 1 cup all-purpose flour, ¾ cups + 1 tablespoon unsweetened cocoa powder, 2 tablespoons powdered milk, and ¾ teaspoon salt into the butter and sugar mixture, stirring gently with a rubber spatula just until the dry streaks are gone.
- Fold about two thirds of the 8 ounces dark chocolate into the batter.
- Pour the brownie batter into the prepared baking pan, sprinkle the remaining chunks on top, and bake for 16 to 19 minutes.
- Cool before removing it from the pan and slicing it for best results. Use a plastic knife for the cleanest cuts.
Video
A video demonstration of this recipe is available on the original blog post.
Notes
- Thicker chocolate bars are preferred for this recipe, aiming for big chunks about the size of a penny. However, thinner baking chocolate, like Ghirardelli squares, can be used, as well as prepackaged chocolate chunks (though these often contain additional ingredients that might impact the flavor).
- Milk or semi-sweet chocolate bars may also be used if dark chocolate is not preferred.
Nutrition
Did You Make This Recipe?
Don’t forget to share it with me on Instagram @sugarandsoulco and follow on Tiktok @sugarandsoulco and Pinterest @sugarandsoulco for more!
Pin Recipe
Share Recipe