
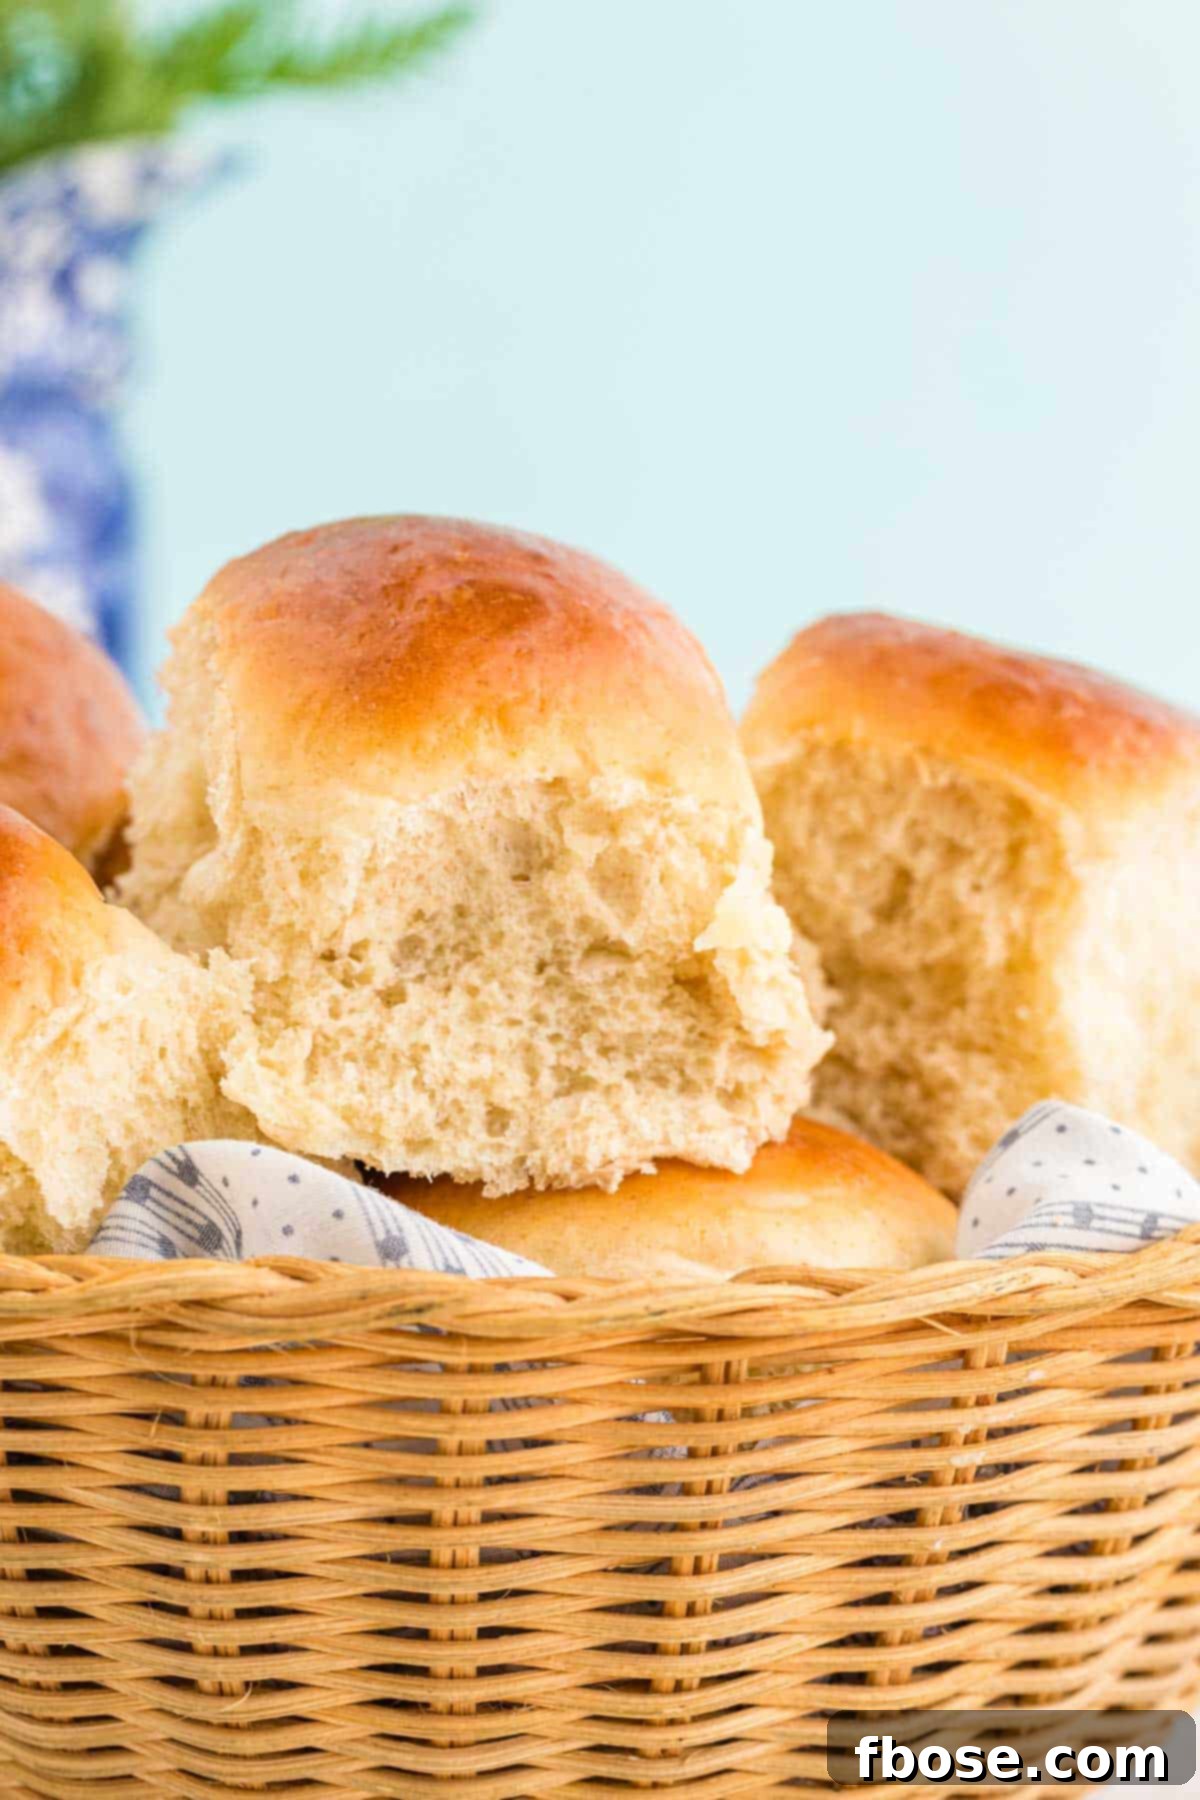
Soft Sourdough Dinner Rolls are an absolute dream come true, emerging from your oven unbelievably fluffy, wonderfully tender, and subtly sweet. They perfectly retain that signature, delightful sourdough tang that makes them truly special. The best part? This incredible recipe demands only 30 minutes of active hands-on time, making homemade rolls a reality for even the busiest baker!
There’s nothing quite like the aroma of freshly baked bread filling your home, and these Sourdough Dinner Rolls bring that comforting experience to your kitchen with ease. If you cherish the warmth and flavor of homemade rolls, you’ll adore this recipe. For those who love exploring different roll variations, be sure to also try our Classic Parker House Dinner Rolls or our Perfect Yeast Rolls for more delicious baking adventures.
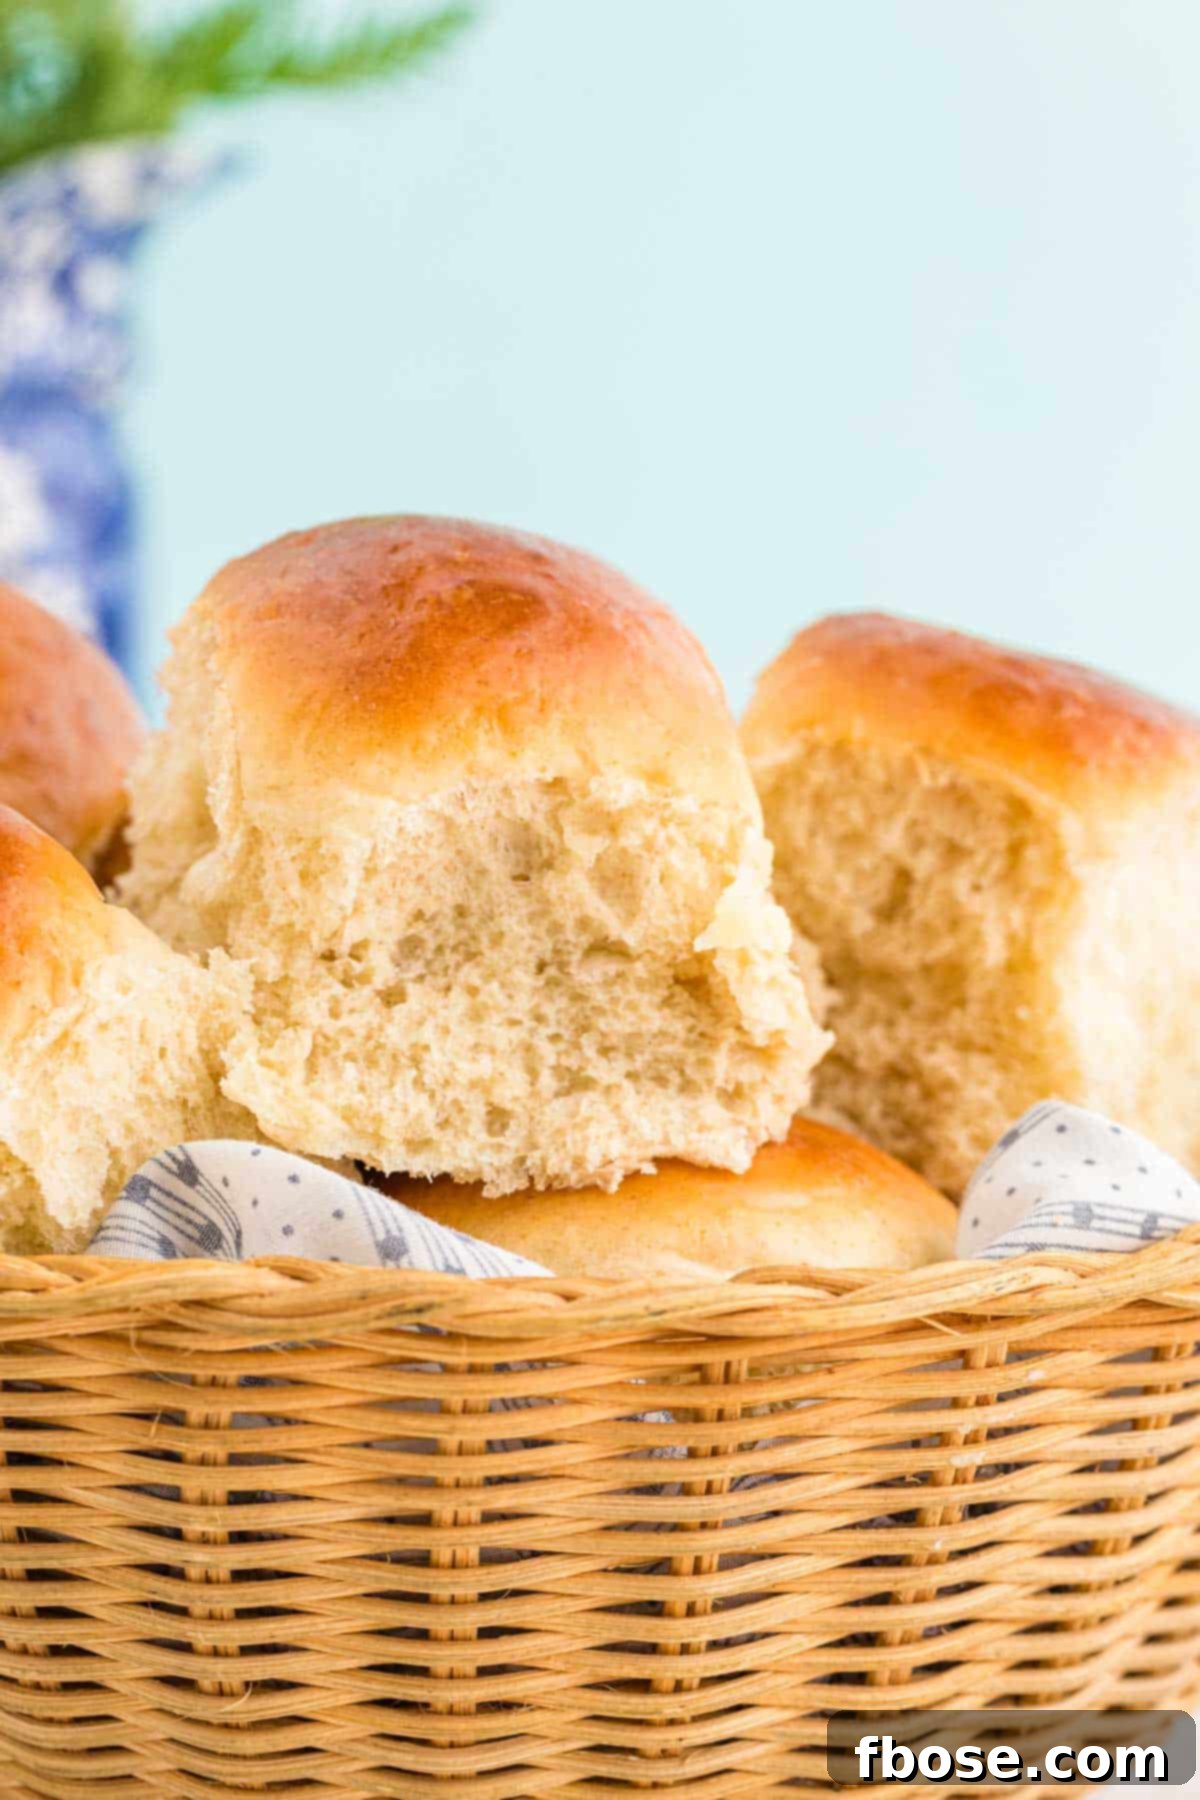
This comprehensive Sourdough Dinner Rolls recipe provides clear, step-by-step guidance, making it simple to transform your sourdough discard into a batch of irresistibly delicious rolls. Imagine the delight as your family gathers, drawn by the scent of these golden-brown beauties, ready to be slathered in rich, melted butter. These rolls aren’t just a side dish; they’re an experience.
Versatile and incredibly satisfying, these fluffy sourdough rolls complement a wide array of meals. Pair them with a hearty pasta meal, serve them alongside your Perfect Thanksgiving Roast Turkey, or enjoy them with a comforting bowl of soup or stew. But don’t limit yourself to mealtime! Keep a batch on the counter to enjoy as a snack throughout the week.
I personally love slicing them in half and adding an extra pat of butter, using them to create delicious sliders for a quick meal, or even enjoying them for breakfast with a dollop of homemade jam. No matter how you choose to savor these soft sourdough rolls, their incredible flavor and texture are sure to make them a new favorite in your household!
Why You’ll Love Making These Sourdough Dinner Rolls!
- Perfect for Sourdough Discard! This recipe offers a fantastic solution for using your sourdough discard, preventing waste and giving new life to an often-overlooked ingredient. Instead of discarding that extra starter, transform it into these tender, flavorful rolls. It’s a sustainable approach to baking that truly makes these rolls taste even better, knowing you’ve utilized every bit of your active sourdough starter.
- Unbeatable Homemade Flavor! While grabbing frozen yeast rolls from the grocery store can be convenient, nothing compares to the unparalleled taste, warmth, and fresh aroma of homemade dinner rolls. The effort, though minimal, results in a rich, nuanced flavor and a perfectly soft texture that store-bought options simply can’t replicate. Elevate your meals with the genuine goodness of bread baked from scratch.
- Simple, Pantry-Friendly Ingredients! Aside from the sourdough discard, this recipe relies on common pantry staples you likely already have on hand. You won’t need any obscure ingredients, making these delicious rolls accessible and easy to prepare any day of the week. This straightforward ingredient list ensures you can whip up a batch whenever the craving strikes.
- Versatile Sweet Dough Base! This recipe yields a wonderfully rich and slightly sweet yeast dough that is incredibly versatile. It serves as an excellent foundation not just for dinner rolls, but also for other sweet baked goods. Feel free to adjust the amount of sugar to create delectable cinnamon rolls, fruit-filled pastries, or any other sweet dough-based treat you desire.
- Remarkable Hands-Off Time! While many sourdough recipes can seem intimidating due to their lengthy process, these Sourdough Dinner Rolls are surprisingly manageable. They require minimal active hands-on time – just about 30 minutes! The majority of the preparation involves passive rising time, allowing you to multitask while your dough develops its fantastic flavor and texture. This makes them perfect for busy schedules, letting you enjoy fresh, homemade bread without constant attention.
Essential Ingredients for Your Sourdough Dinner Rolls
Crafting these amazing Sourdough Dinner Rolls requires just a few key ingredients. Most of these are likely already in your kitchen if you enjoy baking or cooking regularly, ensuring this recipe is both convenient and accessible. Let’s take a closer look at what you’ll need and why each component is important for achieving the perfect soft, tangy roll.
To prepare a batch of these delectable dinner rolls, gather the following:
- Buttermilk: This acidic ingredient is crucial for creating incredibly tender and moist rolls. Its slight tang also complements the sourdough flavor beautifully.
- Large Egg: An egg adds richness, helps bind the dough, and contributes to the golden color and soft texture of the rolls.
- Softened Salted Butter: Butter provides immense flavor and richness. Ensure it’s softened to room temperature for easier incorporation into the dough. You’ll also need a little extra for greasing your baking dish and your hands during shaping.
- Sourdough Discard: This is the star ingredient! Using sourdough discard adds a wonderful depth of flavor and that characteristic sourdough tang without requiring an active, bubbly starter for leavening, as rapid-rise yeast takes care of the rise.
- All-Purpose Flour: The primary structural component of the dough. All-purpose flour yields a soft yet sturdy crumb.
- Granulated Sugar: A touch of sugar balances the sourdough tang, adds a subtle sweetness, and helps with browning and activating the yeast.
- Sea Salt: Essential for enhancing all the flavors in the rolls and controlling the yeast’s activity.
- Baking Soda: Works with the buttermilk to contribute to the tenderness and rise, especially when combined with the yeast.
- Rapid-Rise Active Dry Yeast: This is your main leavening agent, ensuring a quick and reliable rise, which is especially helpful when using sourdough discard that isn’t active.
Having the right tools can make your baking experience much smoother. After making countless batches of these homemade rolls, I’ve identified a few kitchen essentials that I always recommend:
- Kitchen Scale: Essential for accurately measuring the sourdough discard. Precise measurements ensure consistent results and the perfect dough consistency every time.
- Stand Mixer: Fitted with a bread hook attachment, a stand mixer makes the kneading process effortless. It thoroughly combines ingredients and develops the gluten needed for fluffy rolls, saving you significant hands-on time and effort.
- 9×13 Glass Baking Dish: This size comfortably fits all the rolls, allowing them to proof beautifully and bake evenly. A glass dish also lets you easily monitor the browning of the sides and bottom.
- Plastic Wrap or Clean Dish Towel: Crucial for covering the dough bowl and the pan of rolls during their proofing stages. This creates a warm, humid environment that helps the dough rise optimally without drying out.
- Measuring Cups and Spoons: For accurate measurement of all dry and liquid ingredients.
- Rubber Spatula: Useful for scraping down the sides of the mixing bowl and handling sticky dough.
- Pastry Brush: Ideal for brushing the finished rolls with melted butter, giving them a glossy finish and extra flavor.
Step-by-Step Guide: How to Make Irresistible Sourdough Dinner Rolls
Making these soft and tangy sourdough dinner rolls is a rewarding process. Follow these detailed steps to achieve perfect results every time, enjoying the minimal hands-on time and the incredible flavor.
- Combine Wet Ingredients: Begin by adding your liquid and softened ingredients to the bowl of a sturdy standing mixer. This includes the buttermilk, the beaten large egg, your softened salted butter, and of course, the sourdough discard. Ensuring these are at room temperature will help them integrate smoothly.
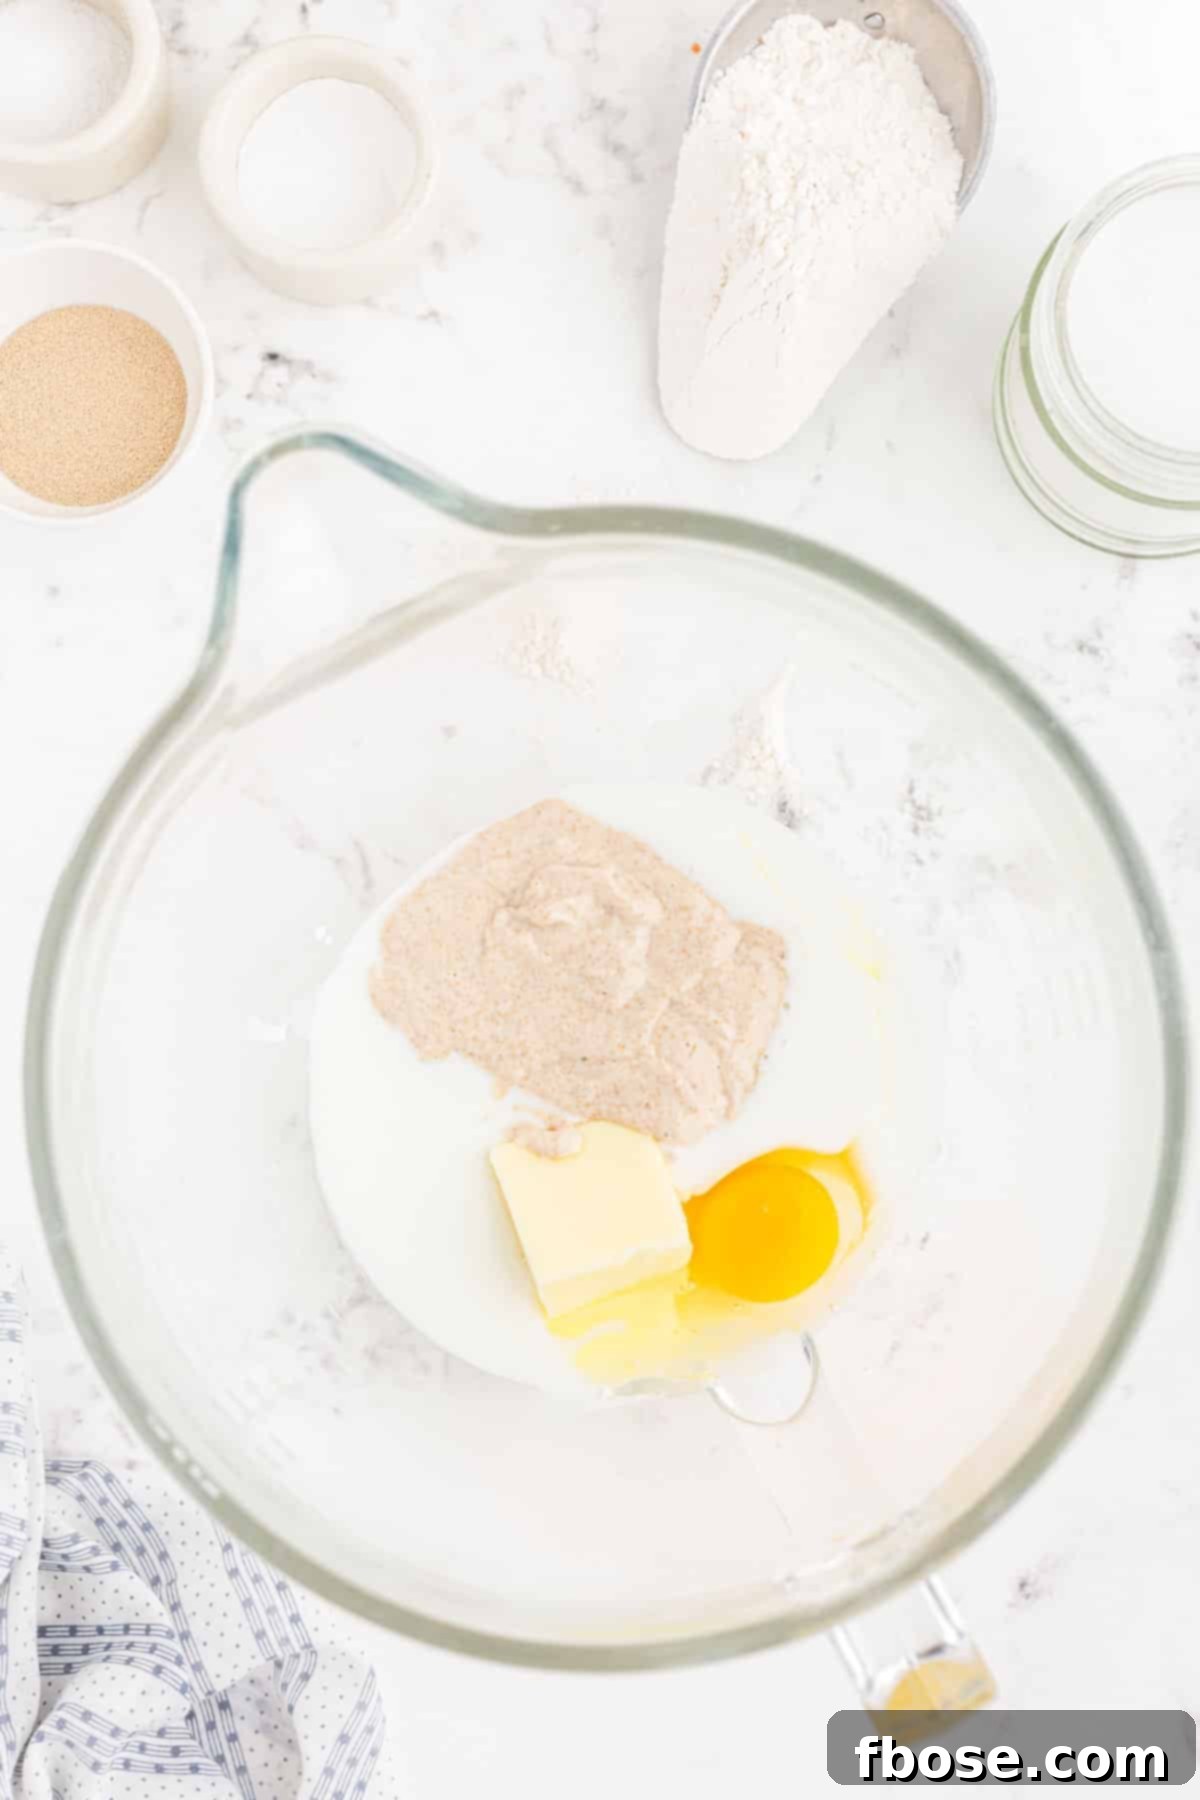
2. Add Dry Ingredients: Carefully layer the dry components on top of the wet mixture in the mixer bowl. This includes the all-purpose flour, granulated sugar, sea salt, baking soda, and the rapid-rise active dry yeast. Placing them on top helps prevent the yeast from prematurely activating with the liquids.
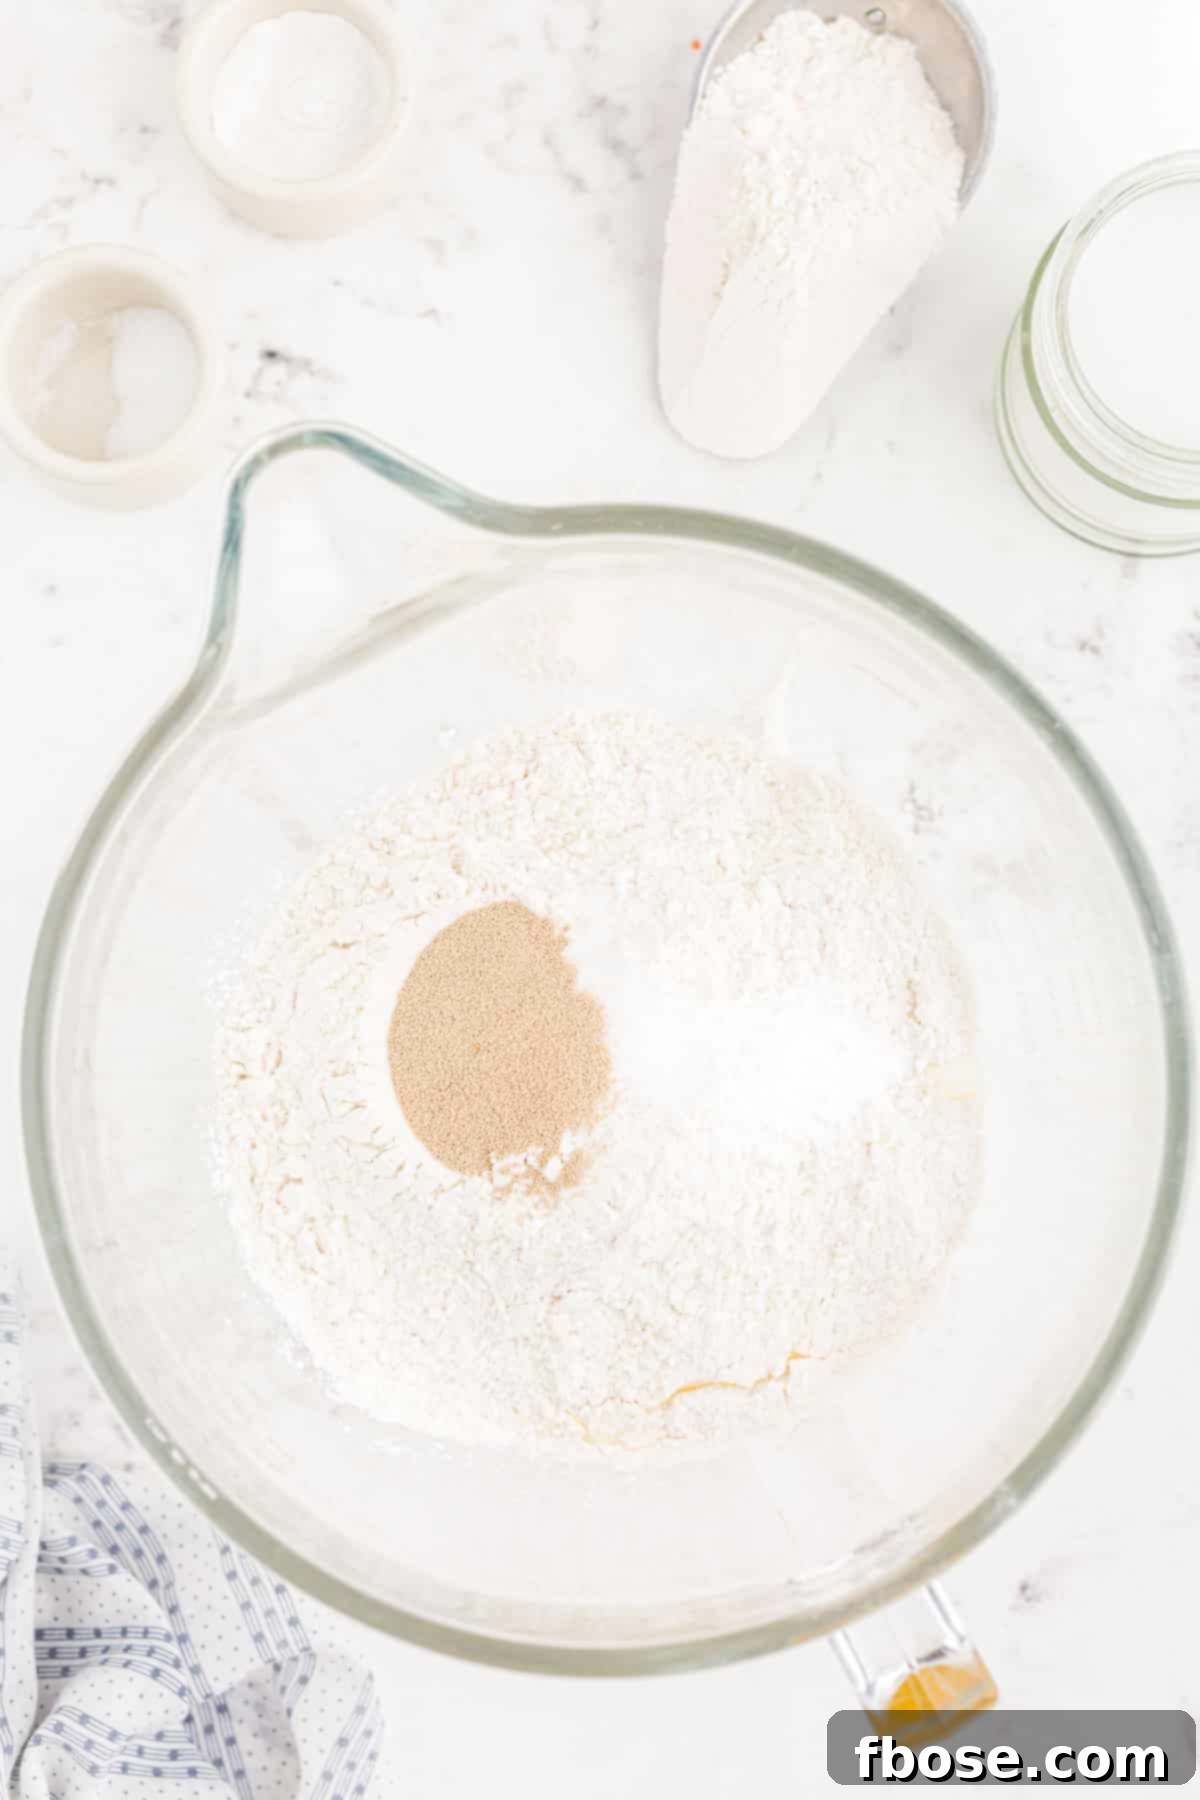
3. Initial Mixing: Attach the dough hook to your stand mixer. Start mixing the ingredients on a low speed, allowing them to slowly come together. Continue for about 1-2 minutes until all the dry and wet components are just combined, forming a shaggy dough.
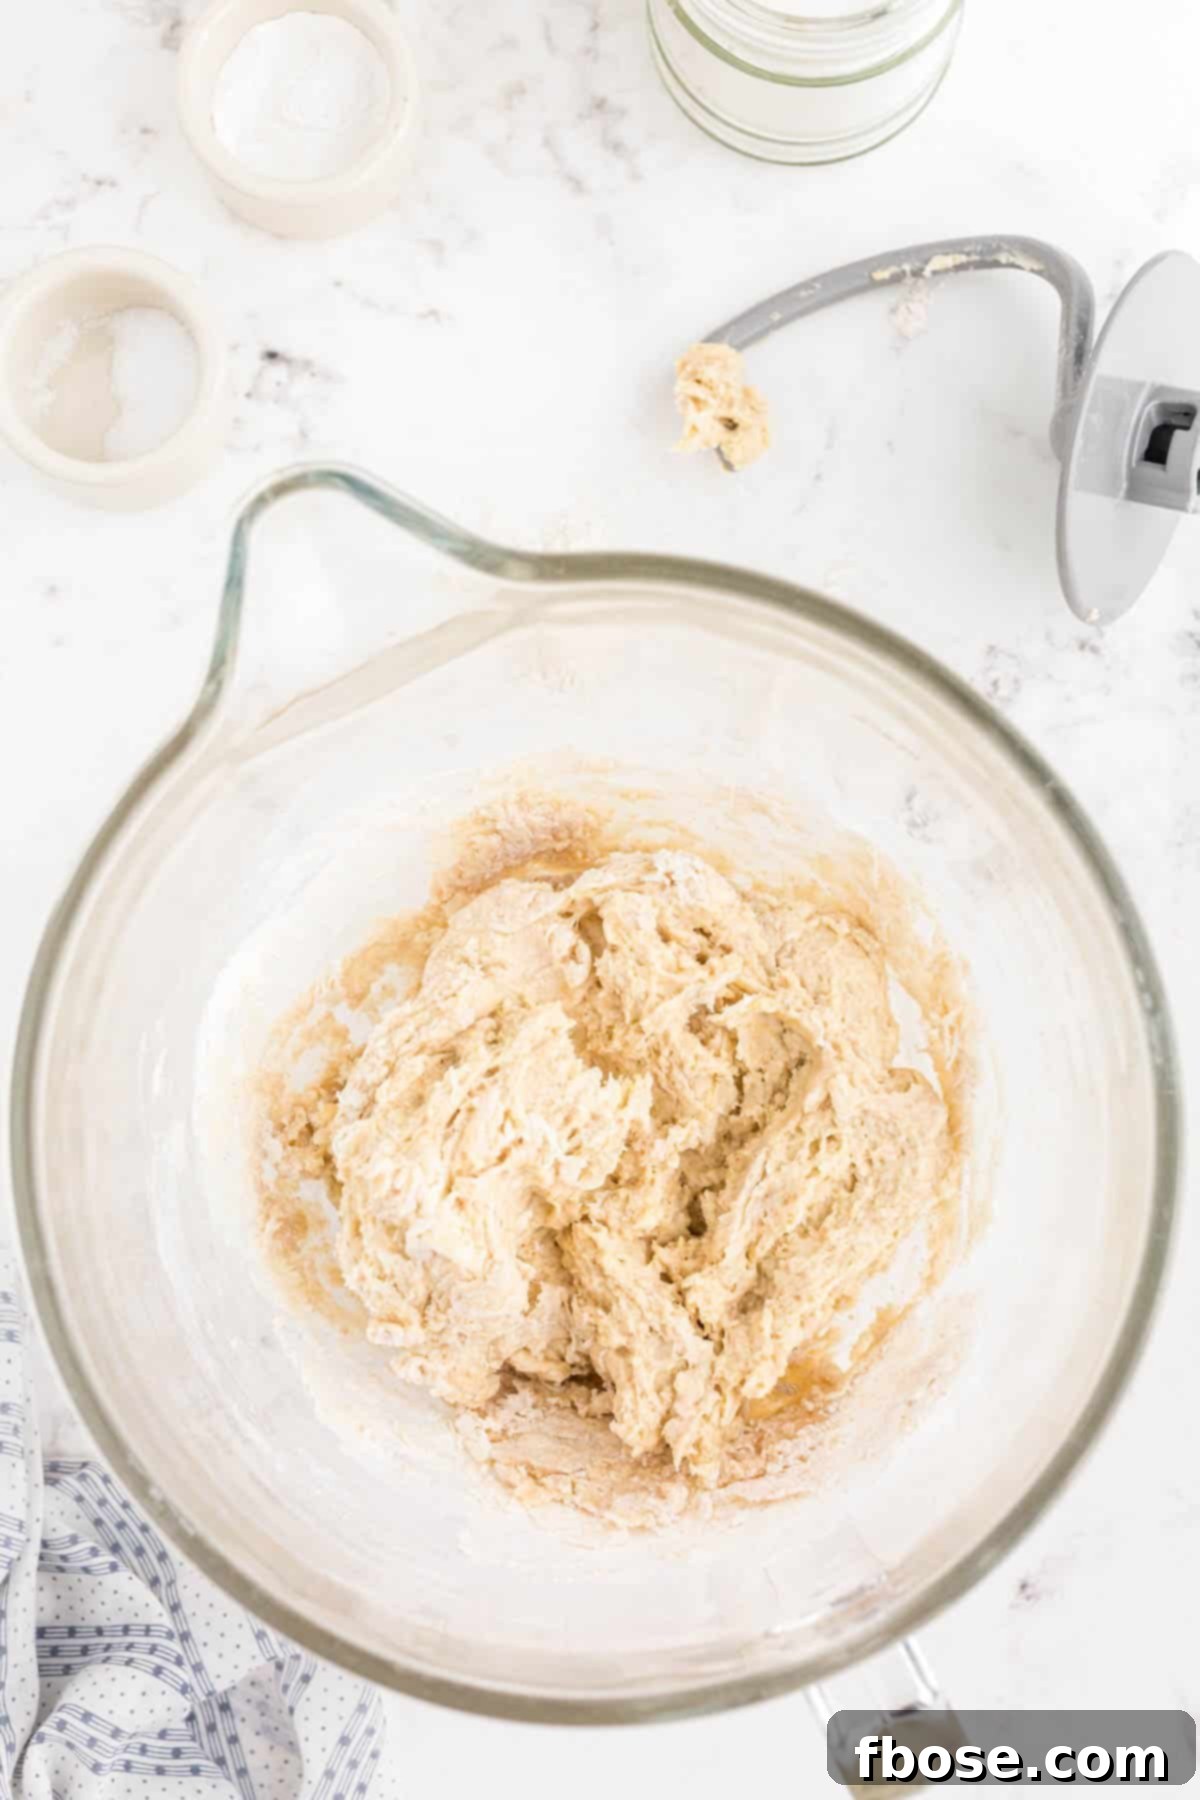
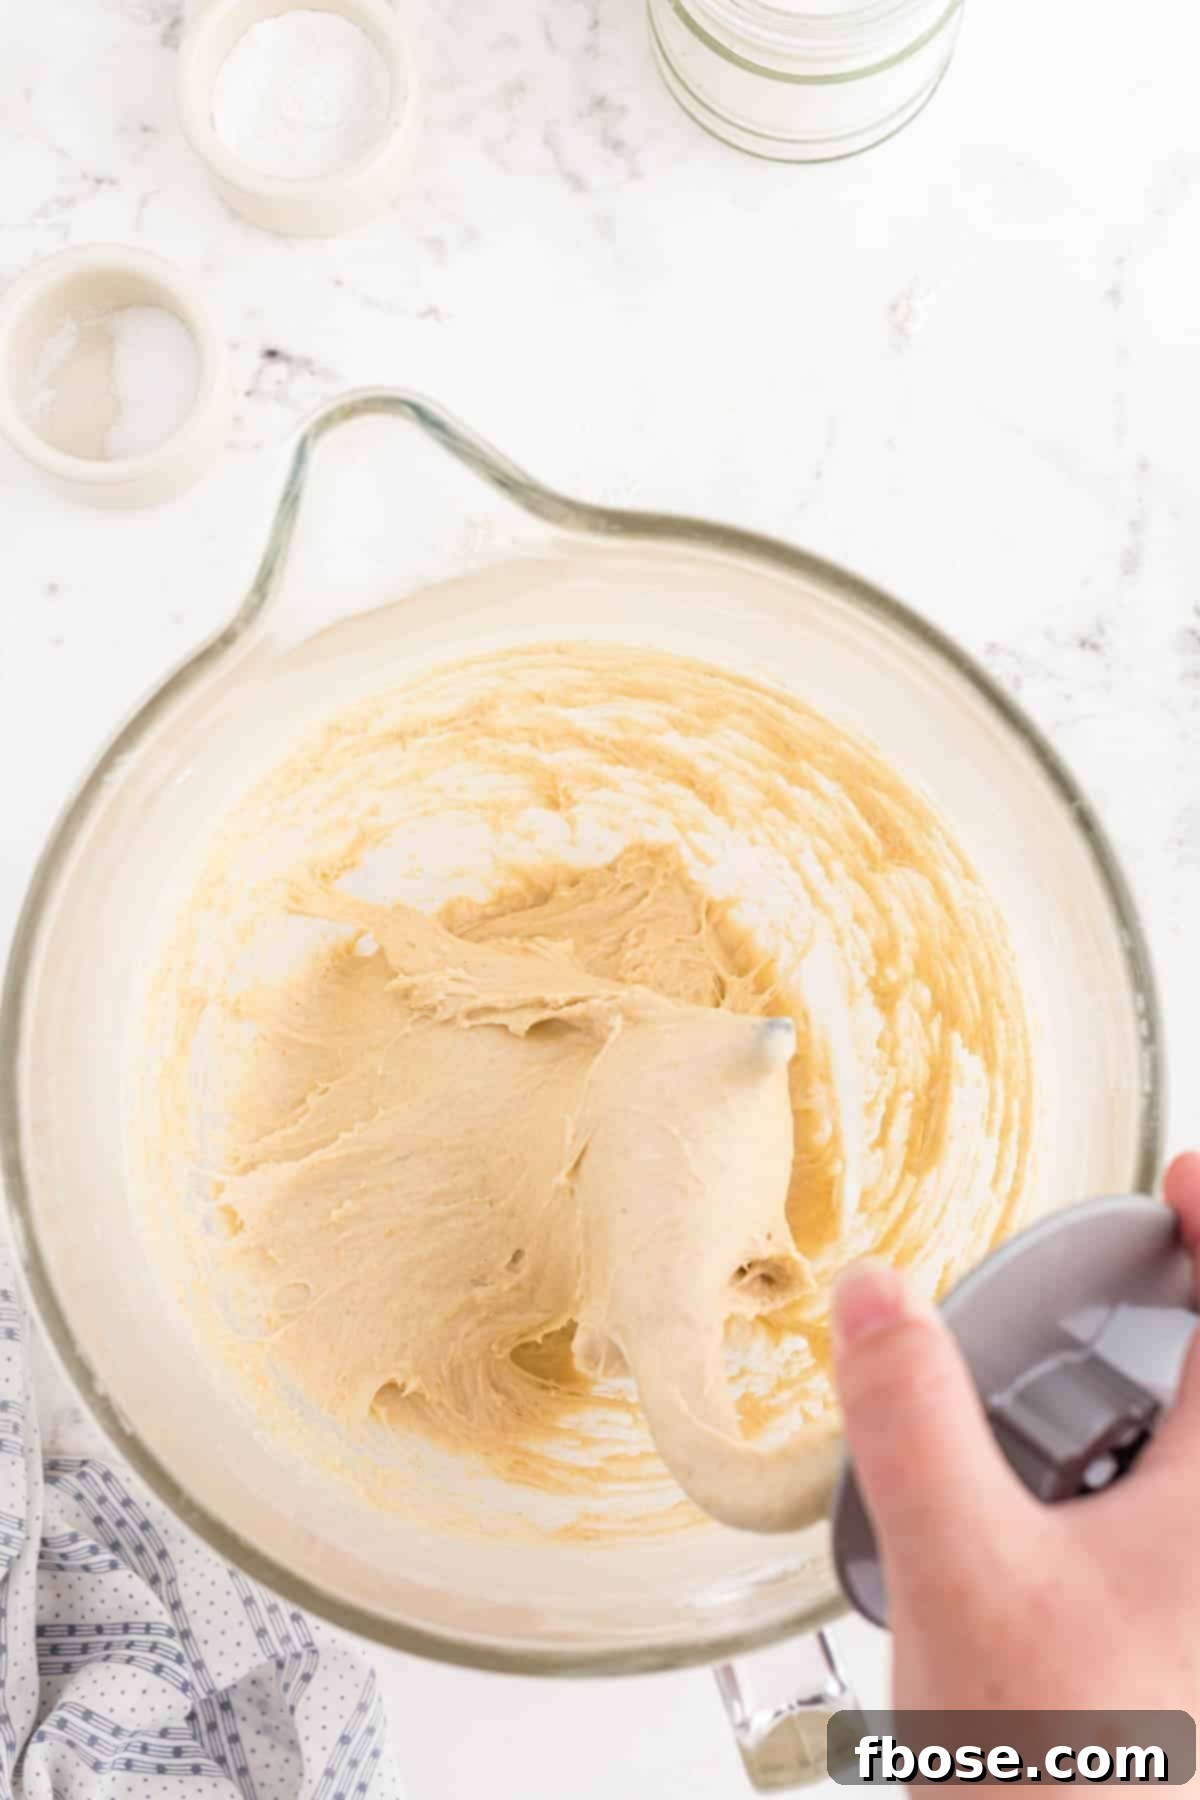
4. Knead to Smoothness: Increase the mixer speed to medium-high. Continue kneading the dough with the bread hook for an additional 5-6 minutes. The dough will transform, becoming smooth, elastic, and will mostly gather around the dough hook, pulling away from the sides of the bowl.
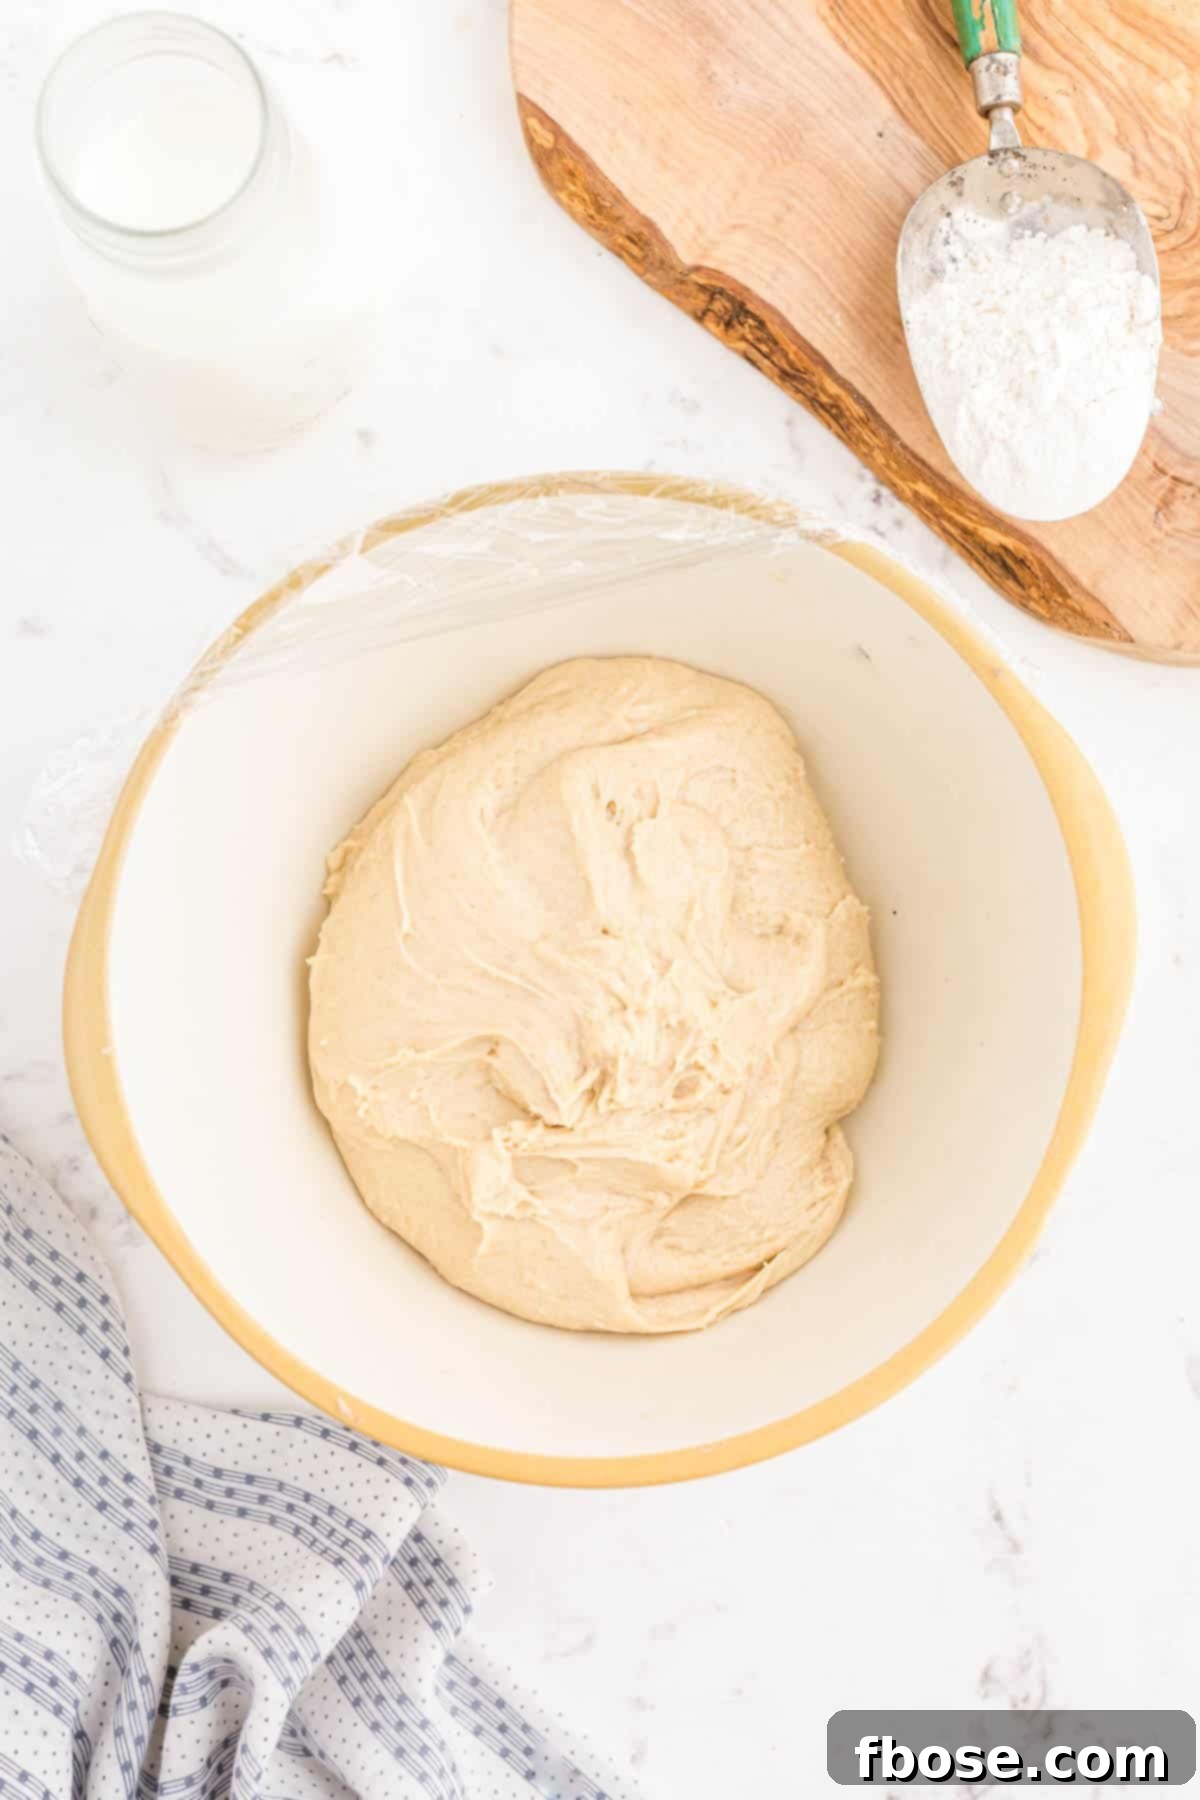
5. First Rise (Bulk Fermentation): Gently transfer the kneaded dough into a clean bowl that has been lightly greased with butter or cooking spray. Cover the bowl securely with plastic wrap or a clean dish towel. Place it in a warm, draft-free location and allow the dough to rise for 1 to 1 ½ hours, or until it has at least doubled in size.
6. Prepare for Shaping: Once the dough has risen, prepare a 9×13-inch glass baking dish by greasing it generously with butter. Lightly coat your fingers with butter as well; this will prevent the dough from sticking and make shaping much easier. This step ensures a smooth, non-sticky shaping process.
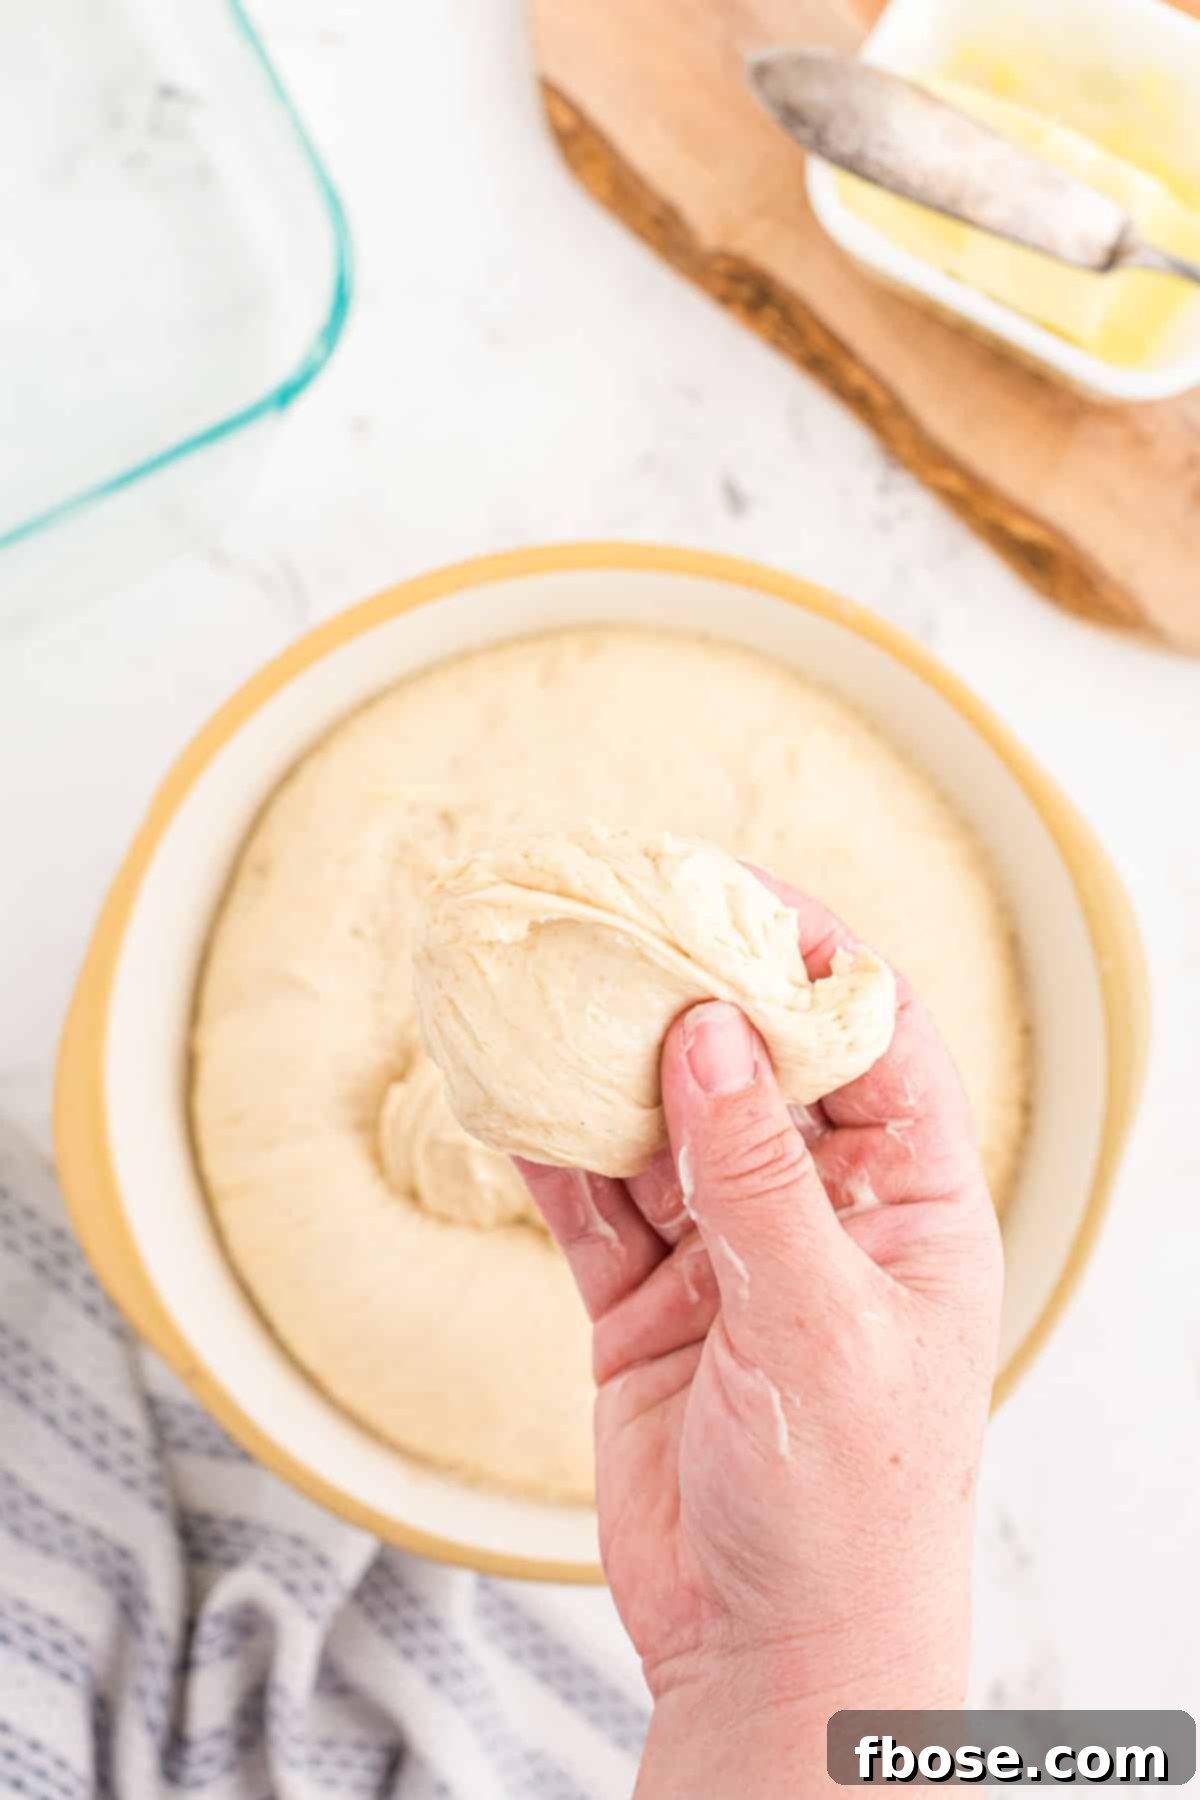
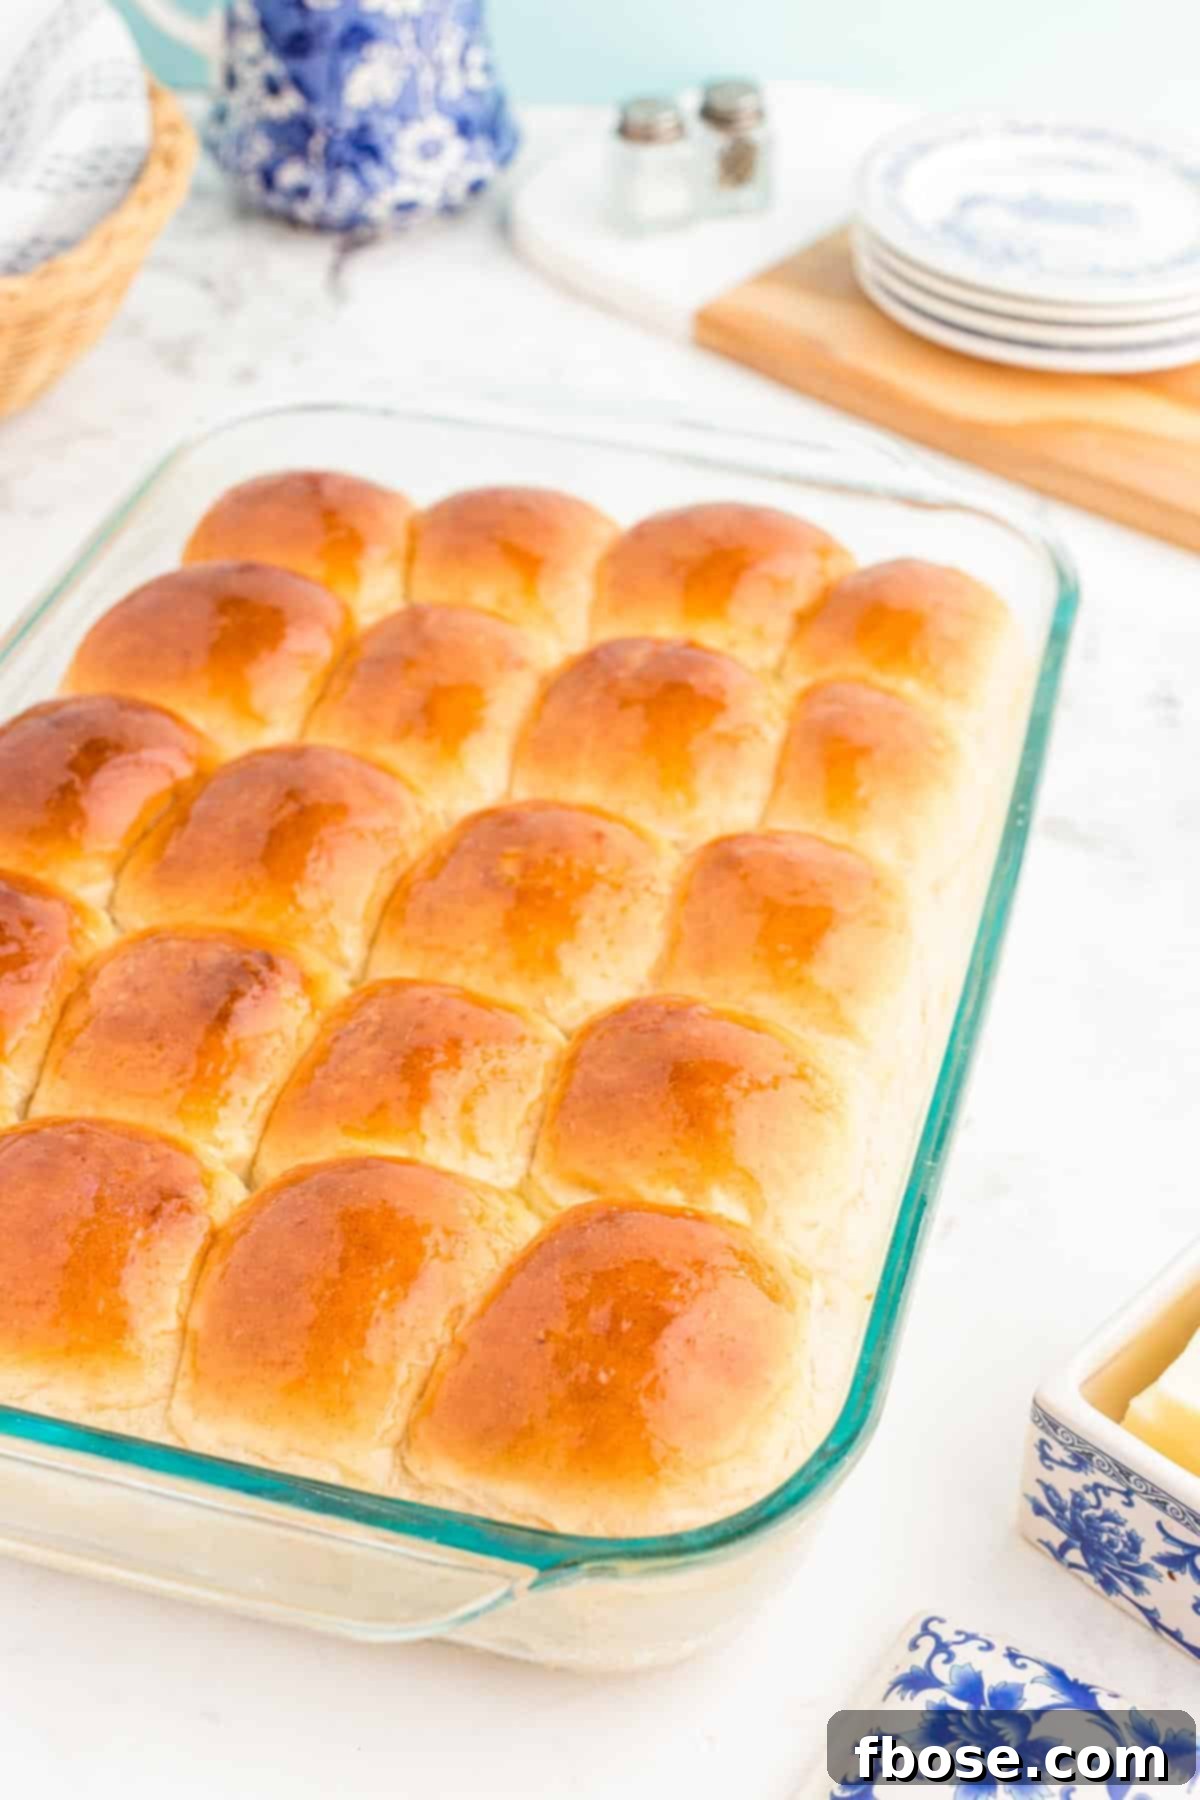
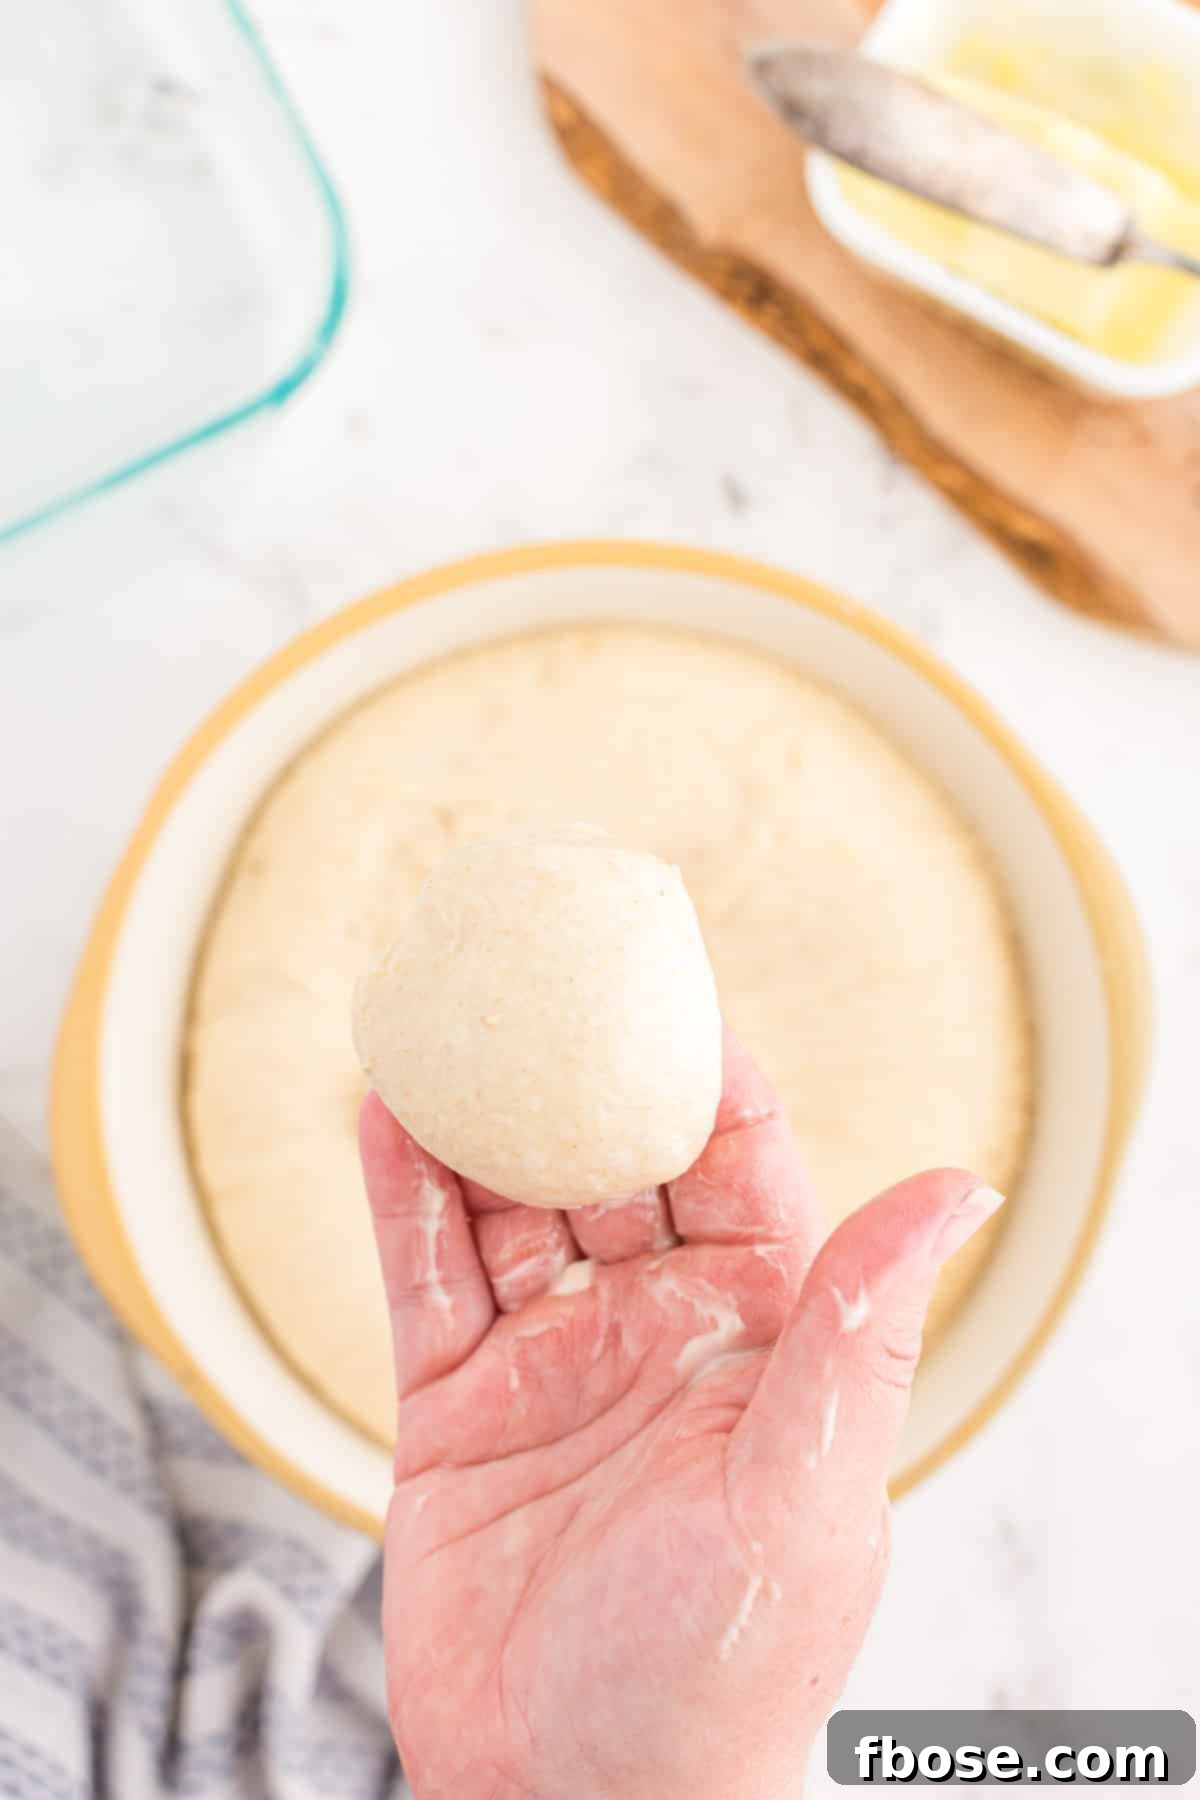
7. Shape the Rolls: Pinch off ping-pong ball-sized portions of dough. Working with one piece at a time, gently knead it in your buttered fingers. Stretch and fold the dough underneath itself repeatedly, tucking the edges towards the bottom to create a smooth, tight surface on top. Aim to create about 20 uniform rolls from the entire batch of dough, repeating this shaping process for each one.
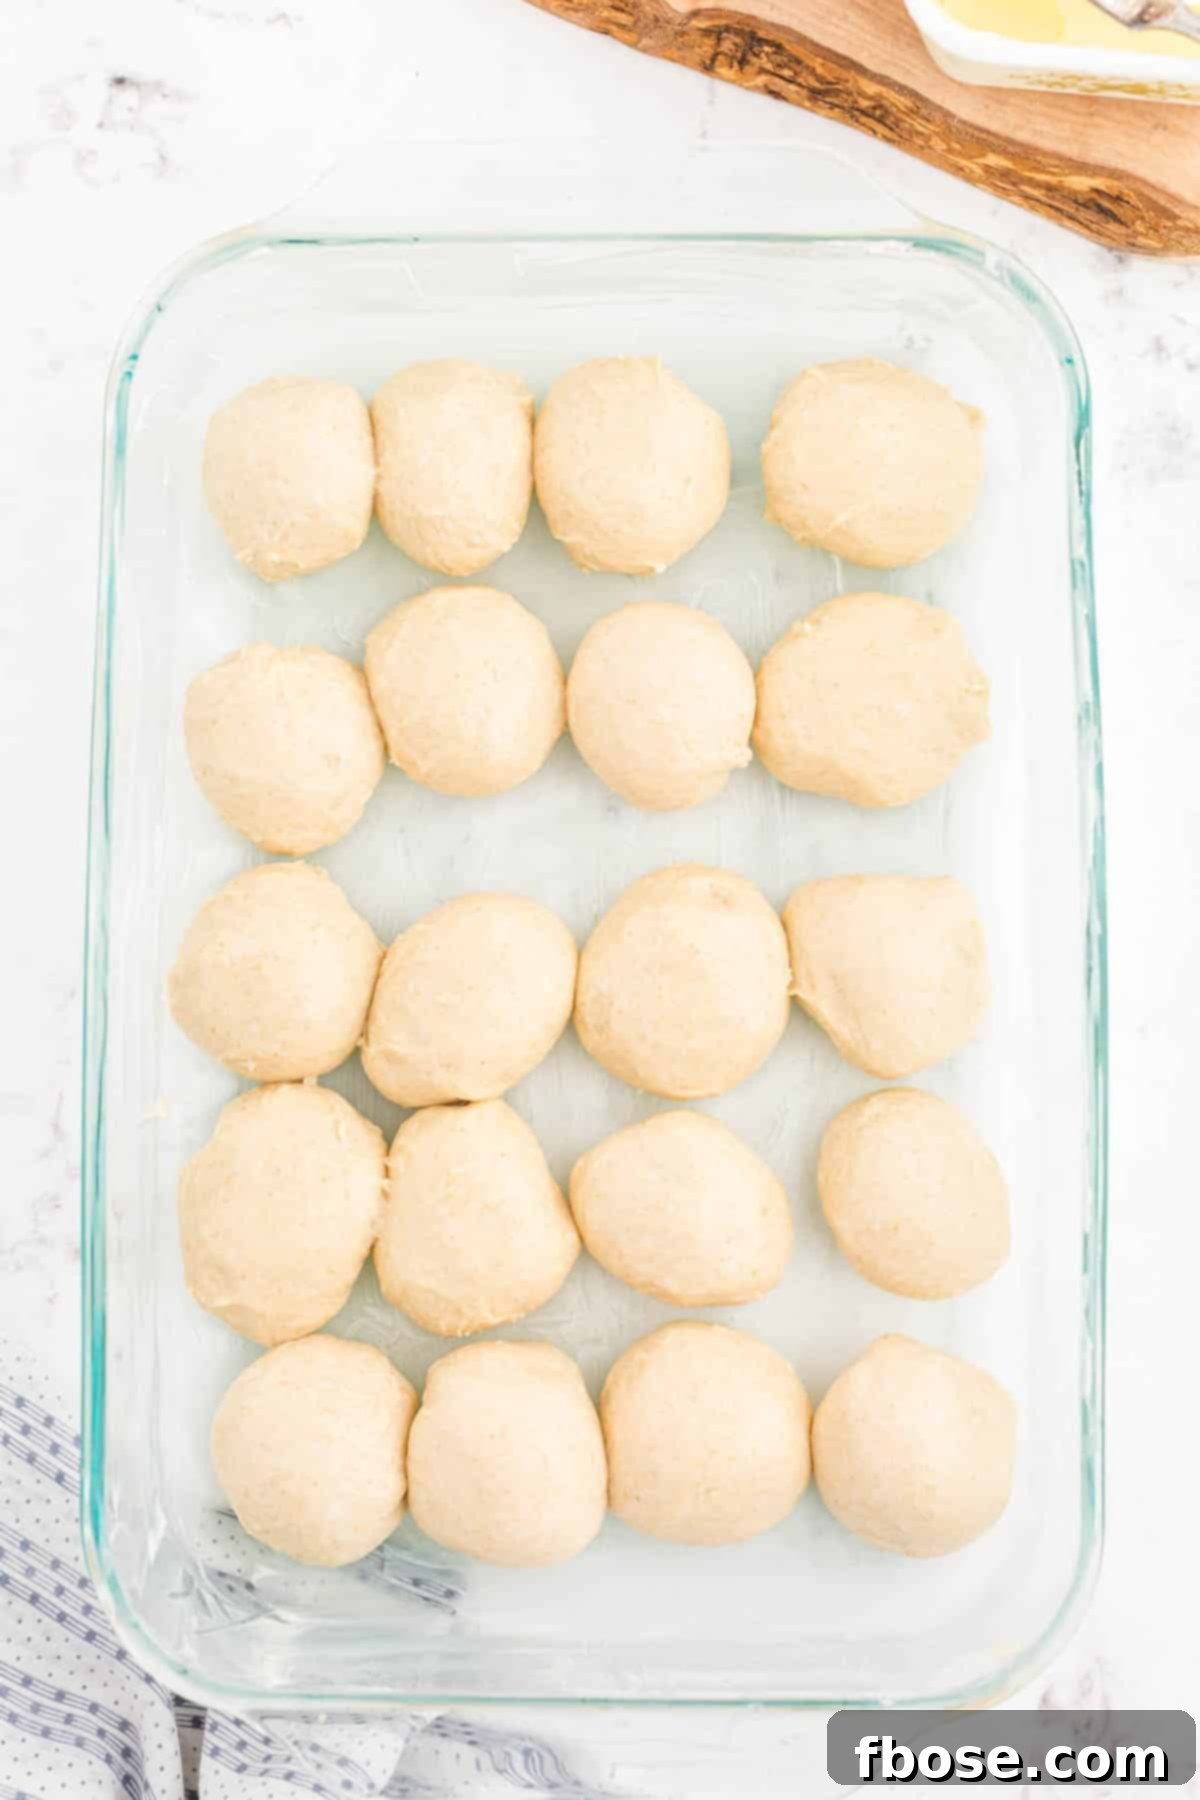
8. Second Rise (Proofing): Arrange the shaped sourdough dinner roll balls in neat rows within the prepared glass baking dish (typically 4 rows of 5 rolls). Cover the dish loosely with a clean dish towel. Return the pan to a warm, draft-free spot for their second rise, which will take approximately 1 to 1 ½ hours.
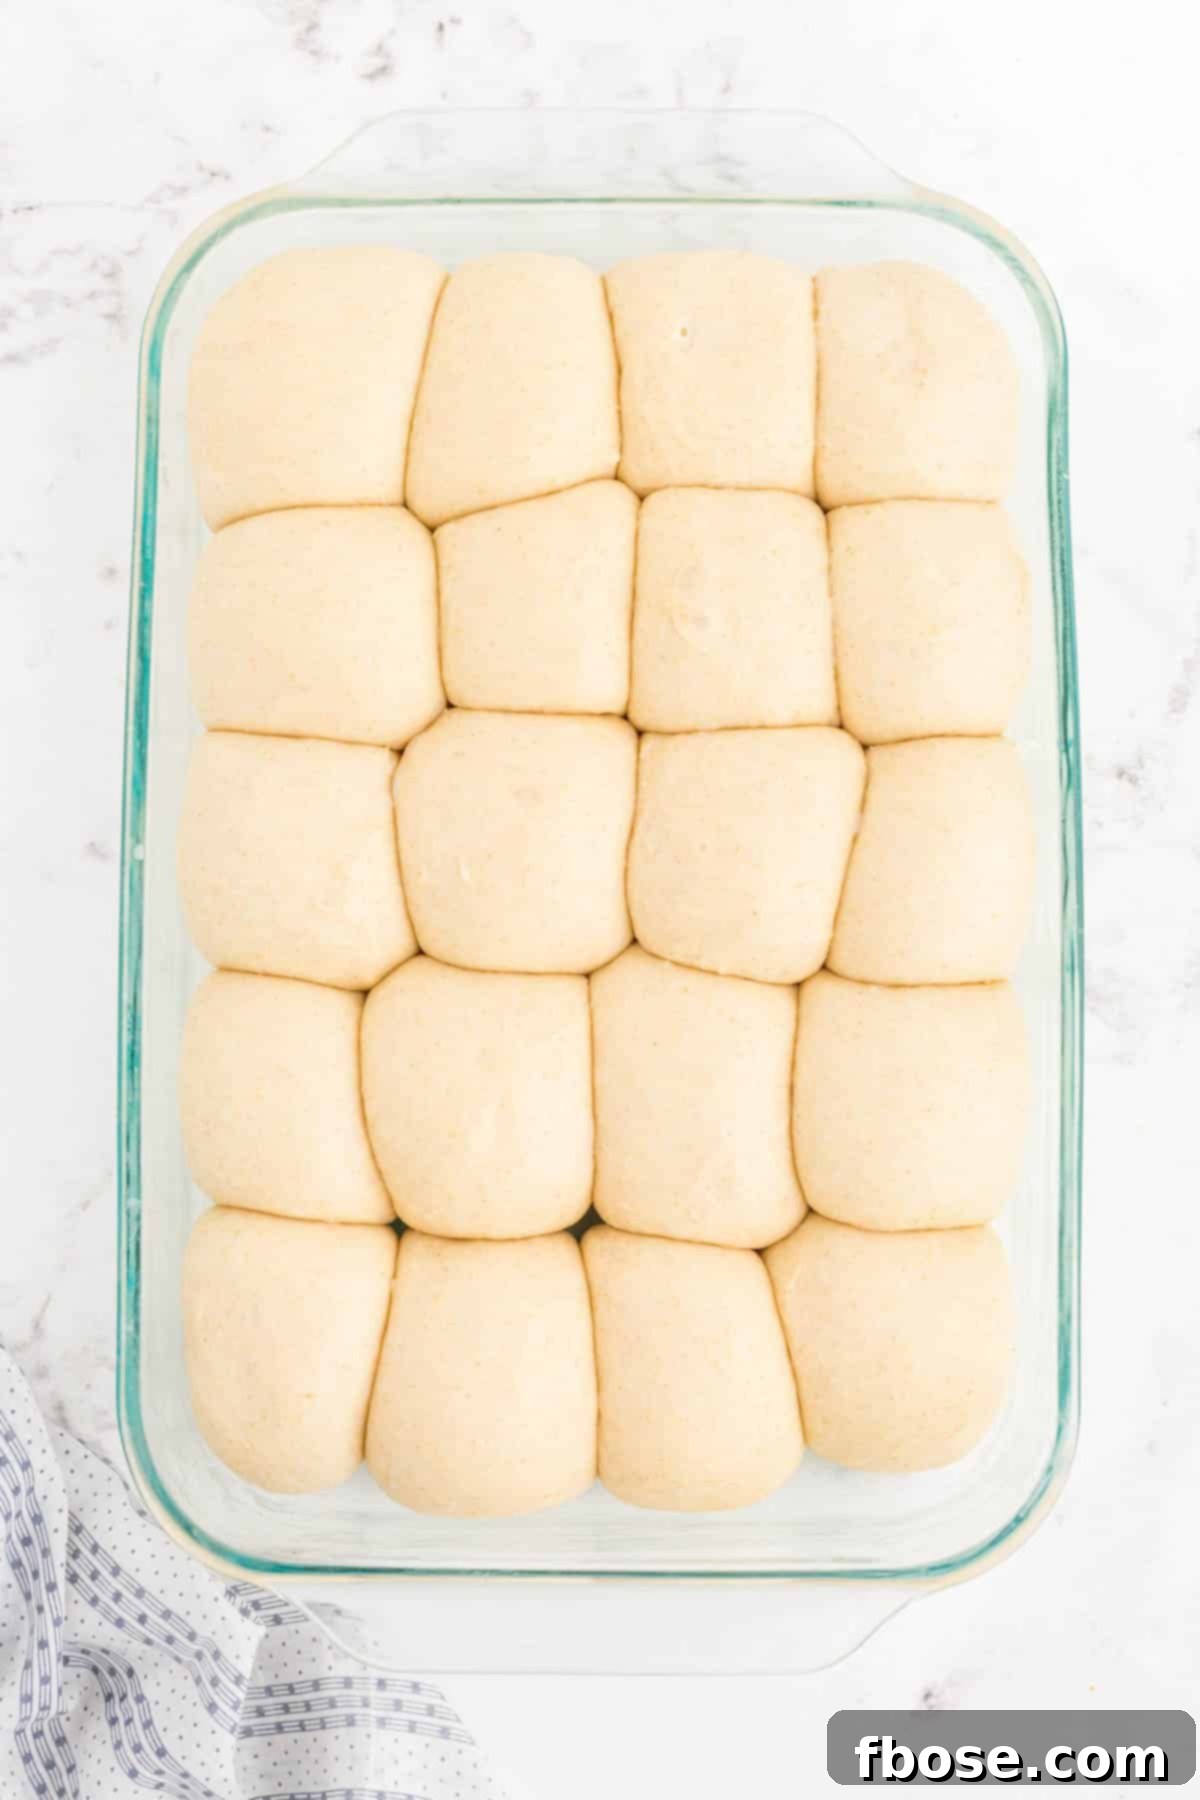
9. Test for Readiness: The rolls are ready for baking when they appear noticeably puffy and slightly crowded in the pan. To confirm, gently press the tip of your finger into one of the rolls; if it springs back slowly, leaving a slight indent, they are perfectly proofed and ready for the oven.
10. Bake to Golden Perfection: Preheat your oven to 375 degrees F (190 degrees C). Bake the Sourdough Dinner Rolls for 12-15 minutes. Keep an eye on them; they are done when the tops are beautifully golden brown, and the sides and bottoms have also achieved a slight browning. This indicates they are fully cooked through.
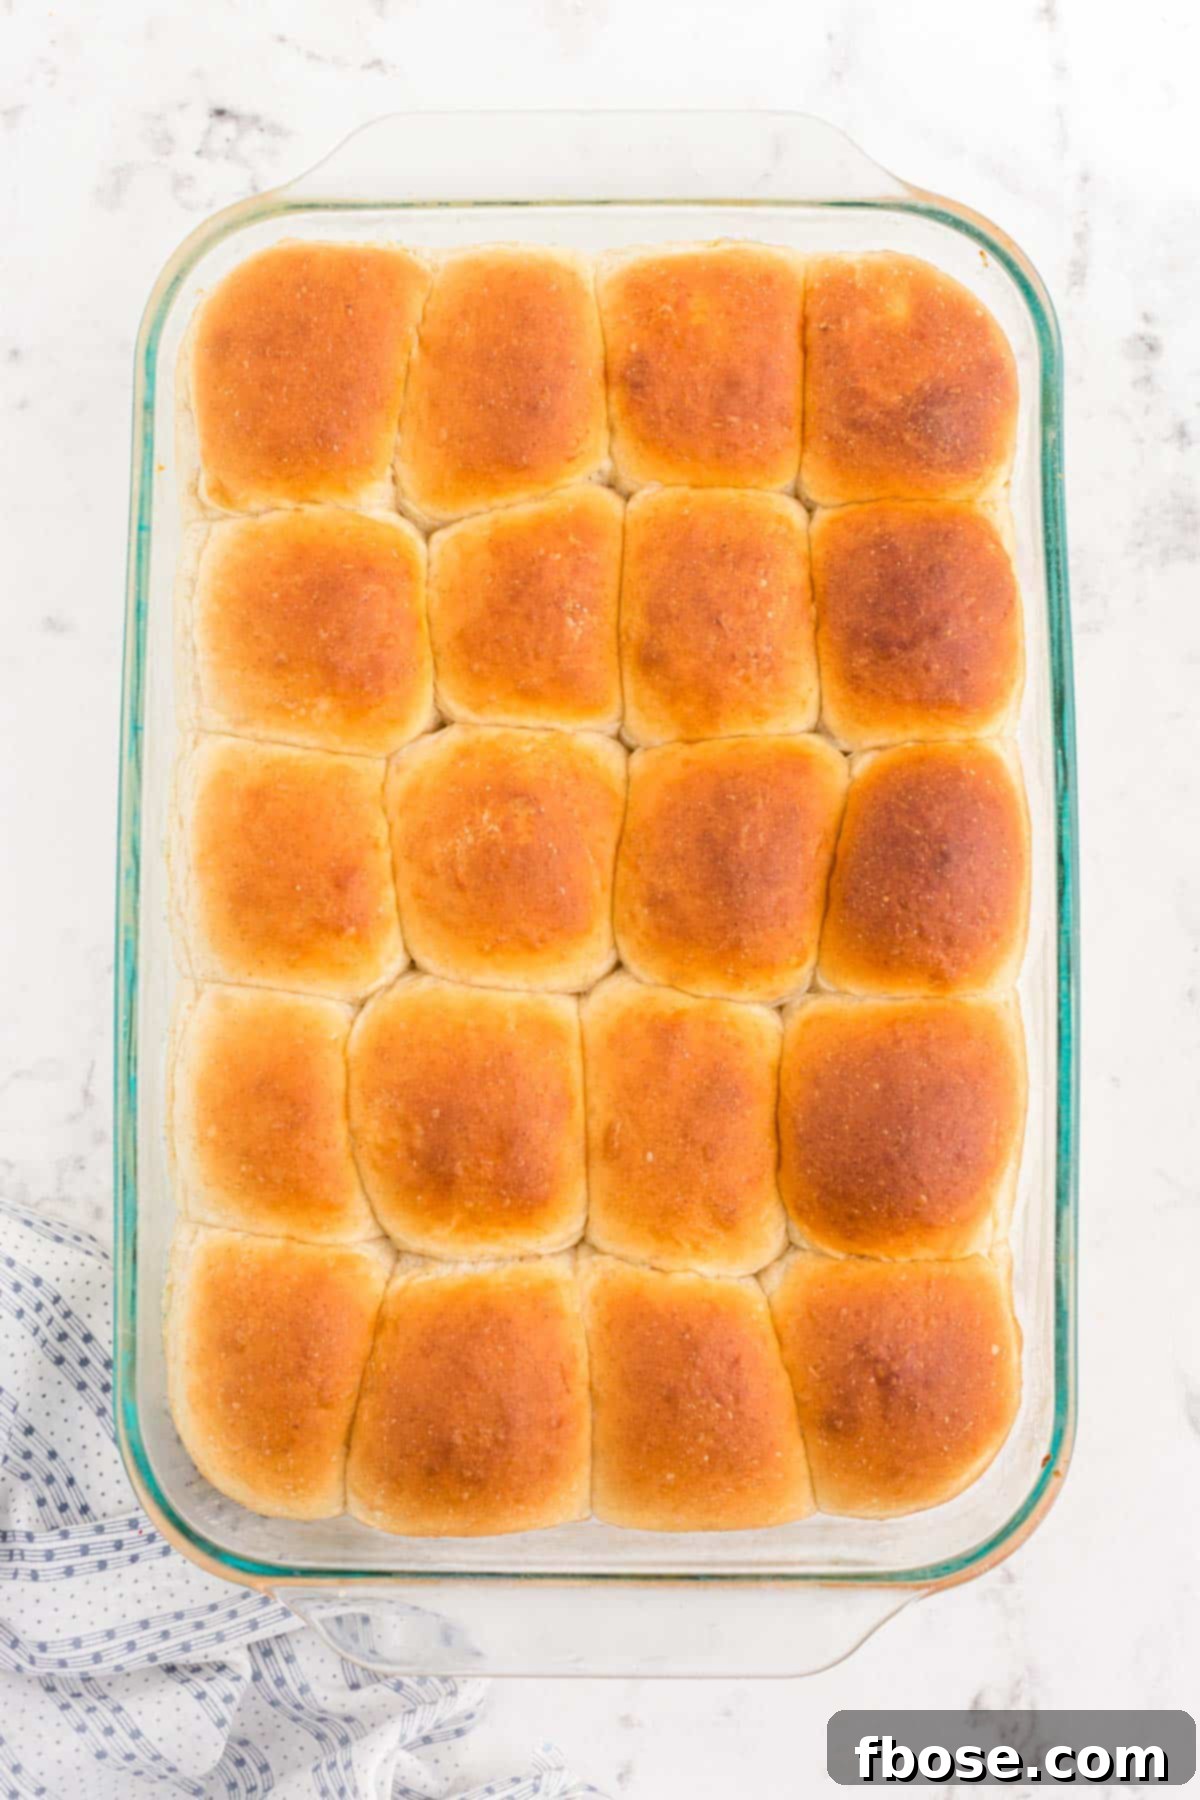
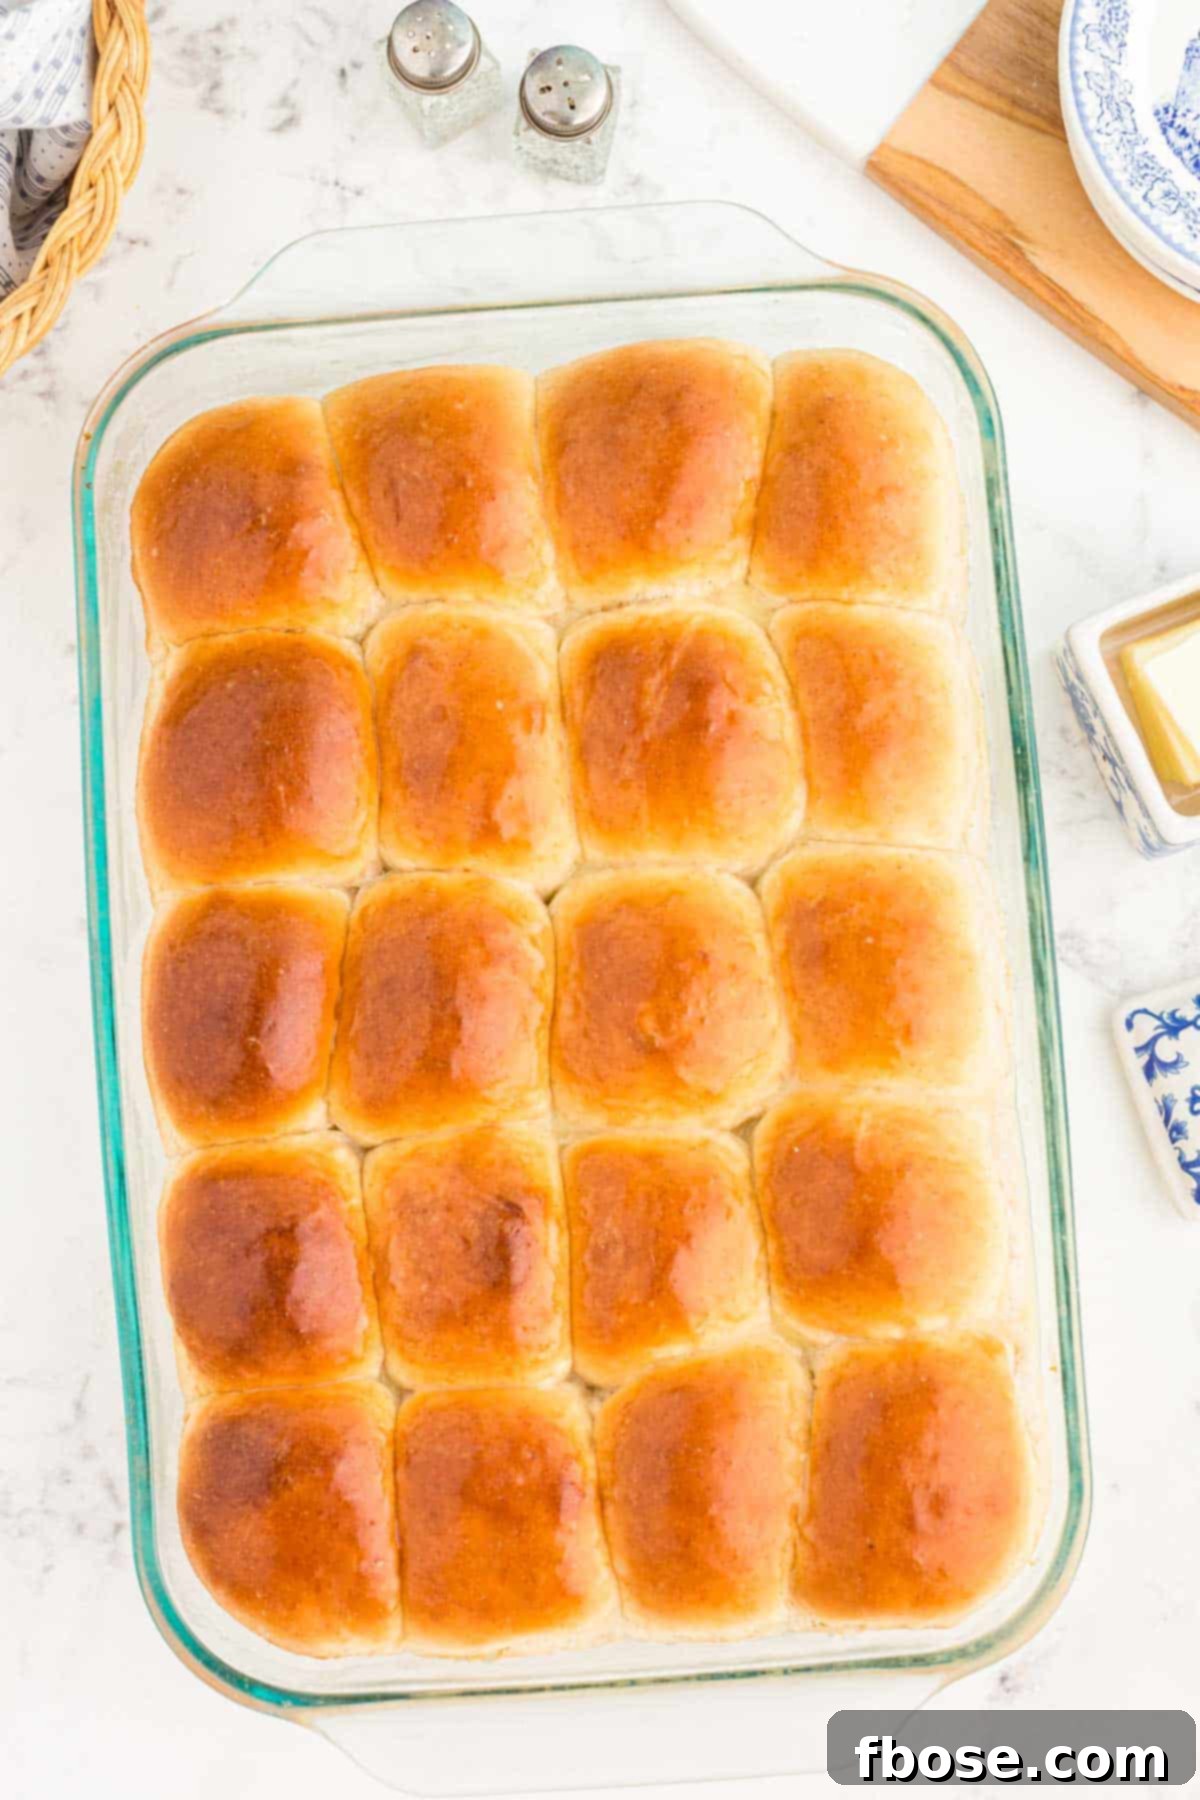
11. Final Touch: For an extra layer of flavor and a beautiful sheen, immediately after removing the rolls from the oven, generously brush their tops with additional melted butter using a pastry brush. Serve warm and enjoy these homemade fluffy sourdough dinner rolls!
Frequently Asked Questions About Sourdough Dinner Rolls
How to Store Your Homemade Sourdough Dinner Rolls
To keep your Soft Sourdough Dinner Rolls fresh and delicious, allow them to cool completely after baking. Once cooled, store them in an airtight container at room temperature. They will remain wonderfully fresh and tender for 3 to 4 days. For longer storage, consider freezing them following the instructions below.
Can I Freeze These Sourdough Rolls?
Absolutely! These sourdough rolls freeze beautifully, making them perfect for meal prepping or having a warm roll ready at a moment’s notice. After baking and cooling completely, wrap each individual roll or a row of rolls tightly in aluminum foil or plastic wrap. Then, place the wrapped rolls into a heavy-duty Ziploc freezer bag, pressing out any excess air before sealing. Store them in the freezer for up to one month. To reheat, simply thaw them at room temperature, then warm them in a preheated oven at 300°F (150°C) for 10-15 minutes until heated through.
Can I Prepare These Rolls In A Bread Maker?
Yes, a bread maker can certainly simplify the dough preparation process! Follow the recipe instructions for adding all the ingredients to your bread machine. Select the “dough” cycle and allow it to run its course. Once the dough cycle is complete, remove the dough from the machine and proceed with the remaining steps of the recipe, which involve forming the rolls, allowing them to rise for a second time, and then baking them as instructed. This method is a great time-saver for kneading and the first rise.
Does the Sourdough Discard Need to Be Bubbly for This Recipe?
No, for this particular recipe, your sourdough discard does not need to be active or bubbly. The primary leavening agent here is the added rapid-rise yeast, which ensures a consistent and strong rise. The sourdough discard is primarily used for its unique flavor profile – contributing that lovely tang and complexity – rather than its leavening power. I typically use discard from a sourdough starter with a 1:1 flour-to-water ratio. If your starter is significantly more or less hydrated, you might need to slightly adjust the amount of all-purpose flour in the recipe to achieve the correct dough consistency.
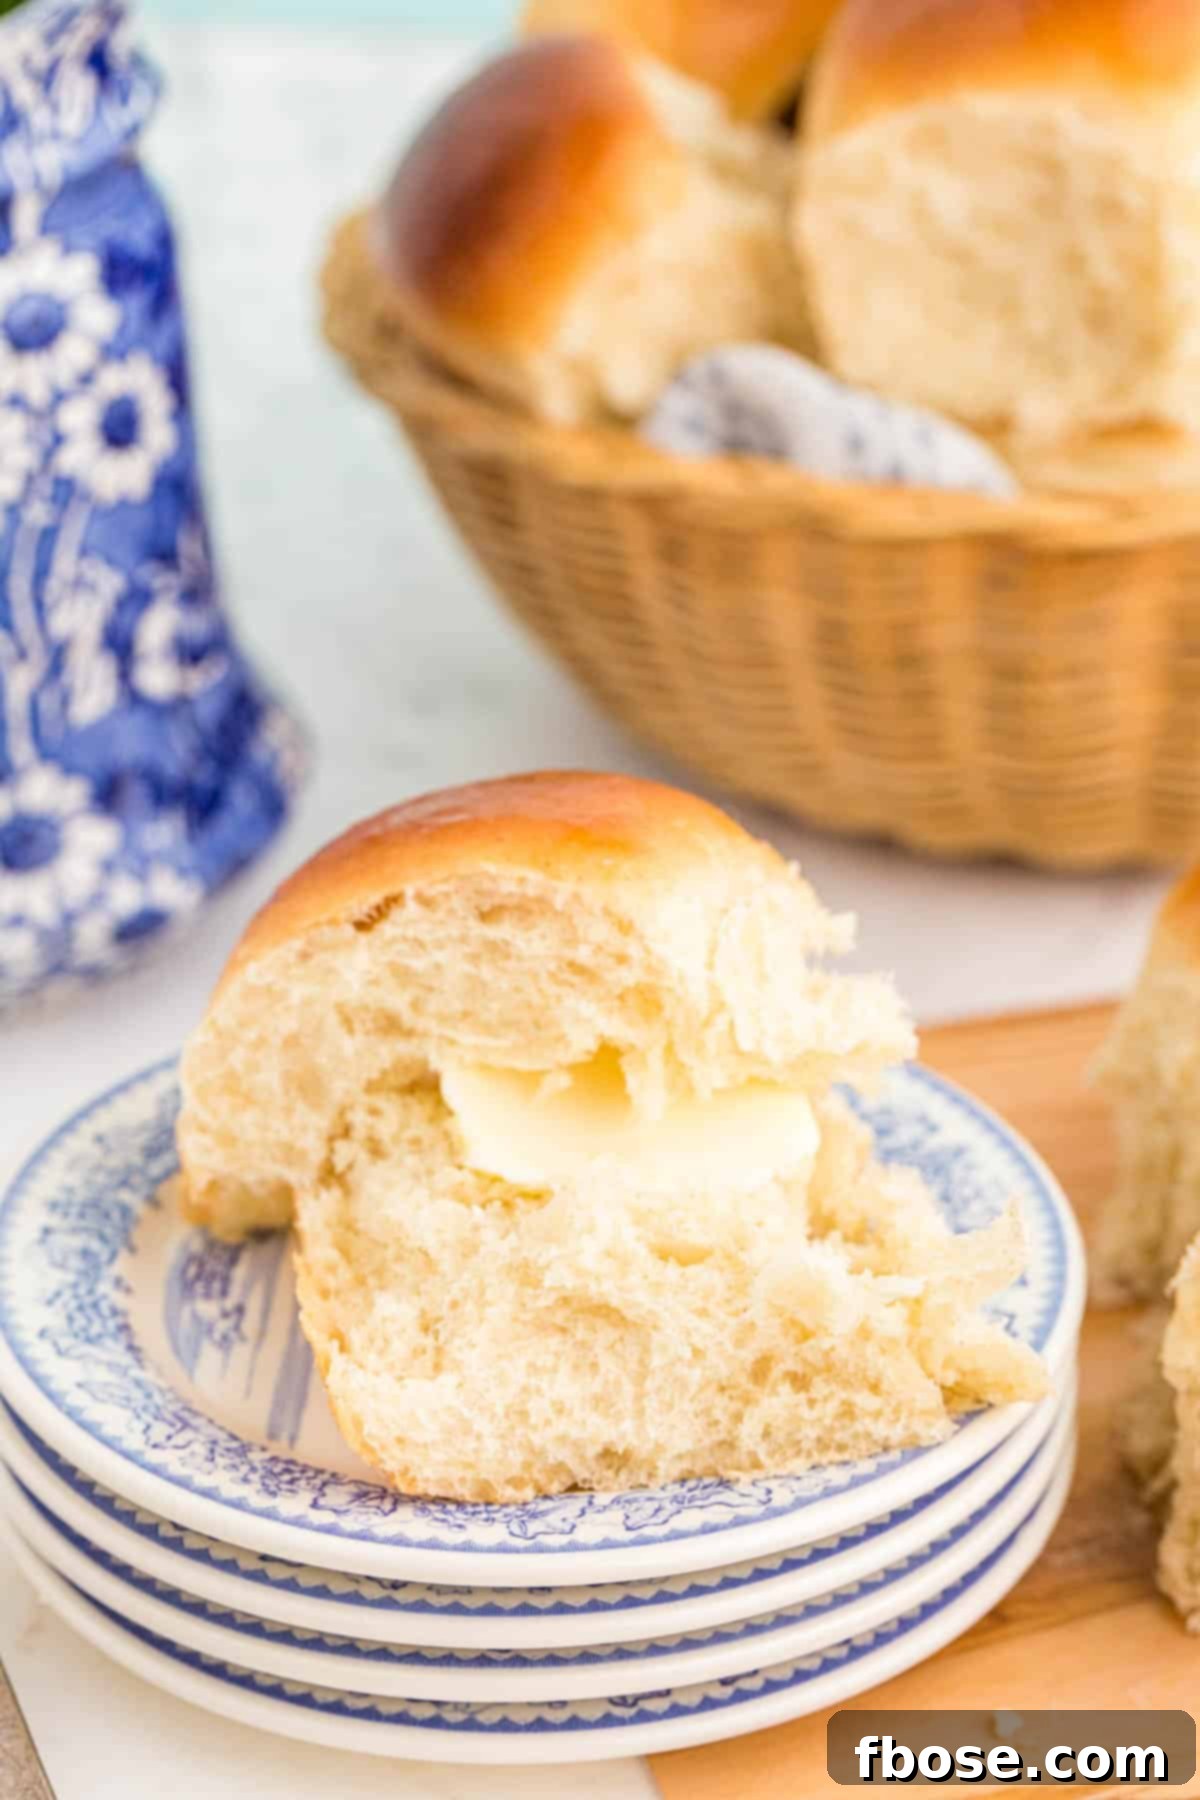
A warm, freshly baked piece of bread, much like these amazing Sourdough Dinner Rolls, is always a welcome sight on my dinner plate. If you’re looking to expand your baking repertoire, explore these other delicious bread recipes to bring even more homemade goodness to your family’s table:
- Classic Homemade White Bread – Discover how to make incredibly fluffy and tender white bread with our easy-to-follow, step-by-step recipe, complete with photos and helpful tips. Perfect for sandwiches, French toast, and so much more!
- Irresistible Parmesan Garlic Bread – This quick and easy recipe is loaded with fragrant herbs, rich butter, and savory Parmesan cheese, making it the ideal accompaniment for any pasta dish or Italian meal.
- How to Bake Beautiful Challah Bread – Learn the art of making this lightly sweet, braided bread. Its dough is enriched with eggs and honey, resulting in a delightfully soft texture that makes phenomenal grilled cheese sandwiches and decadent French toast.
- Easy Stuffed Cheese Breadsticks – Made with convenient crescent roll dough, a cheesy filling, garlic salt, and parsley, these delectable breadsticks are ready in just 20 minutes! They’re the perfect partner for your favorite pizza, comforting soup, or a hearty pasta dish.
- Authentic French Baguette – Master the creation of long loaves of crusty bread with a tender and chewy interior, using just four simple ingredients. Bring a touch of Parisian bakery magic to your home!
Let’s Connect! Share Your Baking Success!
If you’ve had the pleasure of trying this amazing Soft Sourdough Dinner Rolls recipe, we’d love to hear from you! Please share your thoughts in the comments section below and consider leaving a review. Your feedback is incredibly valuable and helps our baking community grow!
Don’t forget to tag us – @sugarandsoulco – on Instagram and Pinterest with your beautiful photos. You can also join our vibrant Sugar & Soul Show-offs Community on Facebook to share your creations and participate in our fun recipe challenges!
Sourdough Dinner Rolls
Rebecca Hubbell
Bread
American
30 minutes
12 minutes
3 hours
3 hours 42 minutes
20 rolls
Equipment
-
Standing mixer with bread hook
-
9×13-inch glass baking dish
Ingredients
- 2/3 cup buttermilk
- 1 large egg
- 4 tablespoons salted butter softened (plus more for greasing baking dish and forming rolls)
- 6 oz. sourdough discard
- 2 ½ cups all-purpose flour
- ⅓ cup granulated sugar
- 1 teaspoon sea salt
- ¼ teaspoon baking soda
- 1 tablespoon rapid rise active dry yeast
Instructions
-
In the bowl of a standing mixer, add the wet ingredients – buttermilk, egg, softened butter, and sourdough discard.
-
On top of the wet ingredients, add the flour, sugar, salt, baking soda, and yeast.
-
With the dough hook attached and the mixer on low speed, begin mixing the ingredients together.
-
Mix on low speed for 1-2 minutes until everything is combined.
-
Increase the mixer speed to medium-high and continue mixing with the bread hook for 5-6 minutes, until the dough mostly forms a ball around the hook and is smooth.
-
Transfer the dough to a greased bowl, cover with a dish towel or plastic wrap and set in a warm location for 1-1 ½ hours until dough has at least doubled in size.
-
Grease a 9×13 glass baking dish with butter.
-
Cover your fingers with butter to make it easier to form the rolls. Pull off a ping-pong size ball of dough and knead in your fingers, turning the dough toward the bottom to form a smooth top. Form 20 rolls, placing them in rows of 5 in the prepared
-
baking dish.
-
Cover the rolls with a light dishtowel and set aside in a warm place to rise a second time (about 1-1 ½ hours). The rolls are finished rising when they bounce back only slightly, leaving a small dent when pressed with the tip of your finger.
-
Bake at 375°F for 12-15 minutes. Check the sides and bottom of the rolls for slight browning to know when they are done cooking.
-
Brush the tops of the rolls with a bit of melted butter if desired.
Notes
You can prepare the rolls in a bread maker – Follow instructions for adding ingredients to the breadmaker.
Set on the dough cycle and let it run its course.
When the dough cycle completes, continue with instructions above for forming and allowing rolls to rise. Bake as instructed.
This is a really nice sweet roll yeast dough.
You could use it to make cinnamon rolls, or pastries that use a sweet dough base.
Adjust the amount of sugar in the recipe as needed.
You’ll get your leavening from the added yeast so the sourdough discard does not need to be bubbly.
Use discard from the sourdough starter/bread recipe – this has a 1:1 ration of flour to water, which is
the amount accounted for in this recipe. If you have a more or less hydrated starter, you may need to adjust the amount of flour in the roll recipe.
Did You Make This Recipe?
Don’t forget to share it with me on Instagram @sugarandsoulco and follow on Tiktok @sugarandsoulco and Pinterest @sugarandsoulco for more!
Pin Recipe
Share Recipe