
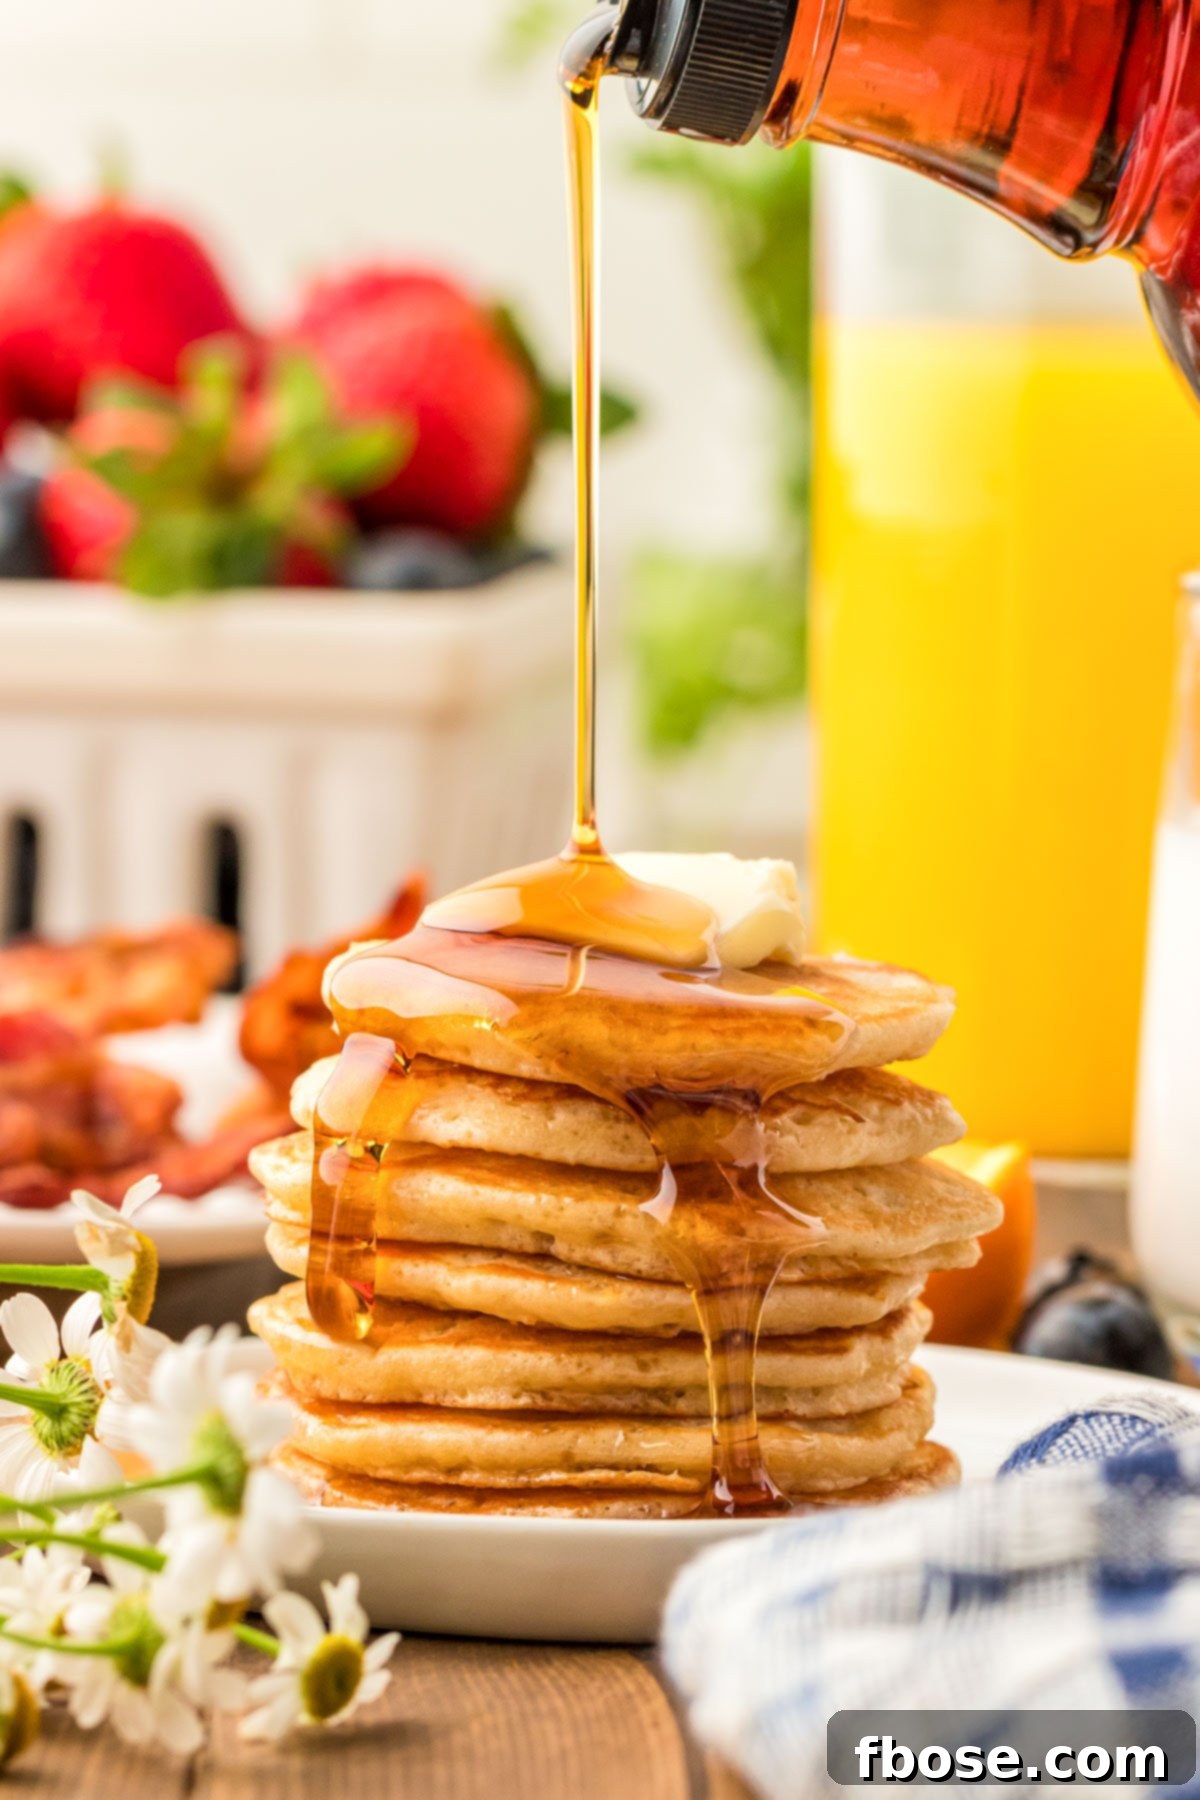
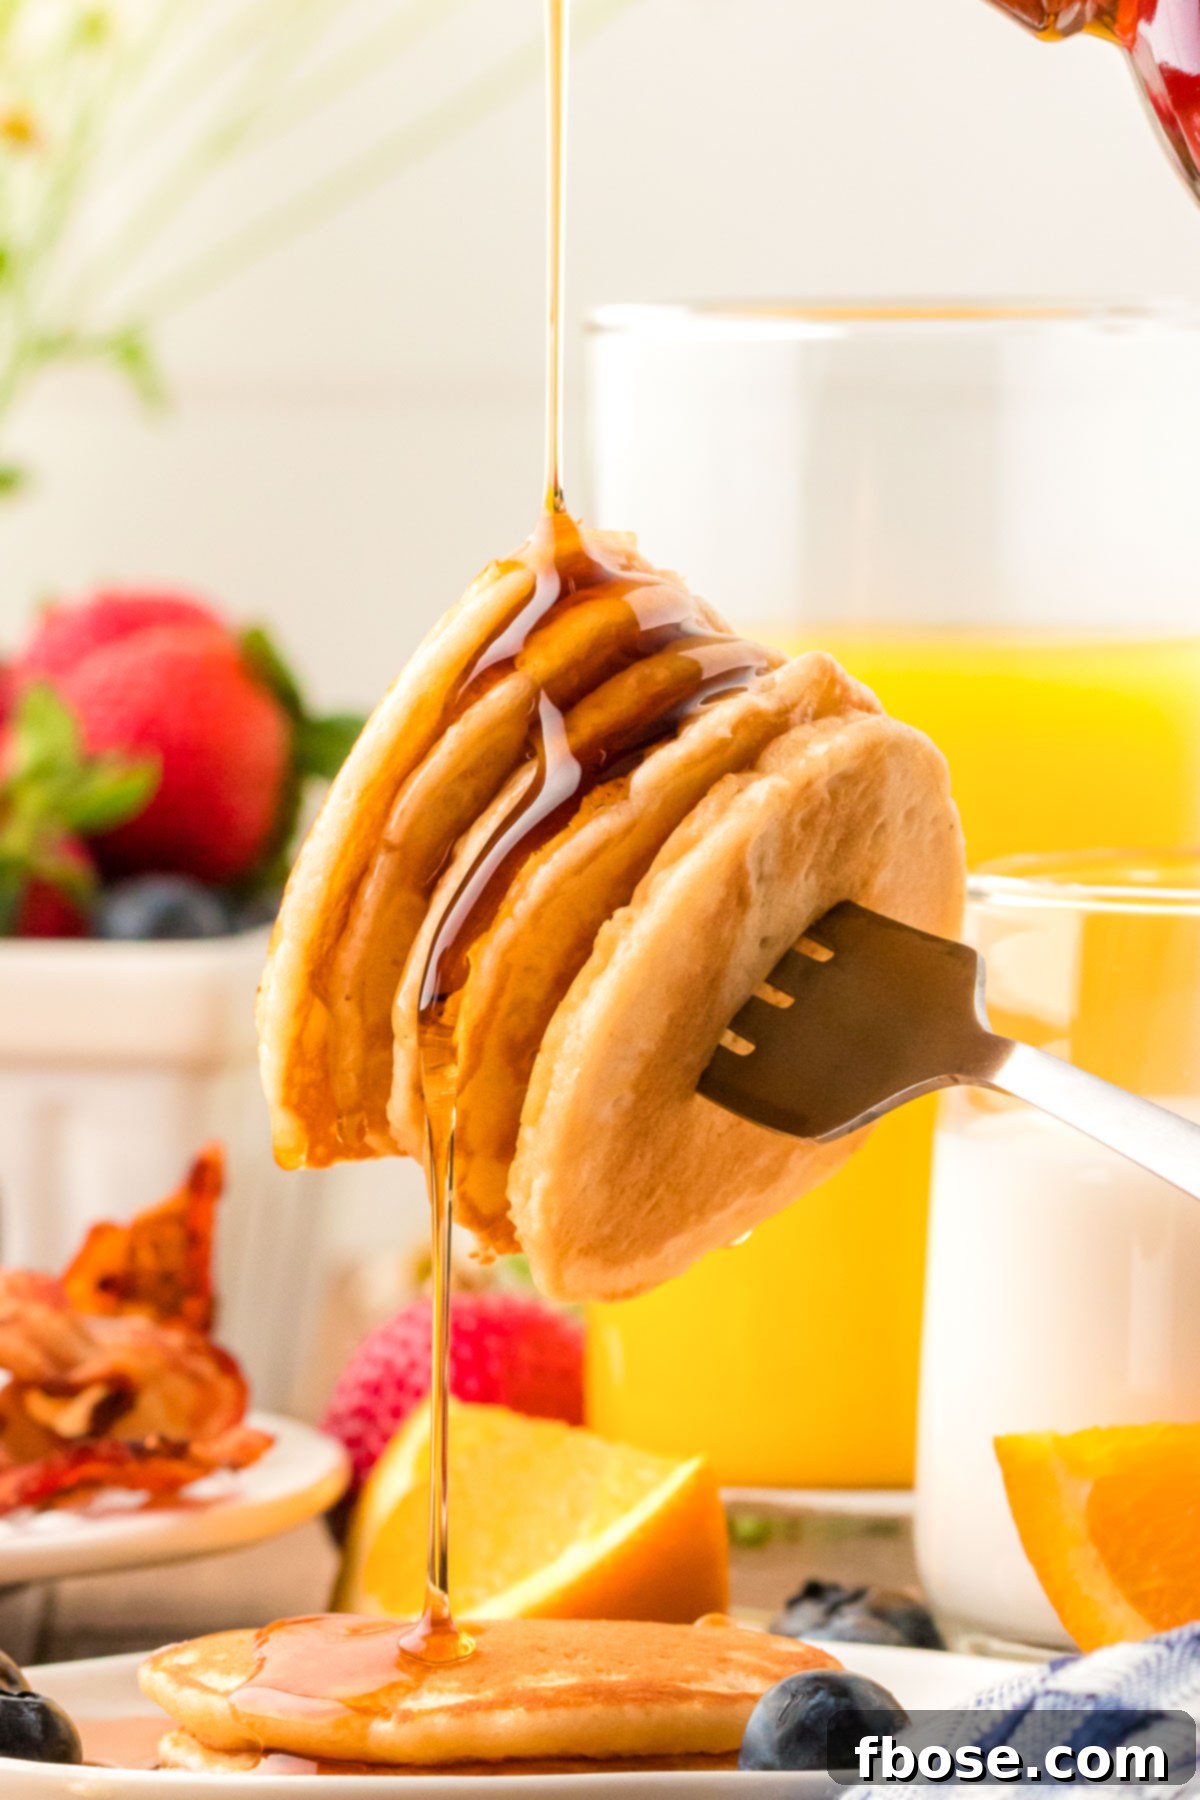
Transform your mornings into a delightful experience with a batch of these irresistible Silver Dollar Pancakes! This easy-to-follow recipe yields two dozen incredibly fluffy, flavorful, and perfectly bite-sized pancakes that will charm both children and adults alike. Prepare to make breakfast fun, memorable, and utterly delicious with these mini pancake gems.
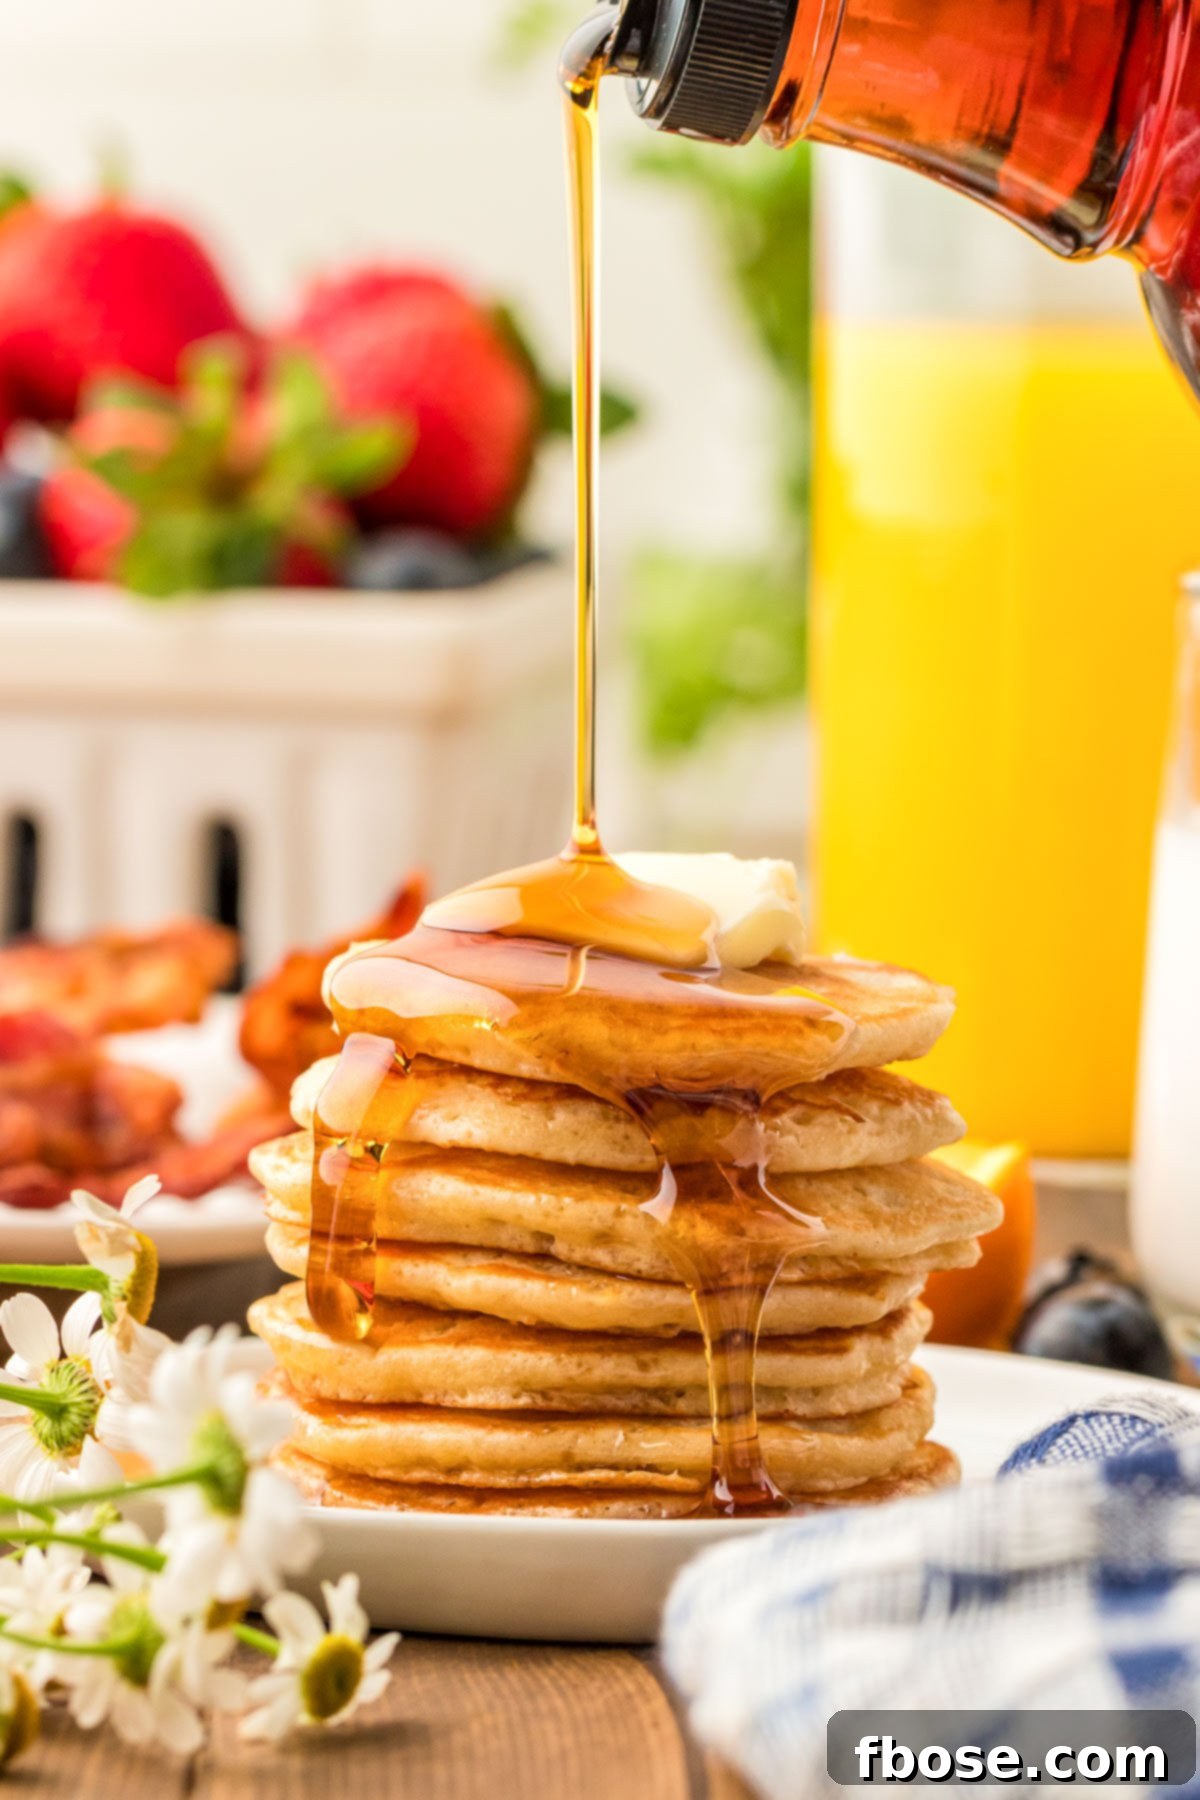
The Ultimate Guide to Making Fluffy Silver Dollar Pancakes
If your breakfast routine feels a bit stale, it’s time to shake things up with a dose of delicious fun! There’s something inherently delightful about bite-sized food, and these homemade Silver Dollar Pancakes are no exception. They bring a playful twist to a classic morning meal, making them a fantastic choice for busy weekdays, leisurely weekends, or special brunch gatherings.
The best part? This isn’t a recipe that demands hours in the kitchen. Mornings are challenging enough, so we’ve crafted an easy silver dollar pancake recipe using common pantry staples that comes together in just about 30 minutes, with only 15 minutes of active cooking time. Imagine serving up a platter of these golden, fluffy mini pancakes without breaking a sweat! These quick and simple pancakes are perfect for feeding a crowd or for preparing a delightful meal for your family.
Beyond their ease, these mini pancakes are incredibly versatile. Serve them simply with a generous pour of warm maple syrup, or get creative with a variety of toppings like fresh berries, sweet jams, creamy Nutella, or even whipped cream. For an extra touch of whimsy, transform them into a fun snack skewer by alternating mini marshmallows and colorful fresh fruit with your delicious mini pancakes. They’re also an excellent make-ahead option, perfect for school lunches or quick grab-and-go breakfasts throughout the week.
Pin This Delicious Recipe for Later!
Rebecca’s Recipe Review: Why You’ll Love These Mini Pancakes
Before diving into the full recipe, let’s take a closer look at what makes these Silver Dollar Pancakes truly special:
Taste: Crafted with a thoughtful combination of malted milk powder, pure vanilla extract, and a touch of granulated sugar, these pancakes offer a subtly sweet and incredibly unique flavor profile. They are the perfect blank canvas, ready to be adorned with your favorite syrups and toppings. The malted milk adds a depth that sets them apart from your standard pancake, making each bite a delightful surprise.
Texture: When these Silver Dollar Pancakes come off the skillet, they boast a satisfyingly crisp, golden-brown exterior. This beautiful crust gives way to a wonderfully light, airy, and fluffy interior, a result of carefully balanced leavening agents and proper cooking techniques. They are soft enough to melt in your mouth yet have enough structure to hold up to generous dollops of butter and syrup.
Ease: A resounding 2 out of 10! This recipe is incredibly straightforward, relying on simple mixing and basic cooking steps. Even novice cooks can achieve perfect results with minimal effort, making it an ideal choice for a stress-free breakfast.
Pros: Beyond their effortless preparation, the fun, bite-sized format is a huge plus, especially for kids. Their incredible flavor, enhanced by the malted milk, ensures they’ll be a consistent hit. Plus, their small size makes them incredibly easy to portion and pack.
Cons: The only downside is that they require a tiny bit of effort on your part – they won’t magically cook themselves! But trust us, the reward far outweighs the minimal work.
Would I Make This Again? Absolutely, without a doubt! These are not just a delicious and simple breakfast that my kids adore; their convenient size also makes them super easy to pack into school lunches, offering a homemade treat that beats store-bought alternatives any day.
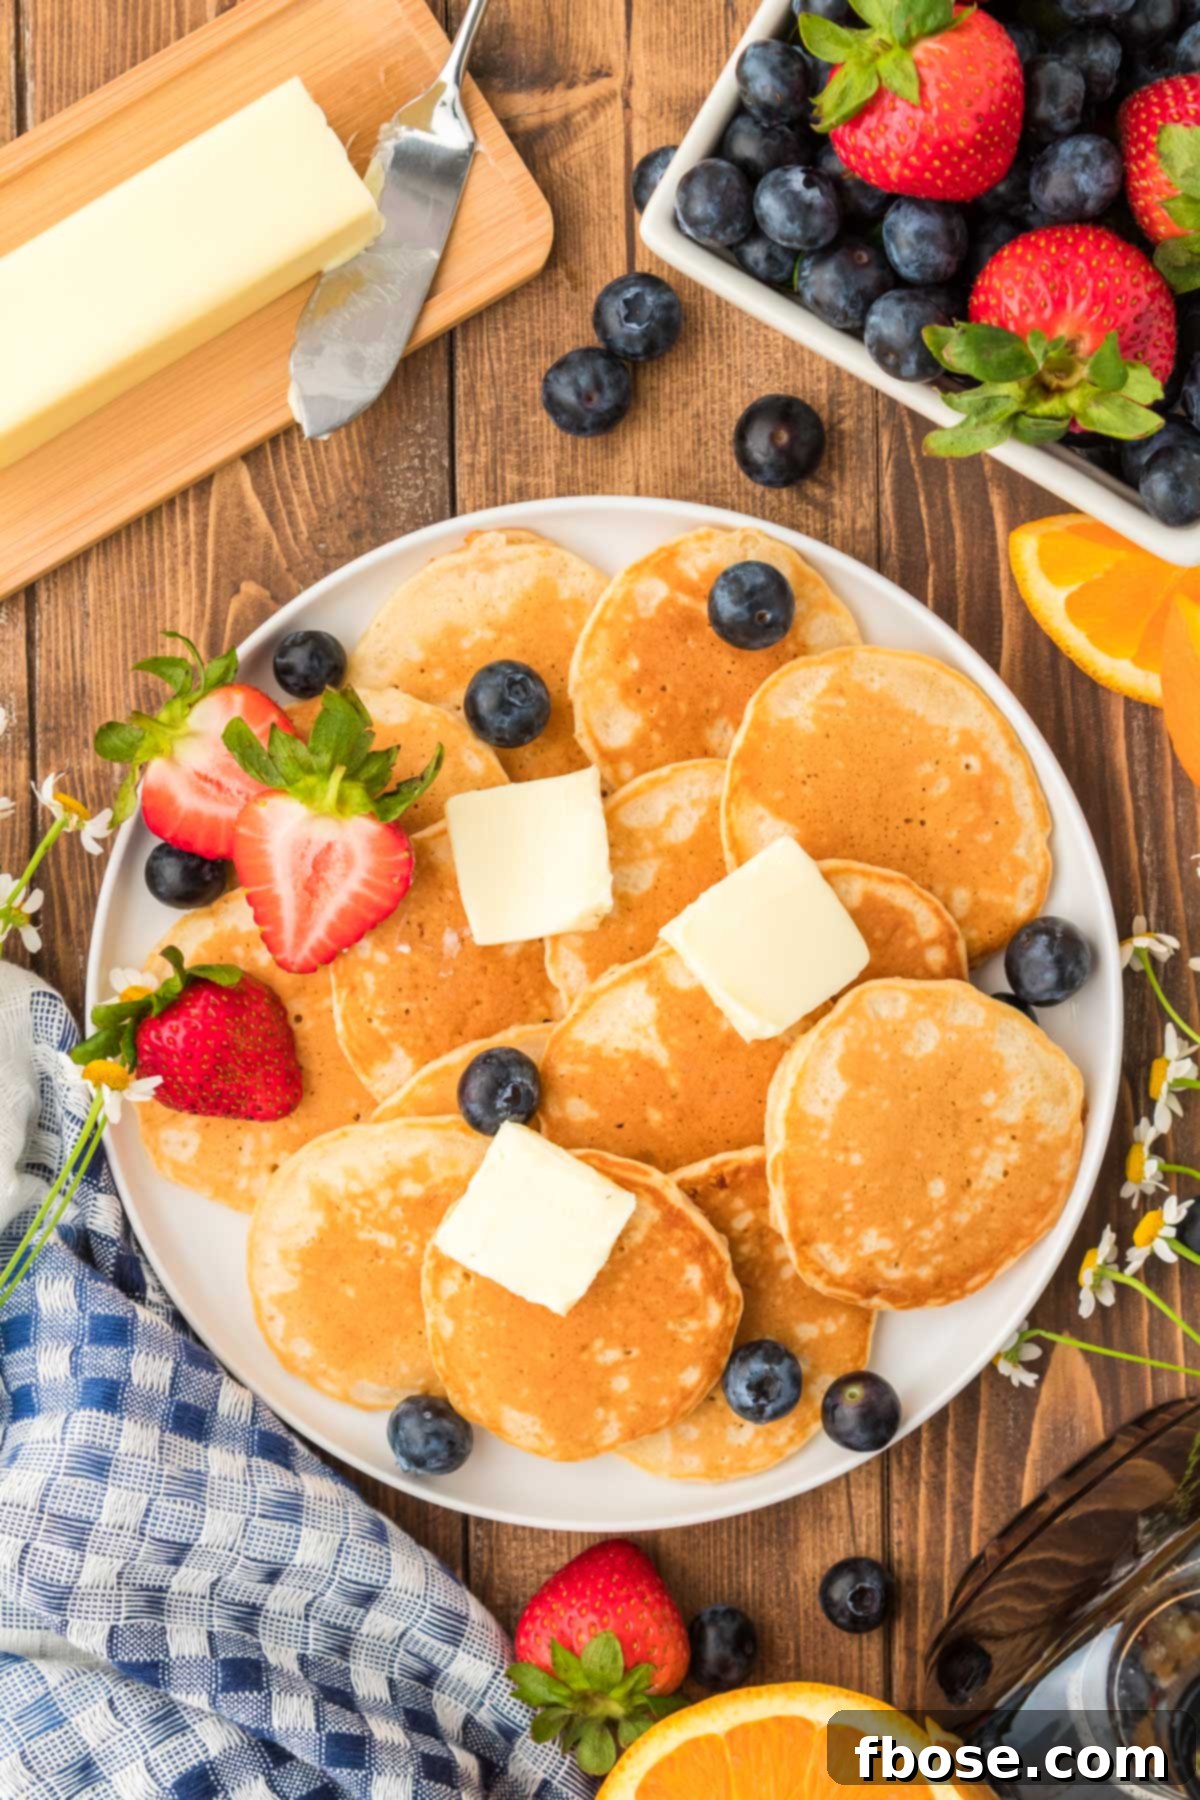
Essential Silver Dollar Pancake Ingredients for Unbeatable Flavor and Fluffiness
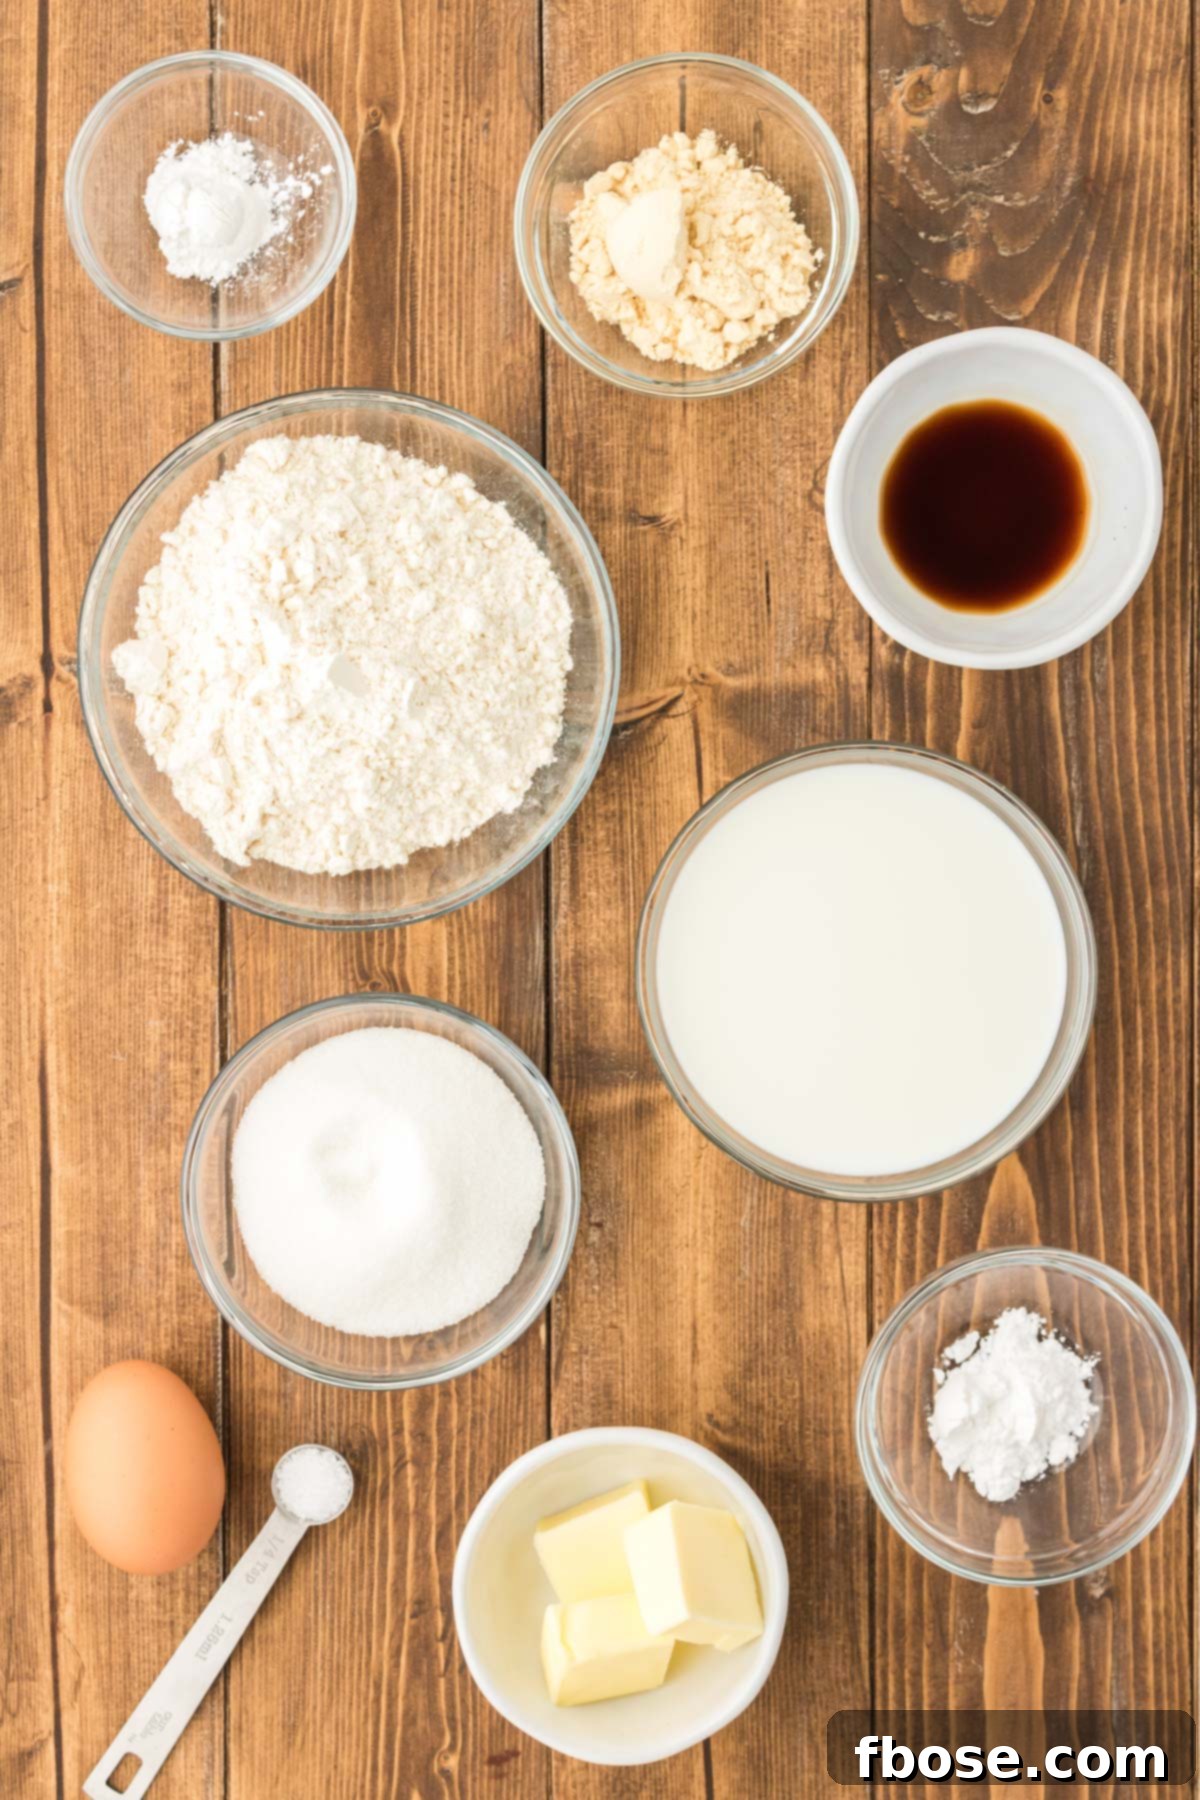
While this recipe calls for standard pantry staples like all-purpose flour, granulated sugar, fresh milk, and a large egg, it’s a trio of special ingredients that truly elevates these silver dollar pancakes from good to extraordinary!
First on the list is **malted milk powder**. This ingredient is a game-changer, infusing the pancakes with a rich, deliciously unique flavor reminiscent of classic diner milkshakes. If you can, absolutely do not skip this! It adds a depth of taste you won’t get from regular milk powder. You can typically find it in the grocery store in the baking aisle or near powdered drink mixes. Its fine texture ensures it blends seamlessly into the batter, delivering that signature malty goodness.
Next, we have the dynamic duo of **baking powder and cream of tartar**. These aren’t just any leavening agents; they work in tandem to provide exceptional structural support and rise. Baking powder, a common chemical leavener, reacts with liquids and heat to produce carbon dioxide bubbles. Cream of tartar, an acidic salt, activates the baking powder further, ensuring a vigorous rise and stable air pockets. The result? Those incredibly light, airy, and fluffy pancakes we all dream of!
For richness and exceptional flavor, **melted butter** is key. It adds a wonderful depth and moisture to the pancakes, contributing to their golden-brown finish. However, if you’re looking for an alternative or simply don’t have butter on hand, vegetable oil or canola oil can be used as a substitute, though butter will yield a superior flavor profile.
Finally, **pure vanilla extract** rounds off our list of essential flavor enhancers. A good quality vanilla extract provides an easy yet significant boost to the pancakes’ overall taste, adding a warm, aromatic sweetness that complements the other ingredients perfectly. It’s a small addition that makes a big difference in the finished product.
Step-by-Step: How to Make Perfect Silver Dollar Pancakes
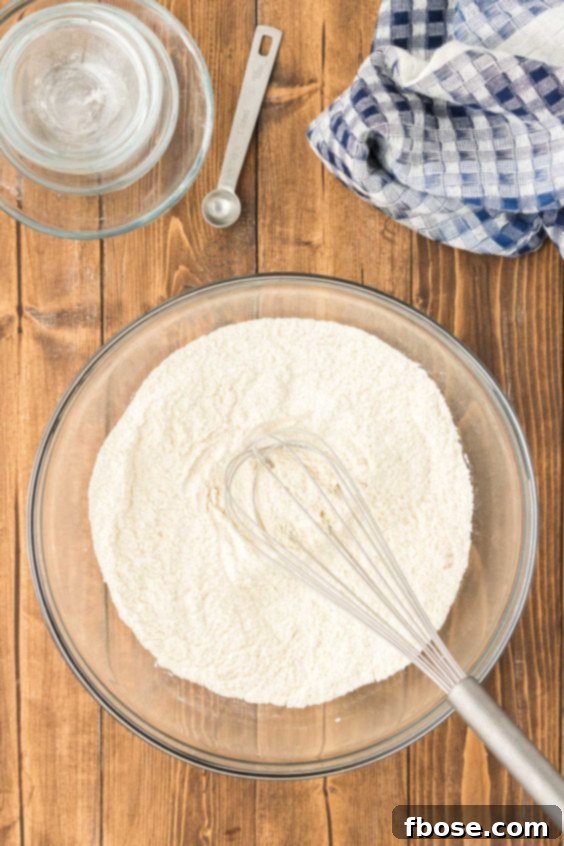
- Combine Dry Ingredients: In a large mixing bowl, thoroughly whisk together all the dry ingredients: all-purpose flour, granulated sugar, malted milk powder, baking powder, cream of tartar, and salt. Whisking ensures that the leavening agents are evenly distributed, which is crucial for fluffy pancakes.
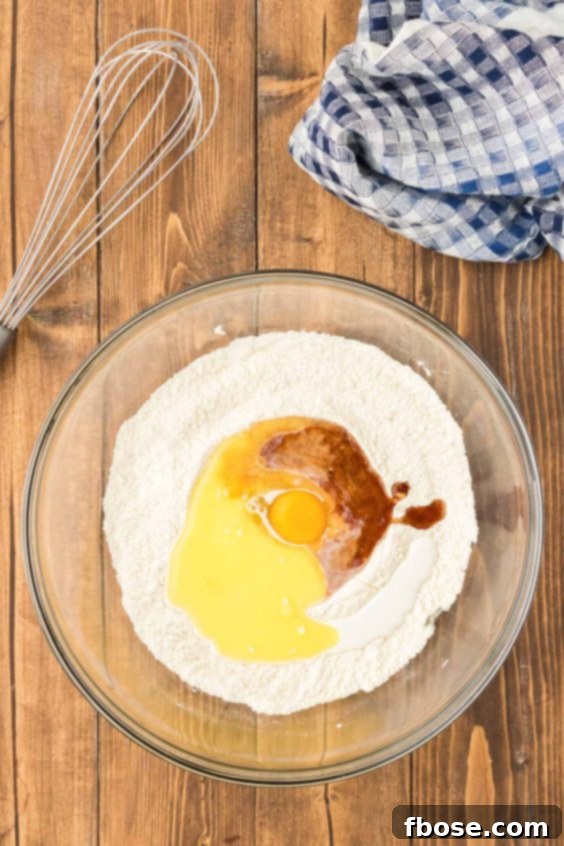
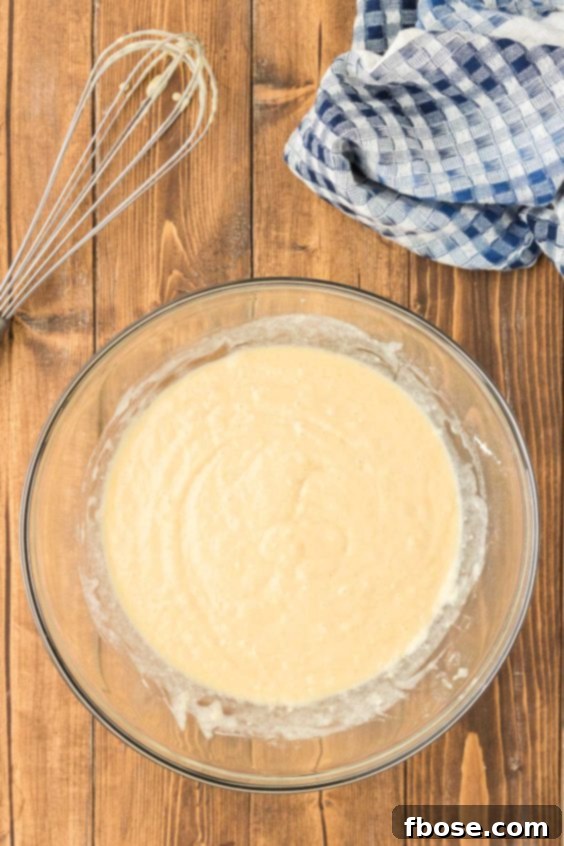
- Add Wet Ingredients: Create a small well in the center of your dry ingredients. Pour in the whole milk, crack in the large egg, add the melted salted butter, and finally, the pure vanilla extract. Using a whisk or fork, gently mix the wet and dry ingredients until just combined. It’s perfectly fine, and even desirable, for some small lumps to remain in the batter. Overmixing can lead to tough pancakes, so stop as soon as most of the flour streaks disappear.
- Rest the Batter: This is a crucial step for achieving maximum fluffiness. Allow your pancake batter to rest for 10 to 15 minutes at room temperature. During this time, the gluten will relax, and the leavening agents will begin to activate, creating those essential air bubbles for a light texture.
- Preheat Your Pan: Heat a large nonstick skillet or a well-seasoned cast iron pan over low to medium-low heat. The key is consistent, moderate heat. Too high, and your pancakes will burn before cooking through; too low, and they’ll be dense.
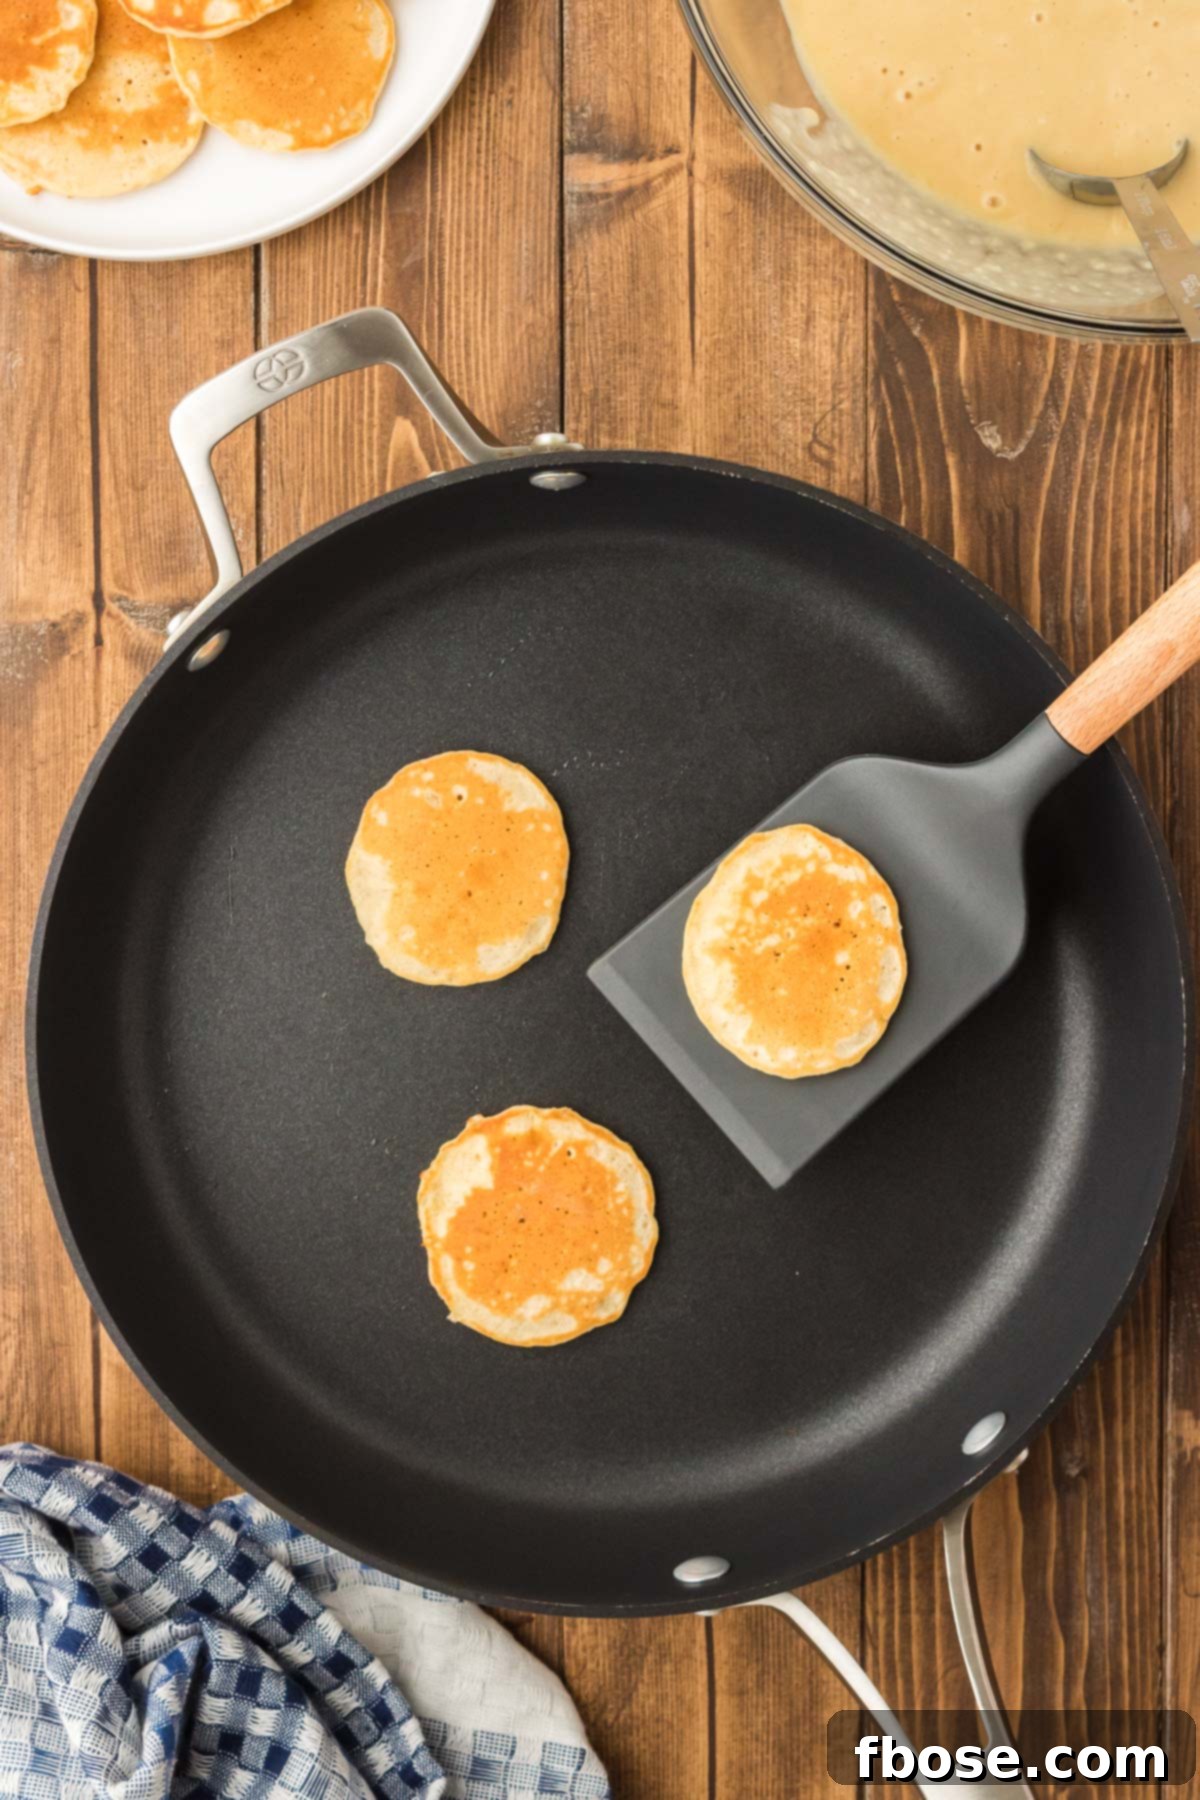
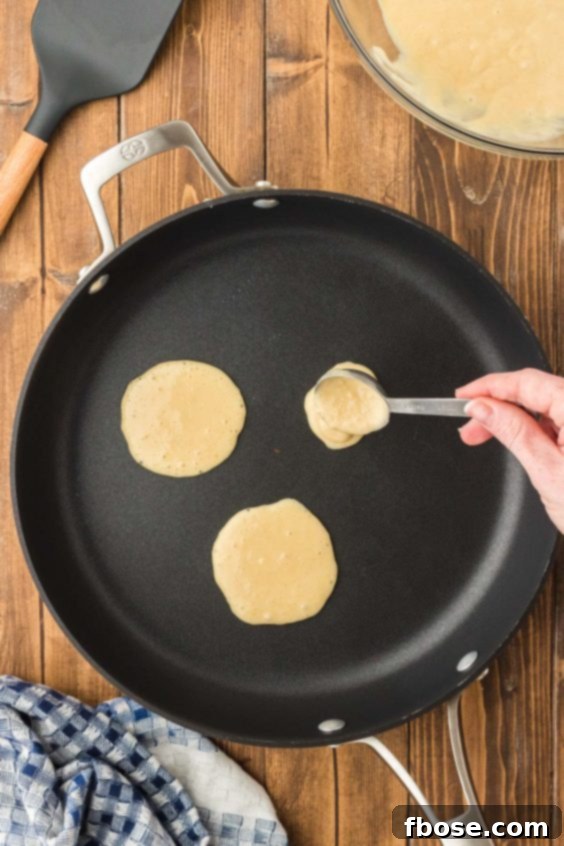
- Test and Cook: Once your pan is preheated, drop a small spoonful (about 1 tablespoon) of pancake batter onto the pan to test the temperature. If the batter spreads too much and doesn’t begin to bubble on top within about a minute, slightly increase the heat. You’re looking for the batter to spread slowly, forming slightly thicker edges that bubble and rise. Once the heat is perfect, drop 1-tablespoon portions of batter for each silver dollar pancake. Cook for 1 to 2 minutes, or until the top surface shows small bubbles and the edges appear set and slightly dry.
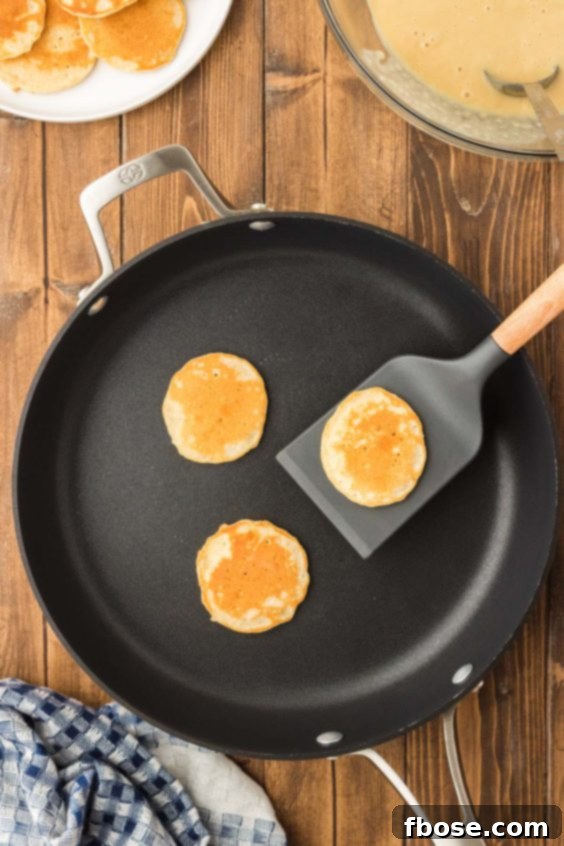
- Flip and Finish: Carefully slide a thin spatula under each pancake and flip. Cook for an additional 30 to 60 seconds on the second side, or until golden brown and cooked through.
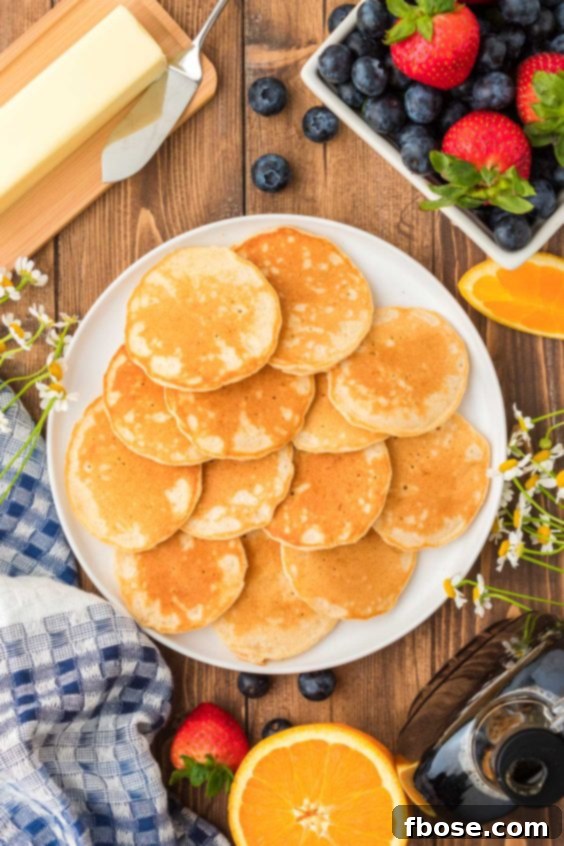
- Serve Warm: Transfer the cooked pancakes to a plate. Serve immediately with a knob of butter and your favorite syrup, or keep them warm as directed in our tips below while you cook the remaining batter.
Rebecca’s Expert Tips for Flawless Silver Dollar Pancakes
- Don’t Skip the Rest: Allowing your pancake batter to rest for 10 to 15 minutes before cooking is absolutely essential for achieving incredibly fluffy silver dollar pancakes. This resting period gives the gluten in the flour time to relax and absorb the liquids fully. More importantly, it allows the leavening agents (baking powder and cream of tartar) to activate, creating small air bubbles throughout the batter. These bubbles expand when heated, resulting in that wonderfully light and airy texture we all desire. Think of it as giving your batter a little nap to wake up perfectly puffy!
- Master the Heat: When it comes to cooking pancakes, heat management is paramount. The right temperature can be tricky to nail down, as it varies significantly based on your specific pan and whether your stove is gas or electric. If the heat is too high, your pancakes will quickly burn on the outside while remaining raw in the center. Conversely, if the heat is too low, they’ll spread out, become dense, and cook unevenly. To find your ideal temperature, I highly recommend performing a couple of “test pancakes” with a small amount of batter. Observe: if the batter spreads too thin and doesn’t produce bubbles on top within about a minute, slightly increase the heat. The perfect temperature will result in a slow spread, forming slightly thicker edges, and a gradual development of bubbles and rise across the pancake surface.
- Choose the Right Pan: Your choice of cooking surface makes a substantial difference. I have consistently found that a well-seasoned cast iron pan yields the best results. Cast iron excels at retaining and distributing heat evenly, which helps to mitigate many of the common heating inconsistencies. A high-quality nonstick pan is the next best alternative, offering easy flipping and beautiful golden-brown pancakes. However, I strongly advise against using a stainless-steel pan for pancakes, as they tend to stick and cook unevenly, making the process much more frustrating.
- Keep Them Warm: Since these silver dollar pancakes are quite small (approximately 2 inches in diameter), cooking through the entire batch can take some time. To ensure every pancake hits the table hot and ready to enjoy, I suggest placing the cooked pancakes in a warming drawer or in an oven preheated to a low temperature, around 200 degrees F (93 degrees C). This method keeps them perfectly warm without drying them out, so everyone can enjoy a stack of fresh, warm pancakes simultaneously.
Creative Silver Dollar Pancakes Serving Suggestions
The beauty of these yummy Silver Dollar Pancakes lies in their versatility. They’re a blank canvas for a myriad of delicious toppings! Here are some of our absolute favorite ways to enjoy them:
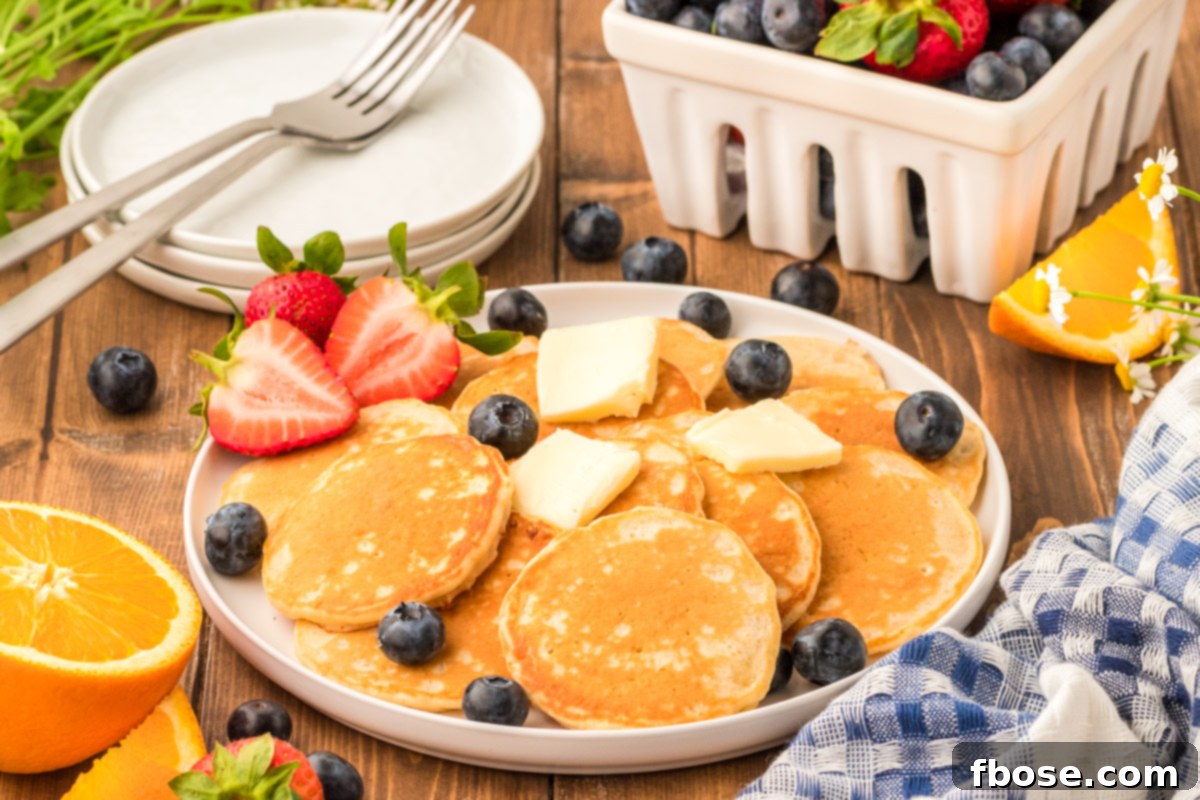
- Fresh Fruit: Brighten up your breakfast with a medley of fresh berries. Blueberries, raspberries, sliced strawberries, and even tart blackberries would all be absolutely delicious served alongside or on top of these mini pancakes. The natural sweetness and slight tang of the fruit perfectly complement the pancakes.
- Fruit Jam or Preserves: If fresh fruit isn’t readily available, a dollop of your favorite berry jam or fruit preserves makes a wonderful and comforting topping. For an even more luscious consistency, go ahead and pop the jam in the microwave for a few seconds to loosen it up a bit before drizzling it over your stack of pancakes.
- Whipped Cream: Indulge with a cloud of whipped cream! You can easily grab a can from the grocery store for convenience, or for a truly superior experience, whip up a batch of Homemade Whipped Cream in just 5 minutes using only three simple ingredients. It’s light, airy, and adds a touch of elegance.
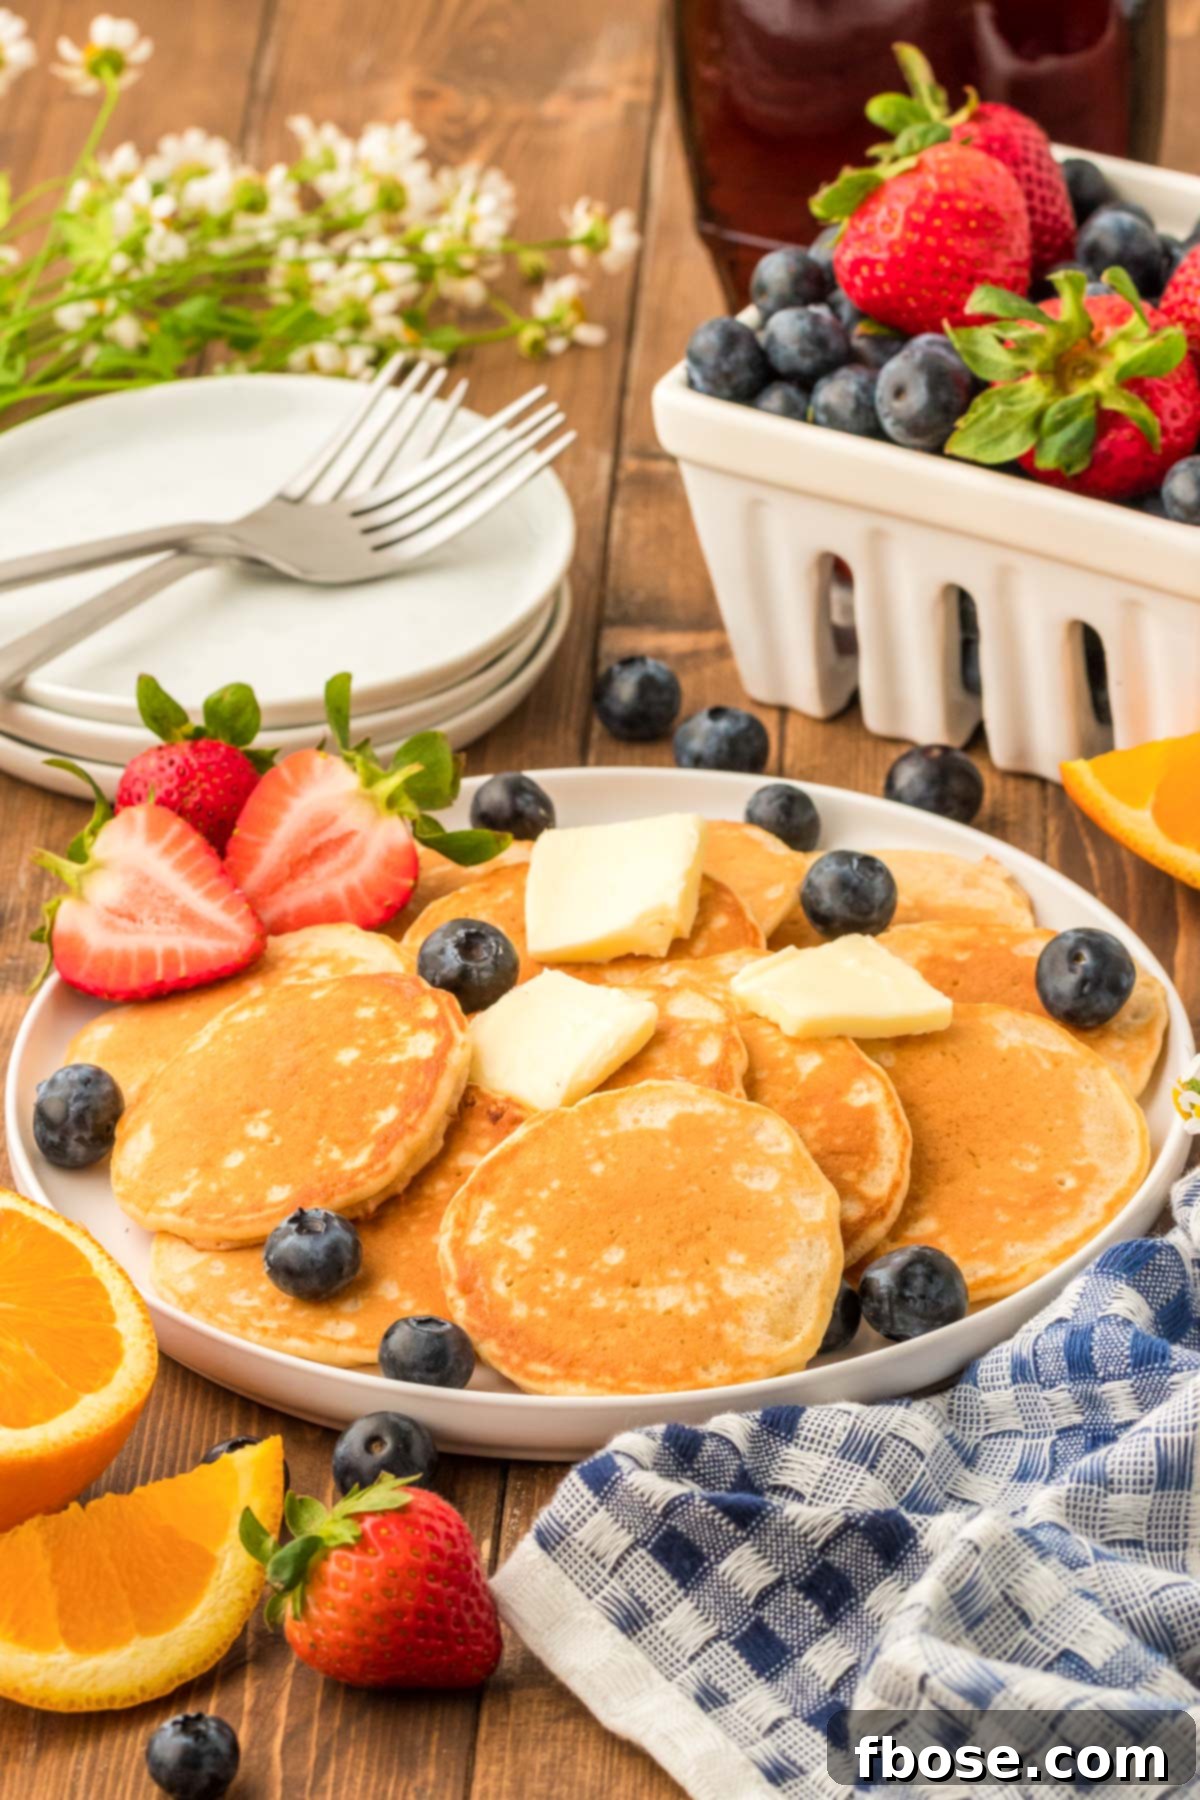
- Syrups Galore: The classic choice is always a winner. Drizzle warm, real maple syrup generously over your stack of silver dollar pancakes. Don’t limit yourself, though! Your favorite store-bought breakfast syrup works beautifully, or for the chocolate lovers, homemade chocolate syrup or a rich chocolate sauce would make for an incredibly tasty and decadent drizzle.
- Homemade Fruit Sauces: Elevate these pancakes to gourmet status by serving them with a vibrant Homemade Strawberry Sauce! The fresh fruit flavor and slightly chunky texture of a homemade sauce are simply divine. You can experiment with other fruit sauces like blueberry or peach for seasonal variations.
- Fun Skewers for Kids (and Adults!): For an added element of fun and an interactive eating experience, especially for children, thread these silver dollar pancakes onto skewers. Alternate between a fluffy mini pancake, a fresh piece of fruit (like a strawberry or a grape), and a mini marshmallow. These “pancake kebabs” are not only visually appealing but also incredibly easy for little hands to manage.
No matter which delightful toppings you choose, these Silver Dollar Pancakes are guaranteed to be a hit on any morning, making them a cornerstone breakfast recipe in your collection! For another quick and protein-packed start to your day, be sure to try this Easy Ham And Cheese Quiche. However, if your mornings are leaning towards a sweeter indulgence, you might prefer a batch of Easy Jelly Filled Donuts or the charmingly delicious Waffle Cookies!
How To Store Leftover Silver Dollar Pancakes for Freshness
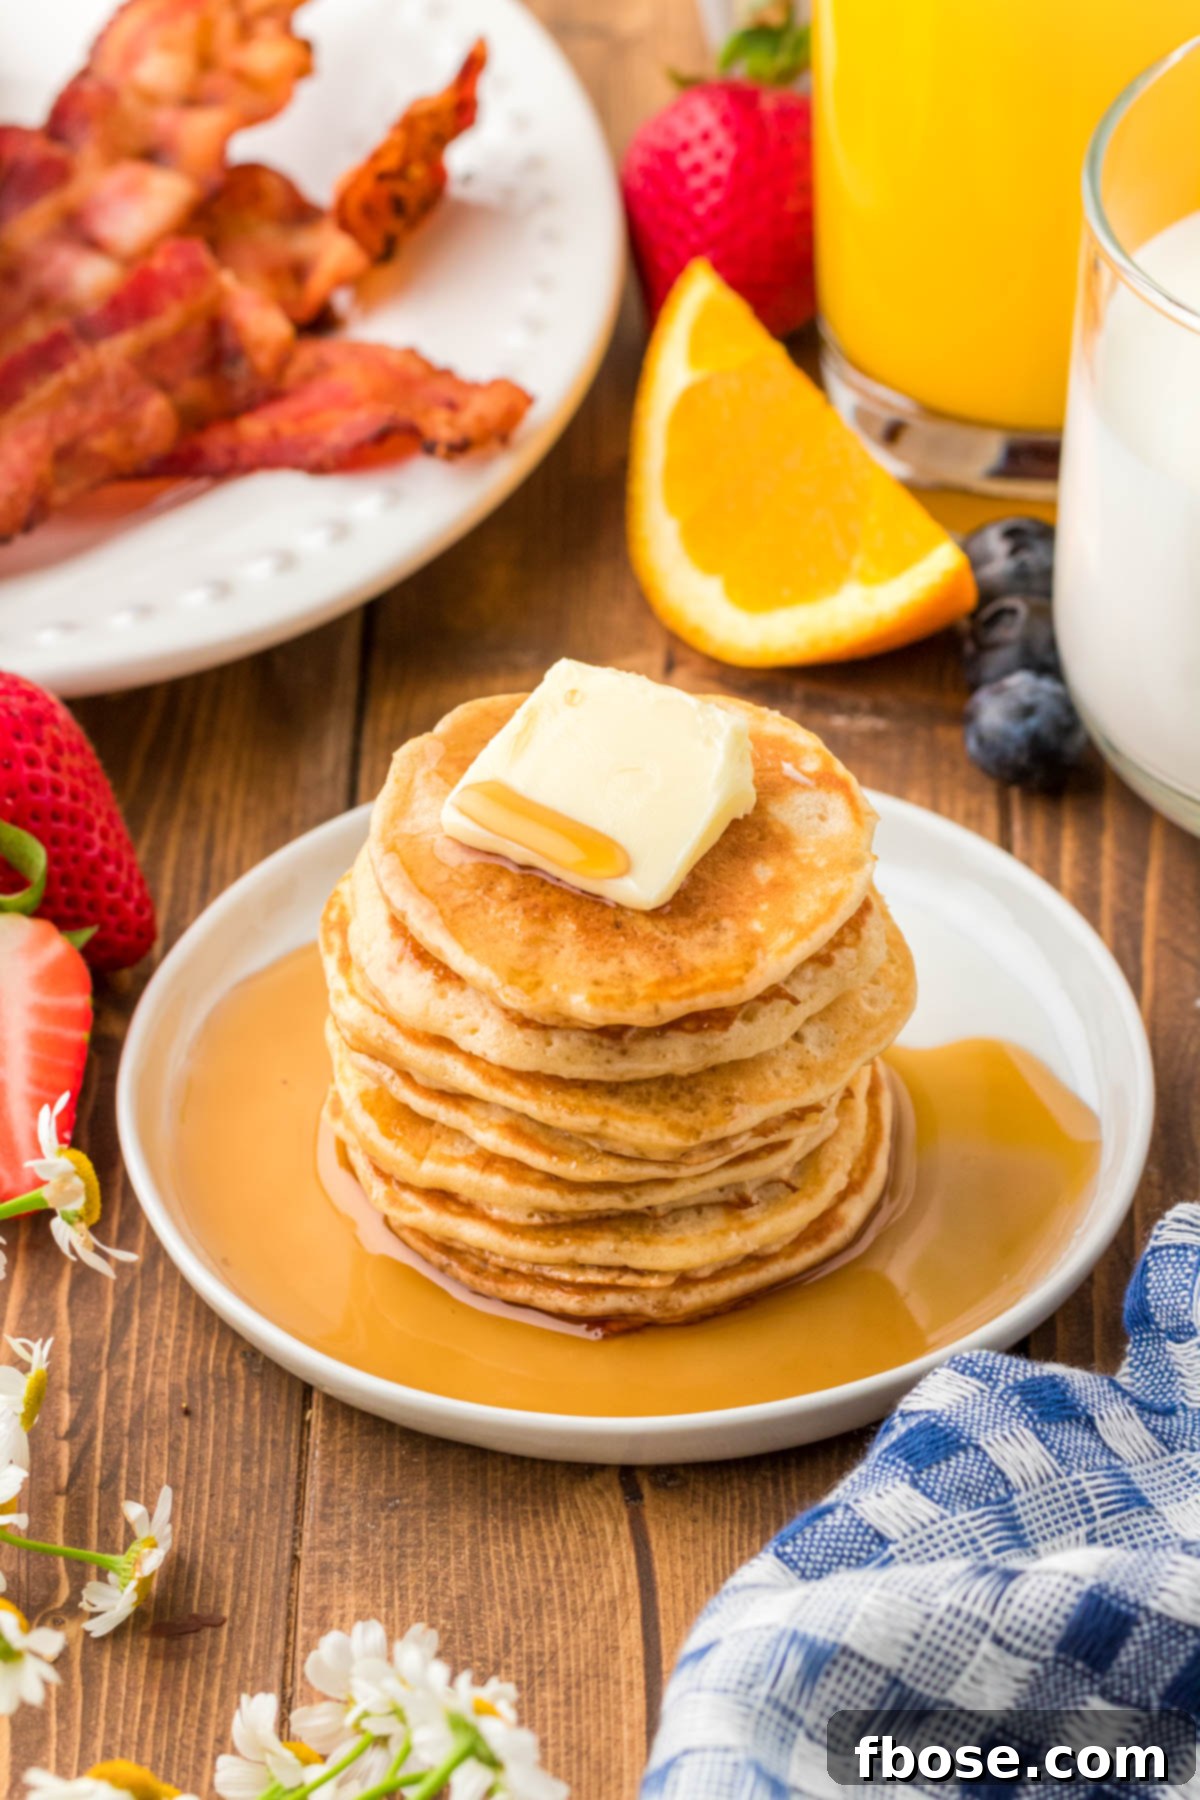
These silver dollar pancakes are just as delicious the next day! To maintain their freshness and flavor, simply allow any leftover pancakes to cool completely to room temperature. Once cooled, transfer them to an airtight container or a heavy-duty Ziploc bag. Store them in the refrigerator for up to 4 days. This method ensures they remain moist and ready for a quick reheat, making them perfect for meal prepping breakfasts throughout the week.
Effortless Reheating for Warm and Fluffy Pancakes
Bringing your leftover Silver Dollar Pancakes back to life is incredibly easy, whether they’ve been stored in the fridge or freezer:
Reheating from the Refrigerator: For the best texture and a hint of crispness, simply pop your refrigerated pancakes into a nonstick skillet over medium-low heat for a couple of minutes per side. This method warms them through gently and helps to revive that delicious golden exterior. You can also use a toaster oven for similar results.
Reheating from the Freezer: If you’ve frozen a batch for future enjoyment, reheating is still quick and convenient. Stack 3 or 4 frozen pancakes on a microwave-safe plate and microwave them for about 30 seconds. Check their warmth, and if needed, continue microwaving in additional 15-second intervals until they are heated through. For a slightly crispier edge, you can finish them in a toaster oven after microwaving.
Can I Cook These Pancakes On A Griddle for Larger Batches?
While using a large griddle to cook many pancakes at once can be tempting for efficiency, particularly with mini silver dollar pancakes, I strongly recommend sticking to a skillet for this recipe. The primary reason is that griddles often have heating elements that can lead to inconsistent cooking results across the surface. This can mean some pancakes cook perfectly while others are undercooked or overcooked. However, if you possess a high-quality, evenly heating griddle or a Blackstone grill, these can certainly be used to achieve excellent results, allowing you to cook a larger quantity with consistent browning.
How Do I Achieve a Crispy Exterior for My Pancakes?
To give your Silver Dollar Pancakes that coveted crispier exterior while maintaining a wonderfully fluffy interior, there’s a simple trick: add a tablespoon of butter to the pan before cooking each batch. As the butter melts and sizzles, it creates a rich, flavorful fat layer that helps caramelize the pancake’s surface, resulting in a beautifully golden and slightly crisp crust. Just be mindful of the heat to prevent burning, as butter can brown quickly.
Discover More Delicious Pancake Recipes:
If you’re a pancake enthusiast, you’ll love exploring these other fantastic recipes:
- Homemade Blueberry Pancakes – Indulge in big, fluffy pancakes studded with bursts of juicy blueberries!
- Ice Cream Pancakes – A fun and delicious viral TikTok recipe that’s surprisingly easy to make and perfect for a sweet treat!
- Banana Pancakes – A comforting classic, made with naturally sweet mashed ripe bananas for extra moisture and flavor.
- Homemade Buttermilk Pancakes – The quintessential recipe for achieving the fluffiest, most buttery pancakes imaginable, a true breakfast staple!
- Easy Sheet Pan Pancakes – Revolutionize your breakfast routine with this simple, bake-and-serve method, perfect for feeding a crowd with minimal effort!
Did You Make This Recipe?
If you’ve tried this recipe, please leave a review in the comments below. We love hearing from you! Don’t forget to tag us – @sugarandsoulco – on Instagram and Pinterest with your photos, or join our Sugar & Soul Show-offs Community and share them there.
This recipe was originally posted in April 2023 and was updated in March 2025 for post formatting and enhanced content.
Silver Dollar Pancakes Recipe
Ingredients
- 1 cup all-purpose flour 130g, spooned and leveled
- ⅓ cup granulated sugar 67g
- 2 tablespoons malted milk powder 20g, or powdered milk
- 1 teaspoon baking powder
- 1 teaspoon cream of tartar
- ¼ teaspoon salt
- ⅔ cup whole milk 160mL
- 1 large egg
- 3 tablespoons salted butter 42g, melted
- 2 teaspoons vanilla extract
Instructions
-
In a medium bowl, whisk together 1 cup all-purpose flour, ⅓ cup granulated sugar, 2 tablespoons malted milk powder, 1 teaspoon baking powder, 1 teaspoon cream of tartar, and ¼ teaspoon salt.

-
Make a well in the dry ingredients and add in ⅔ cup whole milk, 1 large egg, 3 tablespoons salted butter that’s been melted, and 2 teaspoons vanilla extract and mix with a whisk or fork just until combined. You want there to be some lumps, but make sure you get all the flour off the bottom of the bowl.
-
Let the batter rest for 10 to 15 minutes before cooking.
-
Heat a large nonstick skillet or seasoned cast iron over low heat until hot (see notes).
-
Drop 1 tablespoon of batter onto the pan to test. If the batter spreads too much and the pancake has a hard time bubbling on the top after a minute or so, increase the heat slightly. You are looking for the batter to have a slow spread thanks to the heat and forming thicker edges that bubble and rise.
-
Once your heat is set where you want it, cook off the batter, using 1 tablespoon of batter per pancake. Cook until the center bubbles about 1 to 2 minutes and starts to lose its glossy look, then flip with a thin spatula and cook for 30 to 60 more seconds.
-
Transfer to a plate and cook off the rest of the batter. Serve with butter and syrup.
Video
A video tutorial for these delicious Silver Dollar Pancakes can be found here:
Silver Dollar Pancakes
These Silver Dollar Pancakes are delicious, fluffy mini pancakes that are made with easy ingredients in only 30 minutes! A simple recipe that serves up two dozen bite-sized pancakes!
Notes
- Heat can be finicky because you have to have it just right for pancakes. This is why I recommend doing a couple of test pancakes to make sure you have everything set right for your particular oven, as the type of pan you use and the type of heat you have (gas or electric) can make a big difference. If the heat is too high, the pancakes will burn. If it’s too low, they will be dense and flat.
- A seasoned cast iron pan should be nonstick and is the best option for cooking because it evenly retains heat and helps eliminate some of the heating issues above. A nonstick pan is the next best option. I really don’t recommend stainless steel for making pancakes.
- If you prefer your pancakes to have a crispier exterior, you can add a tablespoon of butter to the pan to cook them in.
- I personally don’t recommend using a griddle for cooking these. We tested the recipe on ours and found the cooking results were just too inconsistent because of the location of the heating element. I know it’s tempting, but I think a skillet is the way to go with this recipe.
- Letting the dough rest allows the gluten to develop and air bubbles to form, which results in fluffy pancakes.
- Make sure that your milk powder is fine and not clumped so that it mixes easily into the batter.
- Powdered coffee creamer may be used instead of milk powder.
The milk powder adds a lot of flavor to these pancakes, so I don’t recommend skipping it, but you can, if in a pinch, they will still be a yummy traditional pancake, just not have the dynamic flavor. - Keep cooked pancakes warm in a warming drawer or in an oven set to 200 degrees F.
- This recipe makes 24 to 26 2-inch pancakes.
Nutrition
Did You Make This Recipe?
Don’t forget to share it with me on Instagram @sugarandsoulco and follow on Tiktok @sugarandsoulco and Pinterest @sugarandsoulco for more!
Pin Recipe
Share Recipe