

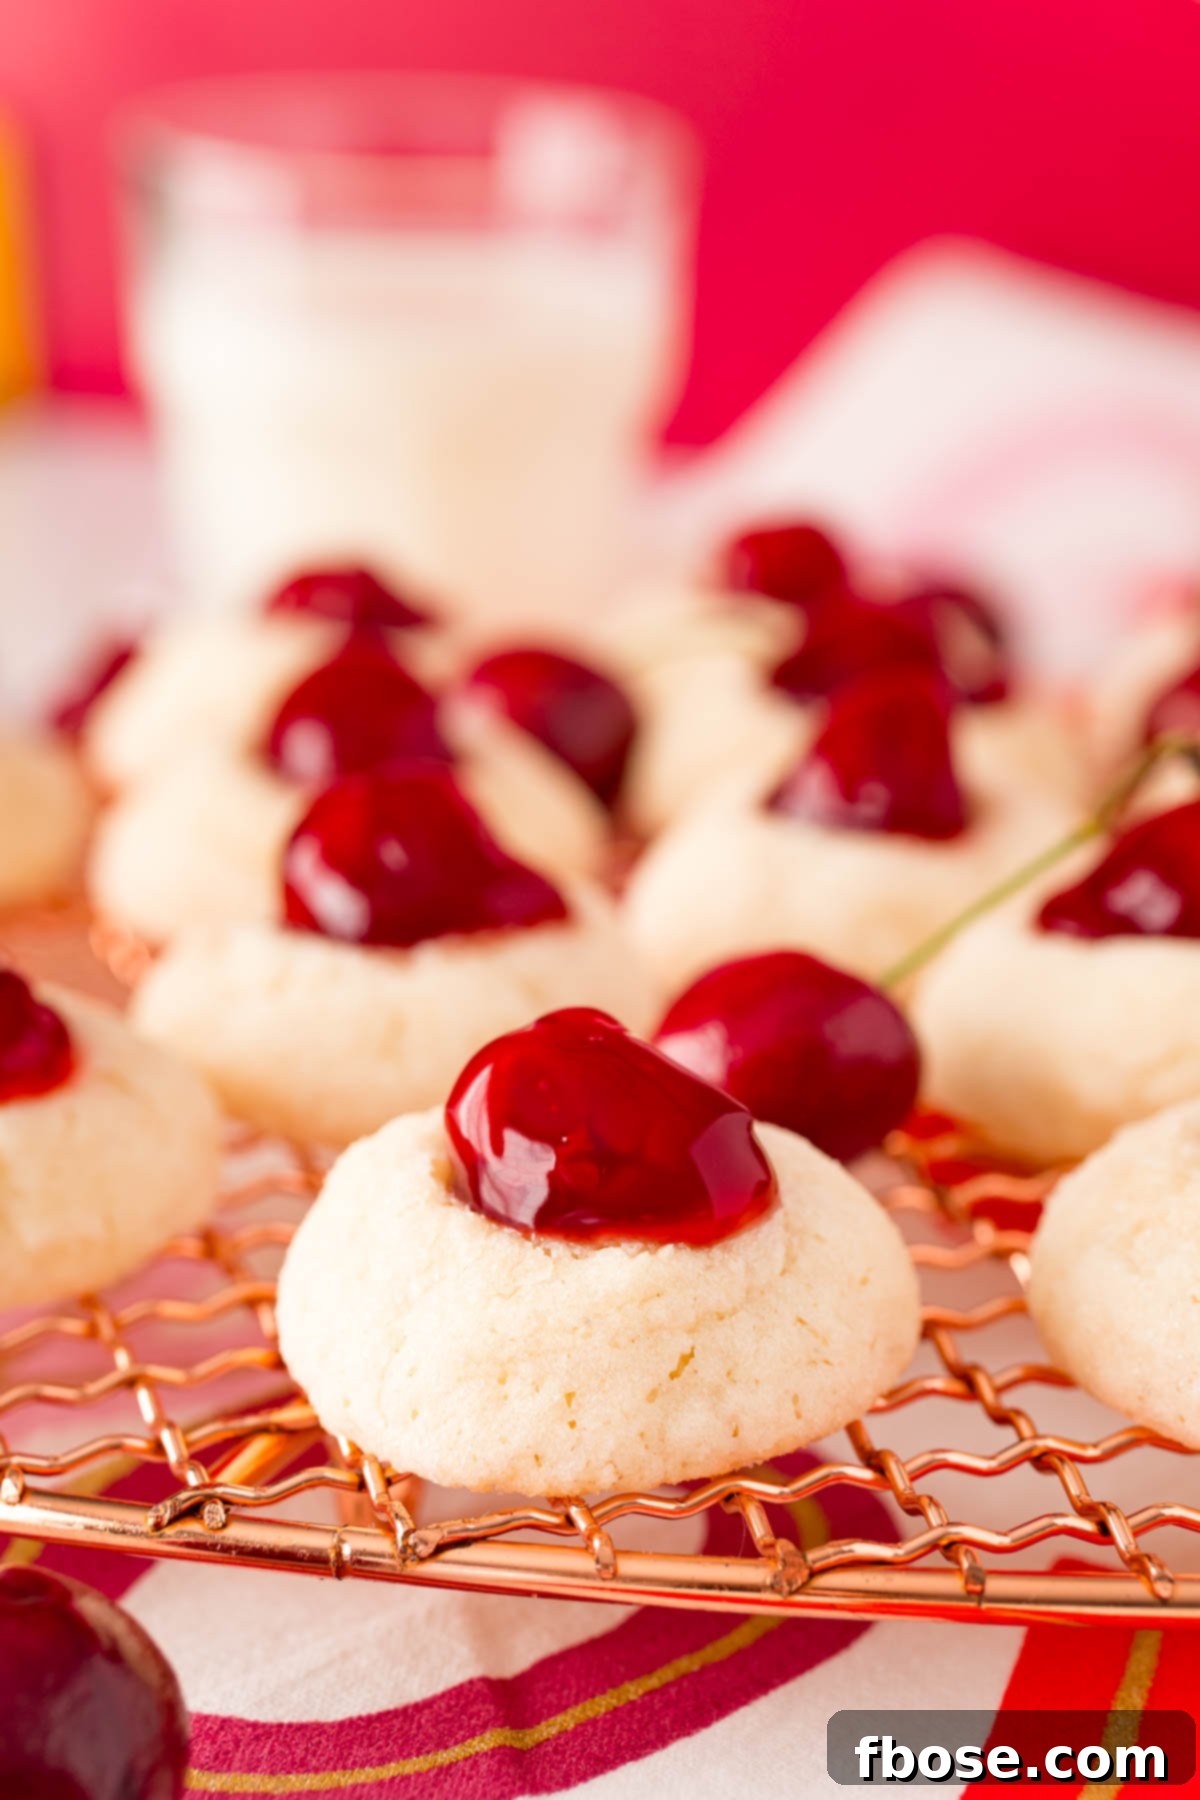
Delight your taste buds with these exquisite Cherry Cheesecake Cookies. Imagine a soft, sweet cookie base, reminiscent of a classic sugar cookie, expertly topped with a luscious, tart cherry pie filling. These tender, sweet treats deliver everything you adore about a rich cheesecake, perfectly portioned into a delightful cookie form. What’s even better? They come together in under 30 minutes, making them the perfect last-minute indulgence or a quick fix for unexpected guests!
For those who can’t get enough of that wonderful sweet and tart cherry flavor, be sure to explore more of our beloved recipes. Our Easy Cherry Hand Pies offer a portable burst of fruity goodness, while the Black Forest Cupcakes combine rich chocolate with vibrant cherry notes. Both of these desserts boast minimal hands-on prep time, allowing you to enjoy gourmet flavors without the fuss!

Indulge in the irresistible charm of these Cherry Cheesecake Cookies. Each bite offers a harmonious blend of a tender sugar cookie and the bright, tangy flavor of cherry pie filling, mimicking the beloved taste of cheesecake. It’s a match made in dessert heaven that’s surprisingly simple to create!
While these cookies are a fantastic treat to enjoy any time of the year, they truly shine during special occasions. They make a perfect addition to celebrations like bridal showers, baby showers for new moms, or even as a heartwarming contribution to your kid’s Valentine’s Day Party. Their festive appearance and universally loved flavors make them a crowd-pleaser for any gathering.
With just 5 simple ingredients and a total preparation and bake time of under 30 minutes, these cookies are a lifesaver for busy schedules. Even if you’re a seasoned procrastinator, you can still whip up a batch of these delectable desserts to share, proving that deliciousness doesn’t always require hours in the kitchen. They’re a testament to how effortless baking can be without compromising on flavor or appeal.
Why This Recipe Is a Must-Try!
- Generous Yield: This recipe produces approximately two dozen Cherry Cheesecake Cookies! This means there’s more than enough to satisfy your household’s sweet cravings while also having plenty to share with friends, family, or bring to a potluck. You’ll be the hero of any gathering!
- Flexible Filling Options: Whether you prefer the convenience of store-bought or the satisfaction of homemade, you have options for your cherry pie filling. We love the ease of simply grabbing a can of high-quality cherry pie filling from the grocery store, making this recipe even faster and more accessible for every home baker.
- Remarkably Easy to Make: Forget complicated techniques and extensive ingredient lists. This recipe requires only 15 minutes or less of hands-on preparation time. The process is straightforward: simply combine the cookie ingredients, roll them into balls, coat them in sugar for that extra sparkle and crunch, and bake. Once cooled, spoon the vibrant cherry filling into the thumbprint indentations, and voilà!
- Endless Flavor Variations: Unleash your creativity by swapping out the cherry filling for other delicious options! Try a blueberry pie filling for a different berry experience, or explore any fruit filling of your choice. Lemon curd, apple pie filling, or even a mixed berry compote can transform these cookies into a new delightful experience every time!
Essential Ingredient Notes
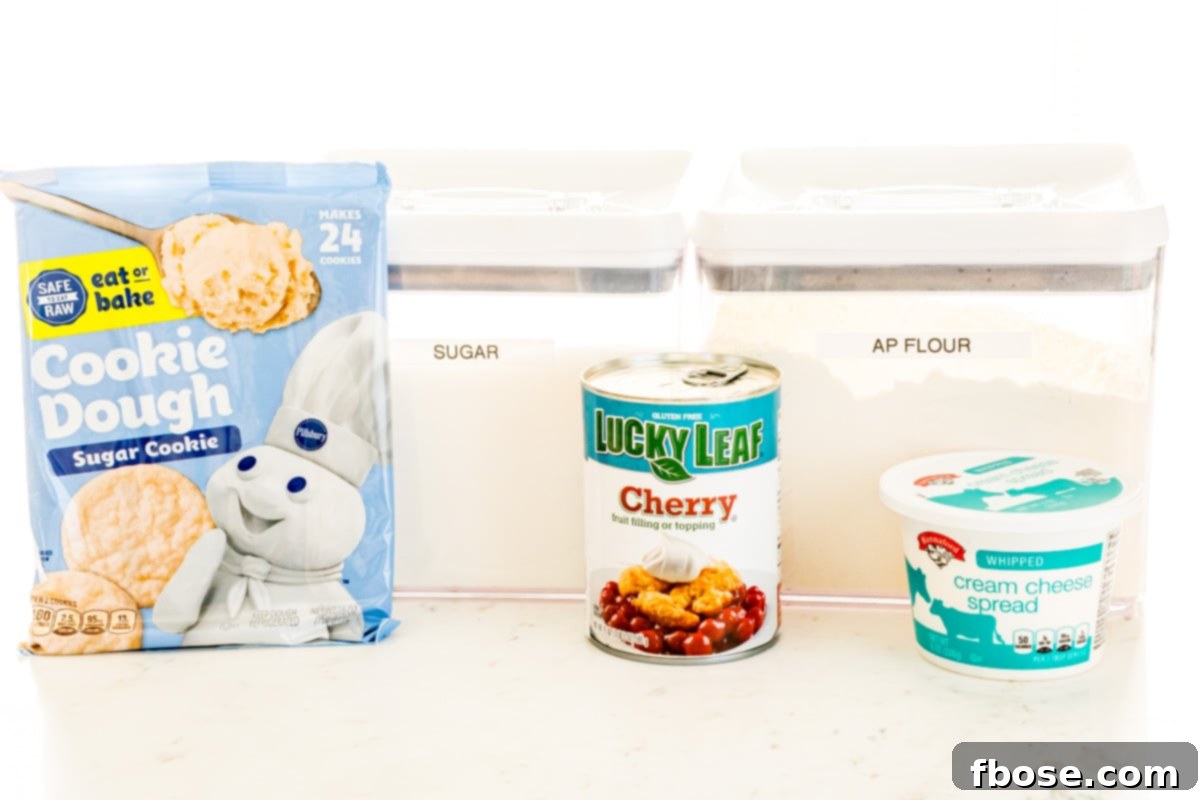
Creating these delightful Cherry Cheesecake Cookies is incredibly easy, thanks to a few carefully selected ingredients. To start, head to your local grocery store and pick up a package of refrigerated sugar cookie dough. The brand isn’t critical, but aim for a 16oz package, which is a common size and provides the perfect base for our recipe.
This convenient cookie dough then gets an upgrade by being combined with smooth, whipped cream cheese and all-purpose flour. The whipped cream cheese adds a wonderful tang and tenderness, bringing in that signature “cheesecake” element without the need for a full cheesecake recipe. The addition of flour is crucial; it helps to strengthen the cookie dough, allowing it to hold its shape better during baking and create that perfect “thumbprint” well for the filling.
Once your enhanced cookie dough is ready, you’ll roll it into small balls and coat them in granulated sugar. This simple step serves a dual purpose: it adds a lovely touch of extra sweetness to the exterior of the cookie and creates a delicate, slightly crisp crust that perfectly complements the soft interior.
Finally, after the cookies have baked and cooled, you’ll create the signature ‘thumbprint’ indentation and fill these delicious wells with cherry pie filling. Here, you have the flexibility to choose between the ultimate convenience of a canned cherry filling or the personalized touch of making your own homemade filling. Both options will deliver fantastic results, allowing you to tailor the cookies to your preference and time constraints.
Step-by-Step: Crafting Your Cherry Cream Cheese Cookies
Follow these simple steps to create a batch of irresistible Cherry Cheesecake Cookies:
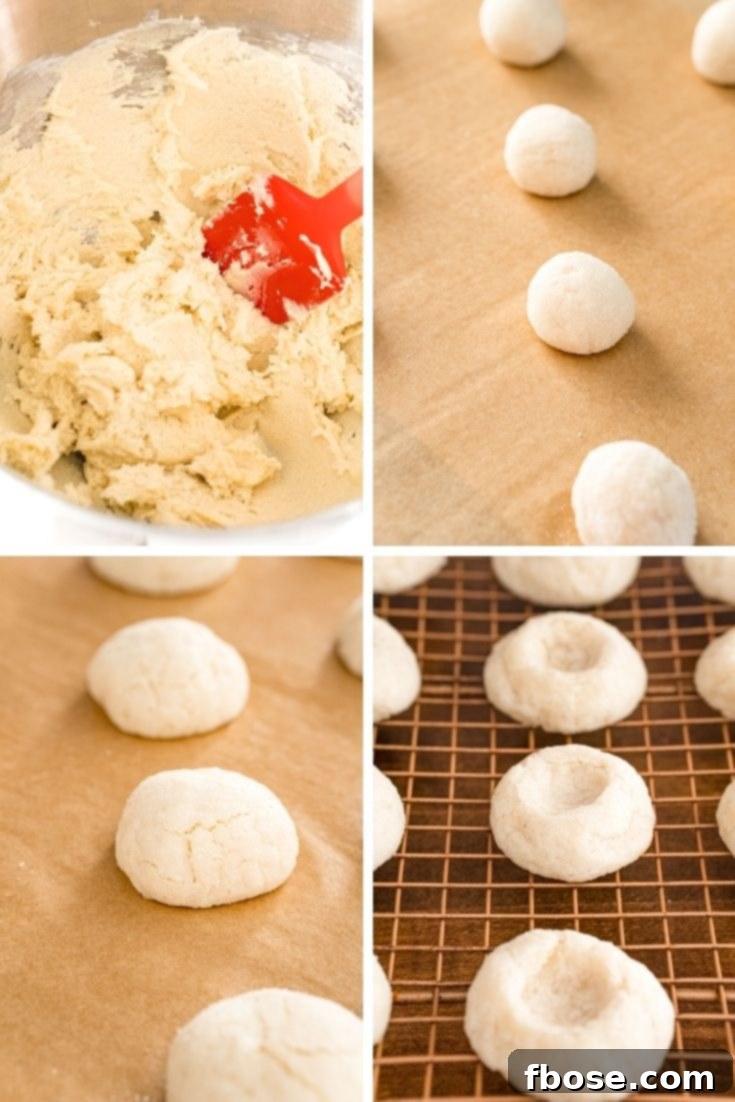
- Prepare the Dough: In a large mixing bowl or the bowl of a stand mixer fitted with a paddle attachment, combine the refrigerated sugar cookie dough, whipped cream cheese, and all-purpose flour. Beat these ingredients together until they are fully incorporated and the mixture is smooth, scraping down the sides of the bowl as needed to ensure everything is well mixed. This ensures a consistent texture for your cookies.
- Portion the Dough: Using a small cookie scoop (approximately 4 teaspoons or 1.5 tablespoons), portion out the dough. This helps ensure uniform cookie size for even baking.
- Shape the Cookies: Lightly roll each portioned dough into a smooth ball using your hands. Gentle handling will keep the cookies tender.
- Sugar Coating: Roll each cookie dough ball generously in granulated sugar. This step adds a delightful sparkle and a slightly crisp texture to the cookie’s exterior, enhancing its flavor and appearance. Place the coated dough balls about 2 inches apart on a baking sheet lined with parchment paper. Parchment paper prevents sticking and aids in easy cleanup.
- Bake to Perfection: Preheat your oven to 350°F (175°C). Bake the cookies for 10 to 12 minutes, or until the edges are lightly golden and set. The centers should still look slightly soft.
- Create the “Thumbprint”: Immediately after removing the cookies from the oven, gently press the back of a round teaspoon into the center of each warm cookie. This creates the perfect well for your cherry filling.
- Cool Completely: Transfer the cookies to a wire rack to cool down entirely. It’s crucial for the cookies to be completely cool before adding the filling, as warm cookies might cause the filling to run or become too sticky.
- Fill and Serve: Once cooled, use the same teaspoon to scoop cherry pie filling into each well, aiming for about one whole cherry per cookie. Serve these delightful cookies and prepare for compliments!
Frequently Asked Questions About Cherry Cheesecake Cookies
How Should I Store These Cherry Cookies?
To maintain their freshness and tender texture, store your Cherry Cheesecake Cookies in an airtight container at room temperature. For the best flavor and consistency, we recommend enjoying them within the first two days after baking. After that, the cookies might begin to become a bit crumbly, though still delicious!
Can I Make These Thumbprint Cookies Bigger?
Absolutely, you can definitely make larger thumbprint cookies! If you choose to increase their size, you’ll need to adjust the baking time accordingly. We suggest increasing the baking time by a few minutes, but keep a close eye on them to prevent over-baking. You’ll want to ensure the edges are set and lightly golden. Additionally, for larger cookies, you’ll want to create a slightly larger well in the center than what a standard teaspoon would make, perhaps using a larger measuring spoon or the back of a small shot glass.
Why Do I Need To Add Flour To The Refrigerated Cookie Dough?
The addition of all-purpose flour to the refrigerated cookie dough is a key step that transforms these into perfect thumbprint-style cookies. Refrigerated cookie dough is typically formulated to spread during baking. The extra flour provides more structure, which helps the cookies puff up slightly and maintain their shape, rather than flattening out excessively. This allows you to create and hold that essential “thumbprint” well in the center, which is precisely what we need to elegantly top them with our delicious cherry filling. Without the added flour, the cookies might spread too much, making it difficult to form and fill the indentations.
Can I Use Regular Cream Cheese Instead of Whipped?
Yes, you can use regular block cream cheese in this recipe. However, it’s crucial to ensure it is fully softened to room temperature before mixing. Softened cream cheese will blend smoothly with the cookie dough, preventing lumps. You might find that cookies made with regular cream cheese take an additional couple of minutes to bake, so adjust your baking time as needed and keep an eye on the edges for that perfect golden hue.
Can These Cookies Be Frozen?
Yes, you can freeze these cookies! For best results, it’s recommended to freeze the baked cookies *without* the cherry filling. Once baked and completely cooled, arrange the plain cookies in a single layer on a baking sheet and freeze until solid. Then, transfer them to an airtight freezer-safe bag or container. They can be stored for up to 2-3 months. When ready to serve, thaw the cookies at room temperature and then add the cherry pie filling just before serving for optimal freshness and texture.
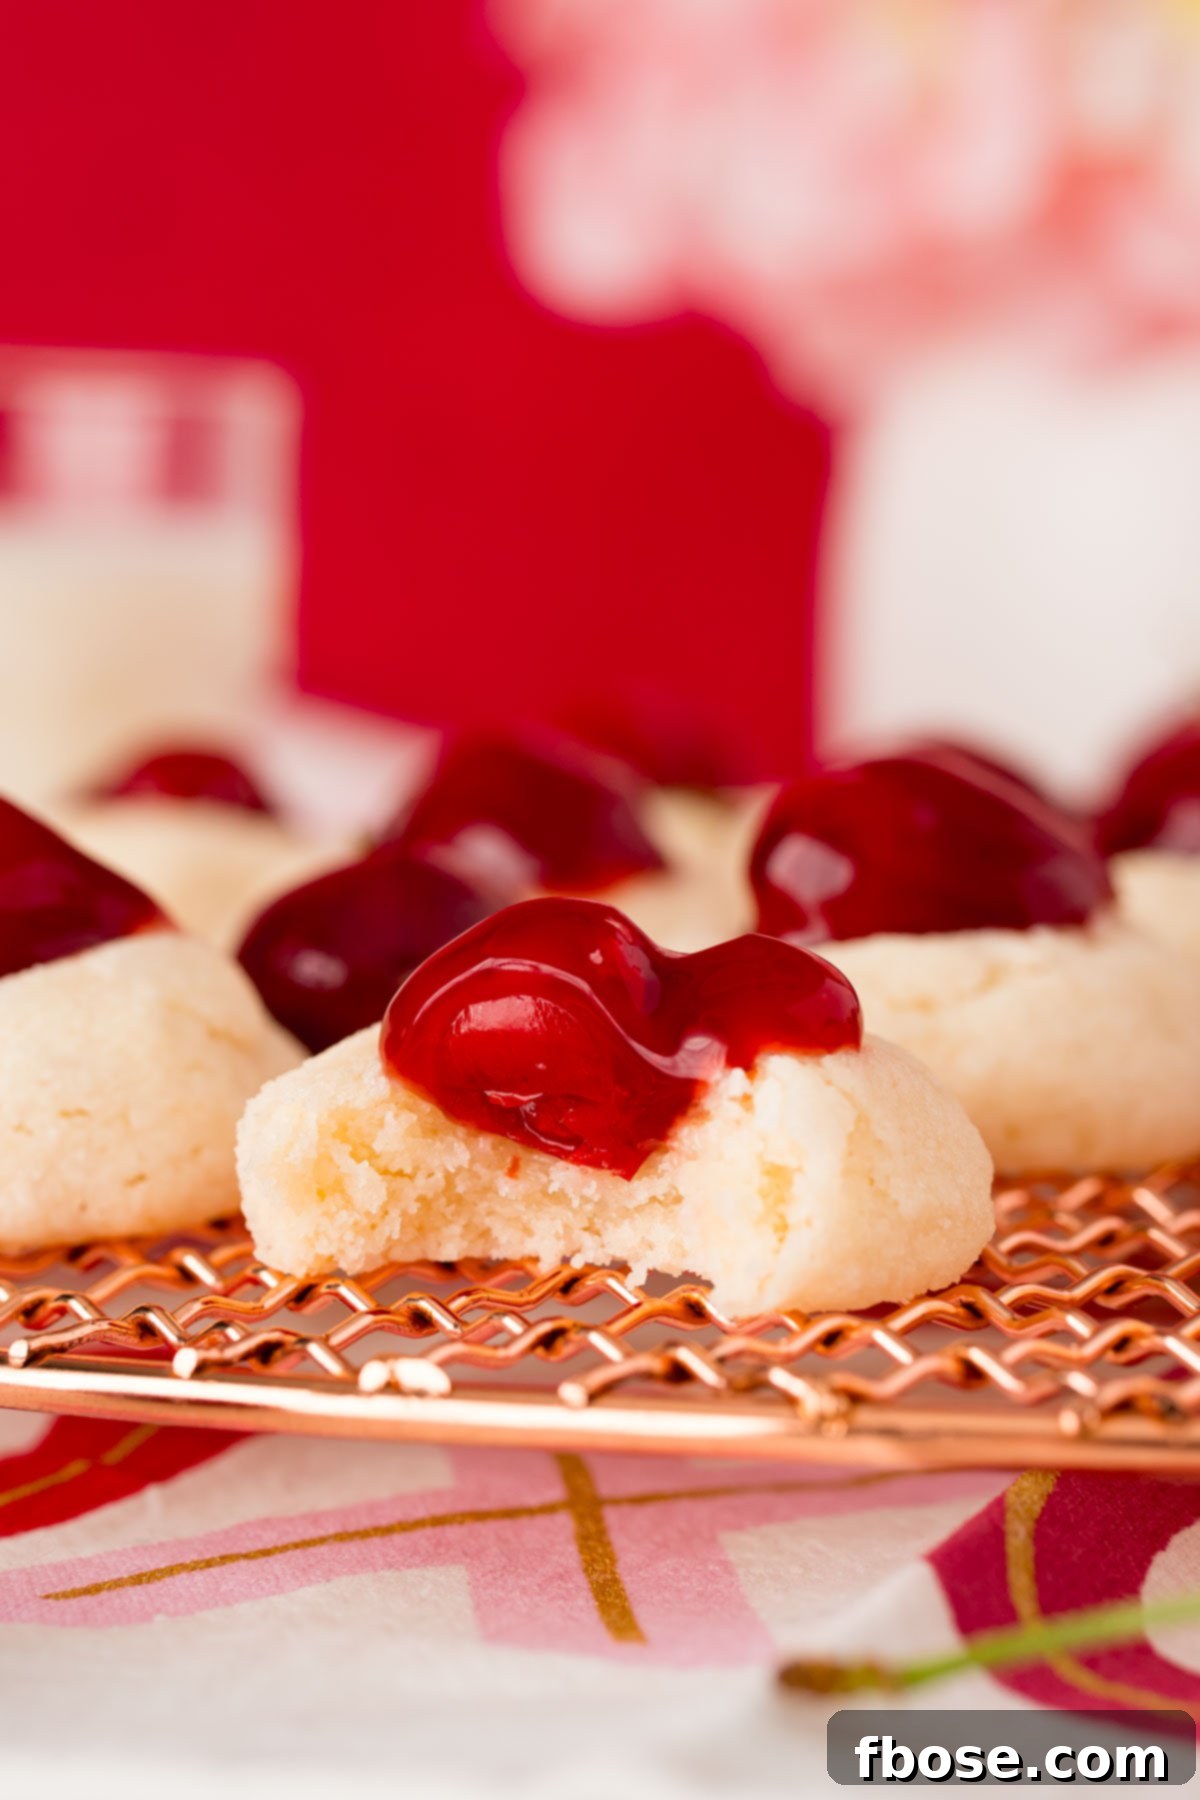
It’s truly astonishing how such delicious Cherry Cheesecake Cookies can be made from start to finish in less than 30 minutes! If you love quick and satisfying desserts, be sure to explore other cookie recipes that can be prepared in 30 minutes or less, offering equally delightful results:
- Brownie Cookies – Rich, chewy, and loaded with chocolate chips, these are made from an ingeniously adapted brownie box mix for ultimate ease!
- Peanut Butter Cookies – A timeless classic, these cookies utilize pantry staple ingredients to deliver the perfect balance of salty and sweet in every bite!
- No Bake Cookies – Ideal for when you want a quick treat without turning on the oven, these delicious oat-based cookies require just 7 simple ingredients!
- Cookie Butter Chocolate Chip Cookies – This recipe is designed to serve a crowd, yielding three dozen wonderfully chewy cookies with a unique flavor twist!
- Circus Animal Sugar Cookies – A fun and colorful treat made by combining refrigerated cookie dough with chopped animal circus cookies, white chocolate chips, and sprinkles!
Let’s Connect!
If you’ve tried this recipe, we’d love to hear from you! Please let us know how you liked it in the comments below and consider leaving a review. Your feedback is invaluable to us!
Don’t forget to tag us – @sugarandsoulco – on Instagram and Pinterest with your photos, or join our Sugar & Soul Show-offs Community on Facebook to share your culinary creations and participate in our fun recipe challenges!

Cherry Cheesecake Cookies
These Cherry Cheesecake Cookies are tender, sweet cookies that are made with a refrigerated cookie dough base and tart cherry pie filling! Ready to enjoy in under 30 minutes!
Ingredients
- 1 (16oz.) package refrigerated sugar cookie dough
- 4 ounces whipped cream cheese
- ⅓ cup all-purpose flour
- ½ cup granulated sugar (optional coating)
- ¾ cup cherry pie filling
Instructions
- Preheat the oven to 350°F (175°C) and line a baking sheet with parchment paper. Set aside.
- In a large bowl or stand mixer fitted with a paddle attachment, beat together the cookie dough, cream cheese, and flour until fully combined, scraping down the sides as needed.
- Use a small cookie scoop (4 teaspoons) to portion out the dough and lightly roll it into balls with your hands.
- Roll the dough balls in granulated sugar and place cookies 2 inches apart on the prepared baking sheet.
- Bake for 10 to 12 minutes until the edges are set.
- Remove from the oven and gently press the back of a round teaspoon into the center of each to create a well. Transfer the cookies to a wire rack to cool completely.
- Use the teaspoon to scoop cherry pie filling into the well, about 1 cherry in each cookie.
Notes
- How To Store: We recommend placing the cookies in an airtight container and storing them at room temperature. They taste best when eaten within the first two days.
- Regular cream cheese can be used in this recipe, however, you want to make sure it’s softened. Cookies may take an additional couple of minutes to bake with regular cream cheese.
Nutrition
Calories: 117kcal | Carbohydrates: 17g | Protein: 1g | Fat: 5g | Saturated Fat: 2g | Polyunsaturated Fat: 1g | Monounsaturated Fat: 3g | Cholesterol: 7mg | Sodium: 70mg | Potassium: 53mg | Fiber: 1g | Sugar: 11g | Vitamin A: 70IU | Calcium: 8mg | Iron: 1mg
Did You Make This Recipe?
Don’t forget to share it with us on Instagram @sugarandsoulco and follow on Tiktok @sugarandsoulco and Pinterest @sugarandsoulco for more delicious recipes!
Pin Recipe
Share Recipe