
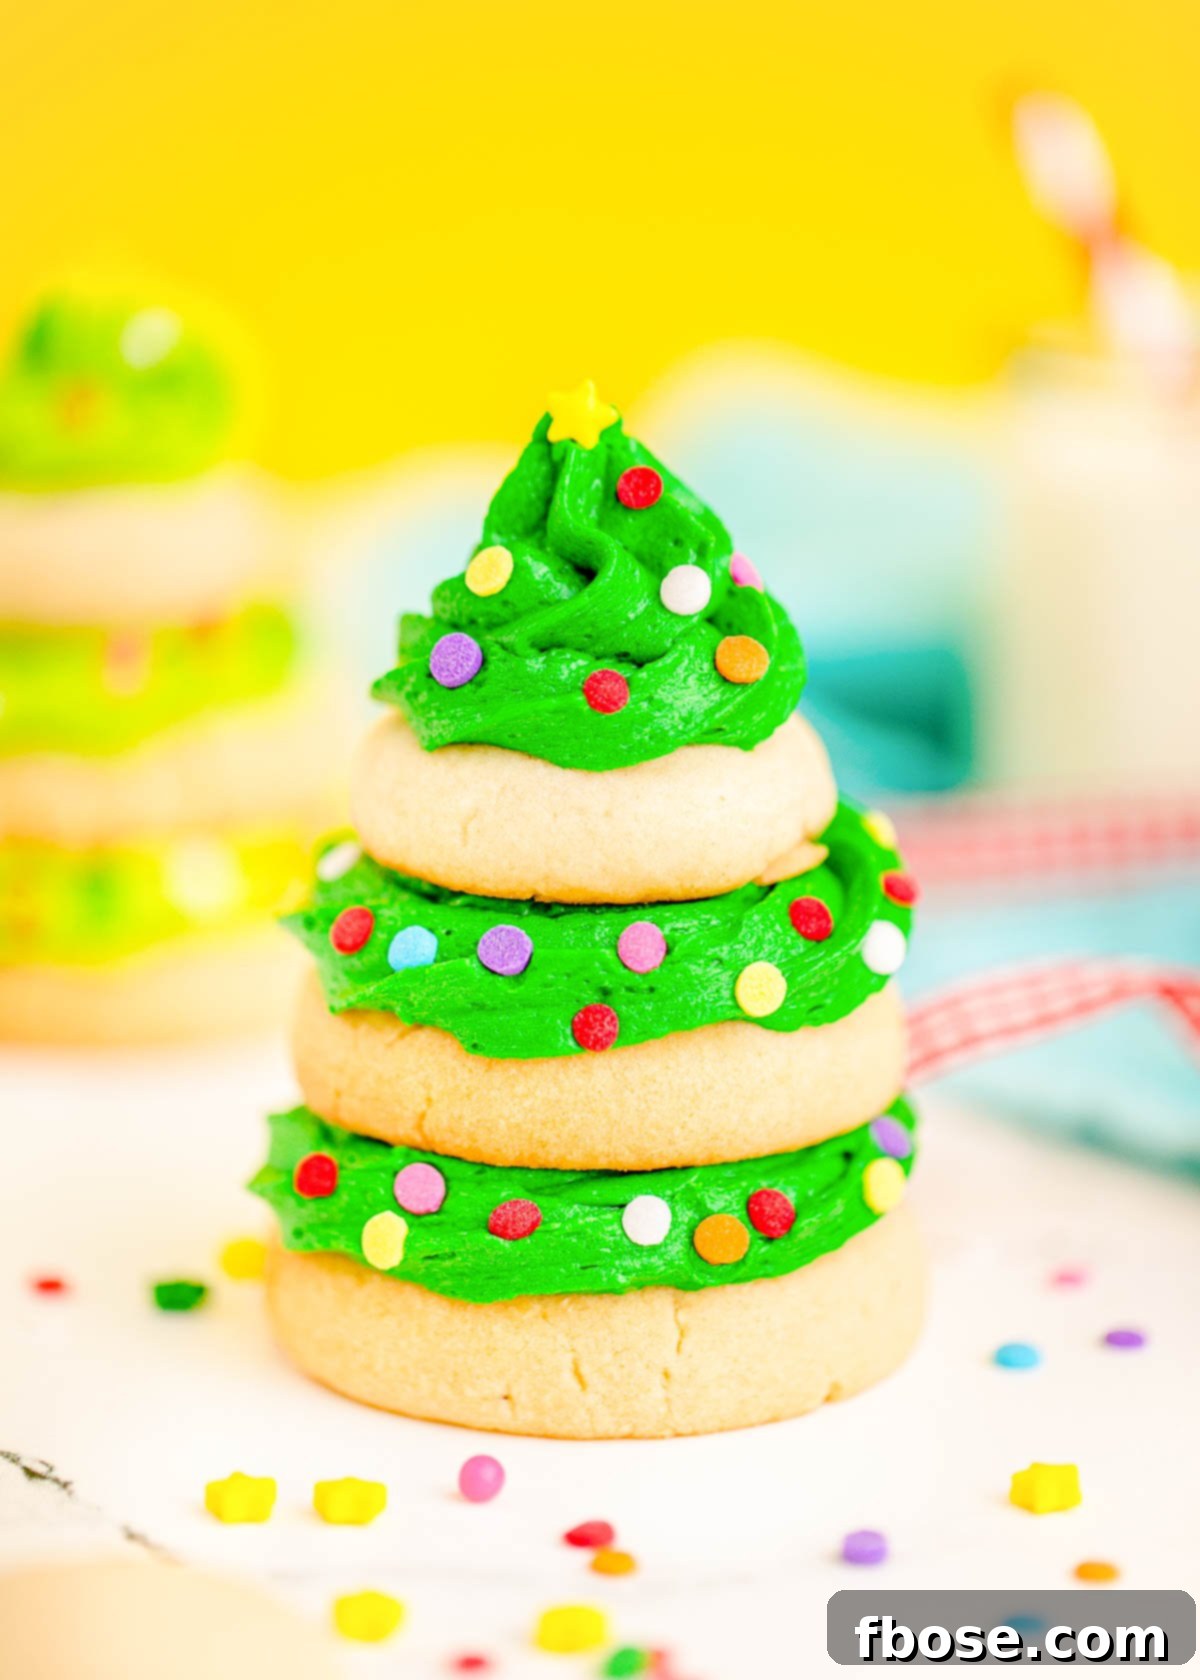
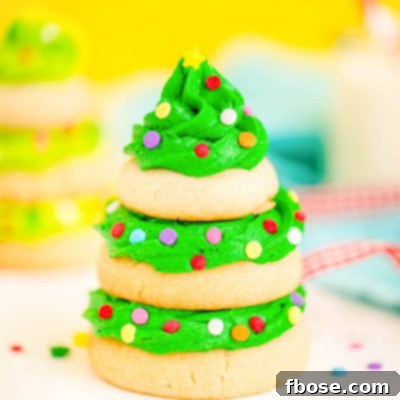
Indulge in the festive spirit with these delightful Christmas Tree Cookies! Featuring three perfectly baked tiers of homemade sugar cookies, generously layered with vibrant green buttercream frosting, and adorned with cheerful sprinkles, these edible masterpieces are sure to become a cherished holiday tradition. Crafted from readily available pantry staples, this recipe promises both ease and spectacular results, making it an ideal activity for holiday baking with the whole family.
Beyond these charming cookie stacks, discover a treasure trove of festive treats to brighten your holiday table. Explore our Easy Christmas Tree Cupcakes, whipped up quickly from a boxed cake mix, or master the art of traditional baking with our Classic Christmas Sugar Cookies. Each recipe is designed to bring joy and deliciousness to your celebrations.
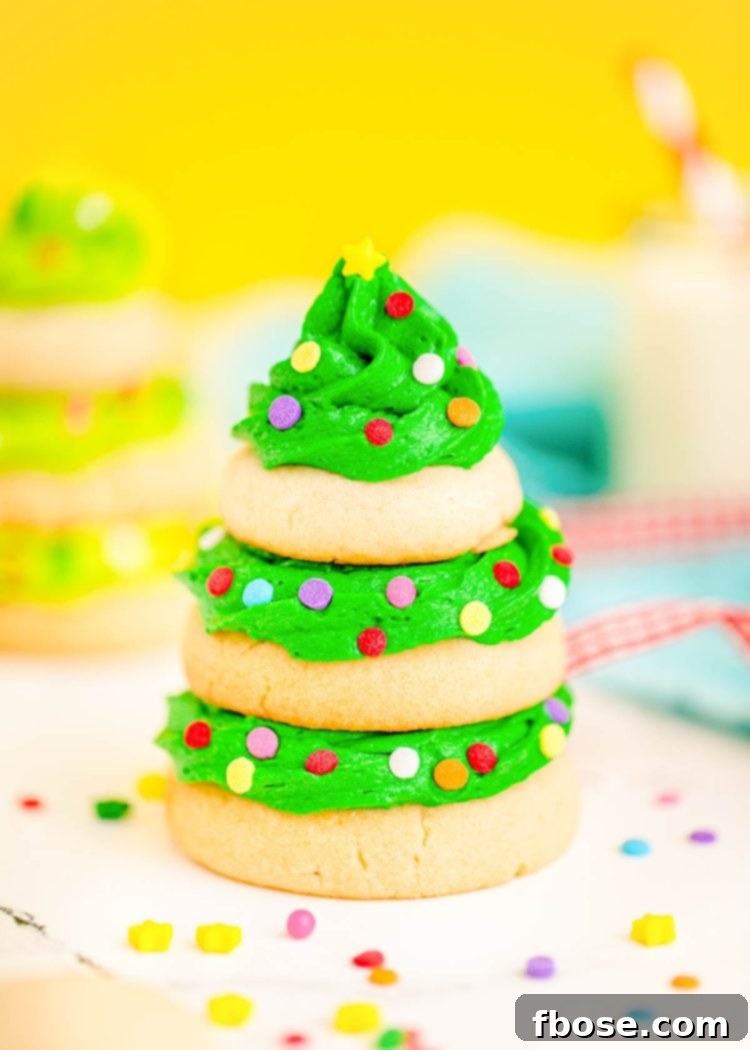
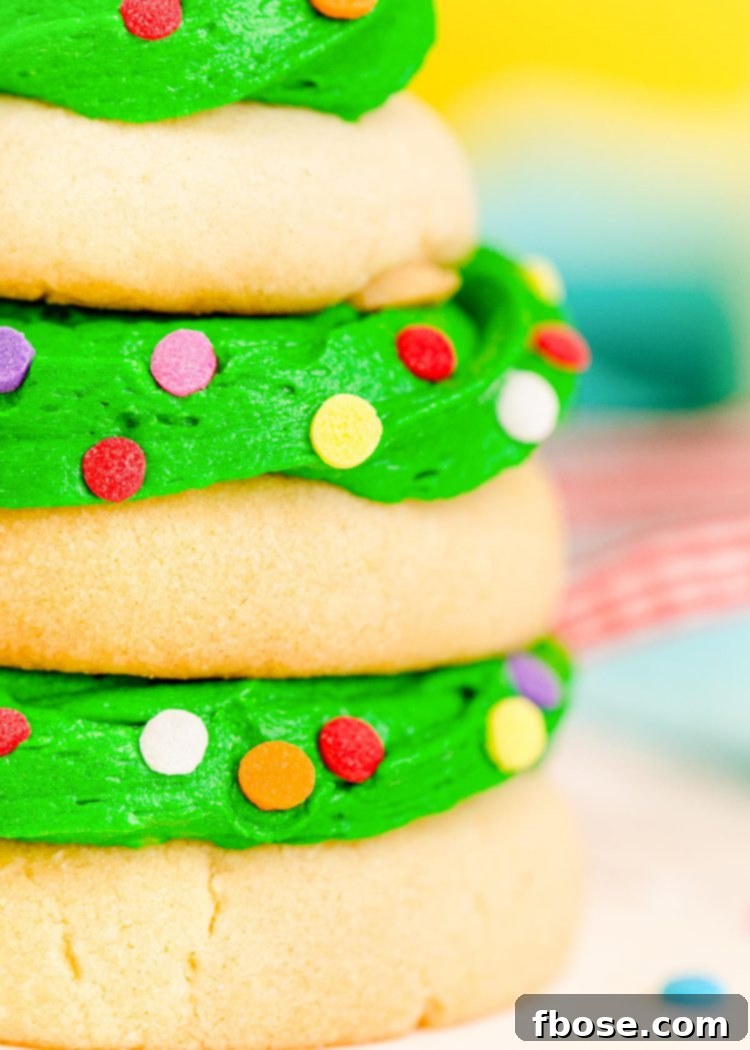
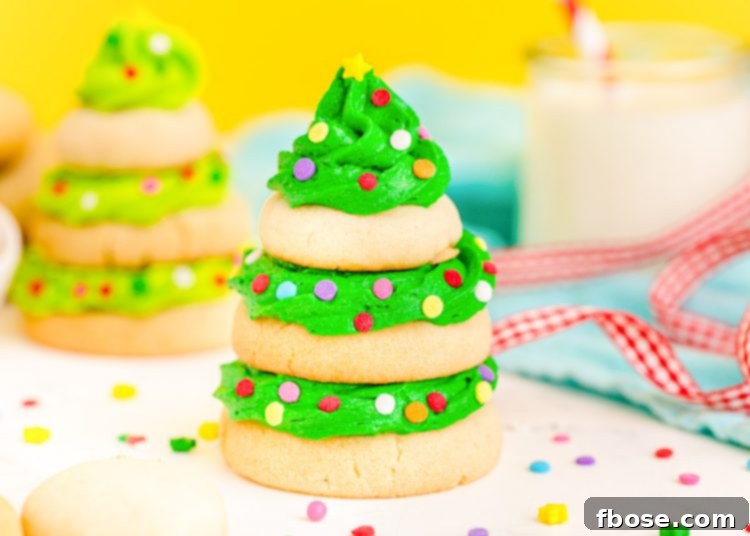
These Christmas Tree Cookie Stacks are more than just a dessert; they are an experience! Imagine lightly sweetened, tender sugar cookies, custom-cut into three distinct sizes. These are then artfully stacked to mimic a miniature Christmas tree, held together with generous dollops of joyous green buttercream. The vibrant frosting not only acts as the “glue” but also adds a creamy, sweet contrast to the crisp cookies.
To complete the festive transformation, colorful sprinkles are scattered over the frosting, serving as whimsical Christmas ornaments. For an extra touch of holiday magic, consider topping each cookie tree with a star-shaped sprinkle, adding that perfect finishing flourish that will truly capture the enchanting spirit of the season.
Why You’ll Adore These Christmas Tree Cookies!
There’s so much to love about creating these festive cookie stacks. They offer a perfect blend of holiday cheer, delicious flavor, and hands-on fun that makes them a standout treat:
- A Joyful Family Activity: Move over traditional Sugar Cookies; these stacked Christmas trees introduce a new level of fun to holiday baking. Kids will absolutely delight in helping to stack the cookie tiers and adorn them with sprinkles, fostering wonderful memories in the kitchen. It’s an engaging project that encourages creativity and teamwork, making it a beloved annual tradition.
- Effortless Preparation Ahead of Time: Planning for holiday gatherings can be hectic. This recipe offers incredible flexibility, allowing you to bake the cookie tiers in advance. Once cooled, simply transfer them to the freezer, where they can be stored for weeks. When you’re ready to decorate, whip up a fresh batch of buttercream frosting and assemble these beauties closer to your serving day. This makes holiday entertaining significantly less stressful.
- Infused with Holiday Spirit: What could be more festive than a dessert shaped like a Christmas tree? Each stack, layered with rich green frosting and twinkling sprinkles, embodies the very essence of the holidays. The visual appeal alone is enough to put anyone in a joyful mood, transforming your dessert table into a winter wonderland.
- Edible & Decorative: These cookies are a delightful two-in-one! They serve as both a scrumptious dessert and an adorable, edible decoration for your holiday table. Imagine these charming cookie trees as centerpieces or scattered amongst your holiday decor, adding a personalized, homemade touch that guests will admire before they devour them. It’s a win-win for both taste and aesthetics!
- Customizable Fun: From various sprinkle designs to different frosting colors or flavors, these cookies offer endless opportunities for customization. You can tailor them to match your holiday theme or simply let your imagination run wild, making each batch uniquely yours.
Key Ingredients for Your Cookie Trees
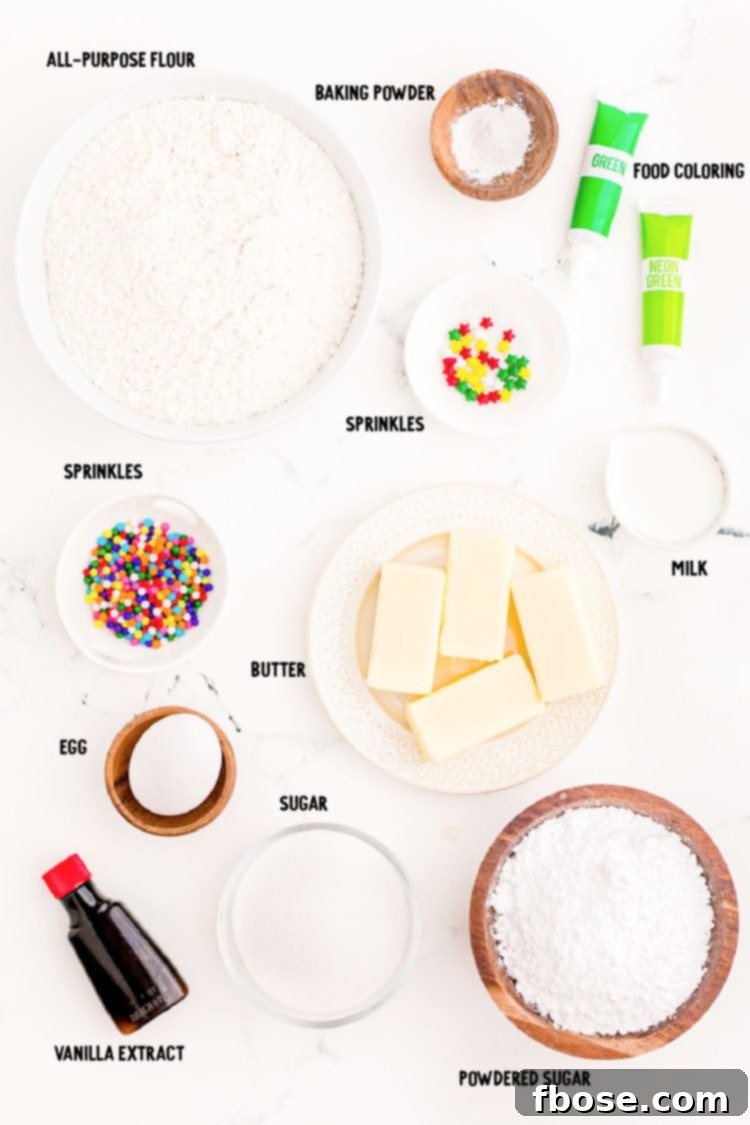
One of the best features of this Easy Cookie Tree Recipe is its straightforward approach. Forget the lengthy chilling times or the need for intricate cookie cutters! This recipe ingeniously saves both time and minimizes cleanup while still delivering an exceptionally fun and impressive treat. Here’s a closer look at the simple ingredients that make these cookies shine:
For the Irresistible Sugar Cookies:
The cookie dough itself is a simple combination of pantry essentials that come together to create a tender, buttery base. You’ll need:
- Salted Butter: Essential for a rich, flavorful cookie. Using softened butter ensures it creams smoothly with the sugar, creating a light and airy texture. The salt in the butter also helps balance the sweetness.
- Granulated Sugar: Provides the classic sweetness and contributes to the cookie’s crisp-chewy texture.
- An Egg: Acts as a binder, adding structure and moisture to the dough, preventing crumbly cookies.
- Vanilla Extract: A cornerstone of delicious baked goods, vanilla enhances all the other flavors, giving the cookies a warm, inviting aroma and taste.
- All-Purpose Flour: The primary structural component of the cookies. It’s crucial to measure flour correctly to avoid dry cookies – more on this in the FAQ section.
- Baking Powder: Our leavening agent, which gives the cookies a slight lift and contributes to their soft, tender crumb.
What makes these cookies truly unique is the innovative shaping method: instead of rolling and cutting, the dough is simply pinched off into three different sizes, rolled into balls, and then gently flattened directly on the baking sheet using the bottom of a glass. This method is a game-changer for speed and convenience!
For the Velvety Green Buttercream Frosting:
Once your cookies are baked to golden perfection and have cooled completely, it’s time to prepare the homemade frosting – the “glue” that brings your Christmas trees to life! The frosting adds another layer of deliciousness and is simple to whip up using:
- Powdered Sugar (Confectioners’ Sugar): Provides the frosting’s sweetness and smooth, fine texture.
- Salted Butter: Forms the creamy base of the frosting. Like in the cookies, ensure it’s softened for the best consistency.
- Whole Milk: Helps achieve the ideal piping consistency, making the frosting smooth and spreadable.
- Vanilla Extract: Infuses the buttercream with its classic, comforting flavor.
- Green Food Coloring: The magic ingredient that transforms your frosting into festive Christmas tree green! You can adjust the amount to get your desired shade, from a subtle pastel to a deep emerald.
- Sprinkles: These are your edible ornaments! Choose a variety of colors and shapes to make your cookie trees extra special and vibrant. Star-shaped sprinkles are perfect for the tree topper!
Crafting Your Christmas Tree Cookie Stacks: A Step-by-Step Guide
Creating these enchanting Christmas Tree Cookies is an enjoyable process, broken down into simple, manageable steps. Follow these instructions carefully to bake and decorate your festive treats:
Prepare the Cookie Dough:
- Preheat & Prep: Begin by preheating your oven to 350°F (175°C). Line three separate baking sheets with parchment paper to prevent sticking and ensure easy cleanup. Set them aside.
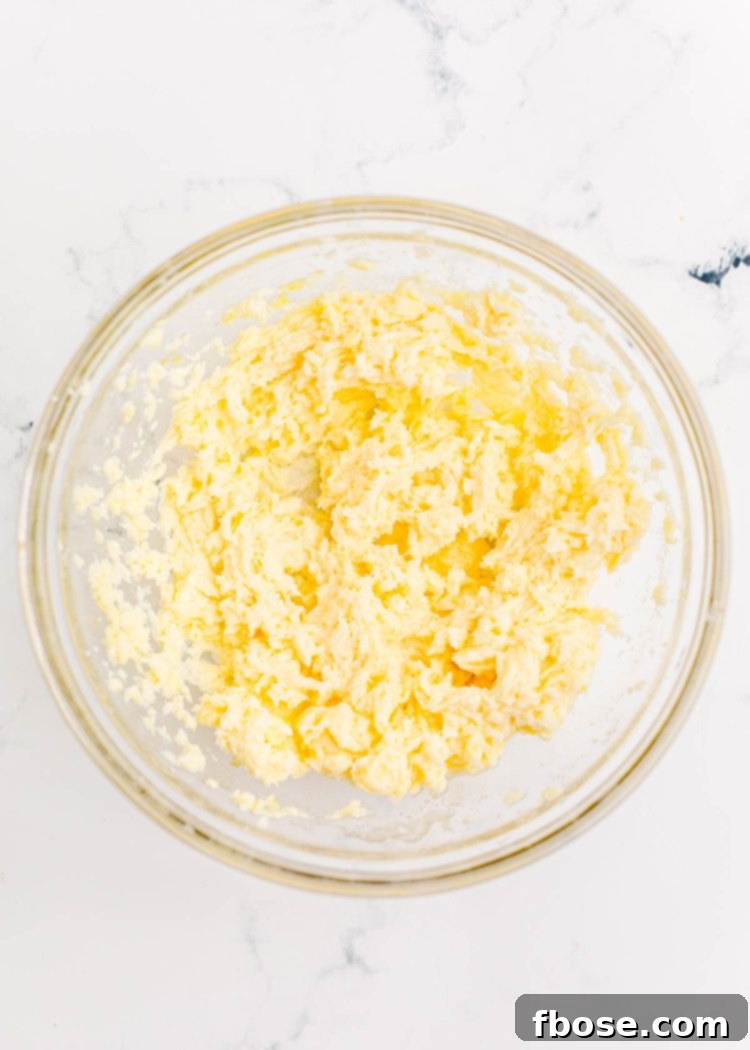
- Cream Wet Ingredients: In a medium-sized mixing bowl, combine the softened salted butter, granulated sugar, large egg, and vanilla extract. Using an electric mixer, beat these ingredients together until the mixture is light, fluffy, and well-combined, typically 2-3 minutes.
- Combine Dry Ingredients: In a separate, smaller bowl, whisk together the all-purpose flour and baking powder. This ensures the leavening agent is evenly distributed throughout the dough.
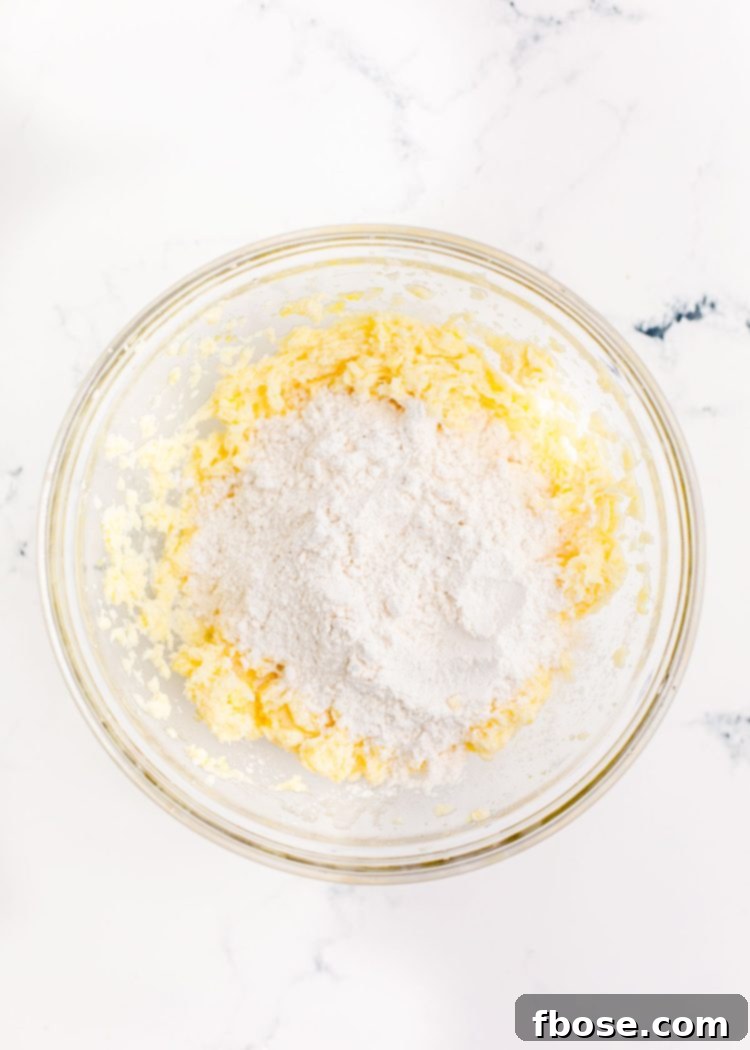
- Integrate: Gradually add the whisked flour mixture to the butter mixture. Beat on low speed just until all the ingredients are combined and a soft dough forms. Be careful not to overmix, as this can lead to tough cookies.
Shape and Bake the Cookies:
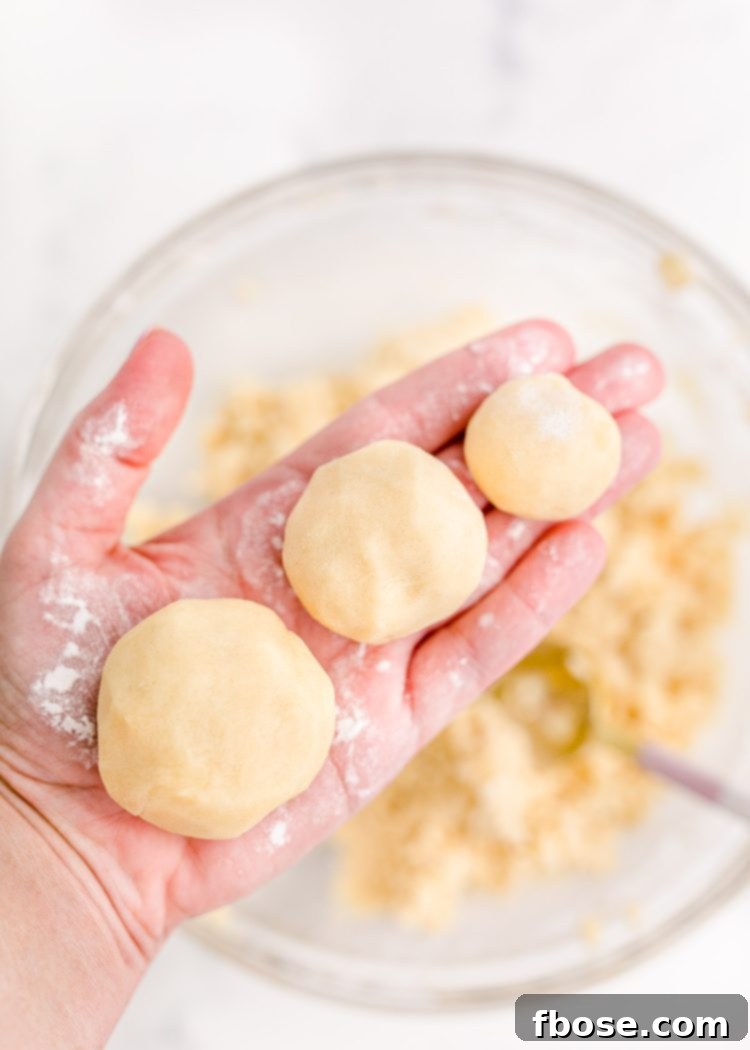
- Form the Tiers: This is where the magic happens! Divide your dough into three different-sized balls for your cookie tiers:
- For small cookies: Use approximately 1 rounded teaspoon of dough per ball.
- For medium cookies: Use approximately 2 rounded teaspoons of dough per ball.
- For large cookies: Use approximately 3 rounded teaspoons of dough per ball.
Aim to create at least 15 balls of each size, ensuring you have enough for multiple cookie trees.
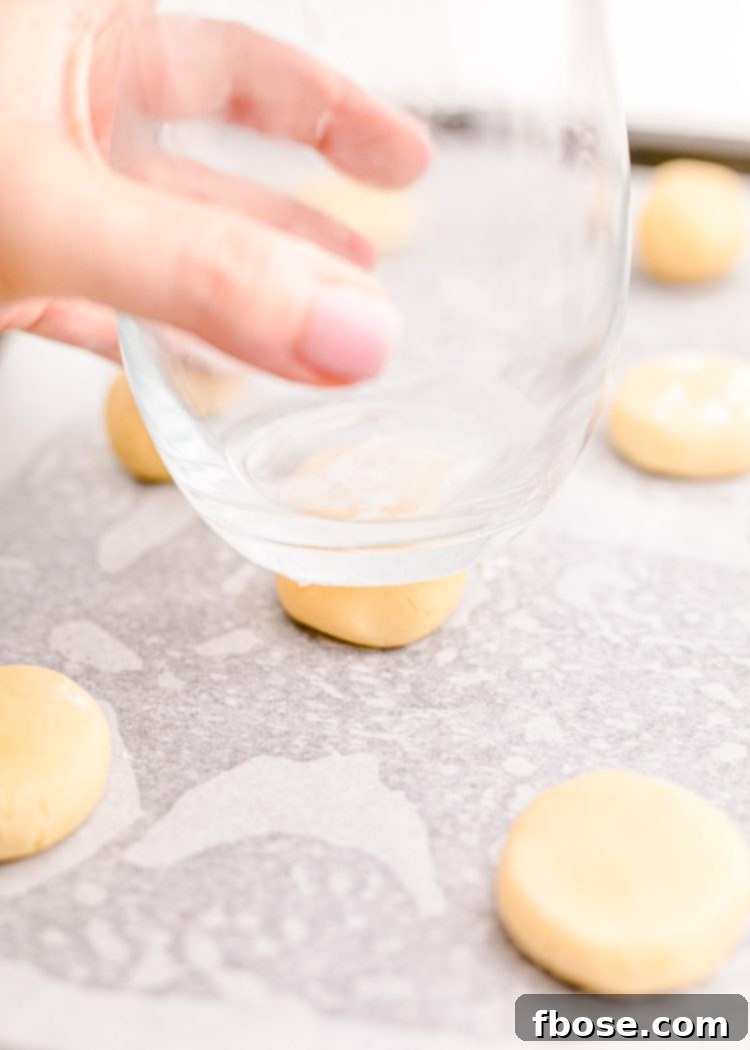
- Arrange & Flatten: Place each size of cookie dough balls onto its own dedicated parchment-lined baking sheet. Using the flat bottom of a clean glass, gently press down on each dough ball to flatten it into a disc. This ensures even baking and creates the perfect base for stacking. Remember to bake different sized cookies on separate sheets, as their baking times will vary.
- Bake to Perfection: Bake each sheet of cookies separately on a medium oven rack until the bottoms are just golden brown.
- Small cookies: 4 to 6 minutes.
- Medium cookies: 6 to 8 minutes.
- Large cookies: 8 to 10 minutes.
- Cool Completely: Once baked, carefully remove the cookies from the oven and transfer them to wire racks. Allow them to cool completely before proceeding to frosting and assembly. This prevents the frosting from melting.
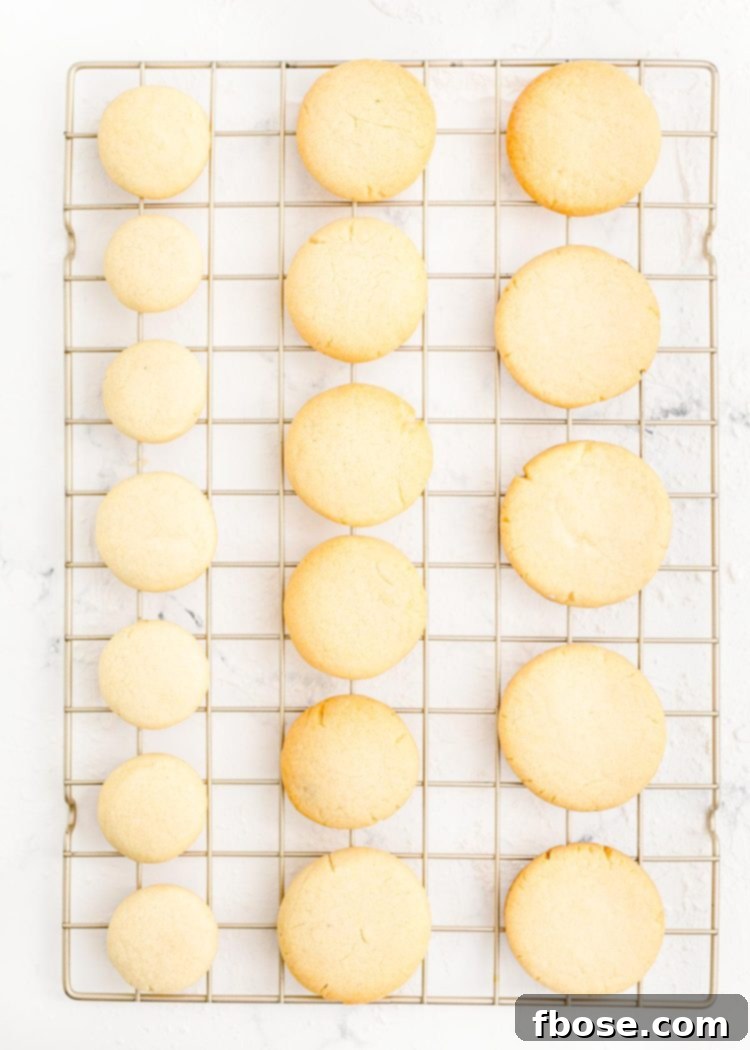
Prepare the Festive Frosting and Assemble:
- Whip Up the Frosting: While the cookies are cooling, prepare your green buttercream. In a mixing bowl, cream together the powdered sugar and softened salted butter until smooth. Then, beat in the whole milk, vanilla extract, and green food coloring until the frosting is light, fluffy, and evenly colored. Add more food coloring if a deeper green is desired. Transfer the prepared frosting into piping bags for easier and neater decoration.
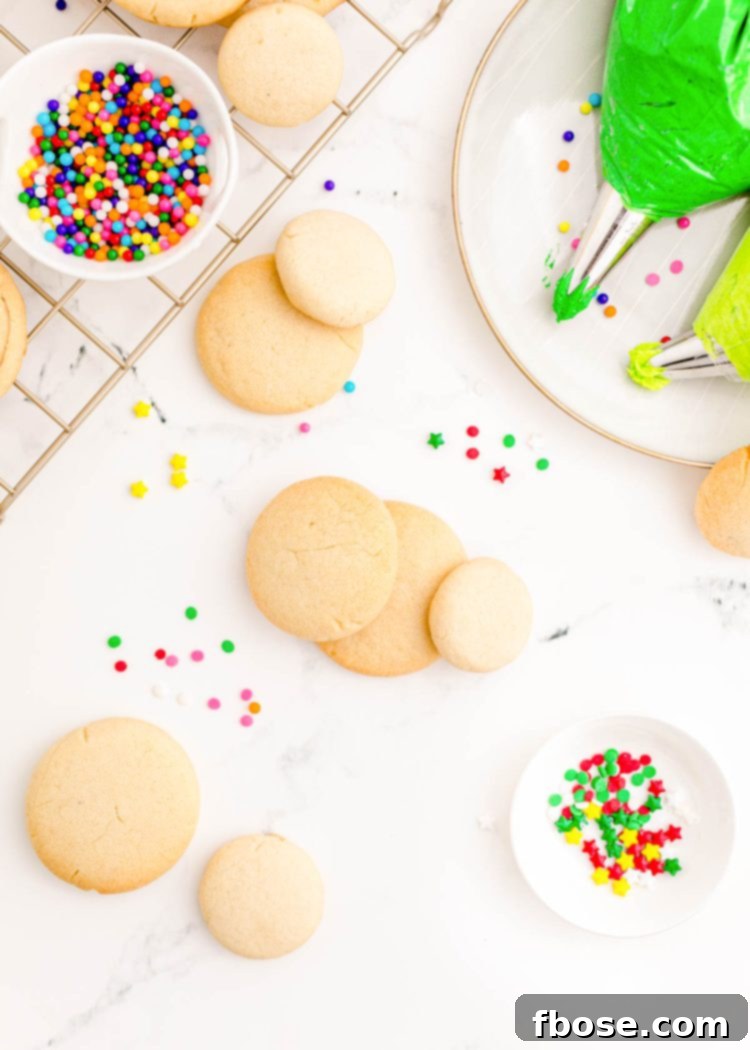
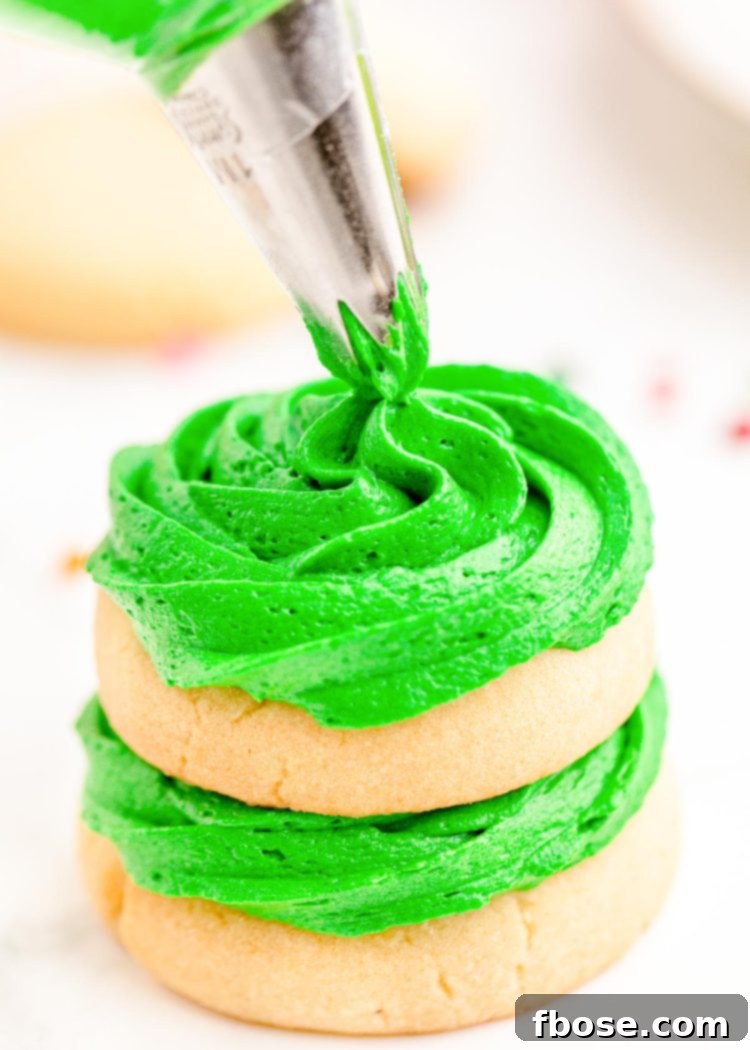
- Assemble Your Trees: Now for the fun part! Select one cookie of each size (large, medium, small). Pipe a generous amount of green frosting onto the center of the largest cookie. Carefully place a medium-sized cookie on top, gently pressing to adhere. Repeat the process by piping frosting onto the medium cookie and topping it with the smallest cookie. The frosting acts as your “glue,” holding the tiers together and creating the iconic Christmas tree shape.
- Decorate & Enjoy: With your cookie trees assembled, it’s time to unleash your creativity! Use the remaining green frosting to pipe decorative swirls or lines around the cookie tiers. Finish by sprinkling a colorful assortment of sprinkles over the frosting, mimicking ornaments. For the ultimate topper, place a star-shaped sprinkle on the very top of each tree. Enjoy your festive creations!
Pro Tip for “Flocked” Christmas Tree Cookies: For a snowy, elegant look, skip the colorful sprinkles! Instead, after assembling your cookie trees, lightly dust them with powdered sugar using a fine-mesh sieve. This creates a beautiful “flocked” effect, reminiscent of snow-covered pines.
Expert Tips for Flawless Christmas Tree Cookies
Achieving bakery-quality Christmas Tree Cookies is easier than you think with a few simple tips. These insights will help you master every step, from perfect cookie consistency to dazzling decoration:
- Softened Butter is Key: For both the cookies and the frosting, ensuring your butter is properly softened (room temperature, but not melted) is crucial. This allows it to cream smoothly with sugar, incorporating air for a light texture in cookies and a fluffy frosting.
- Measure Flour Accurately: Dry cookies are often a result of too much flour. Spoon your flour into the measuring cup and then level it off with a straight edge (like a knife) to avoid compacting it. This simple technique ensures you use the precise amount needed for tender cookies.
- Don’t Overbake: Sugar cookies can go from perfectly baked to dry and crumbly very quickly. Watch them closely. They are done when the edges are just barely golden, and the centers still look slightly soft. They will continue to set as they cool.
- Cool Completely: Patience is a virtue here! Ensure your cookies are entirely cool before you start frosting. Warm cookies will melt the buttercream, leading to a messy, runny disaster instead of a beautiful tree.
- Piping Bag Prowess: Using a piping bag makes frosting application incredibly neat and professional. If you don’t have one, a sturdy Ziploc bag with a corner snipped off works just as well. Experiment with different piping tips (a star tip is lovely for these!) for varied decorative effects.
- Frosting Consistency Control: If your frosting seems too thick, add milk (or cream) half a teaspoon at a time until it reaches a smooth, pipeable consistency. If it’s too thin, gradually add more powdered sugar until it thickens.
- Creative Decorations: While sprinkles are classic, don’t limit yourself! Consider edible glitter for a shimmering effect, small candy pearls, mini M&Ms, or even carefully placed tiny silver dragees for an extra touch of elegance.
- Consistent Cookie Sizes: While we’re going for three sizes, try to make each set of sizes as uniform as possible. This ensures your stacked trees are stable and aesthetically pleasing. Using a measuring spoon for scooping dough is helpful for consistency.
Elevate Your Holiday Baking: Variations and Serving Suggestions
Delightful Variations:
These Christmas Tree Cookies are wonderfully versatile! Here are some ideas to customize them to your taste and holiday theme:
- Flavor Boost: Instead of (or in addition to) vanilla extract, try almond extract for a marzipan-like flavor, or a touch of lemon zest for a bright, citrusy note in your cookie dough. A pinch of ground cardamom or nutmeg can also add a warm, festive twist.
- Frosting Flavors & Colors: While green is traditional, consider other colors like white (for snow-covered trees), blue, or even pink for a whimsical touch. You can also flavor the buttercream with peppermint extract for a minty surprise, or a hint of orange zest.
- Chocolate Drizzle: After frosting and sprinkling, add a fine drizzle of melted dark or white chocolate over your trees for an extra layer of decadence and visual appeal.
- Gingerbread Trees: Transform this recipe by using your favorite gingerbread cookie dough! The warm spices will pair beautifully with the sweet green frosting.
Charming Serving Suggestions:
These beautiful cookies deserve to be presented with care. Here’s how to make them shine:
- Centerpiece Showstopper: Arrange your finished cookie trees on a tiered serving tray or a large platter as a stunning, edible centerpiece for your holiday table.
- Cookie Exchange Favorite: These unique and eye-catching cookies are guaranteed to be a hit at any holiday cookie exchange. Package them individually in clear cello bags with a festive ribbon.
- Perfect Pairing: Serve them alongside a warm mug of hot cocoa, a steaming cup of coffee, or a glass of cold milk. They’re also a delightful addition to a Christmas dessert buffet.
- Thoughtful Gifts: Wrap a few cookie stacks in a decorative box or tin to create a thoughtful homemade gift for friends, neighbors, or teachers.
Frequently Asked Questions: Christmas Tree Cookies
Have questions about making these delightful Christmas Tree Cookies? We’ve got answers to help you achieve perfect results every time!
How To Store Christmas Tree Cookies?
These festive Cookie Christmas Trees can be stored in an airtight container at room temperature for up to one week. To keep them fresh for longer, place parchment paper between layers to prevent sticking.
Is There A Substitution For Vanilla Extract?
Absolutely! If you don’t have vanilla extract, almond extract is an excellent substitute and lends a wonderfully delicious flavor profile to these cookies. You can also experiment with other extracts like a touch of peppermint for a holiday twist.
Can I Freeze These Cookies?
Yes, these cookies are freezer-friendly! You can freeze the baked cookie tiers (without frosting) in an airtight container or freezer bag for up to three months. Thaw them at room temperature before frosting and assembling. You can also freeze the assembled and frosted cookies, though the frosting might soften slightly upon thawing. If freezing frosted cookies, place them on a baking sheet in the freezer until firm, then transfer to an airtight container.
How Can I Fix The Frosting If It Comes Out Too Thin Or Thick?
Adjusting frosting consistency is surprisingly simple!
- Too Thin: If your frosting is too runny, gradually add more powdered sugar, one tablespoon at a time, beating well after each addition until it reaches your desired pipeable consistency.
- Too Thick: If the frosting is too stiff, add milk (or heavy cream for extra richness) one teaspoon at a time, beating until it becomes smooth and easy to spread or pipe.
What Happened If The Cookies Came Out Really Dry?
Dry cookies are often a result of too much flour. Flour can easily become compacted in a measuring cup, leading to an excess amount. To prevent this, always “spoon and level” your flour: use a spoon to lightly scoop flour into your measuring cup, then use the back of a knife or a straight edge to level off the top. This ensures you’re using the correct amount for perfectly tender cookies.
Can I Use Store-Bought Cookie Dough?
While this recipe is designed for homemade sugar cookie dough, you can certainly use store-bought refrigerated sugar cookie dough for a quicker shortcut. Just be sure to divide and shape it into three different-sized balls as instructed before baking. Baking times might vary slightly, so keep a close eye on them!
Can I Use Cookie Cutters For This Recipe?
Absolutely! If you prefer a more uniform, precise look, you can roll out the cookie dough and use star-shaped cookie cutters in three different sizes (large, medium, small). This will give your Christmas trees a classic, pointed shape. Adjust baking times as needed for your specific cookie cutter sizes.
Discover More Delicious Christmas Cookie Recipes!
Elevate your holiday baking repertoire with even more festive treats! Sign up for our exclusive 12 Days of Christmas Cookies Newsletter and receive 12 brand new, mouth-watering recipes delivered straight to your inbox this holiday season. Don’t miss out on expanding your collection of festive delights!
12 Days of NEW Cookie Recipes!
These delightful Christmas Tree Cookie Stacks, with their charming green icing and festive sprinkles, are the epitome of holiday cheer! They are simple to make, incredibly fun to decorate, and a joy to share. But the holiday baking adventure doesn’t stop here. We have an array of other festive and tasty Christmas dessert recipes perfect for enjoying with friends and family throughout the season!
- Soft Christmas Sugar Cookies – These classic, tender cookies are perfect for decorating with the kids, creating sweet memories, and leaving out for Santa on Christmas Eve!
- No-Bake Christmas Krispie Treats – An incredibly easy and festive no-bake dessert featuring butter, marshmallows, cereal, and delightful holiday candies, perfect for quick holiday cheer.
- Shortbread Christmas Crack – A truly addictive treat made with crisp shortbread cookies, crunchy chopped pecans, and rich toffee bits that will have everyone reaching for seconds!
- Christmas Popcorn – A delightful snack combining kettle corn, a hint of cake mix, creamy white chocolate, and festive Christmas sprinkles, ideal for holiday movie marathons.
- Heart-Shaped Grinch Cookies – Whimsical and delicious cookies inspired by the beloved classic movie, made with simple pantry staple ingredients that are sure to make your heart grow three sizes!
Let’s Connect & Share Your Creations!
If you’ve tried this delightful Christmas Tree Cookie Stack recipe, we’d love to hear from you! Please let us know how you enjoyed it by leaving a comment and a review below. Your feedback truly brightens our day!
Don’t forget to tag us – @sugarandsoulco – on Instagram and Pinterest with your gorgeous photos. You can also join our vibrant Sugar & Soul Show-offs Community on Facebook and share your creations there, where you can also participate in our fun recipe challenges!
Christmas Tree Cookie Stacks
Equipment
-
Electric mixer
-
Parchment paper
-
Baking sheets
-
Measuring Cups
-
Measuring spoons
-
Cooling rack
-
Piping bag
Ingredients
Cookies:
- 1 cup salted butter softened
- ¾ cup granulated sugar
- 1 large egg
- 1 teaspoon vanilla extract
- 2½ cups all-purpose flour
- 1 teaspoon baking powder
Frosting:
- 3 cups powdered sugar
- ½ cup salted butter softened
- 3 Tablespoon whole milk
- 1 teaspoon vanilla extract
- green food coloring
- Sprinkles for decorating
Instructions
-
Preheat the oven to 350°F and line three baking sheets with parchment paper and set aside.
-
In a medium bowl, cream together the butter, sugar, egg, and vanilla until light and fluffy.
-
In a separate bowl, whisk together the flour and baking powder.
-
Add the flour mixture to the butter mixture and beat just until combined.
-
Shape the dough into 3 different-sized balls of cookie dough. Use a rounded 1 teaspoon of dough to make small balls. Then you will use 2 rounded teaspoons of dough to make medium balls. And 3 rounded teaspoons of dough to make large balls. You should be able to make at least 15 balls of each size.
-
Place each size of balls on its own prepared baking sheet and use the bottle of a glass to gently flatten them. The different sizes of cookies should bake on different sheets as they will not bake at the same rate.
-
Bake each sized cookie separately until the bottoms are just golden. Small cookies will take 4 to 6 minutes. Medium will take 6 to 8 minutes. Large will take 8 to 10 minutes.
-
Transfer the cookies to wire racks to cool completely.
-
While the cookies cool, prepare the frosting by creaming together the powdered sugar and butter. Then beat in the milk, vanilla, and food coloring.
-
Use the frosting to “glue” together one of each sized cookie to make a Christmas tree. Pipe icing onto the top of the largest size cookie and place the middle size cookie on top. Pipe icing on the top of the middle size cookie and place the small size cookie on top. Then continue decorating with the icing and sprinkles.
Notes
- How To Store: You can store these Cookie Christmas Trees in an airtight container at room temperature for up to a week.
- Is There A Substitution For Vanilla Extract? You can use almond extract instead. I actually find the cookies still taste incredibly delicious using that extract!
- Can I Freeze These Cookies? Yes, you can! These can be stored in the freezer for up to three months.
- How Can I Fix The Frosting If It Comes Out Too Thin? The frosting is so easy to fix if it comes out too thin or even too thick! To fix thin frosting just add more powdered sugar a tablespoon at a time until it reaches your desired consistency. To fix thick frosting just simply add in milk a teaspoon of a time until it reaches your desired consistency as well!
- What Happened If The Cookies Came Out Really Dry? This is a recipe where you really have to be careful when measuring out the flour. I recommend spooning the flour into the measuring cup and then using a knife to scrape the top off, making it level.
Nutrition
Did You Make This Recipe?
Don’t forget to share it with me on Instagram @sugarandsoulco and follow on Tiktok @sugarandsoulco and Pinterest @sugarandsoulco for more!
Pin Recipe
Share Recipe