
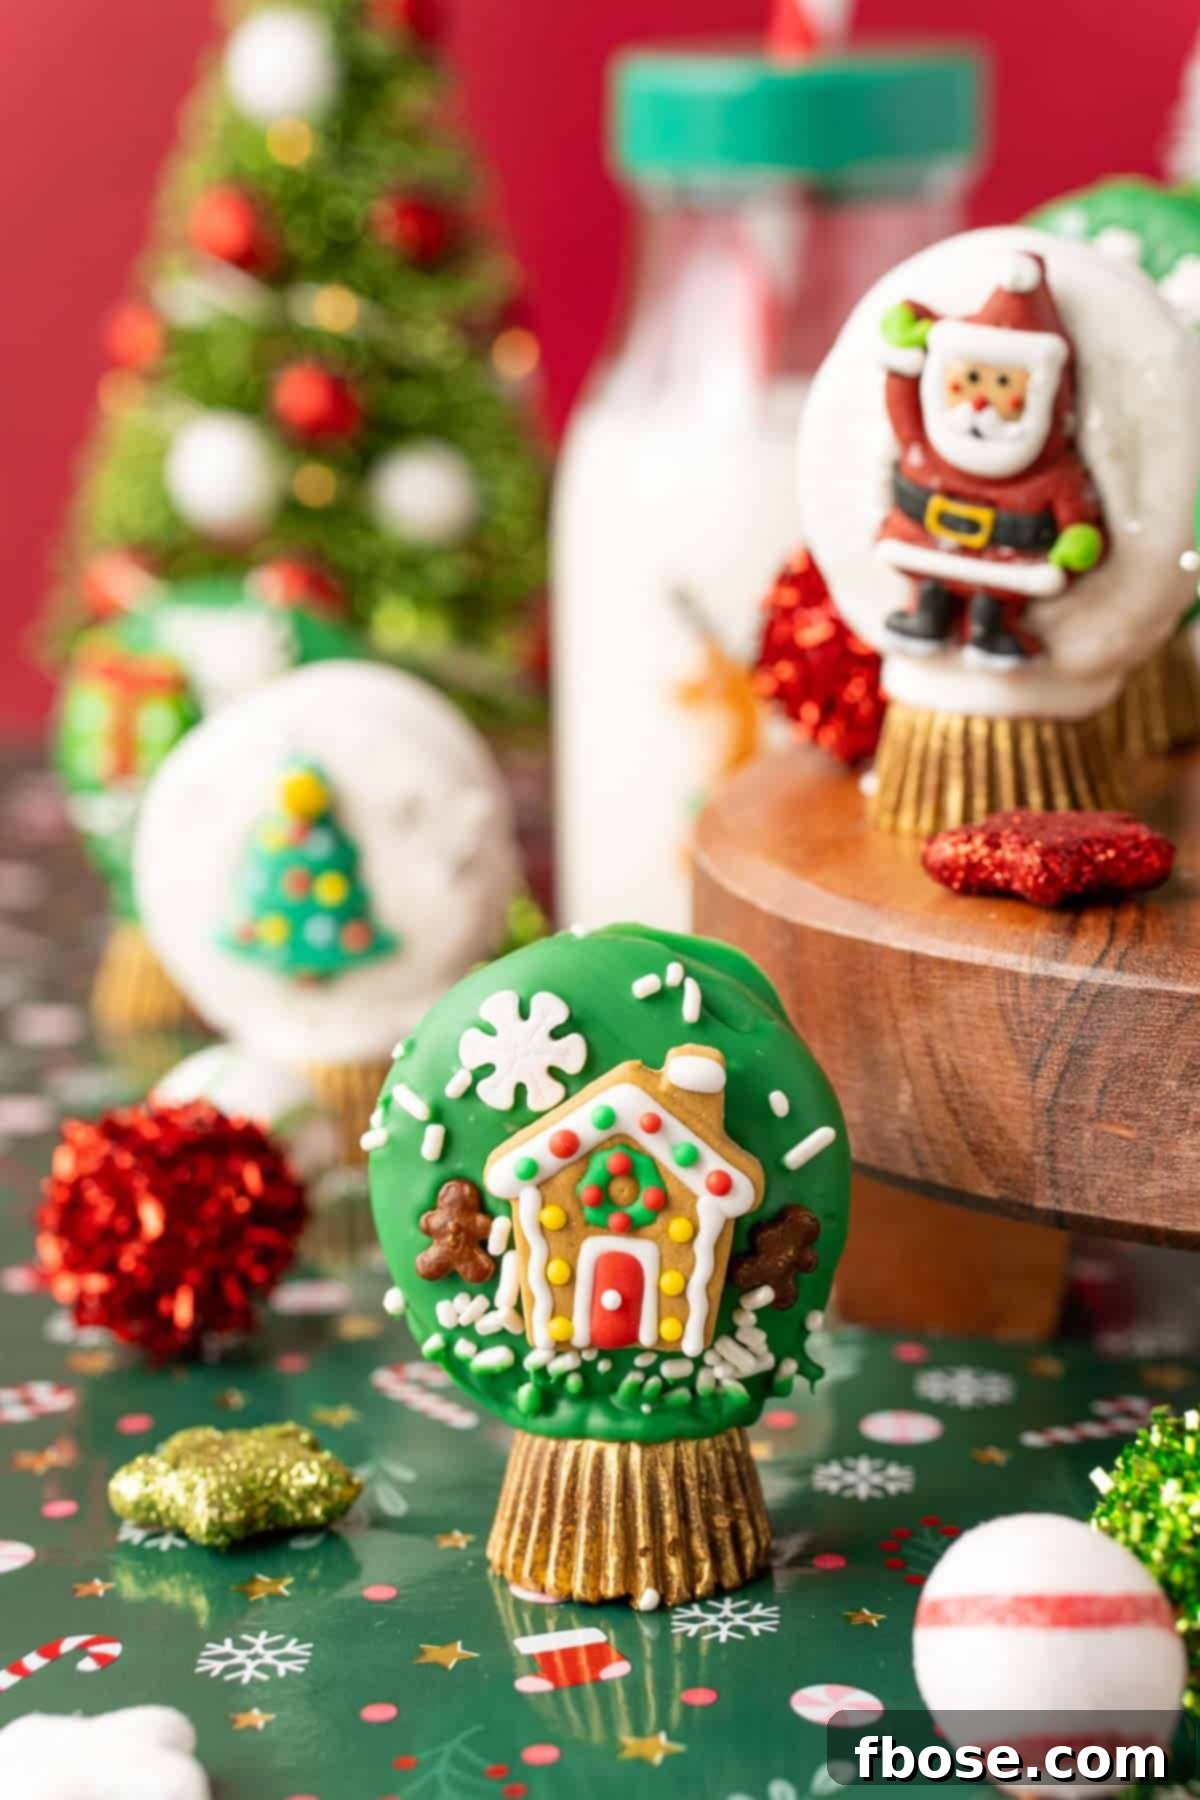
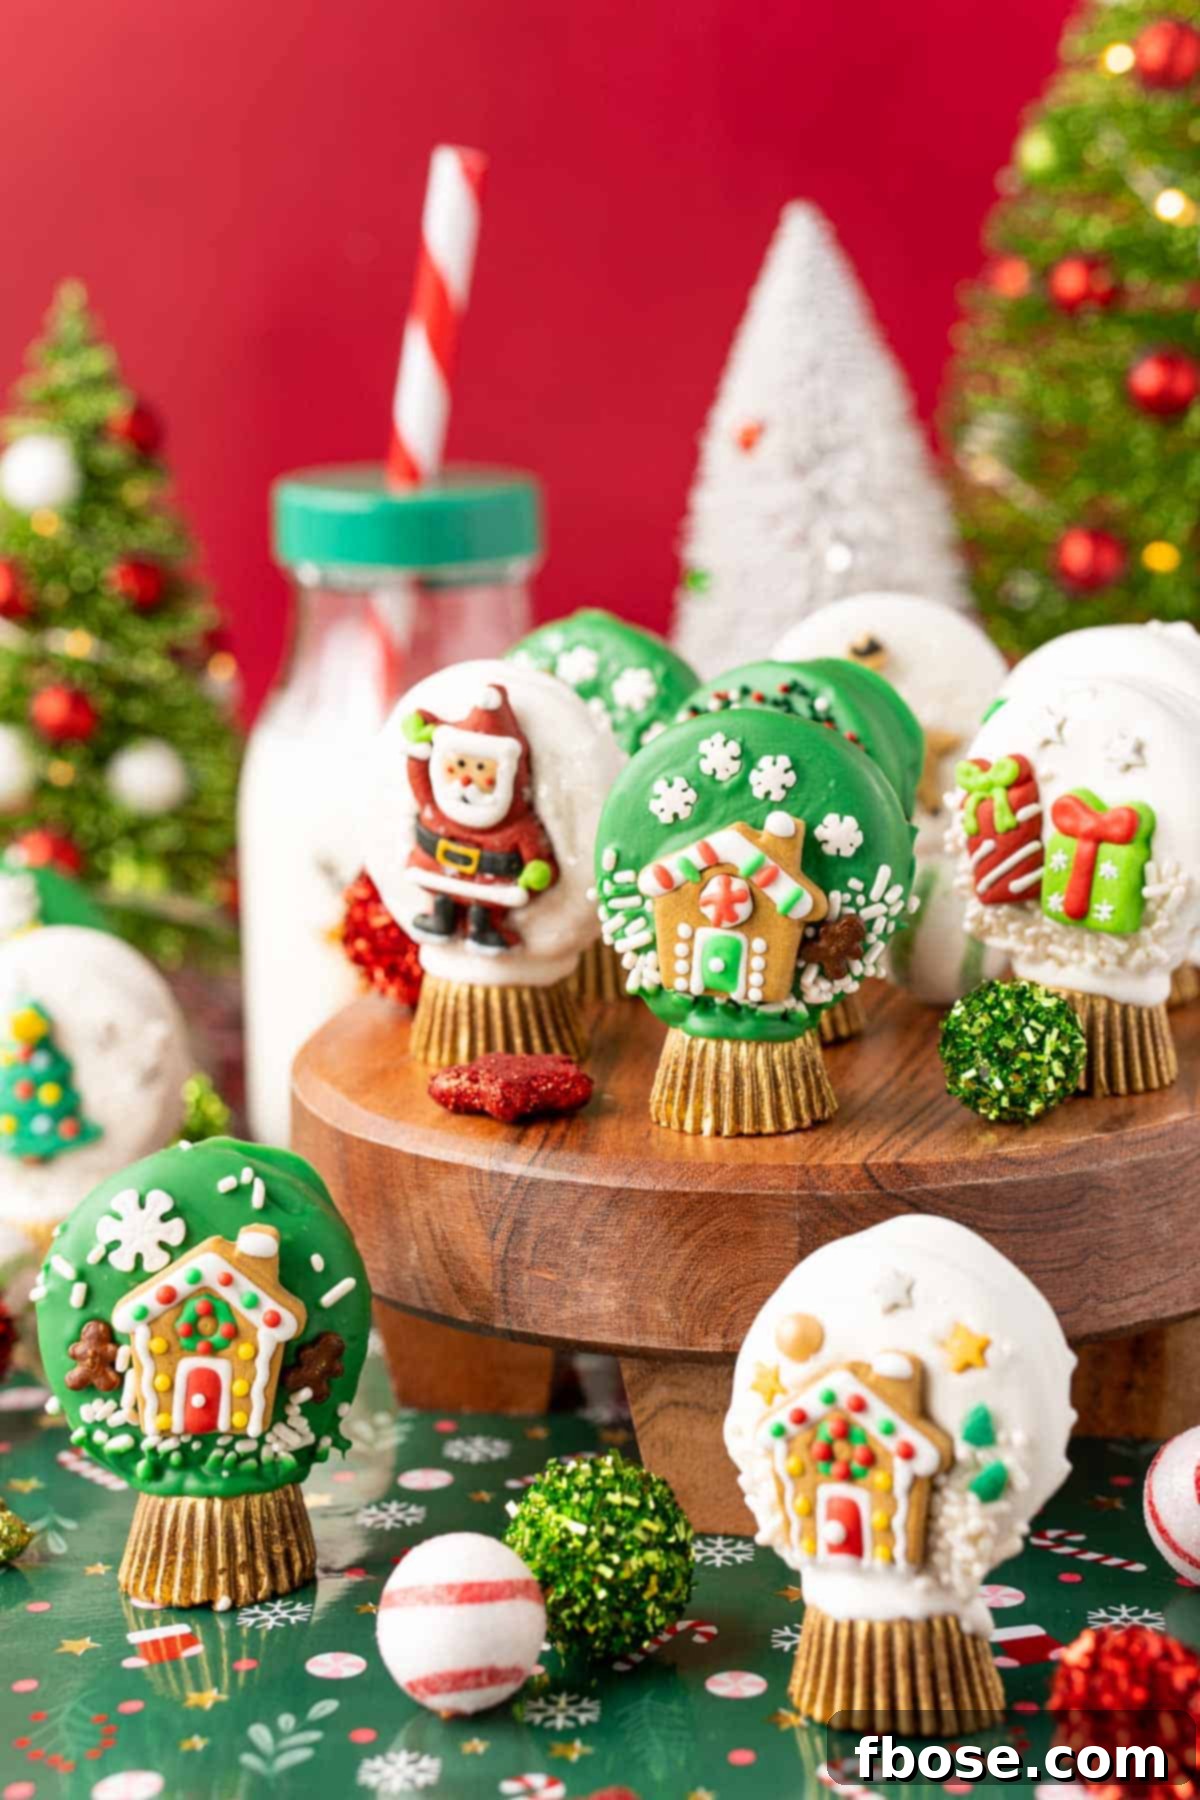
Christmas Oreo Snow Globe Cookies are not just a treat; they’re an enchanting edible craft that brings holiday cheer without ever needing to turn on your oven. This delightful no-bake recipe involves simple dipping and decorating, making it a perfect, low-stress activity for the whole family. In just about an hour, you can create a batch of these whimsical, delicious cookies, turning ordinary Oreos into miniature winter wonderlands!
If you love fun, edible crafts like these, you’ll also adore our Easy Oreo Snowman Cookies and Cute Oreo Penguin Cookies. Since they all share similar base ingredients, you could even make a delightful assortment of all three for a truly festive spread!
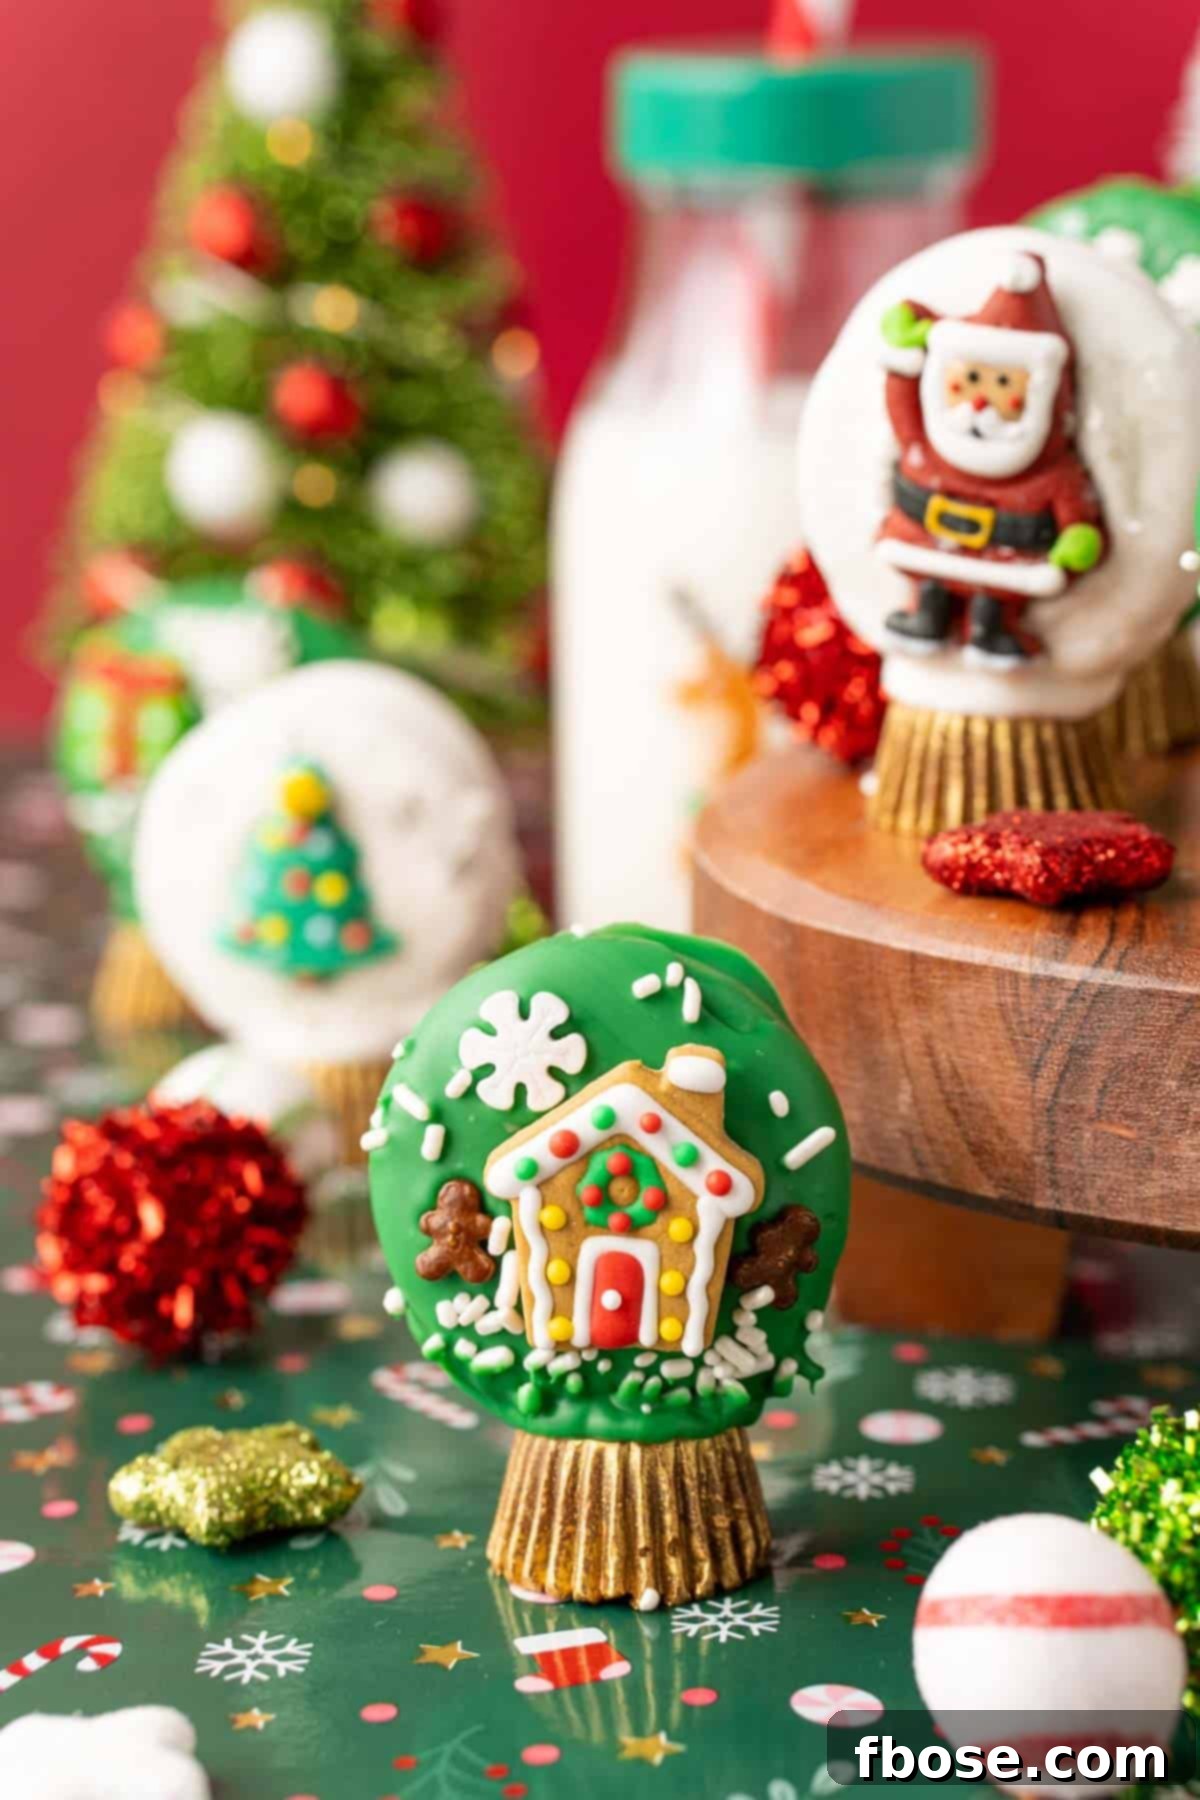
Discover the Magic of No-Bake Oreo Snow Globe Cookies
These captivating Snow Globe Cookies are destined to be a highlight of your winter or Christmas celebrations. Watch as children’s eyes light up with excitement at the prospect of creating their own edible masterpieces. Simply lay out an array of colorful sprinkles, smooth icing, and charming 2D edible decorations, then step back and observe their imaginations flourish. This recipe is a fantastic way to engage everyone in a festive activity that results in beautiful, delicious treats.
Beyond the fun, you’ll deeply appreciate the convenience this no-bake recipe offers. Give your oven a much-needed holiday break, and keep your kitchen pristine! The absence of complex baking steps and a myriad of messy pantry ingredients means significantly less cleanup for you, allowing more time to enjoy the magic of the season and the company of your loved ones.
A Symphony of Flavors and Textures
Every bite of a Christmas Oreo Snow Globe Cookie is an adventure for the senses, carefully designed to deliver a harmonious blend of taste and texture that truly captures the spirit of the holidays.
Irresistible Taste Profile
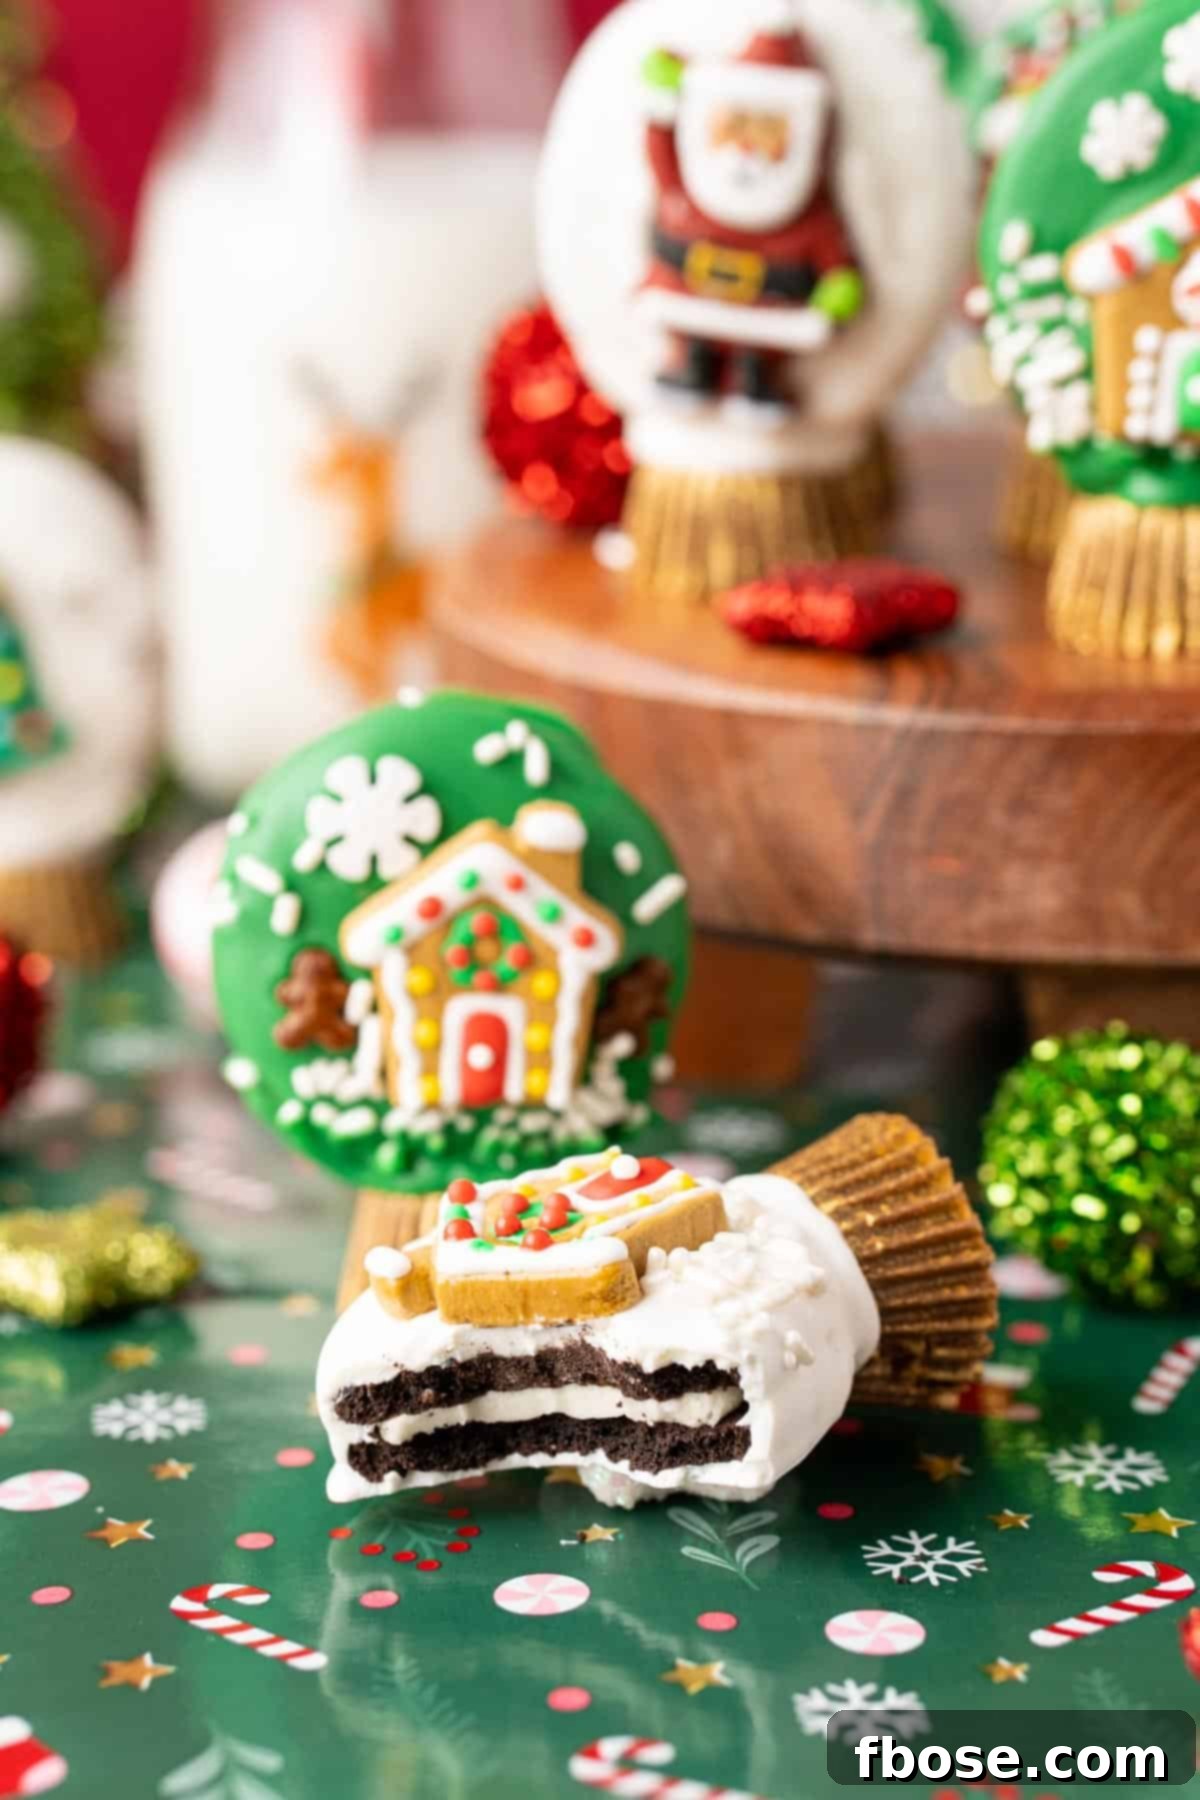
At its core, this cookie boasts the classic, rich flavor of a chocolate Oreo, complete with its iconic creamy filling. This familiar sweetness is then enveloped in a smooth, vanilla-flavored candy melt coating, providing a gentle sweetness that complements the robust chocolate. The true genius lies in its base: a salty-sweet Reese’s Peanut Butter Cup. This unexpected foundation introduces a delightful contrast, marrying the sweet cookie globe with the irresistible blend of chocolate and peanut butter. The result is a profoundly satisfying sweet treat, perfectly paired with a tall, ice-cold glass of milk.
Delightful Textural Journey
Prepare your palate for a journey of contrasting sensations. The initial crunch of the Oreo cookie gives way to the smooth, melt-in-your-mouth chocolate coating. This is further enhanced by the playful crispness of the added sprinkles and 2D decorations, adding bursts of textural interest. Finally, the experience culminates with the soft, tender, and distinctly yielding texture of the Reese’s Peanut Butter Cup base. It’s a multi-layered textural delight that keeps you coming back for more.
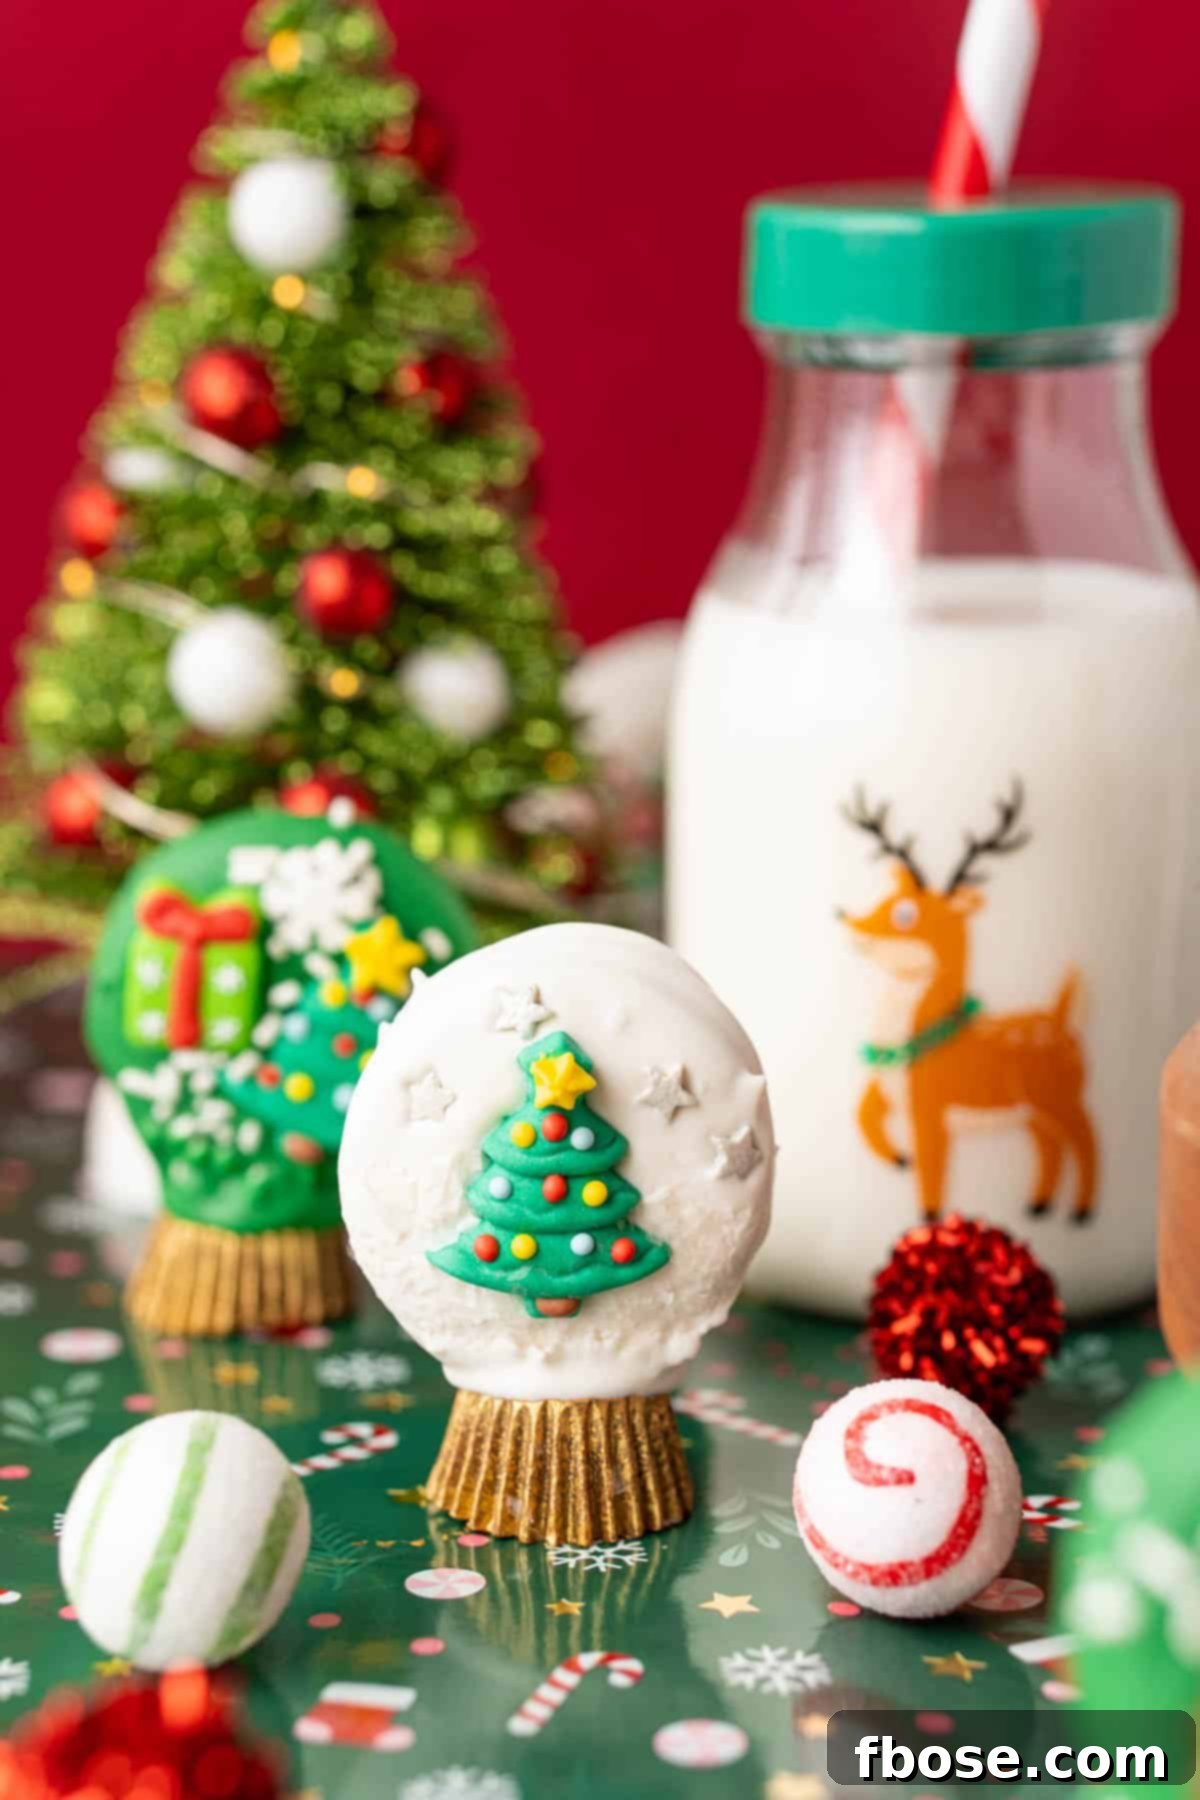
Expert Tips for Crafting Your Perfect Edible Snow Globes
Making these easy snow globe cookies is a joyous experience, and with these helpful tips and tricks, you’ll ensure your edible creations are both stunning and delicious.
Involve the Little Helpers
Engaging children in the kitchen is a fantastic way to create lasting memories. While you take care of lining baking sheets with parchment paper and setting up the candy decorations, assign the kids the fun task of unwrapping the Reese’s Peanut Butter Cups. This simple yet important job makes them feel integral to the process, fostering a sense of accomplishment and making the entire cookie decorating session smoother and more enjoyable for everyone. It’s a true win-win for family fun!
Mastering the Candy Melt
Achieving the perfect consistency for your candy melts is crucial for a smooth, even coating. You have two excellent options for melting: the microwave or a double boiler. Whichever method you choose, remember the goal is a perfectly smooth, lump-free consistency. If using the microwave, heat in short 30-second intervals, stirring thoroughly after each to prevent scorching. For a double boiler, gentle, indirect heat will yield a silky-smooth texture, ideal for dipping.
The Art of Dipping
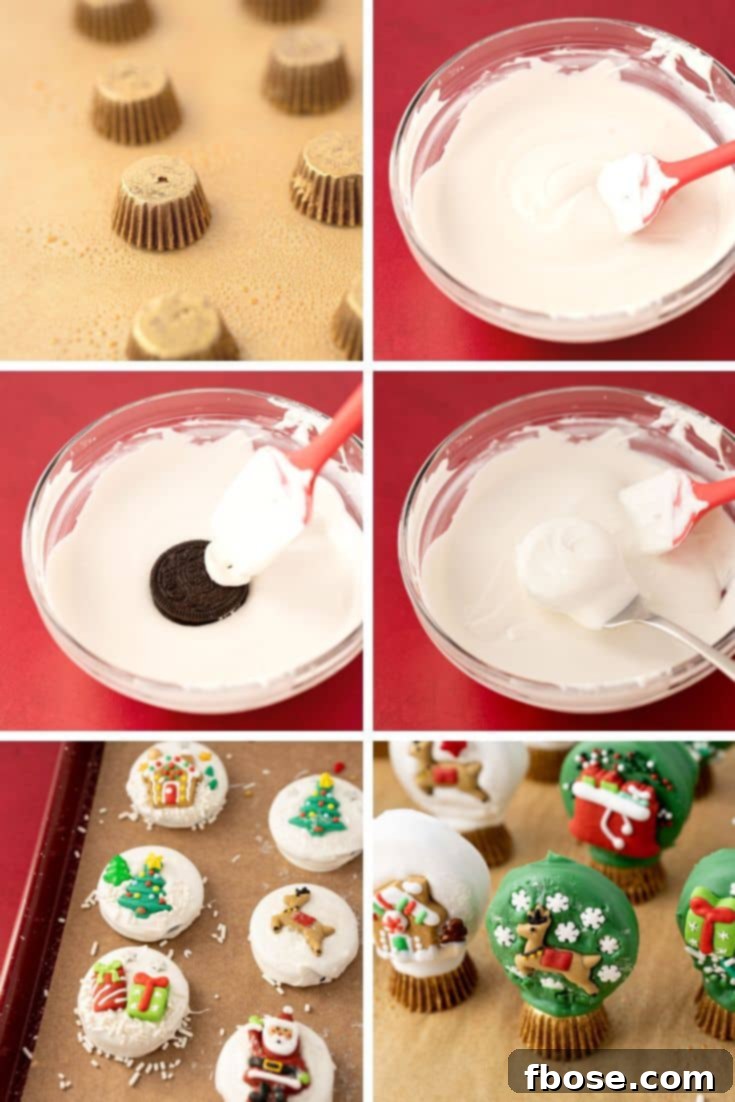
I’ve found that a simple kitchen fork is your best friend when it comes to dipping Oreos. Carefully slide the fork beneath an Oreo, immersing it completely in the melted candy. When removing it, gently tap the fork against the side of the bowl to encourage any excess candy to drip off. This ensures a clean, even coating without thick, clumpy edges. For a seamless transfer onto your parchment-lined baking sheet, use a toothpick to carefully slide the coated Oreo off the fork.
Decorating in Batches
To ensure your decorations adhere beautifully before the candy hardens, it’s best to work in small batches. Dip and decorate about three cookies at a time. This allows you ample time to place your sprinkles, 2D icing decorations, or any other festive embellishments precisely where you want them, resulting in perfectly adorned snow globes every time.
Securely Attaching the Globe Base
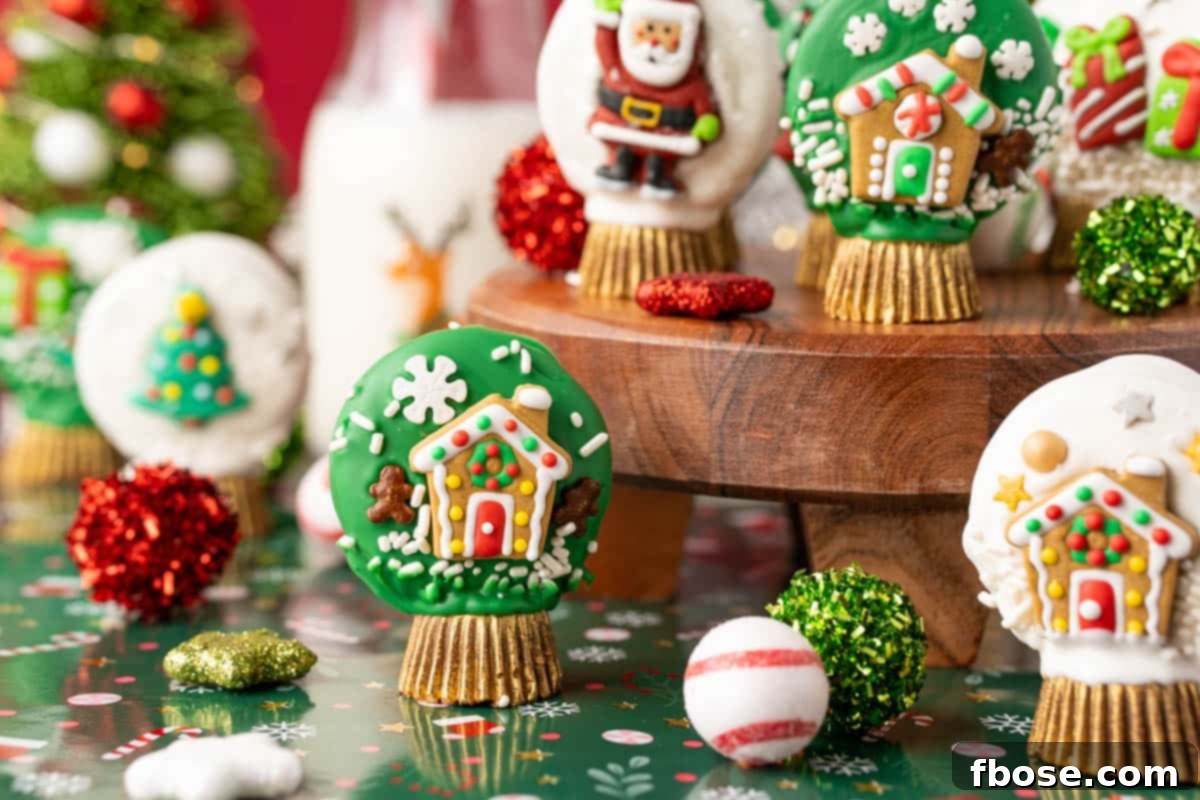
To create the “snow globe” effect, you’ll attach your decorated Oreos to their Reese’s Peanut Butter Cup bases. Dip the bottom of each Oreo back into the melted candy, then gently press it firmly onto the center of an unwrapped peanut butter cup. It’s important to hold each cookie in place for 10 to 20 seconds. While they might feel a bit heavy and seem like they want to topple over initially, the candy melts will quickly set, securing the globe to its base. Patience here ensures a stable, stunning snow globe!
For a slightly easier method, especially when crafting with very young children, you can attach the peanut butter cups while the Oreos are still lying down and setting on the parchment paper. Keep in mind, the cups might be at a slight angle and less rigidly secure, but this approach offers a simpler, kid-friendly alternative.
More Holiday No-Bake Fun and Festive Treats
While our children absolutely delight in engaging with edible crafts like this cookie recipe, we’ve found that our own inner child enjoys them just as much! Beyond these charming snow globes, our family also cherishes making Easy Christmas Wreath Cookies, which are also conveniently made using store-bought cookies.
For even more festive edible fun, consider whipping up a batch of Reindeer Christmas Bark or creating adorable Easy Reindeer Cakes. Both are delightful ways to add a touch of whimsy and sweetness to your Christmas celebrations, guaranteed to bring smiles all around.
And if you’re looking to balance the sugar rush, why not gather the family for a creative coloring contest with these free Christmas Coloring Pages? Or, for a heartwarming gift idea, assemble a batch of Reindeer Hot Chocolate Cones (DIY With Printable Tags) to share with friends and family, spreading warmth and cheer.
Creative Variations to Personalize Your Snow Globes
While the classic Christmas Oreo Snow Globe Cookies are undeniably delightful, don’t hesitate to unleash your creativity with these fun and tasty variations!
Experiment with Oreo Flavors
The beauty of this recipe lies in its adaptability. Why stick to just original Oreos? Explore different Oreo flavors to create unique snow globe keepsake cookies. Imagine the festive twist of peppermint creme, the nutty notes of hazelnut, or the comforting spice of Snickerdoodle and Gingerbread seasonal Oreos. Each flavor will add a distinct character to your edible snow globes, making every bite a delightful surprise.
Unleash Your Inner Artist with Custom Decor
Instead of relying solely on pre-made 2D icing decorations, let your artistic side shine! Melted candy melts can be easily transferred into piping bags, allowing you to hand-draw intricate designs directly onto your snow globes. Think delicate snowflakes, tiny Christmas trees, or personalized messages. Alternatively, cookie icing offers another fantastic medium for detailed, freehand decorating, enabling you to create truly unique and personalized treats.
Transform into Festive Ornaments
With just a slight modification, you can transform these snow globe cookies into charming Oreo Ornament Cookies! Simply use unwrapped Reese’s Miniatures and attach them to the top edge of your dipped Oreo instead of the bottom. This creates the perfect “hanger” for your edible ornament. Then, decorate the ornament using your favorite 2D decorations, cookie icing, or piped melted candy melts to create a stunning, edible holiday display.
Simplify with Pre-Coated Oreos
For those seeking the ultimate shortcut to holiday crafting, consider using White Fudge Covered Oreos. This brilliant hack significantly cuts down on prep time and mess. All you’ll need to do is attach the festive snow globe base and then proceed directly to the fun part: decorating! It’s an effortless way to create impressive treats with minimal fuss.
Frequently Asked Questions About Your Snow Globe Cookies
How to Store Your Christmas Oreo Snow Globe Cookies
To keep your festive creations fresh and delicious, store these Christmas cookies in an airtight container at room temperature. Properly stored, they can be enjoyed for up to two weeks, making them a fantastic make-ahead option for holiday parties or simply to savor throughout the season.
Can White Chocolate Chips Be Substituted for Candy Melts?
Absolutely! White chocolate chips can be a great alternative to candy melts. When using white chocolate chips, I highly recommend adding a small amount of vegetable oil (about 1 teaspoon per cup of chips) while melting. This helps to achieve a smoother, more fluid consistency, ideal for dipping and ensuring an even coating. For vibrant red or green snow globes, you can easily incorporate gel food coloring into the melted white chocolate chips, stirring until your desired hue is achieved.
What is the Ideal Amount of Candy Melts Needed?
While one 12-ounce bag of candy melts can technically cover about 24 Oreos, I always recommend having two bags on hand. This accounts for the extra candy needed to securely adhere the Oreos to the Reese’s Peanut Butter Cups, and it also provides a comfortable buffer during the dipping process. With two 12-ounce bags (24 ounces total), you’ll comfortably cover an entire 14-ounce package of regular Oreos or a 15-ounce package of Double Stuf Oreos, ensuring you don’t run out mid-crafting.
Where Can I Find Gold or Silver Color Mist?
Gold or silver color mist is a fantastic way to add a touch of sparkle to your snow globe bases. You can typically find this in the baking aisle of larger supermarkets like Walmart, specialty craft stores such as Jo-Ann Fabrics, or party supply stores like Party City. It’s also readily available online, particularly on Amazon. For the most brilliant and even coverage, I highly recommend using the Wilton brand color mist.
How Long Does it Take to Create These Festive Cookies?
One of the best aspects of this recipe is its efficiency! It typically takes around an hour to transform a full package of Oreos into charming snow globes. There’s very little downtime involved, as the first Oreo you dip will be ready to attach to its peanut butter cup base by the time you finish dipping the last one. This continuous workflow means you’re essentially working in batches throughout the entire process, making for a swift and satisfying crafting experience.
Ready to Get Started? Your Edible Snow Globe Cookie Recipe!
Now that you’re equipped with all the tips and tricks, it’s time to dive into the fun part: creating your very own Christmas Oreo Snow Globe Cookies. This detailed recipe will guide you through each step, ensuring a smooth and enjoyable crafting experience from start to finish. Get ready to impress your family and friends with these adorable, no-bake holiday treats!

Christmas Oreo Snow Globe Cookies
Equipment
- 1 Microwave-safe bowl per color
- 1 rubber spatula per color
- 1 fork per color
- 1 Toothpick per color
- 3 Baking sheets
- Parchment paper
Ingredients
- 36 Reese’s Miniatures
- 1 can Gold or Silver Color Mist (optional, Wilton brand works best)
- 24 ounces candy melts
- 36 Oreo Cookies (1 (14oz.) regular Oreo package)
- 36+ 2D Icing Decorations
- Holiday Sprinkles
Instructions
- Line three baking sheets with parchment paper and set aside.
- Unwrap the Reese’s peanut butter cups and place them large side down on one of the baking sheets.
- Use the color mist to spray the peanut butter cups all over, following the directions on the can. Let dry while you make the Oreos.
- Add the candy melts to a microwave-safe bowl and melt for 1 minute, stir then melt at 30-second intervals, stirring between each one until smooth. Use separate bowls for each color and work with one color at a time for the best results.
- Add an Oreo to the melted candy and use a rubber spatula to scoop the candy over the top of it.
- Use a fork to scoop under the Oreo and lift it out, tapping until all the excess candy falls off, then sliding the bottom of the fork against the bowl.
- Use a toothpick to help slide the Oreo off the fork onto the prepared baking sheets.
- Then add the 2D icing decorations and additional sprinkles to decorate the candy-coated Oreos. Work in batches of three so that the candy doesn’t harden before the decorations can be added.
- Let the Oreos set completely, about 10 to 15 minutes after being dipped.
- Reheat the candy melts if needed for 15 to 30 seconds until smooth again.
- Dip the bottoms of the Oreos about ¼-inch into the candy melts and then gently press them on top of the peanut butter cups, holding each one for 10 to 20 seconds to ensure it stays. Some of them may feel heavy and like they want to fall over, but they will stay if you just hold them a bit as the candy melts start to do their thing pretty quickly. You can stick the peanut butter cups on while the Oreos are lying down and setting, but the cups will be at a bit of an angle and not quite as secure; if you’re just making them with the kiddos, this might be the easiest option.
- Let set completely before enjoying, about 15 minutes.
Notes
- 2 (12oz.) bags of candy melts should cover a 14-ounce package of regular Oreos or a 15-ounce package of Double Stuf Oreos.
- Technically a 12-ounce bag can cover 24 but we want to account for the extra needed to adhere the Oreos to the peanut butter cups and for ease of dipping and coating.
- It took me about 1 hour to make a full package of Oreos since the first Oreo you do will be ready to go on the peanut butter cups when you finish with the last ones so there really isn’t any downtime because you are working in batches the whole way through.
- The 2D icing decorations are just an easy way to decorate these, but you could use additional candy melts and piping bags to draw and decorate your snow globes.
- You can use Reese’s Mini (unwrapped) to make ornaments instead of snow globes.
- Wilton brand color mist works best. For these photos, I used the Walmart brand, but it was wetter and didn’t give as nice and even of a coating as when we made these with the kiddos a week later.
Nutrition
Connect with Our Community!
If you’ve tried this recipe, please let me know how you liked it in the comments below and leave a review. Your feedback is invaluable, and I love hearing from you!
Don’t forget to tag me – @sugarandsoulco – on Instagram and Pinterest with your photos, or join our Sugar & Soul Show-offs Community and share your creations there, where you can also participate in our exciting recipe challenges!
Did You Make This Recipe?
Don’t forget to share it with me on Instagram @sugarandsoulco and follow on Tiktok @sugarandsoulco and Pinterest @sugarandsoulco for more!
Pin Recipe
Share Recipe