

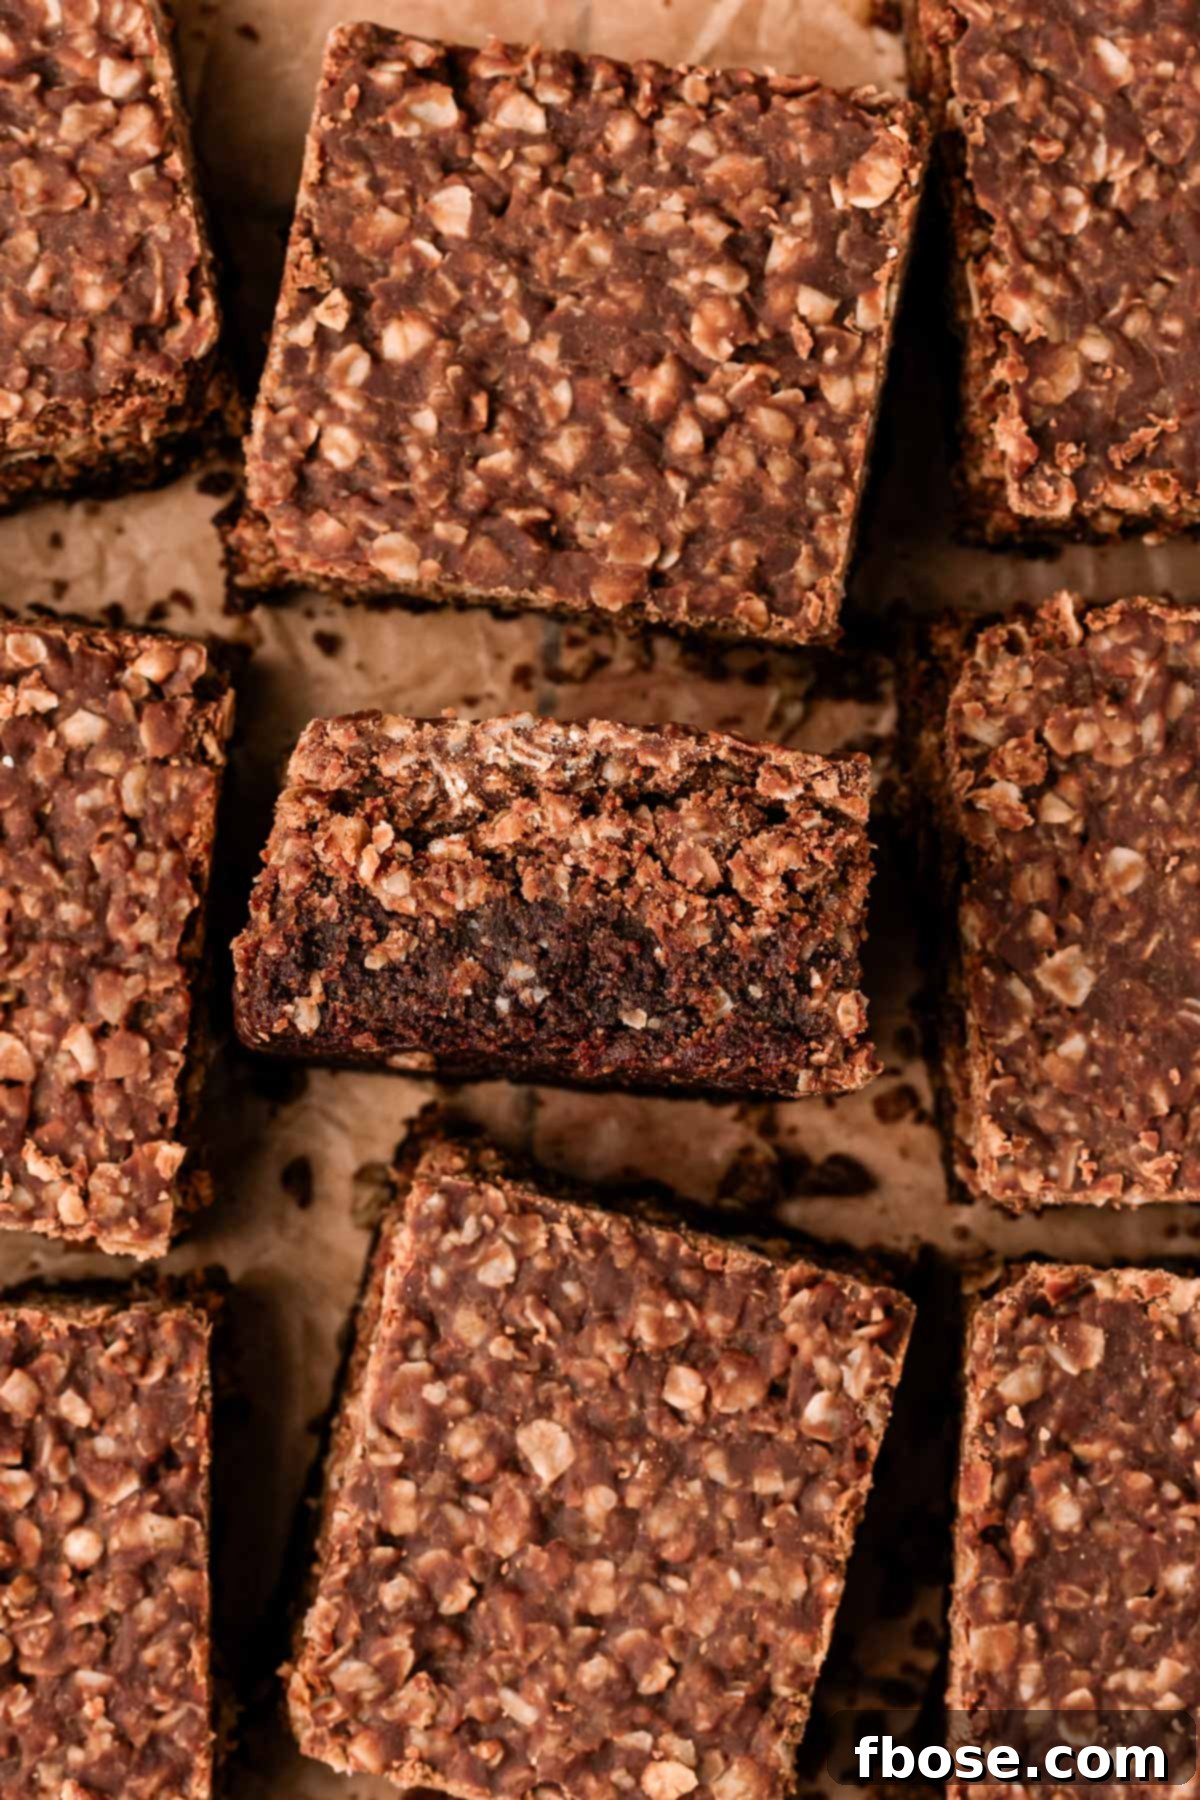
No Bake Cookie Brownies are a delightful fusion of two beloved dessert classics: rich, fudgy brownies and chewy, irresistible no-bake oatmeal cookies. This ingenious recipe brings together a moist, homemade brownie base with a decadent, peanut butter-infused no-bake cookie topping, creating a truly unforgettable treat. Perfect for an after-dinner indulgence, a crowd-pleasing potluck contribution, or a sought-after item at any bake sale, these layered dessert bars are sure to impress and satisfy every sweet tooth.
Experience the Best of Both Worlds: Childhood Classics in One Modern Dessert!
There’s something inherently comforting about a classic homemade brownie, with its dense, chocolatey richness. And then there are those nostalgic no-bake cookies, a staple of many childhoods, offering a quick and satisfying sweet fix. What if you could combine the deep, intense flavor of a fudgy brownie with the creamy, chewy texture of an oatmeal no-bake cookie? The answer is these incredible No Bake Cookie Brownies!
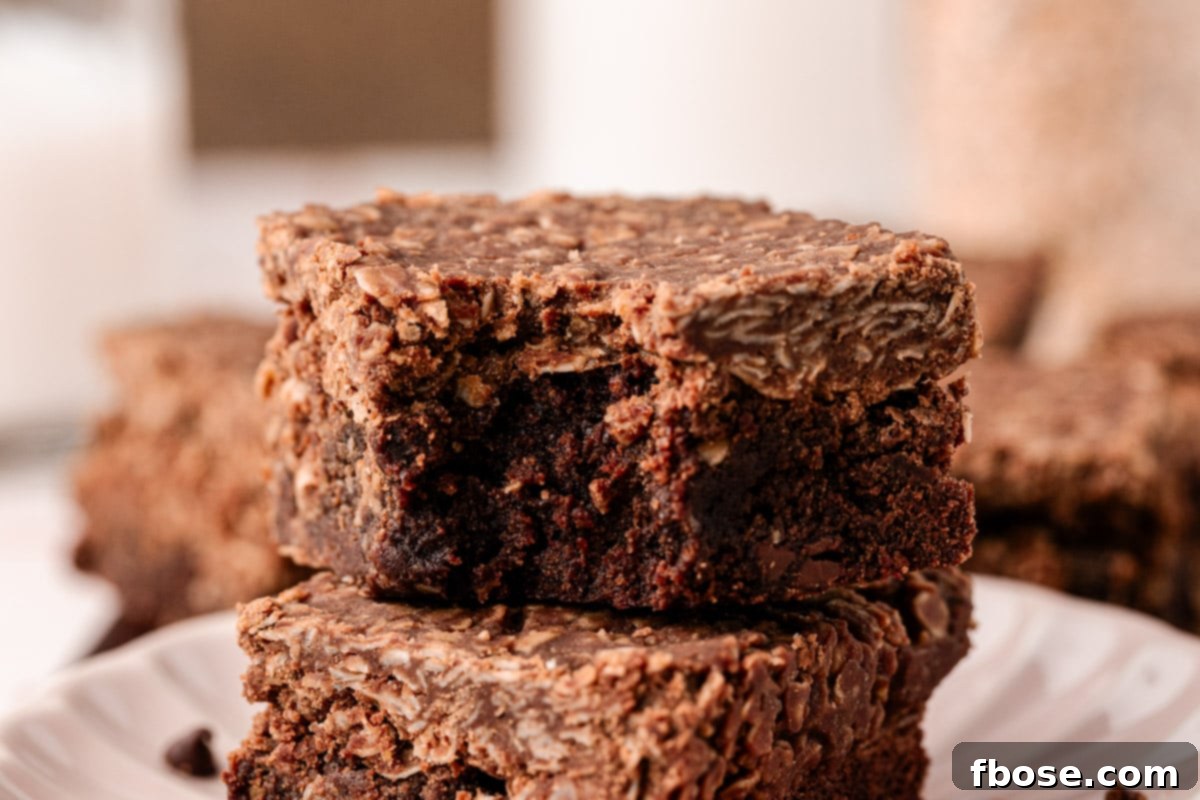
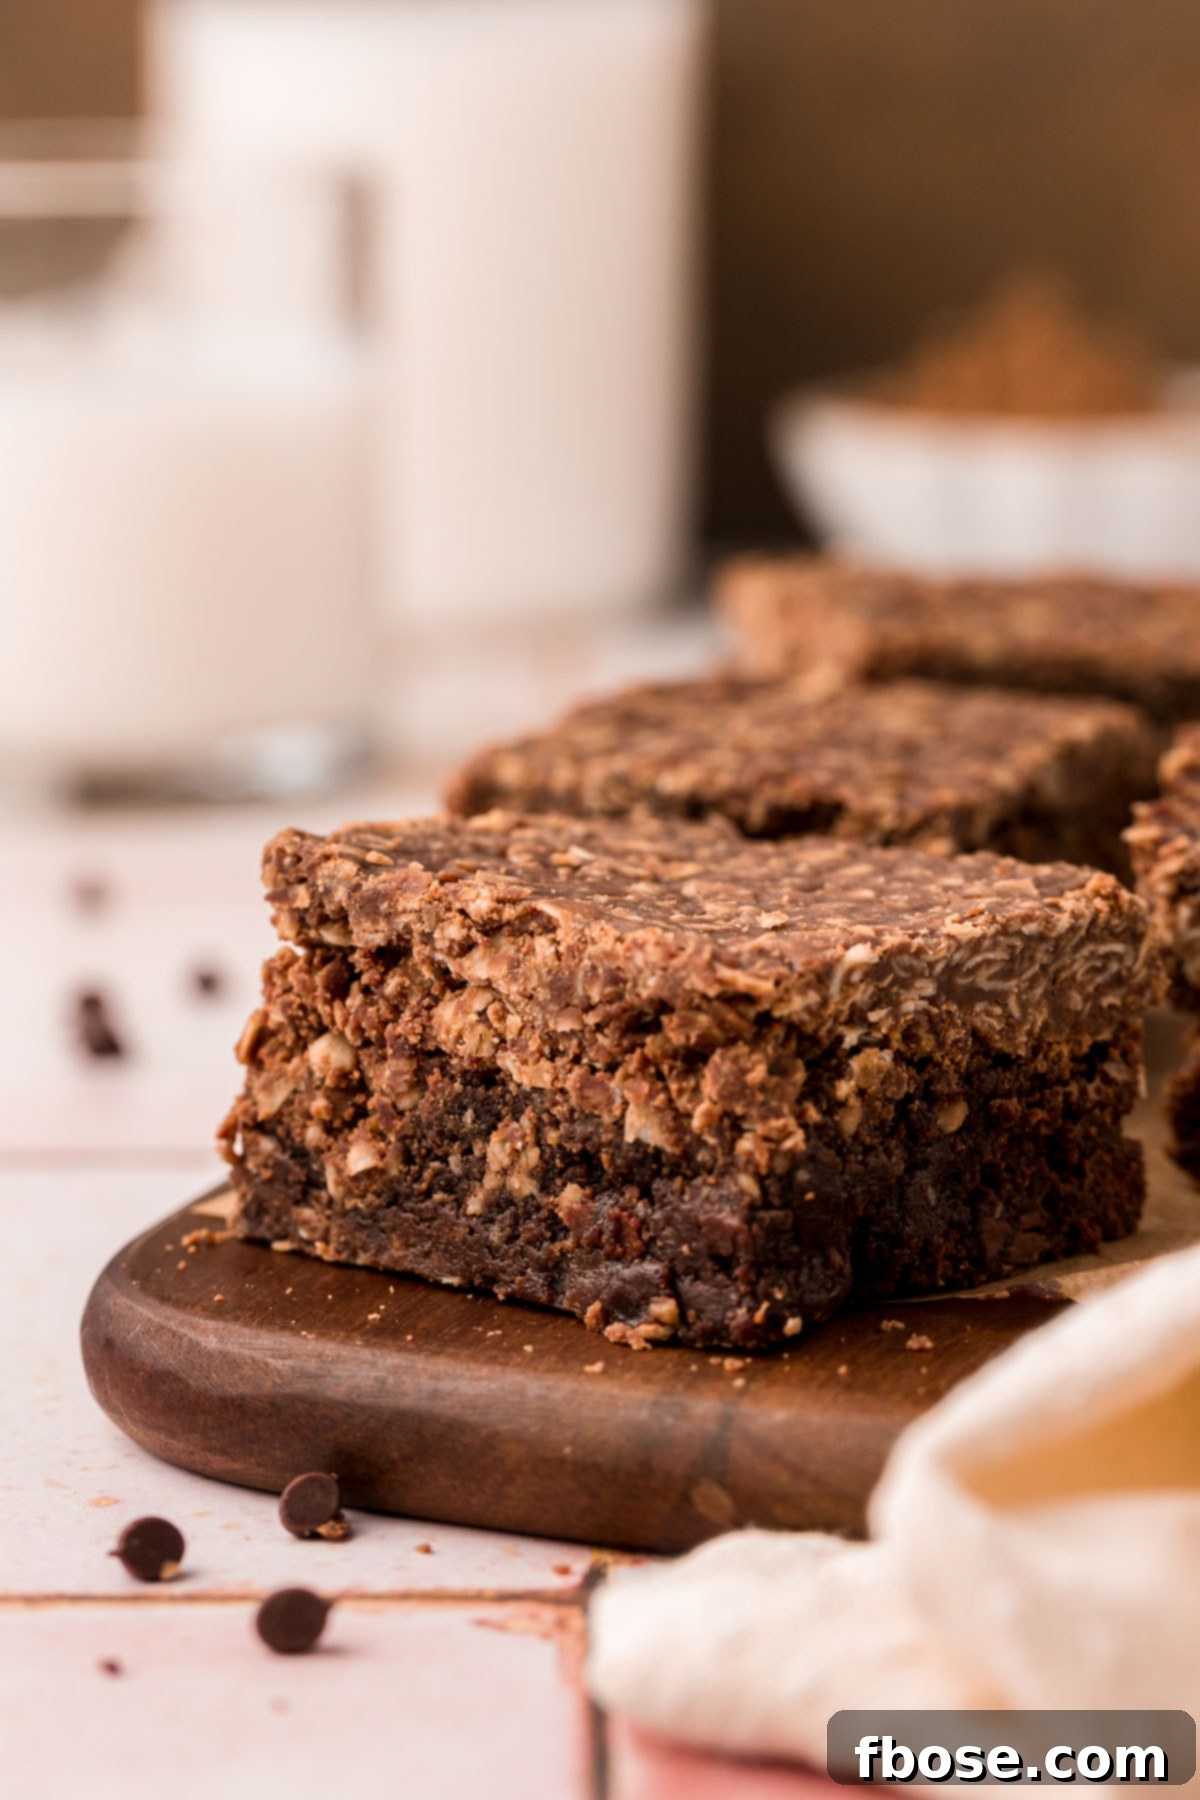
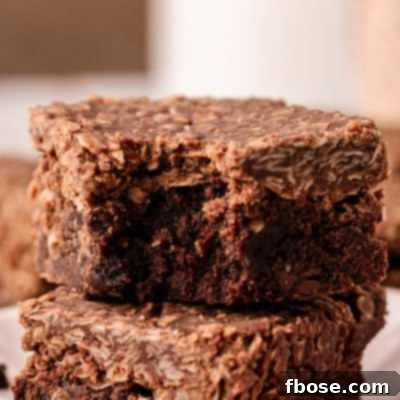
Inspired by cherished memories of simple yet delicious treats, this recipe elevates two favorite desserts into one extraordinary creation. Imagine sinking your teeth into a thick, luxurious brownie square. First, you encounter the intense, homemade fudgy brownie layer, a testament to perfect chocolate balance and moist texture. Then, just above that, you discover a thick, chewy layer of oatmeal no-bake cookies, brimming with chocolate and peanut butter goodness. It’s a symphony of flavors and textures that simply melts in your mouth.
This gourmet-style dessert offers more than just exceptional taste; it provides versatility. It’s easy enough to whip up when a sudden craving for something sweet strikes, yet sophisticated enough to be the star dessert at any gathering. Hosting a dinner party? Need a standout item for a bake sale? Looking for the ultimate potluck treat? These No Bake Cookie Brownies are your perfect solution. Plus, this generous recipe yields two dozen squares, ensuring there’s plenty to enjoy now and even some to freeze for later, making future dessert cravings a breeze to satisfy. Pair them with a tall, ice-cold glass of milk, and you’ve got a match made in dessert heaven.
If your heart beats for rich, gourmet brownies, then you’ll understand the irresistible allure of these No Bake Cookie Brownies. For those who share this passion, you might also adore our Peanut Butter Crunch Brownies, featuring a delightful crispy texture, or the indulgent Buckeye Brownies, which perfectly mimic the beloved candy.
Pin This Recipe For Later
Rebecca’s Recipe Review: Why These Brownies Are a Must-Try
Our kitchen has put these No Bake Cookie Brownies to the test, and the results are in! Here’s a breakdown of what makes this recipe a true winner:
Taste: Prepare for an explosion of flavor! Each bite delivers the profound, rich chocolate of the fudgy brownie base, perfectly complemented by the sweet, savory notes of a chocolate peanut butter no-bake cookie. It’s a harmonious blend that creates a deeply satisfying and addictive dessert experience.
Texture: The magic is in the layers. The bottom layer is a perfectly fudgy, dense brownie, offering a substantial and melt-in-your-mouth feel. Crowned atop is a chewy, tender oatmeal cookie layer, providing a delightful contrast that makes every single bite a satisfying chew. The combination ensures these brownies are never dry and always deliciously moist.
Ease: 5/10. While this recipe involves making two distinct components, neither is overly complicated. The steps are straightforward, and with a little organization, you’ll find the process quite manageable for such a high-reward dessert.
Pros: This recipe primarily uses common pantry staple ingredients, meaning you likely have most of what you need already on hand. The dual-layer approach, though initially seeming like more work, results in a dessert that truly stands out from standard brownies or cookies.
Cons: Given that this is a gourmet-style brownie, it requires preparing two separate dessert components before combining them. This elevates the overall effort compared to a simple, single-layer brownie recipe. However, the extra steps are undoubtedly worth it for the superior taste and unique texture.
Would I Make This Again? Absolutely, without a doubt! These No Bake Cookie Brownies have become a beloved favorite in our household, and we’re confident they’ll become one of yours too.
Essential Ingredients For Crafting Perfect No Bake Cookie Brownies
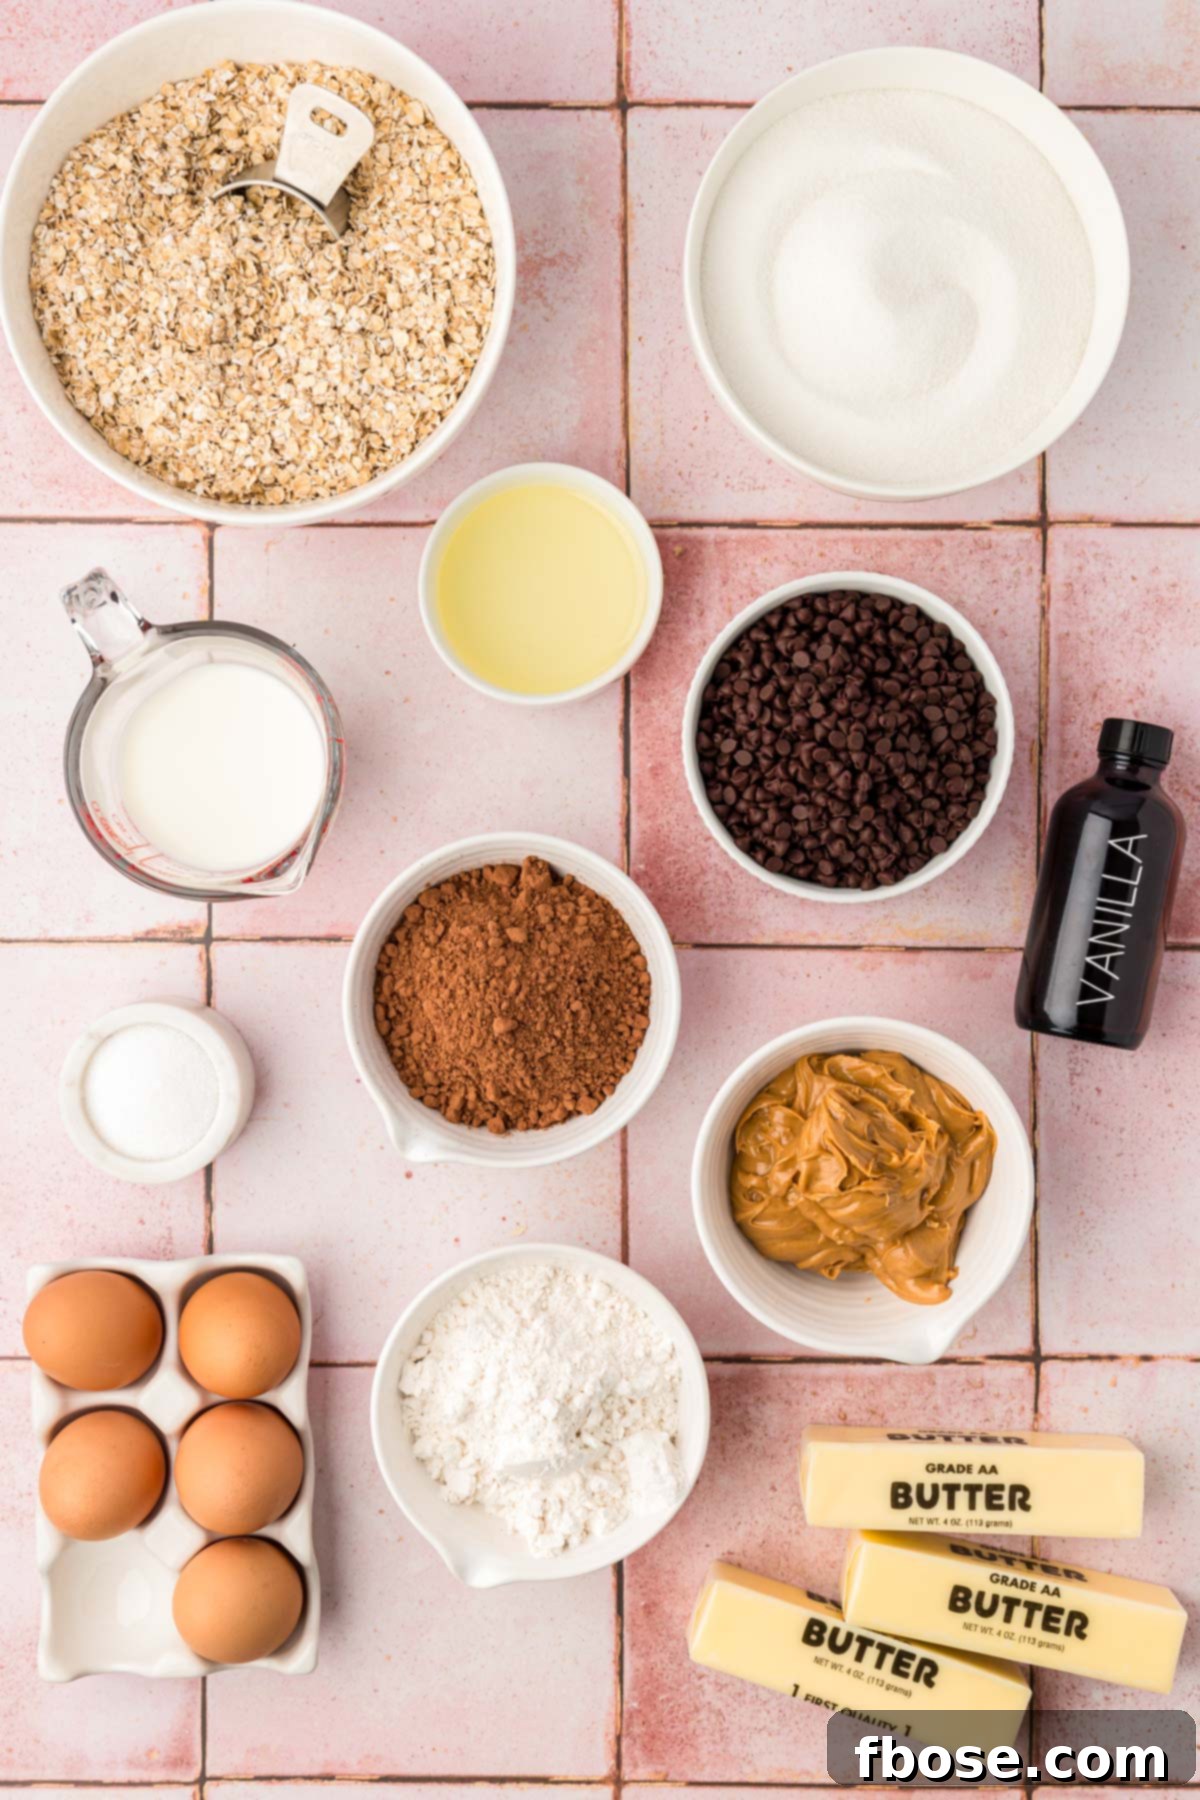
Creating these sensational No Bake Cookie Brownies involves two distinct yet complementary layers, each requiring its own set of ingredients. The good news is that most of these items are likely already in your pantry, making it convenient to whip up this decadent dessert without a special trip to the store. Here’s what you’ll need for both the rich brownie base and the irresistible no-bake cookie topping:
For the Fudgy Brownie Layer:
- Salted butter: Provides essential fat for richness and flavor, with salt enhancing the chocolate.
- Granulated sugar: Sweetens the brownies and contributes to their moist, tender crumb.
- Canola oil: Adds moisture and creates a chewier texture.
- Large eggs: Act as binders and help achieve that classic fudgy texture.
- Vanilla extract: A flavor enhancer that complements the chocolate beautifully.
- All-purpose flour: Provides structure to the brownie.
- Unsweetened cocoa powder: The star of the brownie layer, delivering deep, rich chocolate flavor.
- Salt: Balances sweetness and intensifies chocolate notes.
- Semi-sweet mini chocolate chips: Adds pockets of melted chocolate for an extra indulgent experience.
For the Chewy No-Bake Cookie Topping:
- Salted butter: The base for the cookie mixture, adding richness.
- Granulated sugar: Sweetens the cookie layer.
- Whole milk: Helps create a creamy, luscious texture for the cookies.
- Unsweetened cocoa powder: Infuses the cookies with chocolate flavor.
- Peanut butter: Crucial for the classic no-bake cookie taste and adds chewiness.
- Vanilla extract: Another essential flavor enhancer.
- Quick 1-minute oats: The key ingredient for the cookie’s chewy texture.
When preparing the no-bake cookie topping, paying close attention to the type of oats is paramount for success. This recipe specifically calls for quick 1-minute oats. These oats are thinner and absorb moisture quickly, resulting in a perfectly chewy cookie texture.
Important note on oats: Avoid using old-fashioned oats, as their thicker texture means they won’t cook sufficiently in the brief boiling time, leading to a hard and dry cookie layer. Conversely, instant oatmeal is too finely processed and will result in an overly soft, mushy cookie layer. Sticking to quick 1-minute oats guarantees the desired consistency and delicious outcome for your no-bake cookies.
Mastering the Layers: How To Make No Bake Cookie Brownies
Crafting these delectable No Bake Cookie Brownies involves two primary stages: baking the rich brownie base and then preparing the irresistible no-bake cookie topping. Follow these detailed instructions for a perfect result:
Part 1: Preparing the Fudgy Brownie Layer
- Preheat and Prepare Pan: Begin by preheating your oven to 350°F (175°C). Line a 9×13-inch metal cake pan with parchment paper, ensuring that the paper extends over the edges of the pan. This overhang will serve as handles for easy removal of the brownies later. Lightly spray the parchment paper with cooking spray to prevent sticking. If needed, use two sheets of parchment, one running each direction, with the shorter piece underneath the longer one, for full coverage.
- Melt Butter and Sugar: In a heavy-bottomed saucepan, melt the salted butter over low heat. Once melted, add the granulated sugar. Stir constantly until the mixture is smooth and the butter and sugar have fully emulsified, meaning there are no visible separations or oil resting on top. This process helps create that signature fudgy texture.
- Cool the Mixture: Remove the saucepan from the heat and immediately transfer the melted butter and sugar mixture into a large mixing bowl. Allow it to cool for about 5 minutes, stirring frequently to help release the heat evenly. This cooling step is crucial to prevent the eggs from scrambling when added.
- Incorporate Oil and Vanilla: Beat the canola oil and vanilla extract into the cooled butter and sugar mixture. Continue mixing with a rubber spatula until all ingredients are thoroughly combined and no oil separates on top.
- Add Eggs Gradually: Introduce the large eggs into the mixture one at a time. After adding each egg, beat it thoroughly with your spatula or a fork until it is fully incorporated into the batter before adding the next. This ensures proper emulsification and a smooth brownie batter.
- Sift Dry Ingredients: Sift the all-purpose flour, unsweetened cocoa powder, and salt directly into the wet ingredients. Gently and minimally stir the mixture just until almost all the dry streaks of flour disappear. Be careful not to overmix, as this can lead to tough brownies.
- Fold in Chocolate Chips: Using a rubber spatula, gently fold in the semi-sweet mini chocolate chips by hand. Distribute them evenly throughout the batter.
- Bake the Brownies: Pour the prepared brownie batter into your parchment-lined baking pan, spreading it evenly. Transfer the pan to the preheated oven and bake for 30 to 35 minutes, or until a toothpick inserted into the center comes out with moist crumbs, not wet batter.
- Cool Completely: Once baked, remove the pan from the oven. This step is critical: allow the brownies to cool completely at room temperature before proceeding. Attempting to add the no-bake cookie layer to warm brownies will cause them to tear and fall apart.
Part 2: Crafting the Chewy No-Bake Cookie Topping
- Prepare Cookie Mixture: While the brownies are cooling, prepare the no-bake cookie layer. In a large nonstick pot over medium heat, combine the granulated sugar, salted butter, whole milk, and unsweetened cocoa powder. Stir this mixture constantly to prevent scorching and ensure even heating.
- Boil the Mixture: Once the mixture begins to boil vigorously in the center of the pot, immediately set a timer for 1 minute. Continue stirring the mixture at a rolling boil for the entire minute. This precise timing is crucial for the correct cookie consistency. Overcooking will result in hard, dry cookies.
- Add Peanut Butter and Vanilla: Remove the pot from the heat as soon as the minute is up. Immediately stir in the peanut butter and vanilla extract until they are fully combined and melted into the hot mixture.
- Stir in Oats: Quickly stir in the quick 1-minute oats. Work fast, as the mixture will begin to set as it cools.
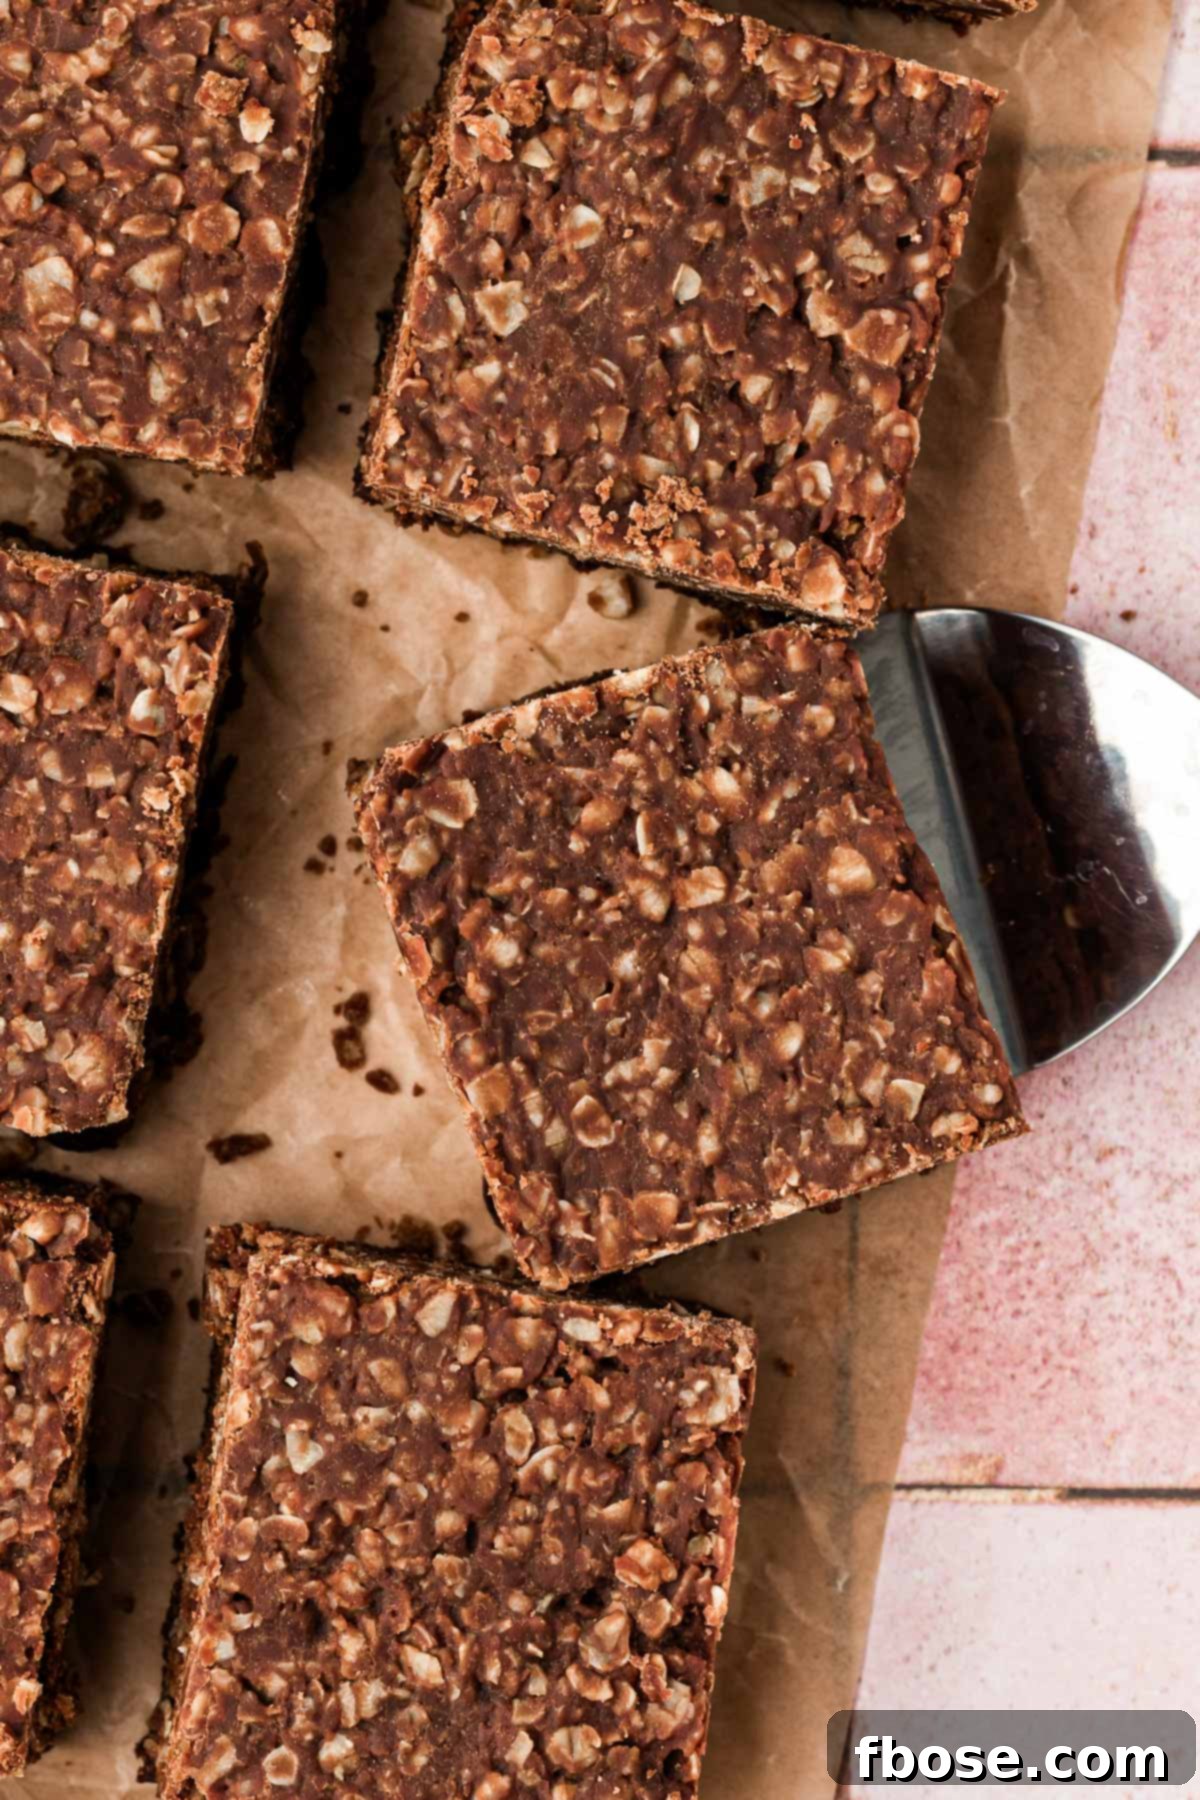
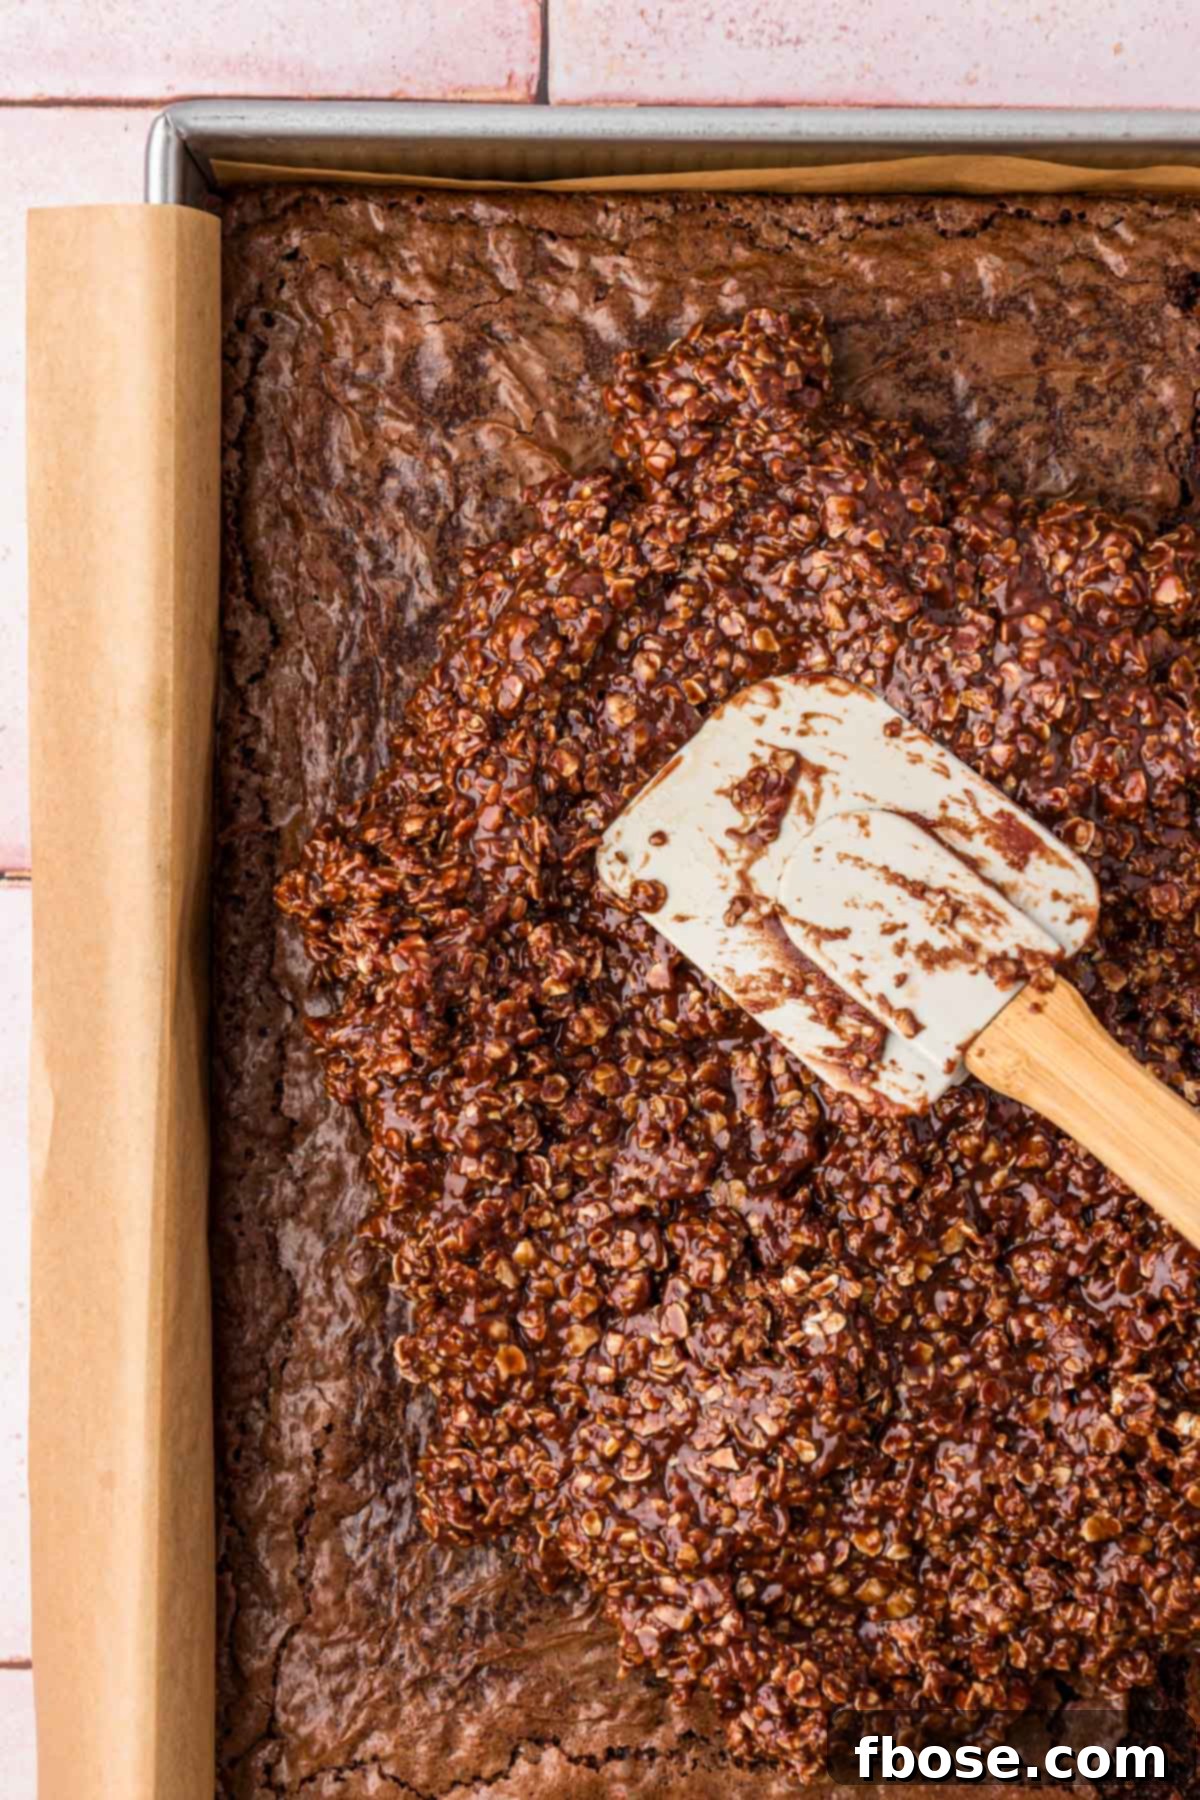
- Spread Over Brownies: Without delay, spread the no-bake cookie mixture evenly over the top of the completely cooled brownies in the pan. Use an offset spatula or the back of a spoon for smooth distribution.
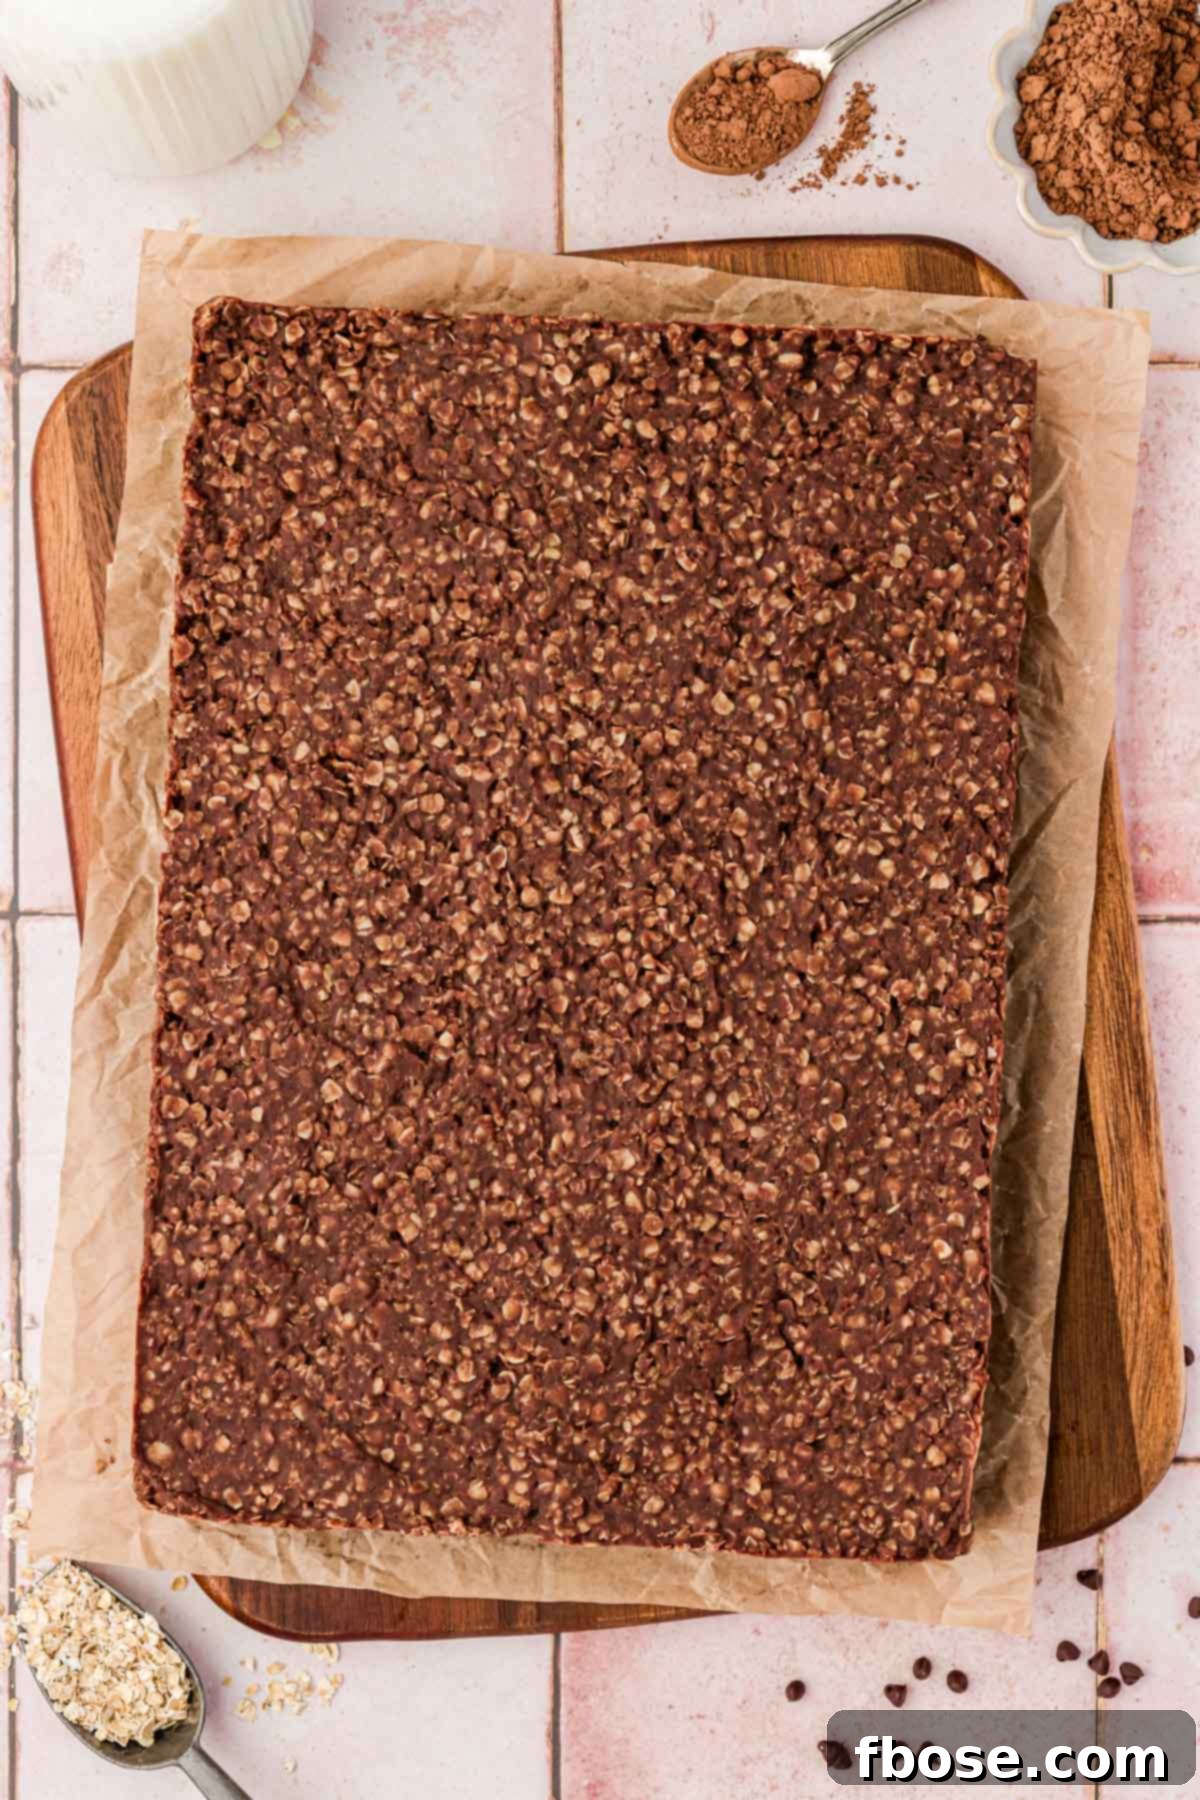
- Set and Slice: Allow the no-bake cookie layer to set completely at room temperature. This can take an hour or more, depending on your environment. Once firm, use the parchment paper overhang to carefully lift the entire slab of brownies out of the pan. Place on a cutting board and slice into squares with a large, sharp knife. For extra clean slices, try using a plastic knife, which can glide through the layers more smoothly.
Rebecca’s Expert Tips for Flawless No Bake Cookie Brownies
Achieving bakery-quality No Bake Cookie Brownies is easier than you think with these expert tips:
- Lining The Pan for Effortless Removal: This two-layered dessert is a showstopper, and you want to present it perfectly. To ensure your brownies come out of the pan cleanly and beautifully, always line your 9×13-inch baking pan with parchment paper. Allow a generous overhang on all sides to create “handles.” For best coverage and strength, you might need two sheets of parchment: lay one across the shorter width of the pan, and then place another sheet along the full length, ensuring the first sheet is underneath the second. After lining, a light spray of cooking spray adds an extra layer of non-stick insurance.
- Precise Cooking of Butter and Sugar for Brownie Base: When preparing the brownie batter, the initial step of melting butter and sugar is more than just combining ingredients. It’s crucial to melt them gently over low heat, stirring until the mixture is completely smooth and emulsified. This means you shouldn’t see any separation of butter or oil on top of the sugar. This careful process contributes significantly to the brownie’s fudgy texture. Be vigilant and avoid overcooking this mixture, as excessive heat can caramelize the sugar too much or alter the fat structure, negatively impacting both the taste and final texture of your brownies.
- Accurately Measuring Flour for Perfect Consistency: Flour is a foundational ingredient that can drastically alter your dessert if not measured correctly. Learning how to measure flour correctly—by spooning it into a measuring cup and then leveling it off, rather than scooping directly—is vital. Too little flour can lead to a crumbly, greasy brownie, while too much can result in a dry, cake-like texture. The goal is to achieve the precise amount needed to deliver the most deliciously rich and fudgy brownies possible.
- Thoroughly Cooling The Brownies Before Adding Topping: Patience is a virtue, especially when it comes to layering. It is absolutely essential to allow your baked brownie layer to cool completely to room temperature before spreading the no-bake cookie topping. If the brownies are still warm, the heat will cause the no-bake cookie layer to melt and seep into the brownie, leading to a messy, unappealing result, and potentially causing the brownies to tear and fall apart when sliced. Give them ample time to cool and firm up.
- Speed and Timing for the No-Bake Cookie Layer: The no-bake cookie layer requires swift and precise execution. To ensure success, prep and measure out all your cookie ingredients before you even begin heating. Once the sugar, butter, milk, and cocoa mixture starts boiling in the center, immediately set a timer for exactly 60 seconds and continue stirring at a rolling boil. Overcooking this mixture, even by a few seconds, will cause the cookies to become hard and dry. The moment the timer goes off, remove it from the heat, stir in the remaining ingredients, and spread immediately over the cooled brownies.
Why These No Bake Cookie Brownies Will Be Your New Favorite
There are countless reasons why these layered delights deserve a permanent spot in your recipe collection. They offer a unique blend of convenience, indulgence, and crowd-pleasing appeal:
- Unbeatable Flavor Combination: The marriage of rich chocolate brownies and sweet, chewy peanut butter oatmeal cookies is a flavor match made in heaven.
- Satisfying Texture Contrast: The dense fudginess of the brownie against the soft, chewy no-bake layer creates an incredibly delightful mouthfeel with every bite.
- Perfect for Any Occasion: From casual family desserts to impressive party contributions, these brownies fit seamlessly into any event.
- Generous Yield: This recipe makes 24 substantial brownies, ensuring there’s enough for everyone, plus extras for later.
- Freezer-Friendly: Prepare a batch ahead of time and freeze for up to two months, making holiday baking or spontaneous treats a breeze.
- A Touch of Nostalgia: Combining two classic childhood favorites, these brownies evoke warm memories with every bite.
- Customizable: Easily adapt the recipe with various substitutions and additions to suit your taste or dietary needs.
Exciting No Bake Cookie Brownies Substitutions And Variations
While the classic No Bake Cookie Brownies are utterly delicious as written, don’t hesitate to experiment with these fantastic substitutions and variations to tailor the recipe to your preferences:
- Salted Butter vs. Unsalted Butter: If your pantry only holds unsalted butter, you can absolutely use it! Just be sure to adjust the salt content. Add an additional 1/2 teaspoon of salt to the brownie layer and 1/4 teaspoon of salt to the no-bake cookie layer to achieve the perfect flavor balance.
- Canola Oil Alternatives: Canola oil provides a neutral flavor and helps achieve the fudgy texture in the brownies. If you don’t have canola oil, vegetable oil is an excellent direct substitute, offering similar properties.
- Milk Choices for the Cookie Layer: While whole milk is recommended for the no-bake cookie layer due to its higher fat content, which contributes to creaminess and richness, you can certainly experiment with other milk varieties. Almond milk, soy milk, or even skim milk can be used if you’re looking for a lighter option or have dietary preferences. Be aware that using lower-fat milk might slightly alter the texture.
- Peanut Butter Personalization: The choice between creamy peanut butter and chunky peanut butter is all yours! Opt for creamy for a smoother cookie layer or chunky for an added textural crunch. It’s important to note that natural peanut butter is generally not recommended for this specific no-bake recipe, as its extra oils and different consistency can throw off the balance and setting of the cookies. For a nut-free alternative, sun butter (made from sunflower seeds) works wonderfully as a direct substitute.
- Creative Chocolate Chip Swaps: The semi-sweet mini chocolate chips in the brownie batter are delicious, but don’t limit yourself! For an extra layer of peanut butter flavor, try swapping them out for peanut butter chips. White chocolate chips or dark chocolate chips could also offer an interesting twist.
- Nutty Crunch Variation: If you love a bit of crunch and nutty flavor in your brownies, consider adding finely chopped walnuts, pecans, or almonds to the brownie batter. About 1/2 to 3/4 cup would provide a delightful textural contrast.
- Diverse No Bake Cookie Topping Variations: This is where you can truly get creative! The beauty of this recipe is that almost any no-bake cookie flavor can be adapted as a topping. Explore options like Nutella No Bake Cookies for a hazelnut chocolate twist, classic Peanut Butter No Bake Cookies if you want to double down on that flavor, or even unique Cookie Butter No Bake Cookies for a spiced, creamy layer. Each variation promises a new and exciting flavor profile atop your fudgy brownies!
How To Store No Bake Cookie Brownies for Lasting Freshness
Proper storage ensures your delicious No Bake Cookie Brownies remain fresh and delightful for as long as possible, whether you plan to enjoy them in the next few days or save them for a special occasion.
Storing at Room Temperature:
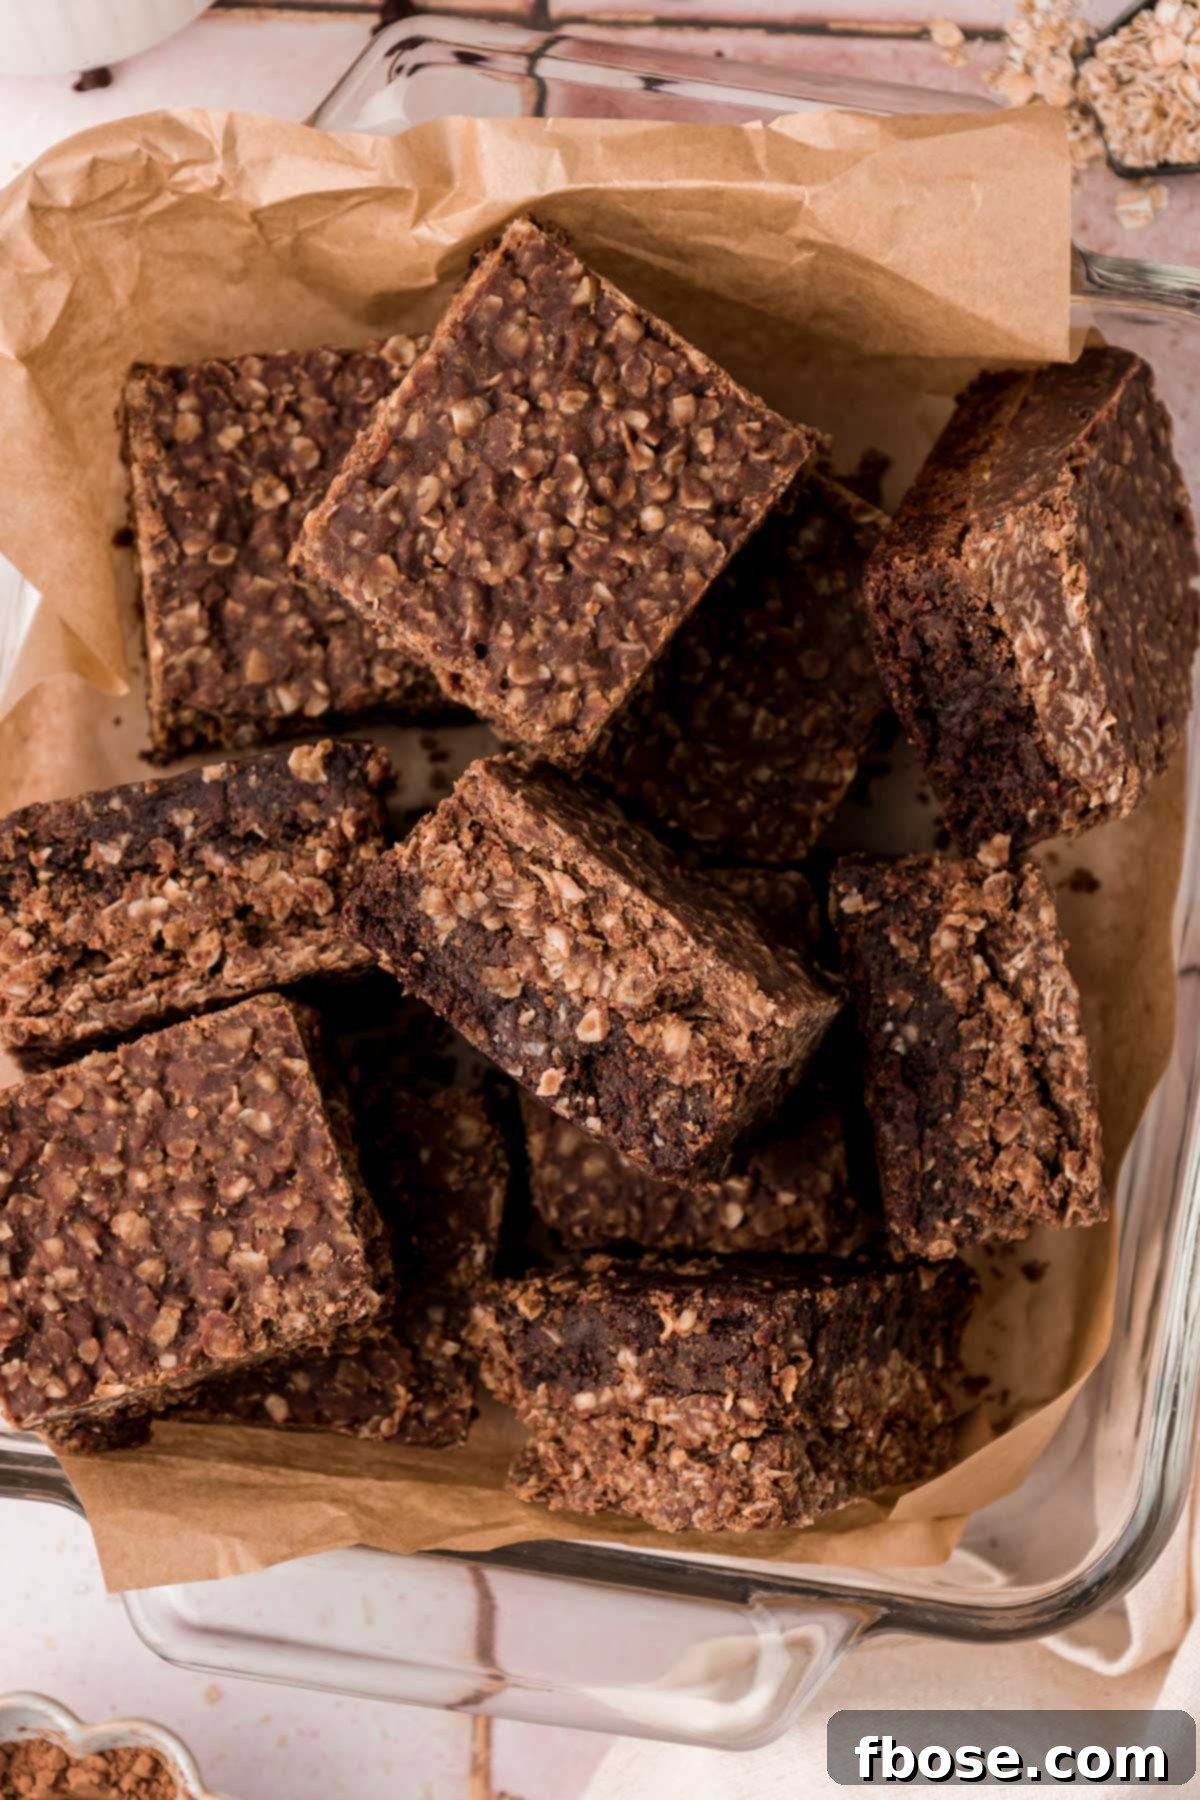
For immediate enjoyment, these brownies can be stored in an airtight container at room temperature for 3 to 4 days. To prevent the layers from sticking together, especially if stacking multiple brownies, it’s highly recommended to place small sheets of parchment paper or wax paper between each layer.
Freezing for Long-Term Storage:
These No Bake Cookie Brownies freeze beautifully, making them an excellent option for getting ahead on holiday baking, preparing for classroom parties, or stocking up for an upcoming bake sale. Freezing allows you to enjoy them for up to 2 months without compromising flavor or texture.
To freeze:
- Ensure Complete Setting: First, confirm that the no-bake cookie topping has completely set and is firm. This prevents smudging and ensures the layers remain distinct.
- Slice into Squares: Once fully set, slice the brownies into individual squares using a sharp knife.
- Individual Wrapping: For best results and to prevent freezer burn, wrap each individual brownie square tightly with plastic wrap. This provides the first layer of protection.
- Second Layer of Protection: Follow the plastic wrap with a second layer of wrapping using aluminum foil. This double-wrapping technique is key to maintaining freshness and preventing ice crystals from forming.
- Transfer to Airtight Container: After individual wrapping, transfer the double-wrapped brownies into a freezer-safe, airtight container or a heavy-duty freezer bag. Label the container with the date.
- Thaw and Enjoy: When you’re ready to enjoy, simply remove the desired number of brownies from the freezer and let them thaw at room temperature for about 30-60 minutes, or until soft enough to eat.
More Indulgent Brownie Recipes to Explore:
If you’re a true brownie aficionado, you’ll love these other fantastic recipes from our collection:
- Mississippi Mud Pie Brownies – Experience a delightful southern twist, topped with fluffy mini marshmallows and rich chocolate icing!
- Chocolate Chunk Brownies – Master the art of simple yet decadent brownies with a convenient one-pot stovetop method, packed with generous chocolate chunks!
- Frosted Brownies – Indulge in classic, rich, and intensely chocolatey brownies, perfectly complemented by a smooth frosting and best served with a refreshing ice-cold glass of milk!
- Cosmic Brownies – Relive your sweetest childhood memories with these nostalgic treats, adorned with colorful candy-coated chocolate chips!
- Peanut Butter Crunch Brownies – A textural masterpiece featuring a delightful combination of crunchy, chewy peanut butter, and irresistible chocolate goodness!
Did You Make This Recipe?
If you’ve tried this recipe, please leave a review in the comments below. I love hearing from you! Don’t forget to tag me – @sugarandsoulco – on Instagram and Pinterest with your photos, or join our Sugar & Soul Show-offs Community and share them there.
No Bake Cookie Brownies
Equipment
-
1 9×13-inch metal cake pan
-
Measuring Cups
-
Measuring spoons
-
3 rubber spatulas
-
1 Medium saucepan
-
2 small bowls
-
1 Sifter
-
1 Large mixing bowl
-
1 large saucepan
Ingredients
Brownie Layer
- 1 cup salted butter 227g
- 2½ cups granulated sugar 500g
- 2 tablespoons canola oil or vegetable oil
- 5 large eggs
- 1 tablespoon vanilla extract
- ¾ cup + 2 tablespoons all-purpose flour 116g
- ¾ cup + 1 tablespoon unsweetened cocoa powder 80g
- ¾ teaspoon salt
- ½ cup semi-sweet mini chocolate chips
Cookie Layer
- ½ cup salted butter 113g
- ⅓ cup unsweetened cocoa powder 32g
- 2 cups granulated sugar 440g
- ½ cup whole milk
- ⅔ cup peanut butter 175g
- 1 tablespoon vanilla extract
- 3 cups quick 1-minute oats 300g
Instructions
-
Preheat oven to 350°F and line a metal 9×13-inch cake pan with parchment paper and spray lightly with cooking spray. Make sure some of the parchment is over the edge of the pan for easy removal. This may require two sheets, one going in each direction of the pan – make sure the one that goes across the shorter distance is under the one that goes along the full length of the pan.
-
Melt 1 cup salted butter in a heavy-bottomed saucepan over low heat. Add in 2½ cups granulated sugar and stir until smooth and the butter and sugar have started to emulsify and no butter is separated on top of the sugar. Remove from heat, transfer to a large bowl, and let the mixture cool for 5 minutes, stirring often to release heat.
-
Add 2 tablespoons canola oil and 1 tablespoon vanilla extract to the butter and sugar and beat them in with a rubber spatula until fully combined and there’s no separation between the ingredients (no oil resting on top).
-
Mix in 5 large eggs one at a time, beating with the spatula or a fork after each one. Mix until fully incorporated.
-
Sift the ¾ cup + 2 tablespoons all-purpose flour ¾ cup + 1 tablespoon unsweetened cocoa powder, and ¾ teaspoon salt into the butter and sugar mixture, stirring gently and minimally, until almost all the dry streaks are gone.
-
Fold in the ½ cup semi-sweet mini chocolate chips.
-
Pour the brownie batter into the prepared baking pan and bake for 30 to 35 minutes.
-
Remove from the oven and allow the brownies to cool completely before adding the next layer.
-
Once the brownies have cooled, prepare the no bake cookie topping by adding 2 cups granulated sugar, ½ cup salted butter, ½ cup whole milk, and ⅓ cup unsweetened cocoa powder in a large nonstick pot over medium heat, stirring constantly.
-
As soon as the mixture begins to boil in the center, set a timer for 1 minute and continue to stir the mixture at a rolling boil
-
Remove from heat and stir in the ⅔ cup peanut butter and 1 tablespoon vanilla extract until fully combined.
-
Quickly stir in 3 cups quick 1-minute oats then immediately spread the mixture out over the top of the brownies.
-
Let the top layer set completely before removing the brownies from the pan and slicing them with a large sharp knife into squares. We like using these plastic knives because they yield clean slices!
Nutrition
Did You Make This Recipe?
Don’t forget to share it with me on Instagram @sugarandsoulco and follow on Tiktok @sugarandsoulco and Pinterest @sugarandsoulco for more!
Share Recipe