
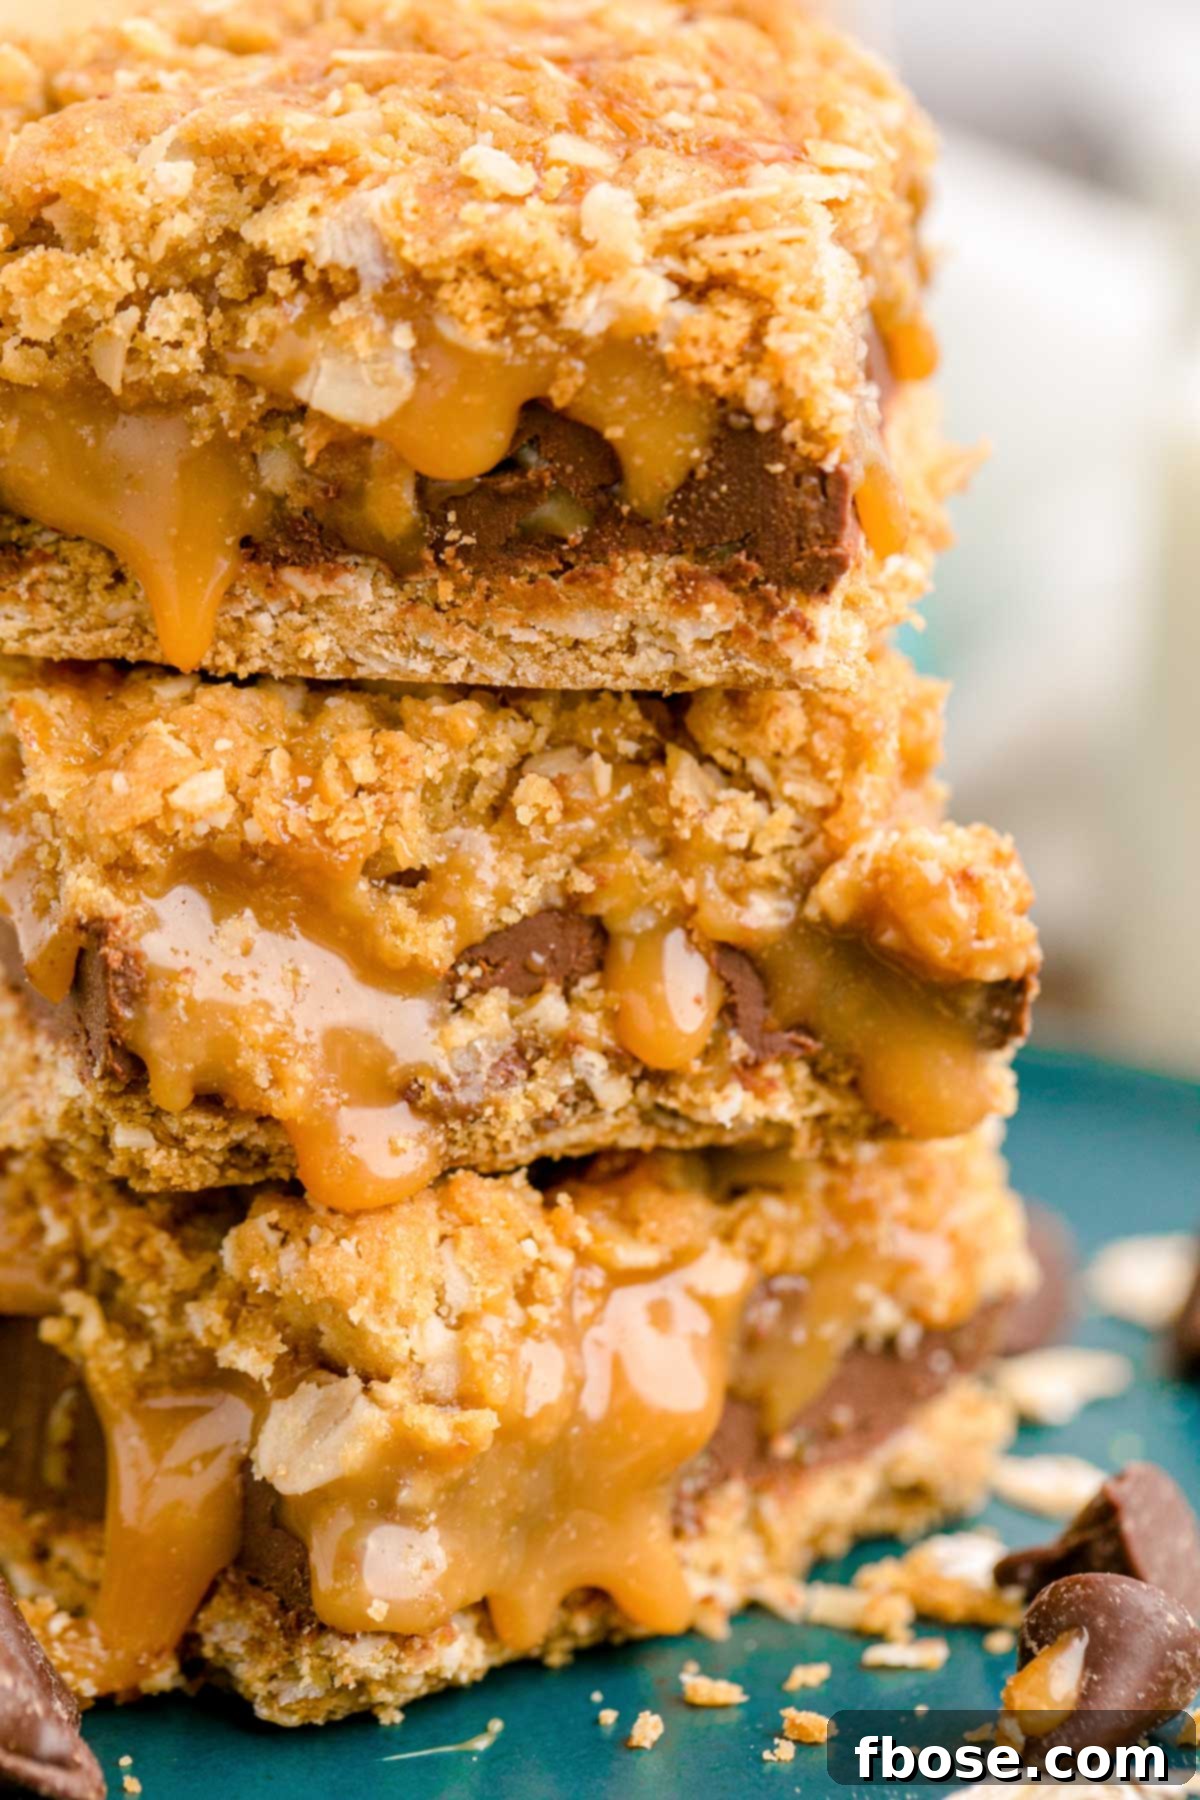
Irresistible Carmelitas: The Ultimate Gooey Caramel Chocolate Oatmeal Bars
Get ready to discover your new favorite dessert! These incredibly easy-to-make Carmelitas feature a luscious, gooey chocolate and caramel filling perfectly sandwiched between two layers of a rich, chewy oatmeal-brown sugar crust. Incredibly satisfying and ready for the oven in just 15 minutes, this simple recipe promises a decadent treat that everyone will adore. Whether you’re a seasoned baker or just starting out, these Carmelita bars are a guaranteed crowd-pleaser for any occasion.
If you’re a fan of rich, multi-layered bar desserts, you’ll also love our Billionaire Bars with their five decadent layers, or the classic Hello Dolly Bars (7 Layer Cookie Bars) for another delightful option.
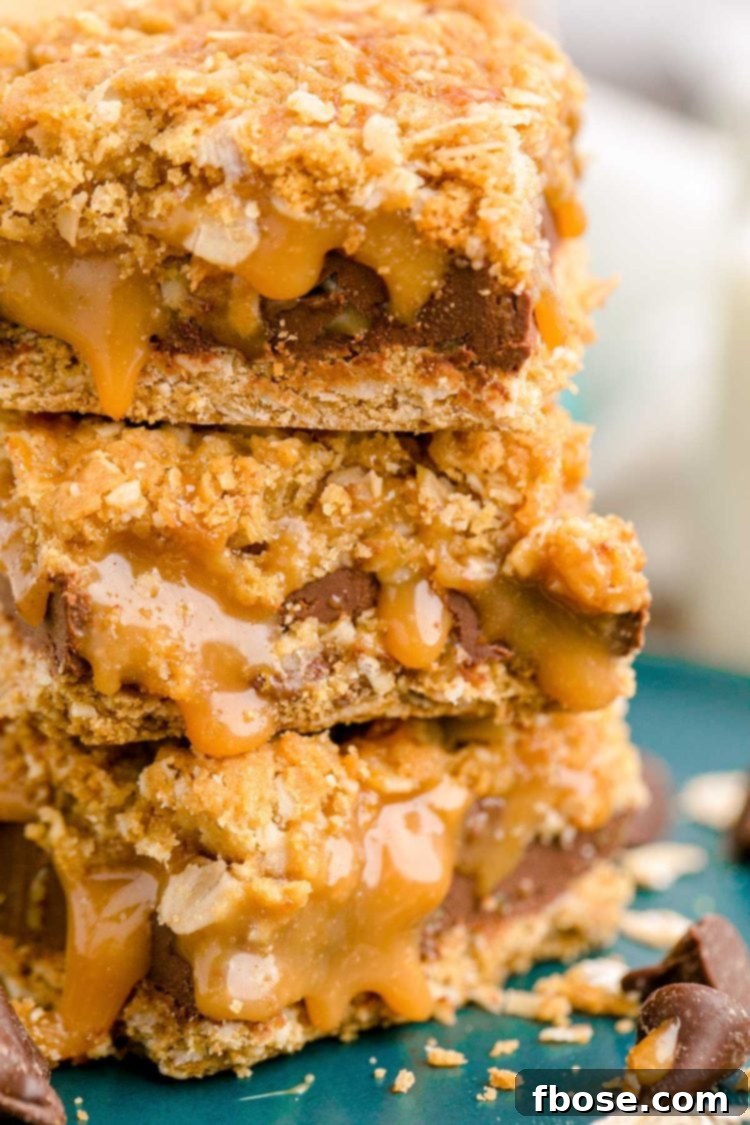
Why You’ll Fall in Love with This Carmelitas Recipe
Carmelitas are more than just a dessert; they’re an experience. Each bite delivers a harmonious blend of textures and flavors that will captivate your taste buds. Imagine a soft, buttery oatmeal cookie-like crust providing the perfect foundation and top layer, expertly sealing in a rich, creamy caramel layer that melts in your mouth. The addition of sweet chocolate chips creates a delightful contrast, balancing the buttery caramel with a touch of cocoa goodness. It’s the ultimate cozy dessert, ideal for sharing with loved ones or savoring on your own.
Beyond their incredible taste, the appeal of these Carmelita bars lies in their simplicity. This recipe cleverly utilizes readily available ingredients, including store-bought chewy caramels, to streamline the process without compromising on flavor. The remaining ingredients are kitchen staples you likely already have on hand. With only 15 minutes of active preparation time, you can whip up an “out-of-this-world” tasting treat that requires minimal effort, leaving you more time to enjoy the delightful results.
The chewy crust and luscious caramel filling create an unforgettable first bite, making it nearly impossible to stop at just one. This decadent treat is sure to have everyone reaching for seconds, making it a perfect addition to any gathering or a special everyday indulgence.
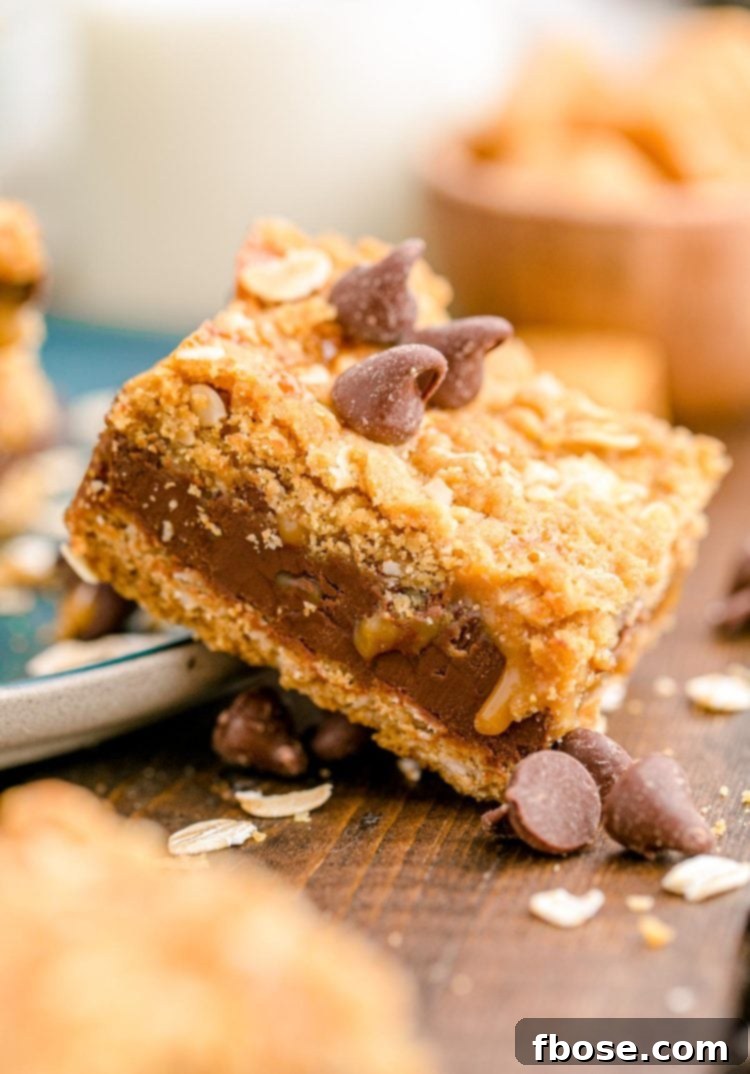
Essential Ingredients for Carmelita Bars
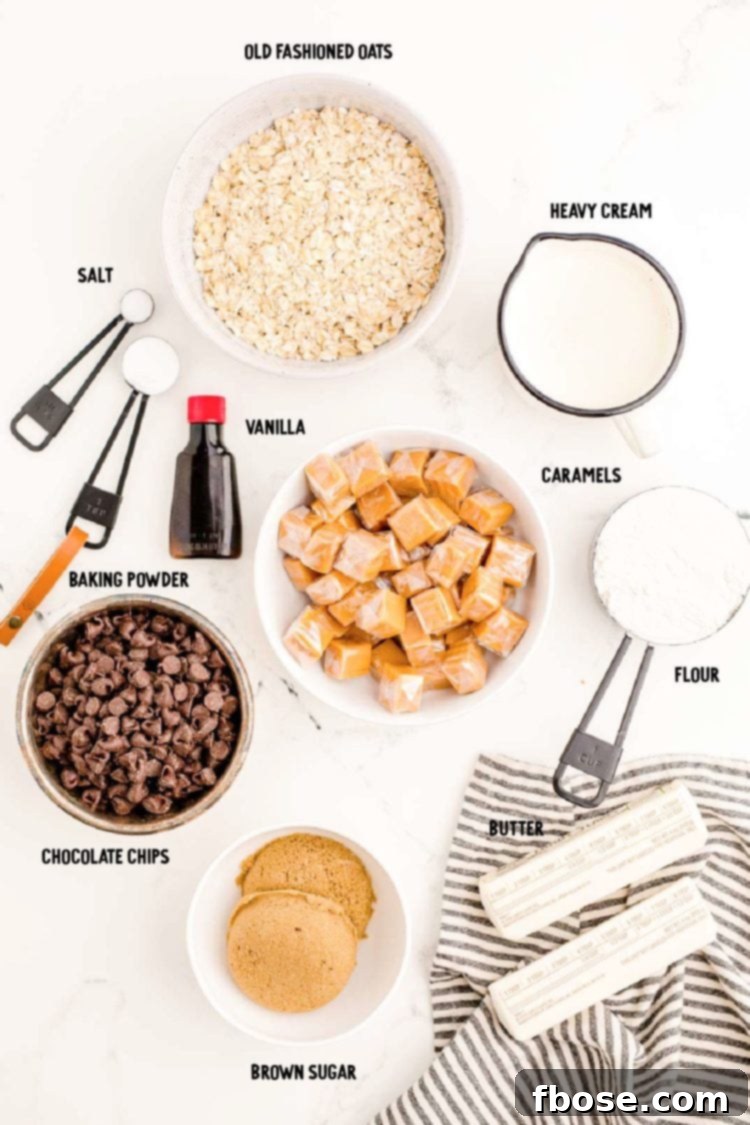
Crafting a batch of these scrumptious Carmelita bars begins with selecting quality ingredients. The foundational crust is a simple yet flavorful combination, starring salted butter for richness, light brown sugar for its molasses notes and moisture, and vanilla extract for aromatic depth. All-purpose flour provides structure, while rolled oats (or old-fashioned oats) contribute to the characteristic chewy texture and wholesome flavor. A touch of baking soda ensures a tender crumb, and salt balances all the sweet elements.
The star of the show, the gooey caramel filling, is created by melting down chewy caramel squares (such as Kraft brand caramels) with a touch of heavy cream for silkiness and a pinch of salt to enhance the caramel’s depth. Semi-sweet chocolate chips are then generously sprinkled over the baked crust, providing pockets of melted chocolate that perfectly complement the caramel. Once the melted caramel sauce is poured over the chocolate chips, the remaining crust mixture is added as the top layer, creating a sealed, irresistible dessert that bakes to a beautiful golden brown.
Exciting Add-ins and Flavor Variations
While the classic Carmelita is perfect as is, it’s also wonderfully adaptable! Don’t hesitate to experiment with these delicious add-ins:
- Salted Caramel Delight: For an irresistible salted caramel twist, sprinkle a pinch of flaky sea salt over the caramel layer before adding the top crust. This amplifies the flavor and adds a gourmet touch.
- Nutty Crunch: Incorporate some chopped pecans, walnuts, or almonds into the flour mixture for an added layer of texture and a toasted, nutty flavor. They toast beautifully during baking, enhancing their aroma.
- Tropical Flair: Stir in some shredded coconut into the crust mixture for a subtle tropical note that pairs surprisingly well with chocolate and caramel.
- Dark Chocolate Intensity: Swap out semi-sweet chocolate chips for dark chocolate chips if you prefer a richer, less sweet chocolate experience.
- Butterscotch Bliss: For a different flavor profile, try replacing half of the chocolate chips with butterscotch chips.
These simple additions can transform your Carmelitas, allowing you to customize them to your personal preferences or seasonal themes.
How To Make Carmelitas Cookie Bars: Step-by-Step Guide
Making these delightful Carmelita bars is surprisingly straightforward. Follow these steps for perfect results every time:
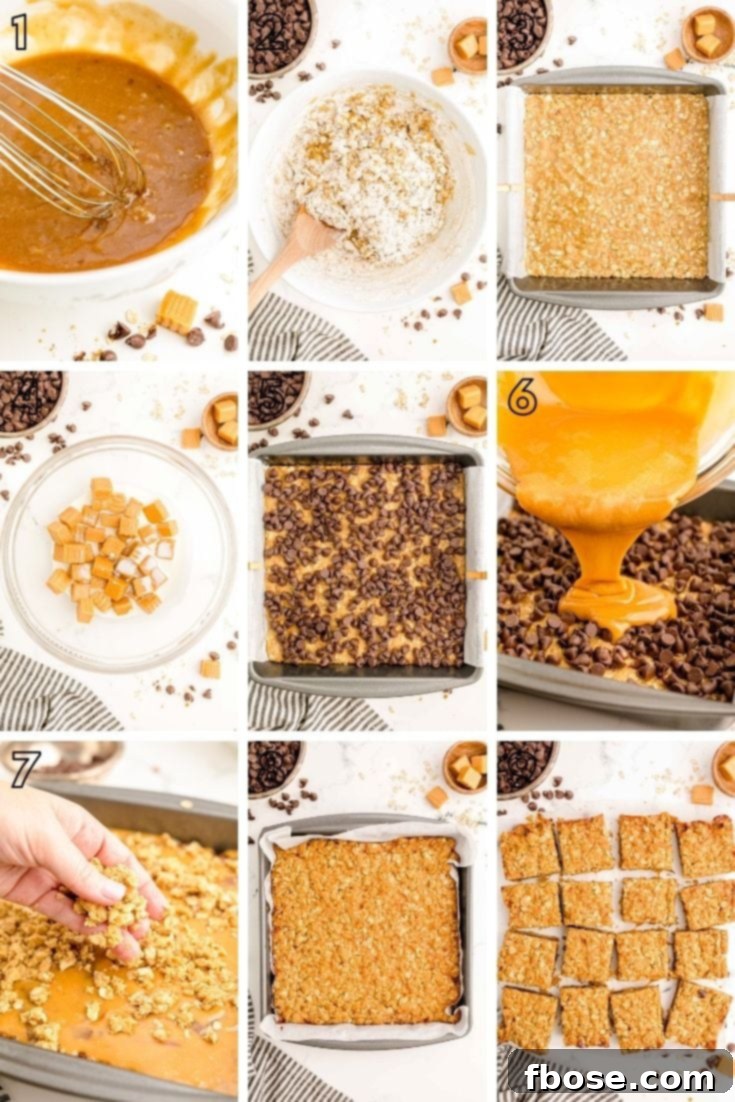
- Prepare Your Pan: First, preheat your oven to 350°F (175°C). Line an 8×8-inch baking pan with parchment paper, ensuring an overhang on the sides for easy removal later. Lightly spray the parchment paper with nonstick spray to prevent sticking.
- Melt the Butter: In a large microwave-safe bowl, melt the salted butter. Once melted, whisk in the light brown sugar and vanilla extract until well combined and smooth.
- Form the Crust Mixture: To the butter mixture, stir in the all-purpose flour, rolled oats, baking soda, and ¼ teaspoon of salt. Mix until a crumbly, cookie-like dough forms. You can use a pastry cutter or your hands to ensure everything is evenly incorporated.
- Bake the Base Crust: Press half of this oatmeal crumb mixture evenly into the bottom of your prepared baking pan. Bake this base crust for 10 minutes until lightly set.
- Prepare the Caramel Filling: While the crust is baking, combine the chewy caramel squares, heavy cream, and the remaining ¼ teaspoon of salt in a large microwave-safe bowl. Microwave for 1 minute, then stir well. Continue heating in 30-second intervals, stirring after each, until the mixture is completely smooth and creamy. Be careful not to overheat, as this can make the caramel too tough.
- Layer the Chocolate Chips: Once the base crust is out of the oven, immediately and evenly sprinkle the semi-sweet chocolate chips over its warm surface. The residual heat will start to melt them slightly.
- Pour the Caramel: Carefully pour the warm, melted caramel sauce over the layer of chocolate chips, spreading it gently to cover.
- Add the Top Crust: Crumble the remaining half of the oat mixture evenly over the caramel layer. Use your hands to lightly and gently tap it down, creating a cohesive top crust.
- Final Bake: Return the pan to the oven and bake for another 15 to 20 minutes, or until the top crust is lightly golden brown and the edges are bubbling slightly.
- Cool Completely: This is a crucial step for clean slices! Transfer the baked Carmelita bars to a wire rack and allow them to cool completely at room temperature before attempting to slice them. For best results and perfectly firm caramel, refrigerate the pan for at least 3 hours, or even overnight.
Pro Tip: Ensure you only heat the caramel mixture until it’s smooth and pourable. Overheating can cause the caramel to become excessively chewy and difficult to cut in the finished bars. A gentle, gradual melting process is key.
Frequently Asked Questions About Carmelitas
How To Store Carmelitas for Maximum Freshness
To keep your Caramel Oatmeal Bars tasting their best, store them in an airtight container at room temperature. They will remain fresh and delicious for up to one week. For longer storage, Carmelitas freeze beautifully. Simply wrap individual bars or the entire cooled slab tightly in plastic wrap, then place in a freezer-safe bag or container. They can be frozen for up to 4 months. Thaw at room temperature or in the refrigerator before serving.
Can I Use Instant Or Quick-Cooking Oats In This Recipe?
For the best texture in these bars, we strongly recommend sticking to rolled oats or old-fashioned oats. Instant or quick-cooking oats are processed more finely and will result in a less chewy, almost mushy crust, altering the classic Carmelita experience. The heartiness of rolled oats is essential for that perfect chew.
Is This A Recipe For Carmelitas That Can Be Easily Doubled?
Absolutely! This Carmelitas recipe is perfect for scaling up for larger gatherings. If you decide to double the recipe, the only adjustment you’ll need to make is to bake them in a larger 9×13-inch pan instead of an 8×8-inch pan. The baking times may also increase slightly, so keep an eye on them until golden brown.
Can I Use Granulated Sugar Instead Of Light Brown Sugar?
Yes, you can swap out light brown sugar for granulated white sugar, and the bars should still come out fine structurally. However, brown sugar contributes a unique molasses flavor that deepens the caramel notes and adds a lovely chewiness to the crust. Using white sugar will result in a slightly different, less caramelly flavor profile and potentially a less tender crust.
Could I Just Use Pre-Made Caramel Sauce From A Jar Instead Of Making It?
While convenient, most caramel sauces sold in jars are generally too thin in consistency to use directly as a filling for Carmelitas. They would likely seep into the crust or become overly runny when baked. If you happen to find a particularly thick, spoonable caramel sauce or spread, you could certainly try it, but the classic recipe using chewy caramels and cream provides the ideal gooey, yet firm, texture that holds its shape beautifully.
What Kind Of Caramels Did You Use for This Recipe?
For this recipe, I highly recommend using classic chewy caramel squares, such as the widely available Kraft caramels. These are typically wrapped in clear plastic and provide the perfect consistency and flavor when melted with heavy cream.
How Can I Speed Up The Cooling Process for Carmelitas?
Patience is key for perfectly sliced Carmelitas, as the caramel needs to set. However, if you’re in a hurry, you can pop the pan of Carmelita Bars into the refrigerator for about 3 hours. This will significantly speed up the setting process compared to cooling at room temperature.
Serving Suggestions and Perfect Pairings
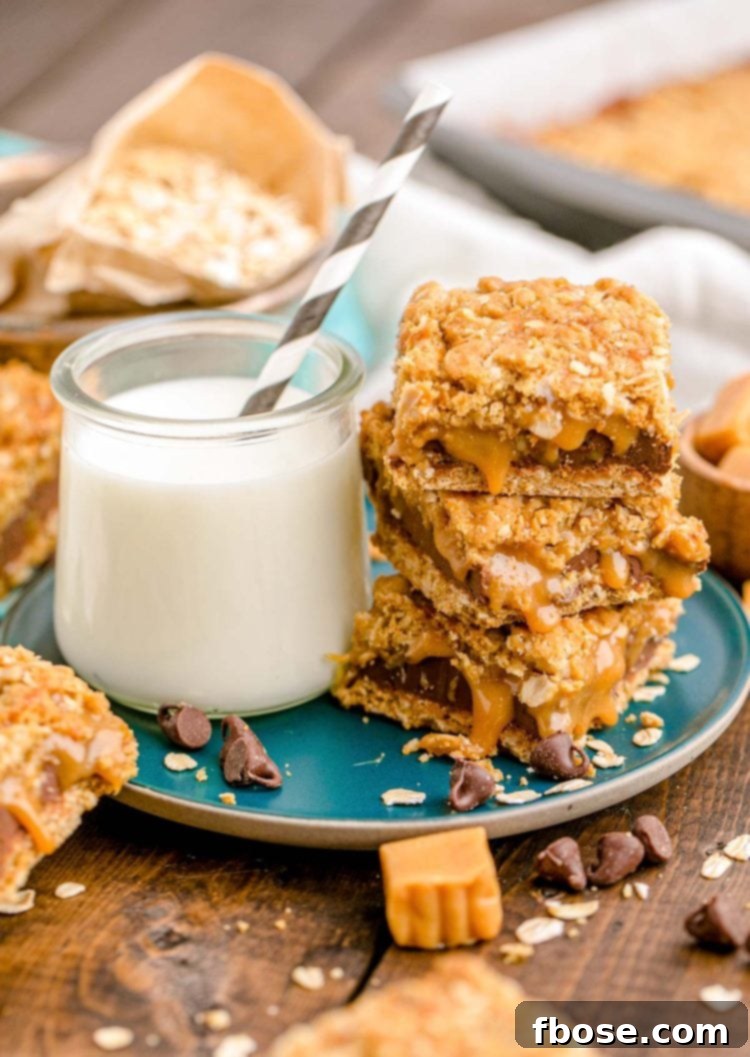
Carmelitas are incredibly versatile and perfect for almost any occasion. They make an excellent addition to holiday dessert tables, potlucks, bake sales, or simply as a comforting treat with your evening coffee. Here are a few ideas to elevate your Carmelita experience:
- With a Beverage: Pair them with a cold glass of milk for a classic combination, a hot cup of coffee or tea, or even a scoop of vanilla ice cream for an extra indulgent treat.
- Dessert Platter: Arrange them on a platter with other bar desserts for a stunning spread. Their distinct layers and rich flavors always stand out.
- Gifts: Wrap individual bars in festive parchment paper or cellophane bags for a thoughtful homemade gift during the holidays or for special events.
More Delicious Bar Recipes to Love
If you’ve enjoyed these amazing Carmelita bars, you’re in for a treat with these other delightful bar recipes that are perfect for sharing at parties, potlucks, and celebrations:
- Oreo Magic Bars (7 Layer Bars) – A truly magical combination of Oreo cookies, chocolate chunks, coconut, nuts, and M&Ms baked onto a classic cookie dough base.
- Key Lime Bars – Experience a burst of citrusy sweetness with a buttery shortbread crust topped with a tangy, soft key lime filling.
- Peanut Butter S’mores Bars – All the joy of s’mores transformed into an easy-to-make dessert, featuring graham crackers, peanut butter cookies, gooey marshmallows, rich chocolate, and candy.
- Strawberry Cheesecake Bars – Layers of creamy cheesecake, bright strawberry filling, and a delightful oatmeal crumble sit atop a sweet graham cracker crust for a fresh take on a classic.
- Chocolate Chip Cookie Bars – Thick, sweet, and wonderfully chewy bars loaded with chocolate chips and M&Ms, ready to enjoy in under an hour.
Let’s Connect!
If you’ve tried this delightful Carmelitas recipe, we’d love to hear from you! Please share your thoughts in the comments below and consider leaving a review. Your feedback helps us and other home bakers!
Don’t forget to tag us – @sugarandsoulco – on Instagram and Pinterest with your photos of these delicious bars. You can also join our Sugar & Soul Show-offs Community on Facebook and share your creations there, where you can also participate in our fun recipe challenges!
Carmelitas
Rebecca Hubbell
Dessert
American
15 minutes
25 minutes
3 hours
3 hours 40 minutes
16 people
Pin Recipe
Carmelitas sandwich a gooey chocolate and caramel center between an oatmeal-brown sugar crust for an easy dessert that everyone will devour! Prep this treat in just 15 minutes!
Equipment
- 8×8-inch baking pan
- Microwave safe bowl
- Parchment paper
- Pastry cutter (optional, for crumbling crust)
- Measuring Cups
- Measuring spoons
Ingredients
- ¾ cup salted butter, melted
- ⅔ cup light brown sugar, packed
- 1 Tablespoon vanilla extract
- 1¼ cup all-purpose flour
- 1¼ cup rolled oats or old fashioned oats
- 1 teaspoon baking soda
- ½ teaspoon salt, divided
- 40 chewy caramel squares (such as Kraft brand)
- ⅓ cup heavy cream
- 1½ cup semi-sweet chocolate chips
Instructions
- Preheat the oven to 350°F (175°C) and line an 8×8-inch baking pan with parchment paper, leaving an overhang on the sides. Spray the parchment with nonstick spray and set aside.
- In a large microwave-safe bowl, melt the butter. Whisk in the brown sugar and vanilla extract until smooth.
- Stir in the flour, oats, baking soda, and ¼ teaspoon of the divided salt until a crumble mixture forms.
- Press half of this oat mixture into the prepared baking pan. Bake for 10 minutes.
- While the crust bakes, combine the caramel squares, heavy cream, and the remaining ¼ teaspoon of salt in a separate large microwave-safe bowl. Stir well. Microwave for 1 minute, then stir again. Heat for an additional 1 minute and stir until the mixture is completely smooth. Do not overheat.
- Remove the baked crust from the oven. Evenly sprinkle the chocolate chips over the top of the warm crust.
- Pour the melted caramel sauce evenly over the layer of chocolate chips.
- Crumble the remaining half of the crust mixture over the caramel layer. Use your hands to lightly tap it down gently to form the top crust.
- Bake for another 15 to 20 minutes, or until the top is lightly browned.
- Transfer the pan to a wire rack and allow the bars to cool completely before slicing. For best results, refrigerate for at least 3 hours or overnight to allow the caramel to fully set.
Video Tutorial
For a visual guide, you can find a helpful video tutorial for making Carmelitas on our YouTube channel. Search for “Easy Carmelitas Recipe” by Sugar & Soul Co.
Notes
- The caramel will be very runny if you try to slice the bars while they are still warm or hot. It is essential to allow them to cool completely. If left at room temperature, they will likely need to set overnight. Alternatively, place the baking pan in the refrigerator for at least 3 hours for quicker setting.
- Storage: Store Carmelitas in an airtight container at room temperature for up to a week, or freeze for up to 4 months.
- Oats: For optimal texture, use rolled or old-fashioned oats; instant or quick-cooking oats will not yield the same chewiness.
- Doubling: To double the recipe, use a 9×13-inch pan and adjust baking time as needed.
- Sugar: While white granulated sugar can be substituted for brown sugar, brown sugar provides a richer caramel flavor and contributes to a chewier crust.
- Caramel Sauce: Jarred caramel sauce is generally too thin for this recipe. Homemade caramel or melting chewy caramel squares provides the ideal consistency.
- Caramel Brand: I recommend Kraft caramels (the individually wrapped chewy squares) for the best results.
Nutrition Facts (per serving)
Loved This Recipe? Share Your Experience!
We’d love to see your delicious Carmelitas! Don’t forget to share your photos with us on Instagram @sugarandsoulco. Follow us on Tiktok @sugarandsoulco and Pinterest @sugarandsoulco for more amazing recipes and sweet inspirations!
Pin Recipe
Share Recipe