
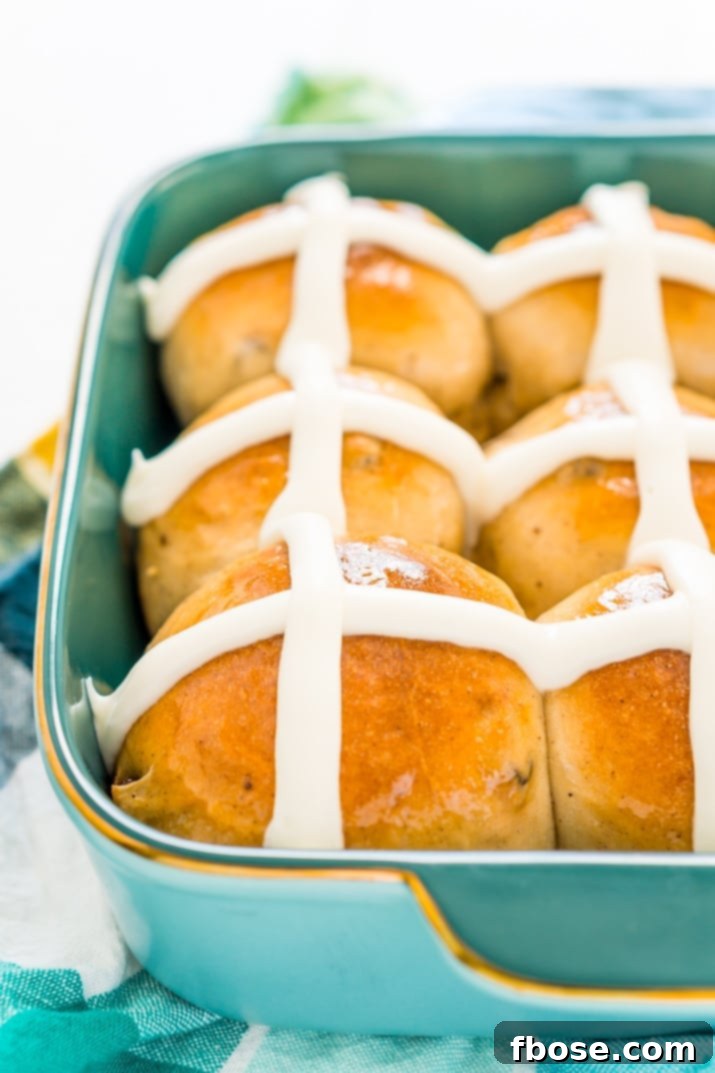
Indulge in the heartwarming tradition of these Homemade Hot Cross Buns, a truly spiced sweet bun generously studded with currants or raisins and beautifully crowned with luscious vanilla icing. This classic Easter recipe is a must-have for your Good Friday and Easter celebrations!
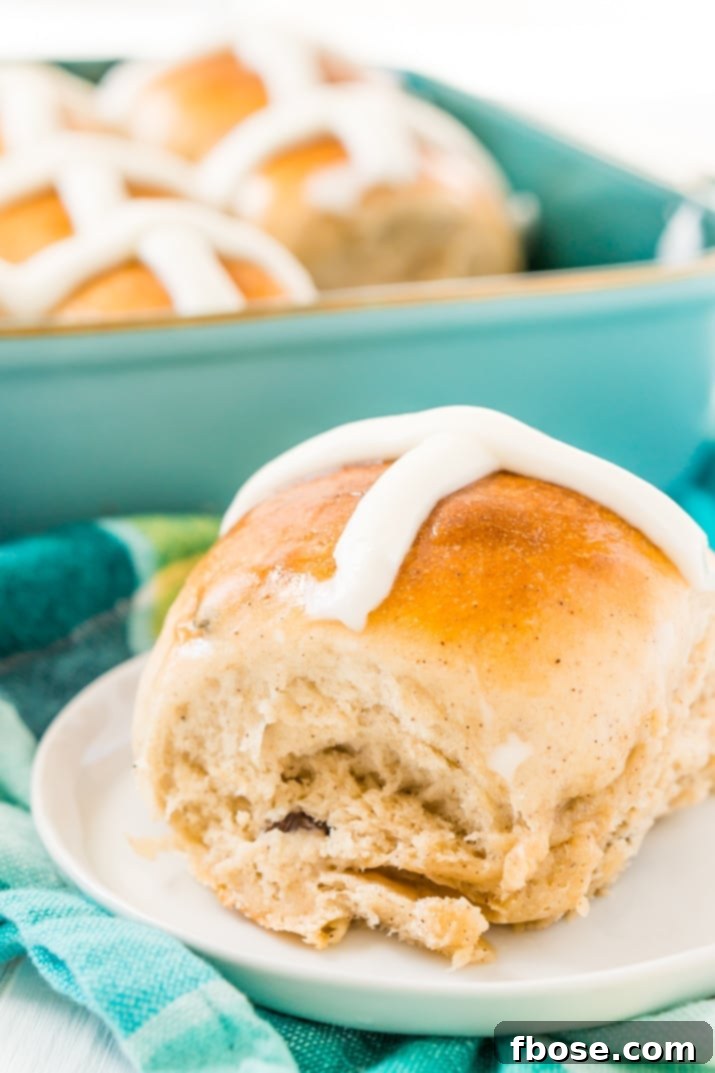
The Enduring Charm of Hot Cross Buns
Easter brings with it a host of cherished family traditions, and for many, myself included, the holiday feast simply isn’t complete without a batch of freshly baked Hot Cross Buns. These iconic spiced sweet buns, known for their soft, pillowy texture and aromatic blend of spices, represent more than just a delicious treat; they are a symbol deeply woven into the fabric of springtime celebrations and ancient customs. Each bun, adorned with its distinctive icing cross, promises a delightful bite of history and flavor, best savored warm from the oven.
The tradition of baking and enjoying Hot Cross Buns is centuries old, predating even some of the Christian associations we recognize today. While they are famously linked to Good Friday, marking the end of Lent, their origins stretch further back to pagan spring festivals. Early variations were often baked to honor deities or mark the spring equinox. Over time, as Christianity spread, these buns were adopted and infused with profound religious symbolism. The cross, initially perhaps a simple mark, came to represent the crucifixion of Jesus, while the warming spices within were thought to evoke the embalming spices used after his death. The rich, yeasted dough itself can be seen as a nod to communion bread, shared in remembrance.
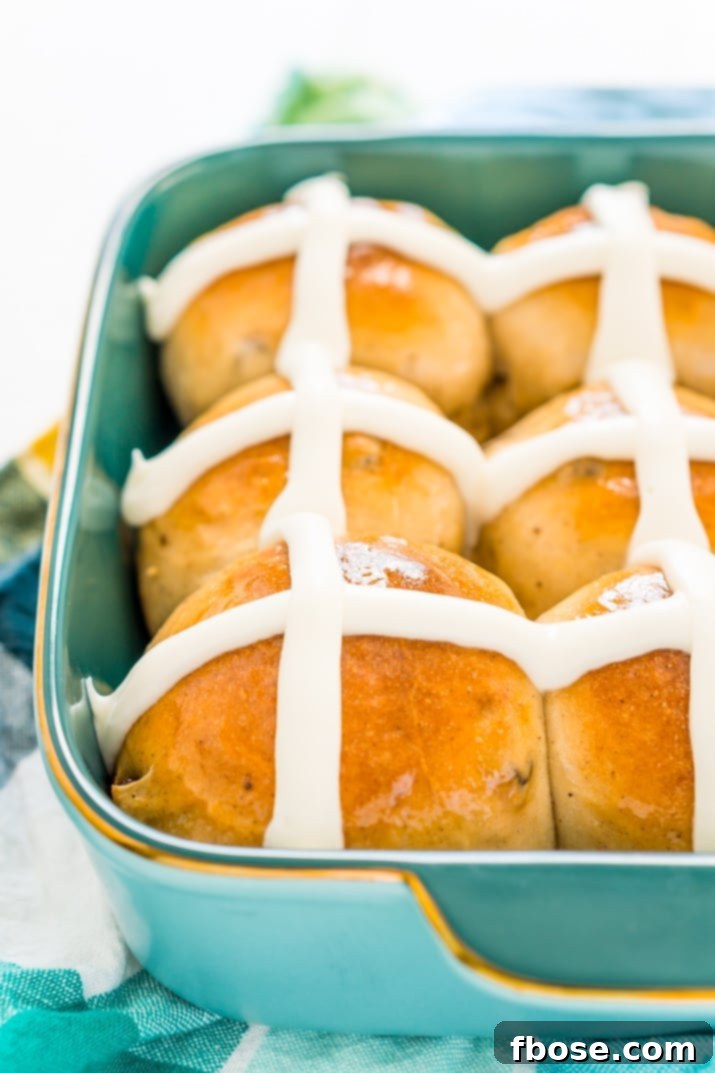
Historically, these buns held a mystical allure. Folk beliefs once suggested that Hot Cross Buns baked on Good Friday would never spoil, or even that they possessed medicinal properties. While we wouldn’t advise testing these claims today, the enduring charm of these buns lies not only in their delightful taste but also in the rich tapestry of stories and traditions they carry. Whether you observe religious holidays or simply appreciate culinary heritage, exploring recipes steeped in history like these Hot Cross Buns offers a unique connection to the past, reminding us that food is often a celebration of both taste and tradition.
Creating these homemade Hot Cross Buns allows you to participate in a timeless ritual, bringing the comforting aromas of cinnamon and nutmeg, coupled with the subtle sweetness of raisins or currants, into your own kitchen. There’s a profound satisfaction in kneading the dough, watching it rise, and ultimately transforming simple ingredients into something so culturally significant and utterly delicious.
Crafting the Perfect Hot Cross Buns: A Culinary Journey
The quest for the perfect Hot Cross Bun often begins with the ideal balance of flavors and textures. Our recipe is meticulously designed to deliver a bun that is soft and fluffy, not dense or dry, with a springy crumb. The star spices—cinnamon and nutmeg—infuse the dough with a warm, inviting aroma that is instantly recognizable and comforting. These aromatic notes are beautifully complemented by the juicy bursts of flavor from dried fruits like plump raisins or tangy currants. The choice between raisins and currants is a personal one; raisins offer a sweeter, chewier bite, while currants provide a slightly more tart and delicate texture. Both integrate seamlessly into the spiced dough, ensuring a fruity surprise in every mouthful.
However, what truly elevates a good Hot Cross Bun to a truly exceptional one, in my humble opinion, is the icing. Forget the thin, watery glaze often seen; these buns deserve a superior finish. I swear by a rich, creamy vanilla icing. Unlike a simple powdered sugar and water mixture, this recipe incorporates heavy cream and a generous dose of pure vanilla extract. The result is an icing that boasts a velvety texture and a depth of vanilla flavor that perfectly complements the spiced bun. It’s thick enough to hold its iconic cross shape without running, yet thin enough to flow smoothly, making for an elegant and delicious topping. This simple two-minute addition transforms the buns from enjoyable to unforgettable, providing that signature sweet and tangy contrast to the warm spices.
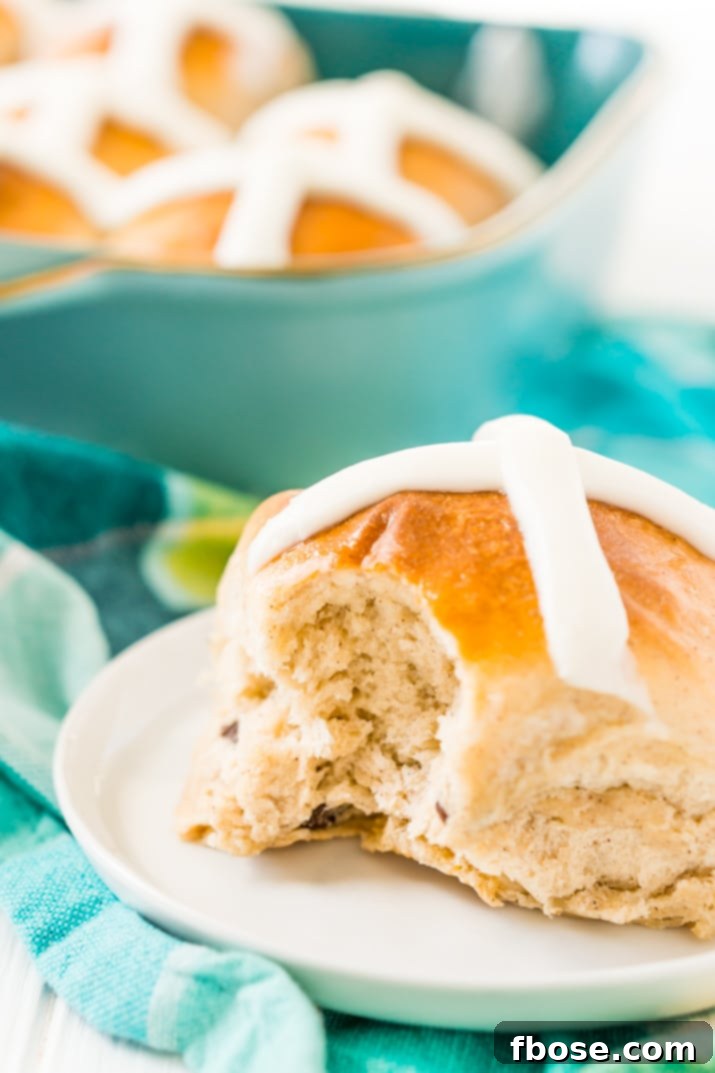
The journey to baking these delightful Hot Cross Buns involves a few key steps, but none are overly complicated. From activating the yeast with perfectly warmed water and milk to gently kneading the dough until it achieves the right elasticity, each stage contributes to the bun’s ultimate success. The rising process, where the dough doubles in size, is a magical moment, indicating the yeast is actively working to create that characteristic airy texture. Shaping the individual buns requires a gentle touch, ensuring a smooth, rounded top that bakes beautifully and provides the perfect canvas for the cross.
Once baked to a golden-brown perfection, these scrumptious rolls are sweet but never cloyingly sugary, making them incredibly versatile. They are an ideal companion for breakfast, a satisfying snack in the afternoon, or a delightful addition to your grand Easter or Good Friday feast. Imagine pairing a steaming bun with a comforting cup of tea or a robust coffee – it’s a small moment of bliss, a perfect pick-me-up that embodies the spirit of the season. Moreover, if you’re planning to visit loved ones, these Hot Cross Buns travel exceptionally well and are almost guaranteed to be a cherished gift, sharing a taste of sweetness and history wherever they go.
Tips for Baking Your Best Hot Cross Buns
While making Hot Cross Buns, like many yeast-based recipes, requires a bit of time and patience, it’s a truly rewarding endeavor. Don’t be intimidated by the multi-step process; each stage builds on the last to create something truly special.
**Yeast Activation:** The first crucial step is ensuring your yeast is active. The water temperature (105-115°F or 40-46°C) is vital. Too cold, and the yeast won’t activate; too hot, and it will die. A thermometer is your best friend here. After sprinkling the yeast into the warm water, let it sit for 5 minutes. If it becomes foamy and bubbly, your yeast is alive and ready to work its magic. If not, discard it and start with a fresh packet.
**Kneading the Dough:** This is where the gluten develops, giving your buns their structure and chewiness. While a stand mixer with a dough hook makes this step effortless (mixing on low for 8 minutes), kneading by hand is equally effective, albeit a bit more of a workout. Knead until the dough is smooth, elastic, and no longer sticky. You should be able to stretch a small piece of dough thin enough to see light through it without tearing (the “windowpane test”). Don’t forget to add the raisins or currants towards the end of the kneading process to ensure they are evenly distributed without tearing the gluten strands too much.
**Proofing for Perfection:** The rising stages are essential for light and airy buns. For the first rise, place the dough in a lightly oiled bowl, cover it with a damp cloth, and let it rise in a warm, draft-free spot. This could be a slightly warmed oven (turned off!), near a sunny window, or just in a warm corner of your kitchen. The dough should roughly double in size, which typically takes about an hour. After punching down the dough gently, the second shorter rise of 15 minutes allows the gluten to relax and ensures a tender final product.
**Shaping and Baking:** Divide the dough into equal portions to ensure uniform buns that bake evenly. Gently roll each piece into a smooth, round bun. Place them snugly in the greased baking pan; this encourages them to rise upwards rather than spread too much, creating those beautiful, tall buns. Bake until they are gloriously golden brown on top, typically 23-25 minutes at 375°F (190°C).
**The Icing Cross:** The moment they emerge from the oven, hot and fragrant, is the perfect time to apply the icing. The warmth of the buns helps the icing settle beautifully, forming those iconic crosses. Prepare your vanilla icing just before the buns finish baking to ensure it’s fresh and at the right consistency. A piping bag with a small round tip or even a ziplock bag with a corner snipped off works perfectly for drawing the crosses.
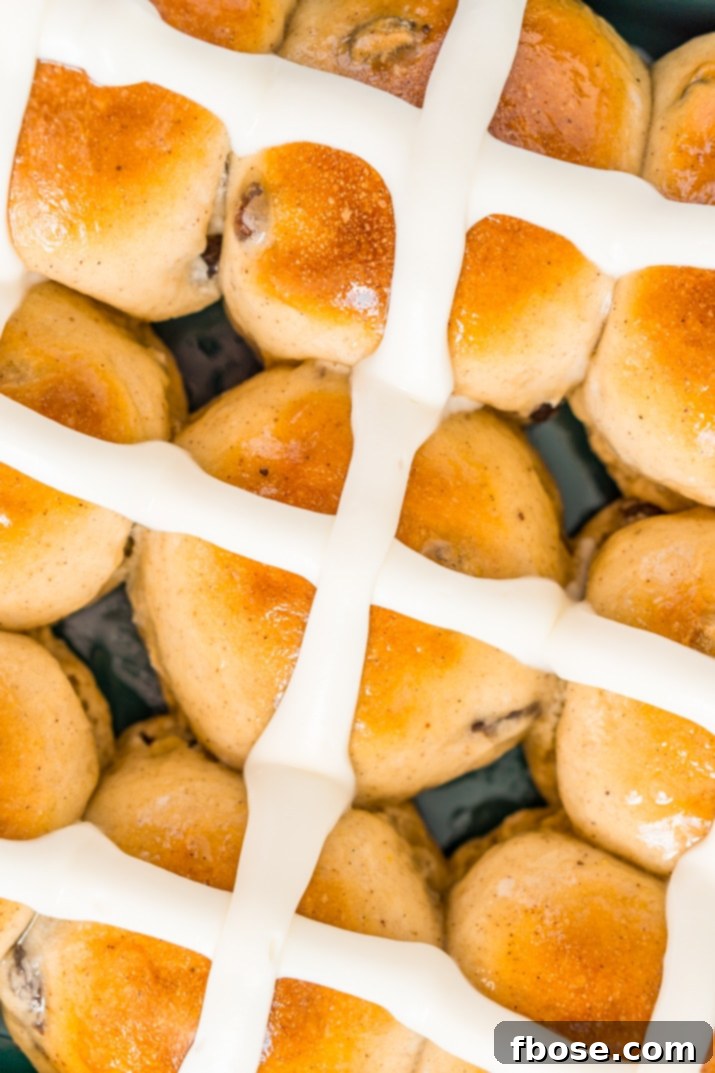
By following these simple tips, you’ll be able to create a batch of hot cross buns that are not only delicious but also a joy to bake. Embrace the process, and you’ll find that the rewards are well worth the effort.
This Easter or Good Friday, make a new memory and share a taste of sweetness and history with your loved ones by trying this delightful Hot Cross Buns recipe. It’s more than just baking; it’s an experience.
More Delicious Easter Recipes:
- Easter Cupcakes
- Caramel Carrot Cake
- Orange Braised Carrots
- Coconut Cake
- Cadbury Egg Brownies
Hot Cross Buns Recipe
These Hot Cross Buns are a spiced sweet bun loaded with currants or raisins and topped with vanilla icing. They’re a traditional Good Friday and Easter recipe!
Author: Rebecca Hubbell
Course: Dessert
Cuisine: English
Prep Time: 1 hour 35 minutes
Cook Time: 25 minutes
Total Time: 2 hours
Servings: 9 rolls
Ingredients
- 1/2 cup water (105 – 115 degrees F)
- 1/2 ounce Instant Yeast (2 envelopes)
- 1/2 cup milk, room temperature
- 1/3 cup unsalted butter, melted
- 1 large egg yolk, room temperature
- 1/2 cup granulated sugar
- 1 1/2 teaspoons vanilla extract
- 3 cups all-purpose flour
- 3/4 teaspoon kosher salt
- 1/2 teaspoon ground nutmeg
- 1/2 teaspoon ground cinnamon
- 1/2 cup raisins (or currants)
- 1/2 batch Vanilla Icing Recipe
Instructions
- Heat water to between 105 and 115 degrees F. Remove from heat and transfer to a medium bowl. Sprinkle in the yeast. Stir to dissolve and let sit for 5 minutes until foamy.
- Whisk in the milk, melted butter, egg yolk, granulated sugar, and vanilla extract into the yeast mixture until well combined.
- In a separate, large bowl, whisk together the all-purpose flour, kosher salt, ground nutmeg, and ground cinnamon.
- Pour the wet ingredients into the dry ingredients and mix together with a wooden spoon until a shaggy dough forms and no dry streaks of flour remain.
- Transfer the dough to a stand mixer fitted with a dough hook (or knead by hand) and mix on low speed for 8 minutes until the dough is smooth and elastic.
- Add the raisins (or currants) and mix for 1 more minute until they are evenly incorporated throughout the dough.
- Lightly spray a large bowl with cooking spray. Form the dough into a large ball and place it in the prepared bowl. Cover with a clean dishcloth and place in a warm area to rise for 1 hour, or until the dough has doubled in size.
- Gently punch the dough back down to release the air. Recover with the dishcloth and let it rise for an additional 15 minutes.
- While the dough is on its second rise, preheat your oven to 375 degrees F (190°C) and grease a 9×9-inch baking pan with non-stick spray.
- Divide the dough into 9 equal pieces. Use your hands to shape each piece into a smooth, rounded bun. Place the buns in the prepared pan, leaving a small space between them.
- Bake for 23 to 25 minutes, or until the tops are golden brown and the buns sound hollow when lightly tapped.
- Remove the buns from the oven. While they are still hot, prepare the vanilla icing. Pipe or drizzle the icing in the shape of a cross over the top of each bun. Serve immediately and enjoy!
Nutrition
Calories: 301kcal | Carbohydrates: 50g | Protein: 5g | Fat: 8g | Saturated Fat: 4g | Cholesterol: 41mg | Sodium: 206mg | Potassium: 143mg | Fiber: 2g | Sugar: 12g | Vitamin A: 260IU | Vitamin C: 0.4mg | Calcium: 28mg | Iron: 2.2mg
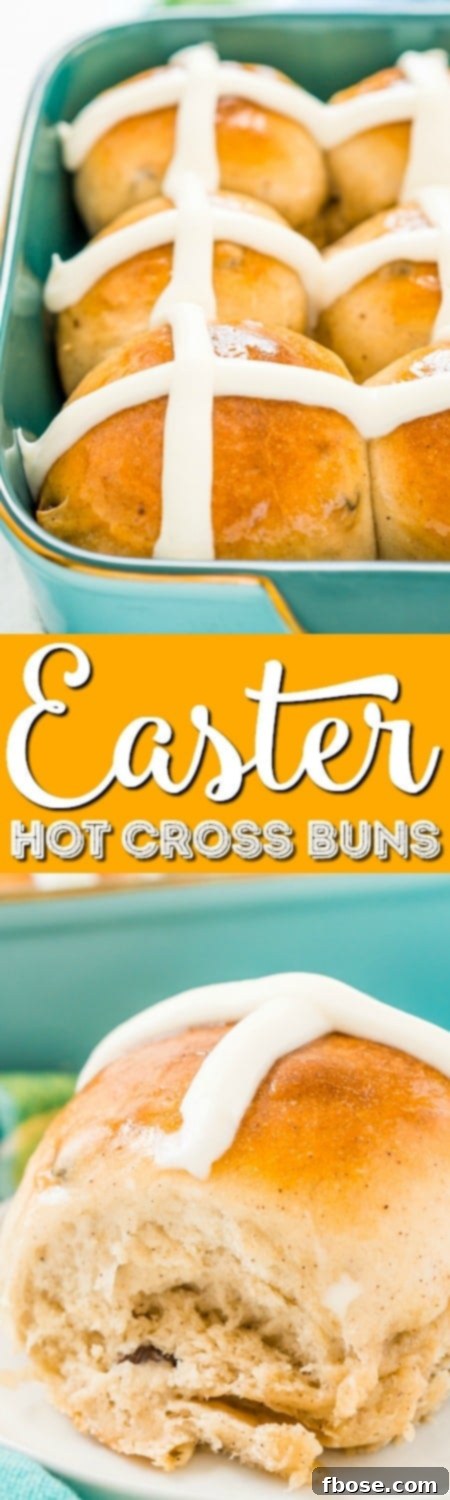
Pin this Easter Recipe for Later!
Helpful Kitchen Tools:
- Dough Hook
- Wooden Spoon
- 9×9-inch Pan
- Whisk
Did You Make This Recipe?
Don’t forget to share your creations with me on Instagram @sugarandsoulco and follow on Tiktok @sugarandsoulco and Pinterest @sugarandsoulco for more delicious recipes and baking inspiration!