

Indulge in the ultimate chocolate fantasy with this incredibly creamy and utterly decadent French Silk Pie! Nestled in a rich, no-bake Oreo pie crust and crowned with a generous swirl of homemade whipped cream, this dessert is a true masterpiece. What makes our recipe stand out is the innovative use of cooked eggs in the filling, ensuring every silky-smooth bite is worry-free and safe for everyone to enjoy. Prepare to be enchanted by a pie that’s not just a dessert, but an experience.
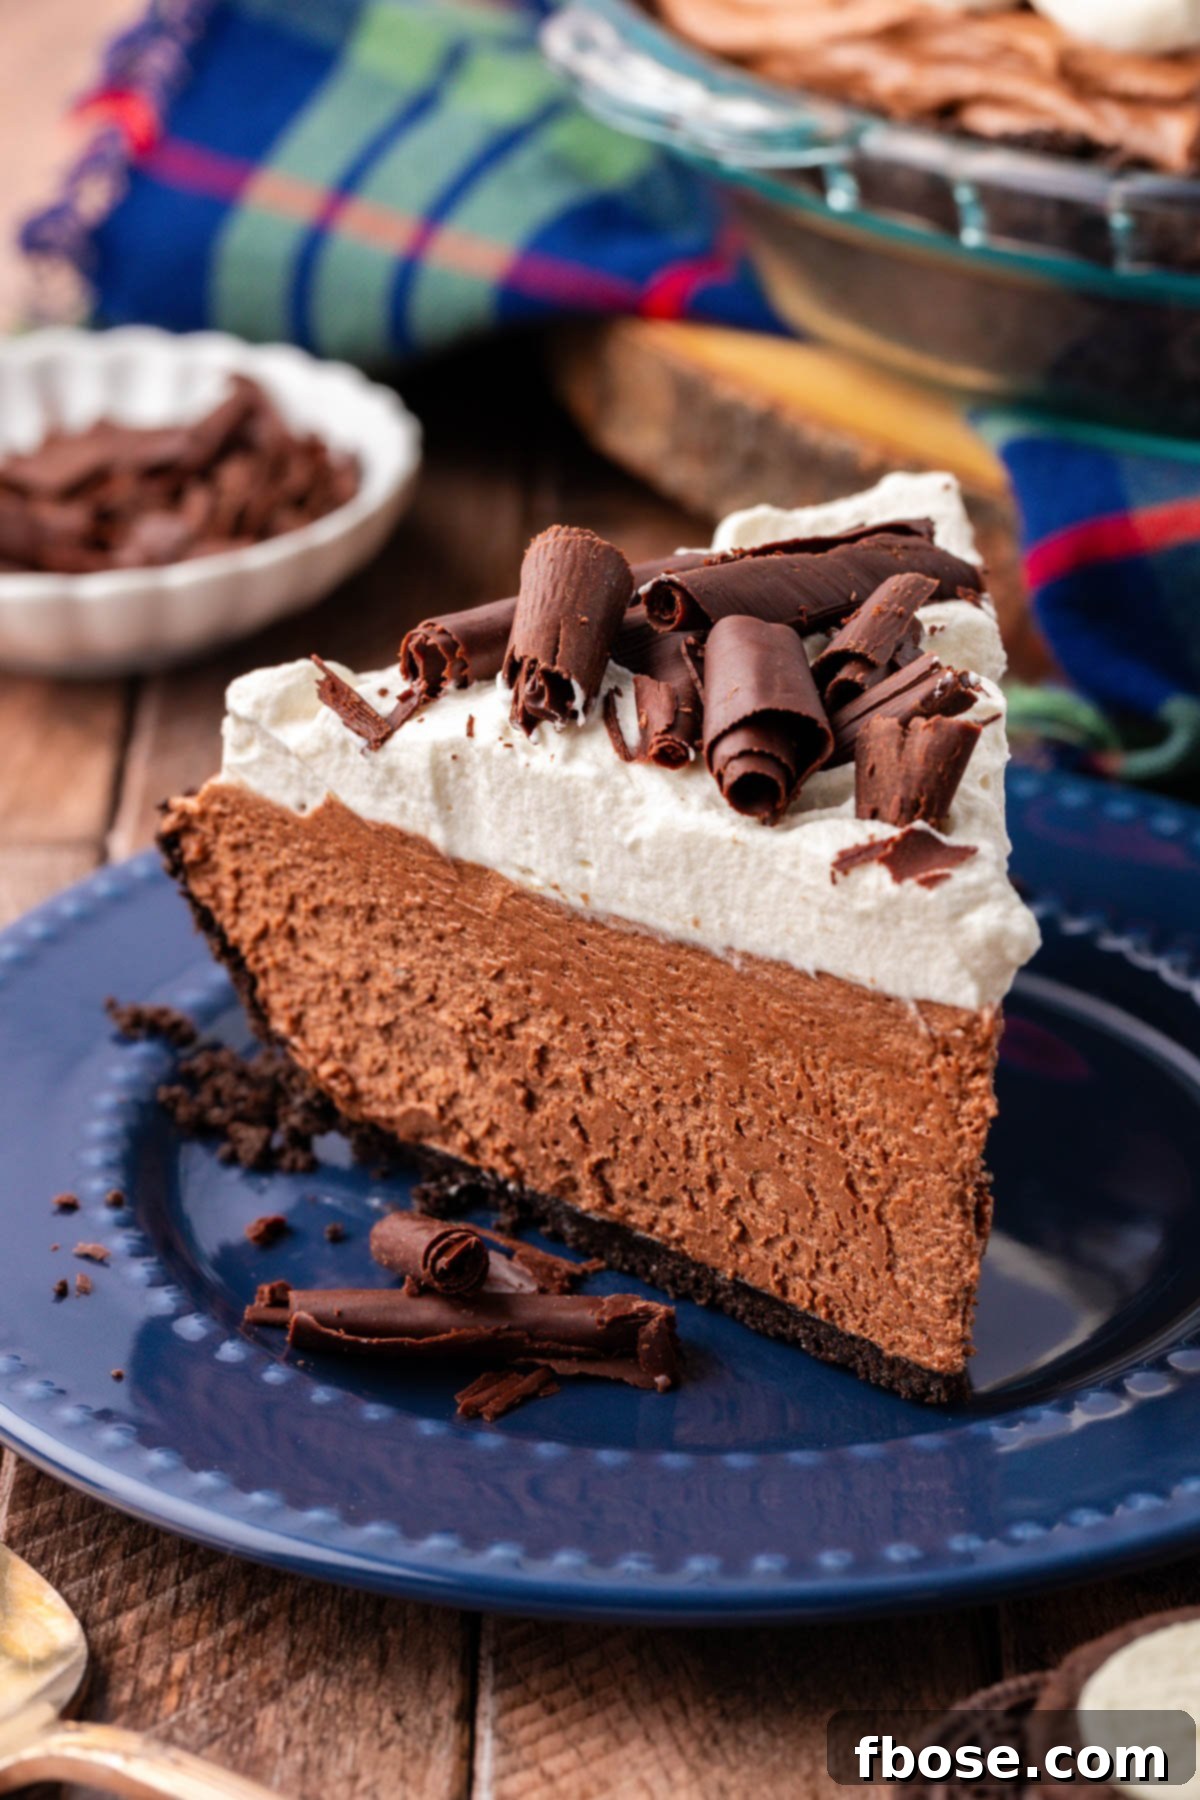
Experience the Decadence: The Ultimate French Silk Chocolate Pie Recipe
Prepare to declare this the single BEST French Silk Chocolate Pie you will ever taste! While crafting this exquisite dessert is a labor of love, the unparalleled reward lies in the perfect harmony of textures and flavors. Imagine: a perfectly sweet and slightly crunchy Oreo crust, a rich, airy mousse-like chocolate filling, and a cloud of freshly whipped cream. This is more than just a pie; it’s an incredibly luscious dessert designed to captivate your senses and leave a lasting impression on anyone fortunate enough to savor a slice.
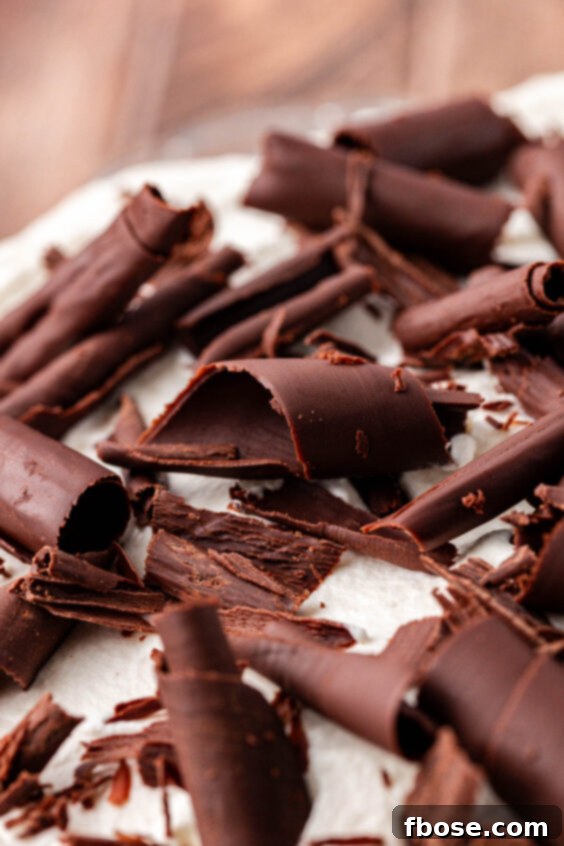
To elevate this recipe beyond the ordinary, we’ve thoughtfully refined the classic French Silk Pie. The heart of our pie is a luxurious chocolate filling, crafted with a high-quality bittersweet chocolate bar for an intensely deep and complex flavor profile. Crucially, the eggs in our filling are gently cooked to a safe temperature, eliminating concerns about raw ingredients without compromising the signature silky texture. For the foundation, we chose a no-bake Oreo crust, which not only amplifies the chocolate goodness but also introduces a delightful subtle crunch that perfectly complements the creamy filling. To complete this divine creation, we crown the pie with a mountain of fluffy homemade whipped topping, elegantly adorned with delicate chocolate curls. These thoughtful touches are a testament to the care put into this pie, and trust us, the extra effort is profoundly worth it for such a magnificent dessert.
Pin This Recipe For Later

Rebecca’s Recipe Review: A Deep Dive into French Silk Pie Perfection
As the creator of this recipe, I’m thrilled to share my insights on what makes this French Silk Pie truly exceptional. Every element has been carefully considered to deliver a dessert that’s both deeply satisfying and surprisingly approachable.
Taste: The flavor profile of this pie is nothing short of divine. It’s an incredibly rich, buttery chocolate cream pie, yet it manages to be lighter and more ethereal than traditional pudding pies. The bittersweet chocolate shines through, balanced by the sweetness of the filling and the subtle salty notes from the Oreo crust. It’s a sophisticated chocolate experience that avoids being overly sweet.
Texture: The texture is where this French Silk Pie truly distinguishes itself. The filling is luxuriously mousse-like, offering a melt-in-your-mouth creaminess with a distinct buttery mouthfeel. This velvety smoothness is beautifully contrasted by the delicious, slightly crunchy bits from the Oreo crust, creating an engaging textural journey with every bite. The homemade whipped cream adds another layer of cloud-like softness, making each forkful a dream.
Ease: I rate the ease of this recipe at a 7/10. While there are a few distinct stages and a crucial temperature check for the eggs, the steps themselves are not overly complicated or technique-intensive. With careful attention to detail, particularly regarding cooking the eggs and chilling times, even novice bakers can achieve spectacular results. The process is a rewarding one, building anticipation for the final product.
Pros: The divine flavor and exquisite texture are undeniable highlights, making this pie a showstopper for any occasion. A significant advantage is that this pie can be made several days in advance, allowing you to prepare ahead for holidays or special gatherings without last-minute stress. The no-bake crust also simplifies things, saving oven space.
Cons: If I had to pick a downside, it would be the number of dishes generated during the preparation. However, as any passionate baker knows, a truly exceptional dessert often comes with a bit of cleanup. And for this French Silk Pie, I can wholeheartedly say it is absolutely worth every single dish.
Would I Make This Again? Without a doubt, yes! This French Silk Pie has become one of my absolute favorite desserts to bake and enjoy. Its consistent deliciousness and crowd-pleasing appeal make it a frequent request in my household, and I never hesitate to whip up a batch.
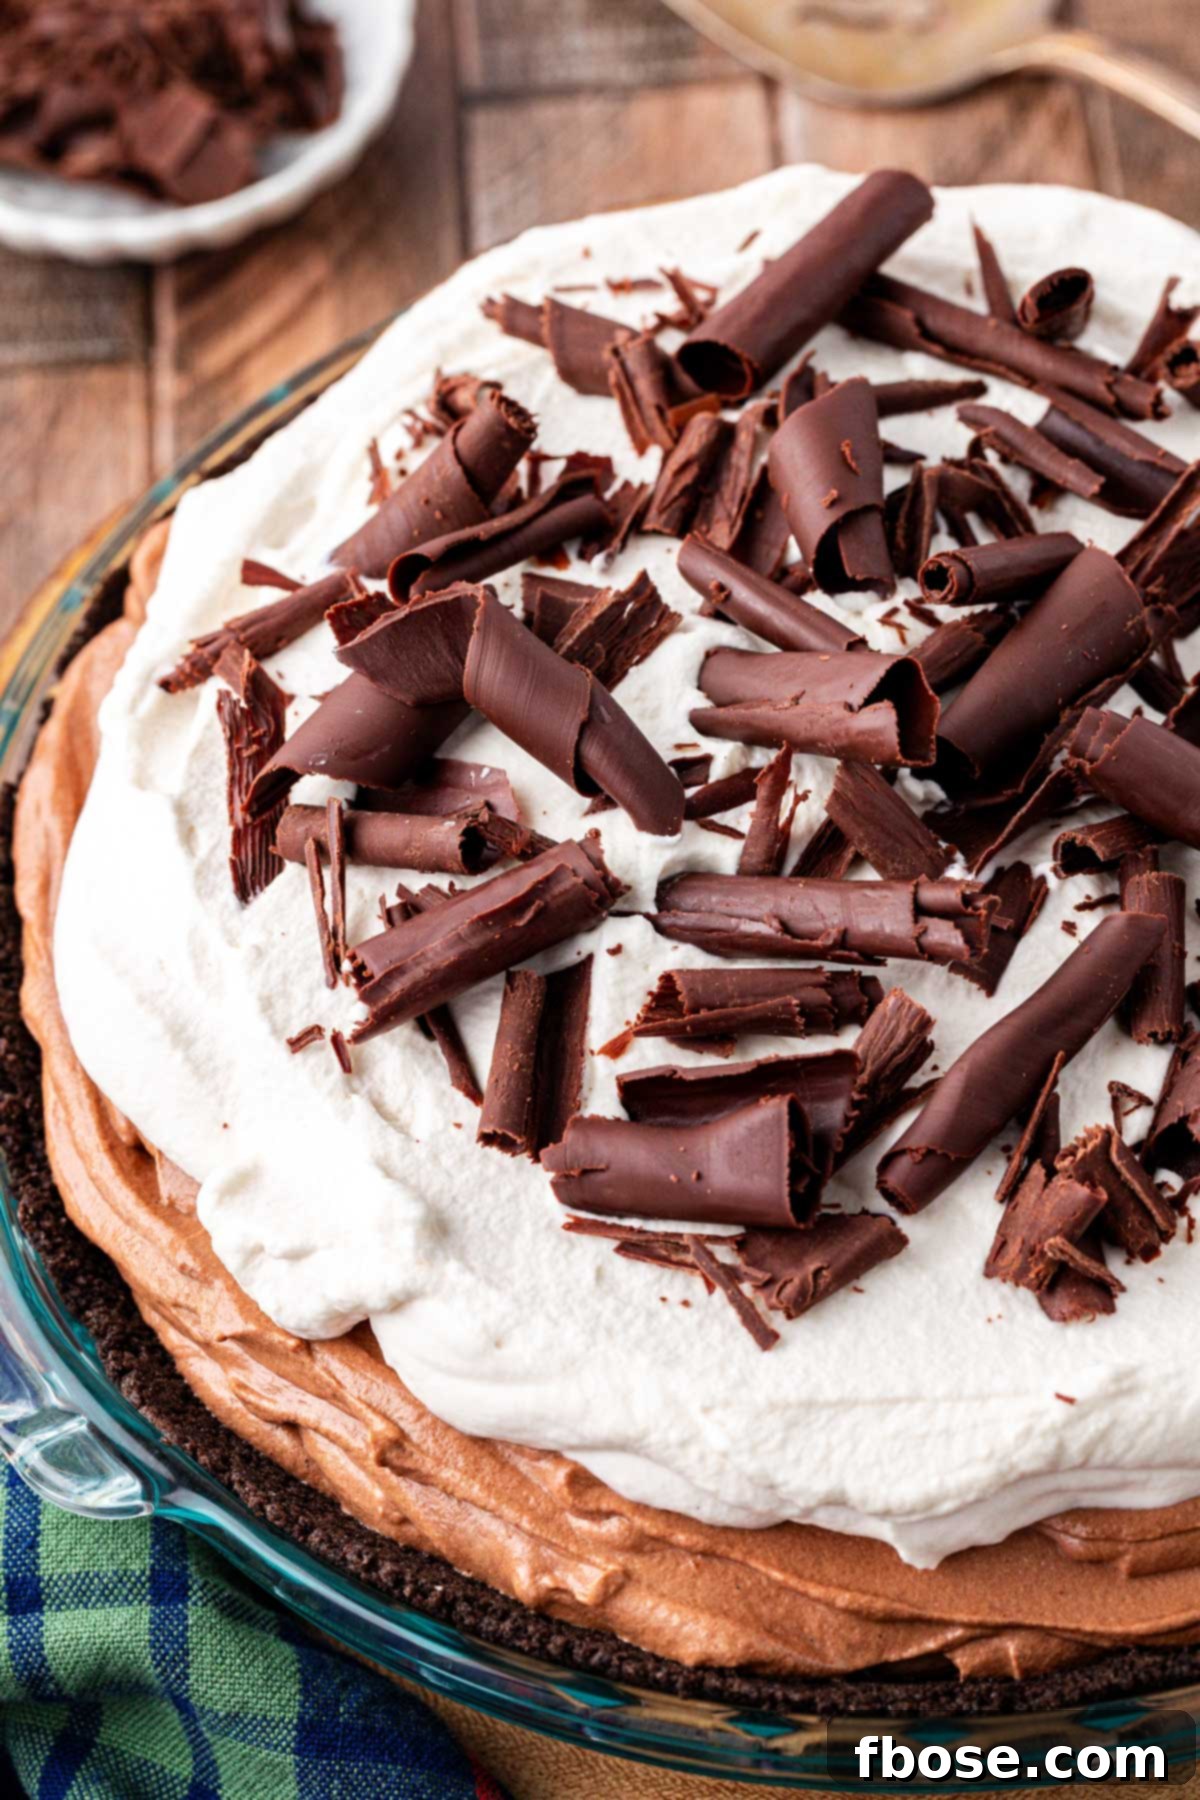
Unlocking Flavor: Essential French Silk Pie Recipe Ingredients
Crafting a truly memorable French Silk Pie starts with selecting the right ingredients. Each component plays a vital role in achieving the iconic taste and texture of this beloved dessert. Let’s delve into the specific ingredients that make this pie so special.
For the crust, I wholeheartedly recommend using an Oreo Crust. The deep chocolate flavor of the Oreos perfectly complements the rich filling, adding an extra layer of sweetness and a delightful textural contrast. This no-bake crust is incredibly easy to assemble, requiring just a few ingredients: regular Oreos (with their cream filling intact for added richness), melted salted butter to bind the crumbs and provide a savory balance, and a touch of additional salt to enhance all the flavors. If you prefer a different foundation, you can certainly substitute it with a traditional pie crust, though the Oreo crust truly elevates this particular dessert.
The star of the show is, of course, the creamy, rich chocolate filling nestled inside the homemade crust. This luxurious filling is made with: heavy cream, which, when whipped, gives the pie its signature light and airy consistency; a combination of powdered sugar and granulated sugar for balanced sweetness; large eggs, which are cooked to a safe temperature and provide structure and richness; unsalted butter, softened to room temperature, contributing to the pie’s incredible melt-in-your-mouth texture; and vanilla bean paste (or extract), which adds a warm, aromatic depth that beautifully enhances the chocolate.
To infuse the filling with an intense chocolate flavor, we use bittersweet chocolate, which is melted and carefully incorporated. My personal preference is a Ghirardelli 60% bittersweet chocolate bar. This percentage offers the perfect balance of chocolate intensity without being overly sweet, allowing the nuances of the chocolate to truly shine and giving this pie the absolute best flavor profile.
No French Silk Pie is truly complete without a generous, thick layer of homemade whipped topping. This light and airy cloud adds a perfect counterpoint to the rich chocolate. To make it, simply beat cold heavy cream, a touch of powdered sugar for sweetness, and vanilla extract together until soft peaks form. For an elegant finish that shows you’ve gone the extra mile, garnish your pie with delicate chocolate curls or a dusting of cocoa powder.
The Safe & Silky Secret: No Raw Eggs in Our French Silk Pie!
For many years, traditional French Silk Pie recipes famously (or infamously) called for raw eggs, which provided its characteristic light and airy texture. I admit, when I originally introduced my Silk Pie back in 2018, my recipe also included raw eggs. However, I understand and respect that the majority of people prefer not to consume desserts made with raw eggs due to health and safety concerns, and I absolutely cannot blame them!
Driven by the desire to create a delicious and universally enjoyable dessert, I dedicated time to retesting and perfecting this recipe. The result is a fantastic alteration that includes cooking the eggs for the filling. Now, you can savor every spoonful of this creamy, dreamy chocolate treat with complete peace of mind, knowing there are no raw eggs involved. This cooked egg method ensures the pie is not only safe but also maintains the incredible texture and richness that French Silk Pie is known for.
Of course, the inclusion of cooked eggs does add a few extra, yet entirely manageable, steps to the process – and yes, perhaps an extra dish or two! But I promise you, the enhanced safety and the resulting luscious texture are more than worth this minor additional effort. The most valuable tool for this critical step is a reliable kitchen thermometer. This will be your best friend in ensuring the eggs are properly cooked to the precise temperature (160°F) required to eliminate any risk, without over-cooking the mixture and compromising the silky-smooth consistency of your filling. It’s a small investment for a big payoff in taste and confidence!
Step-by-Step Guide: How To Make French Silk Pie Without Raw Eggs
Creating this magnificent French Silk Pie, even with the added step of cooking the eggs, is actually quite straightforward. It doesn’t demand advanced baking techniques or specialized skills. The most crucial aspects to focus on are timing and precise temperatures, especially during the egg-cooking phase. These details are highlighted below, and you can find full printable instructions with exact measurements in the recipe card at the bottom of this post.
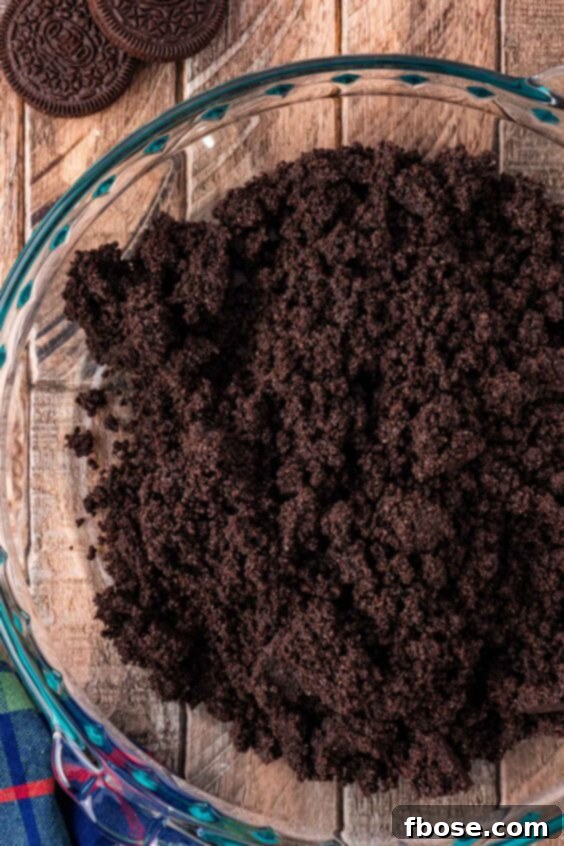
- Prepare the No-Bake Oreo Crust: Begin by adding whole Oreos (cream filling included) to a food processor. Pulse them until they form fine, even crumbs.
- Combine Crust Ingredients: Add the melted salted butter and additional pinch of salt to the Oreo crumbs. Pulse again until the mixture is thoroughly combined and resembles wet sand.
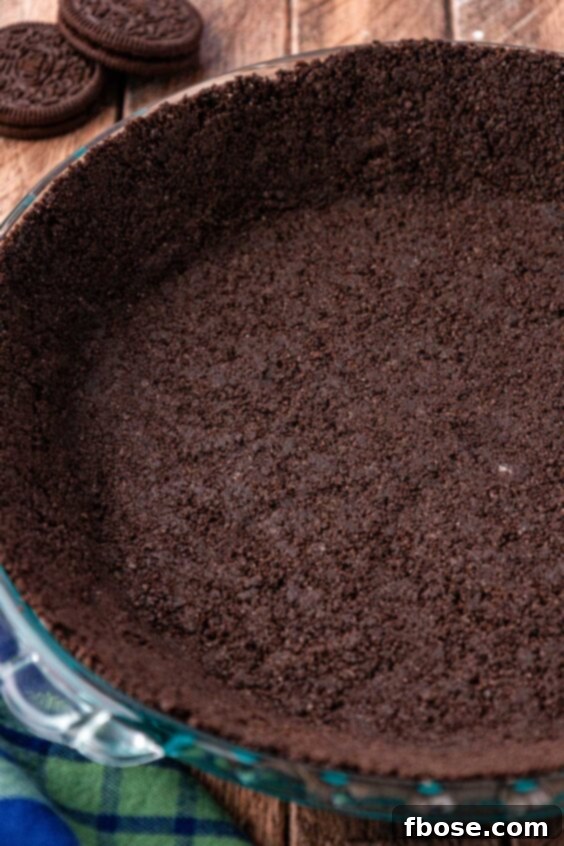
- Form the Pie Crust: Press this Oreo mixture firmly into the bottom and up the sides of your chosen pie dish. Ensure an even layer. Once formed, set the crust aside to chill slightly while you prepare the filling.
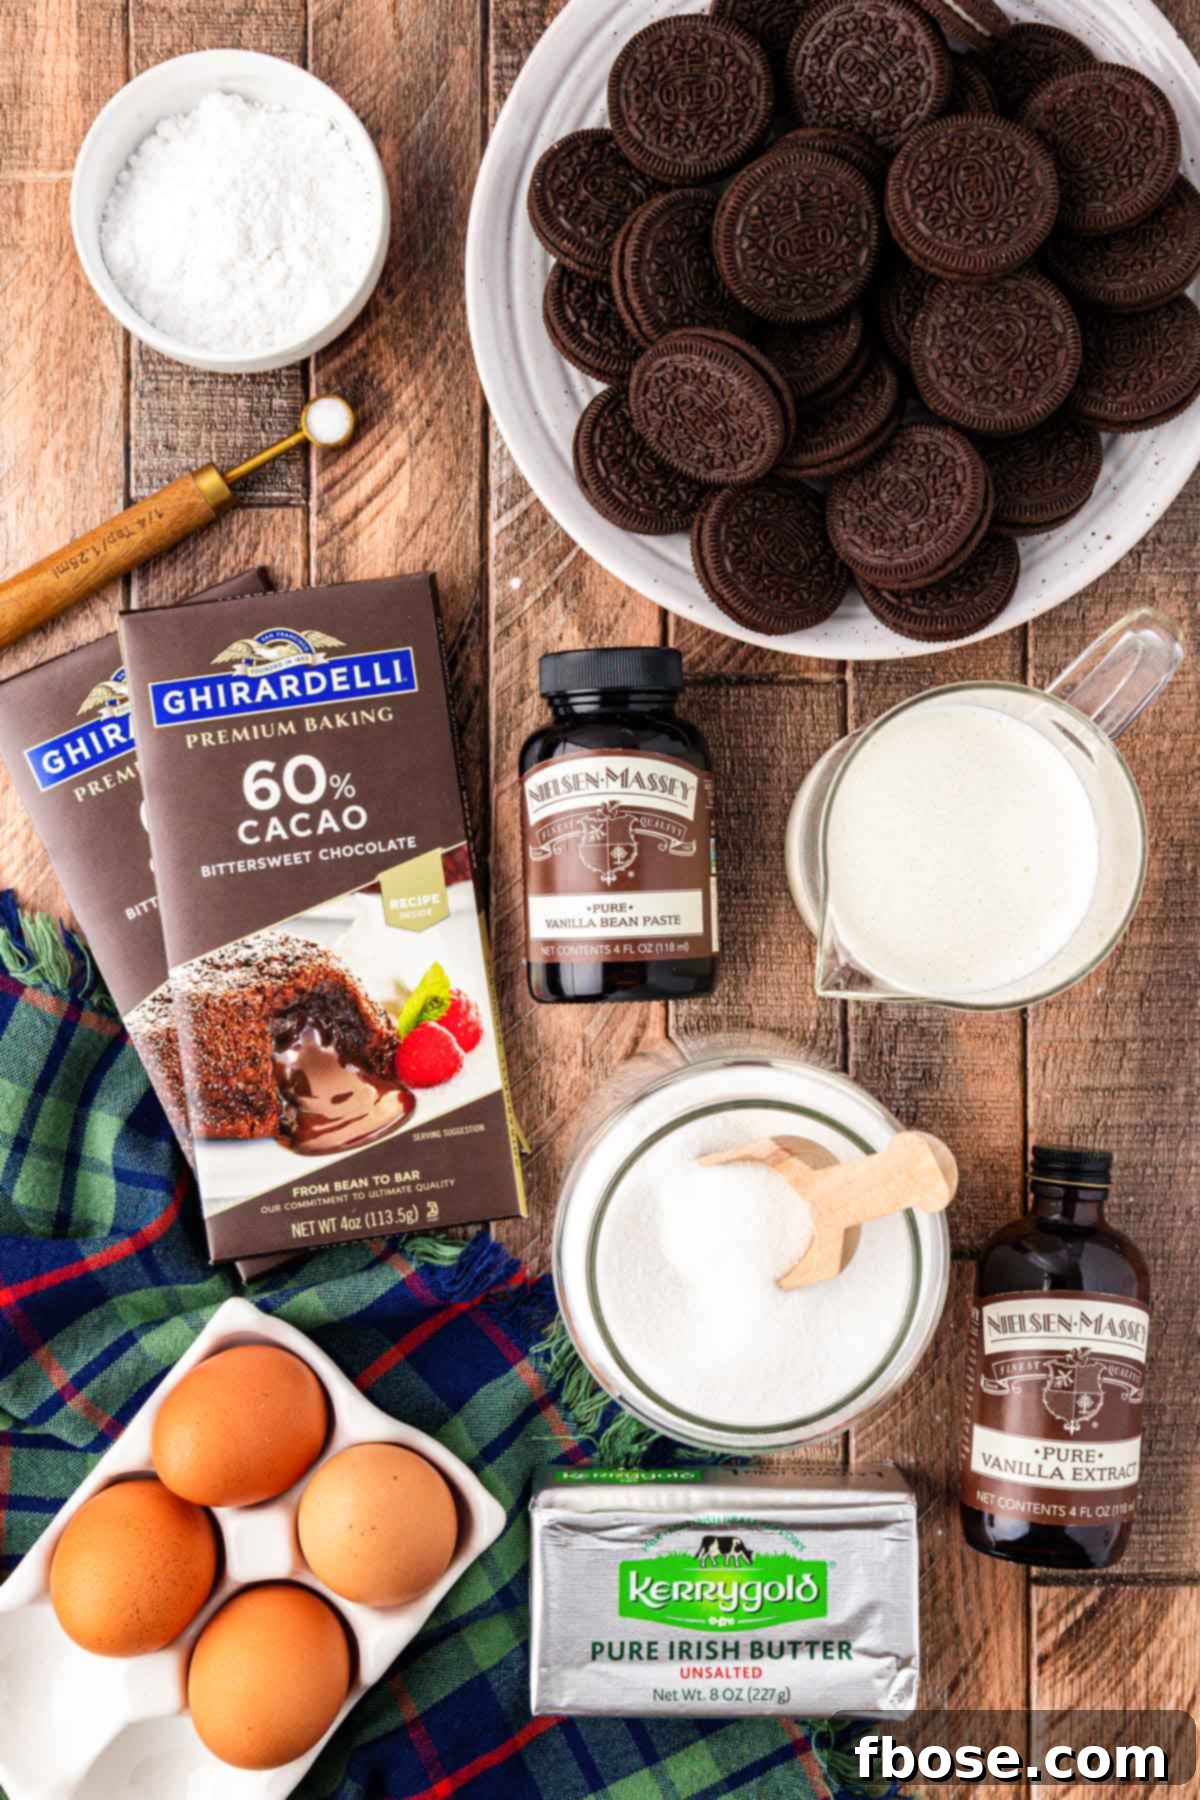
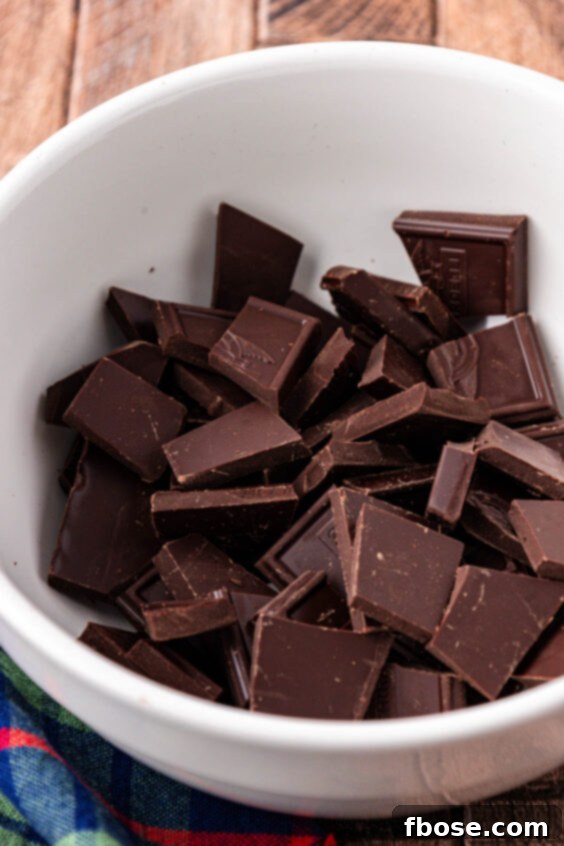
- Melt the Bittersweet Chocolate: Break your high-quality bittersweet chocolate bar into smaller pieces. Gently melt it in the microwave using 20-second intervals, stirring well after each interval, until it’s completely smooth and glossy. Set this aside to cool slightly.
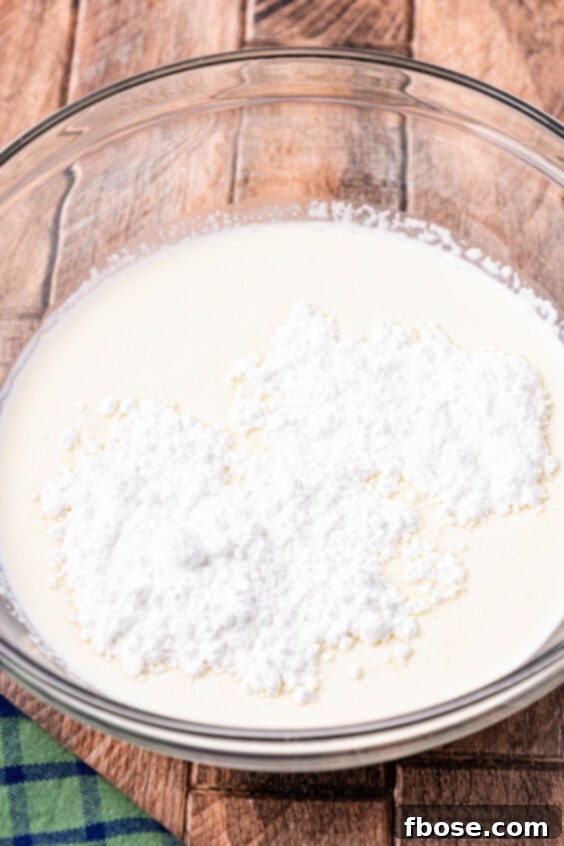
- Whip the First Batch of Heavy Cream: In a clean medium bowl, combine the heavy cream and powdered sugar. Using a hand mixer, beat until stiff peaks form. This means when you lift the beaters, the cream holds its shape. Transfer this whipped cream to the refrigerator to keep it chilled.
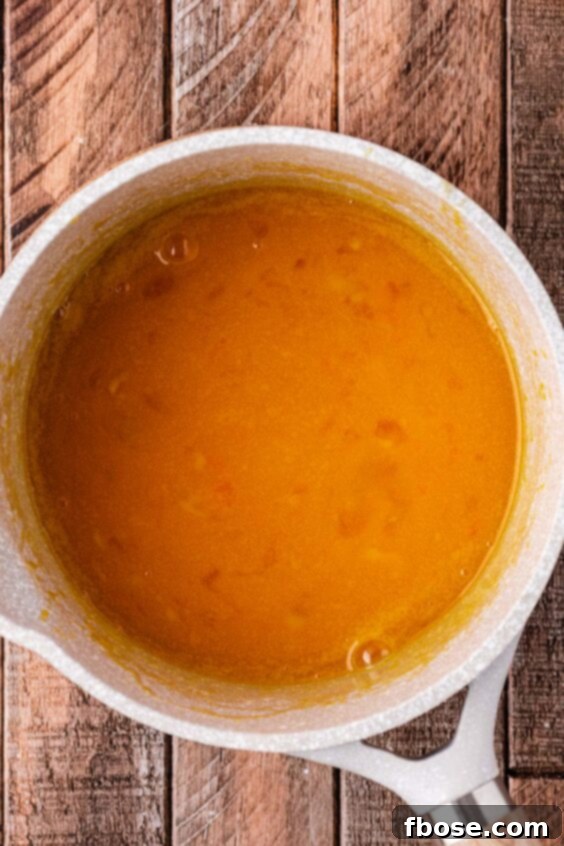
- Cook the Egg and Sugar Mixture: In a small saucepan on the stovetop, whisk together the granulated sugar and large eggs constantly over medium heat. This continuous whisking is vital to prevent the eggs from scrambling. Cook the mixture until it reaches 160°F (71°C) on a kitchen thermometer. Immediately remove it from the heat once this temperature is achieved.
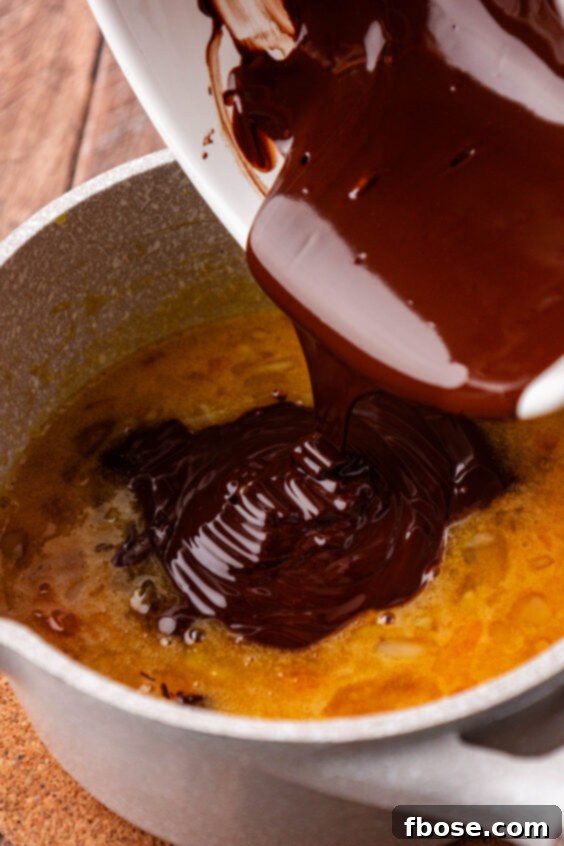
- Integrate Chocolate into Egg Mixture: Pour the slightly cooled melted chocolate into the cooked egg and sugar mixture. Whisk until fully combined. Set this aside to cool further before the next step.
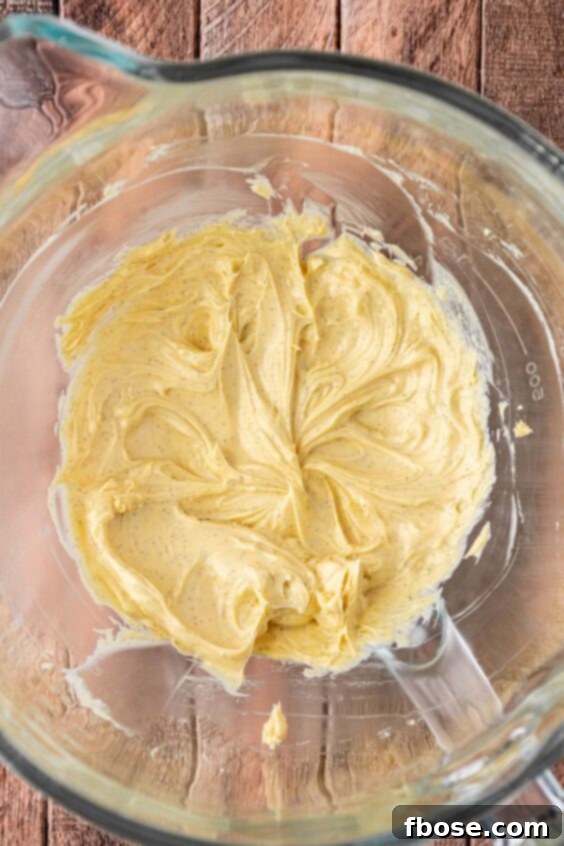
- Cream Butter and Vanilla: In the bowl of a stand mixer fitted with a paddle attachment, cream the room-temperature unsalted butter and vanilla bean paste (or extract) for about 3 minutes until light and fluffy.
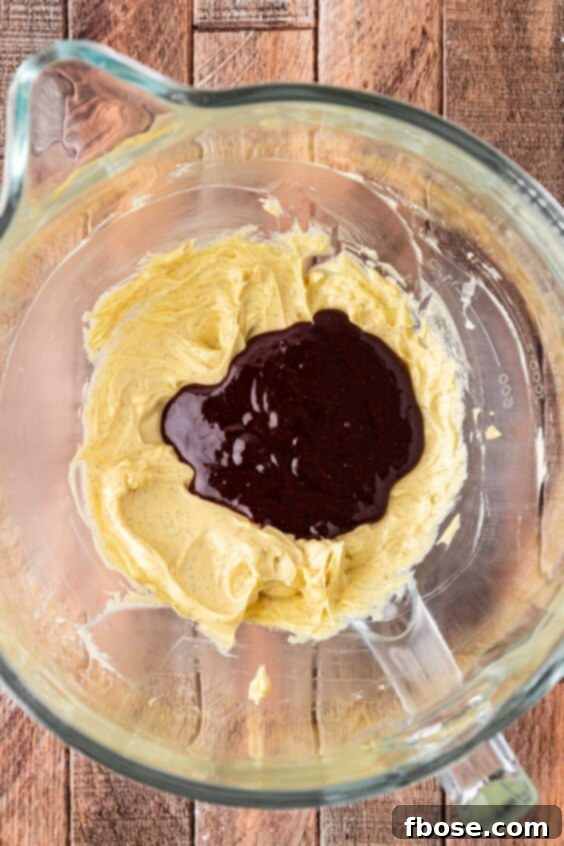
- Combine Chocolate Egg Mixture with Butter: Switch the stand mixer attachment to a whisk. With the mixer on the “stir” or lowest speed setting, slowly add the cooled chocolate and egg mixture to the creamed butter. Continue to mix until fully incorporated.
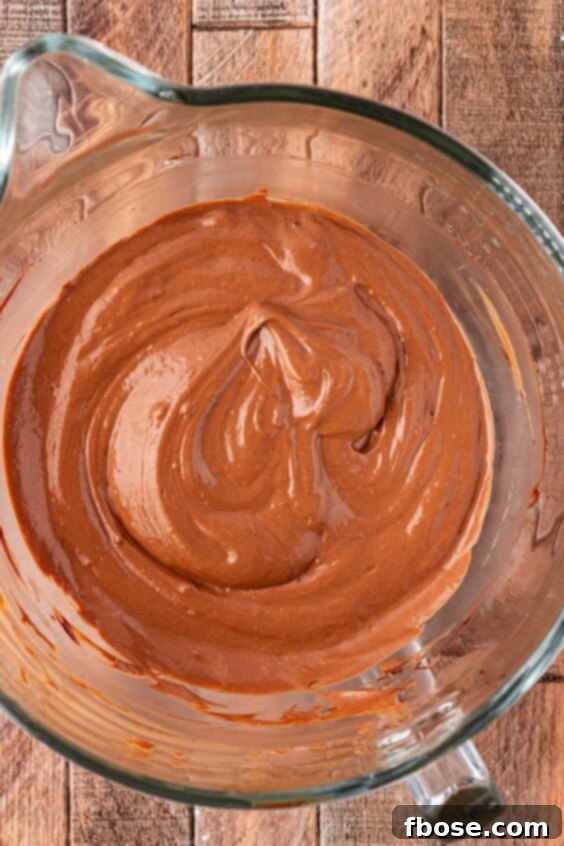
- Whip to Perfection: Once all the chocolate-egg mixture is added, increase the mixer speed to medium-high and beat for an additional 5 minutes. This aeration step is crucial for achieving the mousse-like texture of the French Silk filling.
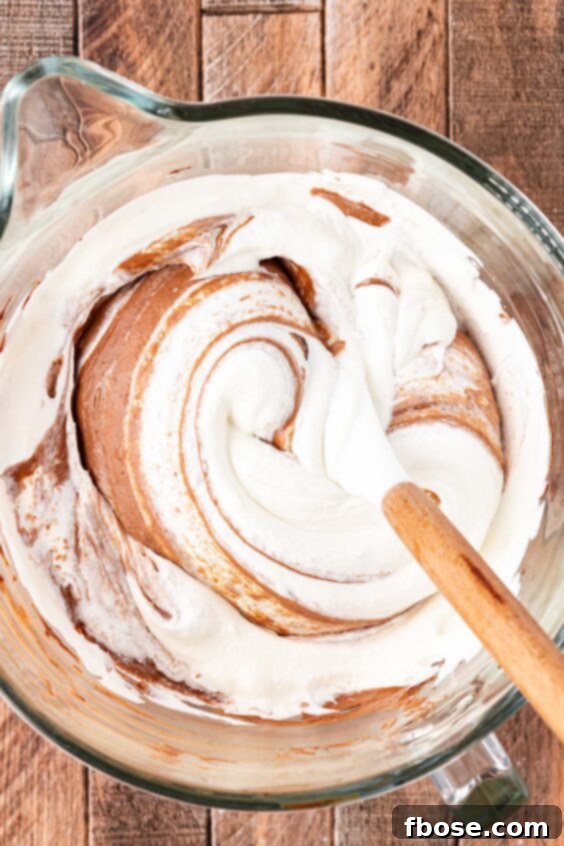
- Fold in Chilled Whipped Cream: Gently fold the chilled whipped cream (from step 5) into the chocolate mixture using a rubber spatula. Use a light hand to maintain the airiness.
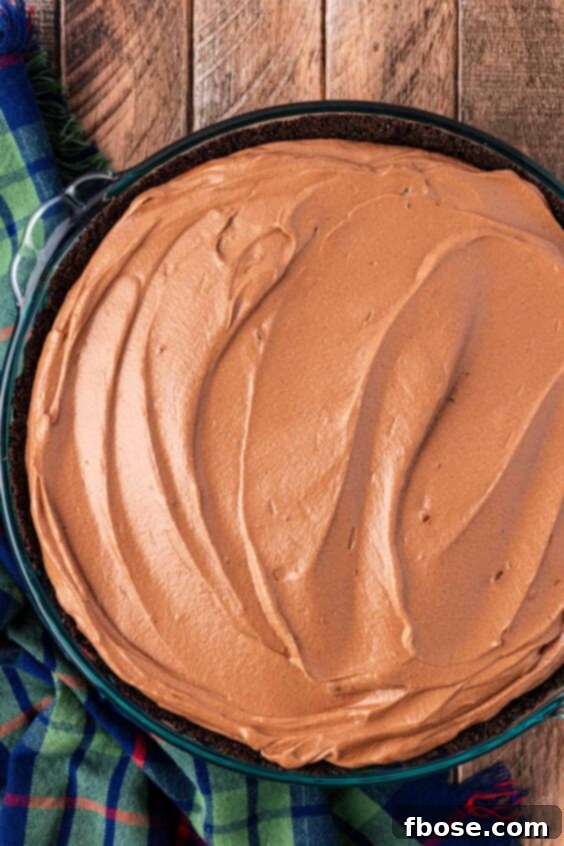
- Assemble and Chill: Pour the homemade chocolate filling into your prepared Oreo pie crust. Spread it evenly. Transfer the pie to the refrigerator to set for at least 6 hours, or preferably overnight. Adequate chilling time is essential for the pie to firm up properly.
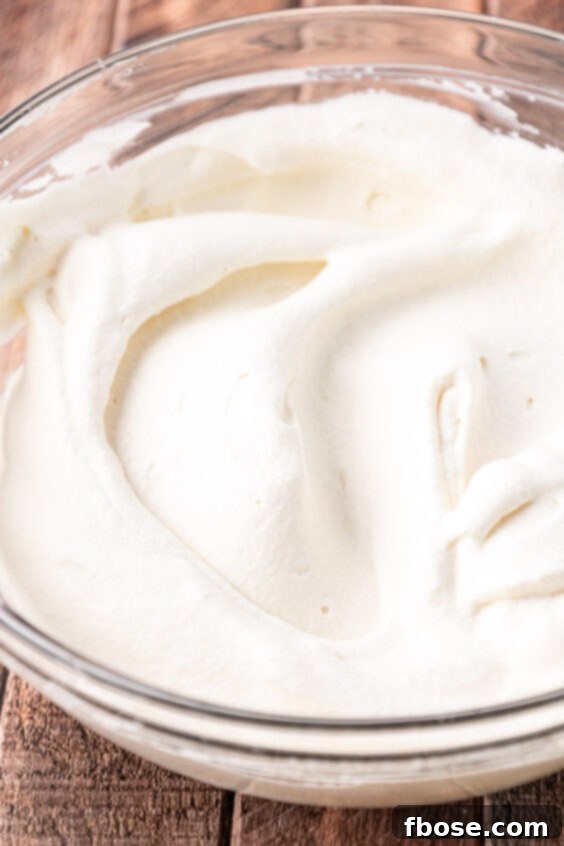
- Prepare Whipped Topping (Just Before Serving): Right before you’re ready to serve, whip the remaining heavy cream, powdered sugar, and vanilla extract in a stand mixer until soft peaks form. This ensures a fresh, airy topping.
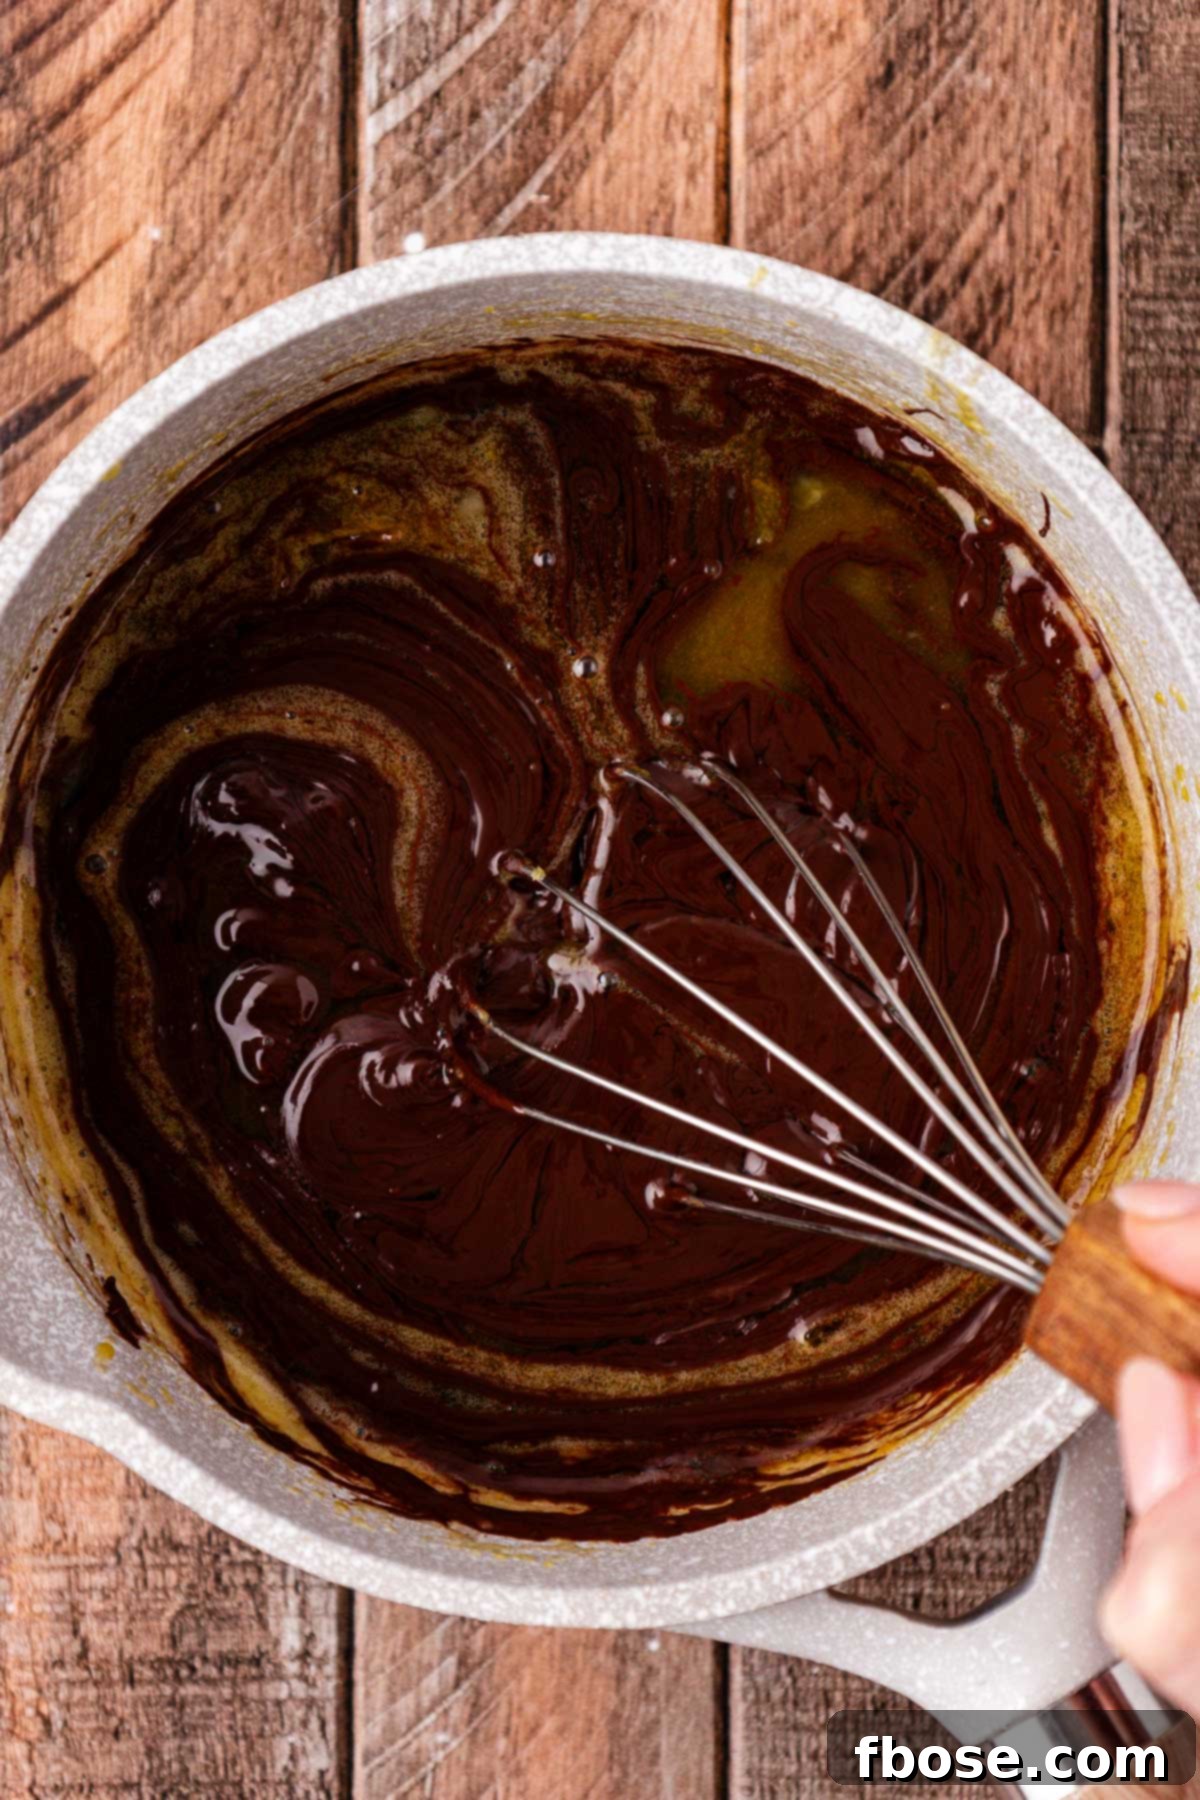
- Decorate and Serve: Spread the freshly whipped cream generously over the chilled chocolate silk pie. Finish the dessert by topping it with elegant chocolate curls, chocolate sprinkles, or a dusting of cocoa powder for that extra special touch!
Rebecca’s Expert Tips for French Silk Pie Success
Achieving French Silk Pie perfection is easier with a few insider tips. These insights will help you navigate the recipe with confidence and ensure a flawless, delicious result every time.
- Temperature Control is Key for Eggs: When cooking the egg and sugar mixture, precise temperature monitoring is paramount for both safety and texture. Always use a reliable kitchen thermometer. The moment the mixture reaches 160 degrees F (71 degrees C), immediately remove the saucepan from the stovetop. Overcooking can lead to a grainy texture or even scrambled eggs, which is the last thing you want in a silky pie filling. Under-cooking, of course, poses a safety risk. Trust your thermometer!
- Deep Dish Option for Generous Slices: If you’re hosting a larger gathering or simply adore a thicker slice of pie, consider making a Deep Dish French Silk Pie. For this, opt for a springform pan, which makes serving taller pies effortless. You’ll need to increase the quantity of Oreos for the crust from 22 to approximately 28 Oreos, along with 6 tablespoons of melted butter, to ensure you have enough crust mixture to fill the larger pan.
- Creative Toppings for Presentation: While homemade whipped cream is essential, the final garnish allows for creative expression. Elevate your pie with elegant chocolate curls (easily made with a vegetable peeler and a chocolate bar), playful chocolate sprinkles for a festive touch, or a sophisticated dusting of high-quality cocoa powder. A sprinkle of flaky sea salt can also beautifully enhance the chocolate flavor.
- Don’t Skip the Additional Salt in the Crust: It might seem counterintuitive to add extra salt to a sweet Oreo crust, but this step is a game-changer. The small amount of additional salt doesn’t make the crust taste salty; rather, it acts as a flavor enhancer, amplifying the rich chocolate notes of the Oreos and creating a more complex, balanced taste that truly makes the crust pop.
- Chill Time is Non-Negotiable: While I recommend at least 6 hours of chilling, an overnight chill (12+ hours) is truly ideal. This extended time allows the filling to fully set and firm up to its perfect sliceable, yet still creamy, consistency. Rushing the chilling process will result in a messy, unset pie.
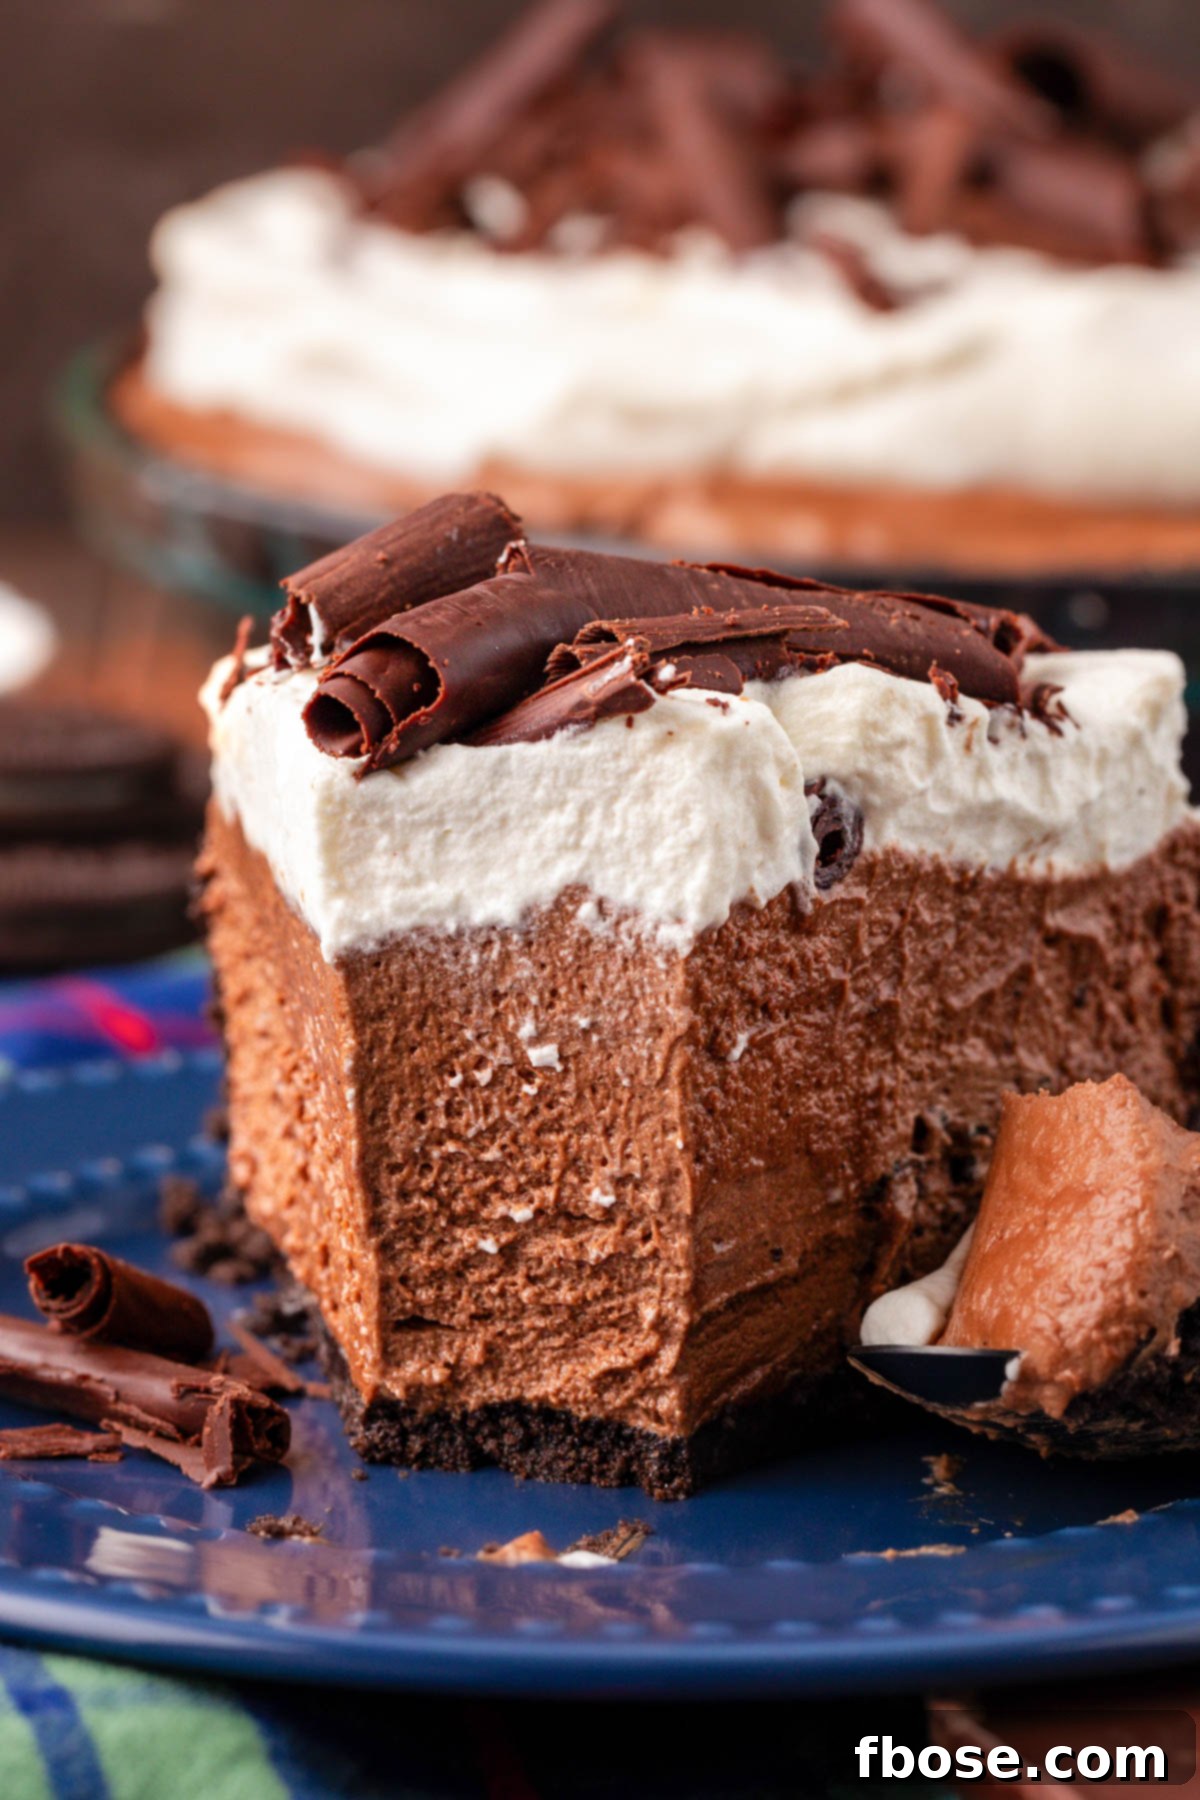
How To Serve Your Decadent Chocolate Silk Pie
Proper serving ensures your French Silk Pie is enjoyed at its absolute best. Before even thinking about slicing, ensure the pie has had ample time to chill in the refrigerator—a minimum of 6 hours, though an overnight chill is truly preferable for optimal firmness and flavor development. A crucial tip for presentation and freshness: do not top the pie with the homemade whipped topping until just moments before you intend to serve it. This keeps the cream light and prevents it from weeping or deflating.
This magnificent dessert pairs beautifully with a variety of beverages. For a classic indulgence, savor a slice alongside a frothy cappuccino or a steaming cup of your favorite tea. If you’re celebrating a special occasion, or simply believe it’s been “one of those days,” consider pairing your rich chocolate slice with a glass of robust red wine, like a Merlot or Zinfandel, or even some celebratory bubbly for a truly luxurious experience. The contrasting notes will enhance the pie’s decadent flavors.
Chocolate Silk Pie is a versatile and winning dessert for almost any gathering. It’s perfect whether you’re hosting the in-laws for Sunday dinner, tasked with bringing a show-stopping dessert to Christmas or Thanksgiving, or simply treating yourself to a quiet moment of indulgence. Imagine enjoying a generous slice after the kids have gone to bed, perfectly paired with your latest Netflix obsession. It’s truly a dessert for every mood and moment.
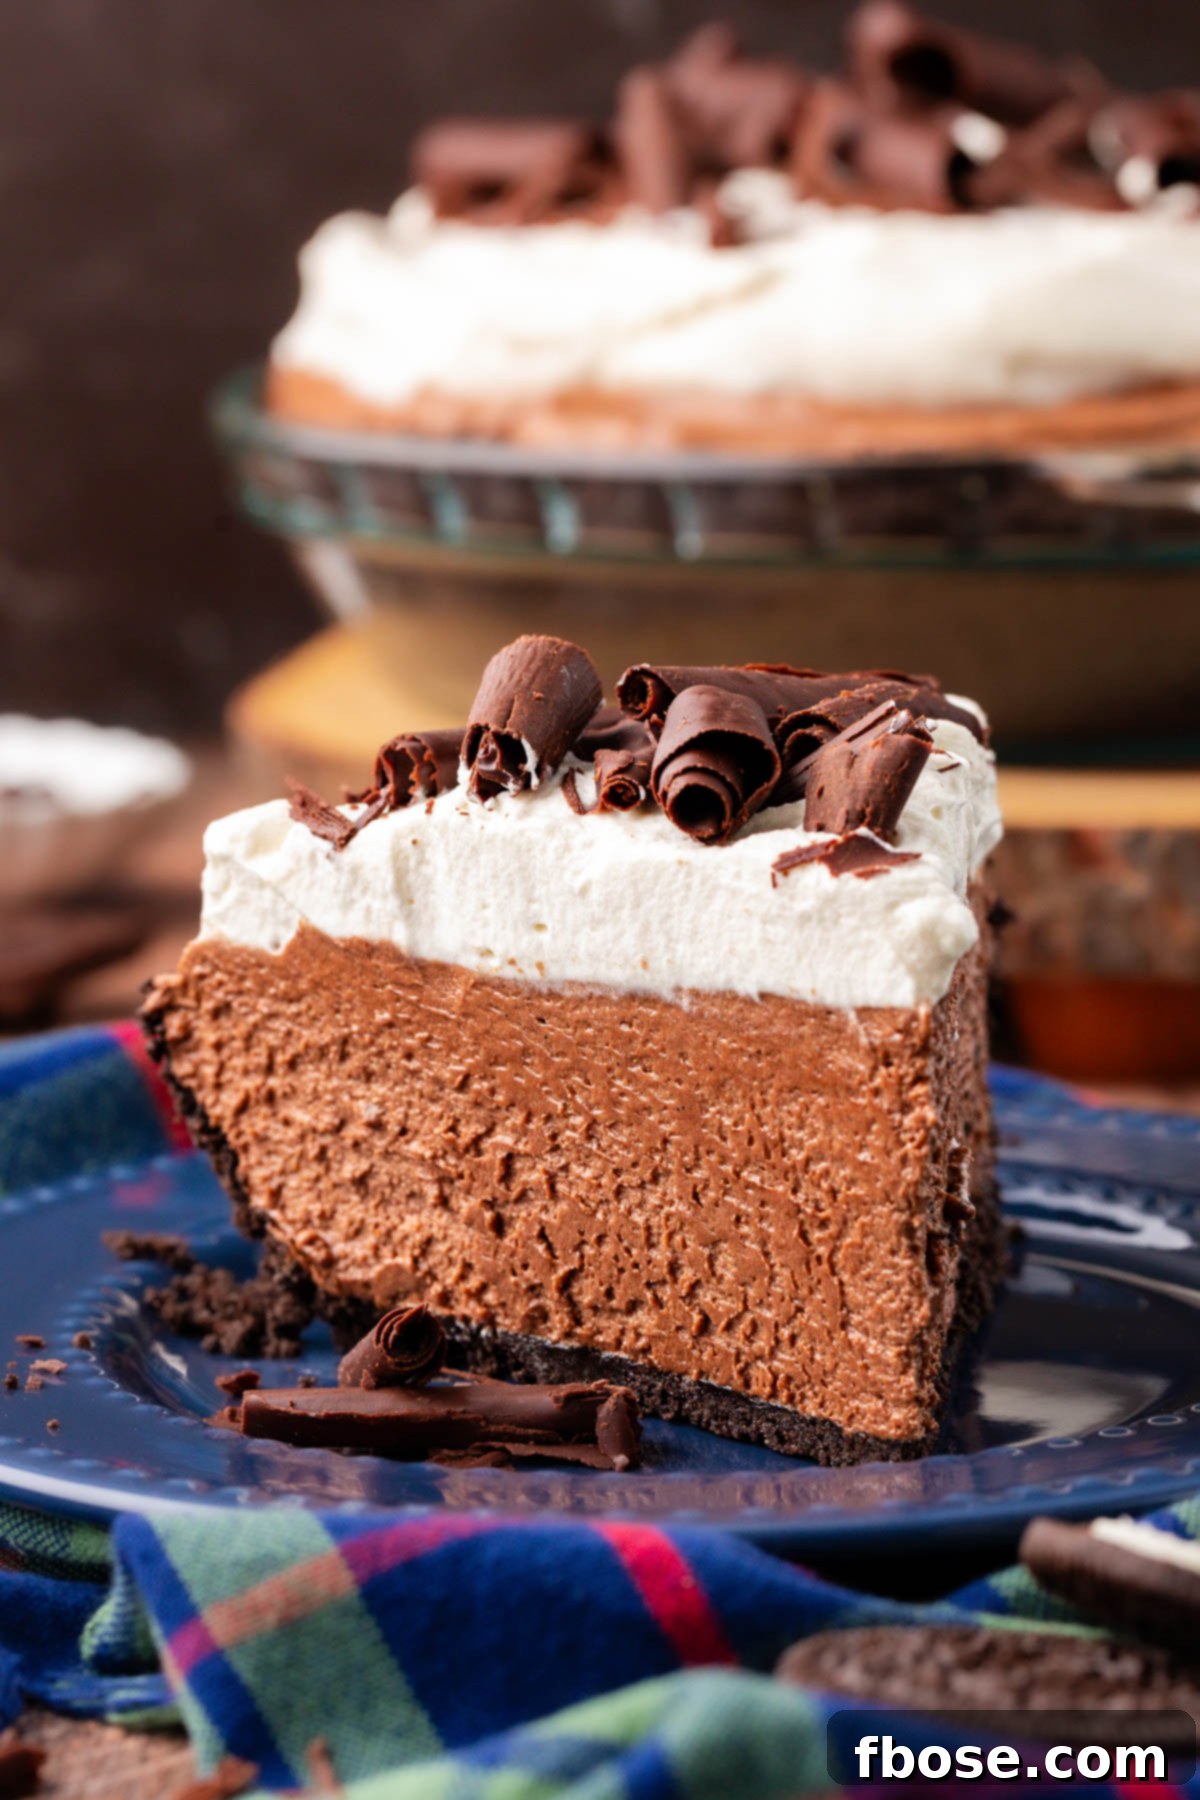
Storing Your Chocolate French Silk Pie for Lasting Freshness
Proper storage is essential to keep your Chocolate French Silk Pie tasting divine and maintaining its perfect texture. For short-term storage, you have a couple of excellent options. You can either tightly wrap the entire pie dish in several layers of plastic wrap, followed by aluminum foil to create an airtight seal, or carefully transfer individual slices into an airtight container. Once properly covered, store your Chocolate French Silk Pie in the refrigerator, where it will remain fresh and delicious for up to 5 days. Be sure to keep it away from strong-smelling foods, as it can absorb odors.
How To Make Ahead & Freeze for Future Enjoyment
The excellent news about this Chocolate French Silk Pie recipe is its fantastic make-ahead potential, making it an ideal choice for busy hosts or anyone who appreciates convenient indulgence. Since an overnight chill is often preferable for the best set, this pie naturally lends itself to being prepared a day or two in advance. Do all the work the day before a holiday gathering, a backyard cookout, or a special get-together, and then simply relax and enjoy your dessert the next day!
For even longer storage, this pie can be successfully frozen for up to 3 months, allowing you to enjoy a slice of decadent chocolate heaven whenever the craving strikes. To do so, you’ll need to make the pie in a freezer-safe pie dish. Follow all the instructions on the recipe card up through step 7 (assembling the chocolate filling and pouring it into the crust, before adding the whipped topping). Once the pie is in the crust and set, carefully wrap the pie dish in multiple layers of plastic wrap, followed by a layer of heavy-duty aluminum foil. Crucially, do not add the whipped cream topping before freezing, as it does not freeze and thaw well.
When you’re ready to enjoy your frozen French Silk Pie, simply transfer it from the freezer into the refrigerator. Allow it to thaw slowly overnight, or for at least 8-10 hours, to ensure the filling returns to its creamy consistency. Once thawed, prepare fresh whipped cream and top the pie just before serving, as per the recipe instructions. This make-ahead and freeze method ensures you always have a delightful, homemade dessert ready to impress!
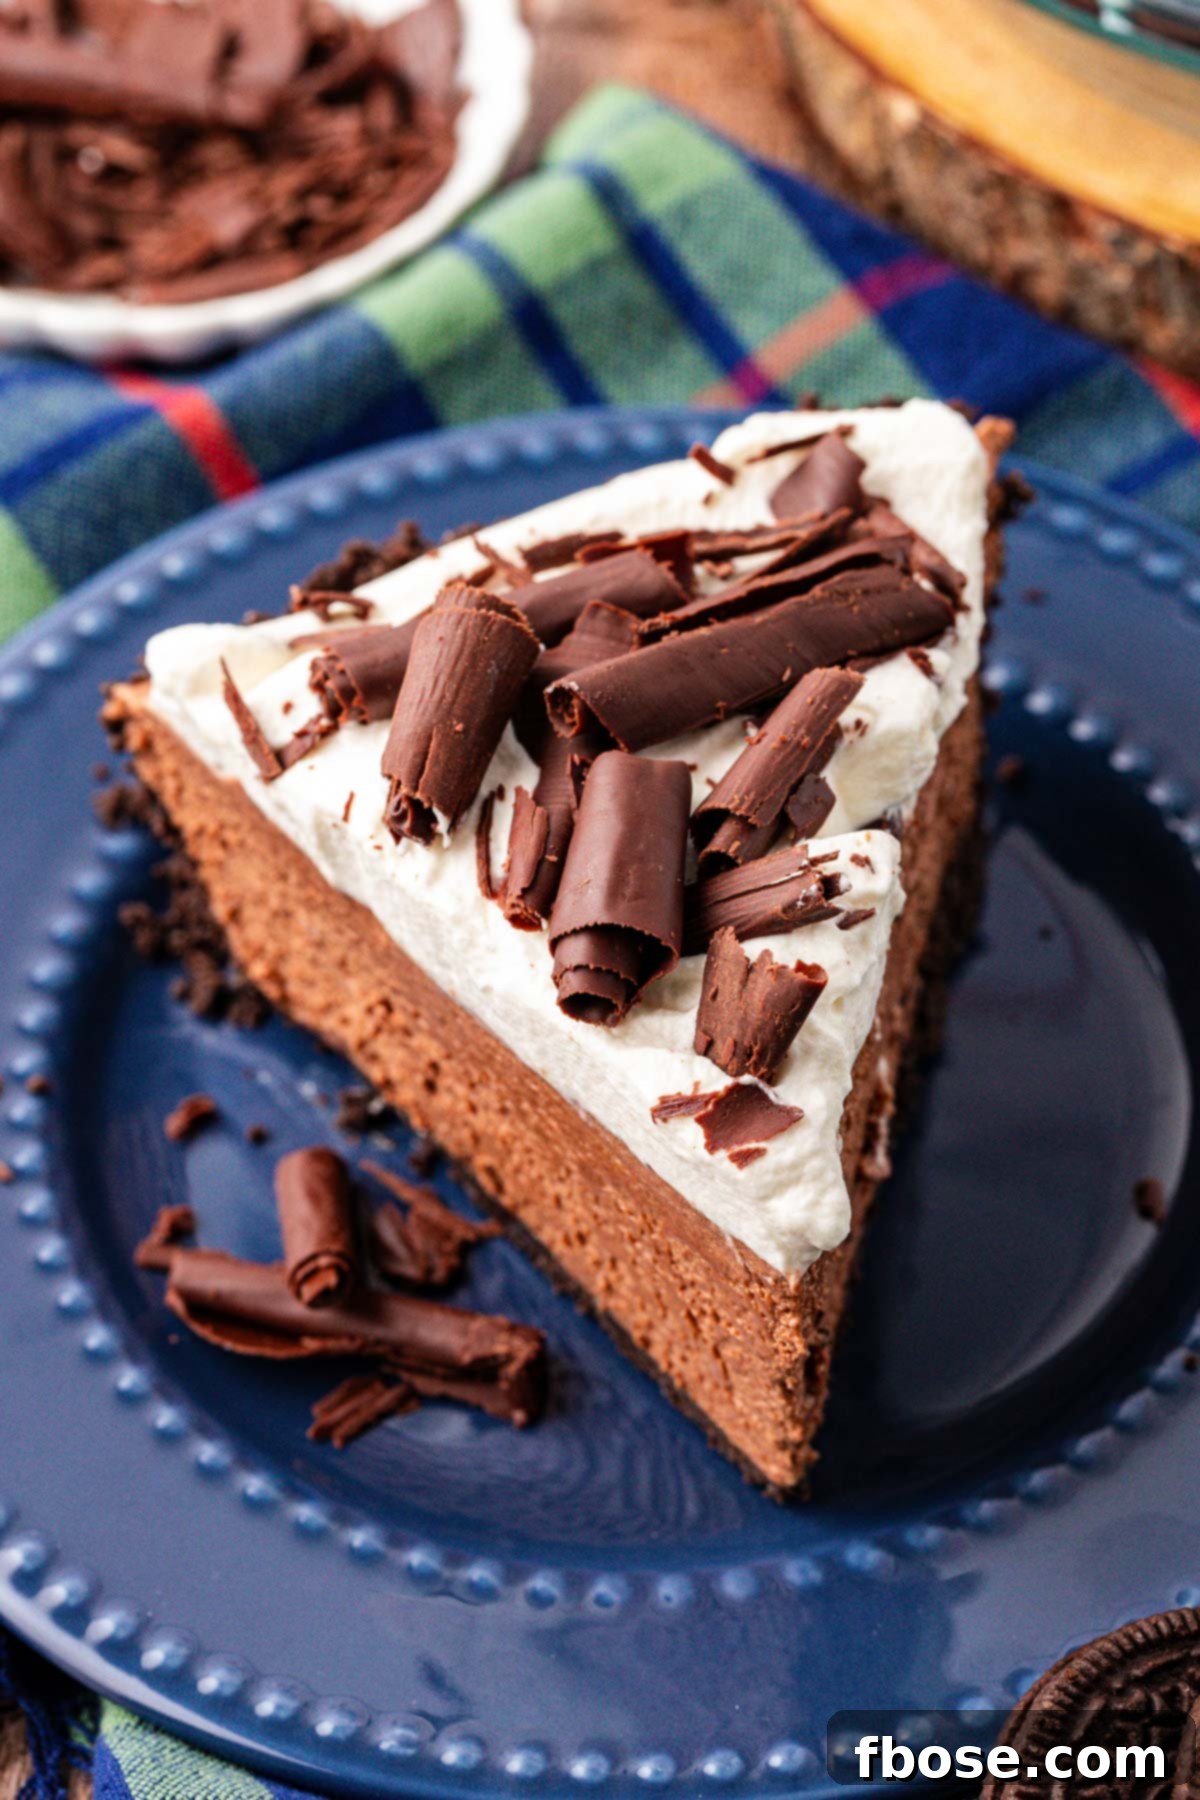
Explore More Decadent Pie Recipes:
If you loved this French Silk Pie, you’re sure to enjoy these other fantastic pie creations from our collection:
- No Bake Raspberry Cream Pie – A refreshing, sweet, and creamy pie with a delightful cheesecake-like filling, perfect for berry lovers.
- Butterfinger Pie – A deliciously crunchy and creamy no-bake pie, generously loaded with the unmistakable goodness of Butterfinger candy bars.
- Butterscotch Pie – Indulge in this comforting homemade pie, effortlessly crafted with pantry staple ingredients in a mere 15 minutes!
- Chocolate Toll House Pie – A beloved classic reimagined as a pie, featuring a chewy chocolate chip cookie filling. Serve it warm with a scoop of vanilla ice cream or a dollop of homemade whipped cream!
- Easy Cherry Hand Pies – These charming individual pies are made incredibly easy with store-bought pie crust, perfect for a grab-and-go treat.
Did You Make This Recipe?
If you’ve tried this delightful French Silk Pie recipe, we’d love to hear from you! Please leave a review and share your thoughts in the comments section below. Your feedback is incredibly valuable! Don’t forget to tag us – @sugarandsoulco – on Instagram and Pinterest with your beautiful photos. You can also join our Sugar & Soul Show-offs Community on Facebook and share your creations there!
This French Silk Pie recipe was originally published in October 2018. It was thoroughly retested and updated in April 2024 to include the improved recipe with cooked eggs for the filling, ensuring both deliciousness and peace of mind.
Chocolate Silk Pie
Ingredients
Oreo Crust
- 22 regular Oreos
- 4 tablespoons salted butter 56g
- ⅛ teaspoon salt
Filling
- 8 ounces bittersweet chocolate 227g, melted and cooled
- 1¼ cups heavy cream 300mL
- ¼ cup powdered sugar 25g
- 1 cup granulated sugar 200g
- 4 large eggs room temperature
- ¾ cup unsalted butter 170g, room temperature
- 1 tablespoon vanilla bean paste or extract
Topping
- 1 cup heavy cream 240mL
- 2 tablespoons powdered sugar
- 1 teaspoon vanilla extract
- chocolate curls
Instructions
Oreo Crust
-
Add 22 regular Oreos to a food processor and pulse until fine crumbs form.

-
Add 4 tablespoons salted butter and ⅛ teaspoon salt and pulse until fully combined.
-
Transfer the mixture to a 9-inch pie dish and press into the bottoms and sides.
Chocolate Filling
-
Break the 8 ounces bittersweet chocolate bars up into pieces and microwave at 20-second intervals, stirring between each one, until fully melted. Set aside.
-
In a medium bowl, beat 1¼ cups heavy cream and ¼ cup powdered sugar together with a hand mixer until stiff peaks form. Transfer to the refrigerator to chill.
-
Whisk together 1 cup granulated sugar and 4 large eggs constantly in a small saucepan over medium heat and cook to 160°F.
-
Remove from heat and add in the melted chocolate. Set aside.
-
In a stand mixer fitted with a paddle attachment, cream the ¾ cup unsalted butter and 1 tablespoon vanilla bean paste for 3 minutes.
-
Switch to a whisk attachment, and slowly add in the cooled chocolate and egg mixture while the mixer mixes on the “stir” setting.
-
Once all of the mixture is added, increase speed to medium-high and beat for an additional 5 minutes.
-
Fold the chilled whipped cream into the mixture with a rubber spatula.
-
Pour the filling into the prepared pie crust and transfer to the refrigerator to set for at least 6 hours, preferably overnight.
Whipped Topping
-
Just before serving, whip 1 cup heavy cream, 2 tablespoons powdered sugar, and 1 teaspoon vanilla extract in a stand mixer until soft peaks form.
-
Spread the whipped cream over the top of the set pie. Top with chocolate curls.
Video
Notes
- I love adding just a touch of almond extract to my French Silk Pie, as it beautifully enhances the chocolate flavor. However, if you don’t enjoy the flavor of almond, simply omit it from the recipe.
Nutrition
Did You Make This Recipe?
Don’t forget to share it with me on Instagram @sugarandsoulco and follow on Tiktok @sugarandsoulco and Pinterest @sugarandsoulco for more!
Pin Recipe
Share Recipe