
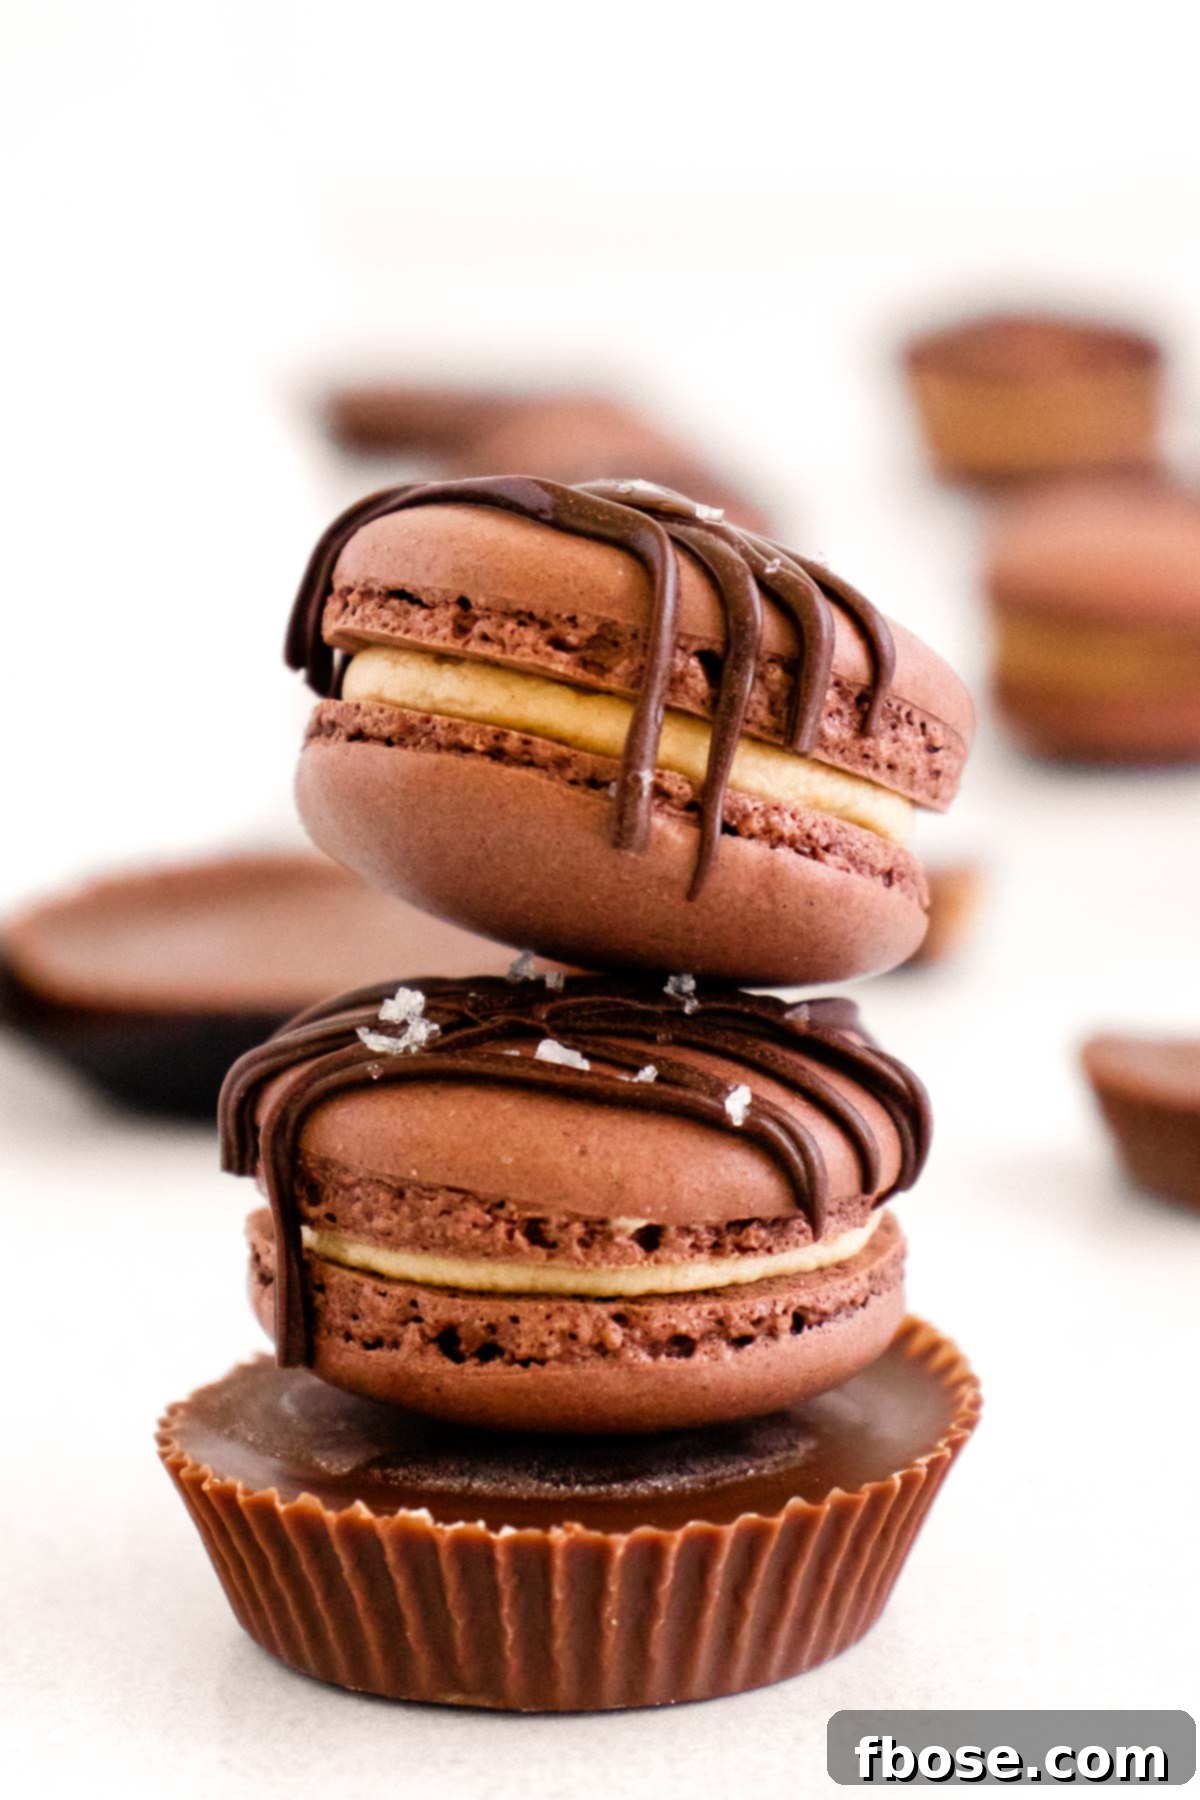
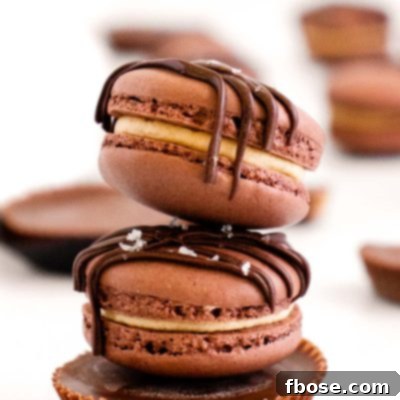
Chocolate Peanut Butter Macarons are an exquisite fusion of flavors, featuring a dreamy, fluffy peanut butter center nestled between perfectly baked, rich chocolaty meringue-based cookies. This comprehensive guide provides step-by-step instructions, expert tips, and essential insights to help you master this classic French dessert with a delightful American twist. Prepare to impress with these delicate, flavorful treats!
For those who, like me, find themselves utterly captivated by the harmonious marriage of chocolate and peanut butter, there’s even more to explore. Be sure to indulge your cravings with our equally irresistible Peanut Butter Chocolate Cheesecake and the luscious Chocolate Peanut Butter Poke Cake. These recipes perfectly complement the sweet and savory balance that makes this duo so beloved.
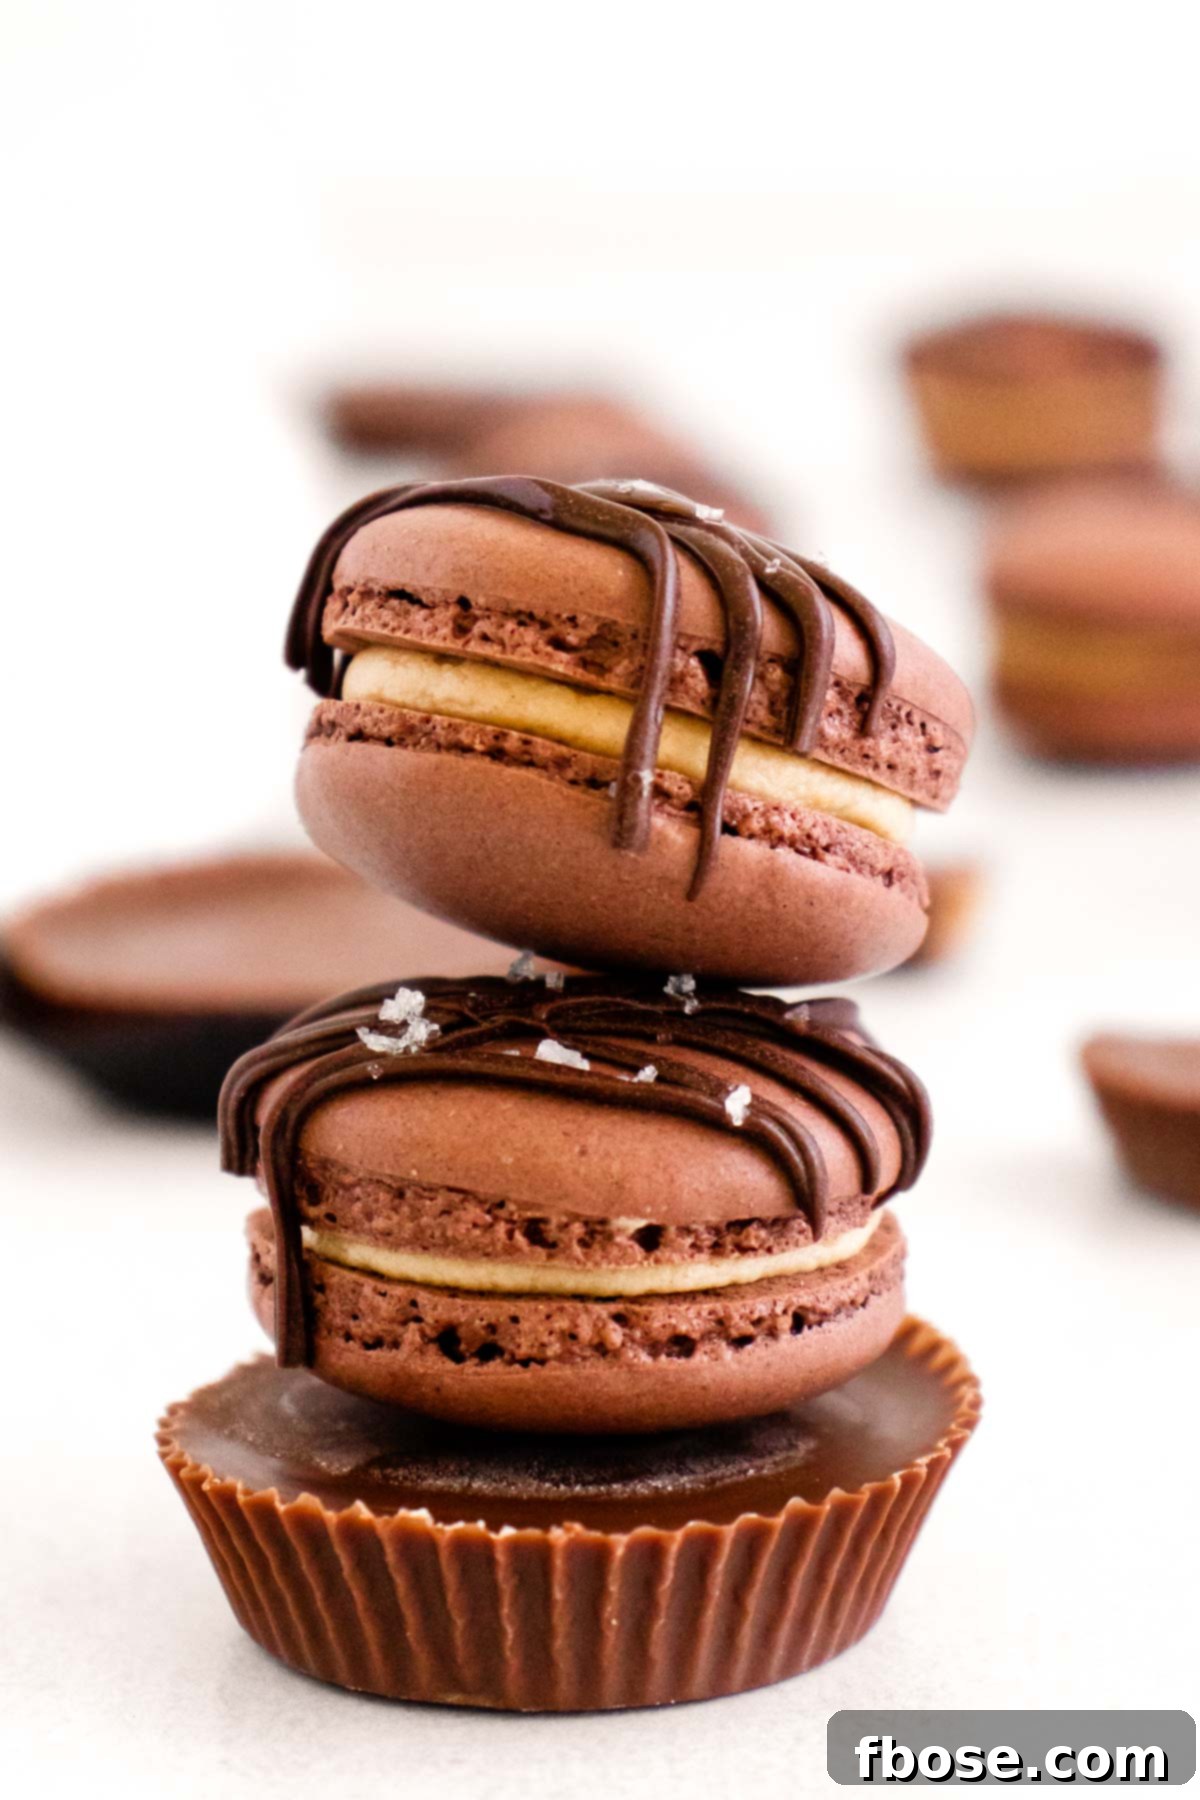
There’s arguably no more iconic and universally adored flavor combination than the delightful pairing of salty peanut butter with sweet, decadent chocolate. The mere thought of this delectable duo gracing a dessert spread is enough to make anyone’s knees go weak! These Chocolate Peanut Butter Macarons embody that irresistible appeal, elevating it to an art form.
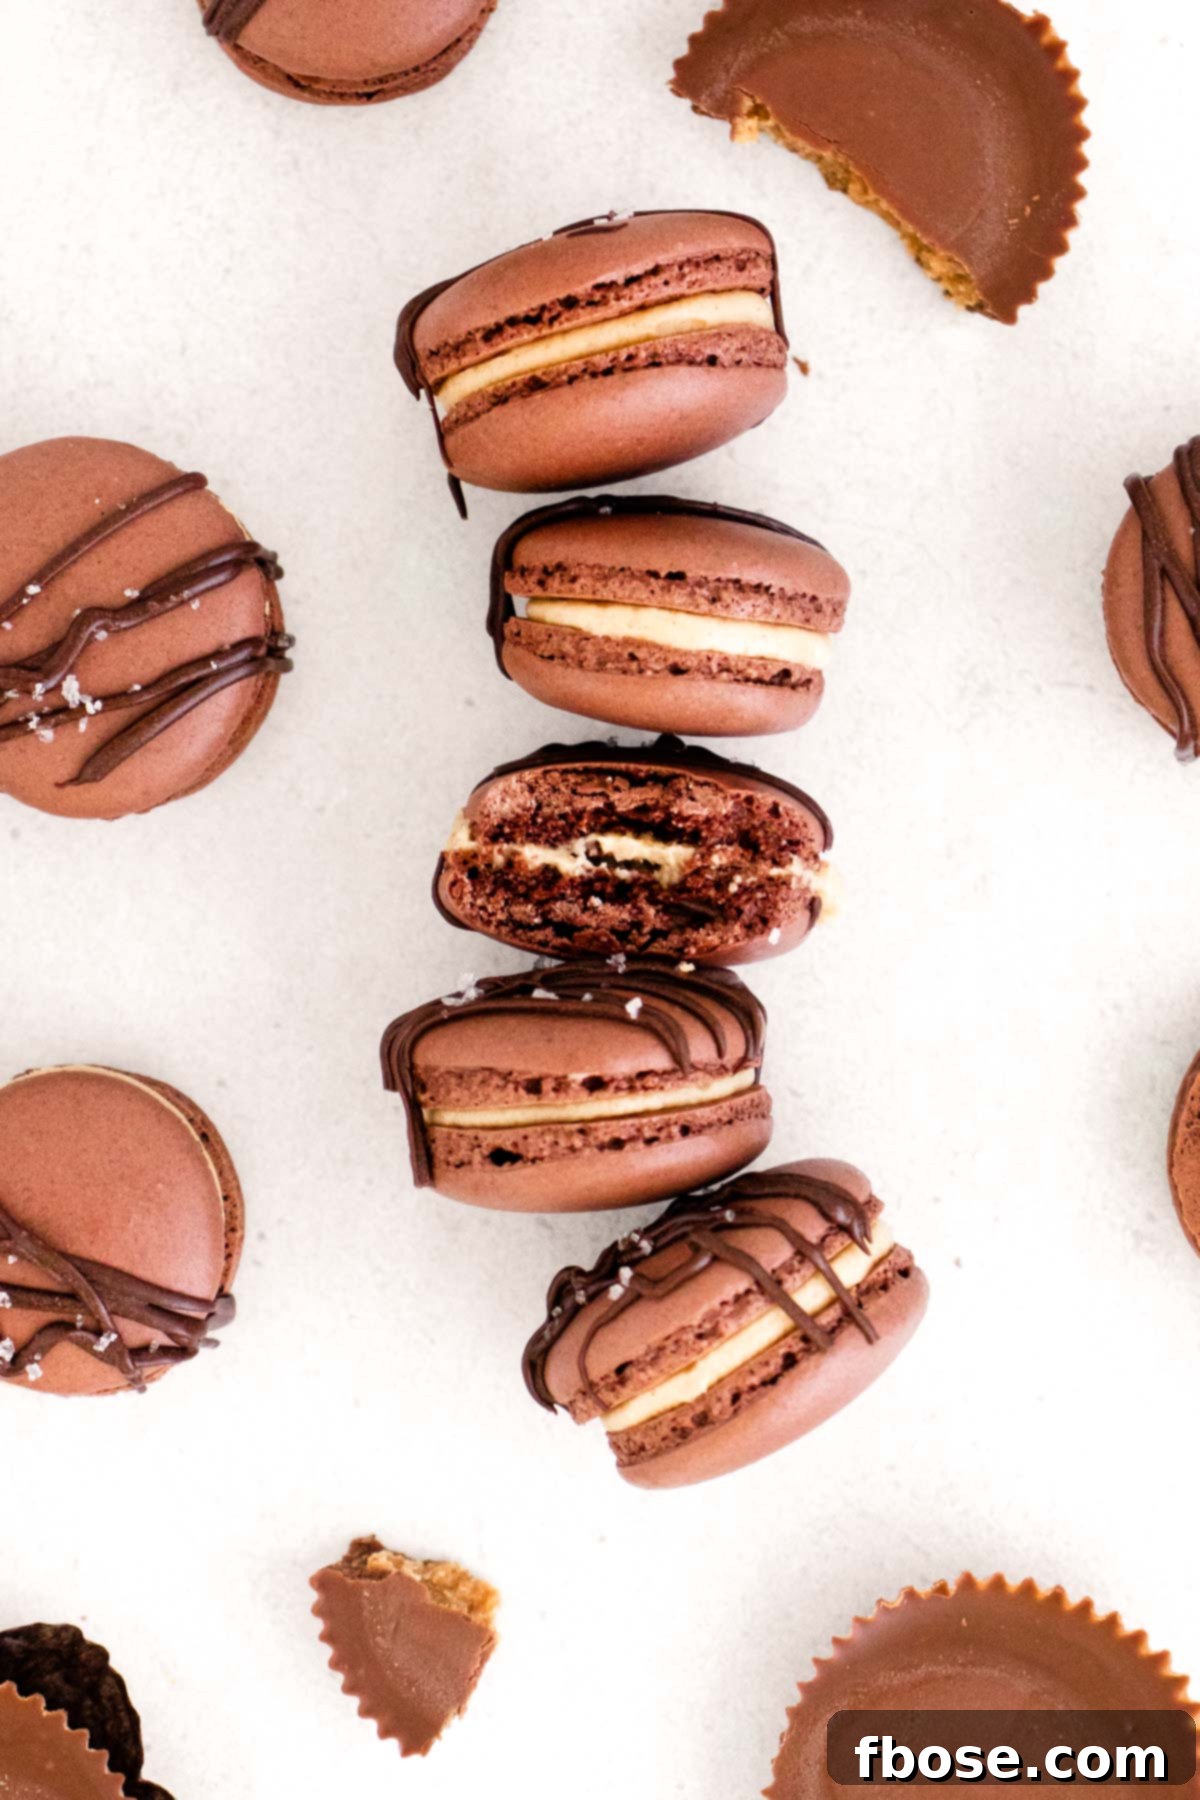
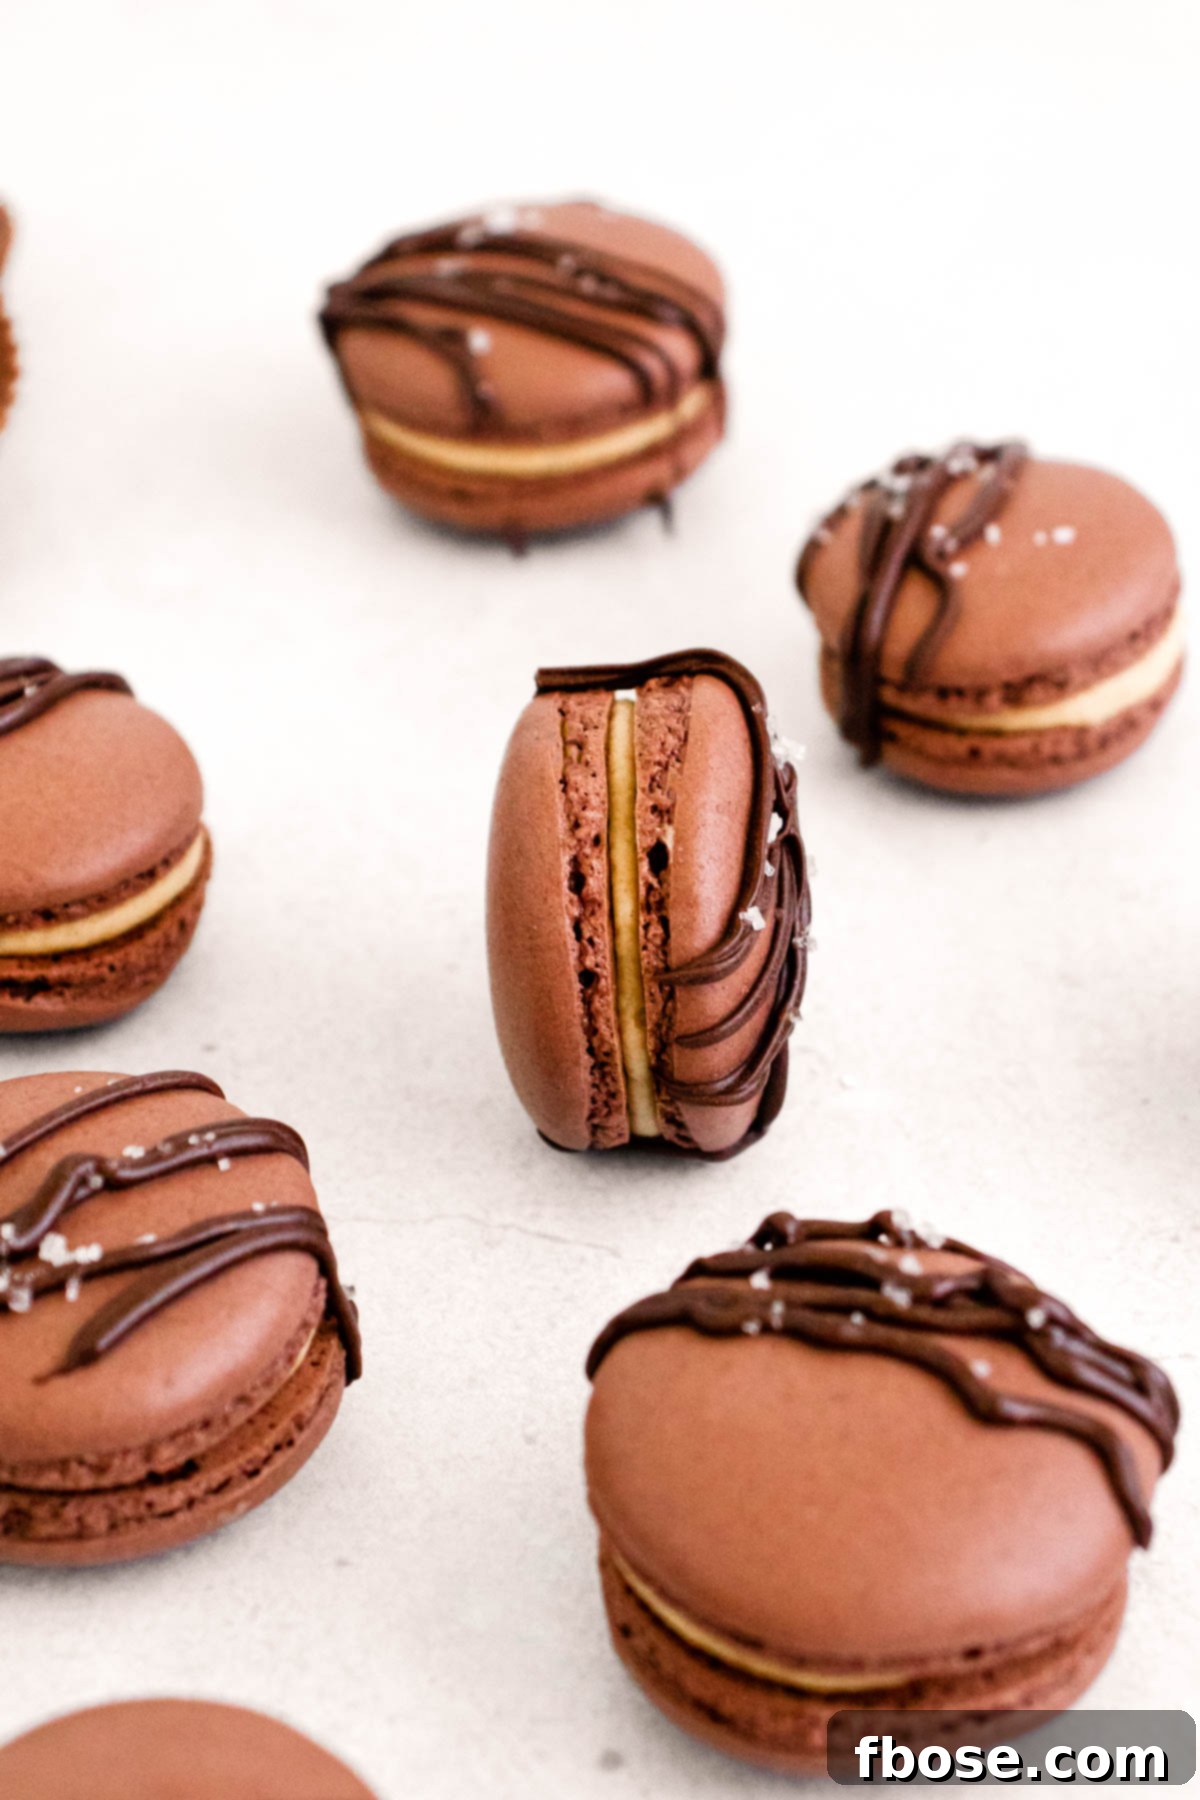
With their elegant appearance and delicate structure, these macarons might seem almost too beautiful to disturb. However, their taste is every bit as captivating as their visual charm. Take that first bite, and I guarantee you’ll be utterly smitten, lost in a world of flavor until the very last macaron vanishes. Each cookie offers a crisp exterior, a delightfully chewy interior, and a luscious, creamy filling that creates an unforgettable experience.
Crafting these French confections might seem daunting, but this recipe is designed to simplify the process. Most of the ingredients are pantry staples, with superfine almond flour being the primary specialty item you might need to acquire. Once you have this key ingredient, don your favorite apron and embark on a rewarding baking journey. I’ll walk you through each step, ensuring you achieve macaron perfection with confidence.
Essential Equipment for Perfect Macarons
Achieving macaron mastery relies heavily on having the right tools. These kitchen essentials will be your best friends in creating flawless chocolate peanut butter macarons:
- Kitchen Scale: Precision is paramount in macaron baking. Unlike volume measurements (cups and spoons), weighing your ingredients in grams ensures accuracy, which is crucial for the delicate balance required in macaron batter. This significantly increases your chances of success.
- Fine Mesh Strainer: This tool is indispensable for sifting dry ingredients like almond flour, powdered sugar, and cocoa powder. Sifting removes any larger clumps, ensuring a smooth, lump-free batter that leads to perfectly smooth macaron shells without unsightly bumps.
- Saucepan: A small saucepan is needed to create a bain-marie (water bath). You’ll place the bowl of egg whites and sugar over gently boiling water, allowing the sugar to dissolve completely into the egg whites, which is essential for a stable meringue.
- Stand Mixer: While a hand mixer can work, a stand mixer with a whisk attachment is highly recommended. It provides consistent, powerful whipping action to achieve the stiff peaks required for meringue, ensuring the correct batter consistency throughout the process.
- Silicone Spatula: A flexible silicone spatula is ideal for the ‘macaronage’ process—gently folding the dry ingredients into the meringue and deflating the batter to the perfect “lava stage.” Its flexibility helps you scrape the bowl thoroughly without overmixing.
- Piping Bags: These are essential for evenly piping the macaron batter onto baking sheets, helping you achieve uniform shapes and sizes. They are also used for neatly dispensing the peanut butter frosting when assembling the macaron sandwiches.
- Piping Tips: A round piping tip is preferred for piping macaron shells. I personally find the Wilton #10 tip provides excellent control and results in beautifully consistent rounds.
- Oven Thermometer: Oven temperature is incredibly critical for macaron success. Most home ovens fluctuate, so an independent oven thermometer ensures you’re baking at the exact temperature specified, preventing common issues like cracked shells or hollow interiors.
- Airtight Container: Once assembled, macarons benefit from aging. Storing them in an airtight container in the refrigerator overnight allows their flavors and textures to meld and mature, resulting in a chewier, more flavorful treat.
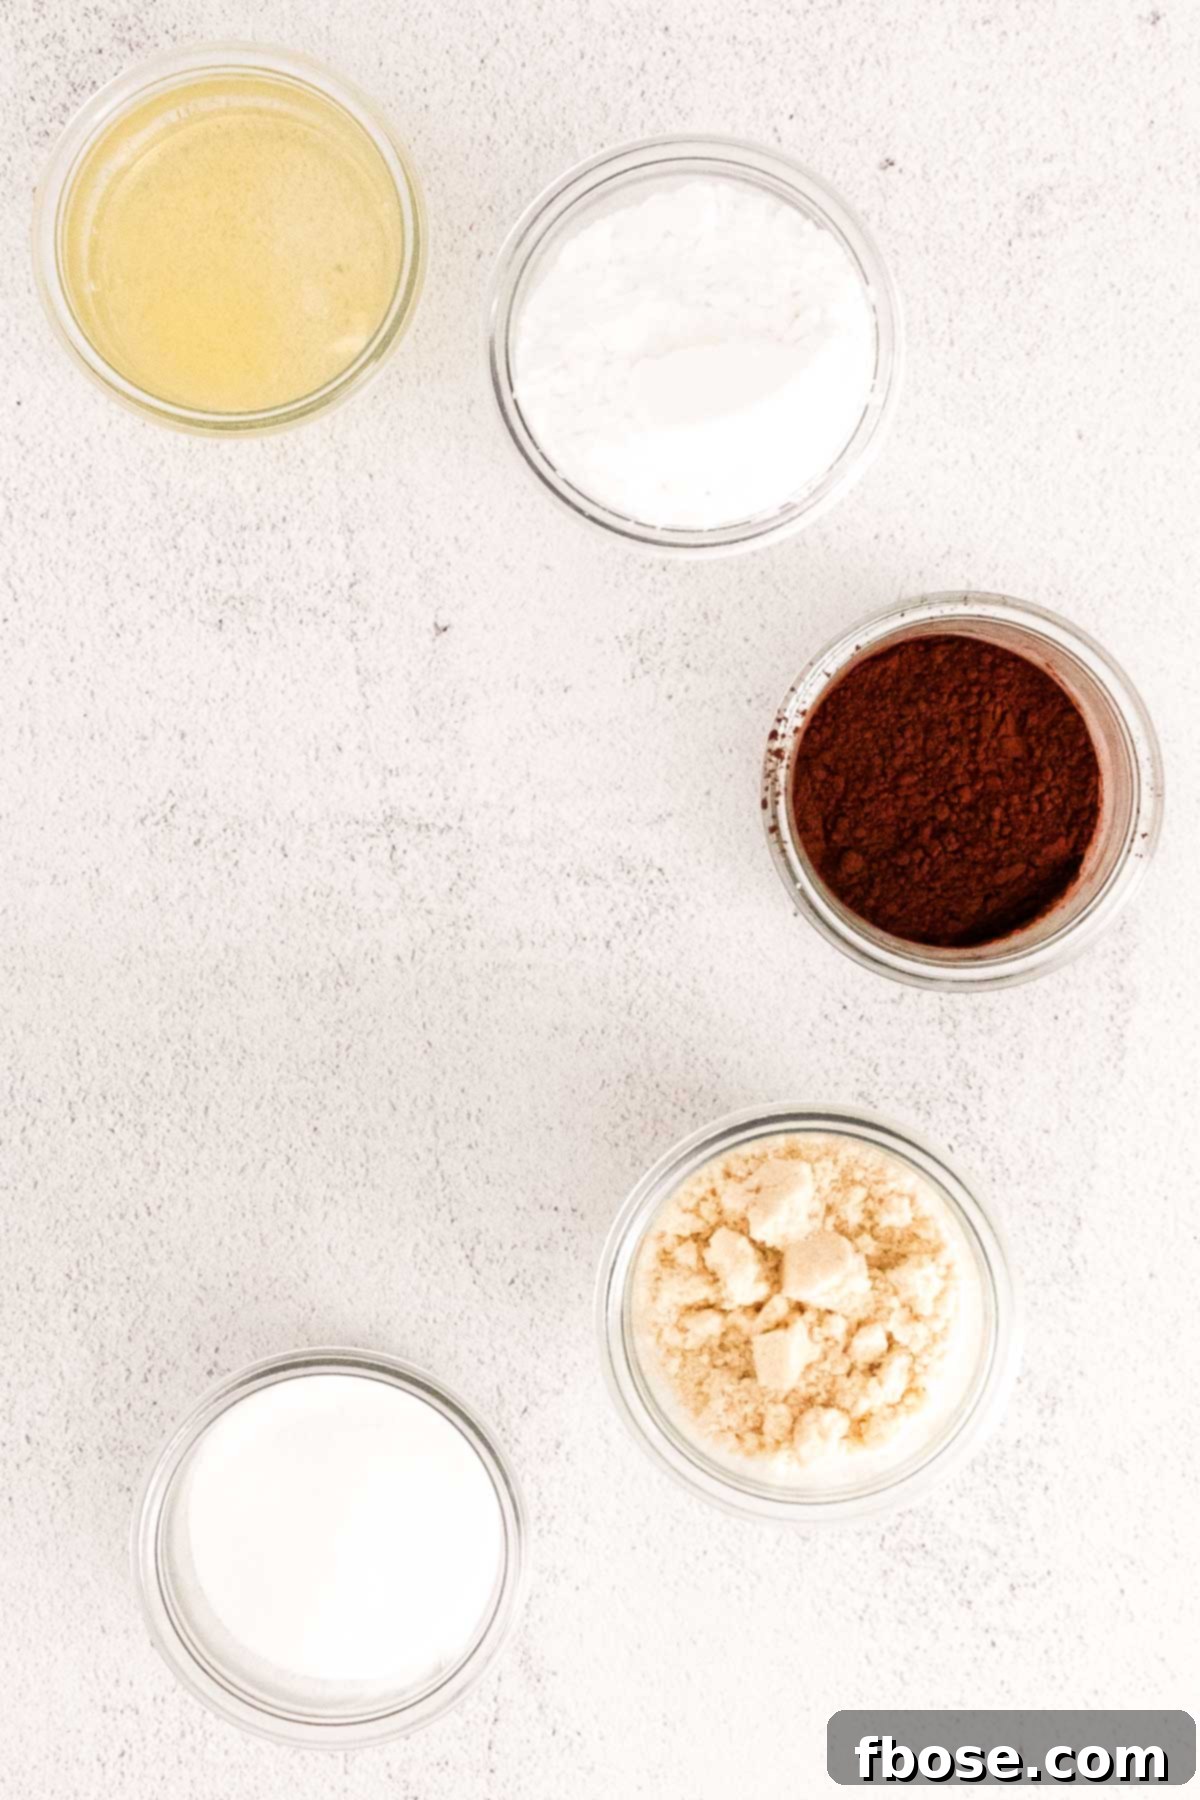
Delectable Chocolate Peanut Butter Macaron Ingredients
Crafting these extraordinary macarons requires a few key components for both the delicate shells and the rich, creamy filling. Understanding each ingredient’s role is vital for success:
For the Macaron Shells:
- Superfine Almond Flour: This is the star ingredient for macaron shells. It’s crucial to use *superfine* almond flour, which is ground much finer than regular almond meal. Almond meal contains larger bits of almond skin and a coarser texture, leading to bumpy, less delicate shells. Bob’s Red Mill is often a reliable brand for superfine almond flour.
- Powdered Sugar (Confectioners’ Sugar): This provides sweetness and helps stabilize the dry ingredient mixture, contributing to the smooth texture of the macaron shells.
- Cocoa Powder: Adds the rich, deep chocolate flavor and color to the shells. For best results and flavor, I recommend using Hershey’s Special Dark Cocoa Powder. Note: Some Dutch-processed cocoa powders, like Valrhona, have been found to be inconsistent with this particular recipe in testing, so it’s best to stick with standard natural or special dark varieties.
- Egg Whites: The foundation of the meringue, egg whites are whipped to create the structure and rise of the macaron shells. While some recipes insist on aged or room-temperature egg whites, I’ve found that fresh egg whites work just as well for this recipe. Precision in weighing them is more important than their temperature.
- Granulated Sugar: This sugar is combined with egg whites to form the Swiss meringue, providing stability, structure, and sweetness to the macaron shells. It dissolves over a double boiler, ensuring a smooth, glossy meringue.
For the Irresistible Peanut Butter Filling:
The heart of these macarons is a sweet and unbelievably creamy peanut butter frosting. This recipe uses a perfectly scaled-down version of my popular Peanut Butter Frosting recipe. You’ll need:
- Softened Unsalted Butter: Provides the creamy base for the frosting and aids in achieving a light, airy texture when creamed. Ensure it’s truly softened, not melted, for optimal results.
- Peanut Butter: Creamy peanut butter is essential here for a smooth, homogenous frosting. Natural peanut butter (oil separation) can alter the consistency, so stick to a classic creamy variety.
- Powdered Sugar: Sweetens and thickens the frosting, contributing to its smooth consistency.
- Heavy Cream: Added gradually, heavy cream helps achieve the desired light and fluffy texture, and allows for adjustments in consistency if the frosting is too stiff.
- Vanilla Extract: Enhances the overall flavor profile, adding a warm, aromatic note that complements both the chocolate and peanut butter beautifully.
For an intriguing alternative filling, my Peanut Butter Cream Cheese Frosting would also be a decadent choice, offering a slight tang that balances the sweetness.
How To Make Chocolate Peanut Butter Macarons
Crafting the Macaron Shells
The journey to perfect macaron shells begins with careful preparation and precise execution. Attention to detail at each step is key to achieving those coveted smooth tops and characteristic “feet.”
- Prepare Baking Sheets: Line two large baking sheets with parchment paper or a Silpat Baking Mat. It’s crucial that the lining lies perfectly flat to ensure your macarons bake into perfectly round shapes. If using parchment, a tiny dot of batter under each corner can help secure it. Silicone mats with pre-drawn circles can be incredibly helpful for maintaining uniform size.
- Sift Dry Ingredients: In a large bowl, sift together the precisely measured almond flour, powdered sugar, and cocoa powder using your fine mesh strainer. This step is non-negotiable for smooth shells, as it removes any lumps. Discard any larger pieces that remain in the sieve, then set this bowl of dry ingredients aside.
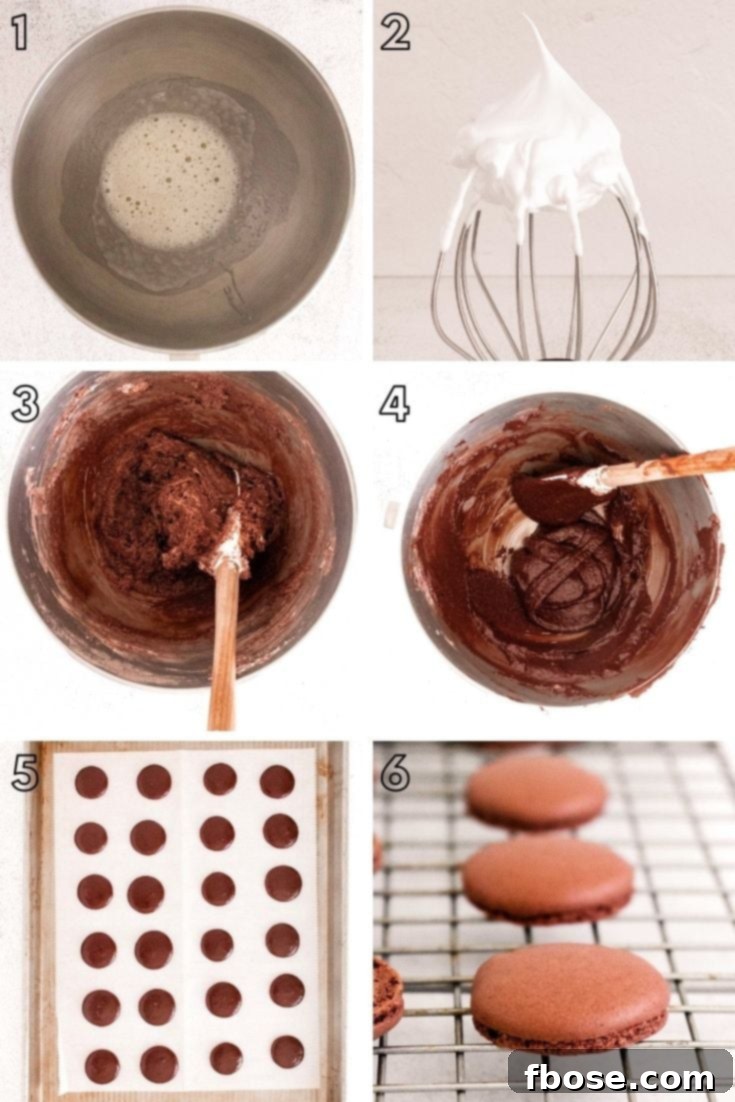
- Prepare Swiss Meringue Base: Fill a small saucepan halfway with water and bring it to a gentle boil over high heat. In the bowl of your stand mixer (ensure it’s completely grease-free), combine the weighed egg whites and granulated sugar. Once the water in the saucepan is boiling, remove it from the heat and carefully place the mixer bowl on top, ensuring the bottom of the bowl does not touch the water. Whisk the egg whites and sugar constantly for about 2 minutes, until the sugar has fully dissolved and the mixture is warm to the touch. This creates a stable Swiss meringue base.
- Whip Meringue to Stiff Peaks: Return the bowl to your stand mixer. Using the wire whisk attachment, whip the egg white mixture on medium-high speed (typically KitchenAid speeds 6-8) until very stiff, glossy peaks form. When you lift the whisk, the meringue should hold its shape firmly and point upwards without drooping. This could take 5-10 minutes, depending on your mixer.
- Incorporate Dry Ingredients (Macaronage Phase 1): Once the meringue is at stiff peaks, add approximately half of your sifted dry ingredients to the bowl. Using a silicone spatula, gently fold the dry ingredients into the meringue using a ‘cut and fold’ technique. Scrape down the sides of the bowl and fold from the bottom up. Continue until no large streaks or lumps of dry ingredients remain.
- Incorporate Remaining Dry Ingredients (Macaronage Phase 2): Add the second half of the dry ingredients and continue the gentle folding process. The goal here is to incorporate the dry mixture fully while carefully preserving as much air as possible in the meringue.
- Deflate to “Lava Stage”: Now comes the crucial “macaronage” step where you achieve the perfect batter consistency, also known as the “lava stage” or “ribbon stage.” To do this, gently but firmly smoosh the batter against the sides of the bowl with your spatula, then fold it back onto itself. Repeat this action, checking the consistency frequently. The batter is ready when it flows slowly and continuously off your spatula in a thick ribbon, allowing you to draw a figure-8 without the stream breaking for at least 10-15 seconds. Be careful not to overmix, as this will result in flat macarons without feet.
- Pipe Macaron Shells: Transfer the perfectly mixed macaron batter into a piping bag fitted with your chosen round tip (e.g., Wilton #10). Hold the piping bag perpendicular to the baking sheet and pipe uniform 1-inch (2.5 cm) round dollops onto the parchment-lined sheet, leaving about 2 inches (5 cm) between each macaron.
- Release Air Bubbles & Rest: After piping, firmly tap each baking sheet onto your counter 5-10 times. This helps release any trapped air bubbles within the batter, which can cause cracks during baking. Use a toothpick to pop any visible bubbles on the surface. Now, let the piped macarons rest at room temperature for at least 20-60 minutes, or until a “skin” forms on top. This is critical: the shells should no longer feel sticky when gently touched. While they rest, preheat your oven to 315°F (157°C).
- Bake Macarons: Once the skin has formed, bake the macarons in your preheated oven for 10 to 12 minutes. Baking time can vary by oven, so keep a close eye. They are done when they have developed their characteristic “feet” and are set, feeling firm and no longer wet in the center when gently touched.
- Cool Completely: Remove the baking sheets from the oven and allow the macarons to cool completely to room temperature on the sheets. Do not attempt to remove them prematurely, as they will stick and break. Once cool, they should easily lift off the parchment or Silpat.
Whipping Up the Creamy Peanut Butter Frosting
This Peanut Butter Macaron Filling is incredibly delicious and irresistibly fluffy, a smaller batch of my highly popular recipe tailored perfectly for these delicate cookies. It’s designed to be rich, creamy, and easy to pipe, creating a delightful contrast with the crisp chocolate shells.
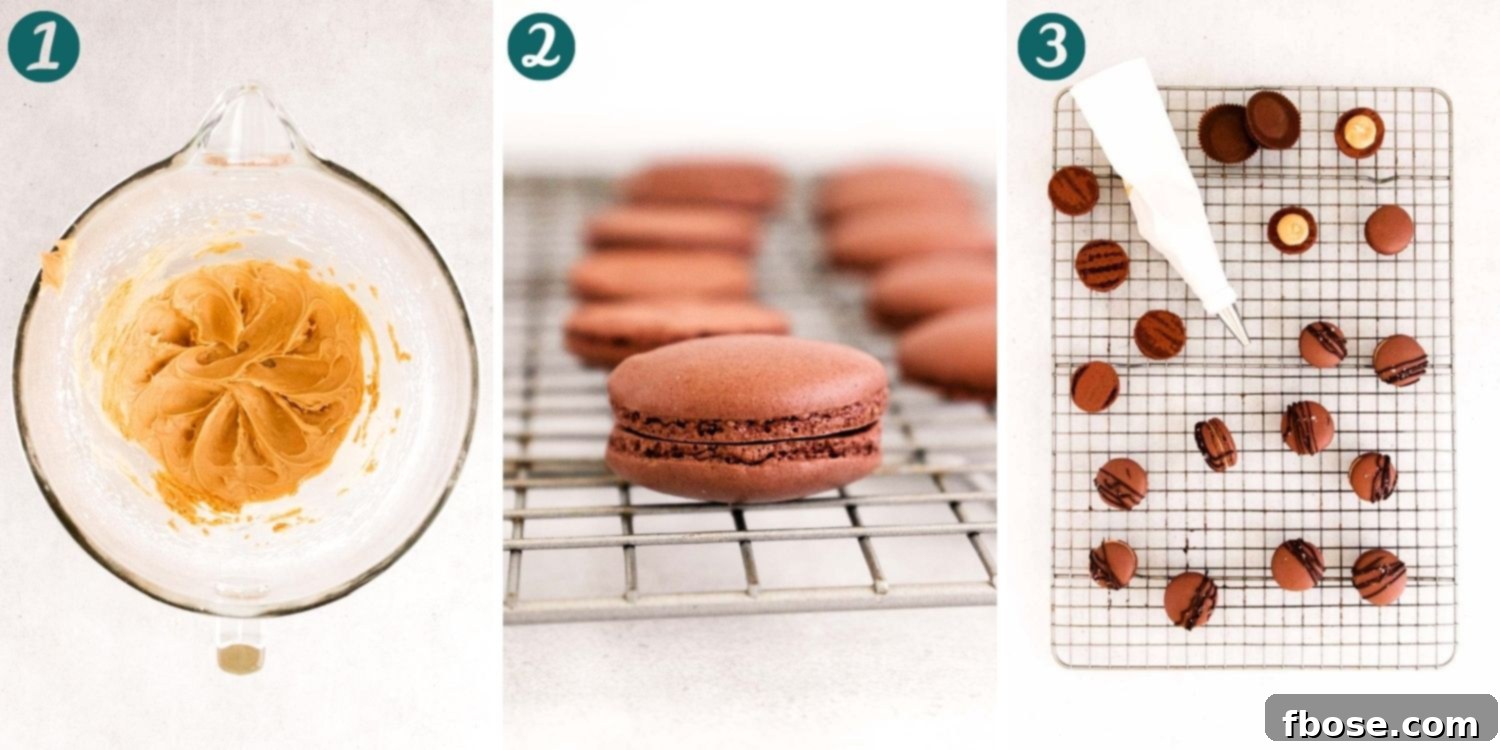
- Cream Butter and Peanut Butter: In the bowl of a stand mixer fitted with the paddle attachment, or using a large bowl and a hand mixer, cream together the softened unsalted butter and creamy peanut butter. Beat on medium speed until the mixture is light, smooth, and fluffy. This usually takes 2-3 minutes. Incorporate the vanilla extract and mix until just combined.
- Add Powdered Sugar and Heavy Cream: With the mixer on low speed, gradually add the powdered sugar, one cup at a time, alternating with small splashes (tablespoons) of heavy cream. This ensures a smooth incorporation and prevents a cloud of sugar from flying out of the bowl.
- Whip to Fluffy Perfection: Once all the powdered sugar has been added, increase the mixer speed to high and whip the frosting for another 1-2 minutes. This step is crucial for achieving a truly light, airy, and soft consistency, perfect for piping. If the frosting appears too stiff, add a tiny bit more heavy cream, half a teaspoon at a time, until it reaches the desired fluffy texture.
- Prepare for Piping: Transfer the finished peanut butter frosting to a piping bag. Set it aside while you prepare the macaron shells for assembly.
Assembling and Maturing Your Macarons
The final steps bring your macaron creations to life, turning individual shells into complete, harmonious desserts.
- Pair Shells: Carefully match cooled macaron shells into similar-sized pairs. This ensures a neat and aesthetically pleasing finished product.
- Fill Macarons: Take one macaron shell and pipe a small, generous dollop of peanut butter frosting onto its flat side, concentrating the frosting in the center. Then, gently place the matching macaron shell on top and press down ever so slightly. The frosting should spread almost to the edges, creating a perfect sandwich. Be careful not to press too hard, as this can crack the delicate shells.
- Complete Assembly: Repeat this process with all the remaining macaron shells until every one is paired and filled.
- Store and Age: Once assembled, place your chocolate peanut butter macarons in an airtight container and store them in the refrigerator overnight. This “aging” or “maturing” period is essential; it allows the filling to soften the meringue-based shells slightly, resulting in that coveted chewy texture and allowing the flavors to meld beautifully. For the best taste and texture, bring the macarons back to room temperature for about 15-20 minutes before serving.
Frequently Asked Questions About Macarons
Here are answers to some common questions that arise when baking macarons:
Why Won’t The Egg Whites And Sugar Mixture Peak Properly?
Several factors can prevent your meringue from forming stiff peaks. Ensure your mixing bowl and whisk attachment are completely free of grease or oil, as even a tiny speck can inhibit egg white frothing. Over-whipping or under-whipping can also be an issue. If you’re struggling, try adding ⅛ of a teaspoon of cream of tartar per egg white to the mixture before whipping. Cream of tartar is an acid that helps stabilize egg whites, making them more resilient and easier to whip into stiff peaks.
How To Store Macarons
For optimal freshness and flavor, store these delicious macarons in an airtight container in the refrigerator for up to 3 days. This also allows them to “age” and develop their perfect chewy texture. For longer storage, macarons can be frozen in an airtight container for up to 1-2 months. Thaw them in the refrigerator overnight and bring to room temperature before serving for the best experience.
What Is The “Lava Stage”?
The “lava stage,” also known as the “ribbon stage,” refers to the ideal consistency of macaron batter after the macaronage process. At this point, the batter should flow smoothly and continuously off your spatula, much like slow-moving lava or thick caramel. When you lift your spatula and let the batter fall back into the bowl, you should be able to draw a figure-8 with the stream of batter without it breaking. This consistency is crucial for creating smooth, stable shells with perfect “feet” during baking.
Craving more macaron adventures beyond this irresistible chocolate peanut butter version? Expand your baking repertoire with these fantastic recipes: try the refreshing Choc Mint Macarons for a cool twist, or indulge in the sophisticated sweetness of these Salted Caramel Macarons!
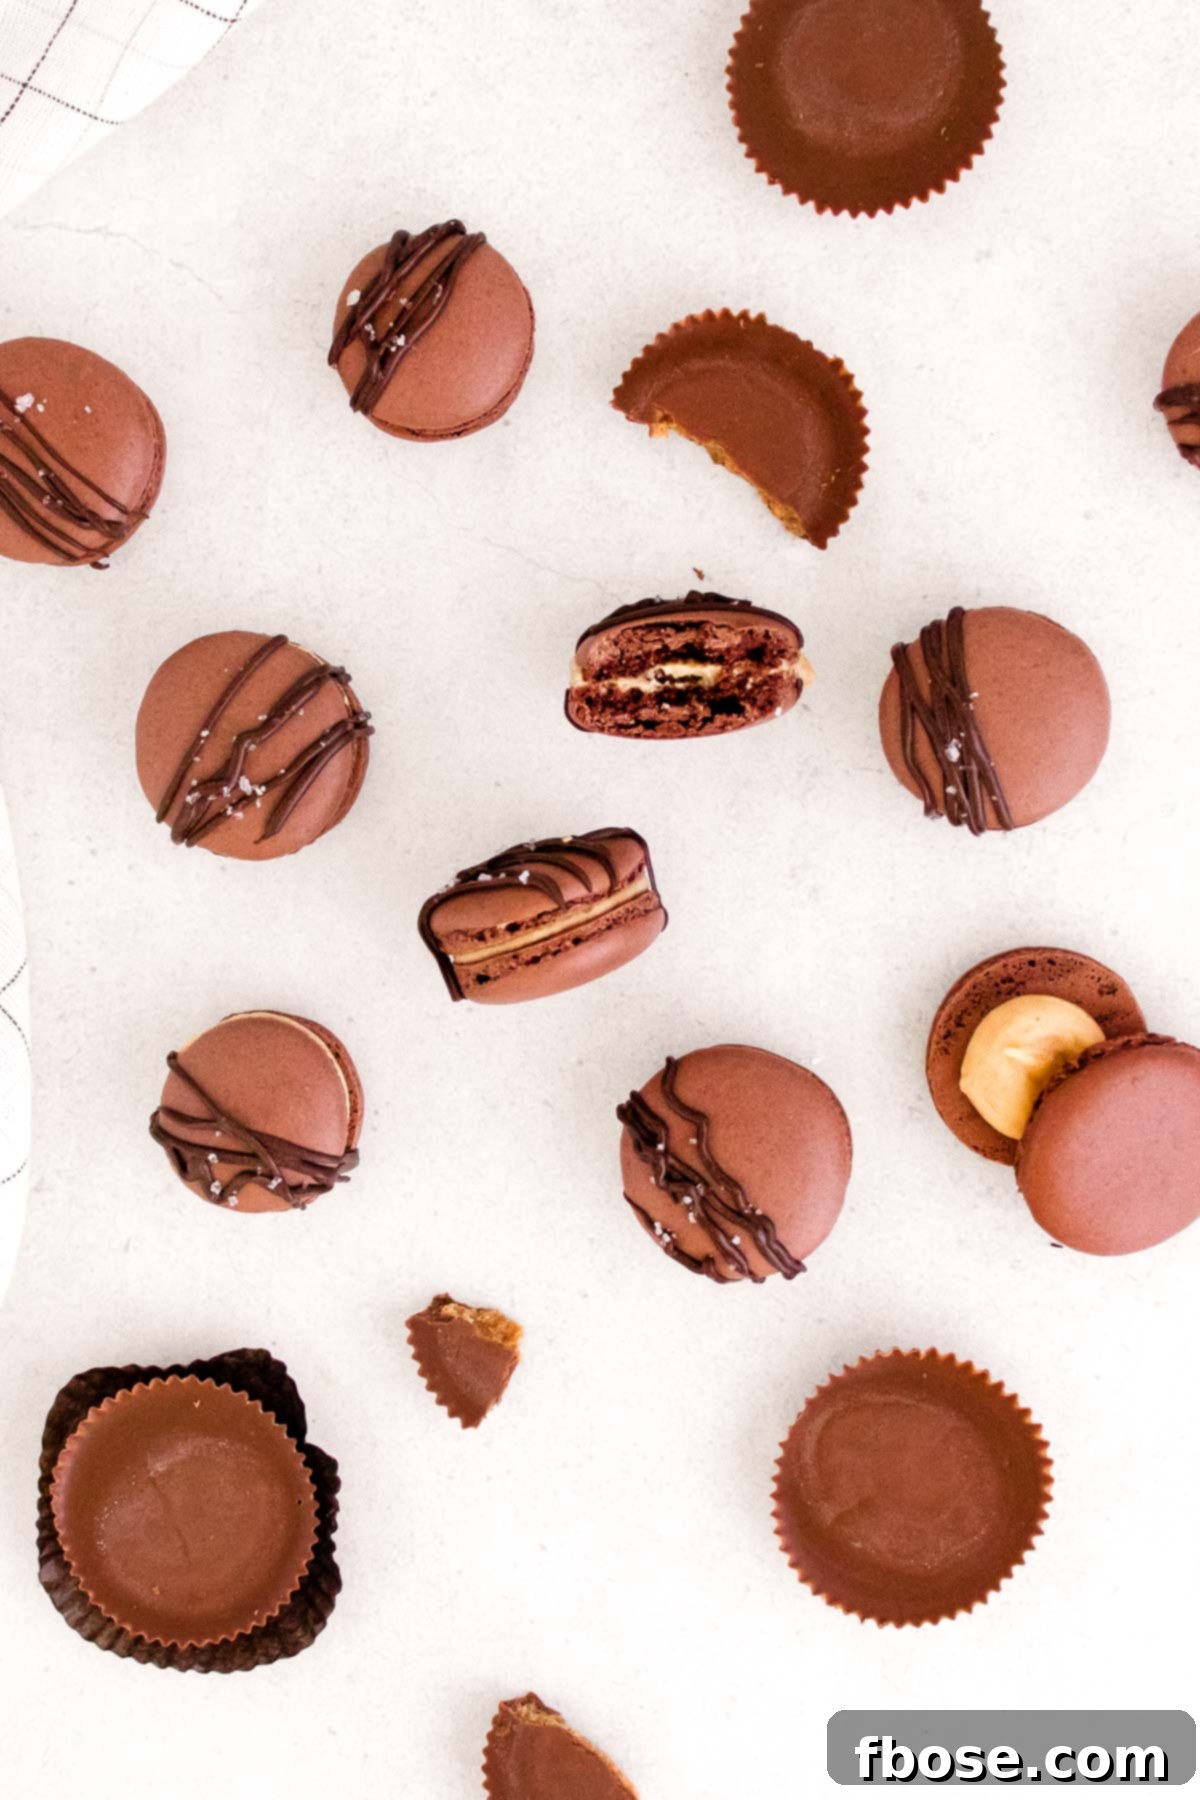
These delightful chocolate peanut butter macarons are perfect for any occasion. They make fantastic edible gifts, ideal for filling small pastry boxes to share with friends and family. Their elegant appearance and delicious flavor are sure to bring smiles. And once you’ve shared your masterpiece, why not delve into another one of our celebrated chocolate and peanut butter recipes? The possibilities for indulging in this perfect pairing are endless!
- Peanut Butter Chocolate Cookie Dough Cupcakes: These feature moist chocolate cupcakes, generously stuffed with edible cookie dough, and crowned with a luscious swirl of peanut butter frosting – a dream come true for cookie dough lovers!
- Easy Peanut Butter Buckeye Balls: A beloved, traditional no-bake treat that captures the essence of chocolate and peanut butter in a delightful bite-sized form, adored by the entire family.
- Soft Peanut Butter Chocolate Chip Cookies: Experience tender, chewy cookies elevated by the secret ingredient of vanilla pudding, making them incredibly soft and irresistible.
- Reese’s Stuffed Puff Pastry Donuts: Imagine a light, flaky pastry shell enveloping a rich, melt-in-your-mouth Reese’s Peanut Butter Cup – a truly indulgent treat.
- Peanut Butter & Chocolate Ice Cream Bread: An incredibly simple yet delicious recipe made with just 5 ingredients, perfect for a quick and satisfying dessert.
Let’s Connect!
If you’ve tried this delightful recipe, please share your experience! Let me know how you liked it in the comments below and consider leaving a review. Your feedback truly means the world to me!
Don’t forget to tag me – @sugarandsoulco – on Instagram and Pinterest with your beautiful photos, or join our Sugar & Soul Show-offs Community on Facebook and share them there. We’d love for you to join our recipe challenges!
Chocolate and Peanut Butter French Macarons
Ingredients
For the Macaron Shell
- 75 grams almond flour
- 65 grams powdered sugar
- 10 grams cocoa powder
- 75 grams egg whites
- 75 grams granulated sugar
For the Filling
- ¼ cup creamy peanut butter
- 4 tablespoons unsalted butter softened
- ¾ cup powdered sugar
- 1 teaspoon vanilla extract
- 1 tablespoon heavy cream if needed
Instructions
Make the Macaron Shells
-
Line two large sheet pans with parchment paper. Make sure the parchment paper lies flat so you can achieve perfectly round macarons.
-
Add the almond flour, powdered sugar, and cocoa powder to a fine mesh sieve set over a large bowl. Sift the dry ingredients into the bowl, discarding any large lumps that remain. Set aside.
-
Fill a small saucepan half way with water. Bring it to a boil over high heat.
-
In the bowl of a stand mixer, combine the egg whites and granulated sugar. Remove the saucepan of water from the heat and place the bowl on top of the water. Whisk the egg whites until the sugar has dissolved— about 2 minutes.
-
Return the bowl to the stand mixer and whip on medium-high speed (Kitchenaid #6-8) using the wire whisk until stiff peaks form.
-
Once the meringue has reached a stiff peak, add half of the dry ingredients and fold it into the egg whites using a silicone spatula.
-
Once no large lumps remain, add the second half of the dry ingredients and repeat the folding until they are fully incorporated.
-
Next, deflate the meringue by smushing the batter against the sides of the bowl and then folding it back onto itself. Repeat until the meringue is at the “lava stage”. (See notes)
-
Transfer the meringue to a piping bag fitted with a round tip (I like a Wilton #10).
-
Pipe 1-inch circles about 2 inches apart on the parchment-lined baking sheet.
-
Hold the tray a few inches off the counter and drop it straight down to release any air bubbles. Repeat 5 times, or until you don’t see any large air bubbles.
-
Allow the macarons to rest at room temperature for at least 20 minutes, or until they develop a skin. While the macarons rest, preheat your oven to 315°F.
-
When the macarons are ready to bake, you should be able to touch them without the batter sticking to your finger. Bake the macarons in a pre-heated oven for 10 to 12 minutes, or until they are set and no longer wet in the center.
-
Leave the macarons on the baking sheet until they’ve cooled to room temperature.
Make the Filling
-
In the bowl of a stand mixer fitted with the paddle attachment, cream together the peanut butter and softened butter until light and fluffy. Add the vanilla and mix until incorporated.
-
With the mixer on low, slowly add in the powdered sugar. When all of the powdered sugar has been added, turn the mixer to high and allow the icing to whip until light and soft — about 2 minutes.
-
If the mixture is dry and not coming together properly, add the heavy cream and whip on high again until light and fluffy.
-
Transfer the filling to a piping bag and set aside.
Assemble & Store
-
Once the macarons have cooled, place them in similar sized pairs. Pipe a small dollop of frosting in the center of one macaron. Then, place the second shell on top and gently press down so the filling spreads to the edges. Repeat with the remaining macarons.
-
Store the macarons in an airtight container in the refrigerator to age overnight. Bring to room temperature before serving.
Notes
- Make sure to use Superfine Almond Flour— it is not the same thing as Almond Meal. My preferred brand is Bob’s Red Mill.
- I like using Hershey’s Special Dark Cocoa Powder.
- I have tested this recipe with Valrhona Dutch Processed Cocoa Powder many times and it has never worked.
- Your egg whites can, but do not have to be, at room temperature.
- When your meringue is at the “lava stage”, it should flow smoothly like caramel. You should be able to draw a figure 8 in the batter without the stream of meringue breaking.
- Knowing your oven is very important when making macarons. Most home ovens are not accurate so an oven thermometer is highly recommended.
Nutrition
Did You Make This Recipe?
Don’t forget to share it with me on Instagram @sugarandsoulco and follow on Tiktok @sugarandsoulco and Pinterest @sugarandsoulco for more!
Pin Recipe
Share Recipe