

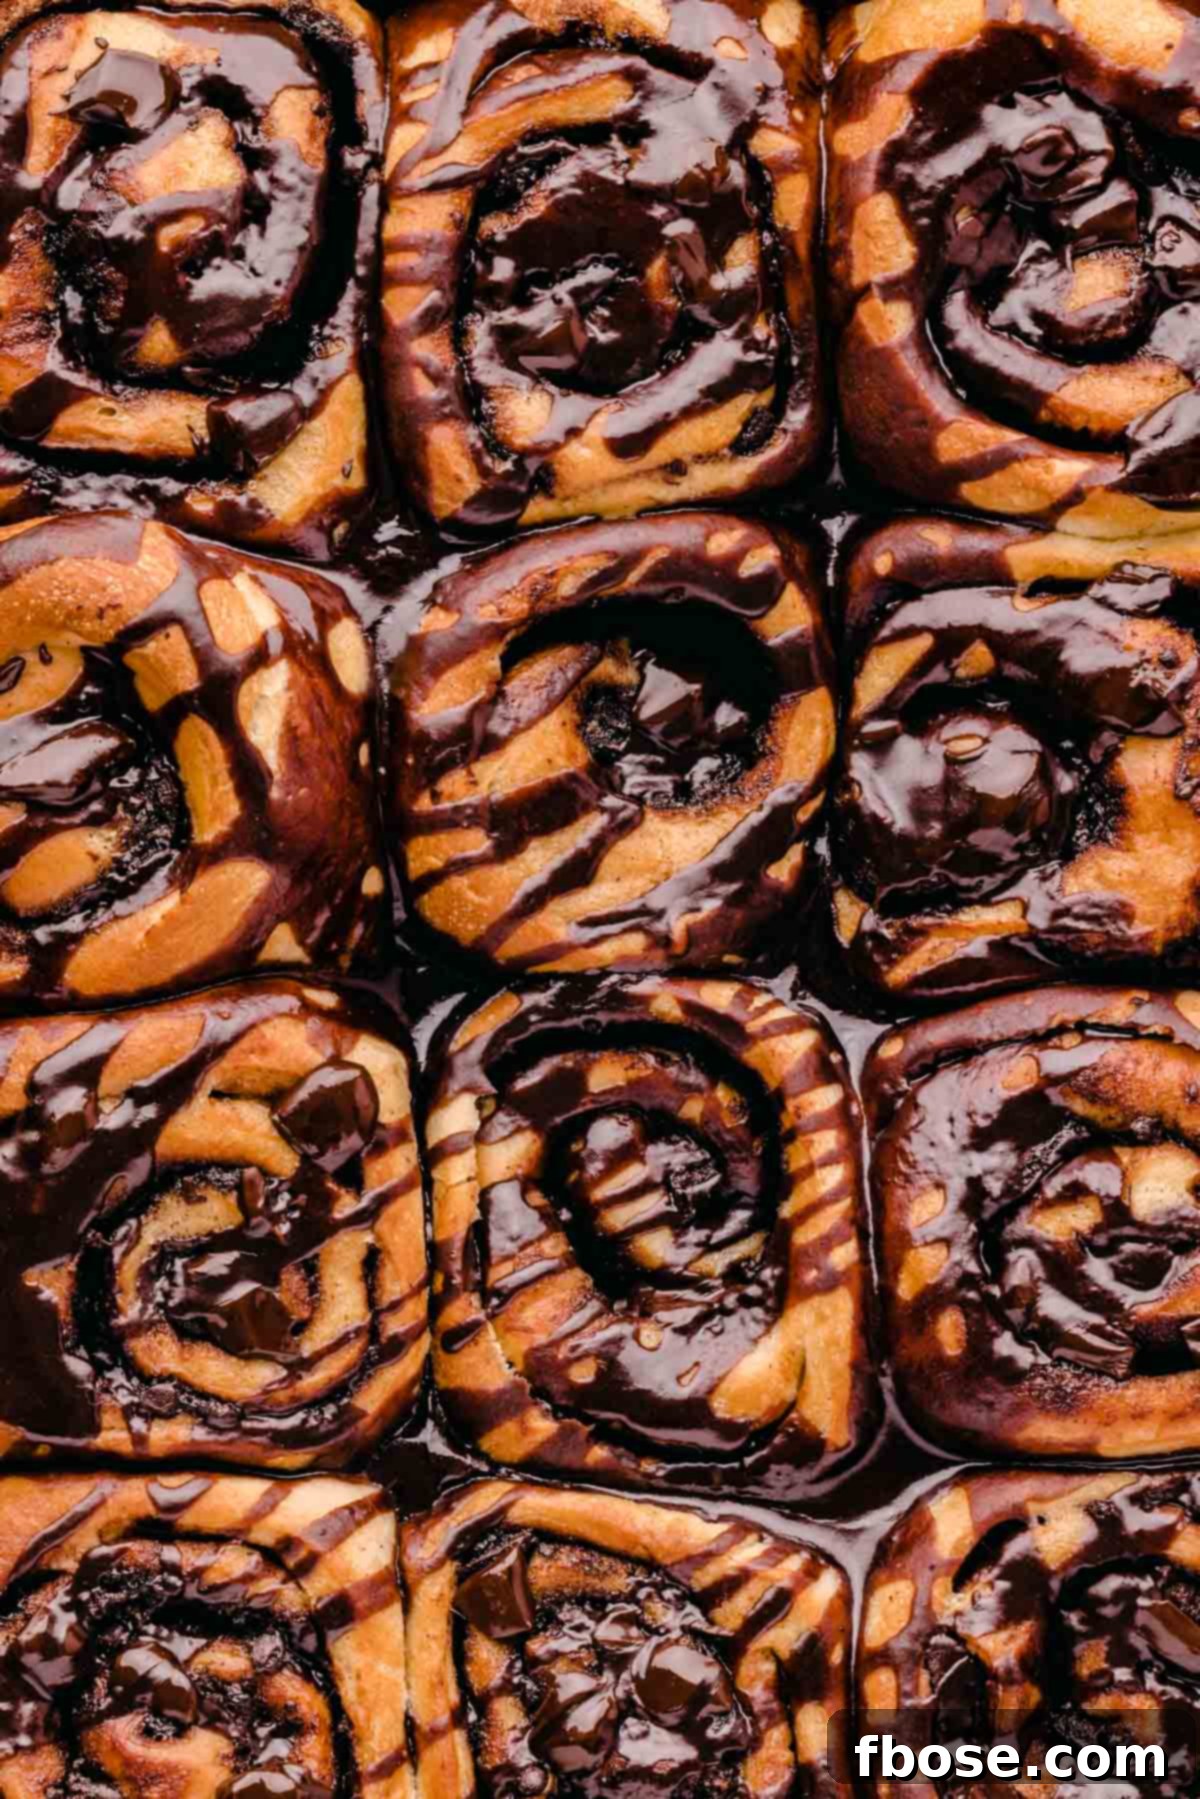
Indulge in the ultimate breakfast delight with these incredibly rich and gooey Chocolate Cinnamon Rolls. Imagine golden brown, soft yeast rolls, generously swirled with a luscious chocolate-cinnamon filling, and crowned with a decadent chocolate glaze. This isn’t just a pastry; it’s an experience designed to make your mornings extraordinary. Crafted from simple pantry staples, you can whip up a batch of these irresistible treats in less than two and a half hours, transforming an ordinary day into something truly special.
While classic cinnamon rolls hold a cherished place in our hearts, these chocolate-infused versions elevate the experience to an entirely new level. If you’re looking for variations, explore a classic no-yeast cinnamon roll recipe for a quicker take, or a comforting cinnamon roll casserole that’s perfect for feeding a crowd.
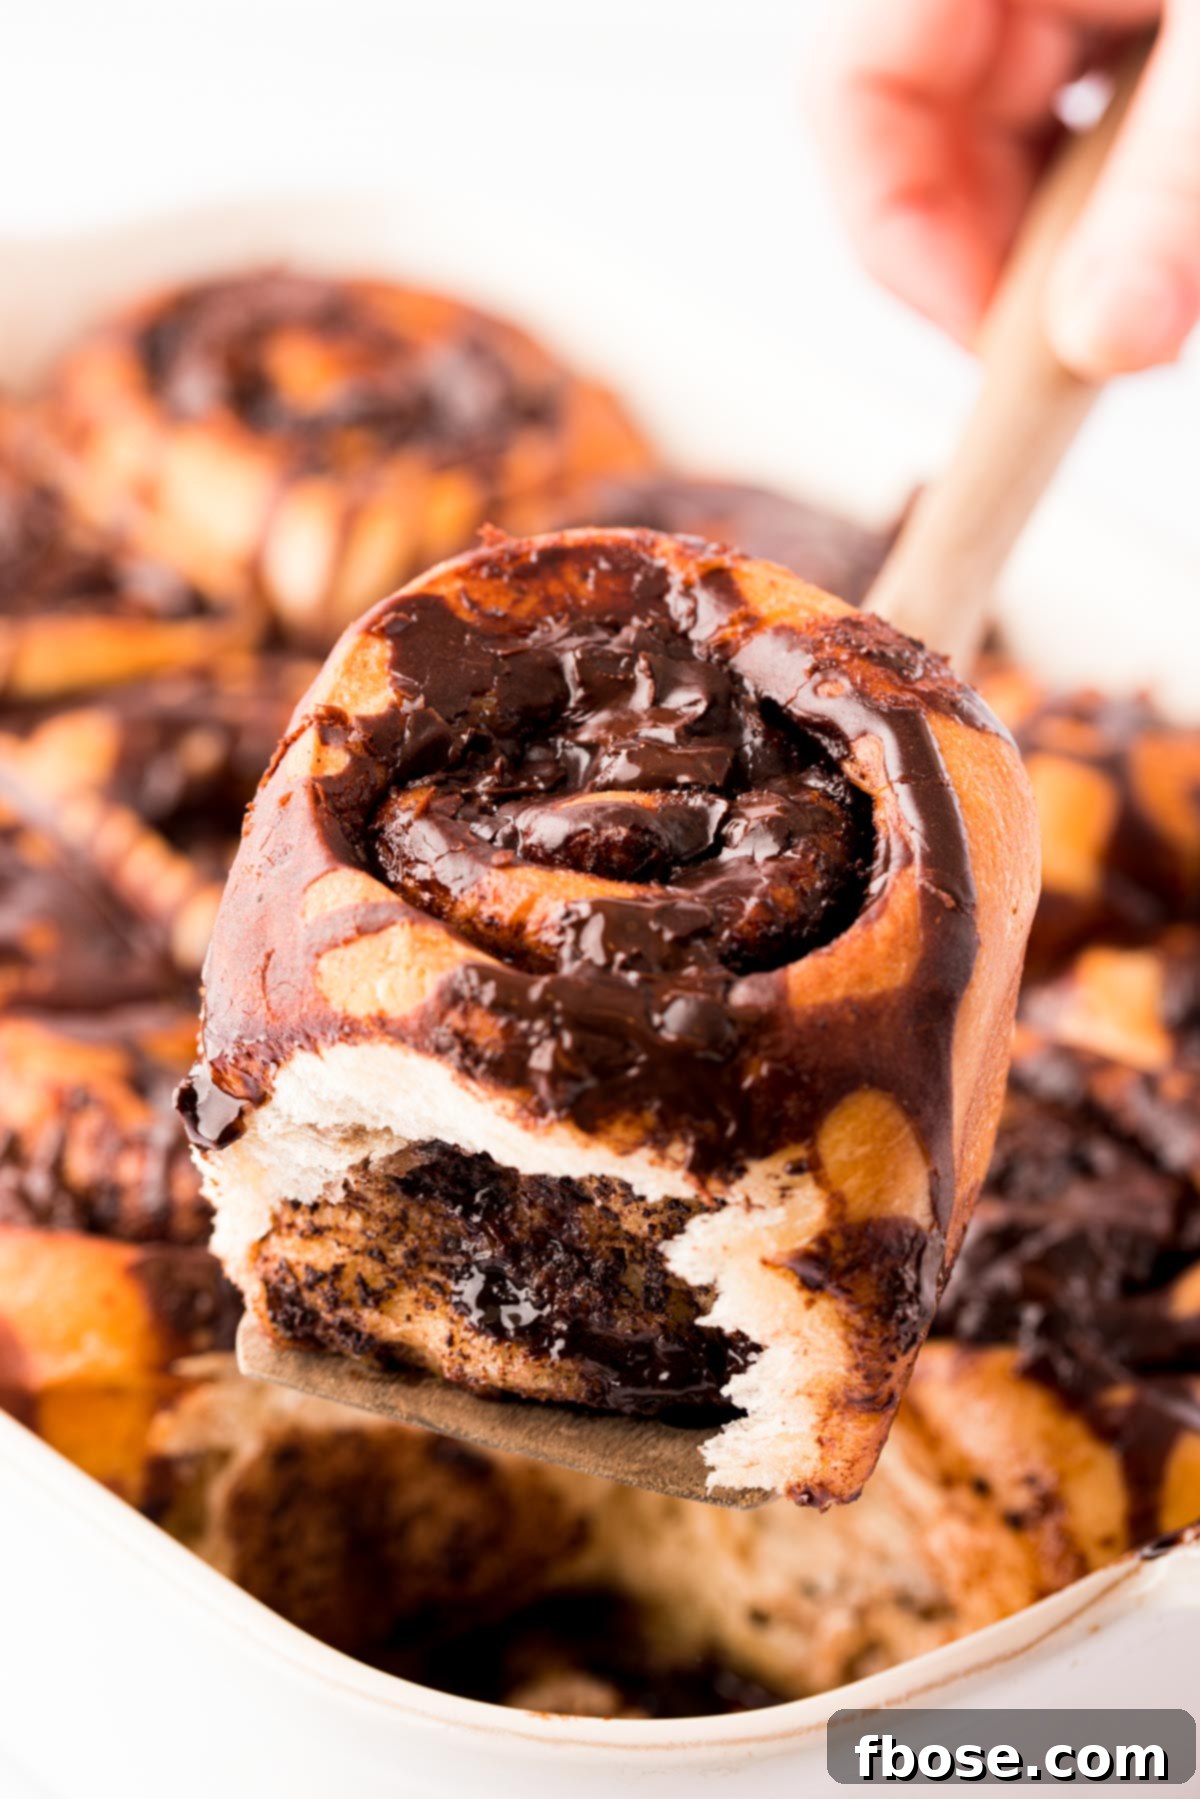
Surprise your family or treat yourself to a batch of these heavenly Chocolate Cinnamon Rolls. Each bite promises a blissful journey through tender dough, sweet, aromatic filling, and a finger-licking chocolate glaze. It’s the kind of breakfast that leaves you with gooey fingers and a happy heart, unraveling layers of pure deliciousness. This recipe reimagines the beloved cinnamon bun, infusing it with deep chocolate notes that make it feel more like a permissible dessert for breakfast – a concept that’s sure to garner zero complaints from anyone lucky enough to share them with you.
The Irresistible Harmony of Chocolate and Cinnamon
Does chocolate truly belong with cinnamon? Absolutely! This ancient flavor pairing is a culinary revelation, creating a deep, complex, and utterly divine taste that transcends ordinary sweets. When the warm, comforting spice of cinnamon meets the rich, sometimes bitter, notes of chocolate, the result is an incredibly profound and satisfying flavor profile. This combination is particularly popular in Mexican cuisine, and for excellent reason. Have you ever experienced the rich warmth of Mexican Hot Chocolate? It’s a testament to how perfectly these two ingredients complement each other, offering a cozy and luxurious sensation that will leave you craving more. These chocolate cinnamon rolls tap into that same magical synergy, delivering a breakfast that feels both familiar and excitingly new.
Essential Ingredients for Perfect Chocolate Cinnamon Rolls
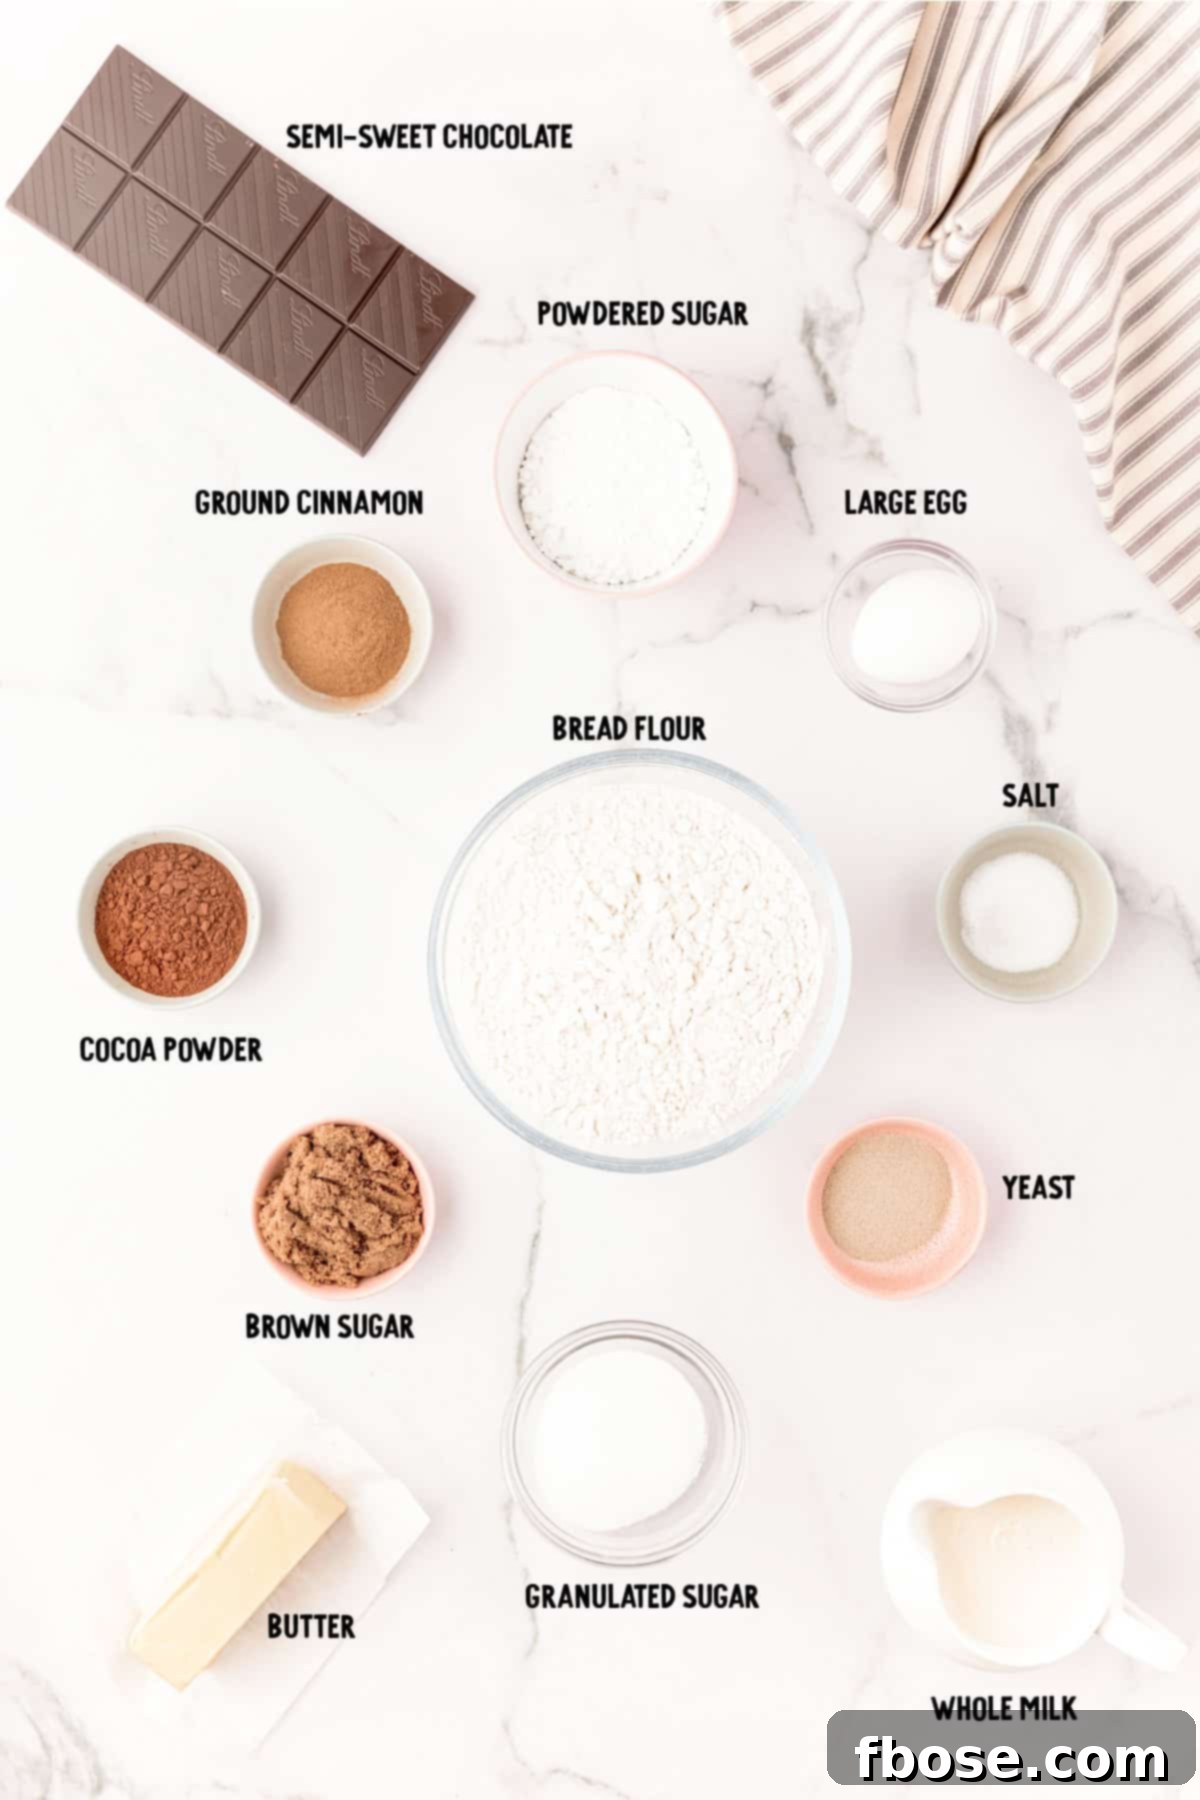
Crafting these extraordinary chocolate cinnamon rolls begins with a selection of pantry staples, each playing a crucial role in achieving their signature texture and flavor. The dough relies on active yeast, which is brought to life by warm whole milk, ensuring a soft and airy rise. This activated yeast then combines with granulated sugar, a large egg, a hint of salt, perfectly melted butter, and high-quality white bread flour. Bread flour is particularly recommended for its higher protein content, which contributes to a more elastic dough and a superior, chewier final product.
Beyond the dough, additional butter is essential for greasing your baking dish, preventing sticking and adding to the richness, and for brushing the tops of the rolls before baking, which helps them achieve that beautiful golden-brown crust. Once the dough has gracefully doubled in size, it’s rolled out and generously filled with our signature sweet chocolate cinnamon mixture. This decadent filling is a harmonious blend of dark brown sugar, imparting a deep, molasses-rich sweetness, aromatic ground cinnamon, and Dutch-processed cocoa powder, which provides a wonderfully dark color and smooth, less acidic chocolate flavor. Finally, finely chopped semi-sweet chocolate is sprinkled over the filling, melting into luscious pockets of chocolatey goodness as the rolls bake.
The masterpiece is completed with a silky chocolate glaze. This glaze is crafted from more Dutch-processed cocoa powder, powdered sugar for a smooth, sweet finish, and whole milk to achieve the perfect pourable consistency. A touch of vegetable or canola oil is also needed to coat the bowl for proofing, ensuring your dough doesn’t stick during its vital resting period. Every ingredient is chosen to contribute to a perfectly balanced, utterly delicious chocolate cinnamon roll experience.
Step-by-Step Guide: Crafting Your Chocolate Cinnamon Rolls
Follow these detailed steps to create a batch of homemade chocolate cinnamon rolls that will impress everyone:
Step 1: Activate the Yeast and Prepare the Dough Base
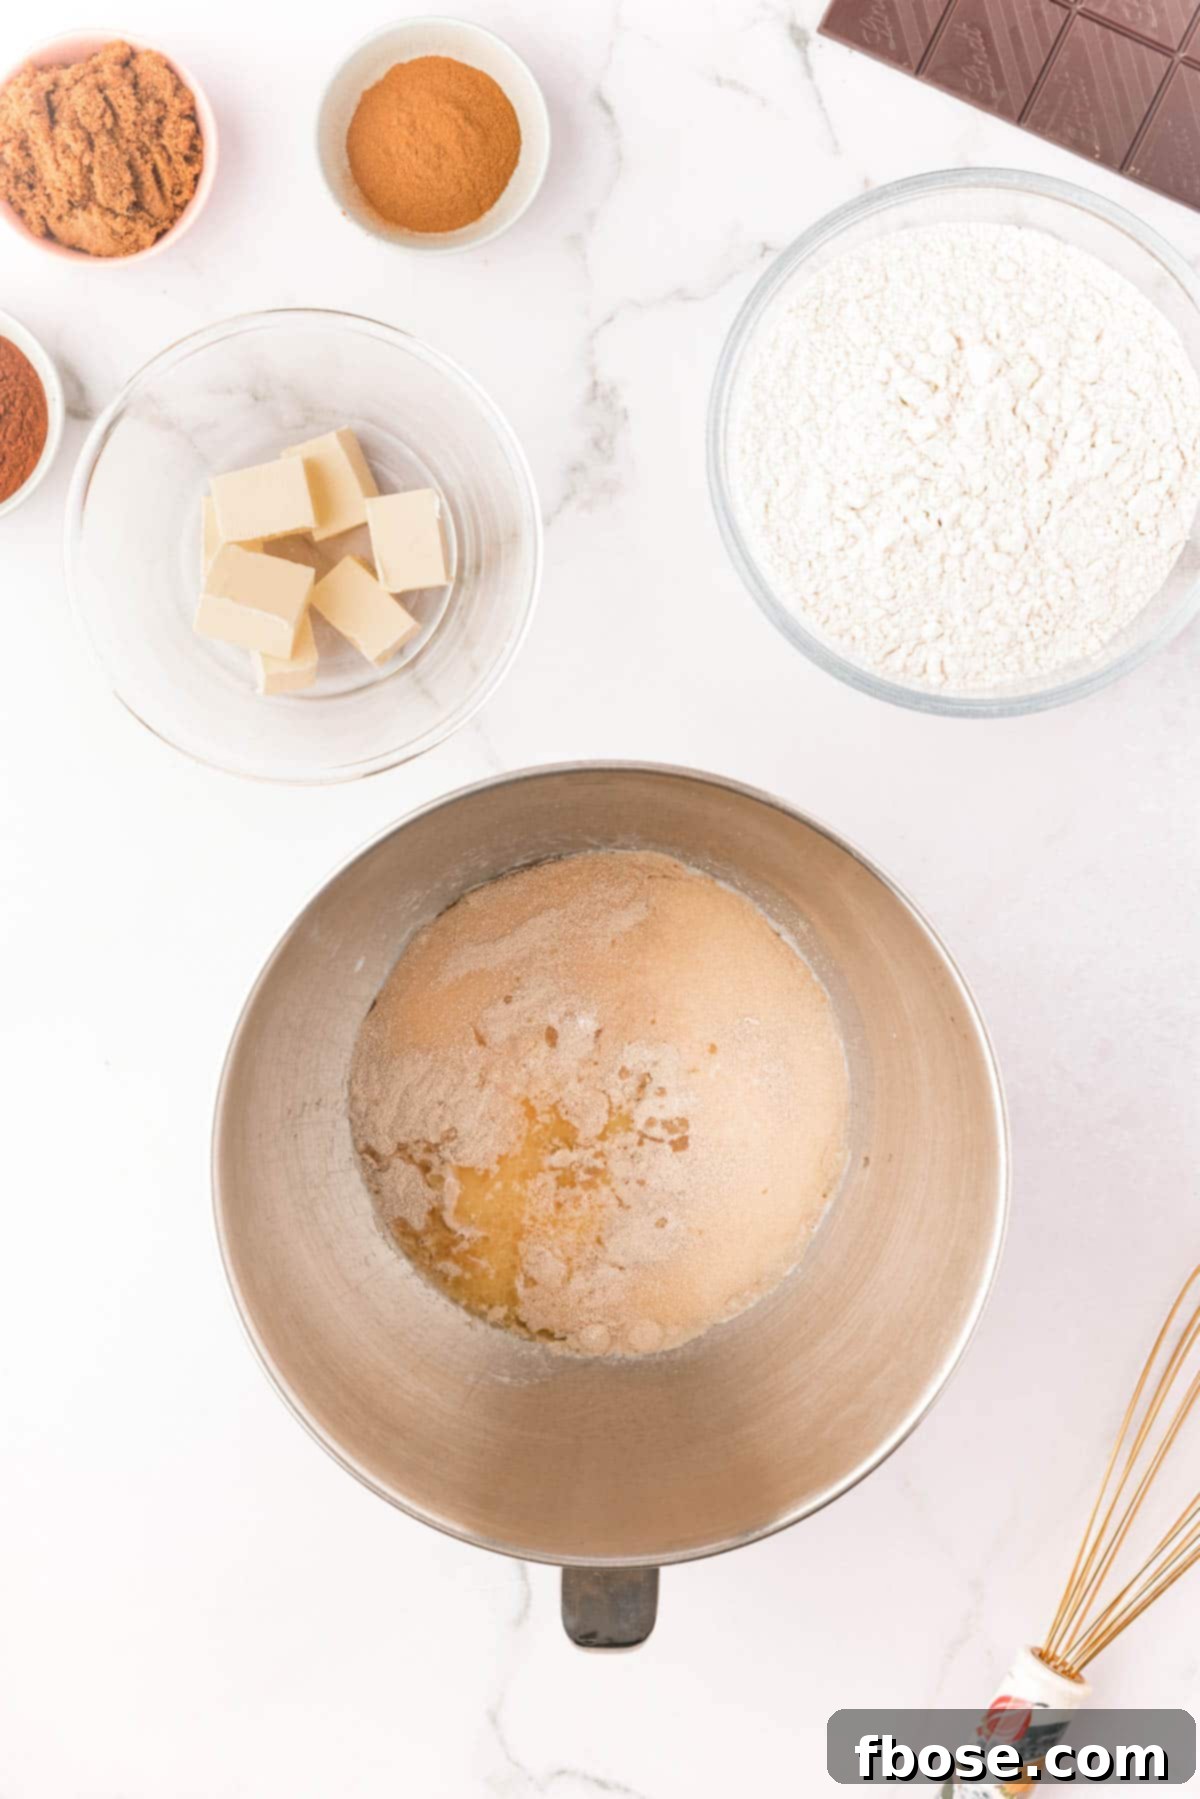
In the large bowl of a stand mixer, fitted with a whisk attachment, begin by combining the warm whole milk (ensure it’s between 110-120°F for optimal yeast activation), instant yeast, a large egg, granulated sugar, salt, and 3 tablespoons of melted salted butter. Whisk these ingredients thoroughly until well combined, creating the foundational liquid for your dough. This initial mixture sets the stage for a perfectly risen, flavorful dough.
Step 2: Incorporate the Flour and Knead the Dough
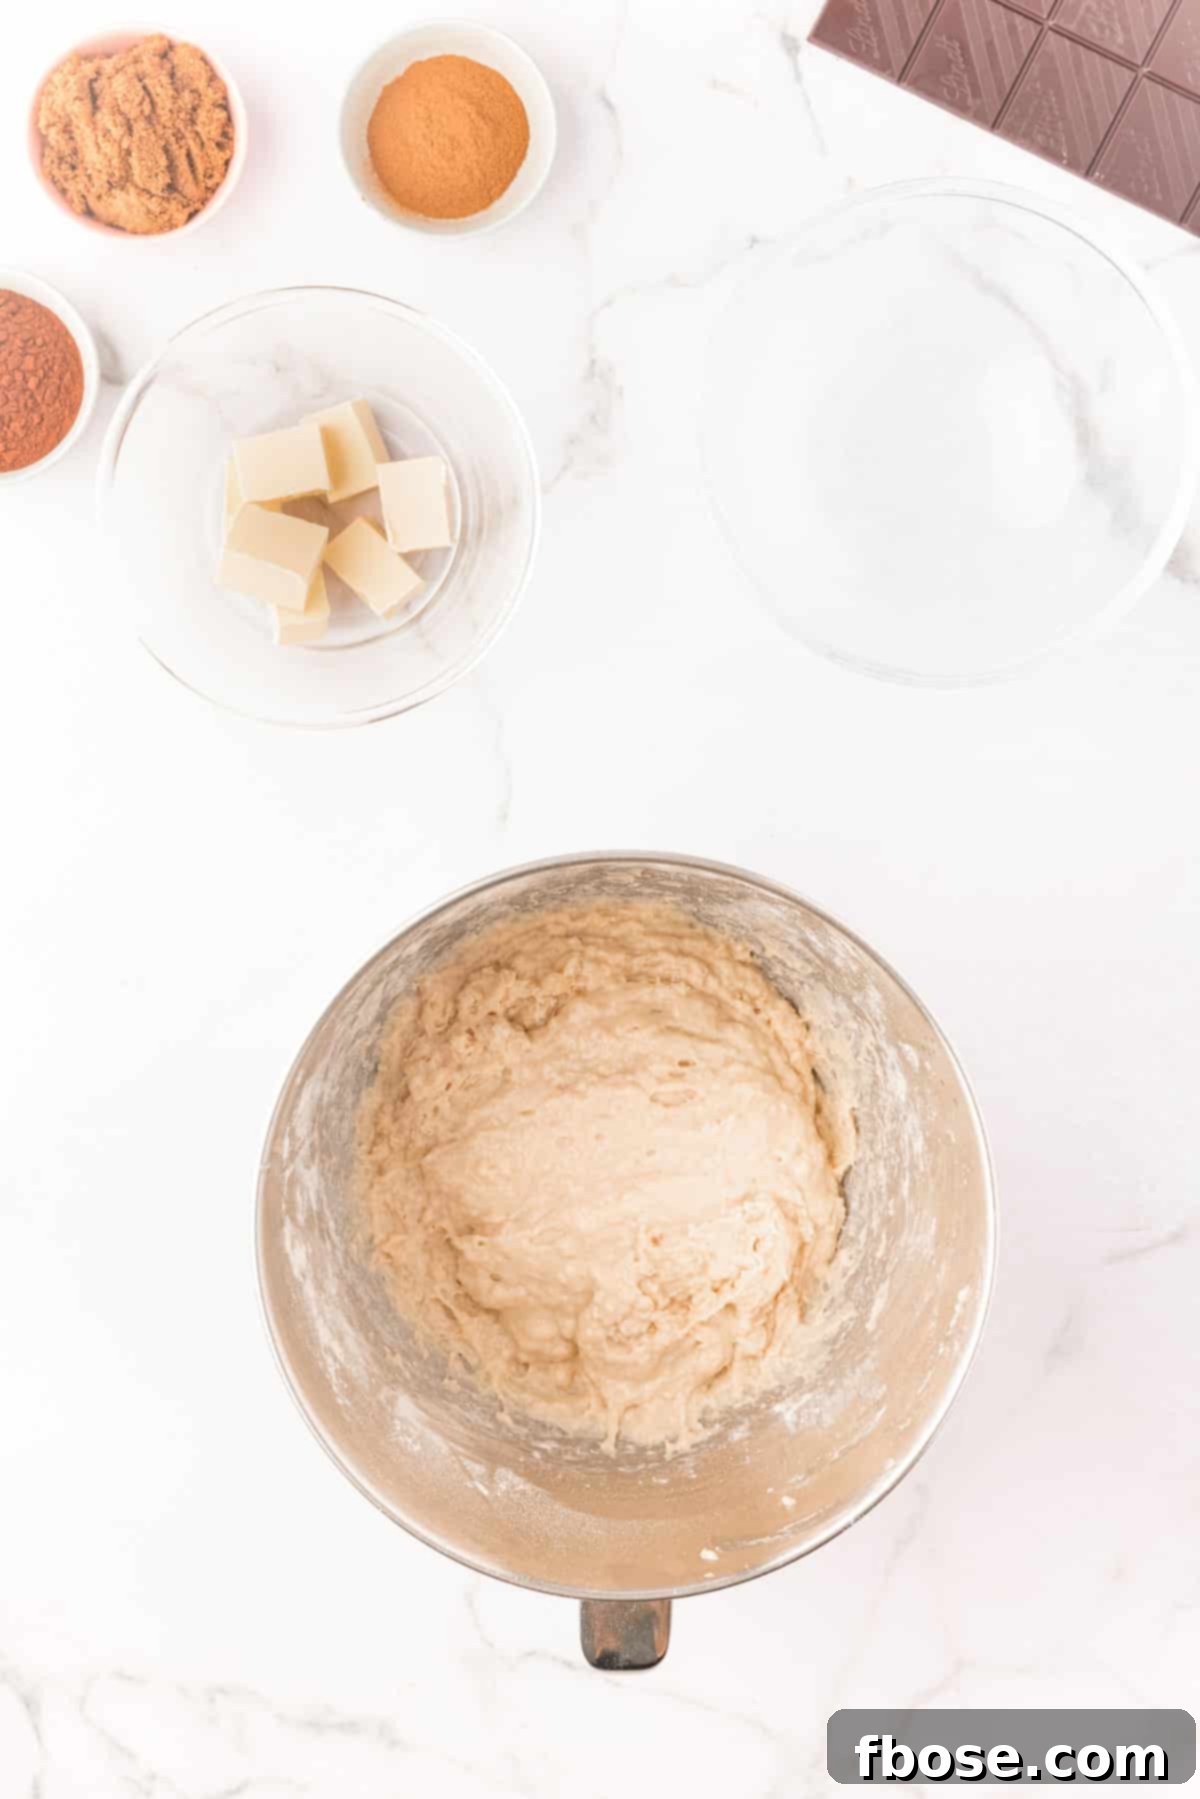
Once the liquid ingredients are mixed, switch from the whisk to the dough hook attachment on your stand mixer. Gradually add the bread flour into the bowl. Start mixing on the lowest “stir” speed for approximately 3 minutes. During this process, be sure to pause and scrape down the sides of the bowl as needed to ensure all ingredients are fully incorporated into the dough, forming a cohesive mass.
Step 3: Test Dough Consistency and Begin First Rise (Proofing)
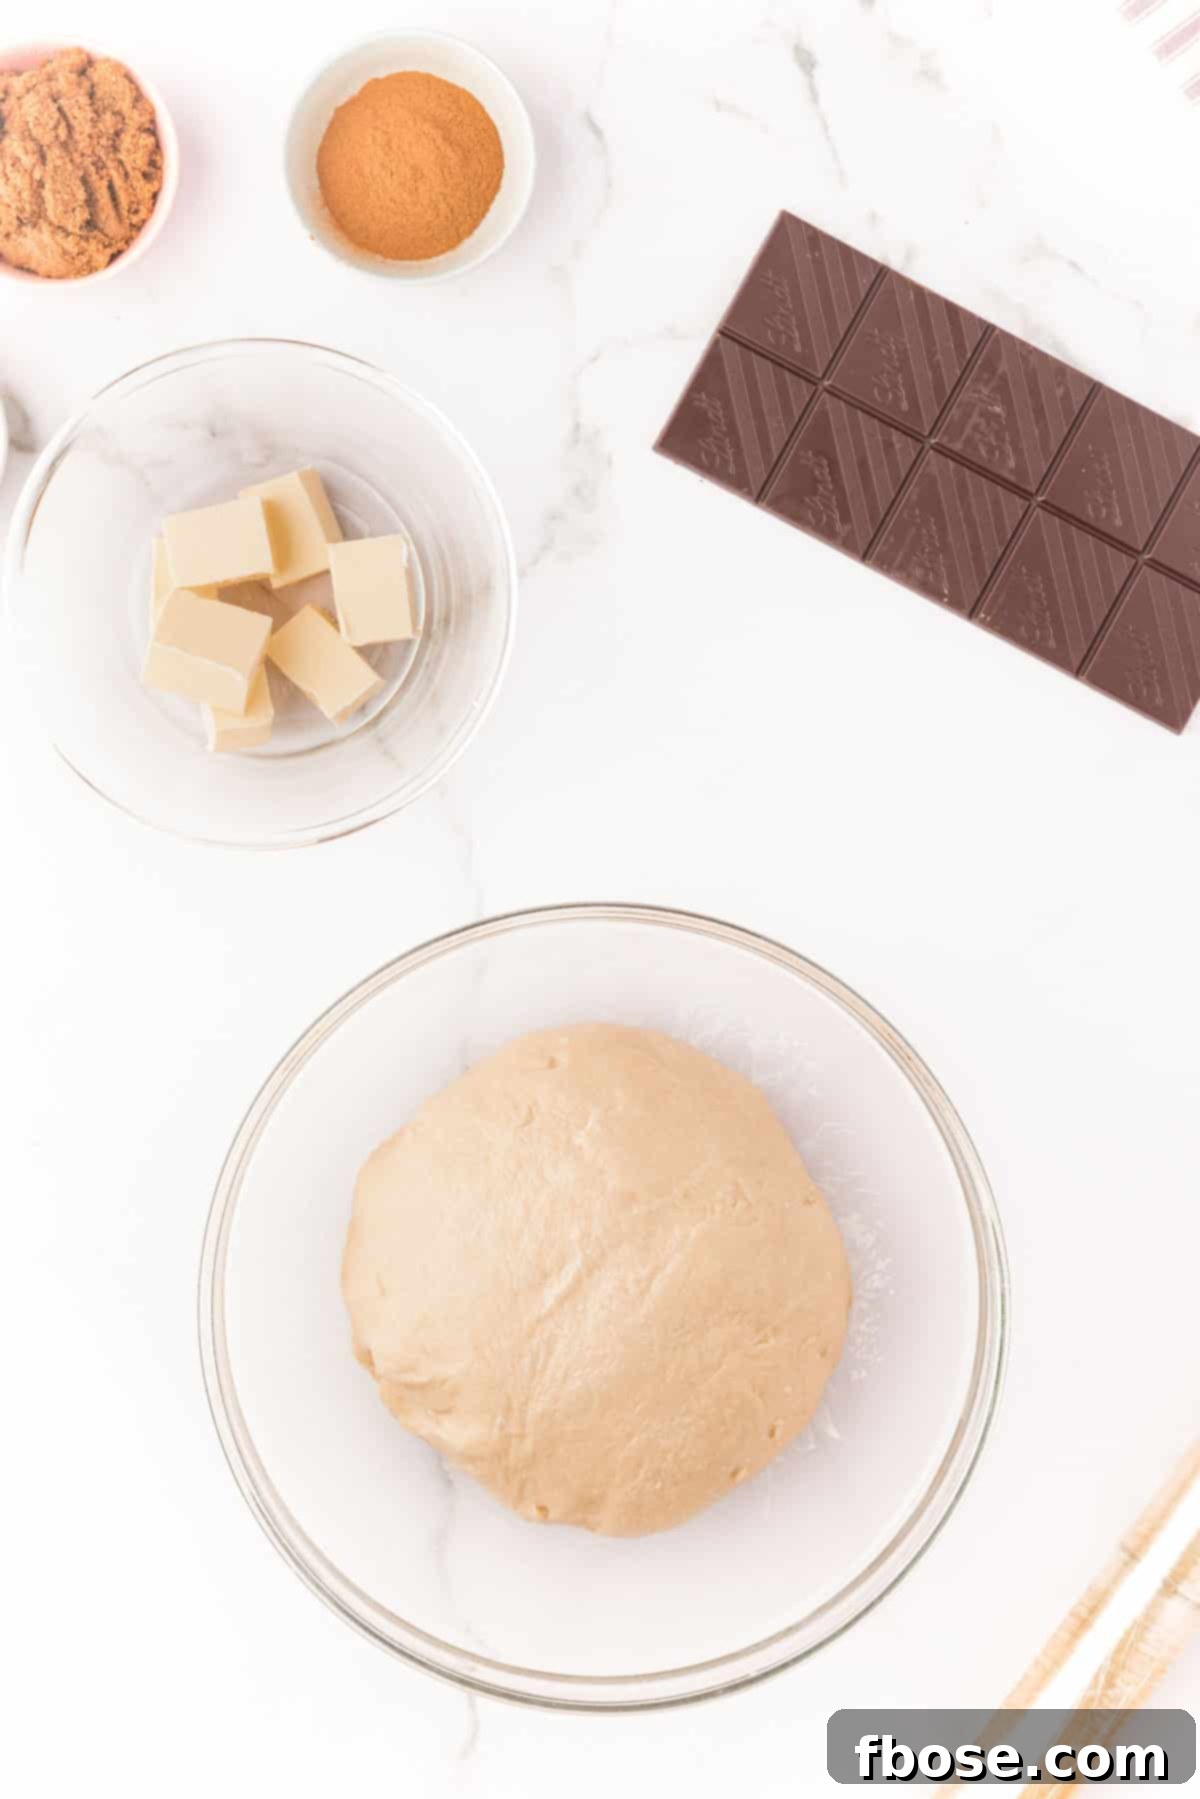
After 3 minutes of mixing, test the dough’s consistency by gently touching it with a clean, dry finger. The dough is ready when it feels tacky but no longer sticks to your finger. If it still feels too sticky, add extra bread flour one tablespoon at a time, mixing well after each addition, until the desired non-sticky, pliable consistency is achieved. Once ready, drizzle a small amount of vegetable or canola oil into a large, clean bowl. Transfer the dough ball into this oiled bowl, rotating it to ensure it’s coated on all sides. Tightly cover the bowl with plastic wrap and place it in a warm area to rise for about 1 hour, or until it has visibly doubled in size. This initial rise is crucial for the dough’s light and airy texture.
Step 4: Prepare the Decadent Chocolate Cinnamon Filling
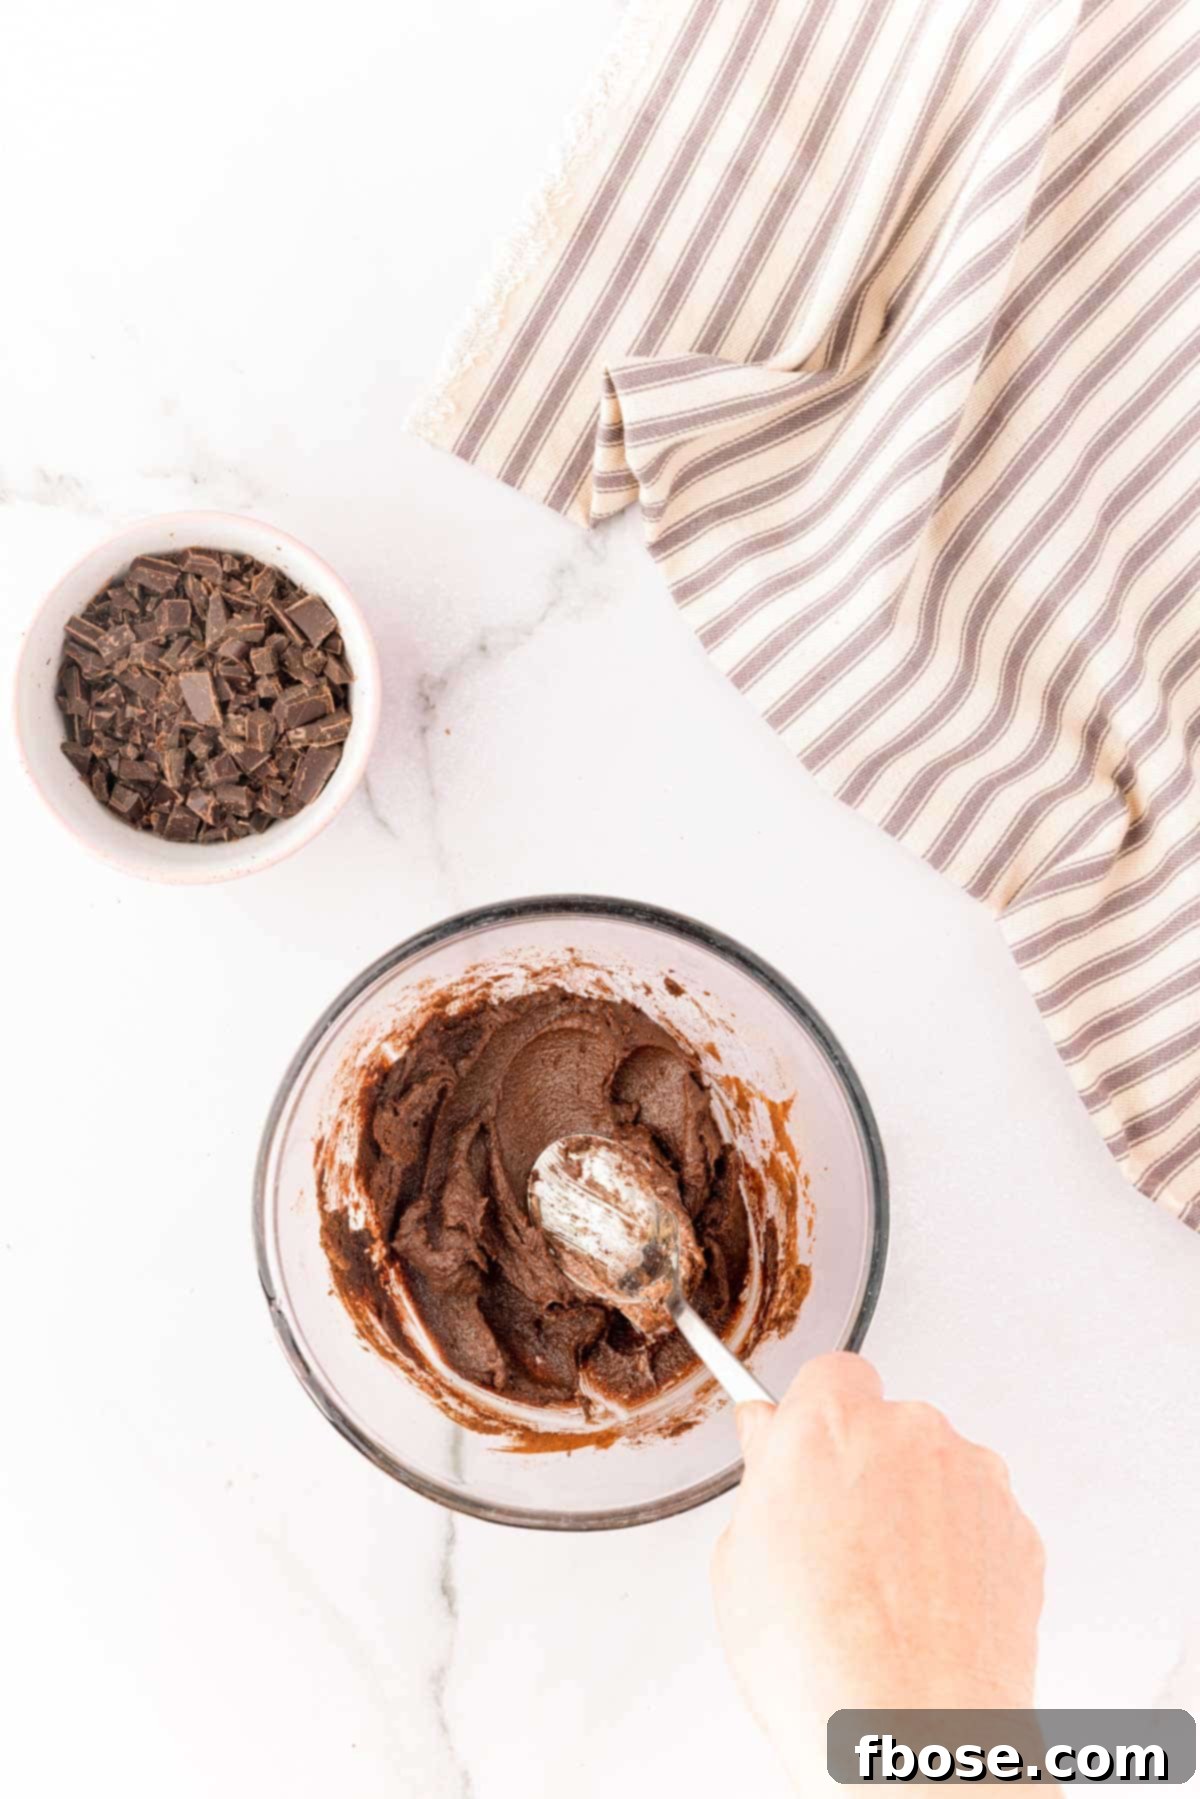
While your dough is proofing, prepare the luscious filling. In a separate bowl, combine the softened salted butter, dark brown sugar, ground cinnamon, and Dutch-processed cocoa powder. Mix these ingredients thoroughly until they are well combined and form a smooth, aromatic paste. Set this tantalizing mixture aside, ready to be spread onto your risen dough.
Step 5: Deflate the Dough and Prepare for Rolling
Once your dough has successfully doubled in size during its first rise, gently punch it down in the center to release the accumulated air. This step helps create a finer texture in the finished rolls. Carefully transfer the dough to a lightly floured surface, preparing it for the next stage of shaping.

Step 6: Roll Out the Dough into a Rectangle
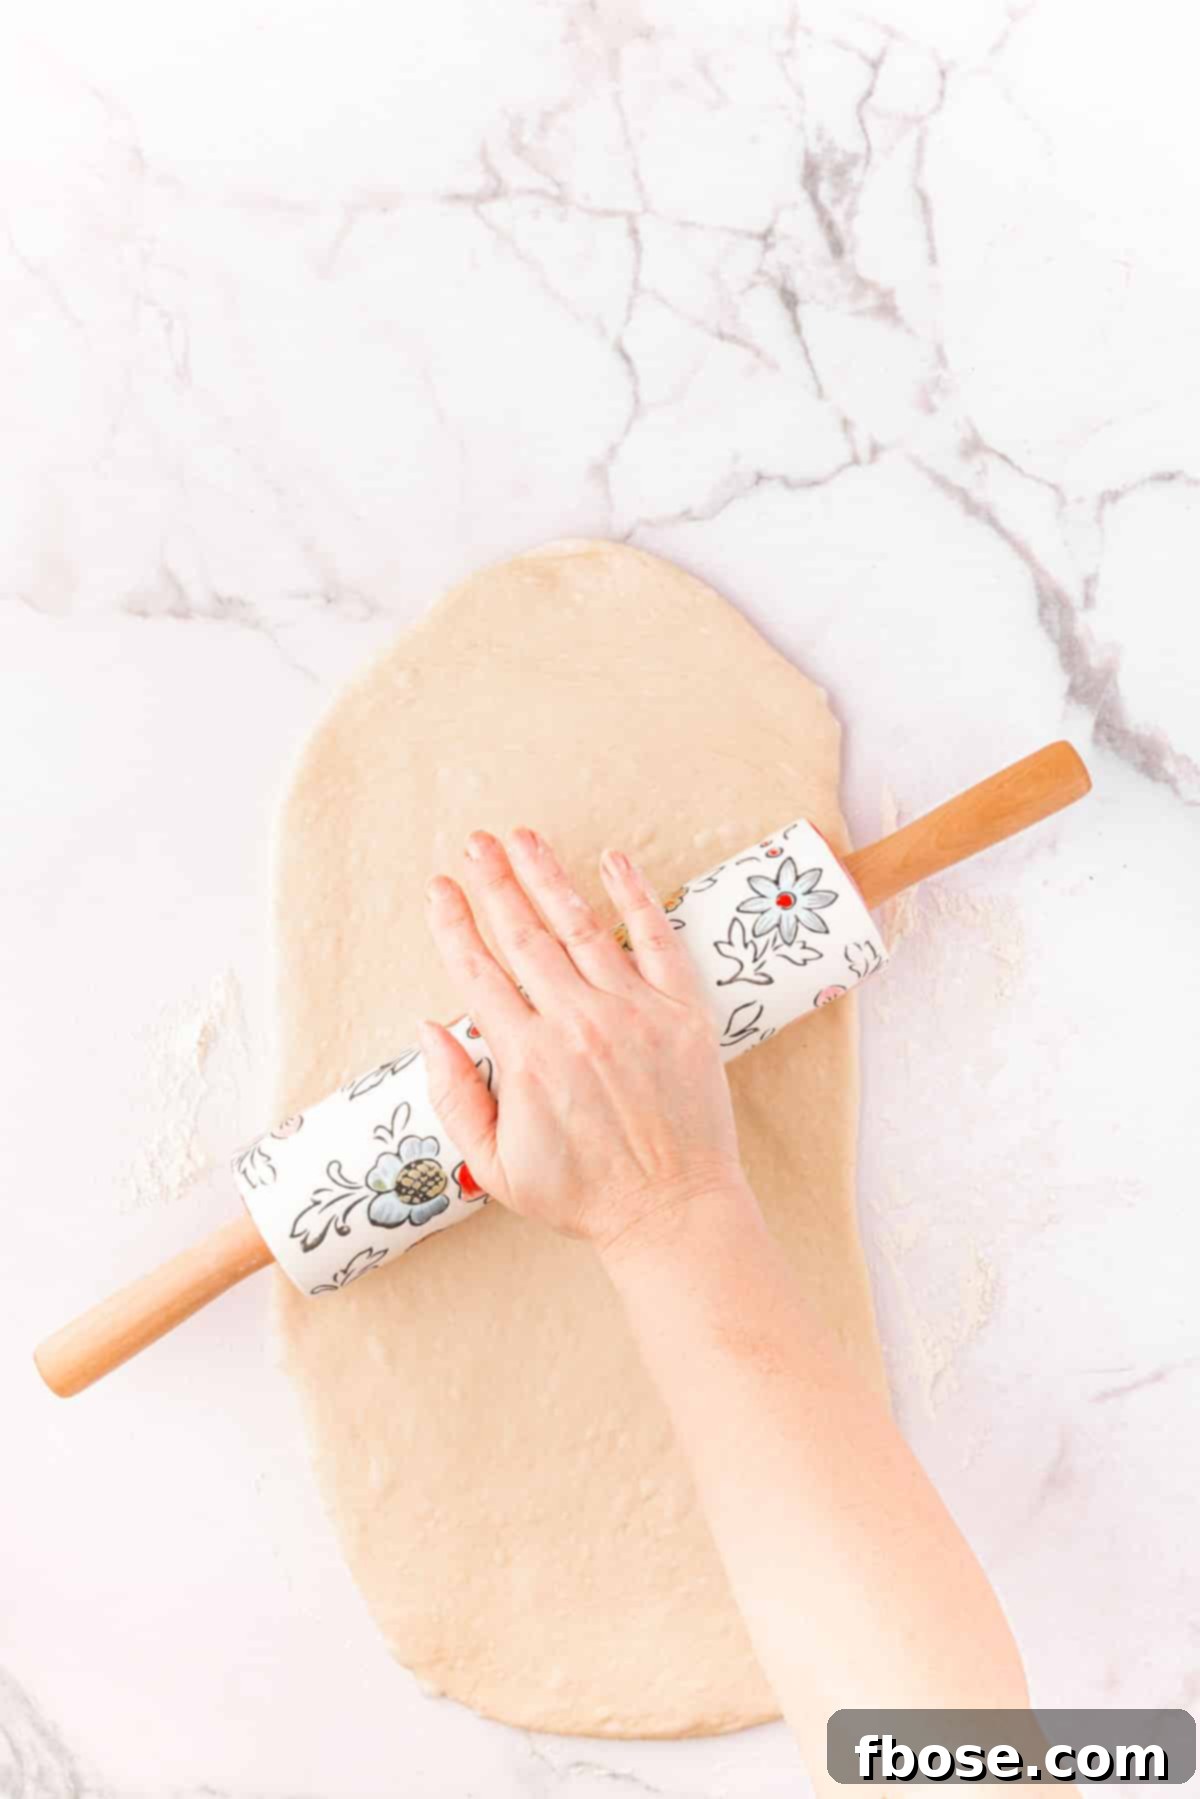
Using your hands, gently shape the dough into a rough rectangular form on your lightly floured surface. Then, with a rolling pin, carefully roll the dough out into a large rectangle, aiming for approximate dimensions of 16×8 inches. Don’t worry if it’s not perfectly precise; the key is to achieve an even thickness for consistent rolls.
Step 7: Spread the Filling and Add Chopped Chocolate
Generously spread the prepared chocolate cinnamon sugar filling evenly over the entire surface of the rolled-out dough, making sure to leave a small gap of about ¼-inch around the edges. This border helps seal the roll. Next, sprinkle the finely chopped semi-sweet chocolate over the filling. Gently press the chopped chocolate into the dough with your hands to help it adhere and prevent it from falling out during the rolling process.

Step 8: Roll the Dough and Prepare for Slicing
Wash your hands thoroughly before this step to ensure no chocolate transfers to the outside of the rolls. With the longest edge of the rectangle facing you, tightly roll up the dough into a log shape. Once fully rolled, firmly pinch the seam together with your fingertips to seal the log. For easier handling and more uniform cuts, slice the dough log in half.
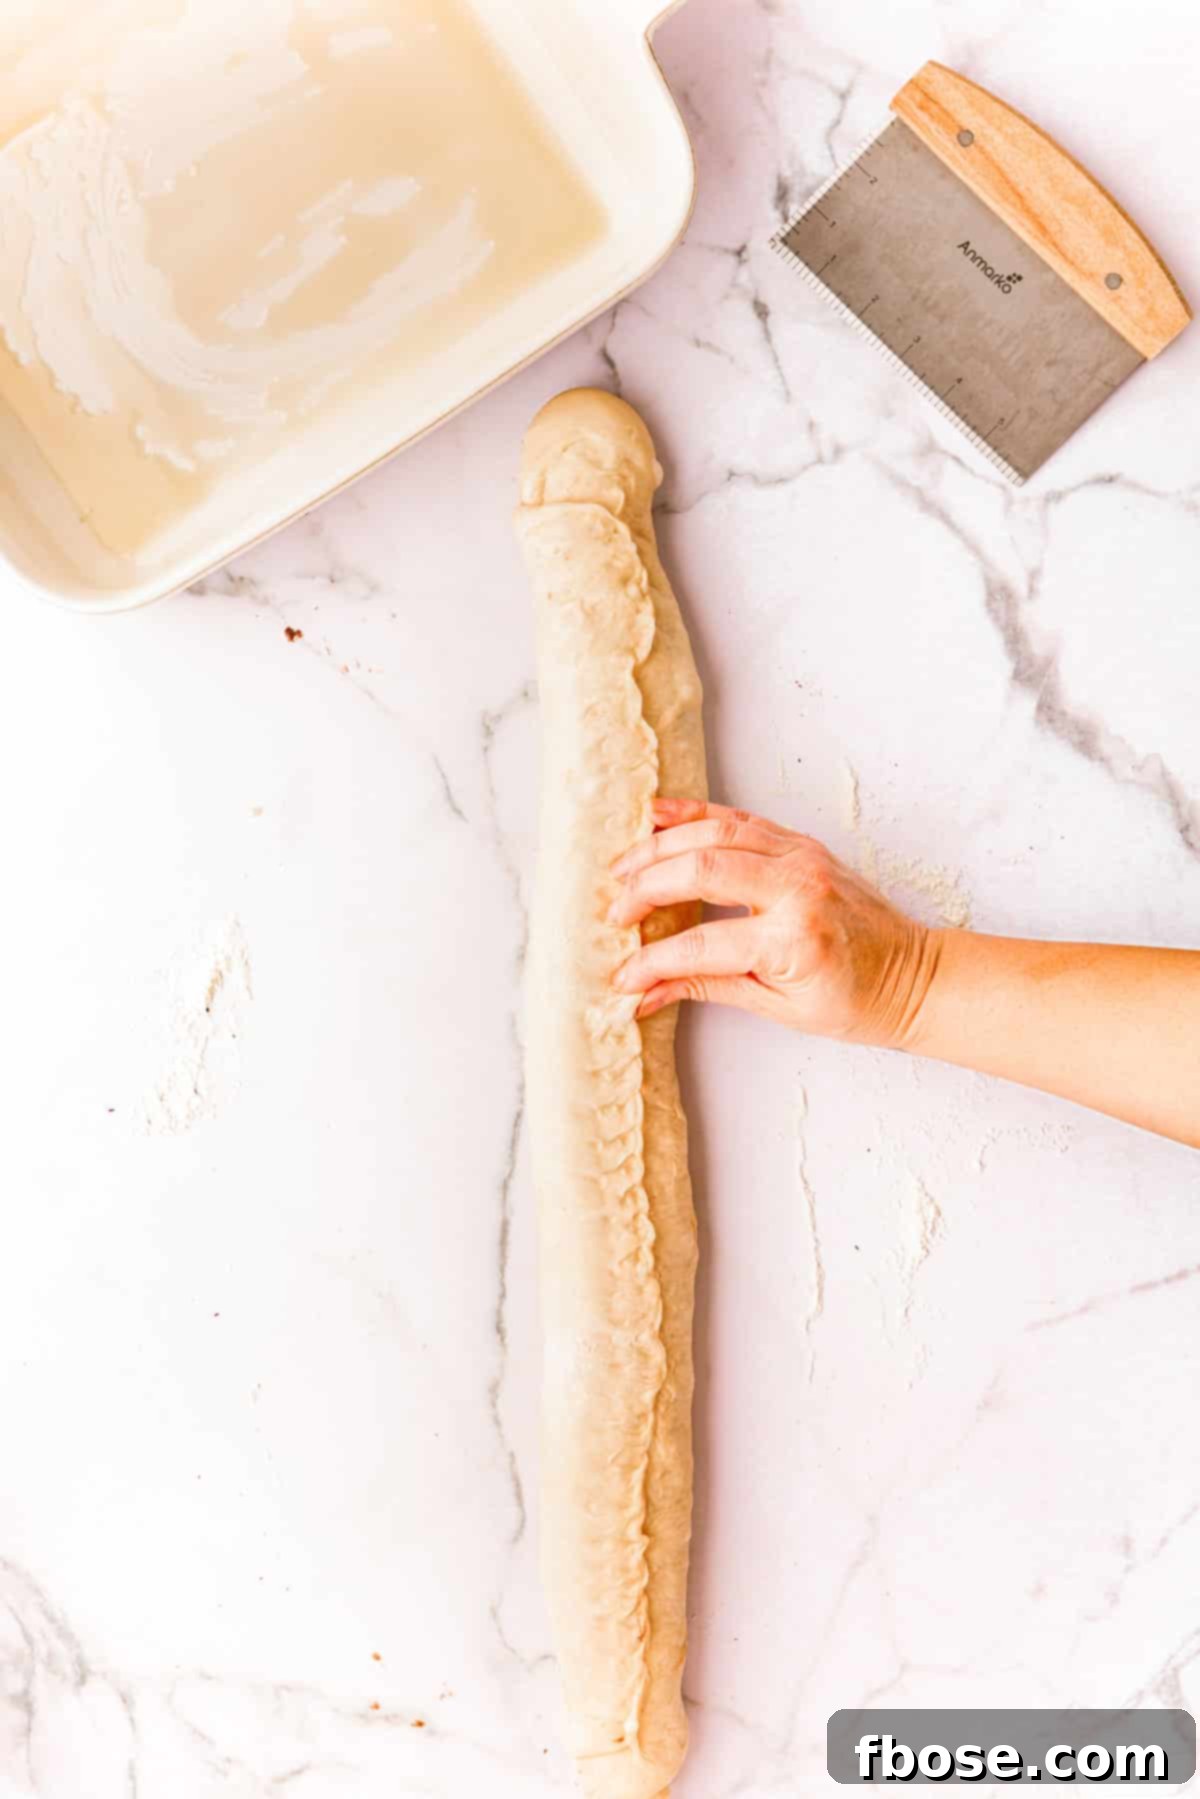
Step 9: Slice the Rolls and Prepare for Second Rise
For the cleanest cuts that preserve the beautiful circular shape of your rolls without squishing them, use unflavored dental floss. Simply slide a piece of floss under each half of the log, bring the ends up and cross them over the top, then pull to cut through the dough. Cut each section of the log into 6 equal pieces (approximately 1¾-inch each). Generously grease a large 9×13-inch baking pan with 1 tablespoon of melted butter. Arrange the sliced chocolate cinnamon rolls in the prepared pan, leaving a little room between each one as they will expand. Cover the pan tightly with cling wrap and let them rise in a warm place for another 30 minutes, or until they have noticeably puffed up in size.
Chef’s Tip for Perfect Slices: When slicing cinnamon rolls, unflavored dental floss is a game-changer! It provides a clean cut that prevents squishing the delicate rolls, helping them maintain their perfect spiral shape. Just lay the floss under the roll, bring the two ends up and around the log, cross them, and pull gently to cut each slice.
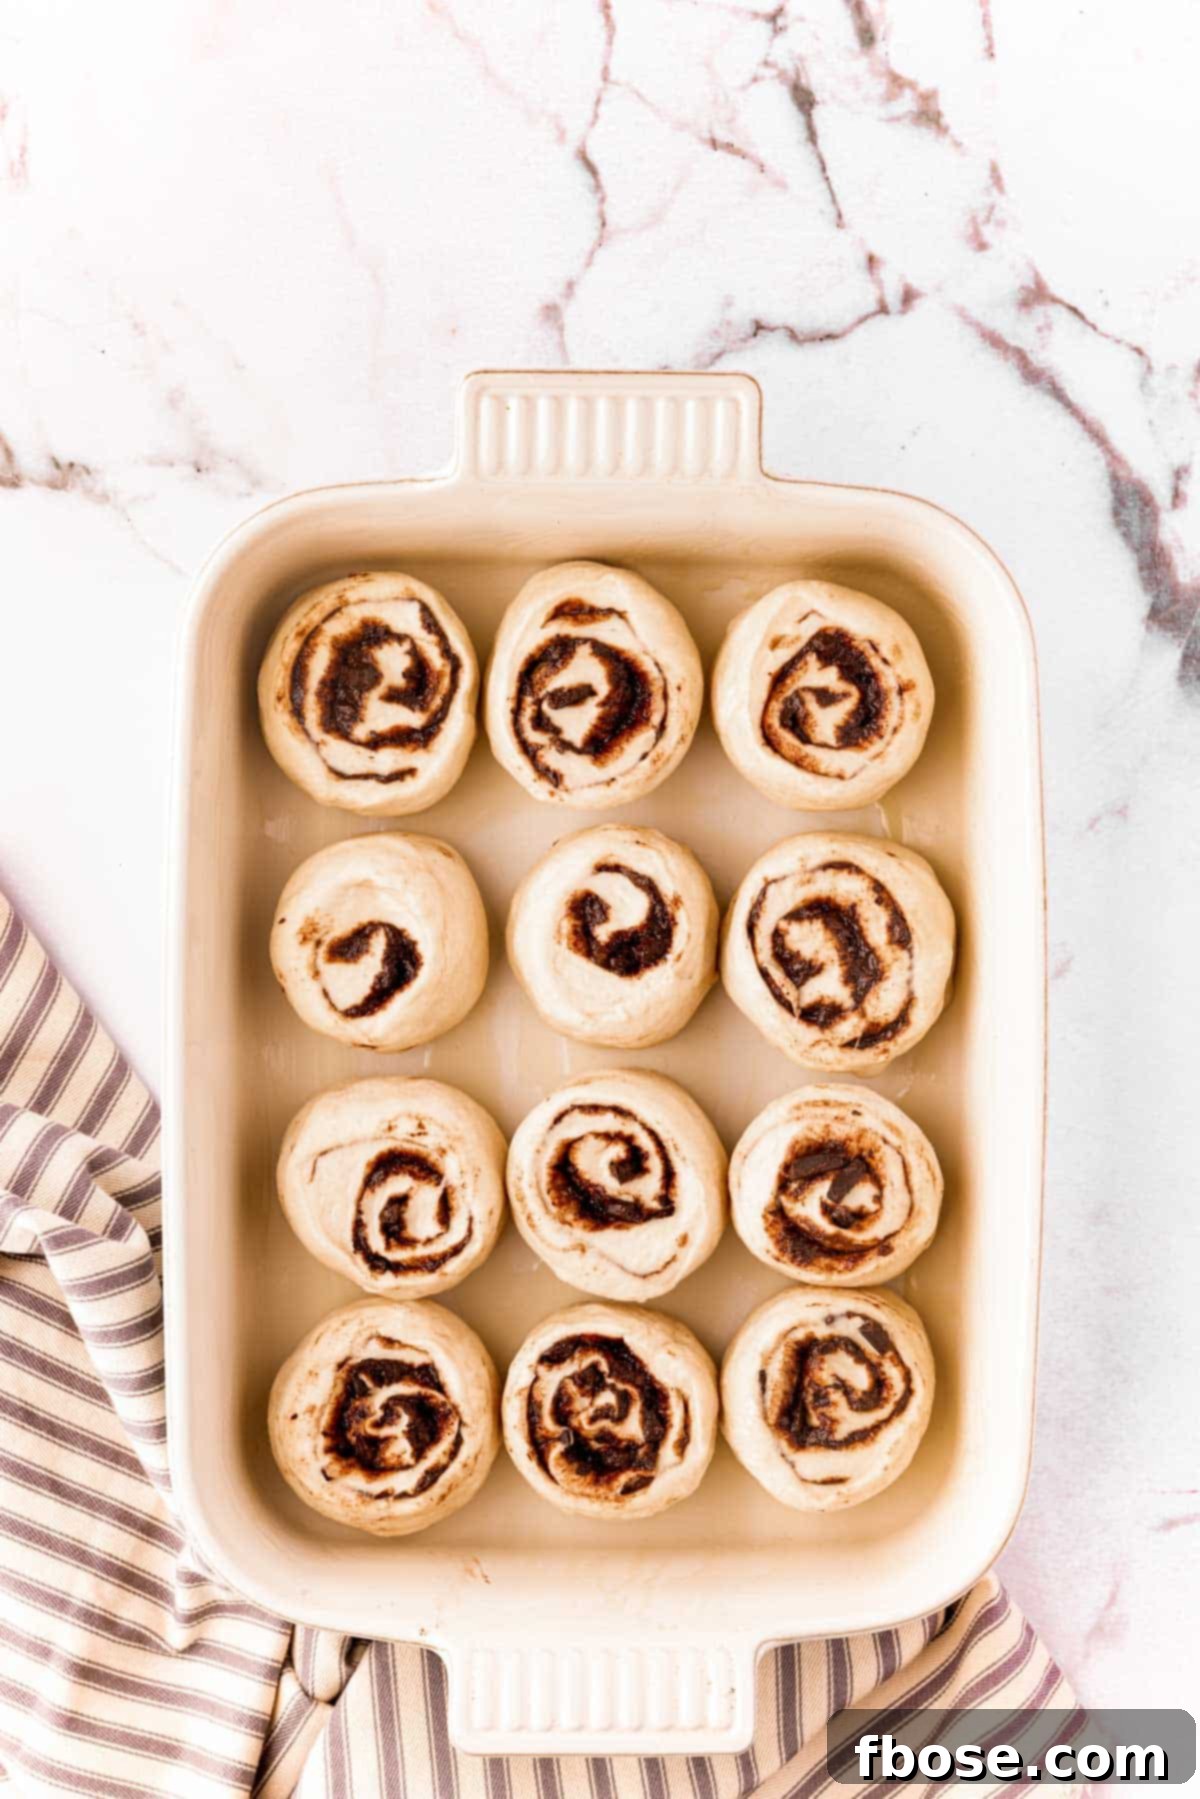
Step 10: Bake to Golden Perfection
While the rolls are undergoing their second rise, preheat your oven to 350°F (175°C). Once the rolls have risen, gently brush their tops with 2 tablespoons of melted butter. Transfer the baking dish to the center rack of your preheated oven and bake for approximately 22 minutes, or until the rolls are beautifully golden brown. To ensure they are perfectly cooked, the internal temperature in the center of a roll should reach 190°F (88°C) when measured with an instant-read thermometer. Once baked, remove the dish from the oven and transfer it to a wire rack to cool slightly.
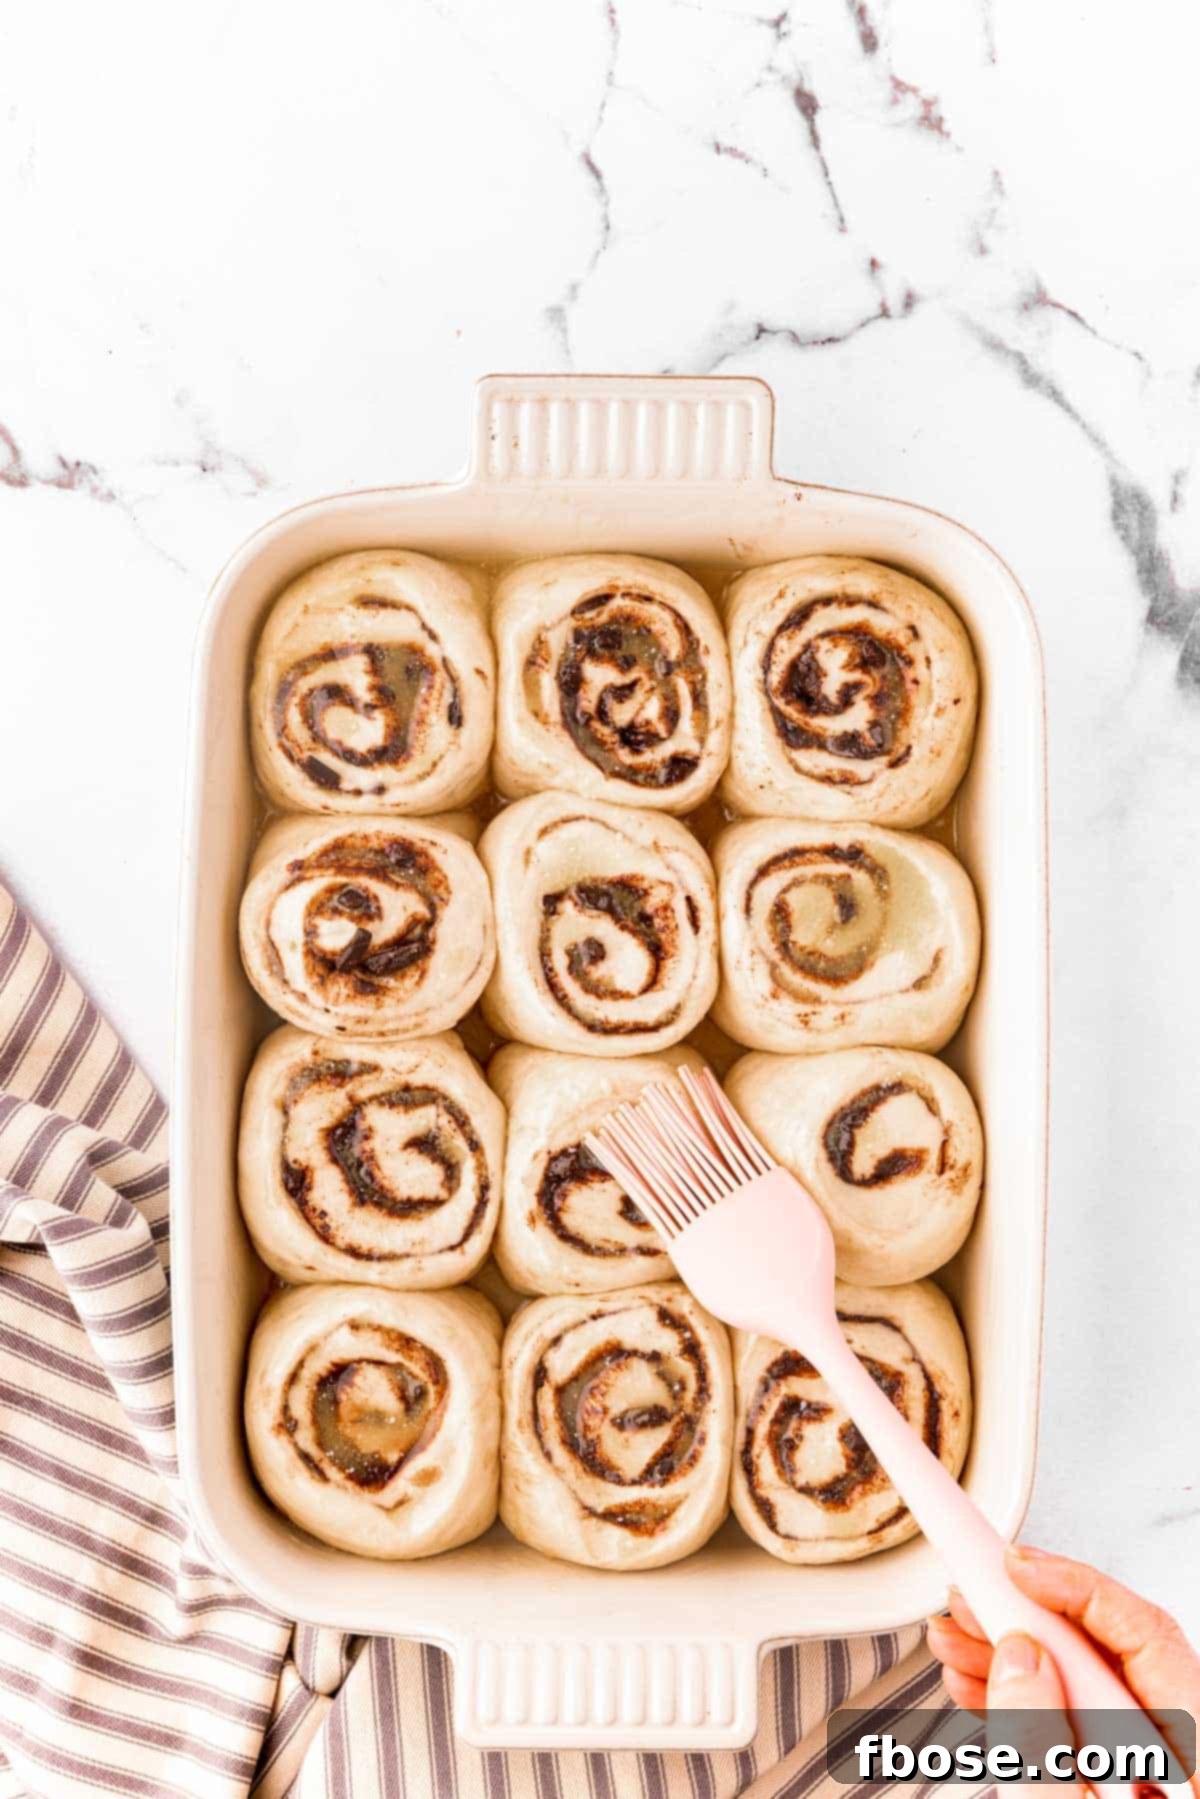
Step 11: Prepare and Apply the Chocolate Glaze
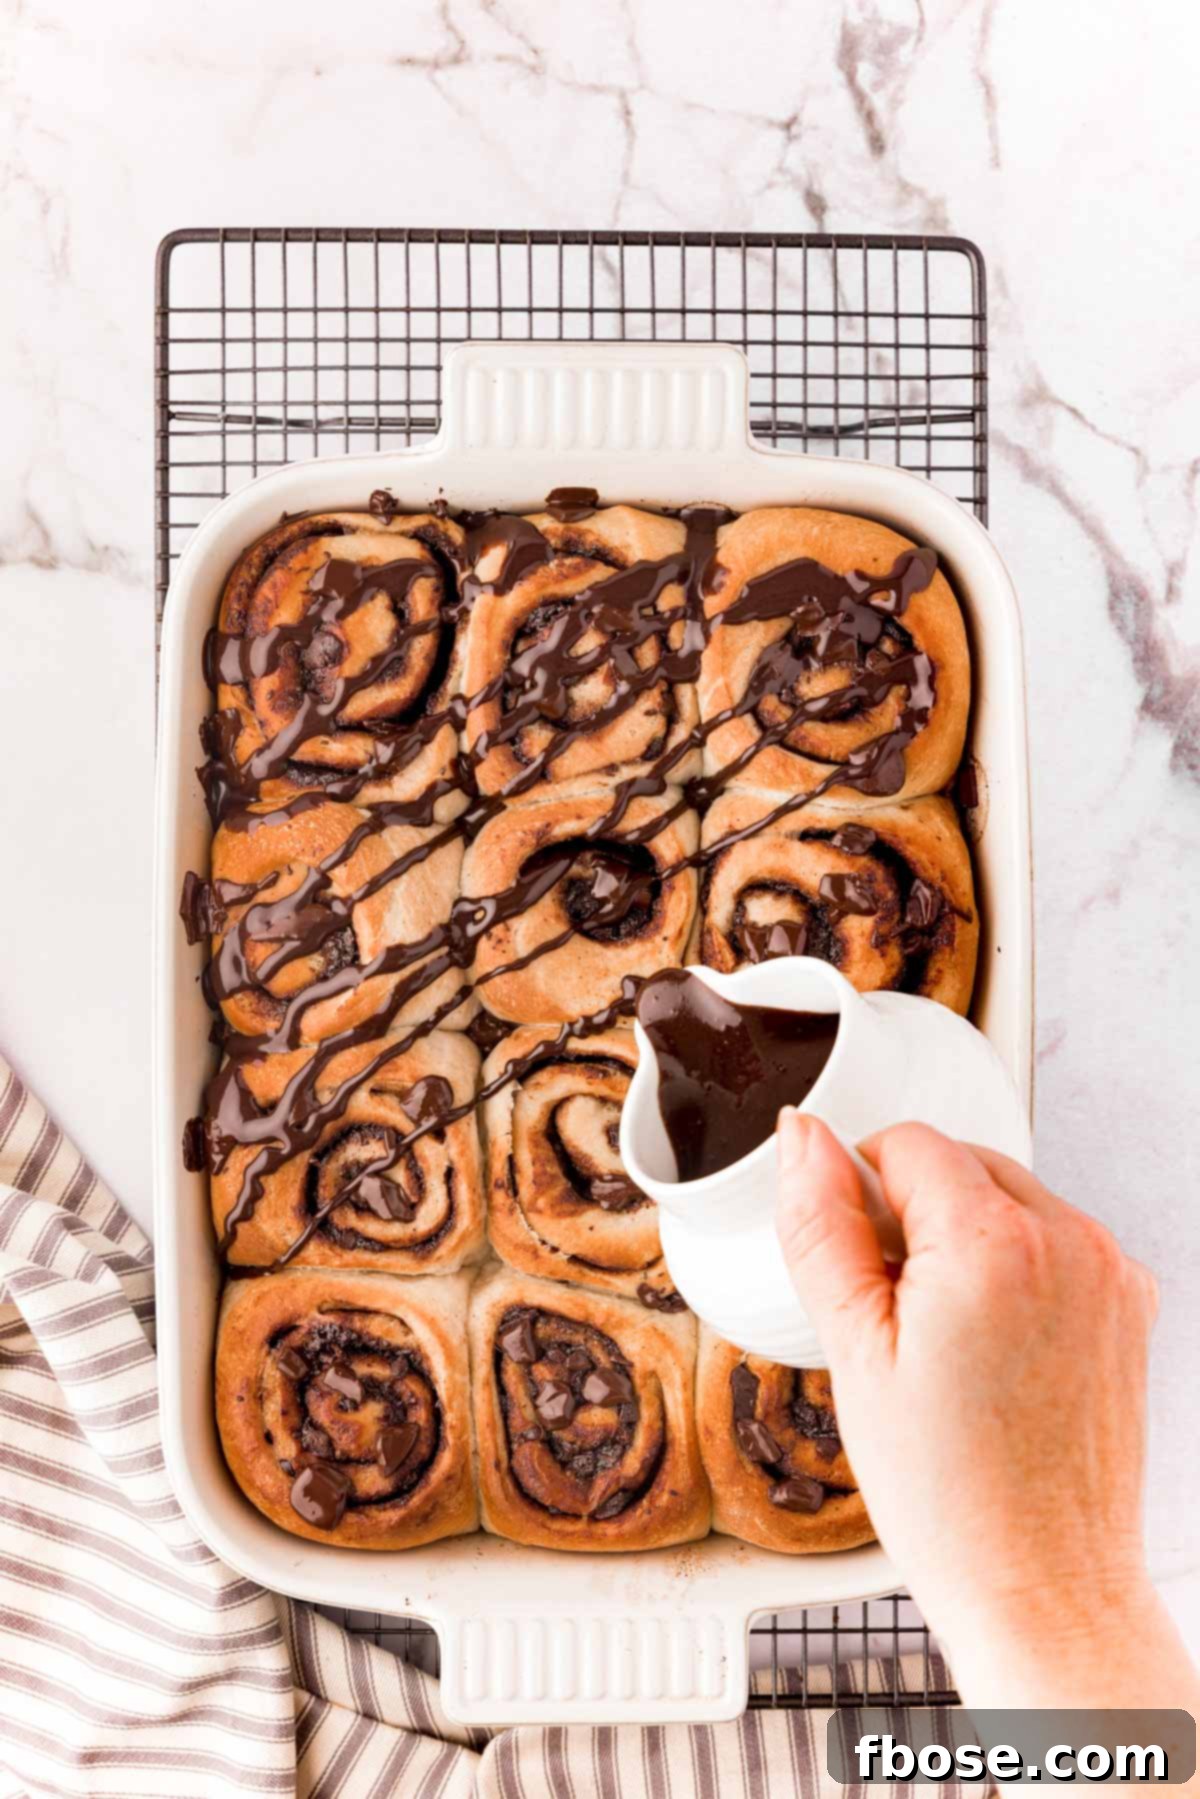
While your freshly baked chocolate cinnamon rolls are cooling, prepare the indulgent chocolate glaze. In a medium bowl, whisk together the Dutch-processed cocoa powder, powdered sugar, and whole milk until the mixture is completely smooth and free of lumps. The glaze should have a thin, pourable consistency. Pour about ¾ of this luscious glaze directly over the warm rolls while they are still nestled in the baking dish, allowing it to seep into every crevice.
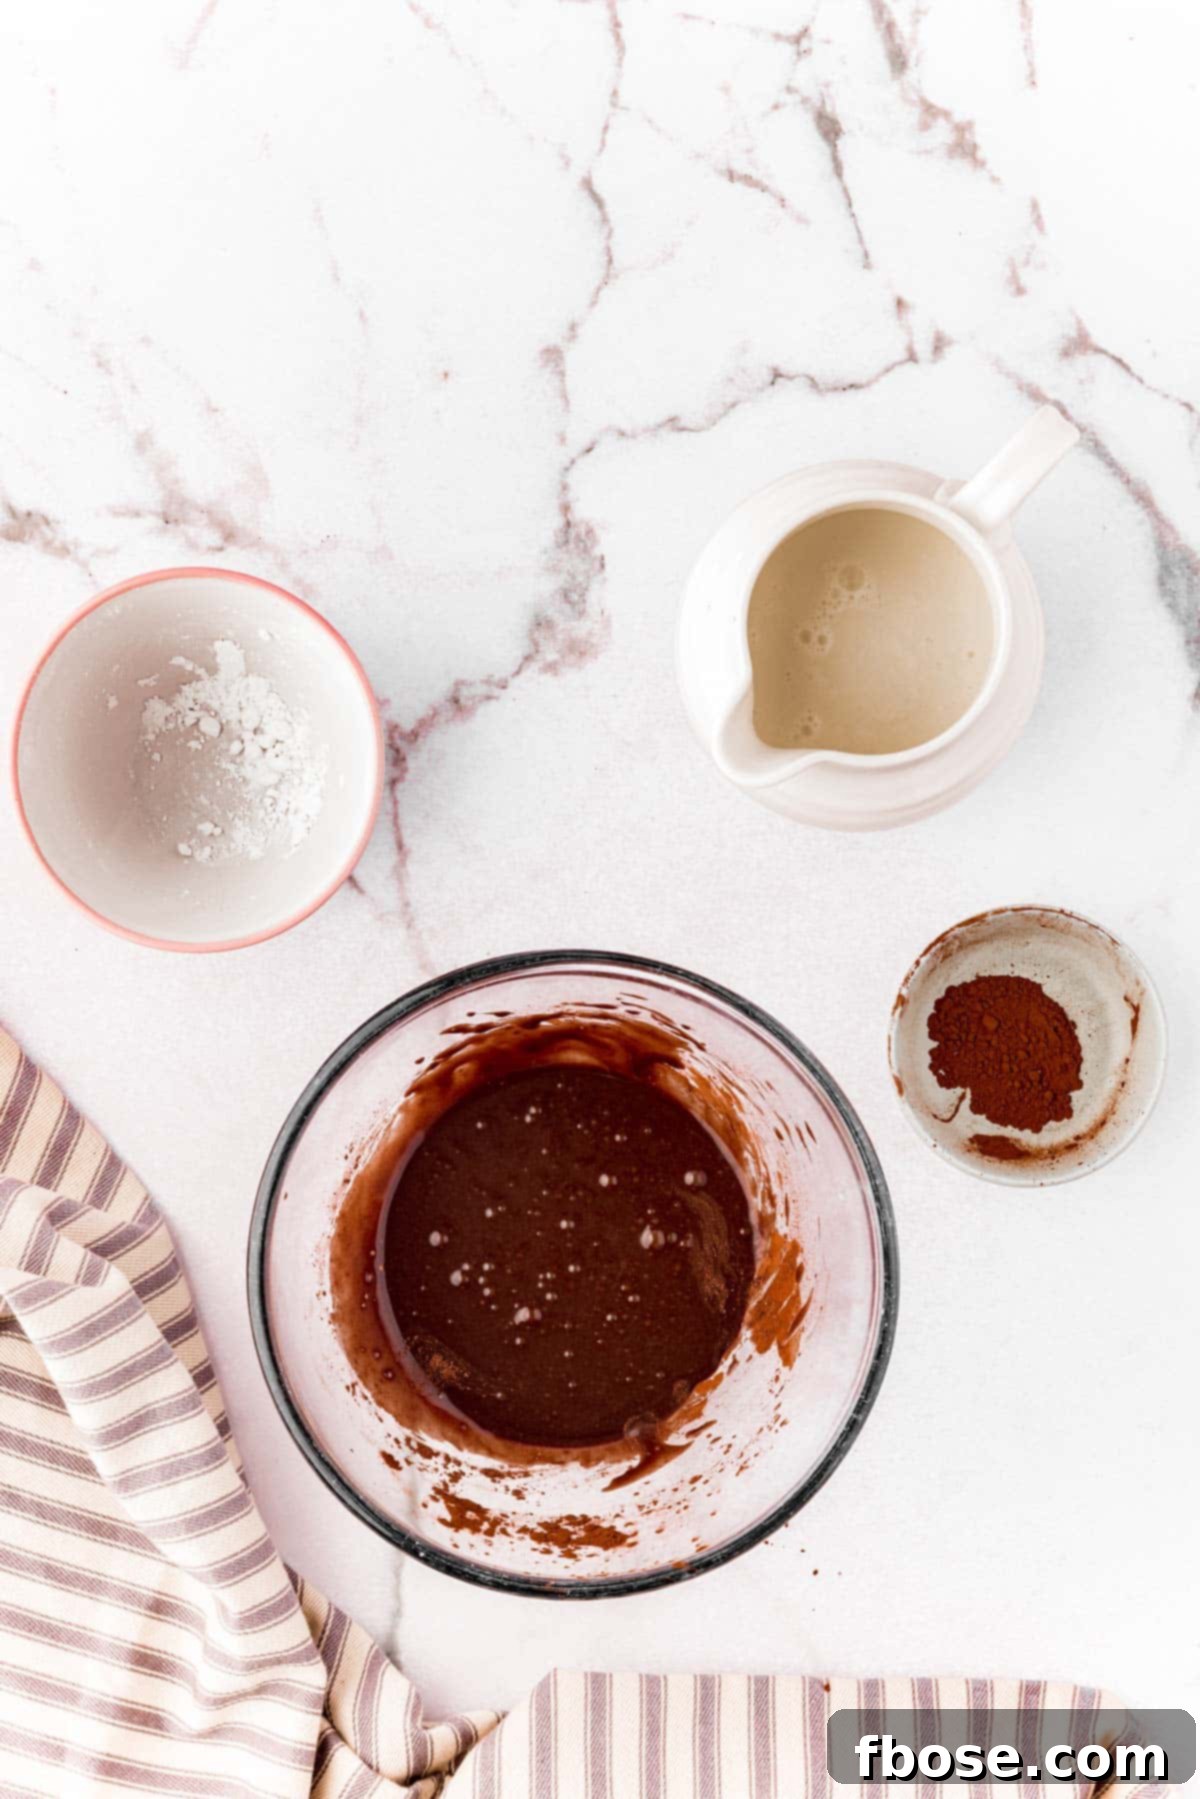
Serve and Enjoy Your Warm Chocolate Cinnamon Rolls!
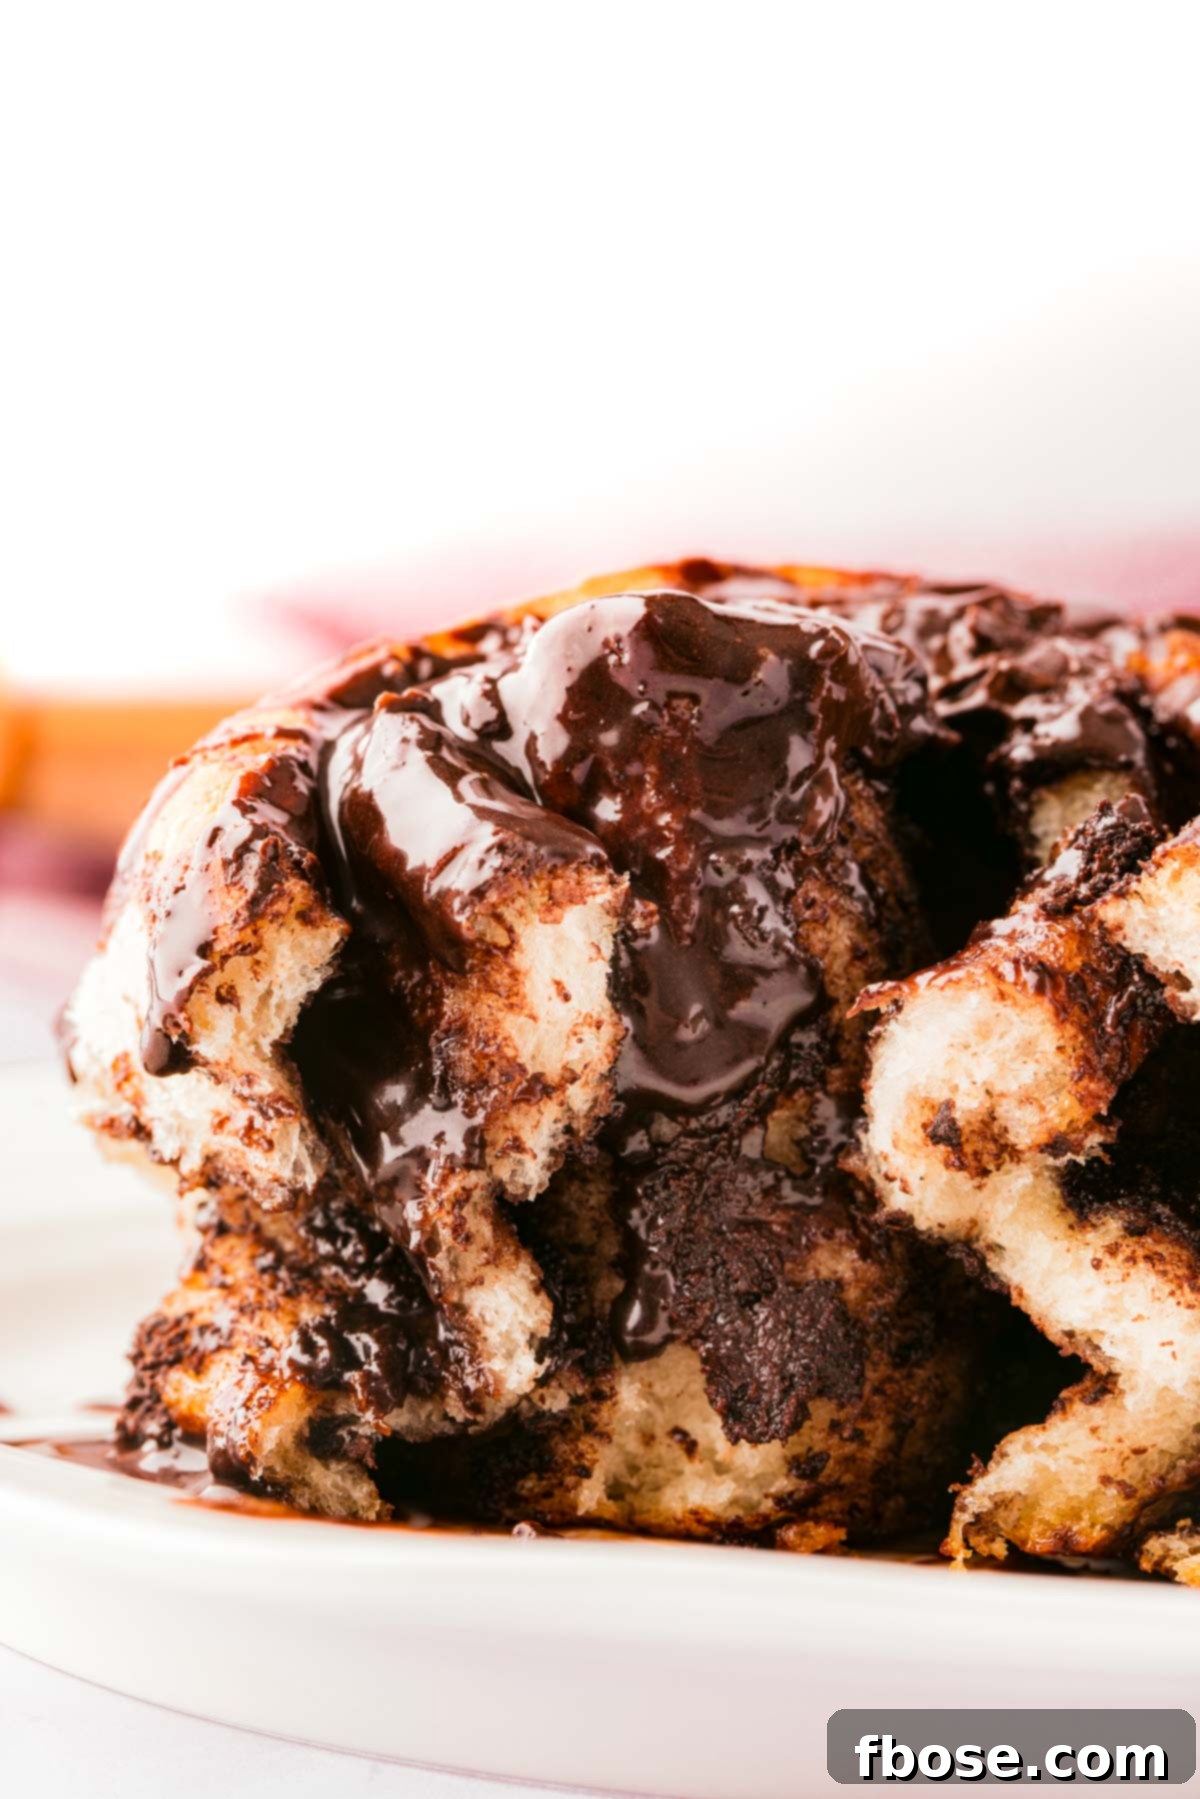
Carefully remove the chocolate cinnamon rolls from the baking dish. For an extra touch of decadence, drizzle the remaining chocolate glaze over them just before serving. These rolls are best enjoyed warm, when the chocolate filling is molten and gooey, and the dough is at its softest. Prepare for a truly delightful and messy experience!
Mastering the Rise: Essential Proofing Tips & Tricks
Proofing yeast dough is a critical step for achieving light, fluffy cinnamon rolls. Here are some helpful tips to ensure your dough rises beautifully every time:
- Mind the Milk Temperature: The most common mistake is using milk that’s too hot, which can kill the yeast and prevent your dough from rising. Aim for a temperature between 110°F and 120°F (43°C-49°C). A digital kitchen thermometer is your best friend here. For instant yeast, which is added directly with other ingredients, a slightly warmer temperature within this range (closer to 120°F) is often beneficial to ensure it activates quickly before other cool ingredients bring the temperature down.
- Utilize Your Oven’s Proof Setting: Many modern ovens come with a “proof” setting, which maintains an ideal low temperature for yeast activity. If you have this feature, it’s the easiest way to create a consistent, warm environment for your dough.
- Create a Warm Environment (No Proof Setting): If your oven lacks a proof setting, you can still create a suitable environment.
- Boiling Water Method: Place a baking dish filled with boiling water on the bottom rack of your oven. Place your bowl of dough on a rack above the water. The steam and warmth will create a perfect humid, warm spot for rising.
- Quick Warm Oven Method: Turn your oven on to its lowest setting (usually 170-200°F) for just 5 minutes, then turn it off completely. Place your dough in the warm oven to rise. Remember to avoid using plastic wrap for these oven methods; instead, cover your dough with a clean kitchen towel.
- Visual Tracking for Rise: When covering your bowl with plastic wrap, mark the initial level of the dough on the plastic with a pen. This simple visual cue makes it easy to track whether your dough has doubled in size, as required.
- Patience is Key: If your dough hasn’t doubled in size within the recommended time, don’t despair! The area might not have been warm enough, or the yeast might be a little sluggish. Give it some extra time in a warm spot; sometimes, a little patience is all it needs to reach its full potential.
Frequently Asked Questions About Chocolate Cinnamon Rolls
What is the ideal milk temperature for yeast activation?
Yes, the milk temperature is crucial for activating the yeast without killing it. For instant yeast, the milk should be warmed to between 110°F and 120°F (43°C-49°C). Using a digital kitchen thermometer is highly recommended to ensure accuracy. When using instant yeast, which is mixed directly with other ingredients, a slightly higher temperature within this range (closer to 120°F) can be beneficial as the other ingredients can quickly cool the milk, ensuring the yeast remains active throughout the initial mixing process.
Can I use a different type of yeast for this recipe?
While this Chocolate Cinnamon Rolls recipe is formulated for instant yeast due to its convenience, you can certainly substitute quick, fresh, or active-dry yeast. However, be sure to consult the specific instructions on your yeast packet for proper usage. If you opt for active-dry yeast, it requires a separate activation step. To do this, gently warm your milk to a slightly lower temperature of 105-115°F (40°C-46°C). In a medium bowl, stir together the warm milk, the active-dry yeast, and 1 tablespoon of granulated sugar until the yeast dissolves. Let this mixture sit undisturbed for 5 to 10 minutes. It should become foamy and nearly double in volume, indicating the yeast is active. Once bloomed, incorporate this activated yeast mixture into your dry ingredients where you would typically add the milk.
How can I make these chocolate cinnamon rolls without a stand mixer?
Making these cinnamon rolls by hand is entirely possible! Once you’ve combined the wet ingredients, gradually add the flour. Use a sturdy spatula or wooden spoon to mix until the dough comes together in a shaggy mass. If you have a Danish Dough Whisk, it can be incredibly helpful for mixing sticky doughs by hand. Once the dough forms, turn it out onto a lightly floured surface. Knead the dough vigorously with your hands for about 8-10 minutes, or until it becomes smooth, elastic, and slightly tacky but no longer sticky to the touch. Then, transfer it to an oiled bowl for its first rise, just as described in the recipe.
Why did my chocolate cinnamon rolls turn out hard and dry?
If your Triple Chocolate Cinnamon Rolls resulted in a hard and dry texture, there are a couple of common culprits. Firstly, precise flour measurement is key; you might have accidentally packed too much flour into your measuring cup. Always remember to measure your flour properly by spooning it into the cup and then leveling it off. Secondly, overworking the dough during mixing or kneading can lead to excessive gluten development, which makes the rolls tough. Aim for a dough that is just smooth and pliable, not overly elastic.
Can this recipe be made with all-purpose flour instead of bread flour?
Yes, this recipe has been successfully tested using both bread flour and all-purpose flour. While all-purpose flour will work, bread flour is generally preferred for cinnamon rolls because its higher protein content develops more gluten. This results in a softer, chewier dough with a better, more consistent rise. If you choose to use all-purpose flour, you might find that you need to add an additional ¼ cup of flour to achieve the correct dough consistency, as all-purpose flour absorbs less liquid than bread flour.
Can I use chocolate chips in the filling instead of chopped chocolate?
Absolutely! Using chocolate chips in the filling is a perfectly acceptable and delicious substitute for finely chopped semi-sweet chocolate. For the best distribution and melt-in-your-mouth texture throughout the rolls, we recommend using mini chocolate chips over regular-sized ones, as they integrate more smoothly into the filling and melt more evenly.
What if the dough remains sticky after initial mixing?
If, after mixing, the dough still sticks excessively to your finger, it simply means it needs a little more flour. Add additional flour, about ½ cup in total, one tablespoon at a time. Mix thoroughly after each addition and re-test the dough. Continue this process until the dough feels tacky but no longer leaves a sticky residue on your finger. This careful adjustment ensures the dough has the perfect consistency for rolling and rising.
How should I store leftover Chocolate Cinnamon Rolls?
These delightful chocolate cinnamon rolls can be stored at room temperature in an airtight container for up to 3 days, maintaining their freshness and soft texture. For longer storage, they freeze exceptionally well. Simply place them in a freezer-safe airtight container or wrap them individually in plastic wrap and then foil. They can be stored in the freezer for up to one month. To reheat and enjoy, gently warm them in the microwave for a few seconds or in a preheated oven until they are soft and gooey once more.
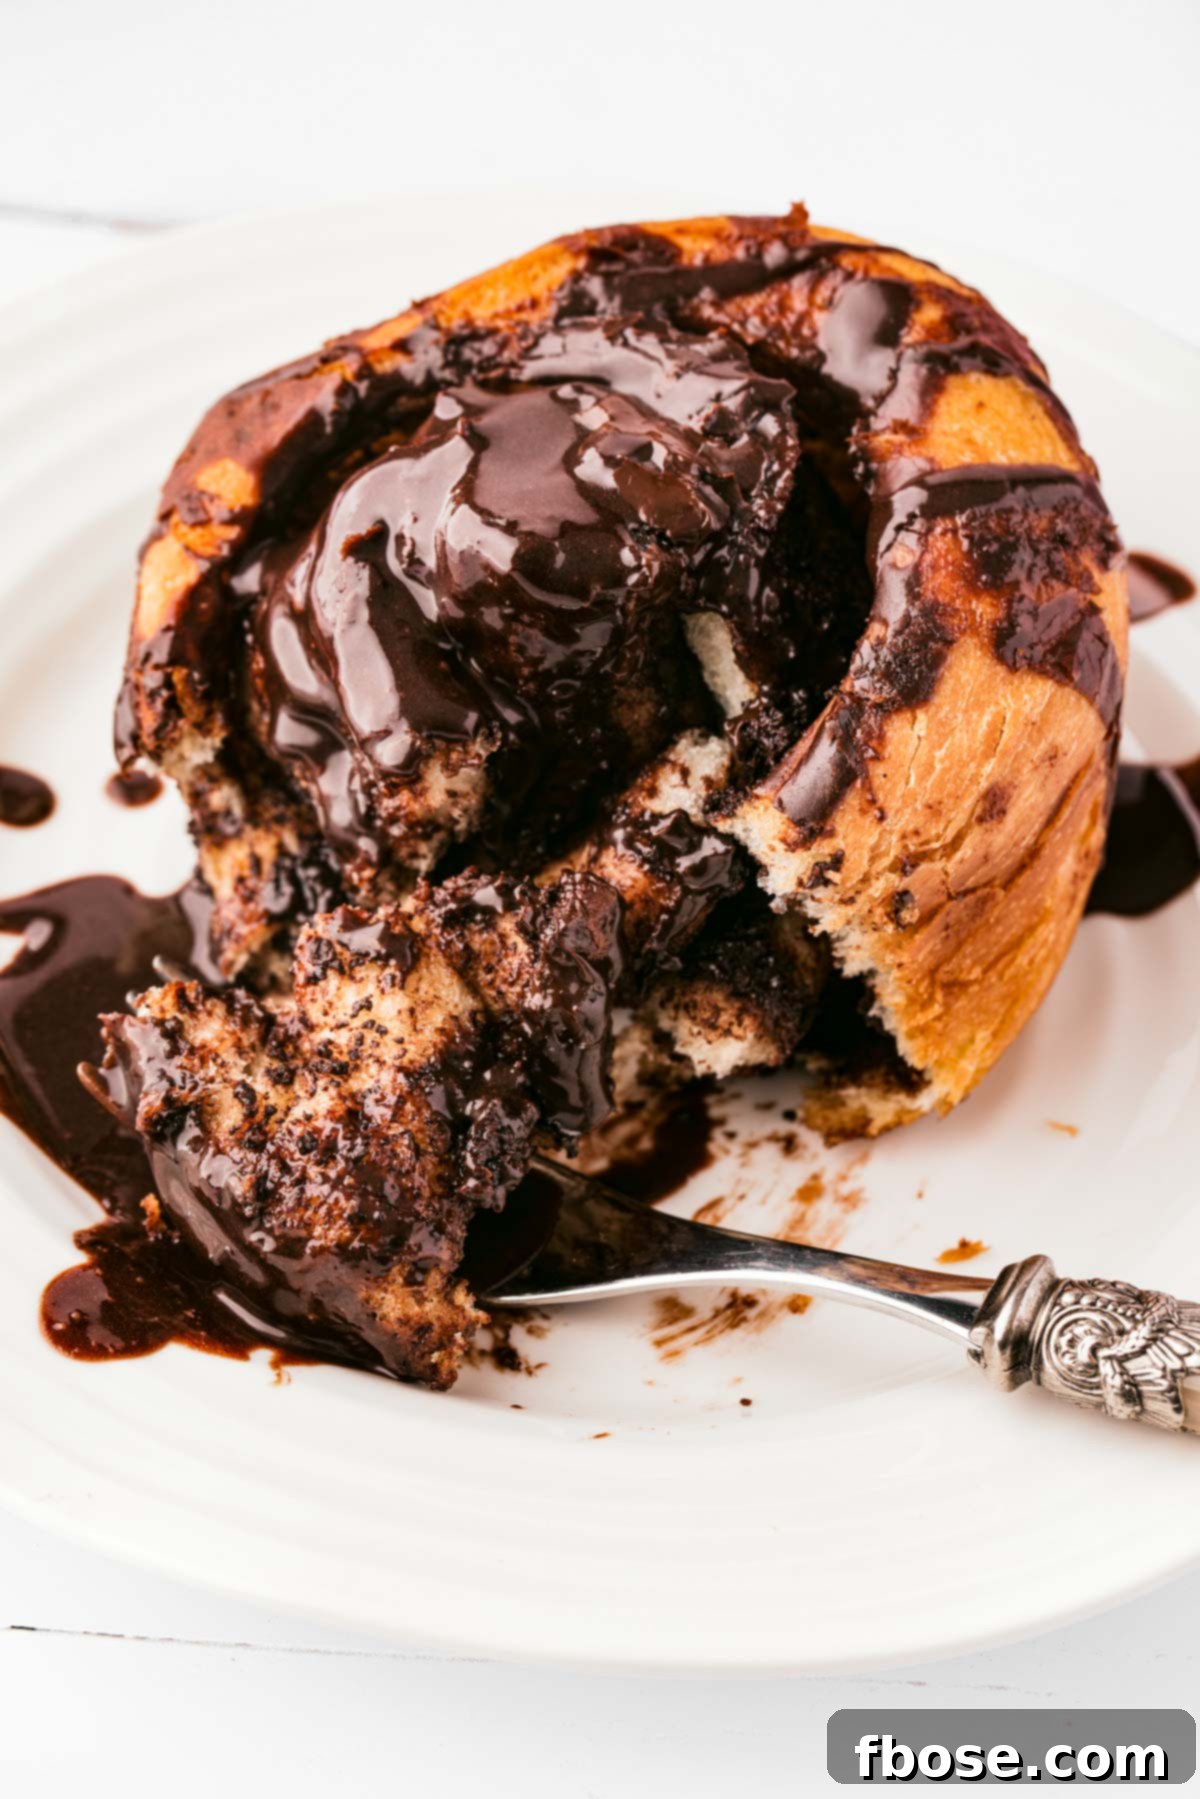
Chocolate Cinnamon Rolls deliver exactly what everyone truly desires for breakfast – a touch of chocolatey indulgence! If you’re looking to explore more delightful breakfast options featuring chocolate, be sure to try these other fantastic breakfast recipes:
- Chocolate Waffles – A dessert-like breakfast ready in just 30 minutes!
- Air Fryer Chocolate Donuts – Soft, fluffy, homemade donuts made conveniently in an air fryer.
- Chocolate Chip Muffins – The ultimate homemade version of everyone’s favorite classic muffin.
- Boston Cream Donuts – Surprisingly easy to make with refrigerated biscuits, ready in just 25 minutes!
Connect With Us!
We love hearing from you! If you’ve tried this delightful Chocolate Cinnamon Rolls recipe, please let us know how much you enjoyed it in the comments section below and consider leaving a review. Your feedback inspires us to keep creating delicious recipes!
Don’t forget to share your culinary creations with us! Tag us on Instagram and Pinterest with your photos – find us @sugarandsoulco. You can also join our vibrant Sugar & Soul Show-offs Community on Facebook, where you can share your masterpieces and participate in our fun recipe challenges!
Recipe: Chocolate Cinnamon Rolls
- Author: Rebecca Hubbell
- Course: Breakfast
- Cuisine: American
- Prep Time: 30 minutes
- Cook Time: 22 minutes
- Proof Time: 1 hour 30 minutes
- Total Time: 2 hours 22 minutes
- Servings: 12 people
- Print Recipe
- Pin Recipe
Ingredients
Dough
- 1¾ cups whole milk, warmed to 110-120°F
- 2¼ teaspoons instant yeast (1 packet)
- 1 large egg, room temperature
- 3 tablespoons granulated sugar
- ½ teaspoon salt
- 6 tablespoons salted butter, divided
- 4½ cups bread flour, spooned and leveled (plus extra if the dough is sticky)
- 1 tablespoon vegetable or canola oil, for coating the proofing bowl
Filling
- ¼ cup salted butter, softened
- 3 tablespoons dark brown sugar, packed
- 2 tablespoons ground cinnamon
- 2 tablespoons Dutch-processed cocoa powder
- ¾ cup semi-sweet chocolate, finely chopped
Chocolate Glaze
- 4 tablespoons Dutch-processed cocoa powder
- 1 cup powdered sugar
- 4 tablespoons whole milk
Additional Ingredients
- 1 tablespoon salted butter, melted, for greasing the dish
- 2 tablespoons salted butter, melted, for brushing the rolls
Instructions
- In a stand mixer fitted with a whisk attachment, thoroughly combine the warm milk, yeast, egg, sugar, salt, and 3 tablespoons of melted butter in the bowl.
- Switch to a dough hook and add in the bread flour. Mix on “stir” speed for 3 minutes, scraping down the sides of the bowl as necessary.
- After 3 minutes, test the dough for doneness. If the dough doesn’t stick to your clean, dry finger, it is ready. If it does, add additional flour 1 tablespoon at a time, mixing as you go until the dough doesn’t stick. (See notes on checking dough consistency).
- When the dough is ready, it should feel tacky and pliable. Add a small drizzle of vegetable or canola oil to a large clean bowl and turn your dough out into it. Rotate the dough so that it’s oiled on all sides, then cover it with cling wrap and let rise somewhere warm for 1 hour, or until it doubles in size.
- Meanwhile, prepare the filling by mixing together the softened butter, brown sugar, cinnamon, and cocoa powder in a bowl until thoroughly combined. Set aside.
- Once the dough has doubled in size, punch it down in the center, then transfer it to a lightly floured surface. Use your hands to shape the dough into a rectangular shape, then roll it out into a 16×8-inch rectangle (measurements don’t have to be exact).
- Spread the chocolate and cinnamon filling over the surface of the dough, leaving a border of about ¼-inch around the edge.
- Sprinkle the chopped chocolate over the top of the cinnamon mixture and use your hands to gently press the chocolate into the dough so that it doesn’t escape when you roll it up.
- Wash your hands before you begin rolling so none of the chocolate transfers to the outside of the rolls. With the longest edge facing you, tightly roll up the dough into a log shape. Pinch the seam together with your fingertips, then cut the dough log in the middle. (For best results, use unflavored dental floss to cut the dough. Simply slide it under the log, bring the floss up around the side, cross it, and then pull it to cut through the dough – this prevents squeezing the dough and helps it hold its circular shape.)
- Cut each half of the log into 6 equal pieces (approximately 1¾-inch each) using dental floss or a sharp knife.
- Grease a large 9×13-inch baking dish with 1 tablespoon of melted butter, then arrange the chocolate cinnamon rolls so that there is a little room in between each one. Cover with cling wrap and leave somewhere warm for 30 minutes, or until the rolls have puffed up in size.
- Meanwhile, preheat the oven to 350ºF (175°C).
- Once risen, brush the rolls with 2 tablespoons of melted butter.
- Bake the dish on the center rack of the oven for 22 minutes or until golden brown. The center of the rolls should read 190°F (88°C) on an instant-read thermometer when done. Transfer the dish to a wire rack to cool slightly.
- While the rolls cool, prepare the chocolate glaze by adding cocoa powder, powdered sugar, and milk to a bowl. Whisk until thoroughly combined into a thin, pourable consistency.
- Pour about ¾ of the glaze directly on top of the Chocolate Cinnamon Rolls while they are still in the baking dish.
- Remove from the dish and drizzle any extra chocolate glaze over them. Serve and enjoy while still warm and gooey from the oven!
Notes
- Milk Temperature: The milk should be between 110-120°F (43°C-49°C) for yeast activation. A digital kitchen thermometer is recommended. For instant yeast, a slightly warmer temperature within this range is okay to compensate for cooling by other ingredients.
- Yeast Substitution: You can use quick, fresh, or active-dry yeast. Active-dry yeast needs to be activated: stir it with warm milk (105-115°F/40°C-46°C) and 1 tablespoon sugar, let foam for 5-10 minutes, then add to dry ingredients.
- Dough Not Rising? If rolls don’t rise, the area might not be warm enough (give it more time) or the milk was too hot and killed the yeast.
- No Mixer Method: After adding flour, mix with a spatula until shaggy. Turn dough onto a floured surface and knead by hand until tacky but soft and pliable (8-10 minutes), then transfer to an oiled bowl.
- Hard/Dry Rolls? This can be caused by packing too much flour when measuring (spoon and level) or overworking the dough, which develops too much gluten.
- All-Purpose Flour: While bread flour is preferred for a softer dough and better rise, all-purpose flour can be used. You may need to add an additional ¼ cup of flour to achieve the right consistency.
- Chocolate Chips in Filling: Mini chocolate chips are an excellent substitute for finely chopped semi-sweet chocolate in the filling.
- Sticky Dough Fix: If the dough sticks to your finger after initial mixing, add an extra ½ cup of flour, one tablespoon at a time, mixing until it’s tacky but no longer sticky.
- Storage: Store at room temperature in an airtight container for up to 3 days, or freeze for up to one month. Reheat in the microwave or oven.
Nutrition Information
| Nutrient | Amount per Serving |
|---|---|
| Calories | 450 kcal |
| Carbohydrates | 61g |
| Protein | 10g |
| Fat | 20g |
| Saturated Fat | 11g |
| Polyunsaturated Fat | 1g |
| Monounsaturated Fat | 5g |
| Trans Fat | 1g |
| Cholesterol | 54mg |
| Sodium | 221mg |
| Potassium | 249mg |
| Fiber | 4g |
| Sugar | 22g |
| Vitamin A | 479 IU |
| Vitamin C | 0.1mg |
| Calcium | 90mg |
| Iron | 2mg |
Did You Make This Recipe?
Don’t forget to share it with me on Instagram @sugarandsoulco and follow on Tiktok @sugarandsoulco and Pinterest @sugarandsoulco for more!
- Rate this Recipe
- Pin Recipe
- Share Recipe