

Transform your baking experience and elevate your dessert game with a batch of these truly unforgettable Chocolate Chunk Brownies! This recipe simplifies the process with a convenient one-pot stovetop method, deepens the flavor profile by utilizing Dutch-Process Cocoa Powder, and delivers an irresistible texture with generous, thick chunks of bittersweet chocolate. The result is the ultimate brownie that’s rich, fudgy, and absolutely decadent, destined to become your new favorite!
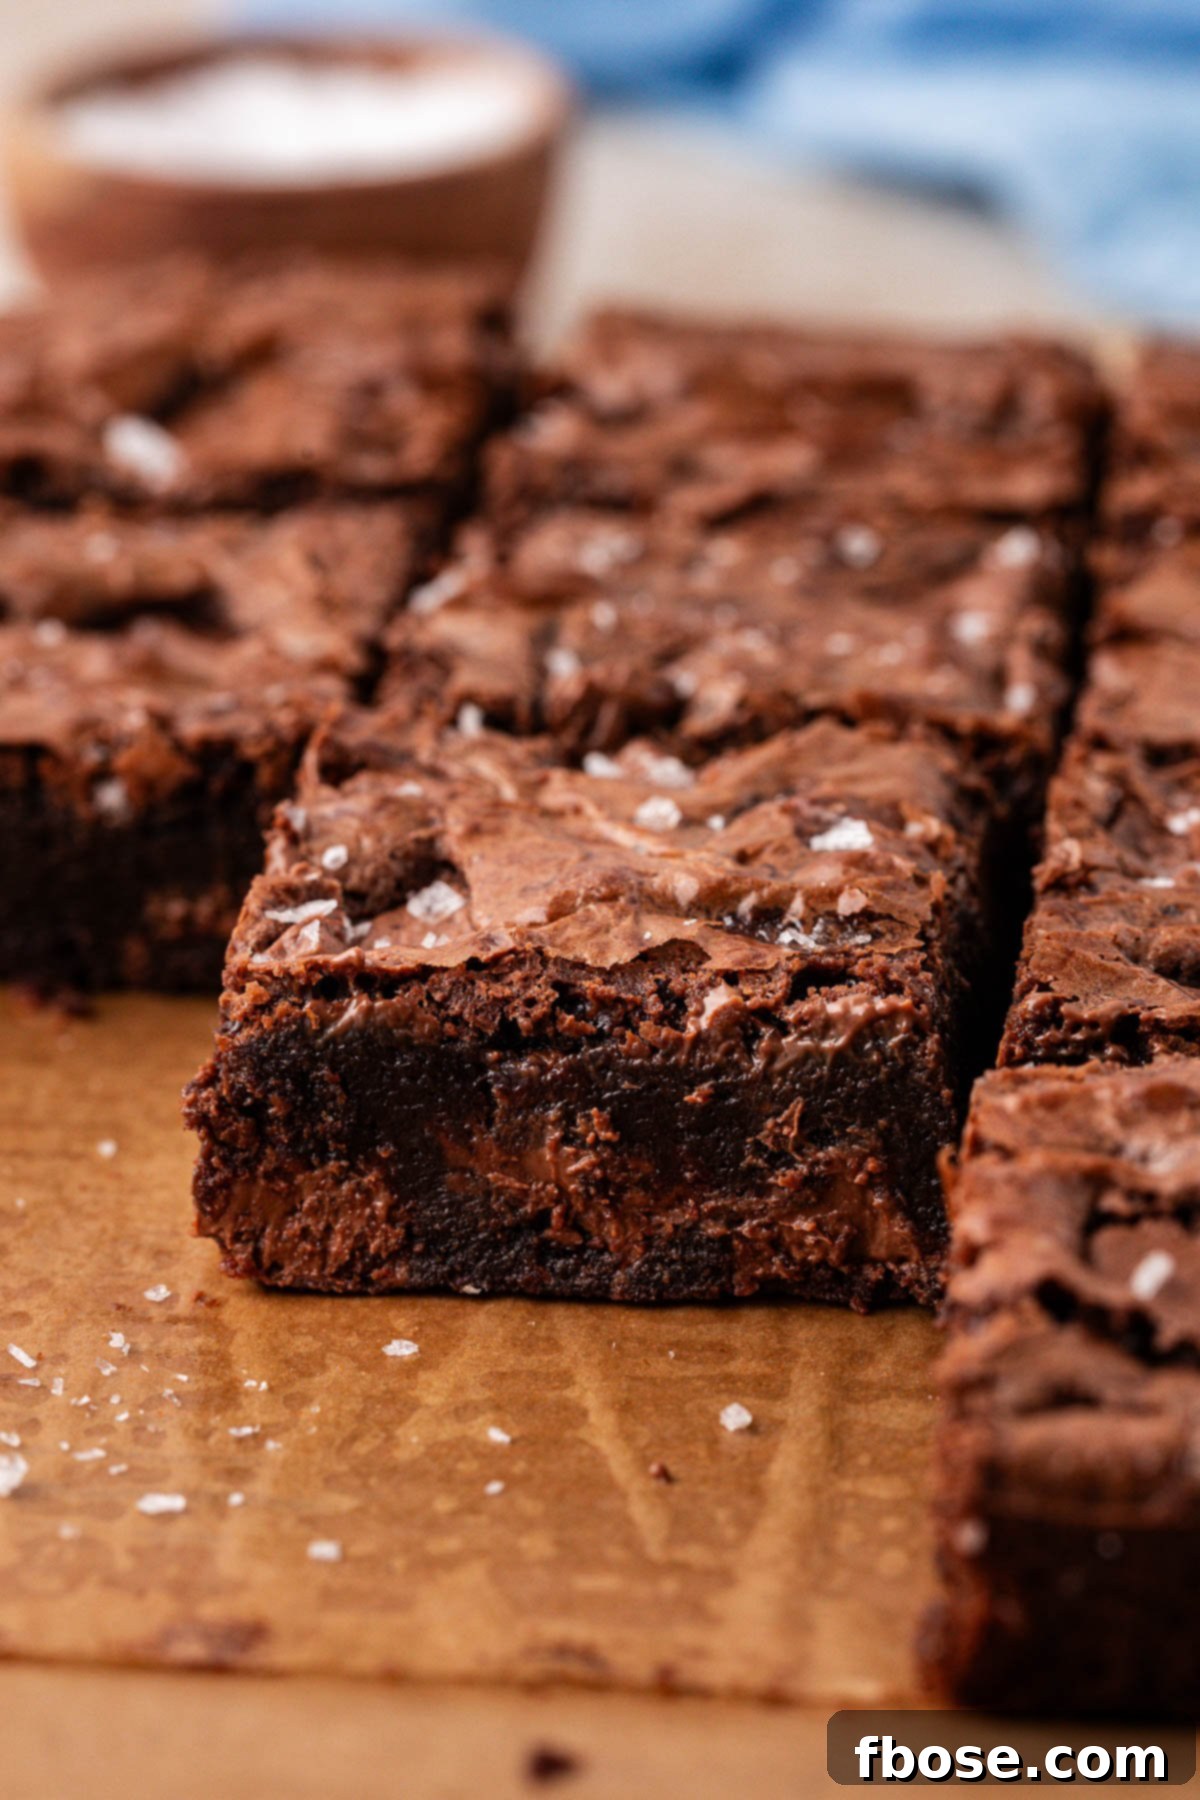
Indulge in the Ultimate Fudgy Chocolate Chunk Brownie Experience!
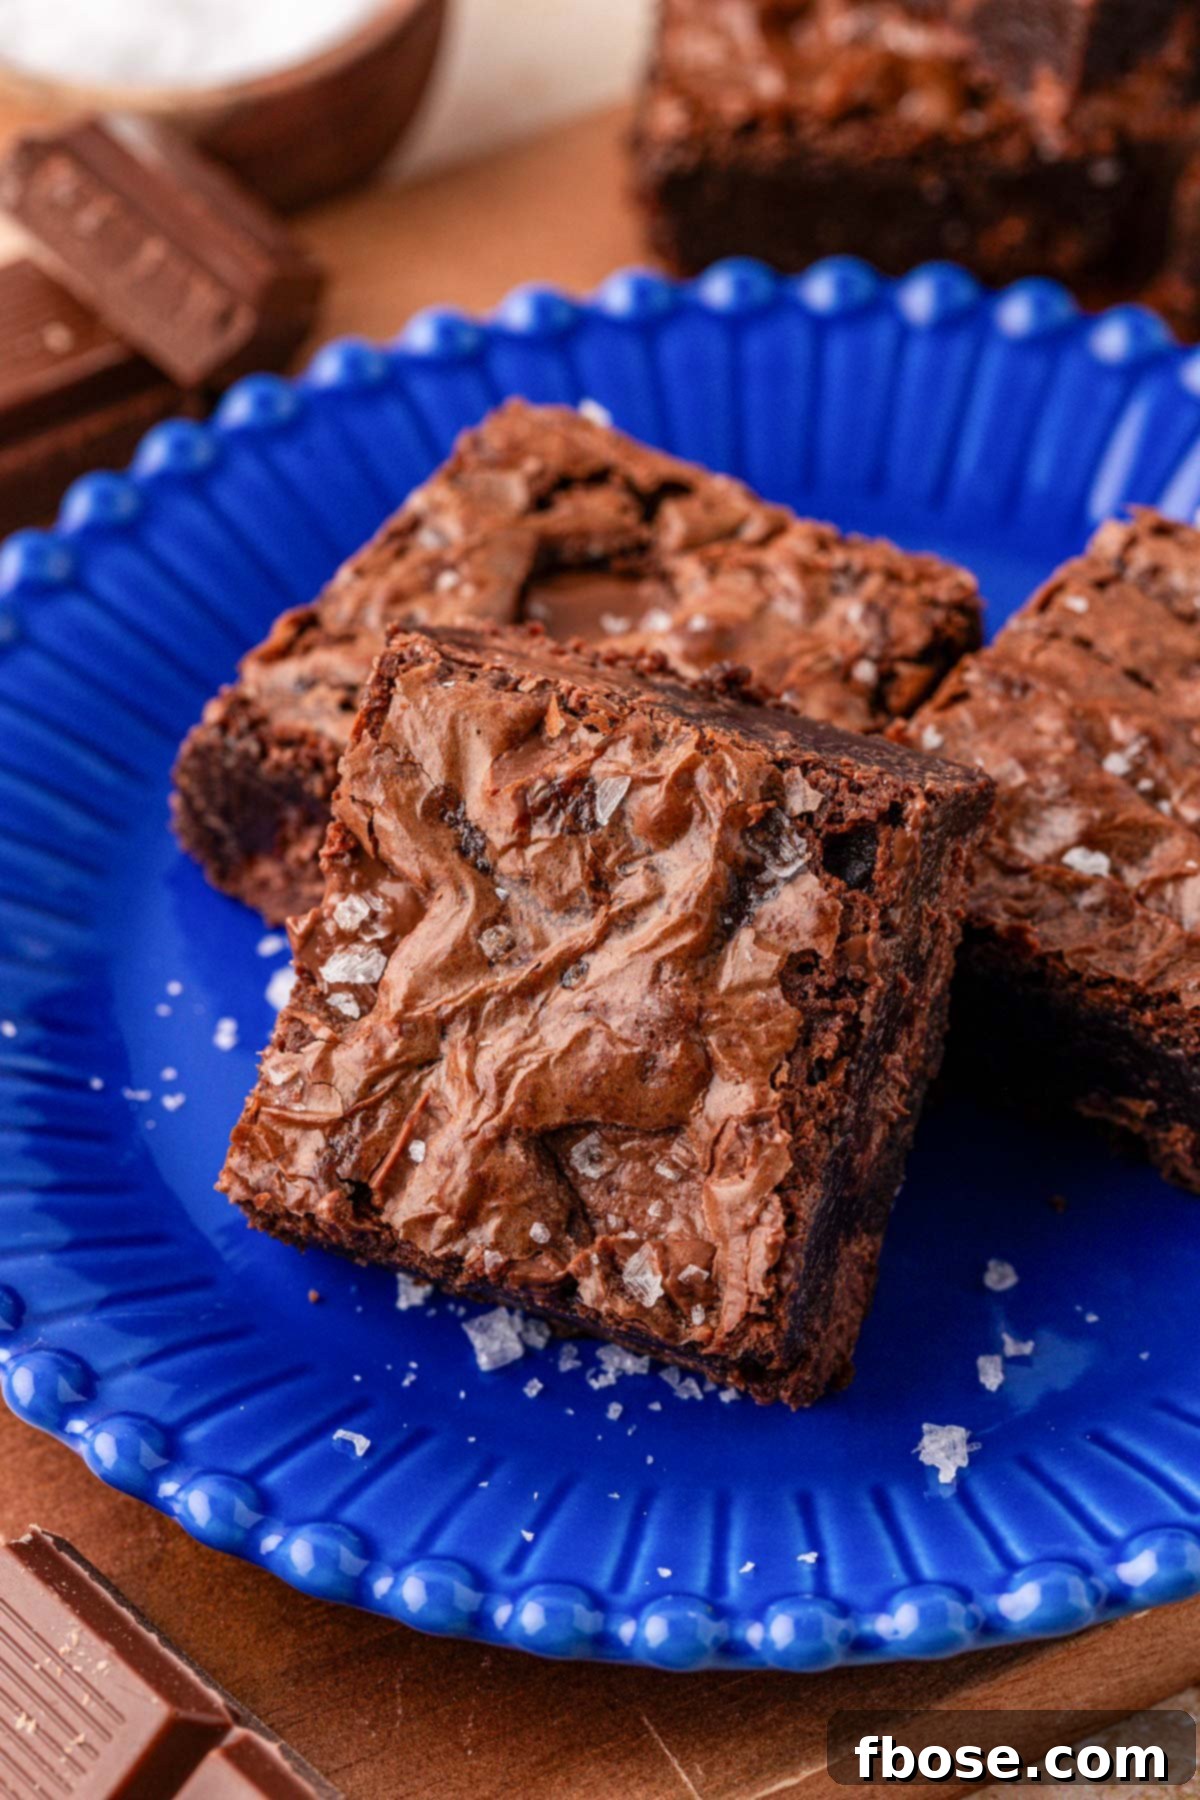
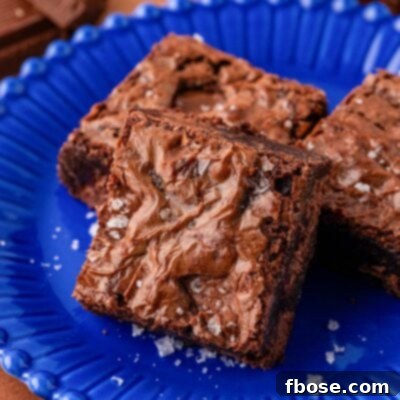
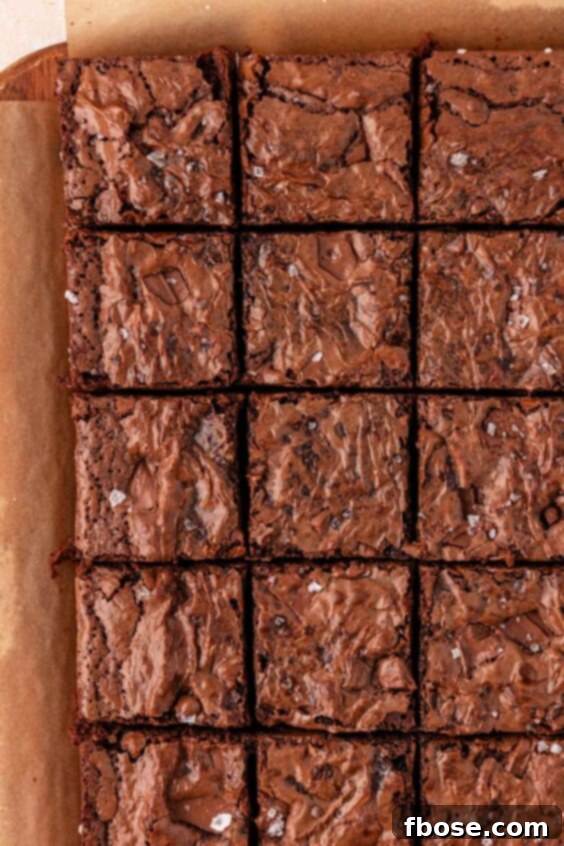
Imagine pouring a cold glass of milk, sinking your teeth into a perfectly square slice of pure chocolate bliss, and feeling those luscious pockets of melted chocolate chunks burst with flavor. That’s precisely the experience these Chocolate Chunk Brownies promise! Each bite offers an intensely fudgy, incredibly rich treat, encased in a thick, hand-held delight topped with that highly sought-after, shiny, crinkled crust. These brownies aren’t just good; they’re an experience, a symphony of textures and flavors that will have everyone reaching for more.
Are you already dreaming of that first bite? We thought so, because we are too! This enhanced Chocolate Chunk Brownie Recipe takes our beloved Homemade Chocolate Fudge Brownie Recipe to new heights. We’ve introduced Dutch-Process cocoa powder for an even deeper chocolate hue and richer taste, then folded in an abundance of thick, luxurious chunks of bittersweet chocolate. The difference is truly remarkable, transforming an already amazing recipe into a masterpiece.
What you’re left with is a truly winning brownie recipe, universally adored and perfect for any occasion. Serve a slice as is for a simple yet profound indulgence, or elevate it into a magnificent dessert by pairing these decadent chocolate chunk brownies with a generous scoop of creamy vanilla ice cream to create the ultimate brownie sundae. They’re versatile, utterly delicious, and guaranteed to satisfy even the most intense chocolate cravings.
Pin This Recipe For Later
Rebecca’s Recipe Review: A Deep Dive into Perfection
When it comes to brownies, I’m always chasing that elusive perfect balance of flavor and texture. This Chocolate Chunk Brownie recipe truly hit every mark, and here’s my honest take on why it’s a game-changer:
Taste: The flavor profile of these brownies is nothing short of extraordinary. They boast a profoundly rich, deep chocolate flavor that is both intense and wonderfully balanced. The Dutch-process cocoa powder creates a dark, mellow base, which is beautifully complemented by the bittersweet chocolate chunks. It’s not just sweet; it’s a sophisticated chocolate experience that lingers delightfully on the palate.
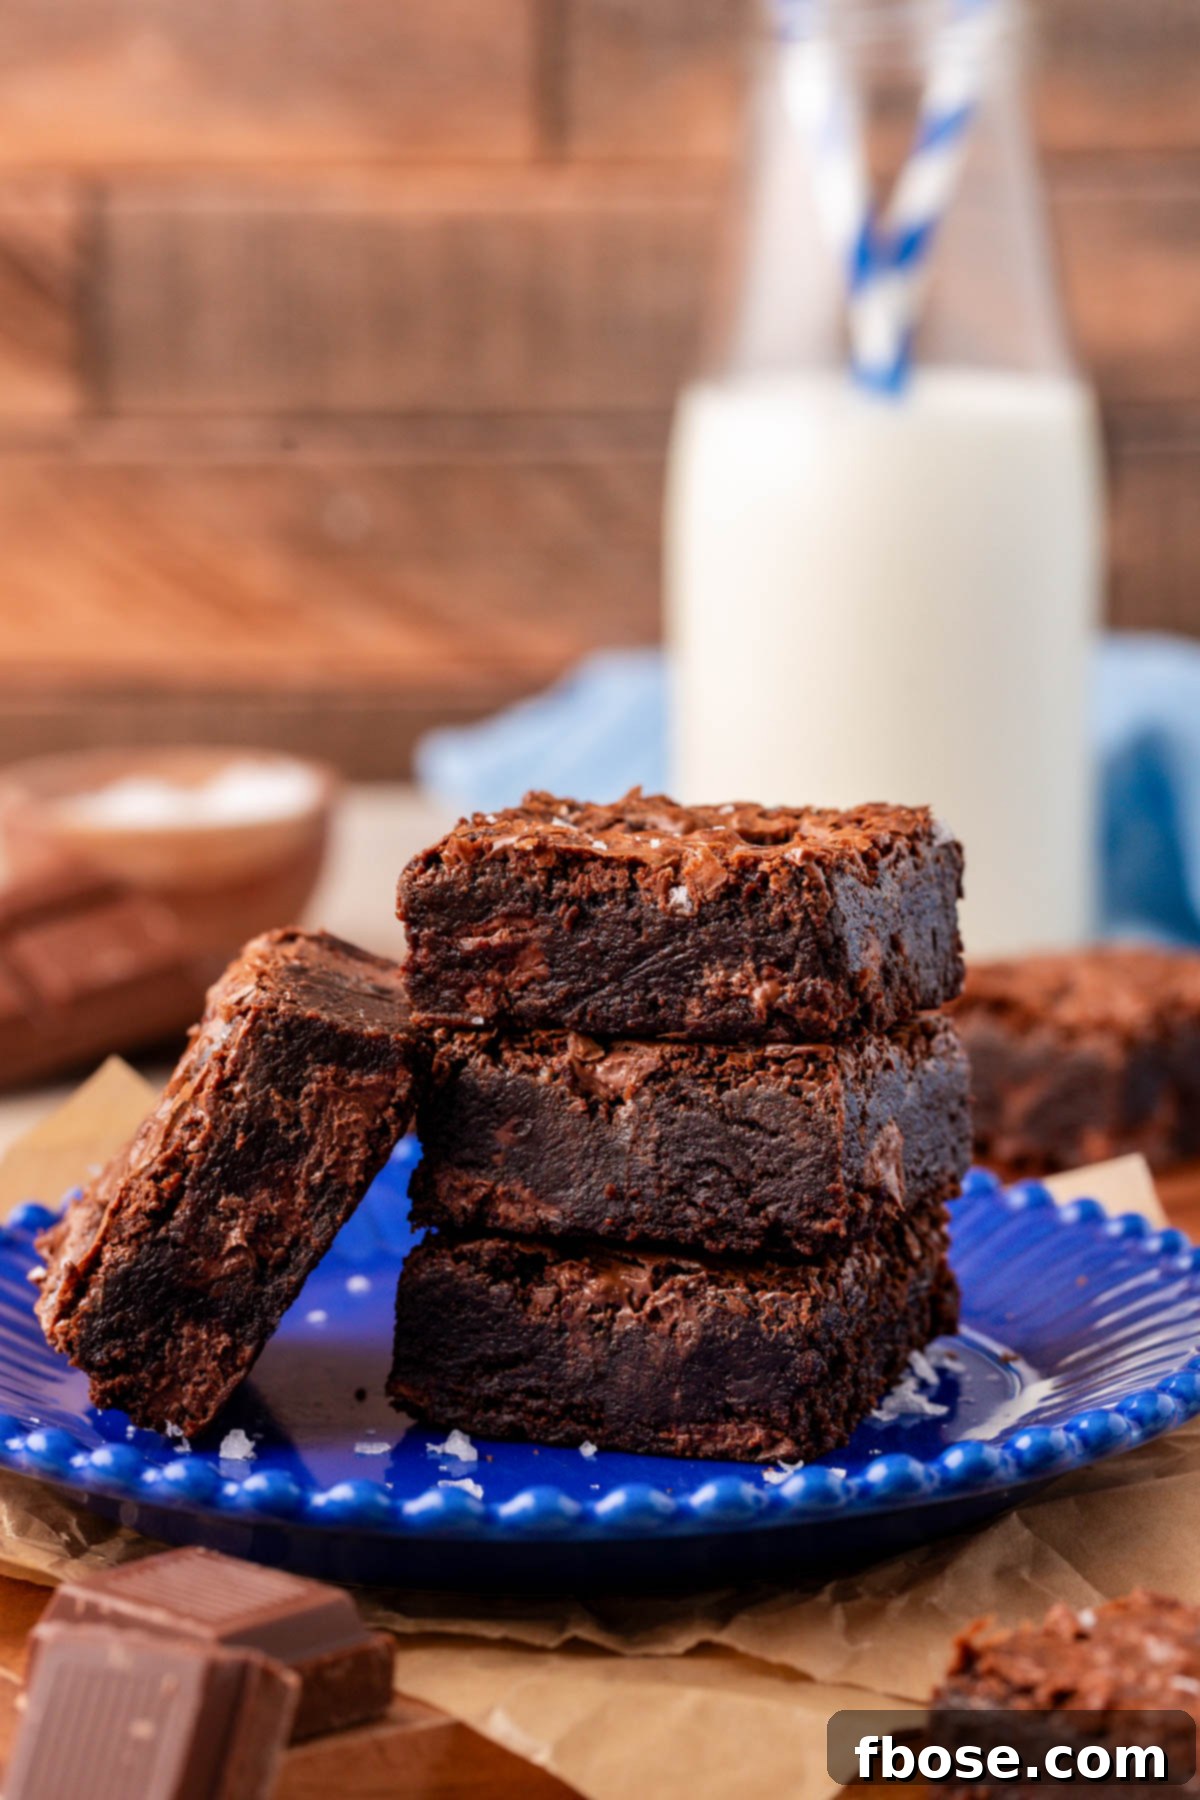
Texture: This is where these brownies truly shine. They are exquisitely fudgy without being overly dense, delivering that satisfying chewiness that every great brownie should have. The star of the show, however, is undoubtedly the crinkle top – thin, glossy, and perfectly crisp, it provides a delightful textural contrast to the soft, gooey interior. Each bite is further enhanced by generous, melt-in-your-mouth chocolate chunks that create luxurious pockets of liquid chocolate throughout.
Ease: I would rate the ease of this recipe at a solid 4/10. While there are a few steps, the one-pot stovetop method significantly simplifies the process, reducing cleanup and making it quite approachable even for less experienced bakers. The instructions are clear and straightforward, ensuring a smooth baking journey from start to finish.
Pros: The use of large, thick chocolate chunks is a definite highlight; they melt beautifully to create incredible pools of chocolate that truly enhance the eating experience. Furthermore, the subtle touch of sea salt adds a lovely dynamic, cutting through the sweetness and amplifying the rich chocolate notes, resulting in a perfectly balanced flavor that keeps you coming back for more.
Cons: A minor consideration is that this recipe tends to be a little more expensive than traditional brownie recipes, primarily due to the generous amount of high-quality chocolate chunks and the specific choice of Dutch-processed cocoa. However, I firmly believe that the unparalleled flavor and texture you achieve make these extra costs a worthwhile investment for an exceptional dessert.
Would I Make This Again? Absolutely, without a doubt! This recipe has earned a permanent spot in my baking rotation. In fact, it might even give my classic Fudge Brownie recipe a serious run for its money! Every single bite of these Chocolate Chunk Brownies is pure chocolate bliss, and I can’t recommend them enough.
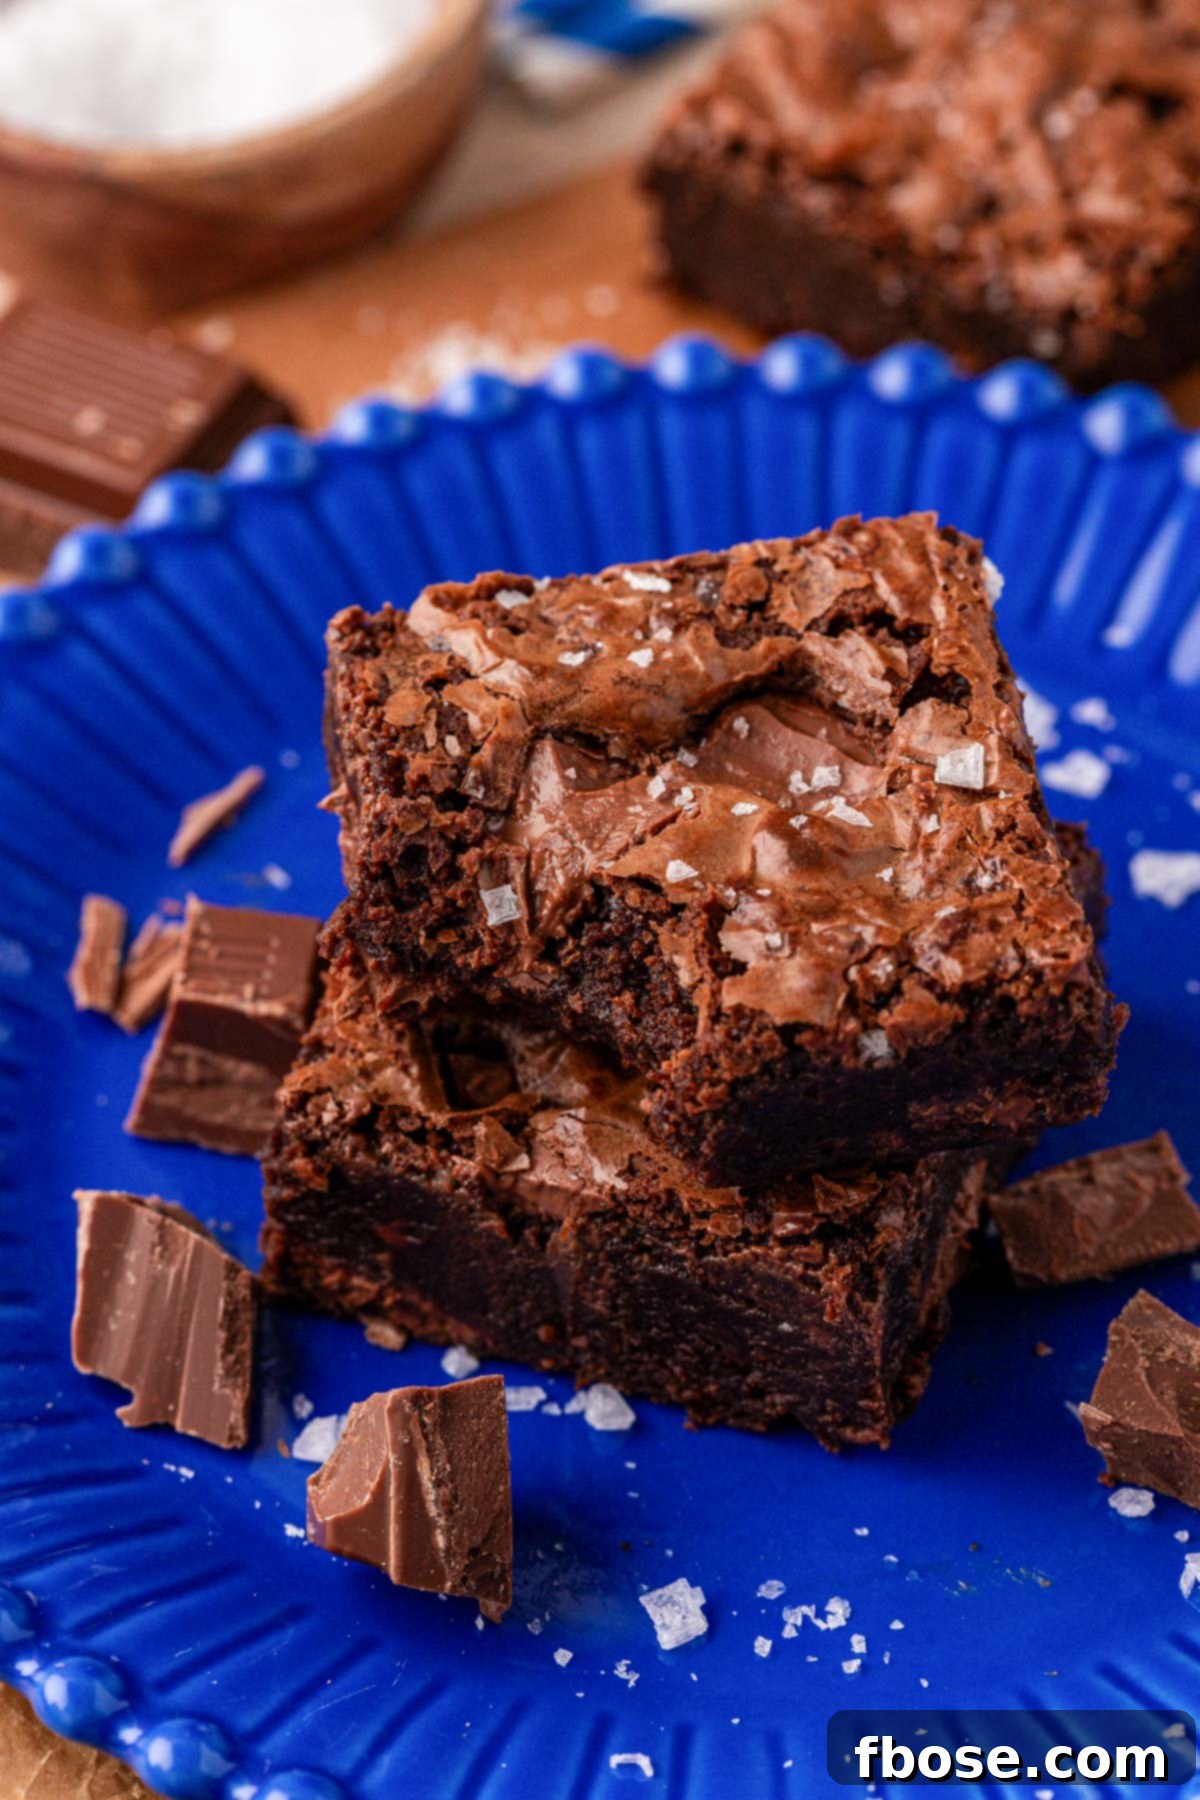
Essential Ingredients for Decadent Chocolate Chunk Brownies
If you’re familiar with my Homemade Chocolate Fudge Brownie Recipe, you’ll notice that this Chocolate Chunk Brownie recipe shares many similar, reliable pantry staples. These include everyday essentials such as granulated sugar, canola oil, fragrant vanilla extract, all-purpose flour, and a pinch of salt. Additionally, you’ll need common refrigerated ingredients like unsalted butter and large eggs.
However, what truly distinguishes these Chocolate Chunk Brownies and sets them apart is a couple of key ingredient differences that elevate their flavor profile. Firstly, we’ve omitted malted milk powder, and more significantly, we’ve opted for Dutch-process cocoa powder instead of standard unsweetened cocoa powder. This choice is deliberate and crucial for achieving the desired taste and appearance.
To elaborate, unsweetened cocoa powder typically yields a brownie with a more concentrated, sometimes slightly acidic, chocolate flavor and a lighter color. In contrast, Dutch-process cocoa powder, which has been alkalized, delivers an intensely rich, deep, and mellow chocolatey flavor with a strikingly dark color. This is precisely the sophisticated, robust flavor and luxurious aesthetic we are aiming for in these ultimate Chocolate Chunk Brownies. That said, if unsweetened cocoa powder is what you have on hand or simply prefer its characteristics, feel free to use it – your brownies will still be delicious!
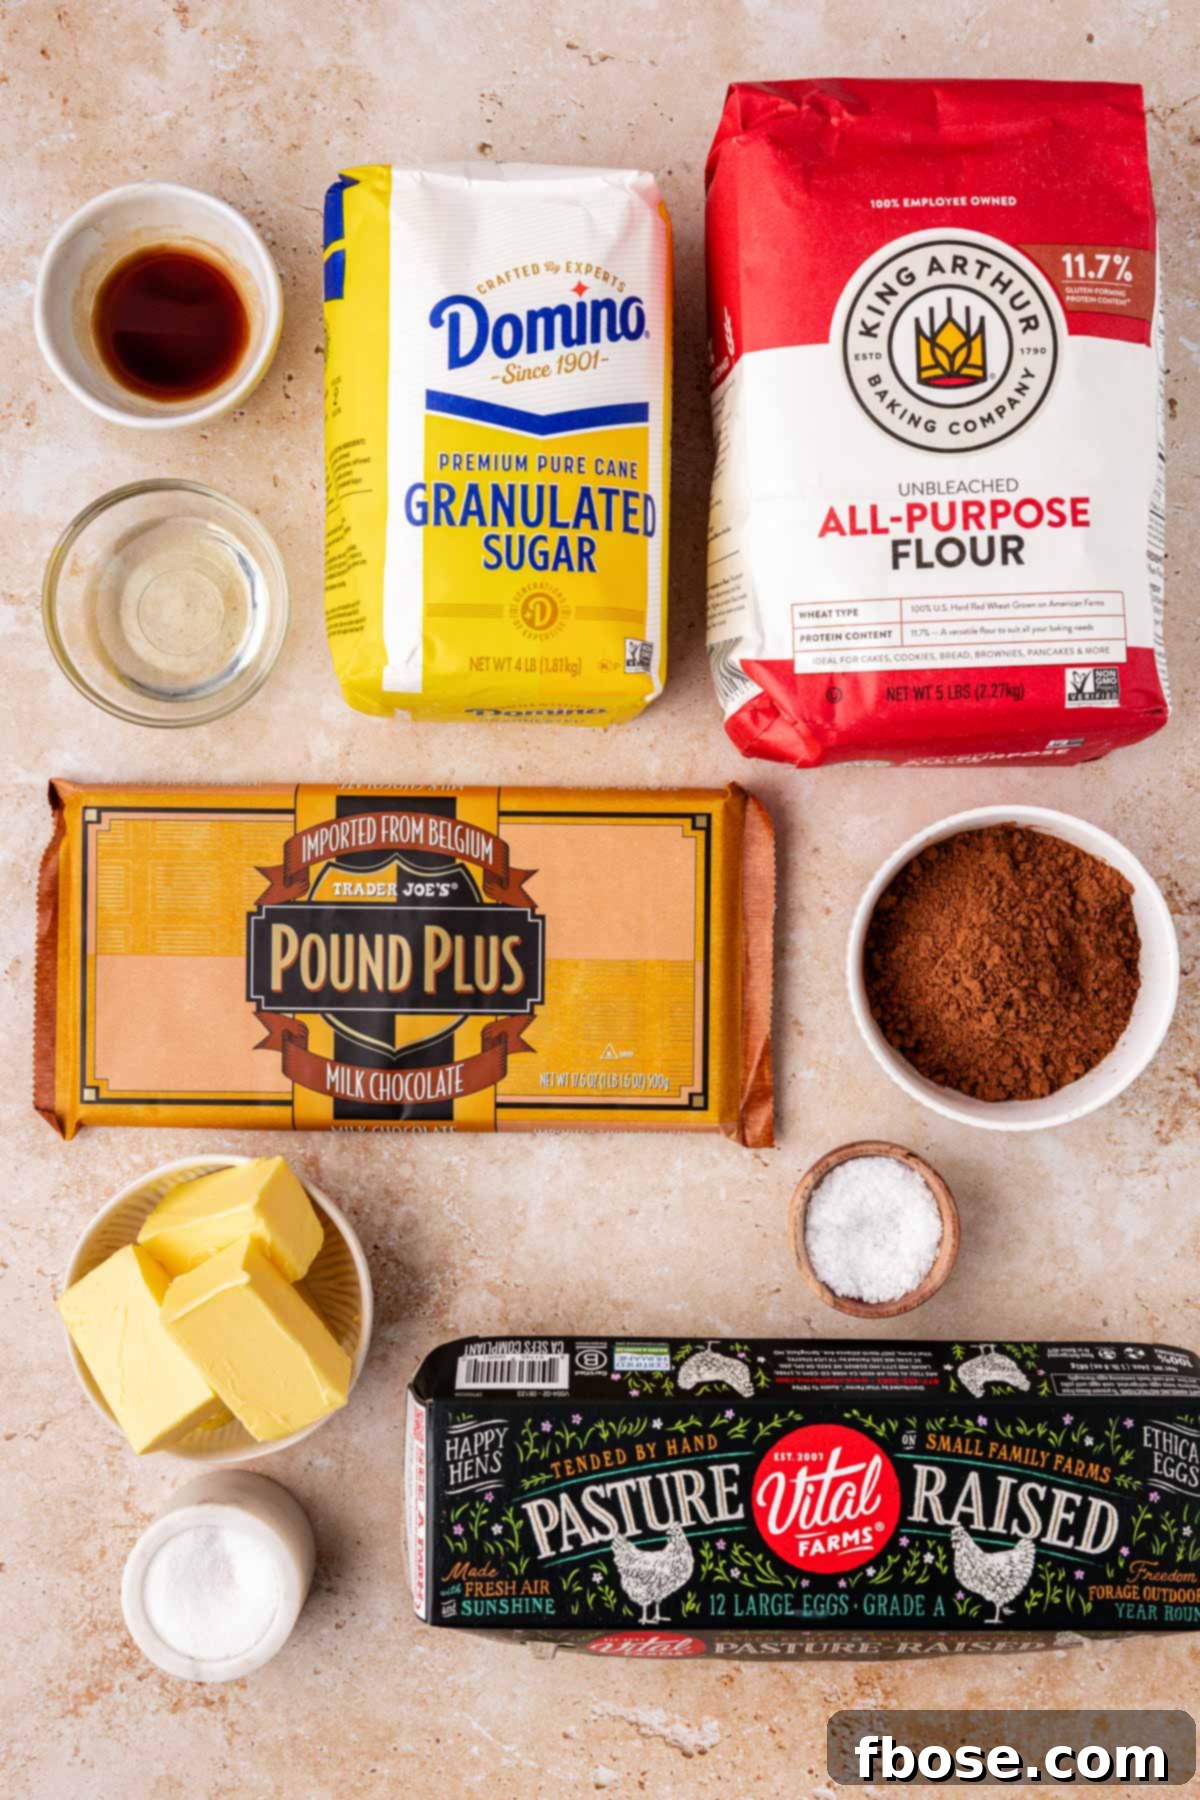
The final, impactful difference between these brownies and my classic fudge brownies lies in the choice of chocolate itself. Here, we embrace the superior texture and melt of chocolate chunks, rather than smaller chocolate chips. The goal is to incorporate nice, substantial pockets of melting chocolate, ideally about the size of a penny, ensuring a delightful burst of chocolate in every single bite.
For the best results, I highly recommend starting with a large, thick chocolate bar and chopping it into irregular chunks yourself. This allows for varied sizes that melt beautifully and unevenly, creating an incredible textural experience. While you can use thinner baking chocolate, such as Ghirardelli, or pre-packaged chocolate chunks, do keep in mind that these often contain additional ingredients like stabilizers or emulsifiers. These additives can sometimes impact the overall flavor and melt consistency of your brownies, so choosing a high-quality chocolate bar for chopping is always preferred for the most authentic and decadent outcome.
Mastering Homemade Chocolate Chunk Brownies: A Step-by-Step Guide
- Prepare Your Pan: Begin by preheating your oven to 350°F (175°C). Line a metal 9×13-inch baking pan with parchment paper, allowing the paper to overhang on the longer sides. This creates “slings” that will make lifting the cooled brownies out of the pan effortlessly easy. A light spray of cooking spray on the parchment ensures no sticking. For smaller, thicker brownies, an 8×8 or 9×9-inch pan can be used, but adjust baking times accordingly.
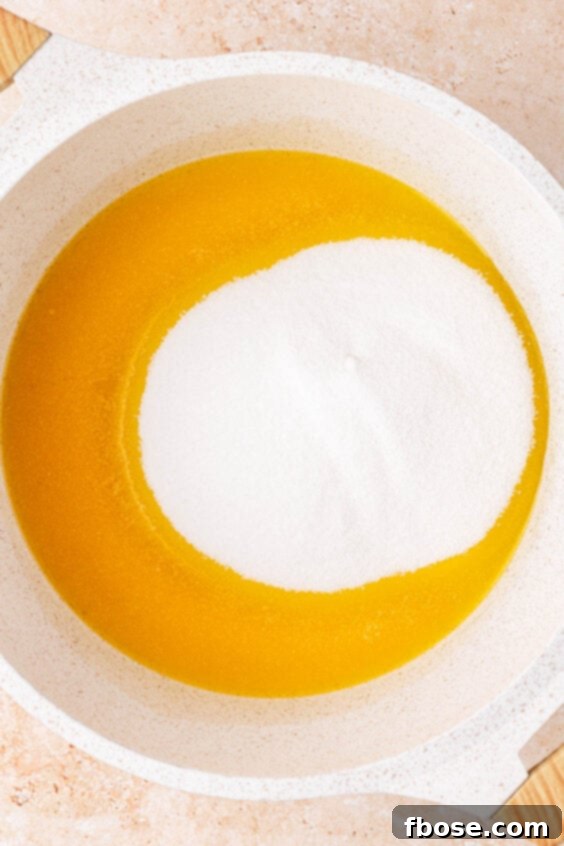
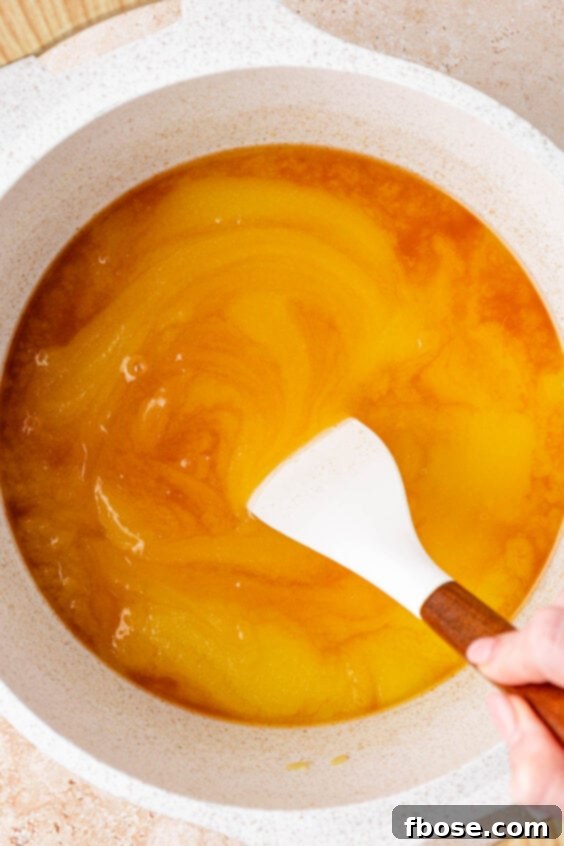
- Melt Butter & Sugar: In a heavy-bottomed saucepan, melt unsalted butter over low heat. Once melted, stir in the granulated sugar. Continue stirring gently until the mixture is smooth, glossy, and the sugar has largely dissolved, showing no separation between the butter and sugar. Remove the pan from the heat and allow this mixture to cool for about 5 minutes, stirring occasionally to help release the heat evenly. This crucial step contributes to the desired crinkle top.
- Incorporate Liquids: Add canola oil and vanilla extract to the cooled butter and sugar mixture. Using a rubber spatula or a whisk, beat these ingredients until they are fully combined and seamlessly emulsified. Ensure there are no visible streaks of oil or vanilla extract remaining separated from the butter-sugar base.
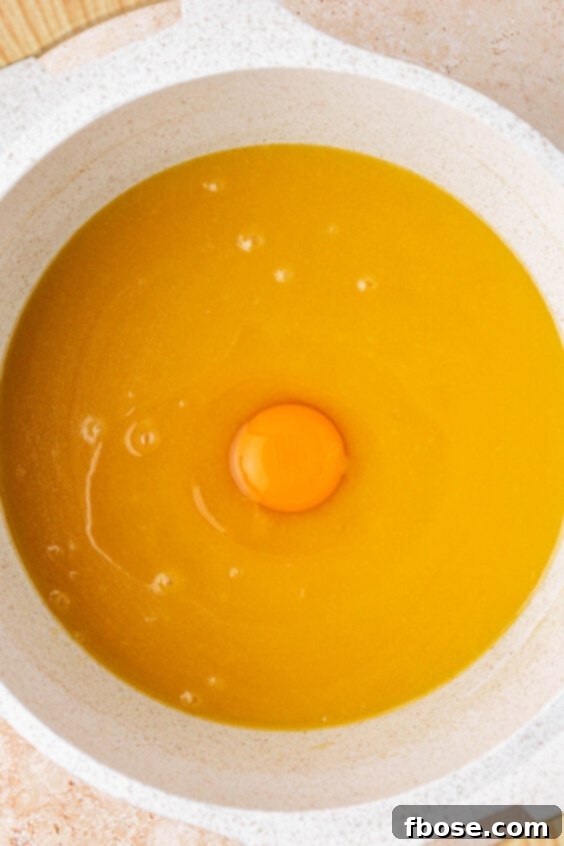
- Add Eggs: Introduce the large eggs into the mixture one at a time. After adding each egg, beat vigorously with the spatula or a fork until it is completely incorporated into the batter. This gradual addition ensures proper emulsification, contributing to the fudgy texture and shiny top.
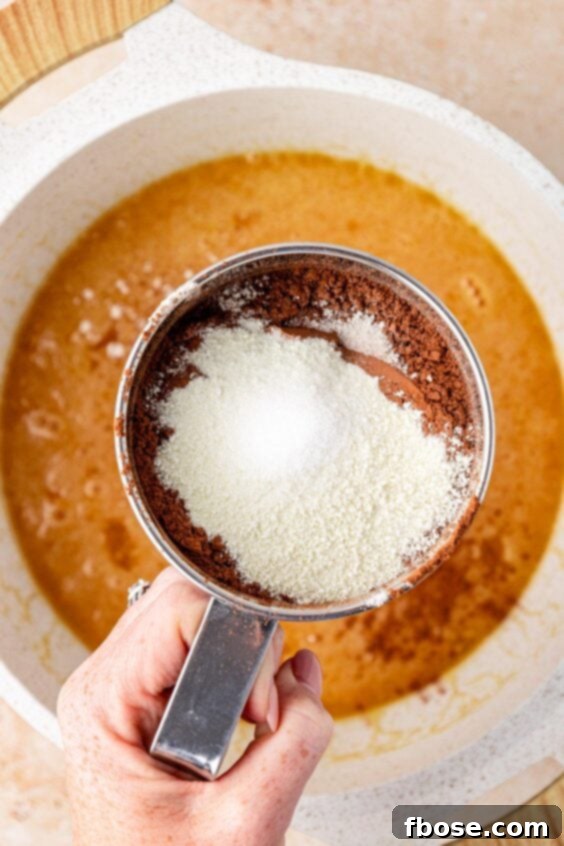
- Sift Dry Ingredients: Directly into the wet mixture, sift together the all-purpose flour, Dutch-process cocoa powder, and salt. Sifting is vital here to prevent lumps and ensure a smooth, uniform batter. Gently stir the mixture with your rubber spatula just until no dry streaks of flour or cocoa powder are visible. Be careful not to overmix, as this can lead to tough, cakey brownies.
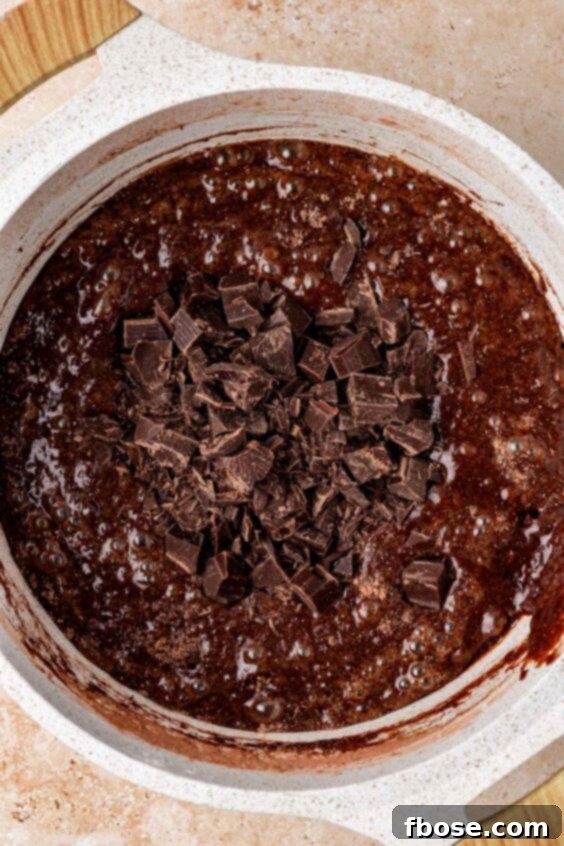
- Fold in Chocolate Chunks: Take the majority of your prepared bittersweet chocolate chunks and gently fold them into the homemade brownie batter using your rubber spatula. Distribute them evenly throughout the mixture, ensuring every bite will be loaded with melty chocolate goodness. Reserve a handful of chunks for topping.
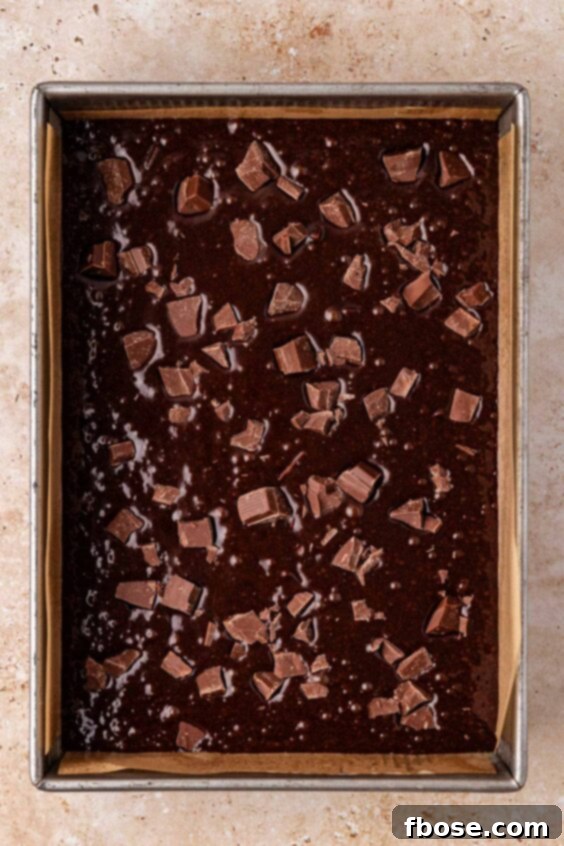
- Bake: Pour the rich chocolate batter into your prepared baking pan, spreading it evenly to all corners. Sprinkle the remaining chocolate chunks generously over the top of the brownies – these will create beautiful, visible pockets of chocolate on the surface. Transfer the pan to the preheated oven and bake for 25 to 30 minutes for a 9×13-inch pan (refer to the pan recommendations below for other sizes).
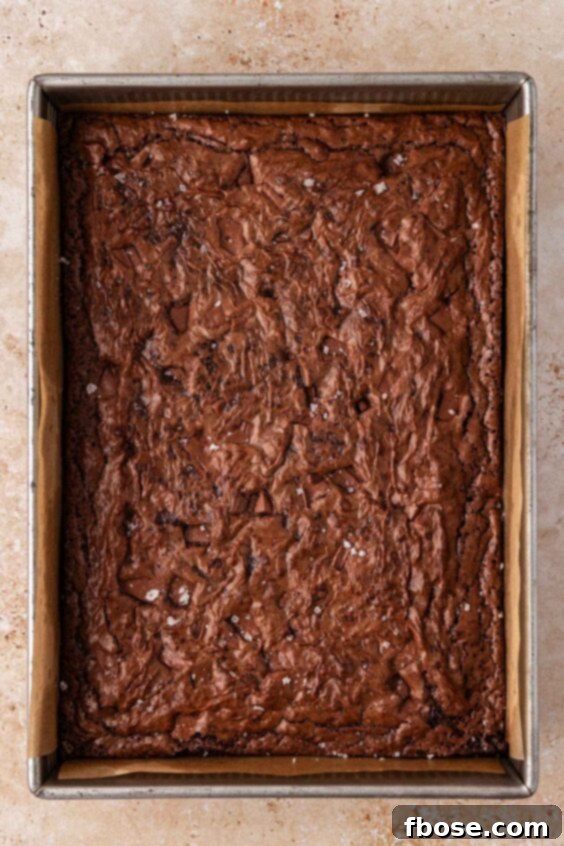
- Salt Finish: As soon as the batch of brownies emerges from the oven, while they are still piping hot, immediately sprinkle flaky sea salt evenly over the top. The heat will help the salt adhere, and its contrasting flavor will enhance the deep chocolate notes. This step is optional but highly recommended for an elevated taste.
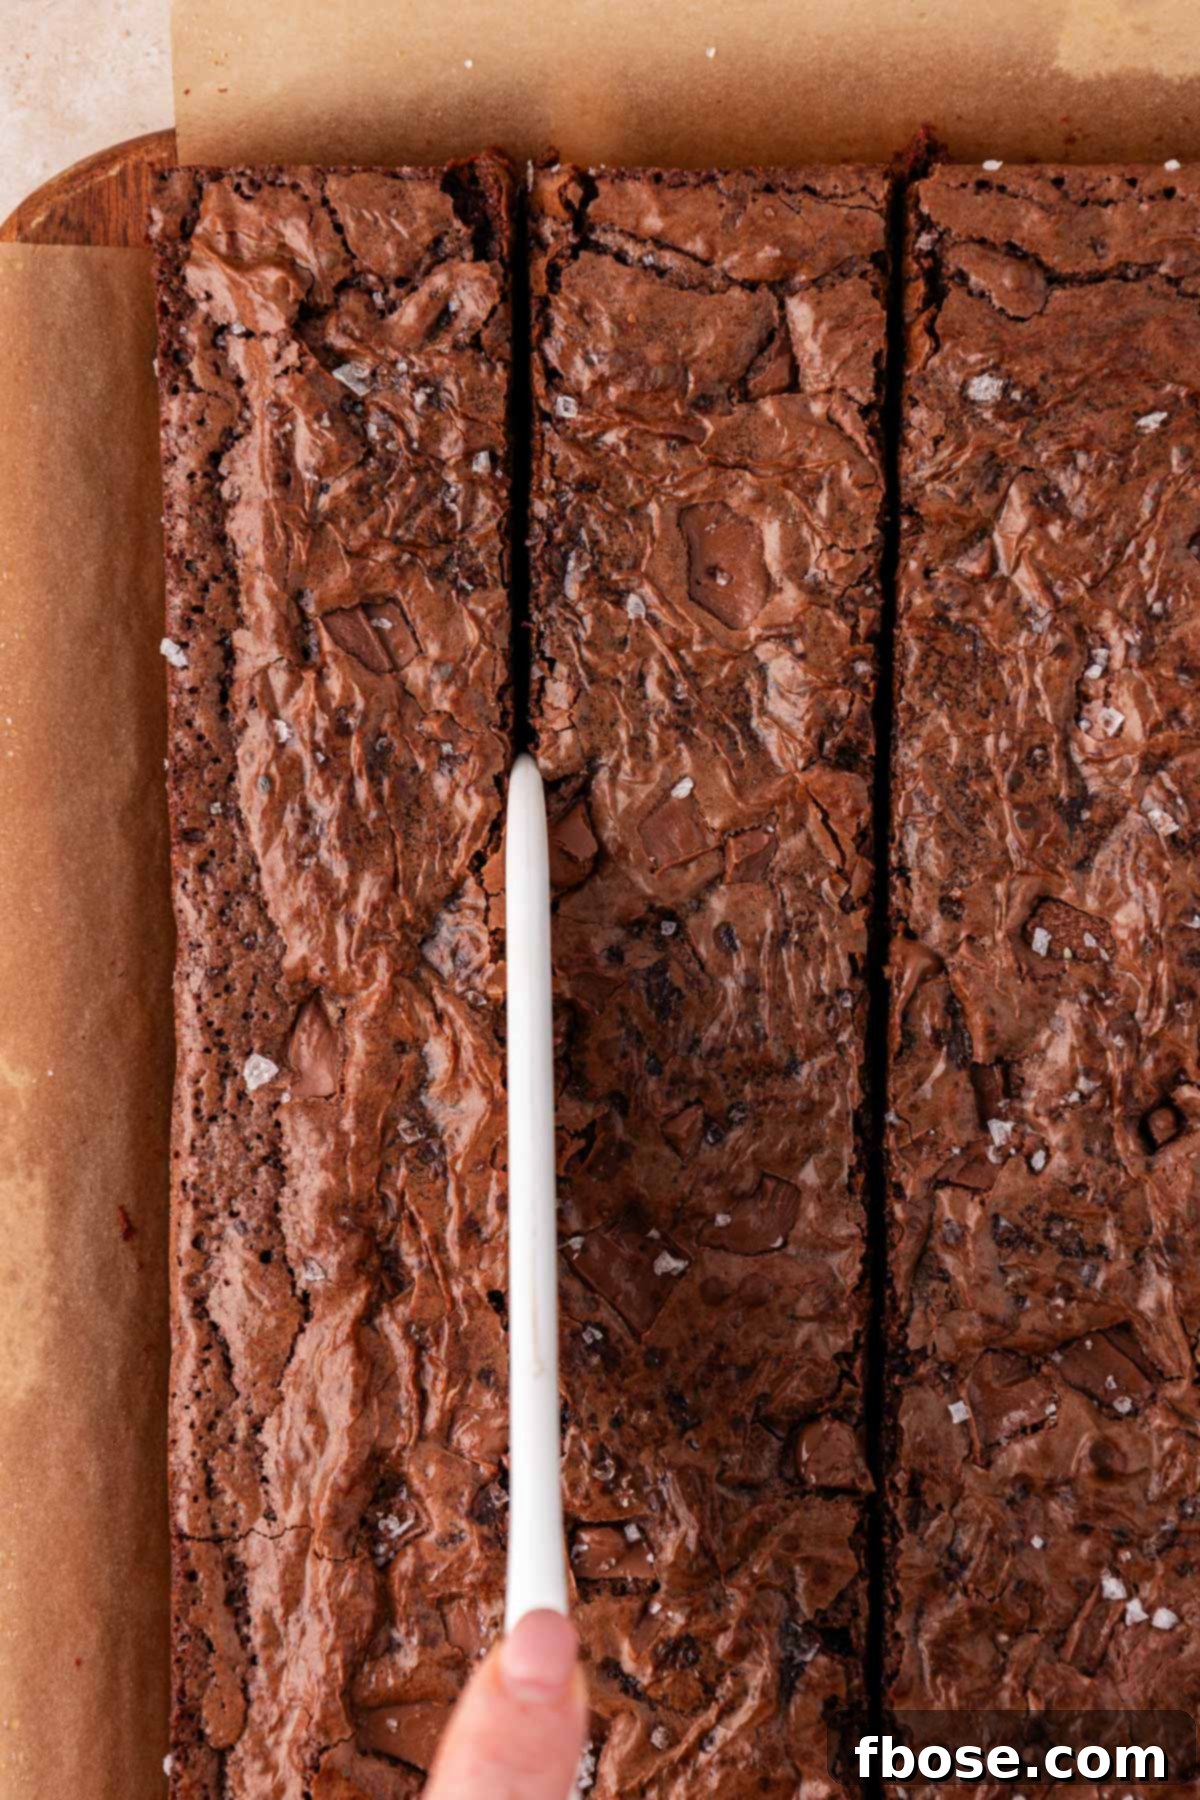
- Cool Completely: This is arguably the most crucial step for achieving perfect fudgy brownies and clean slices. Allow the pan of brownies to cool completely at room temperature before attempting to remove them from the pan or slice. Resist the urge to cut into them warm; cooling allows the brownies to set, firm up, and become wonderfully fudgy. Use the parchment paper slings to lift them out, then use a plastic knife for the cleanest, most precise cuts.
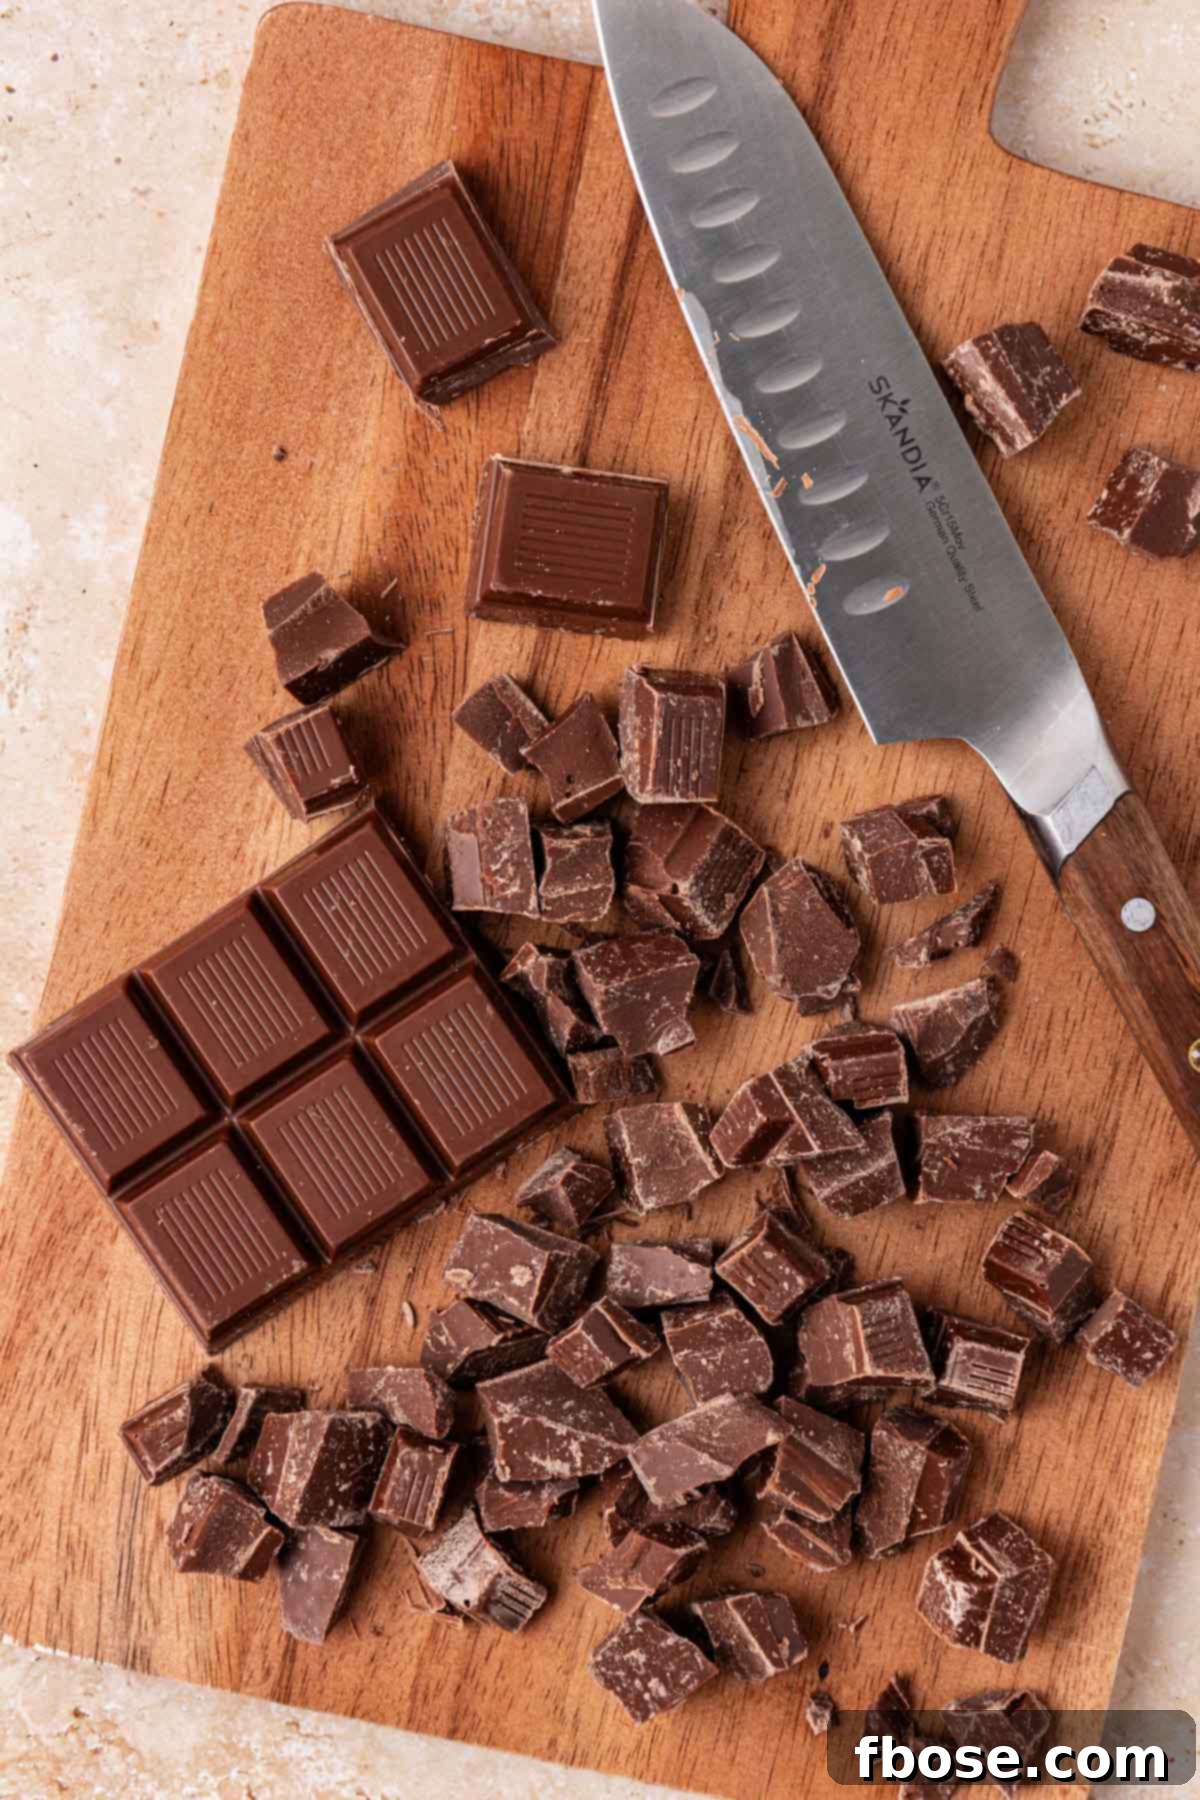
Baking Pan Recommendations and Achieve Perfect Fudginess
The type and size of baking pan you choose play a significant role in the texture and bake time of your brownies. Selecting the right pan is key to achieving that perfectly fudgy center and crisp edges. Here’s a quick guide to help you get started, noting that metal pans generally yield more consistent results than glass due to better heat conduction:
- 8×8-inch Metal Pan: If you’re aiming for extra-thick, super-fudgy brownies, this is your go-to pan. Expect a baking time of approximately 40 to 45 minutes. These brownies will be dense and intensely rich, perfect for a smaller, indulgent batch.
- 9×9-inch Metal Pan: For brownies that are still delightfully thick but slightly less dense than an 8×8 batch, a 9×9-inch pan is ideal. The bake time for this size will typically range from 35 to 40 minutes.
- 9×13-inch Metal Pan: When baking for a larger gathering or simply want more servings, the classic 9×13-inch pan is perfect. This size will produce slightly thinner brownies, but they will still retain all the fudgy goodness. Bake this larger batch for about 25 to 30 minutes.
A crucial tip for fudgy brownies: they often won’t pass the traditional toothpick test perfectly clean. If your toothpick comes out with a few moist crumbs attached, that’s absolutely fine and even desirable for a truly gooey center! A wet batter, however, indicates they need more time. Instead of relying solely on the toothpick, look for visual cues: the edges should appear set and slightly pulled away from the sides of the pan, and the top should have developed that beautiful, crackly texture. The very center might still have a slight jiggle if you gently nudge the pan, which is a sign of ultimate fudginess. Trust these indicators to avoid overbaking, ensuring you retain that irresistibly moist, gooey center that everyone loves.
Rebecca’s Expert Tips for Unbeatable Chocolate Chunk Brownies
Achieving brownie perfection is all about the details. Here are my tried-and-true tips to ensure your Chocolate Chunk Brownies are nothing short of phenomenal:
- Choose Thick Chocolate Bars: The secret to those incredible pockets of melted chocolate lies in using thick, high-quality chocolate bars that you chop yourself. Unlike smaller, uniformly shaped chocolate chips, thick, irregularly sized chunks melt more unevenly, creating wonderfully gooey pools throughout the brownie. Brands like Trader Joe’s Pound Plus bar or Tony’s Chocolonely (dark or milk chocolate) work exceptionally well due to their quality and thickness.
- The Art of Clean Slicing: For perfectly neat, crumb-free brownie slices, a simple plastic knife is your best friend. Its non-stick nature allows for smooth cuts that glide through the rich, fudgy texture without dragging or creating messy edges, ensuring your brownies look as good as they taste. Remember to let them cool completely first!
- Mastering Parchment Paper: To effortlessly remove your entire batch of brownies from the pan, ensure your parchment paper extends several inches over the edges of the pan on two opposing sides. These extended flaps will act as convenient “slings.” For a 9×13-inch pan, you might need two sheets of parchment paper, one going in each direction, ensuring that the sheet covering the shorter width is laid down first, underneath the longer sheet, for complete coverage and easy lifting.
- Opt for a Metal Baking Pan: While glass baking dishes are common, a metal cake pan is superior for baking brownies. Metal conducts heat more efficiently and evenly, leading to a more consistent bake throughout the entire batch. This results in desirable crisp edges and a perfectly fudgy center, minimizing the risk of undercooked centers or overbaked edges.
- Don’t Skip the Flaky Salt: This step is entirely optional but highly recommended. A sprinkle of flaky sea salt over the freshly baked brownies as soon as they come out of the oven isn’t just for aesthetics. The salt crystals provide a delightful textural contrast and, more importantly, elevate and brighten the overall chocolate flavor, creating a sophisticated sweet and salty dynamic that makes these brownies truly shine.
Creative Chocolate Chunk Brownie Variations to Try
Make these already incredible brownies uniquely yours by experimenting with these tasty and easy variations! Customizing your batch allows for endless flavor possibilities:
- Coffee Flavoring: Elevate the chocolate with a hint of coffee. Stir in 1-2 teaspoons of espresso powder or coffee extract (or even both!) into the brownie batter. The coffee won’t make your brownies taste like coffee, but it will significantly deepen and intensify the chocolate flavor, making it even more robust and complex.
- Delectable Spreads: Once your brownie batter is poured into the baking pan, add swirls of your favorite sweet spreads. Try generous dollops of Nutella for a hazelnut chocolate twist, cookie butter for a caramelized biscuit note, or even your favorite fruit jam for a surprising fruity contrast. Use a knife or skewer to gently swirl them into the batter for a beautiful marble effect.
- Crunchy Nuts: If you appreciate a textural contrast in your brownies, adding nuts is a fantastic option. Fold in a handful of crushed nuts during the final mixing stage. Walnuts, pecans, almonds, or even macadamia nuts all provide a delightful crunch and a complementary flavor that pairs wonderfully with rich chocolate.
- Sweet Candies: Turn your brownies into a festive treat by tossing in a handful of your favorite chopped candies. Reese’s Pieces add a peanut butter kick, M&Ms offer a colorful crunch, while chopped Twix or Milky Way bars introduce caramel and nougat goodness. This is a great way to customize for holidays or special events.
- Alternate Chocolate Types: While this recipe calls for bittersweet chocolate chunks, feel free to adjust the sweetness and flavor profile by using different types of chocolate bars. Milk chocolate will yield a sweeter, creamier brownie, while semi-sweet chocolate offers a classic balance. You can also mix and match for a multi-chocolate experience!
- Mix in Baking Chips: Beyond traditional chocolate chunks, integrate other types of baking chips for exciting new flavor combinations. Butterscotch chips add a buttery, caramelized note; white chocolate chips create a sweet, creamy contrast; caramel chips offer a chewy, rich element; and peanut butter chips provide a salty, nutty twist.
Optimal Storage Tips for Your Delicious Chocolate Chunk Brownies
Proper storage is key to maintaining the incredible fudgy texture and rich flavor of your Chocolate Chunk Brownies for as long as possible. Once your brownies have cooled completely, you have a few excellent options for keeping them fresh:
For short-term storage, leave the cooled brownies in their baking pan and tightly wrap the entire pan with aluminum foil or plastic wrap. Alternatively, you can transfer individual brownie slices into an airtight container. If stacking layers of brownies, place a sheet of parchment paper between each layer to prevent them from sticking together. Stored this way, the brownies will remain wonderfully fresh and fudgy at room temperature for 3 to 4 days.
For longer storage, freezing is an excellent choice. Once baked and completely cooled, transfer the whole batch of brownies (or individual slices) into a freezer-safe container or a large Ziploc freezer bag. To prevent freezer burn and maintain optimal quality, it’s best if brownies are individually wrapped with plastic wrap first, and then again in aluminum foil before being placed in the freezer-safe container or bag. Brownies stored in the freezer can be enjoyed for up to 3 months. When ready to enjoy, simply thaw them at room temperature or gently warm them in the microwave for a few seconds for that freshly baked feel.
The Secret to Perfectly Baked Fudgy Brownies: Avoiding Overbaking
Achieving that coveted rich, fudgy texture in brownies like these means knowing when to pull them from the oven, and the usual “clean toothpick test” simply won’t suffice. For truly fudgy brownies, a little chocolate on your tester is not just acceptable, it’s often a sign of perfection! Instead, focus on a few reliable visual cues and some general baking wisdom to nail the ideal texture every single time:
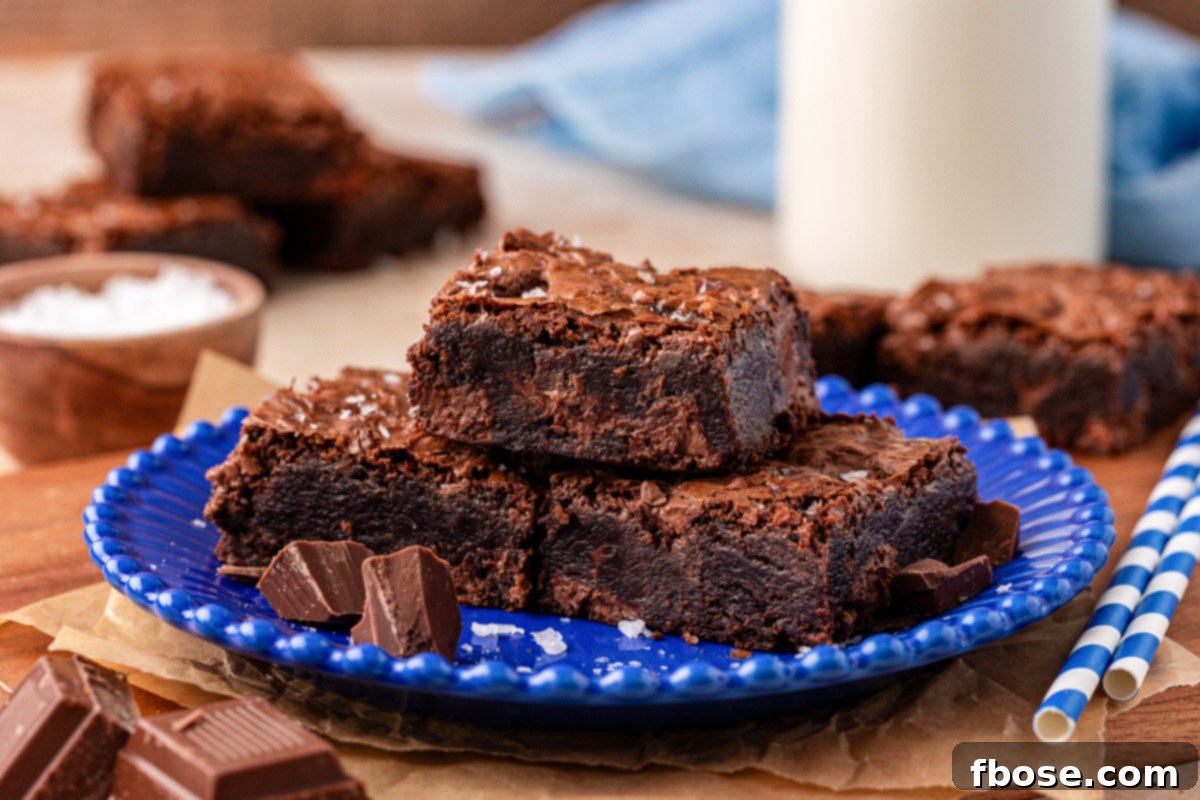
- Key Visual Indicators: Pay close attention to the edges of your brownies. They should appear visibly set and might even begin to pull away slightly from the sides of the pan. The center, however, is your sweet spot for fudginess. It should look just barely firm and might still have a slight, gentle jiggle if you carefully nudge the pan. This subtle movement is exactly what you want!
- The Coveted Top Texture: Look for the unmistakable sign of a perfectly baked brownie: a shiny, crackly top. This delicate, thin crust is a hallmark of well-made fudgy brownies. If you see this distinct crackly surface, your brownies are likely done, even if the center still feels quite gooey and moist.
Always remember, brownies continue to firm up considerably as they cool. This means it’s far better to err on the side of slightly underdone than to overbake. An overbaked brownie quickly turns dry and cakey, losing its essential fudgy appeal. Patience during the cooling process is paramount for that ultra-fudgy, melt-in-your-mouth bite.
Explore More Delicious Brownie Recipes
If you’ve loved these Chocolate Chunk Brownies and are eager for more delightful variations, check out these other irresistible brownie recipes that are sure to satisfy your sweet tooth:
- Coffee Brownies – Experience dense, fudgy brownies infused with a deliciously sweet and aromatic coffee flavor that deepens the chocolate.
- Buckeye Brownies – Take your brownies to an extraordinary level with a rich, salty peanut butter middle, all crowned with a silky smooth ganache topping!
- No Bake Cookie Brownies – This incredibly easy-to-make recipe cleverly combines two beloved desserts into one, creating a quick and delicious treat without turning on the oven!
- How To Make Box Brownies Better – Discover simple yet effective tips and tricks to effortlessly transform your standard box mix brownies into a truly scrumptious, homemade-tasting dessert!
- Peanut Butter Crunch Brownies – Indulge in gourmet-style brownies featuring multiple decadent layers, including a irresistible peanut butter crunch, that will leave you craving more!
Did You Make This Recipe?
If you’ve tried this recipe, please leave a review in the comments below. I love hearing from you! Don’t forget to tag me – @sugarandsoulco – on Instagram and Pinterest with your photos, or join our Sugar & Soul Show-offs Community and share them there.
Chocolate Chunk Brownie Recipe
Ingredients
- 1 cup unsalted butter 227g, I use Kerrygold
- 2½ cups granulated sugar 500g, I use Domino
- 2 tablespoons canola oil
- 1 tablespoon vanilla extract
- 5 large eggs I use Vital Farms
- 1 cup all-purpose flour 130g, I use King Arthur
- ¾ cup + 1 tablespoon Dutch-process cocoa powder 80g, I use Ghirardelli
- ¾ teaspoon salt
- 8 ounces dark chocolate I like using half a Trader Joe’s Pound of Chocolate bar
- Flaky sea salt optional garnish
Instructions
-
Preheat oven to 350°F and line a metal 9×13-inch cake pan with parchment paper and spray lightly with cooking spray. Make sure some of the parchment is over the edge of the pan for easy removal. This may require two sheets, one going in each direction – make sure the one that goes across the shorter distance is under the one that goes along the full length of the pan.
-
Melt 1 cup unsalted butter in a heavy-bottomed saucepan over low heat. Add 2½ cups granulated sugar and stir until smooth, the butter and sugar have started emulsifying, and no butter is separated from the sugar. Remove from heat and let the mixture cool for 5 minutes, stirring often to release heat.

-
Add 2 tablespoons canola oil and 1 tablespoon vanilla extract to the butter and sugar and beat them in with a rubber spatula until fully combined and there’s no separation between the ingredients (no oil resting on top).
-
Beat in 5 large eggs one at a time, beating with the spatula or a fork after each one. Mix until fully incorporated.
-
Sift 1 cup all-purpose flour, ¾ cup + 1 tablespoon Dutch-process cocoa powder, and ¾ teaspoon salt into the butter and sugar mixture, stirring gently with a rubber spatula just until the dry streaks are gone.
-
Fold most of the 8 ounces dark chocolate into the batter.
-
Pour the brownie batter into the prepared baking pan, sprinkle the remaining chunks on top, and bake for 25 to 30 minutes.
-
Sprinkle with Flaky sea salt right after it comes out of the oven.
-
Cool before removing it from the pan and slicing it for best results. Use a plastic knife for the cleanest cuts.
Video
Notes
- 40 to 45 minutes for an 8×8 or 9×9-inch pan.
- Thicker chocolate bars are preferred for this recipe, so you have big chunks about the size of a penny. However, thinner baking chocolate, like Ghirardelli, can be used, as well as prepackaged chocolate chunks (although these usually tend to have additional ingredients added which can impact the flavor).
- Milk or semi-sweet chocolate bars may also be used.
Nutrition
Did You Make This Recipe?
Don’t forget to share it with me on Instagram @sugarandsoulco and follow on Tiktok @sugarandsoulco and Pinterest @sugarandsoulco for more!
Pin Recipe
Share Recipe