
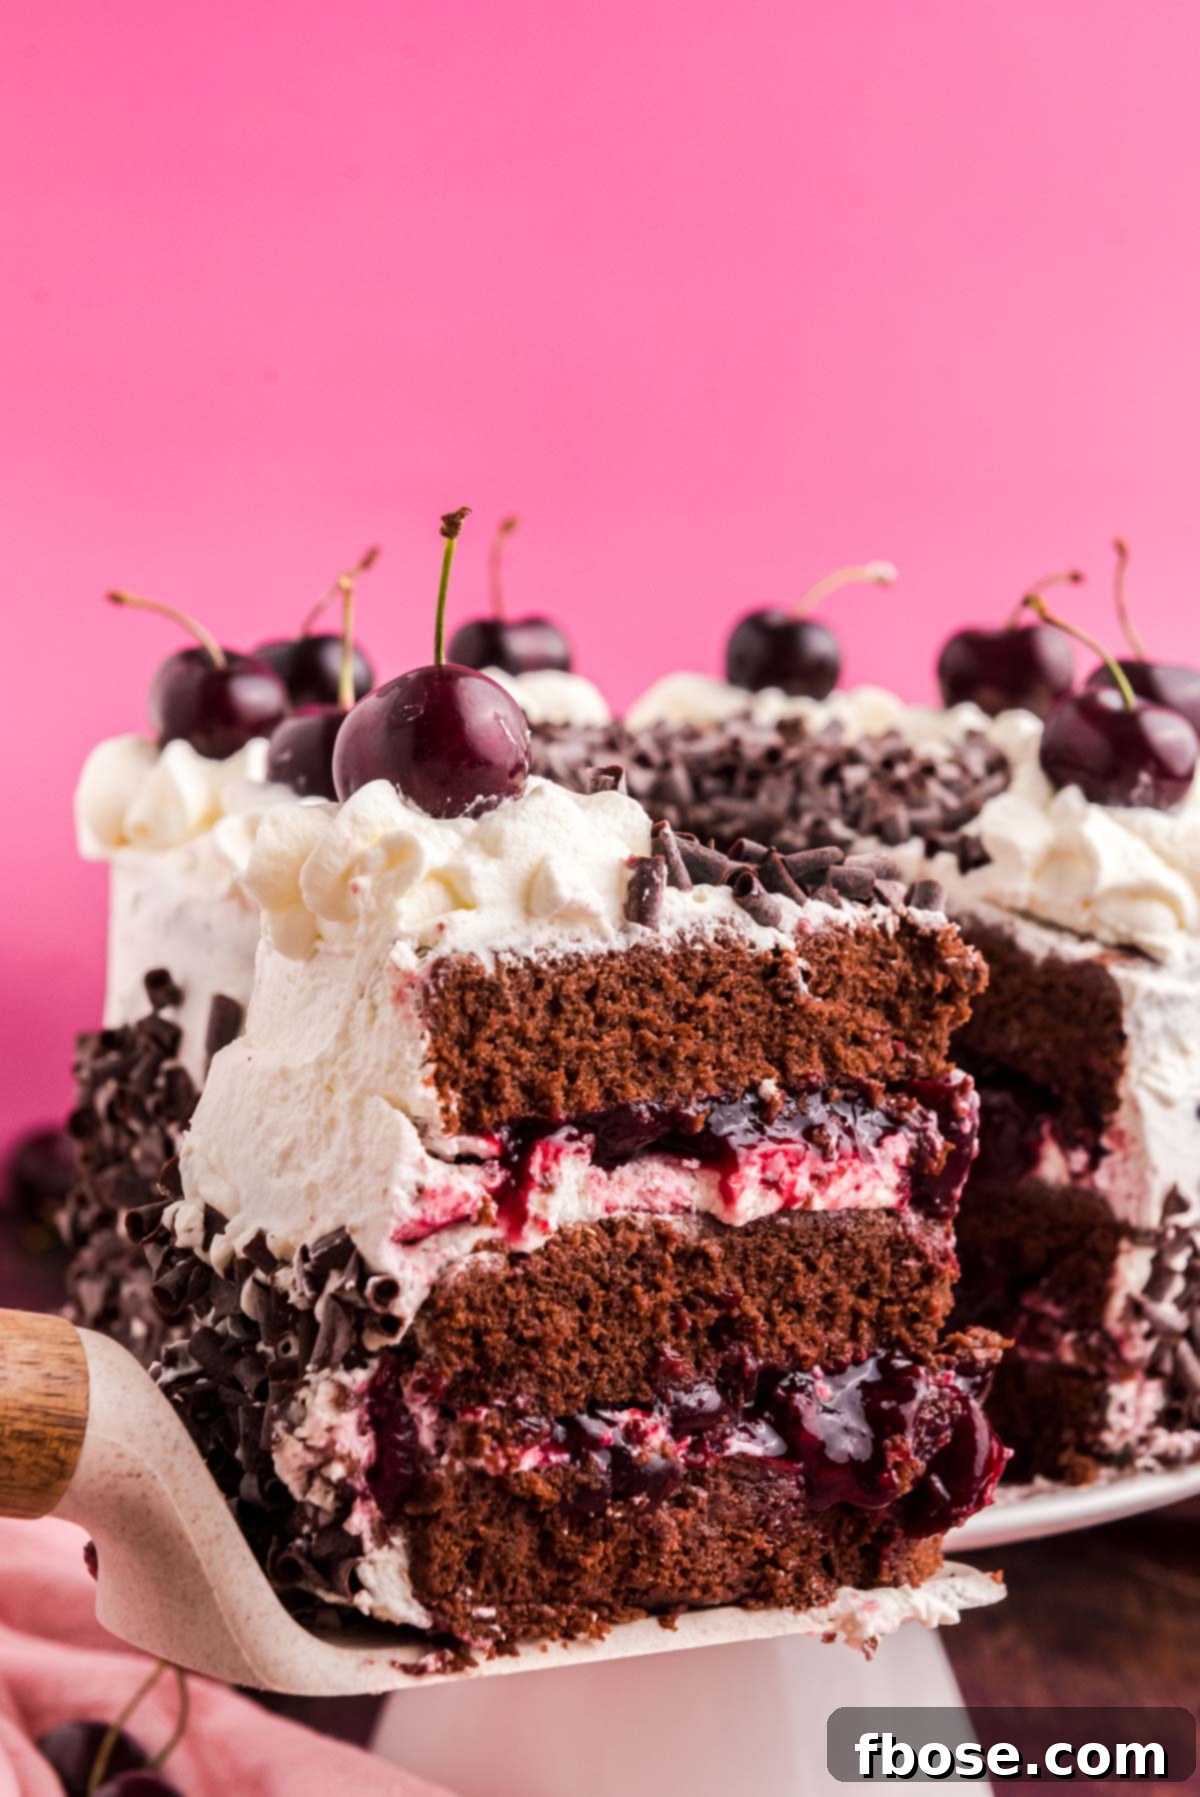
Black Forest Cake is a true masterpiece of German confectionery, featuring layers of rich, moist chocolate sponge cake generously filled with an authentic, tangy cherry filling and crowned with billows of sweet, homemade whipped cream. This iconic dessert, renowned worldwide, offers a delightful symphony of flavors and textures, and while it may look impressive, our recipe guides you to bake this classic in just 25 minutes of active cooking time!
Are you captivated by the irresistible pairing of chocolate and cherries? If so, prepare to indulge your senses. After mastering this classic, you’ll definitely want to explore other delightful creations like our Black Forest Cobbler and luscious Black Forest Cupcakes, each offering a unique take on this beloved flavor combination.
The Allure of Authentic Black Forest Cake: A Timeless German Classic
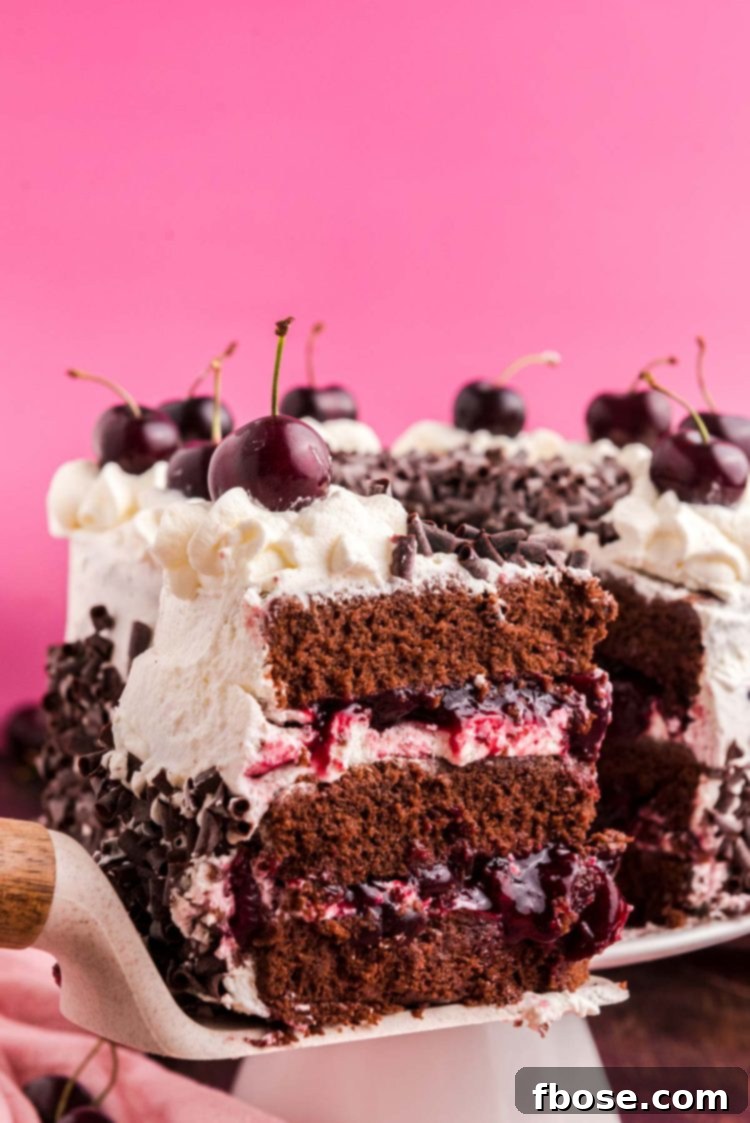
Often referred to as Black Forest gateau, this exquisite dessert is fundamentally based on the traditional German delicacy known as Schwarzwälder Kirschtorte, which translates to “Black Forest Cherry-torte.” This name often sparks curiosity, leading many to believe it’s directly named after the picturesque Black Forest mountain range in southwestern Germany. However, the true origin of its name lies deeper, honoring the revered spirit distilled from tart cherries in that very region: kirschwasser. In Germany, to be considered an authentic Kirschtorte, the inclusion of this distinctive cherry liqueur is not just a preference but a legal mandate, lending the cake its characteristic moisture and profound cherry essence.
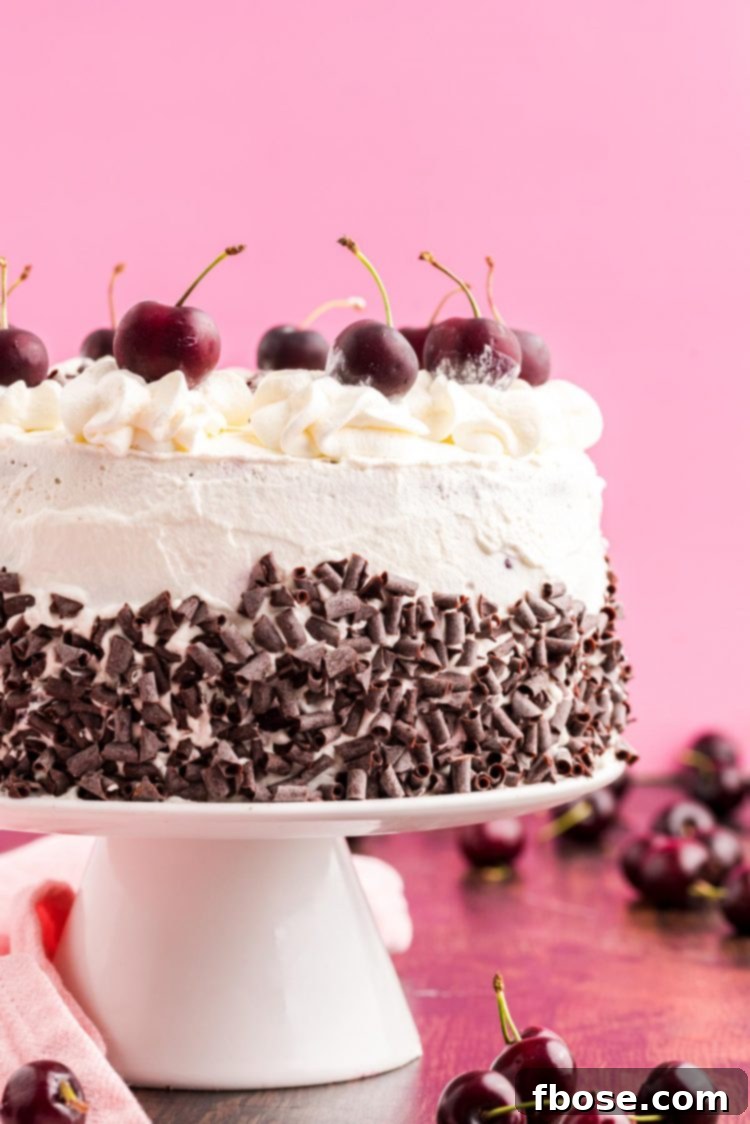
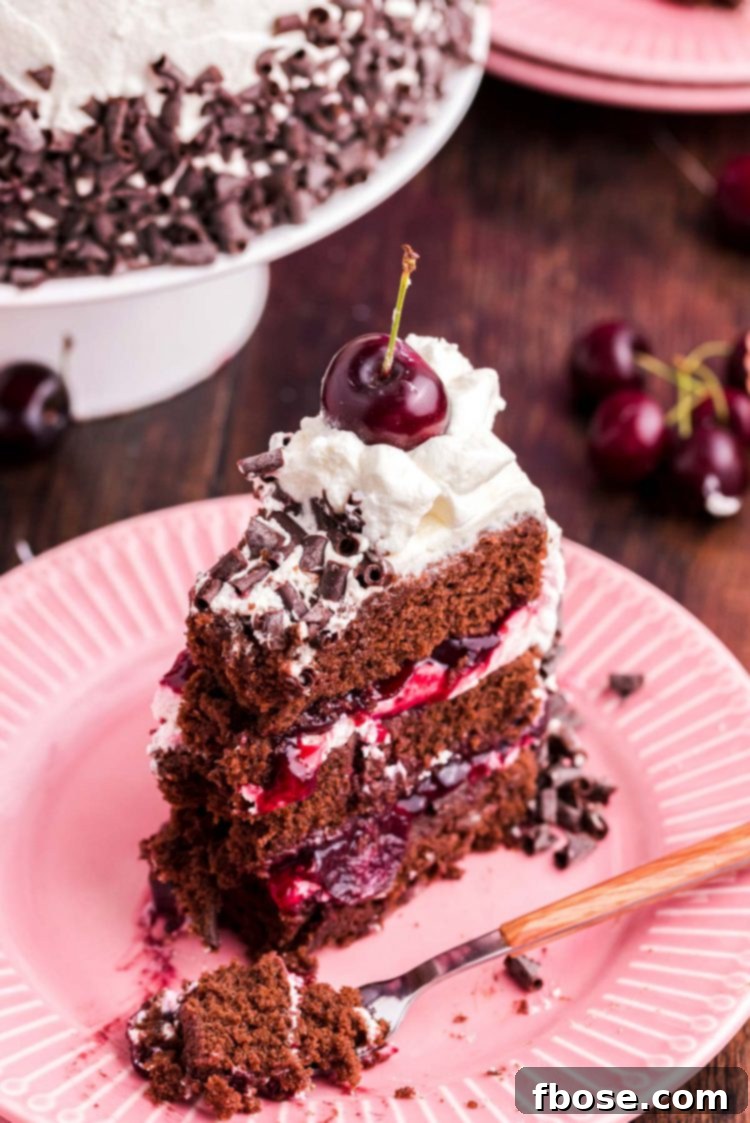
The magic of an authentic Black Forest Cake lies in its carefully constructed layers. Imagine a foundation of light, airy chocolate sponge cake, meticulously brushed with kirschwasser to impart a delicate fruit brandy flavor and ensure supreme moistness. These layers are then generously enrobed with clouds of freshly whipped cream and a vibrant, tangy cherry filling, creating a harmonious balance that is both indulgent and refreshing. The final flourish often includes chocolate shavings and fresh cherries, making it a visual as well as a culinary delight.
While this cake holds a special place in our hearts as a holiday favorite, its light and airy qualities make it an unexpectedly perfect dessert for warmer months as well. The delicate texture of the sponge cake, combined with the cooling sweetness of whipped cream and the tartness of cherries, prevents that heavy feeling often associated with rich desserts after a hearty meal. Coincidentally, North America’s cherry season aligns beautifully with summer, allowing for the freshest, most succulent ruby-red cherries to adorn and infuse this magnificent creation. The contrast between the rich chocolate cake and the bright, tart cherries is truly captivating, often tempting guests to reach for a second slice before the evening concludes.
Crafting Your Black Forest Masterpiece: Essential Ingredient Notes
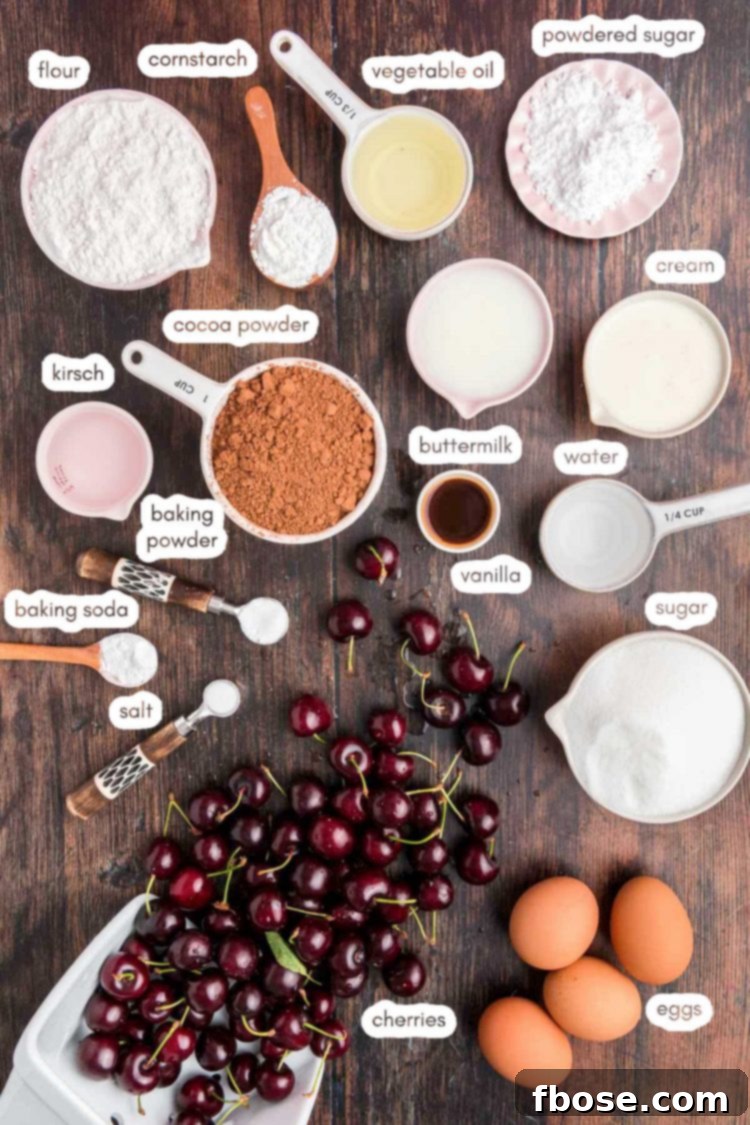
This recipe for an authentic German Black Forest Cake is divided into three equally delectable homemade components: the irresistibly moist chocolate cake, the vibrant and tart cherry filling, and the luxuriously sweet whipped cream. Each element is crafted from scratch to ensure the freshest and most authentic flavors.
For the Decadent Chocolate Cake:
The foundation of this cake relies on a classic combination of baking staples. You’ll need all-purpose flour, granulated sugar, and crucially, Dutch-process cocoa powder. Dutch-process cocoa is alkalized, giving it a darker color and a mellower, less bitter chocolate flavor than natural cocoa, which is ideal for a rich but not overpowering chocolate sponge. Baking powder, baking soda, and salt will provide the perfect lift and balance. Buttermilk is essential for a tender crumb and helps activate the baking soda, creating a wonderfully moist cake. Vegetable oil ensures a consistently moist texture, while vanilla extract enhances the overall flavor profile. Lastly, large eggs bind everything together, contributing to both structure and richness. Once your batter is perfectly mixed, it will be divided between two 8-inch round cake pans, ready for baking.
For the Tangy Cherry Filling:
The heart of Black Forest Cake lies in its cherry filling. We highly recommend using fresh cherries, pitted, as their natural sweetness and tartness are unparalleled. However, should fresh cherries be out of season or difficult to find, a jar or two of tart Morello cherries makes a fantastic, and arguably more traditional, substitute. Morello cherries, being naturally tart, provide that essential counterbalance to the cake’s sweetness. The filling also calls for kirsch (or kirschwasser), granulated sugar, water, and cornstarch. The kirsch not only infuses the cherries with its distinct flavor but also contributes to the cake’s authentic profile. Cornstarch acts as a thickener, ensuring the filling has the perfect consistency without being too runny. Remember, the kirsch is a key player here, so don’t omit it for that genuine Black Forest taste!
For the Heavenly Homemade Whipped Cream:
A Black Forest Cake wouldn’t be complete without a generous topping of light, airy, and sweet whipped cream. Our homemade version requires just two simple ingredients: heavy whipping cream and powdered sugar. The heavy whipping cream, when whipped to perfection, creates a stable and fluffy topping that beautifully complements the cake and cherries. Powdered sugar, also known as confectioners’ sugar, dissolves easily, ensuring a smooth, sweet finish without any graininess. To finalize this stunning dessert, a garnish of grated dark chocolate and a few fresh cherries will add both visual appeal and an extra touch of flavor.
Mastering the Art of Black Forest Cake: A Step-by-Step Guide
Creating this stunning Black Forest Cake is a rewarding experience. Follow these detailed steps to achieve a perfectly balanced and utterly delicious dessert.
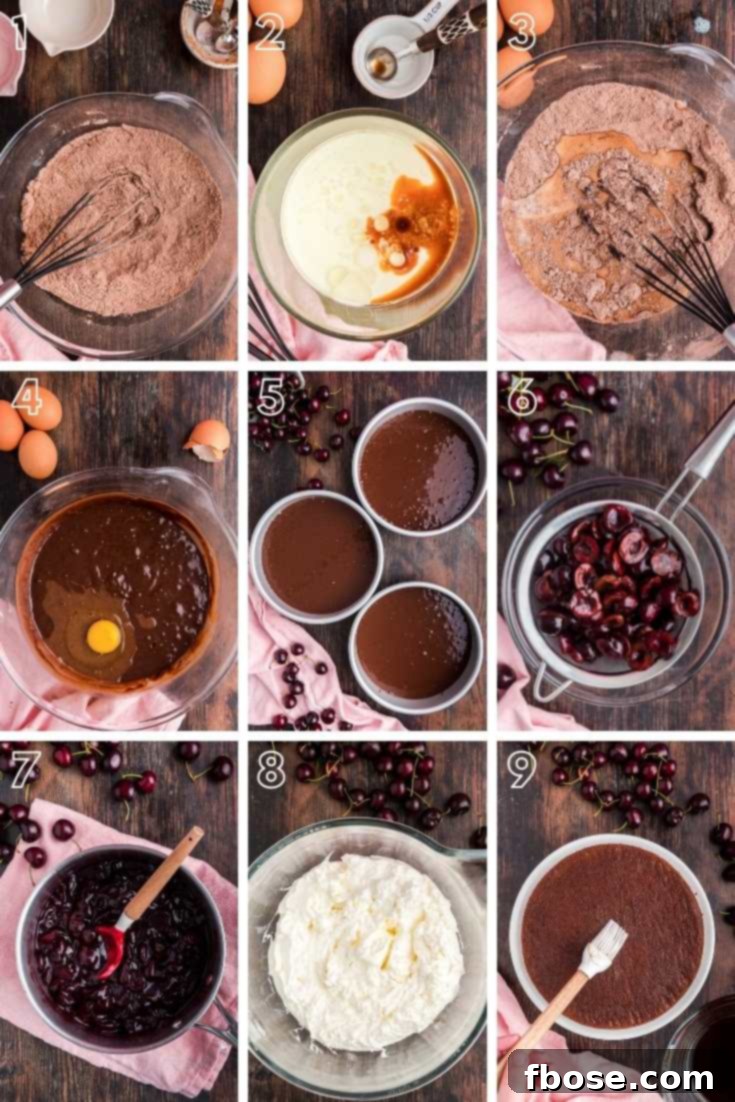
- Prepare Your Cake Pans: Begin by thoroughly greasing and lining your 8-inch round cake pans with parchment paper. This crucial step ensures your beautiful chocolate cake layers release cleanly and easily after baking.
- Combine Dry Ingredients: In a generously sized mixing bowl, whisk together the all-purpose flour, granulated sugar, Dutch-process cocoa powder, baking powder, baking soda, and salt. Whisking ensures these dry ingredients are thoroughly combined and evenly distributed.
- Integrate Wet Ingredients: In a separate bowl, whisk together the buttermilk, vegetable oil, and vanilla extract until well blended. Gradually, beat these wet ingredients into your dry mixture. Mix until just combined, being careful not to overmix, which can lead to a tough cake.
- Add Eggs: Incorporate the eggs one at a time, beating until each is fully blended into the batter. Once smooth, divide the batter evenly among your prepared cake pans.
- Bake to Perfection: Bake the cakes in a preheated oven (usually around 350°F or 175°C) until a toothpick inserted into the center of each cake comes out clean. This typically takes 22-28 minutes. Allow the cakes to cool in their pans for about 10 minutes before carefully inverting them onto a wire cooling rack to cool completely. Cooling thoroughly is essential before assembly to prevent the whipped cream from melting.
- Prepare the Cherry Filling: Start by soaking the pitted cherries in kirsch for at least two hours, or ideally, overnight in the refrigerator. This allows the cherries to fully absorb the liqueur’s robust flavor. Drain the cherries, making sure to reserve the kirsch for later use in brushing the cake layers. In a small separate bowl, whisk together the cornstarch with 1 tablespoon of water to create a slurry.
- Cook the Cherry Filling: In a medium saucepan, combine the soaked cherries, granulated sugar, and the remaining water. Bring this mixture to a gentle boil. Once boiling, stir in your cornstarch slurry. Continue to cook, stirring constantly, for about 10 minutes or until the mixture significantly thickens. Remove from heat and allow the filling to cool completely. A completely cooled filling is vital for successful cake assembly.
- Whip the Cream: In a large, chilled bowl (preferably with a chilled whisk attachment), whip the heavy whipping cream until soft peaks begin to form. Gradually add the powdered sugar on low speed, then increase speed and continue whipping until stiff peaks form. Be careful not to over-whip, which can turn the cream grainy.
- Assemble Your Black Forest Cake:
- Level Cake Layers: Carefully trim each cooled cake layer using a serrated knife to create perfectly even layers. This ensures a beautiful, stable cake.
- First Layer: Place your first cake layer on a serving plate or cake board. Generously brush the surface with a portion of the reserved kirsch.
- Cream and Cherry: Spread a thin, even layer of whipped cream over the first cake layer, then top with approximately ½ cup of your cooled cherry filling.
- Repeat Layers: Gently place the second cake layer on top, brush with more kirsch, and repeat with another layer of whipped cream and cherry filling.
- Final Layer: Carefully place the final cake layer on top and brush it with the remaining reserved kirsch.
- Crumb Coat: Apply a very thin layer of whipped cream all over the top and sides of the cake. This “crumb coat” traps any loose crumbs, creating a smooth surface for your final frosting. Chill the cake in the refrigerator for at least 30 minutes to set the crumb coat.
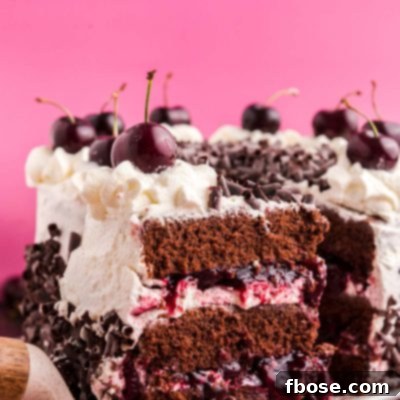
- Final Frosting and Decoration: Once the crumb coat is set, spread the remaining whipped cream evenly over the top and sides of the cake. Decorate the sides with elegant chocolate shavings. Pipe dollops of whipped cream on top of the cake, then artfully arrange fresh cherries as a final garnish.
- Chill and Serve: Refrigerate the cake until you are ready to serve. This allows the flavors to meld and the cake to set beautifully.
Frequently Asked Questions About Black Forest Cake
How To Store Black Forest Cake?
To maintain its freshness and structural integrity, always store Black Forest Cake in the refrigerator. It will keep beautifully for up to 3 days. Ensure it is covered lightly to prevent it from absorbing other odors in your fridge.
Can I Use A Boxed Cake Mix Instead Of Making This A Homemade Cake?
Absolutely! If you’re short on time but still crave that Black Forest flavor, a high-quality boxed chocolate cake mix can be a wonderful shortcut. For an even moister and richer cake, I highly recommend substituting the water called for in the boxed mix instructions with buttermilk. Additionally, consider adding a teaspoon of vanilla extract and/or a teaspoon of espresso powder to deepen and enhance the chocolate flavor of the cake mix, making it taste more homemade.
Can I Just Use A Can Of Cherry Filling In This Recipe?
Yes, you certainly can! While homemade cherry filling offers the best flavor and texture, a can of good quality cherry pie filling can be used for convenience. To elevate its flavor and bring it closer to an authentic Black Forest taste, simply mix in 1 to 2 teaspoons of kirsch before incorporating it into your cake. This small addition makes a significant difference.
What Should I Do If I Can’t Find Any Fresh Cherries?
If fresh cherries are unavailable, don’t let that deter you! You can readily use jarred tart cherries (often labeled Morello cherries). Drain them thoroughly, then soak them in kirsch for at least an hour, or preferably longer, to infuse them with flavor. After soaking, proceed with the cherry filling recipe as outlined, adjusting water if necessary to achieve the desired consistency. This method yields a delicious and authentic alternative.
Is There A Way I Can Make This A Poke Cake?
Absolutely! Transforming this into a Black Forest Poke Cake is a fantastic idea for a simpler presentation. To do so, pour the chocolate cake batter into a 9×13 inch cake pan and bake as directed. Once baked and slightly cooled, use the handle of a wooden spoon or a similar tool to poke holes all over the warm cake. Brush generously with kirsch, allowing the liqueur to soak into the holes. Then, spread your cherry filling over the top, pushing it into the holes. Finish with a layer of homemade whipped cream and decorate with chocolate curls and fresh cherries. It’s a delicious and fun variation!
Could I Just Use Store-Bought Whipped Cream Instead?
You absolutely can use store-bought whipped topping (like Cool Whip) if you’re in a time crunch. A tub of thawed whipped topping works as a decent substitute for homemade whipped cream, particularly for the frosting. However, it’s important to note that canned aerosol whipped cream is not suitable for this cake, as it lacks stability and will quickly deflate, ruining the cake’s structure and appearance. Homemade whipped cream truly provides the best flavor and texture, so it’s worth the extra effort if you have the time.
This Black Forest Cake unfailingly satisfies my cravings for something truly special with chocolate. If you find your sweet tooth in full force and are looking for more decadent chocolate desserts, here are some of my other top recommendations:
- Chocolate Guinness Cake – A remarkably rich and tender chocolate cake infused with smooth stout, layered with luscious chocolate ganache, and finished with a creamy Irish Cream Frosting.
- Black Magic Chocolate Cake – Experience the magic of three moist layers of deep chocolate cake, frosted generously with our Best Chocolate Buttercream Frosting for an unforgettable treat!
- German Chocolate Poke Cake – This delightful chocolate cake is soaked in sweetened condensed milk, then topped with a rich chocolate ganache and our exquisite Coconut Pecan Frosting, offering a taste of tropical indulgence.
- Chocolate Cookie Butter Cake – A dense, moist chocolate cake beautifully layered with a dreamy cookie butter frosting and a decadent chocolate ganache. Best of all, it requires only 30 minutes of prep time!
- Brown Sugar Bacon Chocolate Cake – For those who adore a perfect blend of sweet and salty, this cake features delicious candied bacon that takes this chocolate creation to an entirely new level of savory-sweet perfection.
Let’s Connect and Share Your Creations!
If you’ve had the pleasure of trying this authentic Black Forest Cake recipe, please take a moment to share your experience and leave a review in the comments section below. Your feedback truly brightens my day!
Don’t forget to tag me on Instagram (@sugarandsoulco) and Pinterest (@sugarandsoulco) with photos of your delicious creations, or join our vibrant Sugar & Soul Show-offs Community on Facebook, where you can participate in our exciting recipe challenges and connect with fellow baking enthusiasts!
This timeless recipe was originally shared in June 2018 and has been lovingly updated in September 2021 with enhanced step-by-step photos and clearer, more comprehensive instructions to ensure your baking success.
Black Forest Cake
Rebecca Hubbell
Dessert
German
1 hour
25 minutes
2 hours
1 hour 25 minutes
Servings
12 people
Ingredients
Chocolate Cake
- 2 cups all-purpose flour
- 2 cups granulated sugar
- 1 cup Dutch-process cocoa powder
- 2 teaspoons baking powder
- 1 teaspoon salt
- ½ teaspoon baking soda
- 2 cups buttermilk
- ⅔ cup vegetable oil
- 2 teaspoons vanilla extract
- 4 large eggs
Cherry Filling
- 1½ pounds fresh cherries pitted
- ½ cup kirsch
- ⅓ cup granulated sugar
- ¼ cup + 1 tablespoon water divided
- 1 tablespoon cornstarch
Whipped Cream
- 3 cups heavy whipping cream
- 3 tablespoons powdered sugar
- Grated dark chocolate for garnish
- Fresh cherries for garnish
Instructions
Chocolate Cake
-
Preheat the oven to 350°F. Grease and line with parchment paper three 8″ round cake pans. Set aside.
-
In a large bowl, combine the flour, sugar, cocoa, baking powder, baking soda, and salt. Whisk to combine.
-
In a separate large bowl, whisk together the buttermilk, oil, and vanilla. Gradually beat the wet ingredients into the dry ingredients.
-
Add the eggs one at a time, beating until well blended and smooth. Divide the batter into the prepared cake pans.
-
Bake 22-28 minutes until a toothpick inserted in the center comes out clean. Cool the cakes in the pans for 10 minutes, then flip them onto a cooling rack and cool completely.
Cherry Filling
-
Soak cherries 2 hours or overnight in the kirsch. Drain cherries through a fine mesh sieve, reserving the kirsch. Whisk cornstarch and 1 tablespoon of water together in a small bowl.
-
Bring the soaked cherries, sugar, and water to a boil in a medium saucepan. Add the cornstarch & water and stir to combine. Cook 10 minutes until thickened. Remove from heat and allow to cool completely.
Whipped Cream
-
Whip the cream until soft peaks form, then slowly add the sugar on low speed until incorporated. Whip until stiff peaks form.
Assembly
-
Trim each layer to create even layers. Place the first layer on a cake board or plate and brush reserved kirsch over the surface.
-
Spread a thin layer of whipped cream on the cake, then top with 1/2 of the cherry filling. Repeat on the next layer. Top with the final layer of cake, brushing the top with kirsch.
-
Crumb coat the cake with a thin layer of whipped cream, then chill it for 30 minutes.
-
Ice the cake with the remaining whipped cream to coat the sides and top of the cake. Decorate the sides with the grated chocolate. Pipe dollops of whipped cream on top of the cake, then garnish with fresh cherries.
-
Refrigerate the cake until ready to serve, up to a few hours. The cake will hold in the fridge for about 3 days.
Notes
- Store this cake in the refrigerator for up to 3 days.
- If you can’t get your hands on any fresh cherries just grab a jar of tart cherries. Then drain them and soak them in kirsch for at least an hour, then proceed with the filling recipe. You can also use canned cherry filling mix in a tablespoon of kirsch.
- In a pinch, you could use thawed whipped topping on this cake, but canned whipped cream won’t work since it isn’t stabilized and deflated quickly. Homemade is truly best if you can spare the time.
Nutrition
Carbohydrates: 74g |
Protein: 8g |
Fat: 38g |
Saturated Fat: 25g |
Cholesterol: 141mg |
Sodium: 328mg |
Potassium: 443mg |
Fiber: 4g |
Sugar: 50g |
Vitamin A: 1070IU |
Vitamin C: 4.3mg |
Calcium: 141mg |
Iron: 2.5mg
Did You Make This Recipe?
Don’t forget to share it with me on Instagram @sugarandsoulco and follow on Tiktok @sugarandsoulco and Pinterest @sugarandsoulco for more!
Pin Recipe
Share Recipe