
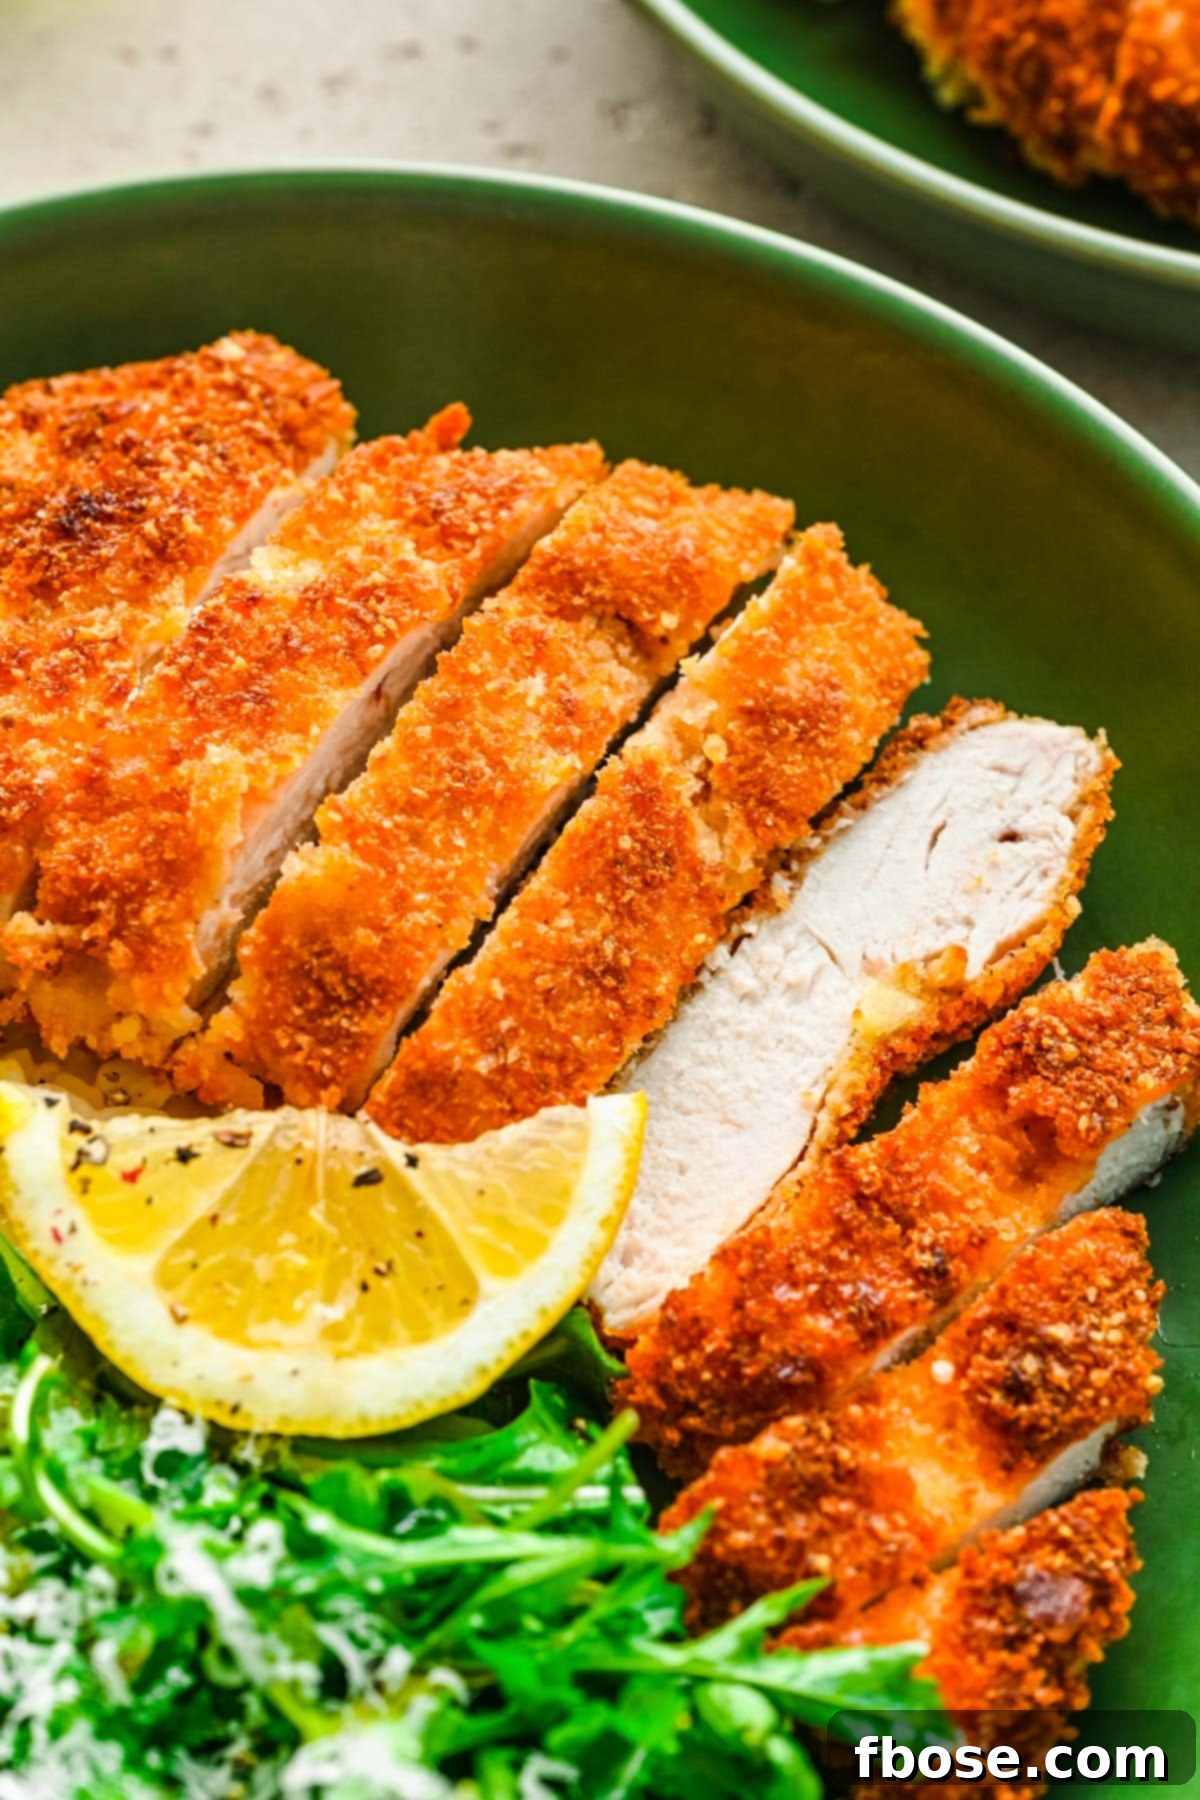
This Fried Panko Chicken Recipe checks all the boxes with moist meat, mouthwatering flavor, and delicious crispy, crunchy texture! The icing on the cake is that it’s ready in just 30 minutes!
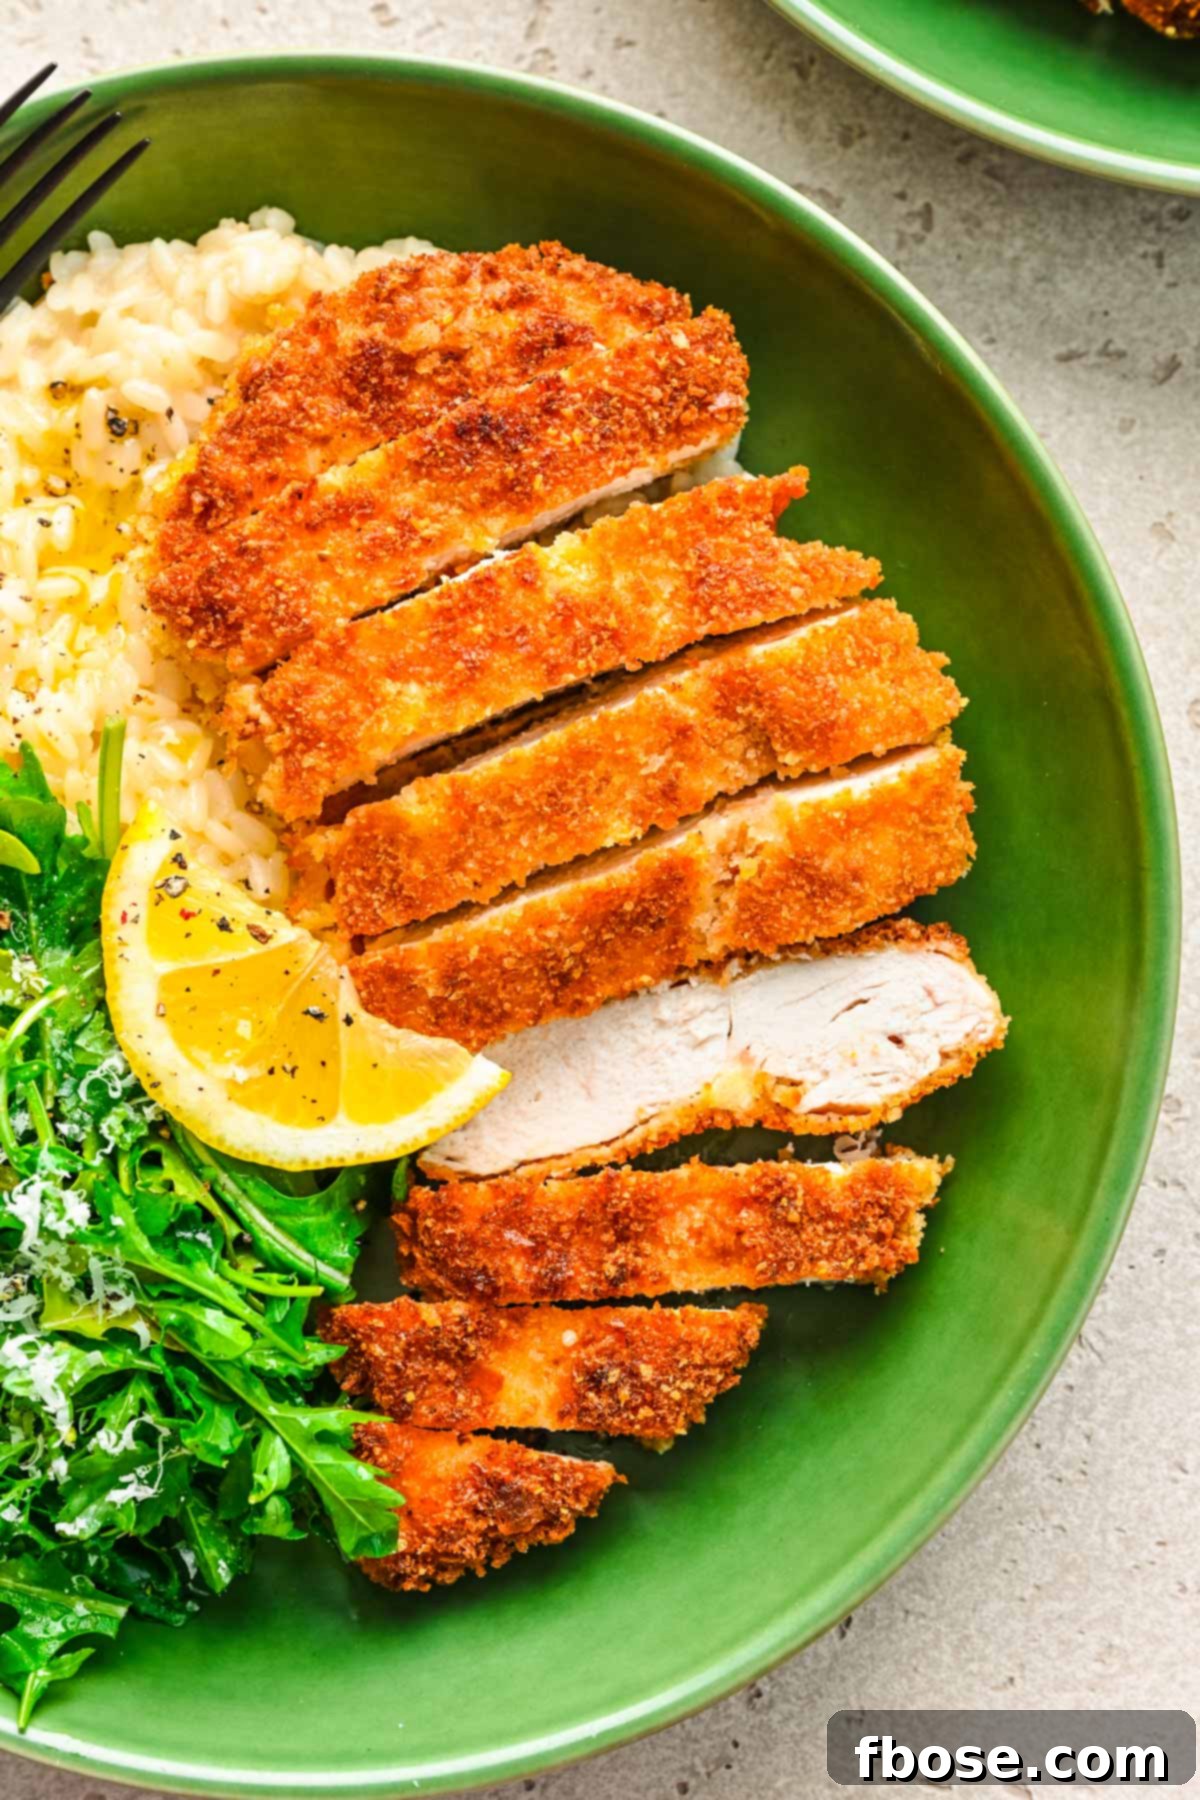
Easy Fried Panko Chicken: Crispy, Juicy, & Ready in 30 Minutes!
Craving perfectly crispy chicken without the hassle? Look no further! This incredible Panko Crusted Chicken recipe delivers on all fronts: a wonderfully juicy interior contrasted with an irresistibly crispy, golden-brown exterior. It’s a texture sensation that will delight your taste buds, all achieved with minimal effort and just a handful of simple ingredients.
What makes this recipe truly stand out is its speed. In just 30 minutes, you can have a phenomenal home-cooked dinner on the table. This makes it an ideal choice for busy weeknights when you need a quick yet satisfying meal. Whether you’re aiming to impress dinner guests or simply want a delicious, fuss-free meal for your family, this pan-fried and oven-finished panko chicken recipe is your secret weapon. You don’t need to be a gourmet chef to create culinary magic with this simple approach!
Why This Panko Chicken Recipe is a Must-Try
If you’re searching for a chicken dish that brings both comfort and excitement to your plate, this Panko Chicken recipe is it. The combination of savory seasonings, the light and airy crunch of panko breadcrumbs, and perfectly cooked chicken creates a truly memorable meal. Here’s a quick overview of what makes it a favorite:
- Unbeatable Texture: Experience the ultimate contrast of tender, moist chicken and an incredibly crunchy panko coating.
- Packed with Flavor: A savory blend of garlic powder, paprika, onion powder, and grated Parmesan cheese infuses every bite.
- Effortlessly Easy: Despite its gourmet taste, the preparation is straightforward, even for novice cooks.
- Lightning Fast: From prep to plate in just half an hour, making it perfect for any day of the week.
Rebecca’s Recipe Review: A Deep Dive into Flavor and Ease
My goal is to bring you recipes that are not just delicious, but also achievable. Here’s my honest take on this Panko Chicken:
- Taste: The blend of garlic powder, paprika, and onion powder creates a warm, aromatic base, beautifully complemented by the salty, umami notes of grated Parmesan cheese. It’s a balanced, crowd-pleasing flavor profile.
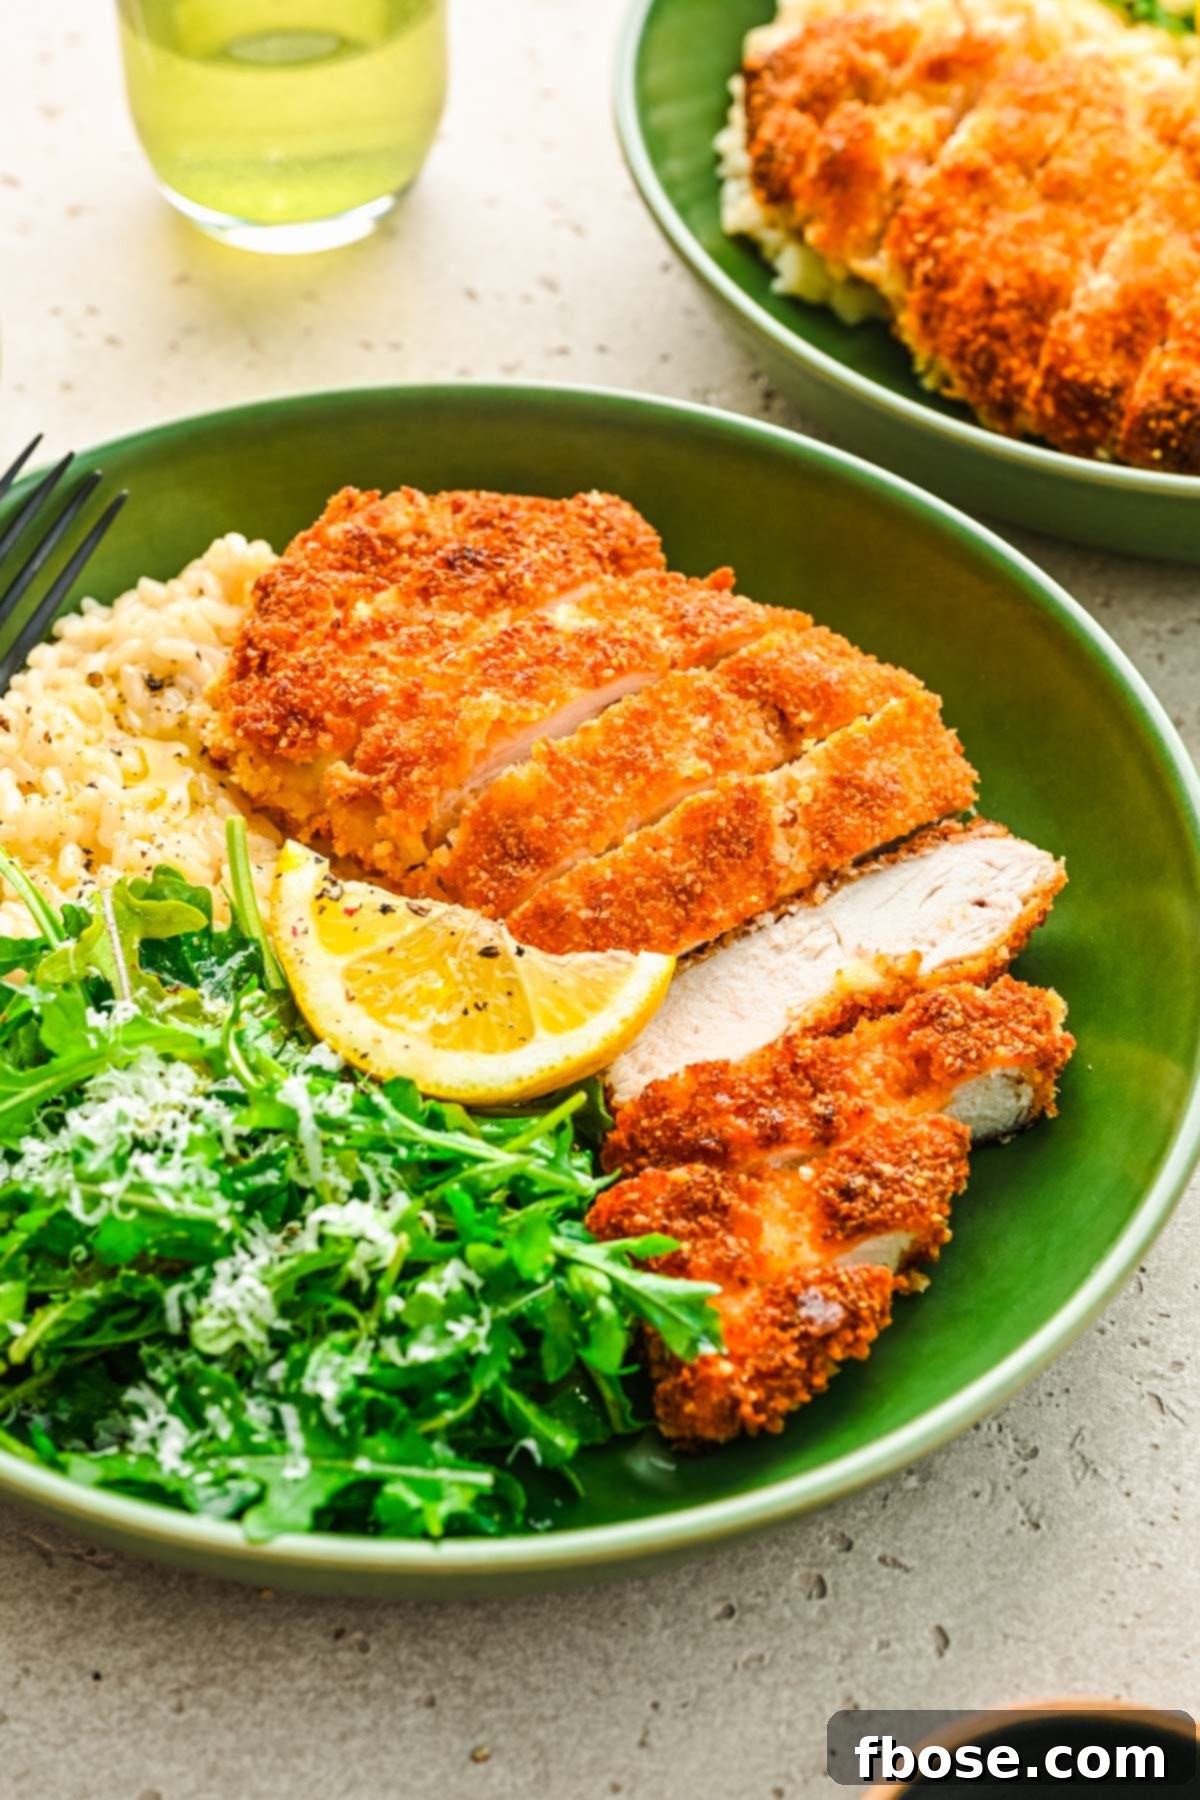
- Texture: This is where this recipe truly shines! The exterior is incredibly satisfyingly crispy and crunchy, thanks to the panko, while the chicken inside remains wonderfully juicy and tender. No dry chicken here!
- Ease: I’d rate this a 5/10 on the difficulty scale. While there are a few steps involving dredging, they are simple and don’t require advanced cooking skills.
- Pros: A delicious, home-cooked comfort meal that comes together in just 30 minutes. It feels indulgent without the lengthy preparation time.
- Cons: It involves multiple steps (pounding, seasoning, dredging, frying, baking), which might seem daunting at first glance. However, each step is simple, and the results are well worth it.
- Would I Make This Again? Absolutely, yes! This is a regular in my kitchen.
I will start by saying I’m not a big chicken fan but this recipe is the bomb. It’s super easy to prepare with simple ingredients. I’ve cooked it twice in the last 10 days. The first time I followed the directions completely. The second time I cooked it totally in the frying pan. Both were equally excellent. The flavor profile was excellent, and it was so juicy. You could literally cut it with a fork.
– Debbie
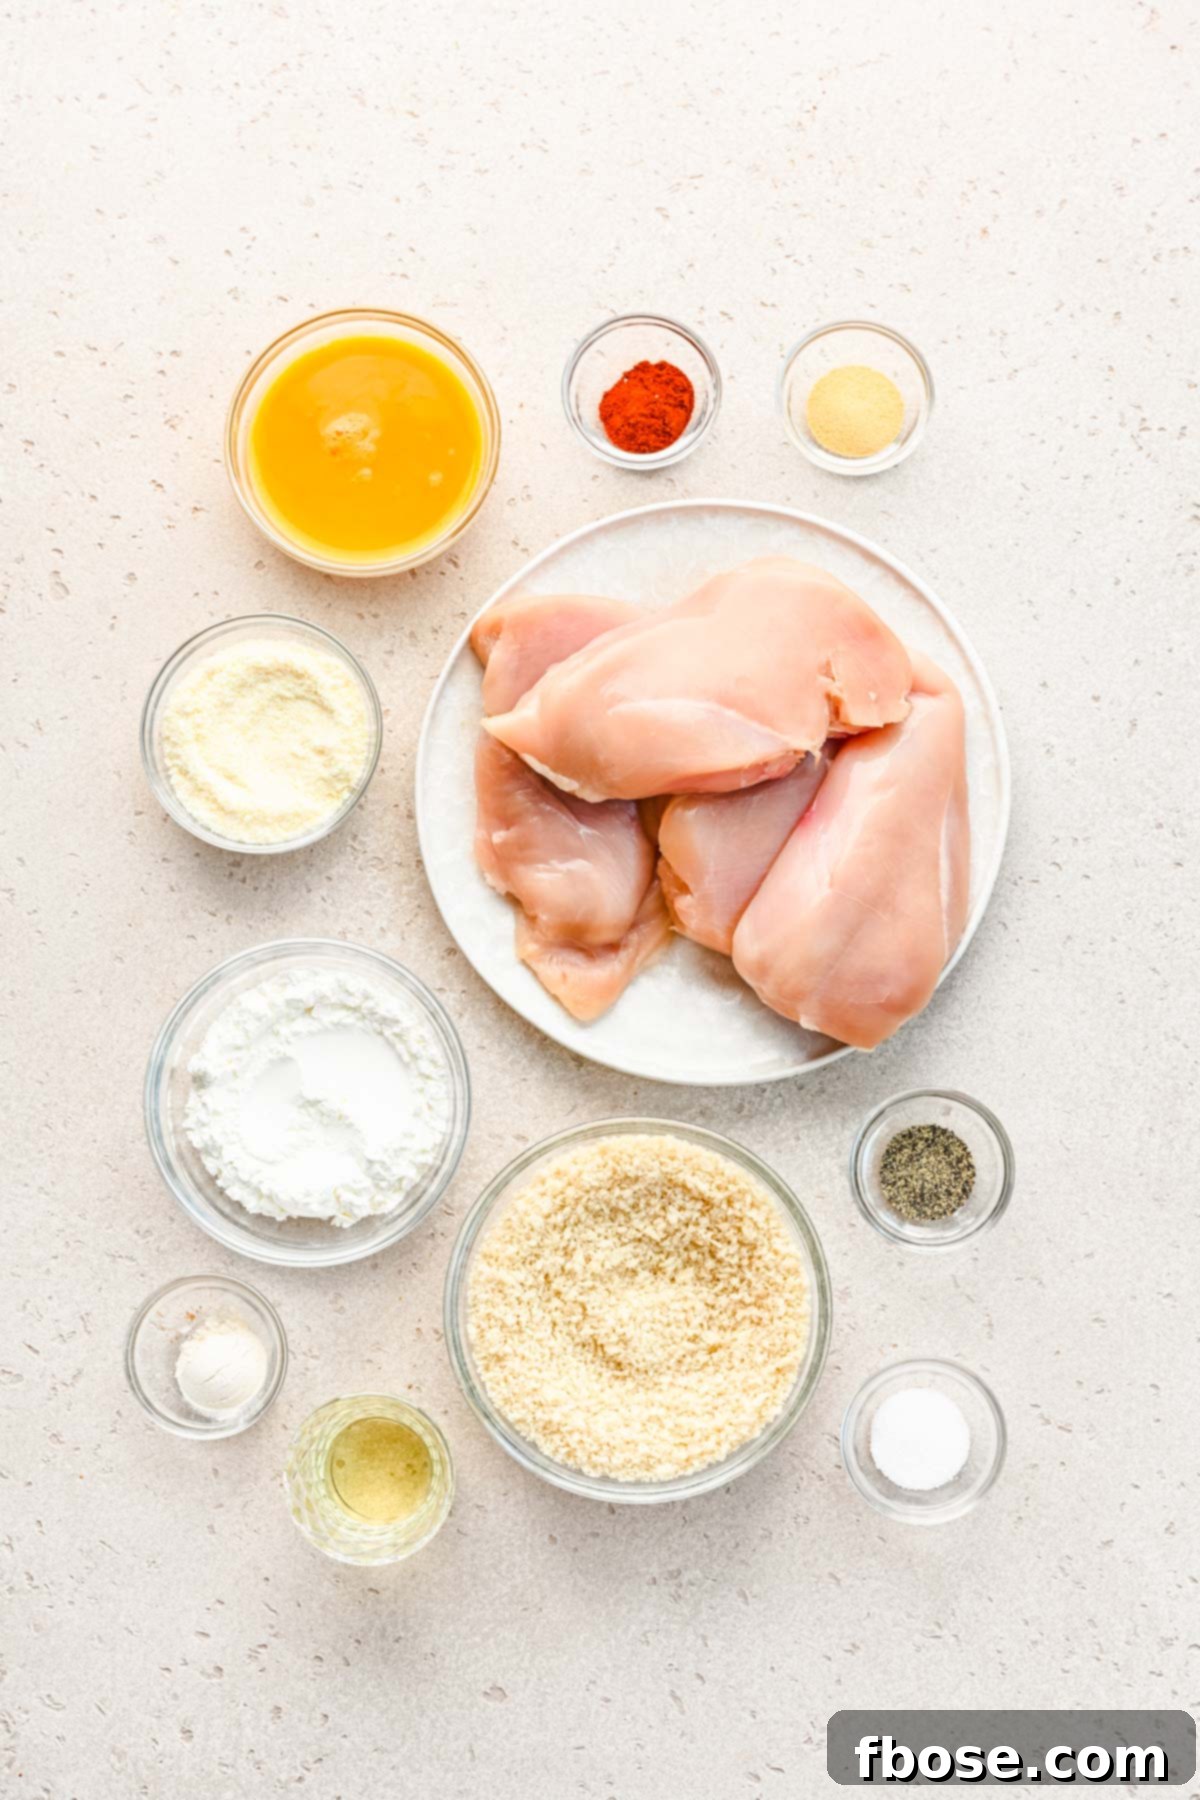
Essential Ingredients for Perfect Panko Crusted Chicken
This recipe relies on a straightforward list of ingredients, many of which you likely already have in your pantry. Each component plays a vital role in achieving that sought-after flavor and texture:
- Boneless, Skinless Chicken Breasts: The lean canvas for our crispy creation. Pounding them to an even thickness ensures quick and uniform cooking.
- Cornstarch: Key to achieving an extra-crispy crust that adheres beautifully to the chicken. It also helps create a barrier that locks in moisture.
- Salt & Ground Black Pepper: Fundamental seasonings to enhance the natural flavors of the chicken and the spice blend.
- Garlic Powder & Onion Powder: These aromatic powders provide a savory depth that forms the backbone of the chicken’s flavor profile.
- Paprika: Adds a touch of warmth, a subtle sweetness, and a beautiful reddish hue to the golden crust.
- Large Eggs: Act as the crucial binder, helping the dry dredging mixture and panko breadcrumbs stick to the chicken.
- Grated Parmesan Cheese: A fantastic addition to the panko, contributing a salty, nutty, umami flavor that elevates the crust and ensures it browns beautifully.
- Panko Breadcrumbs: The star of the show! Panko is distinctly flaky and absorbs less oil than regular breadcrumbs, resulting in a lighter, airier, and supremely crispy coating.
- Vegetable Oil: Used for pan-searing, giving the chicken its initial golden crust before it finishes baking in the oven.
To infuse maximum flavor and achieve that signature crispy texture, the chicken undergoes a simple three-step dredging process. First, it’s generously coated in a flavorful mixture of cornstarch, salt, pepper, garlic powder, paprika, and onion powder. This initial coating creates a dry surface for optimal adhesion. Next, the seasoned chicken is dipped into beaten eggs, which acts as a sticky glue. Finally, it’s pressed into a delightful mixture of flaky panko breadcrumbs and grated Parmesan cheese, forming the perfect crust. The chicken is then quickly seared in a hot skillet of vegetable oil to lock in crispiness and color, before being transferred to the oven to bake to juicy perfection.
Substitutions & Creative Variations for Your Panko Chicken
This Panko Fried Chicken recipe is incredibly versatile, allowing for easy substitutions and creative variations to suit your preferences or what you have on hand. Don’t be afraid to experiment!
- Different Cuts Of Chicken: While boneless, skinless chicken breasts are used here, you can easily adapt this recipe for other cuts.
- Chicken Strips/Tenders: Cut chicken breasts into strips for fun, kid-friendly chicken tenders. They cook even faster!
- Chicken Thighs/Drumsticks: For a darker, richer meat, chicken thighs and drumsticks work wonderfully. Adjust cooking times as needed to ensure they reach 165°F internal temperature.
- Chicken Cutlets: If your chicken breasts are already thin, you might skip the pounding step.
- Alternative Meats: This breading technique isn’t limited to chicken!
- Pork Chops: Thin-cut boneless pork chops are a fantastic substitute.
- Steak: Thin slices of steak can also be breaded and fried for a unique twist.
- Preparation Tip: For pork or steak, ensure they are pounded down to about 1/2-inch thickness for even and quick cooking.
- Flavoring Adjustments: The spice blend is customizable!
- Spice Level: Increase or decrease the paprika, garlic powder, or onion powder to match your taste.
- Herbs: Consider adding dried herbs like oregano, thyme, or rosemary to the cornstarch mixture for an herbal note.
- Heat: A pinch of cayenne pepper or red pepper flakes can introduce a subtle kick.
- Citrus Zest: A little lemon zest in the panko mixture can add brightness.
- Cornstarch Substitute:
- All-Purpose Flour: If you don’t have cornstarch, all-purpose flour can be used as a direct 1:1 replacement for the initial dredge. While it still works, cornstarch typically yields a slightly crispier coating.
- Frying Oil Options: The choice of oil for pan-searing is flexible.
- Neutral Oils: Vegetable oil is recommended for its high smoke point and neutral flavor.
- Other Options: Canola oil, peanut oil, or avocado oil are all excellent alternatives that will perform similarly. Avoid olive oil, as its lower smoke point might lead to burning.
Step-by-Step Guide: How To Make Perfect Panko Chicken
Creating this delicious fried panko chicken is easier than you think! Follow these detailed steps for a perfectly crispy and juicy result every time:
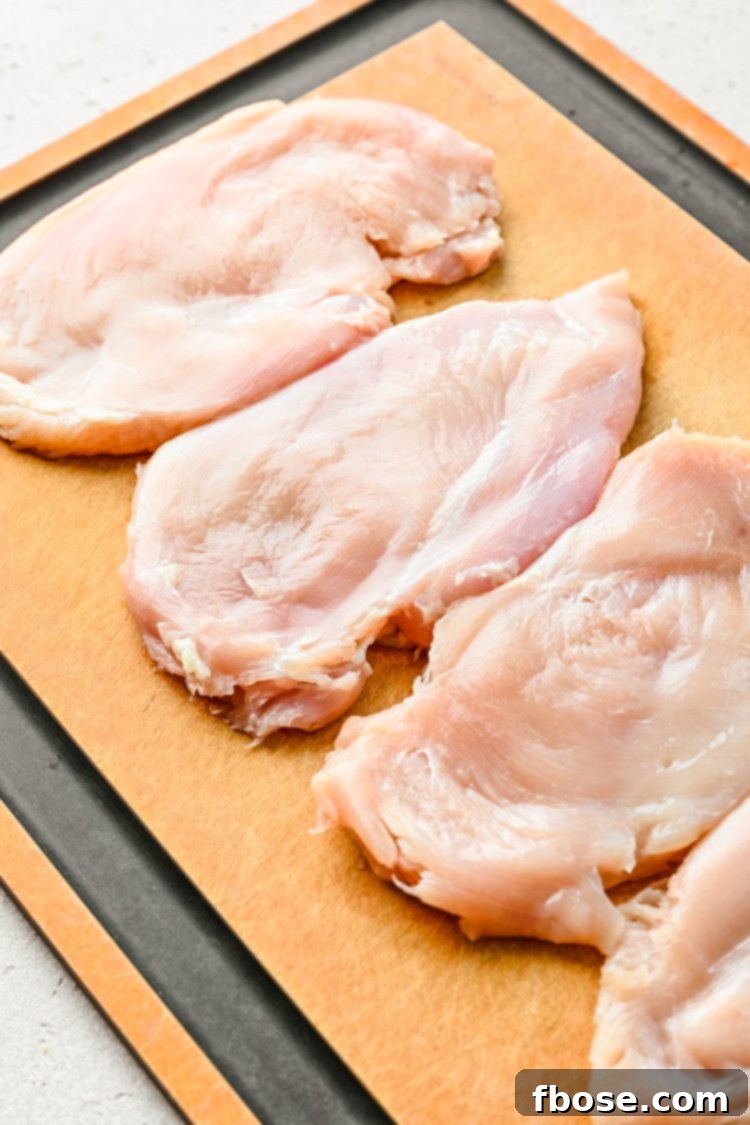
- Prepare the Chicken: Lay your boneless, skinless chicken breasts on a cutting board. Cover them with a piece of plastic wrap or parchment paper. Using a meat mallet or a heavy rolling pin, pound the chicken breasts down to an even thickness of about 1/2-inch. This ensures they cook uniformly and quickly.
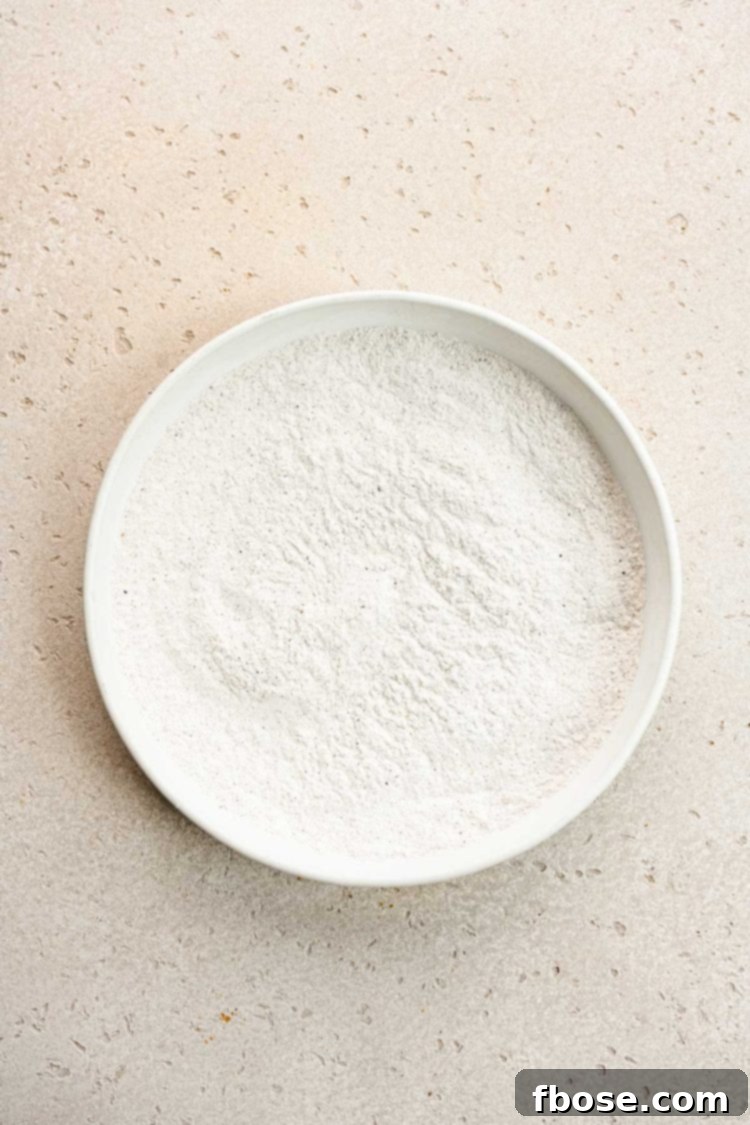
- Mix Dry Seasonings: In a shallow dish (a pie plate or wide bowl works well), whisk together the cornstarch, salt, black pepper, garlic powder, paprika, and onion powder until thoroughly combined. This is your flavorful first coating.
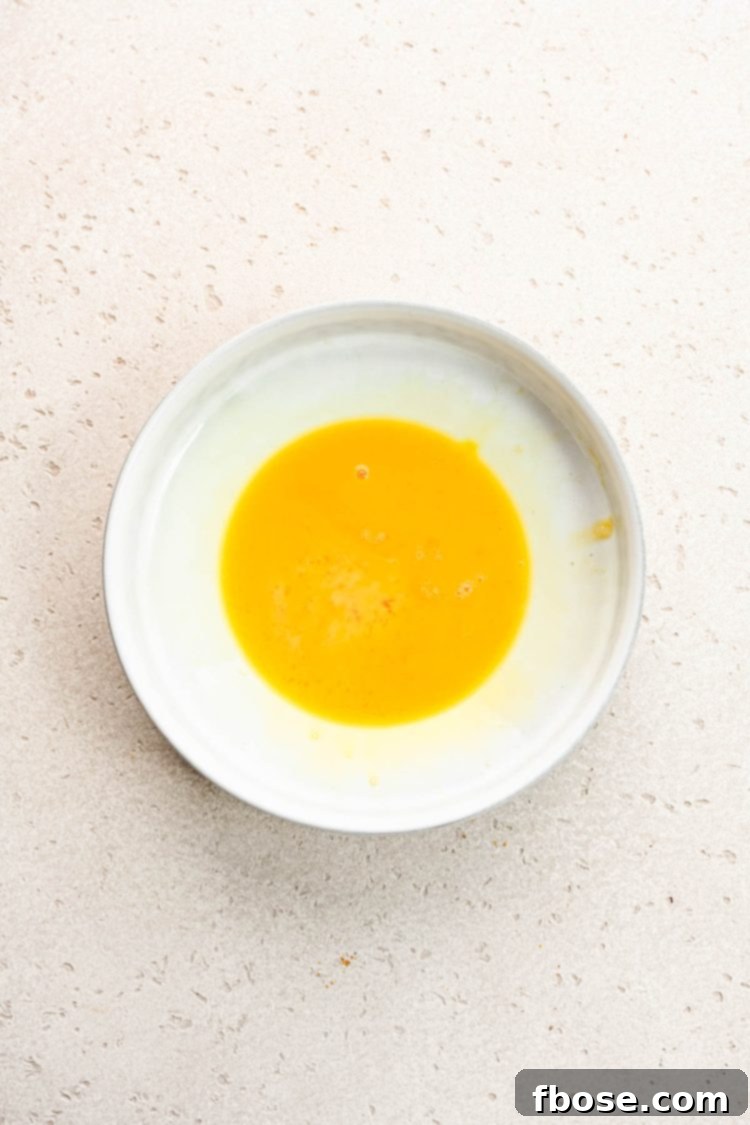
- Prepare Egg Wash: In a separate shallow bowl, lightly beat the large eggs. This will act as the “glue” for your breadcrumbs.
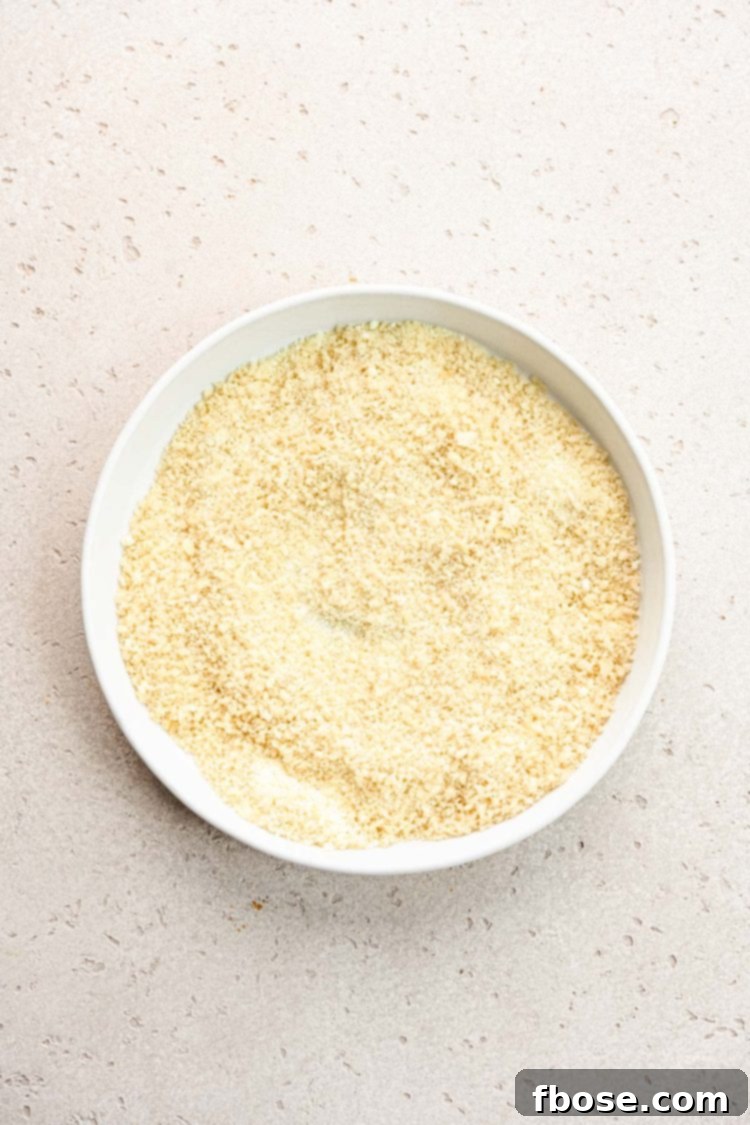
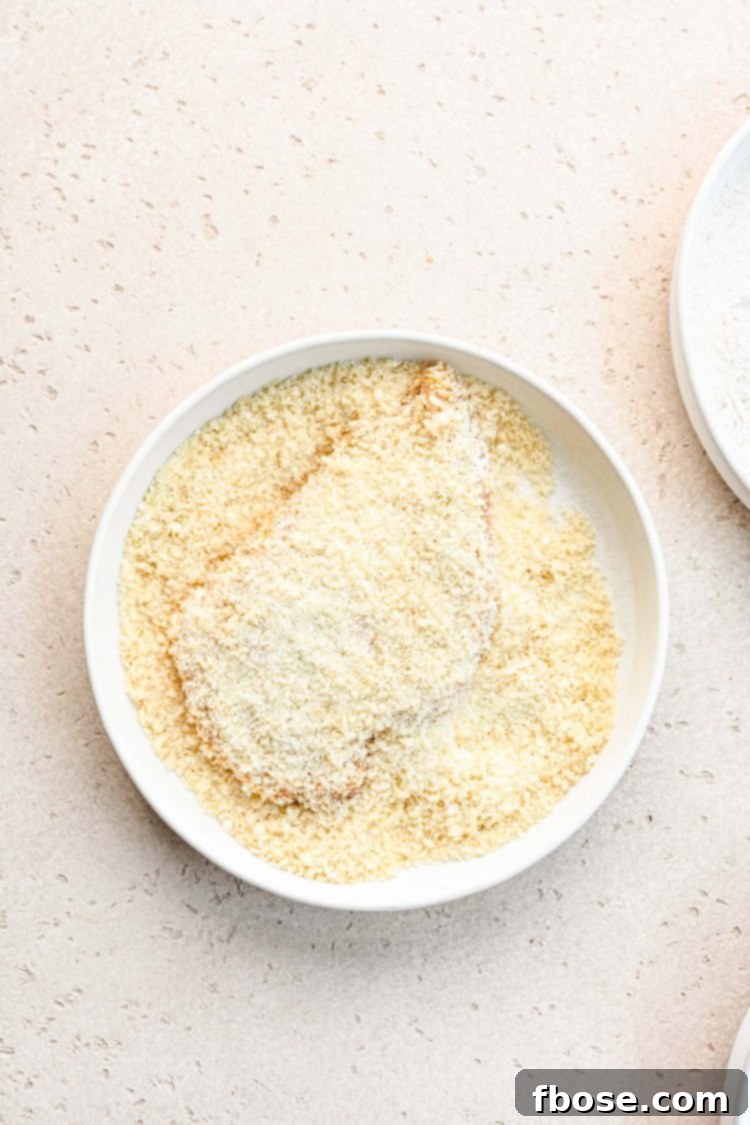
- Combine Panko and Parmesan: In a third shallow dish, combine the panko breadcrumbs and grated Parmesan cheese. Mix them well to ensure the cheese is evenly distributed throughout the panko.
- Dredge in Cornstarch: Take each chicken breast and generously dredge it in the cornstarch mixture, ensuring it’s completely coated. Gently shake off any excess powder.
- Dip in Egg: Next, carefully dip the cornstarch-coated chicken into the beaten eggs, letting any excess egg drip off.
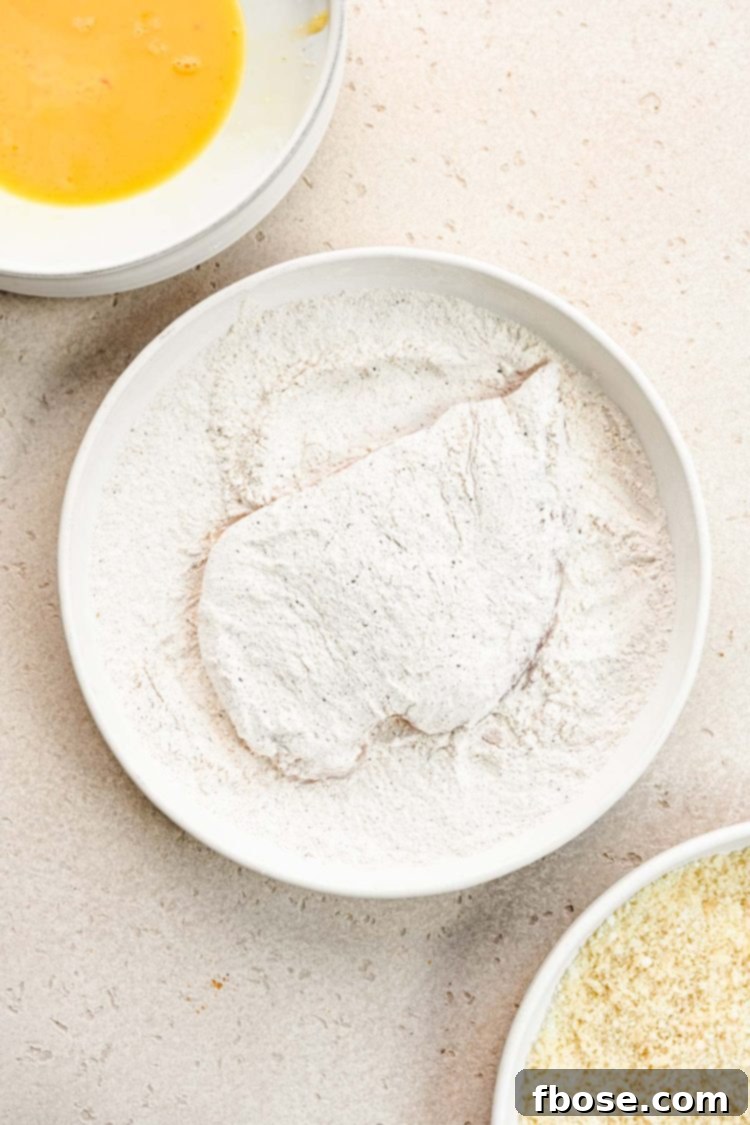
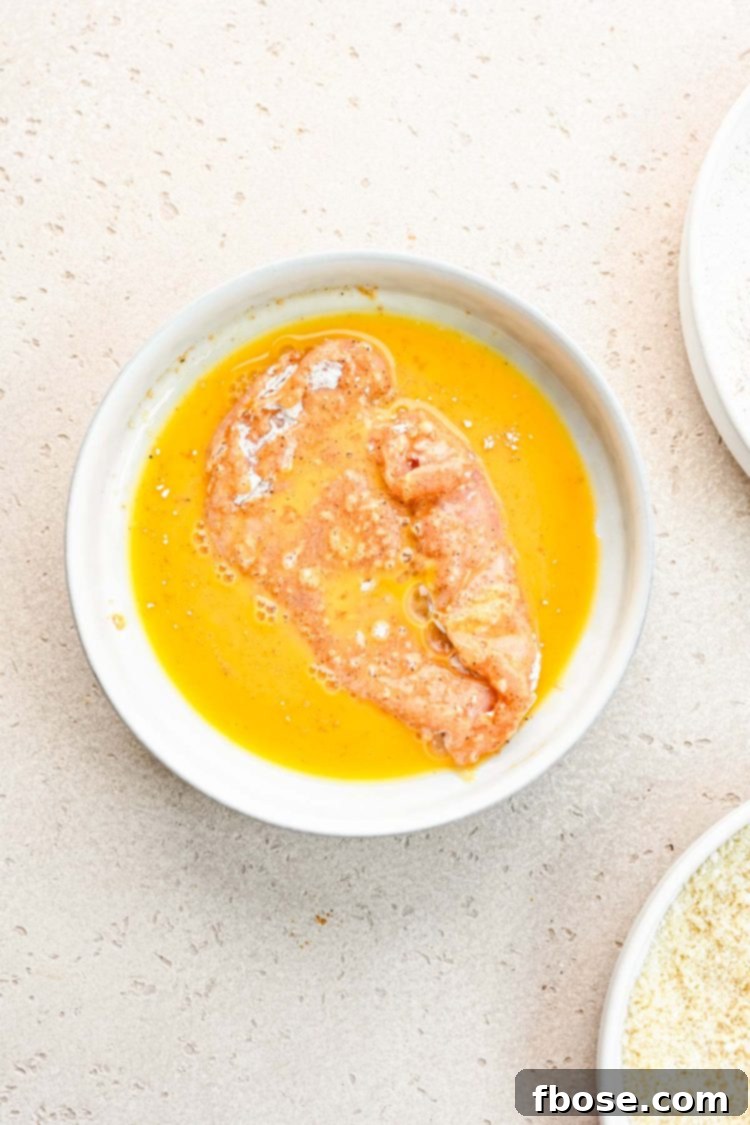
- Coat in Panko: Finally, transfer the egg-dipped chicken to the panko and Parmesan mixture. Press the breadcrumbs firmly onto both sides of the chicken to ensure a thick, even coating. This pressing step is crucial for maximum crispiness!
- Pan-Sear for Golden Crust: Preheat your oven to 375°F (190°C). Heat the vegetable oil in a large skillet (cast iron or heavy-bottomed pan works best) over medium-high heat. Once the oil is shimmering, carefully place the coated chicken breasts in the skillet. Sear for 2 to 3 minutes on each side until they are beautifully golden brown and crispy. You may need to work in batches to avoid overcrowding the pan, which can lower the oil temperature and prevent even browning.
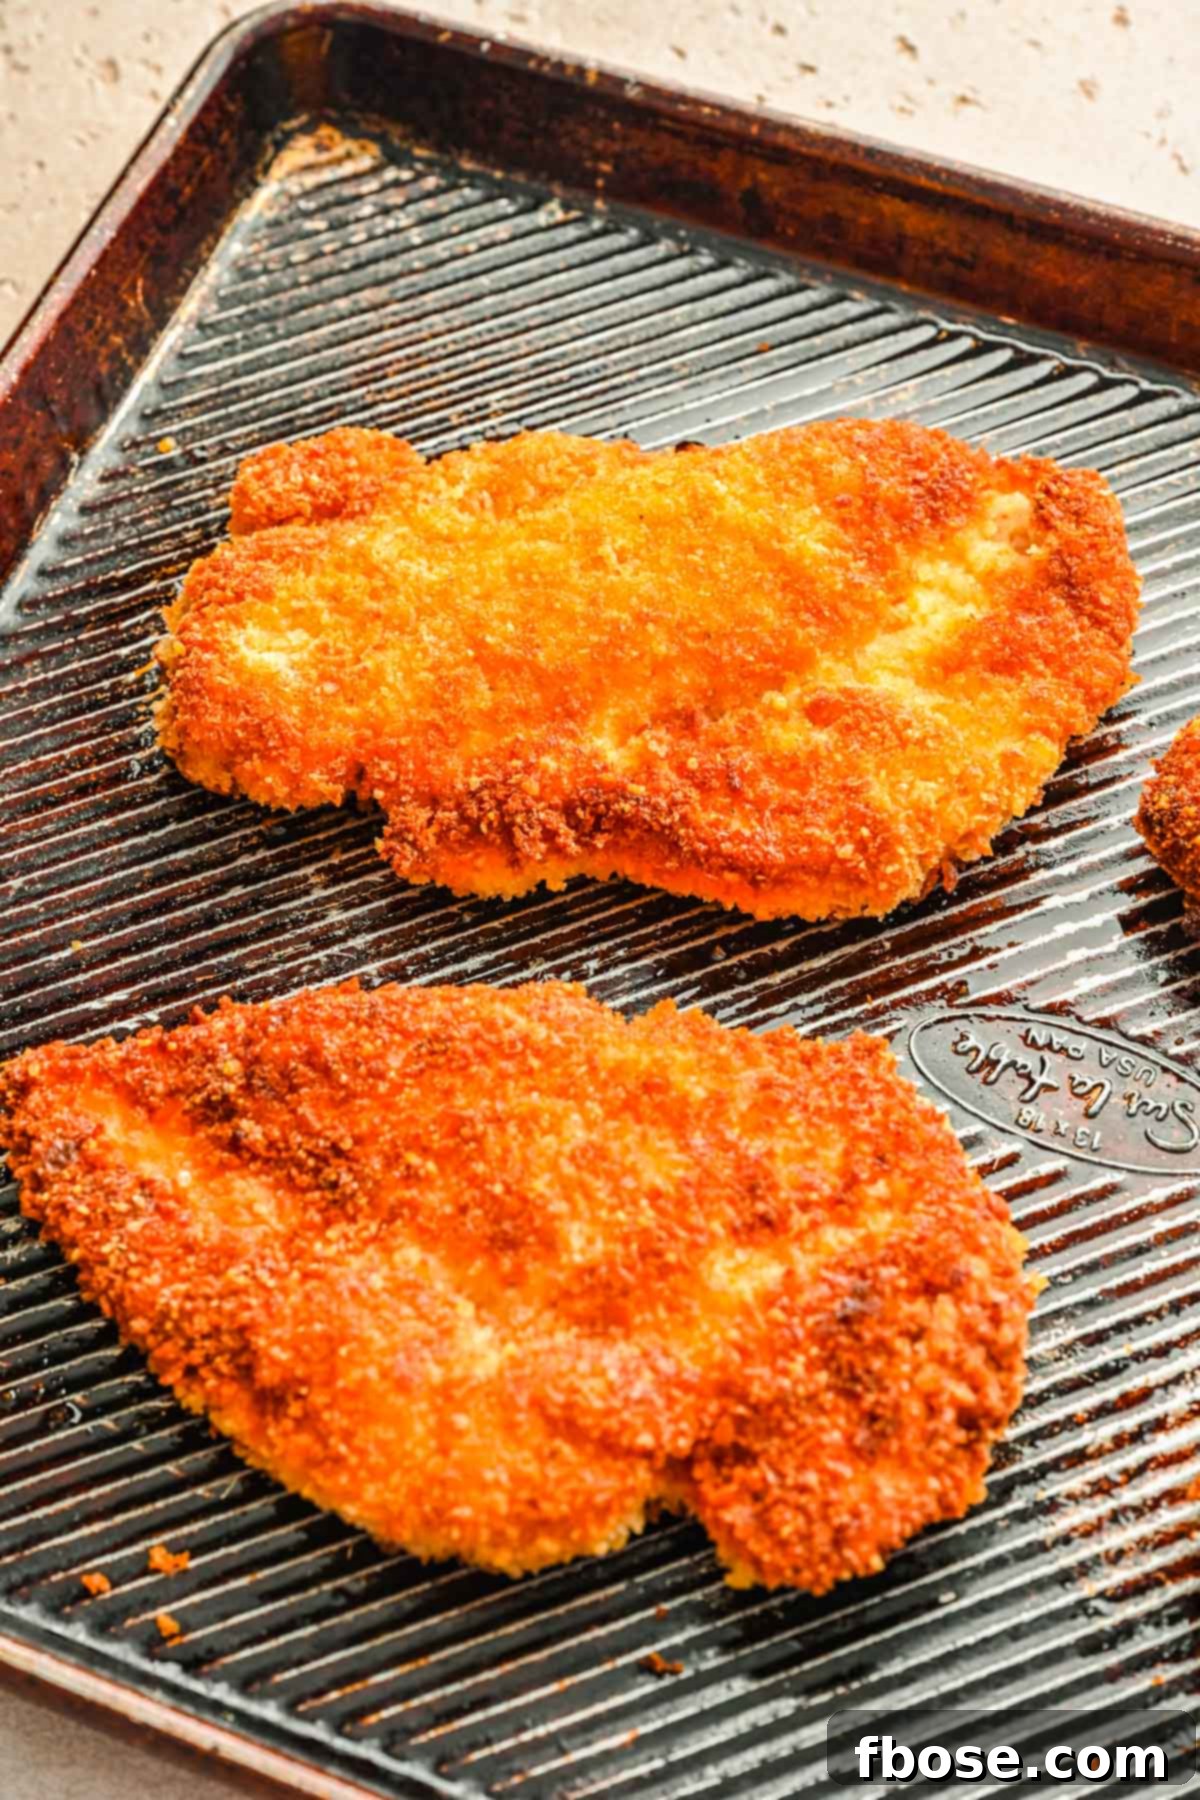
- Finish in the Oven: Transfer the seared chicken onto a baking sheet. Place the baking sheet into the preheated oven and bake for 10 to 12 minutes, or until the internal temperature of the chicken reaches 165°F (74°C) using a meat thermometer. This step ensures the chicken is cooked through without burning the crust.
- Rest and Serve: Once baked, remove the crispy panko chicken from the oven and allow it to rest for a few minutes before serving. This resting period helps the juices redistribute, resulting in even more tender and moist chicken.
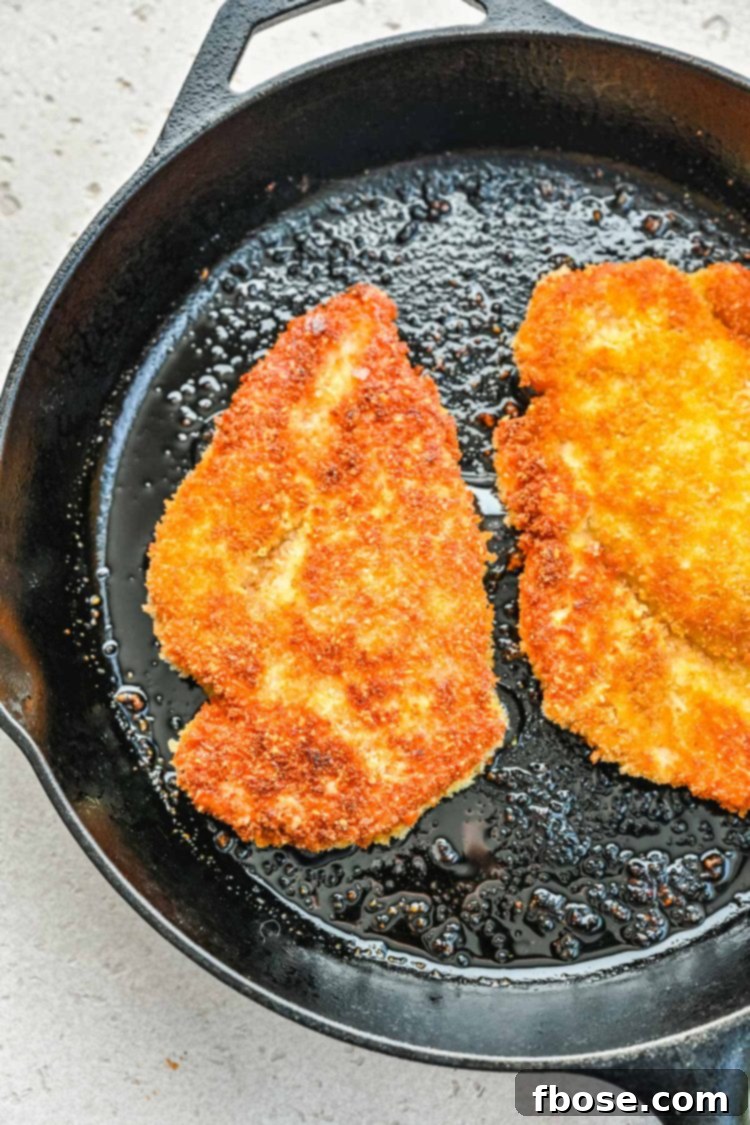
Rebecca’s Expert Tips for the Crispiest Panko Chicken
Achieving restaurant-quality fried panko chicken at home is simple with a few insider tips. Here’s how to ensure your chicken is always perfectly juicy and unbelievably crispy:
- Even Thickness is Key: Pounding the chicken breasts to an even 1/2-inch thickness is critical. This step ensures that every part of the chicken cooks at the same rate, preventing dry spots and ensuring uniform tenderness. Use a meat mallet or the bottom of a heavy pan.
- Don’t Skip the Seasoning: While the panko crust is delicious, the initial seasoning of the chicken with salt, pepper, garlic powder, paprika, and onion powder builds a foundational layer of flavor. Don’t be shy with your spice blend!
- Press Those Crumbs: When coating the chicken in the panko mixture, don’t just roll it. Gently but firmly press the breadcrumbs onto the chicken using your hands, the back of a spoon, or a fork. This ensures maximum adhesion and a thick, robust crust that won’t fall off during cooking.
- The Magic of Panko: Panko breadcrumbs are superior for frying because their flaky, airy texture absorbs less oil compared to traditional breadcrumbs. This results in a much lighter, crispier, and less greasy coating. Using fresh, good-quality panko makes a noticeable difference.
- Maintain Oil Temperature: For the pan-searing step, it’s important to get your oil to the right temperature (medium-high heat) and maintain it. If the oil isn’t hot enough, the chicken will absorb too much oil and become greasy. If it’s too hot, the crust will burn before the chicken can sear properly.
- Don’t Overcrowd the Pan: Cook the chicken in batches if necessary. Overcrowding the skillet will drop the oil temperature and steam the chicken instead of searing it, leading to a soggy crust.
- Finish in the Oven: The pan-fry and oven-bake method is brilliant. Pan-frying creates the initial golden, crispy crust, while finishing in the oven ensures the chicken cooks through gently and evenly without burning the exterior.
- Use a Meat Thermometer: The safest and most accurate way to check for doneness is with an instant-read meat thermometer. Insert it into the thickest part of the chicken; it should register 165°F (74°C). This guarantees juicy, safe-to-eat chicken every time.
- Rest Your Chicken: After removing the chicken from the oven, let it rest for 5-10 minutes before slicing and serving. This allows the juices to redistribute throughout the meat, ensuring it remains incredibly moist and tender.
Delicious Ways To Serve Your Fried Panko Chicken
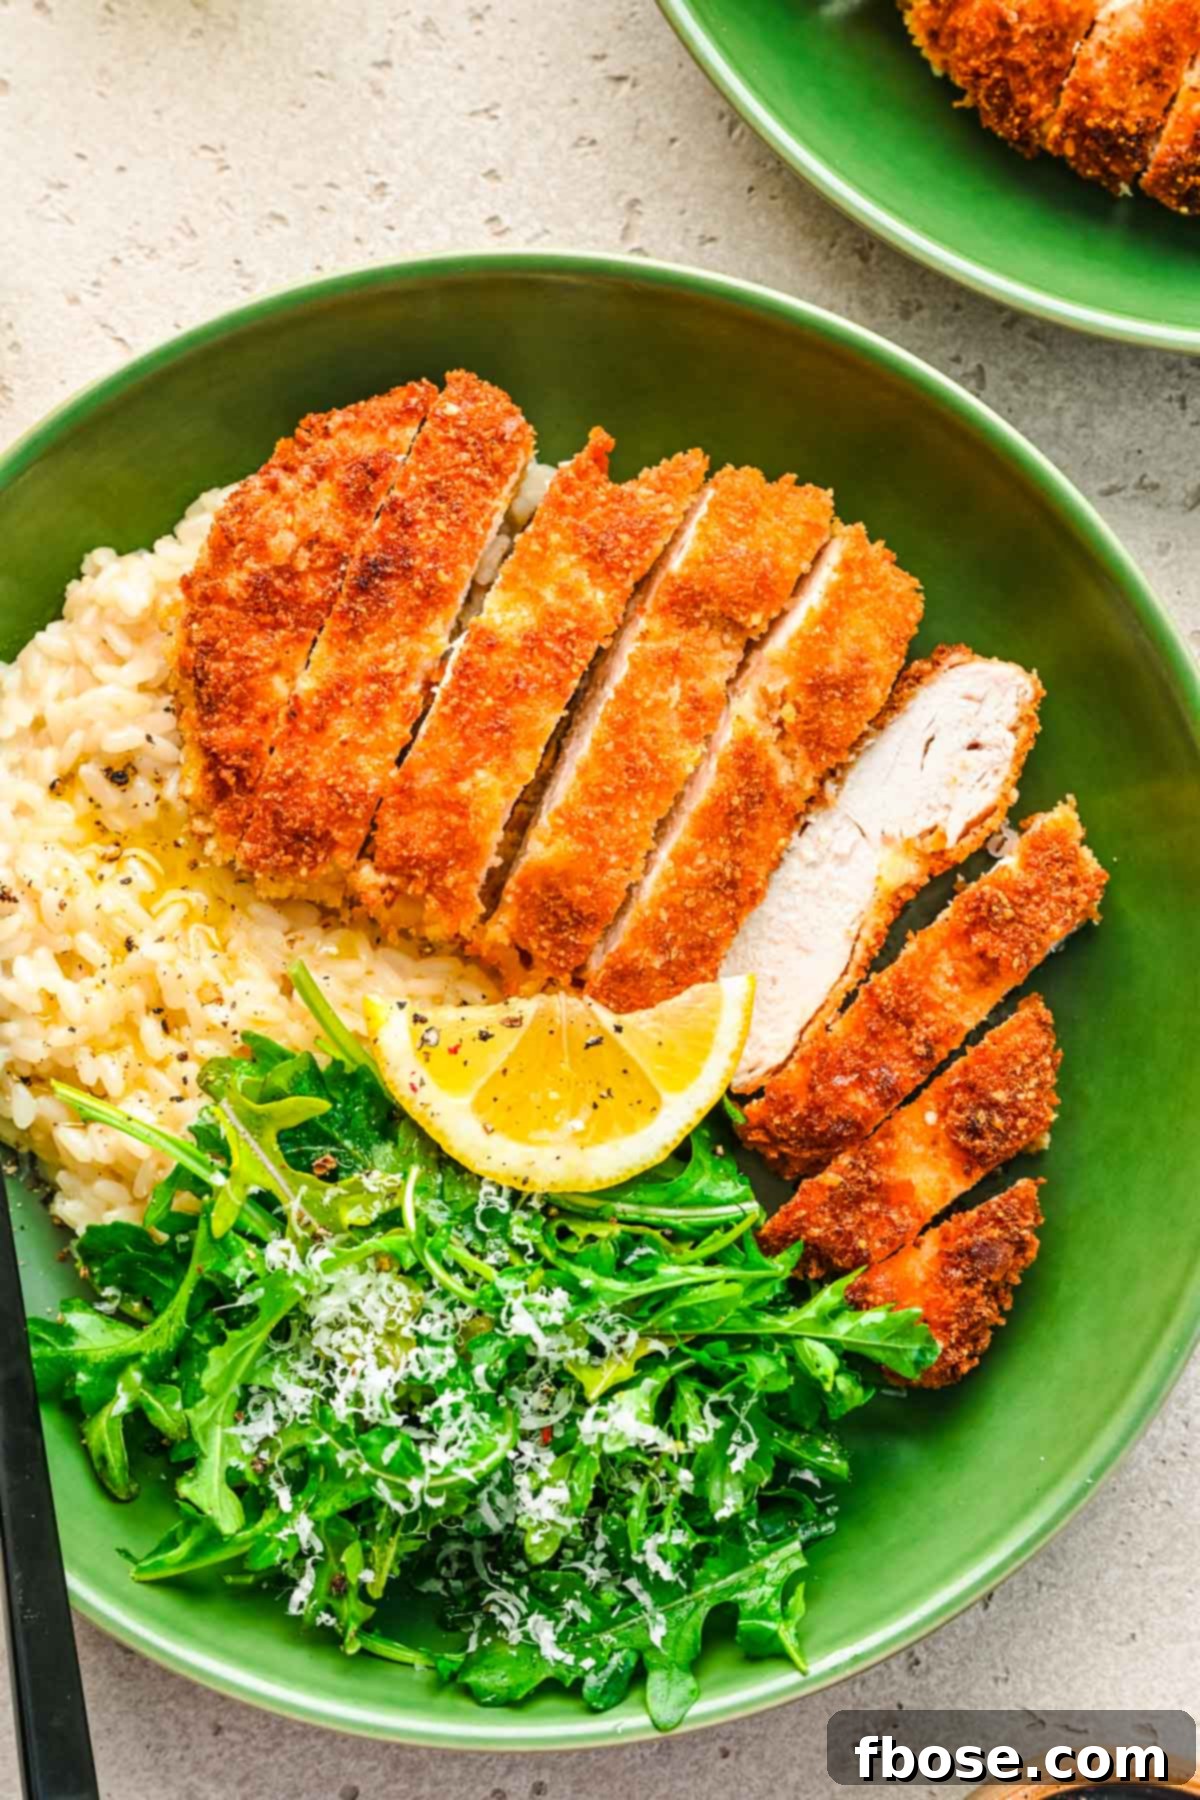
This versatile fried panko chicken is a fantastic main course that pairs beautifully with a wide variety of side dishes and sauces. Here are some ideas to complete your meal:
Dipping Sauces for Extra Flavor:
Enhance your panko chicken with a delicious dipping sauce. The options are endless!
- Classic Ketchup: Simple, yet always a hit, especially with kids.
- Honey Mustard: A sweet and tangy favorite that complements the crispy chicken perfectly.
- BBQ Sauce: For a smoky and savory kick.
- Spicy Mayo: Mix mayonnaise with sriracha or your favorite hot sauce for a creamy, spicy dip.
- Maple Mustard Dipping Sauce: A unique blend of sweet and sharp that adds a sophisticated touch.
- Ranch or Blue Cheese Dressing: For a creamy, cool contrast.
Perfect Side Dishes:
Balance your meal with a mix of starches, vegetables, and fresh elements.
- Starchy Sides:
- Fluffy Rice: A classic companion that soaks up any delicious juices. White, brown, or even jasmine rice work well.
- Creamy Mashed Potatoes: A comforting and hearty choice that pairs wonderfully with crispy chicken.
- Homemade French Fries: Double-fried for extra crispiness, they are an undeniable match for fried chicken.
- Roasted Potatoes: For a healthier but equally satisfying potato option.
- Vegetable Sides:
- Fresh Garden Salad: A crisp, light salad with a vinaigrette dressing provides a refreshing contrast to the rich chicken.
- Steamed Broccoli or Green Beans: Simple, healthy, and vibrant green vegetables add color and nutrients.
- Roasted Asparagus: A simple yet elegant side.
- Coleslaw: A creamy coleslaw adds a refreshing crunch.
- Other Ideas:
- Dinner Rolls or Garlic Bread: Perfect for soaking up any leftover sauces.
- Corn on the Cob: A sweet and juicy addition.
And of course, no meal is complete without a delightful dessert! Consider a light fruit tart or a simple cookie to finish off your culinary experience.
Storing and Reheating Your Panko Breaded Chicken
Proper storage ensures your leftover panko chicken remains delicious, and reheating it correctly can even help bring back some of its initial crispiness.
Storage Instructions:
Once cooled to room temperature, store leftover Panko Breaded Chicken in an airtight container or tightly wrapped in plastic wrap. Refrigerate promptly, and it will remain fresh and enjoyable for 3 to 4 days.
Reheating for Best Results:
To retain or restore the crispy texture, avoid reheating in the microwave, which tends to make breaded chicken soggy. For the best results, I recommend these methods:
- In a Skillet: Heat a small amount of oil in a skillet over medium heat. Add the chicken and cook for a few minutes on each side until heated through and the crust is crispy again.
- In the Oven or Toaster Oven: Place the chicken on a baking sheet in a preheated oven (around 350°F / 175°C) for 10-15 minutes, or until thoroughly heated and the crust is crisp.
- Air Fryer: For an even quicker and crispier reheat, place the chicken in an air fryer at 350°F (175°C) for 5-8 minutes, flipping halfway through.
Always ensure the chicken reaches an internal temperature of 165°F (74°C) when reheating.
Explore More Delicious Chicken Recipes
If you loved this crispy Panko Chicken, you’ll surely enjoy these other fantastic chicken dishes from my kitchen:
- Buttermilk Fried Chicken – Experience classic Southern comfort with juicy, crispy chicken that preps in just 15 minutes!
- Parmesan Crusted Chicken – A mouthwatering LongHorn copycat recipe that’s a guaranteed hit with everyone at the table.
- Air Fryer Nashville Hot Chicken – Get ready for a delicious, spicy kick wrapped in an incredibly crunchy coating, made healthier in the air fryer.
- Homemade Shake and Bake Chicken – A nostalgic comfort food that brings families together and fills your home with irresistible aromas.
- Smothered Chicken and Gravy – Indulge in tender chicken thighs and drumsticks slow-cooked to perfection in a rich, savory gravy.
Did You Make This Recipe?
If you’ve tried this recipe, please leave a review in the comments below. I love hearing from you! Don’t forget to tag me – @sugarandsoulco – on Instagram and Pinterest with your photos, or join our Sugar & Soul Show-offs Community and share them there.
TikTok
5 out of 5 stars (9 votes)
Fried Chicken with Panko
Easy pan-fried Panko Chicken is crispy and delicious and pairs with most anything for a simple dinner that’s ready in just 30 minutes!
Author: Rebecca Hubbell
Course: Dinner
Cuisine: American
Prep Time: 10 minutes
Cook Time: 20 minutes
Total Time: 30 minutes
Servings: 4 people
Ingredients
- 4 boneless skinless chicken breasts (6-8oz each)
- ½ cup cornstarch
- 1 teaspoon salt
- 1 teaspoon garlic powder
- 1 teaspoon paprika
- 1 teaspoon onion powder
- ½ teaspoon ground black pepper
- 2 large eggs, beaten
- 1 cup panko breadcrumbs
- ¼ cup finely grated parmesan cheese
- ¼ cup vegetable oil, for frying
Instructions
- Preheat your oven to 375°F (190°C).
- Pound the 4 boneless skinless chicken breasts to an even thickness – about ½-inch thick each.
- In a shallow dish, mix together the ½ cup cornstarch, 1 teaspoon salt, 1 teaspoon garlic powder, 1 teaspoon paprika, 1 teaspoon onion powder, and ½ teaspoon ground black pepper.
- In another shallow dish, beat the 2 large eggs.
- In a third shallow dish, mix together the 1 cup panko breadcrumbs and ¼ cup finely grated parmesan cheese.
- Dredge the chicken pieces in the cornstarch mixture, shaking off any excess. Then dip the chicken pieces in the beaten eggs. Then coat them in the panko breadcrumbs, pressing the breadcrumbs onto the chicken to adhere firmly.
- Heat the ¼ cup vegetable oil in a large skillet over medium-high heat.
- Add the chicken to the skillet and sear for 2 to 3 minutes on each side until golden brown and crispy. (You might need to do this in 2 batches depending on the size of your pan).
- Transfer the chicken to a baking sheet. Bake for 10 to 12 minutes, or until the internal temperature reaches 165°F (74°C).
- Remove the chicken from the oven and let it cool for a few minutes before serving.
Nutrition (per serving)
Did You Make This Recipe?
Don’t forget to share it with me on Instagram @sugarandsoulco and follow on Tiktok @sugarandsoulco and Pinterest @sugarandsoulco for more!
Rate this Recipe
Pin Recipe
Share Recipe