
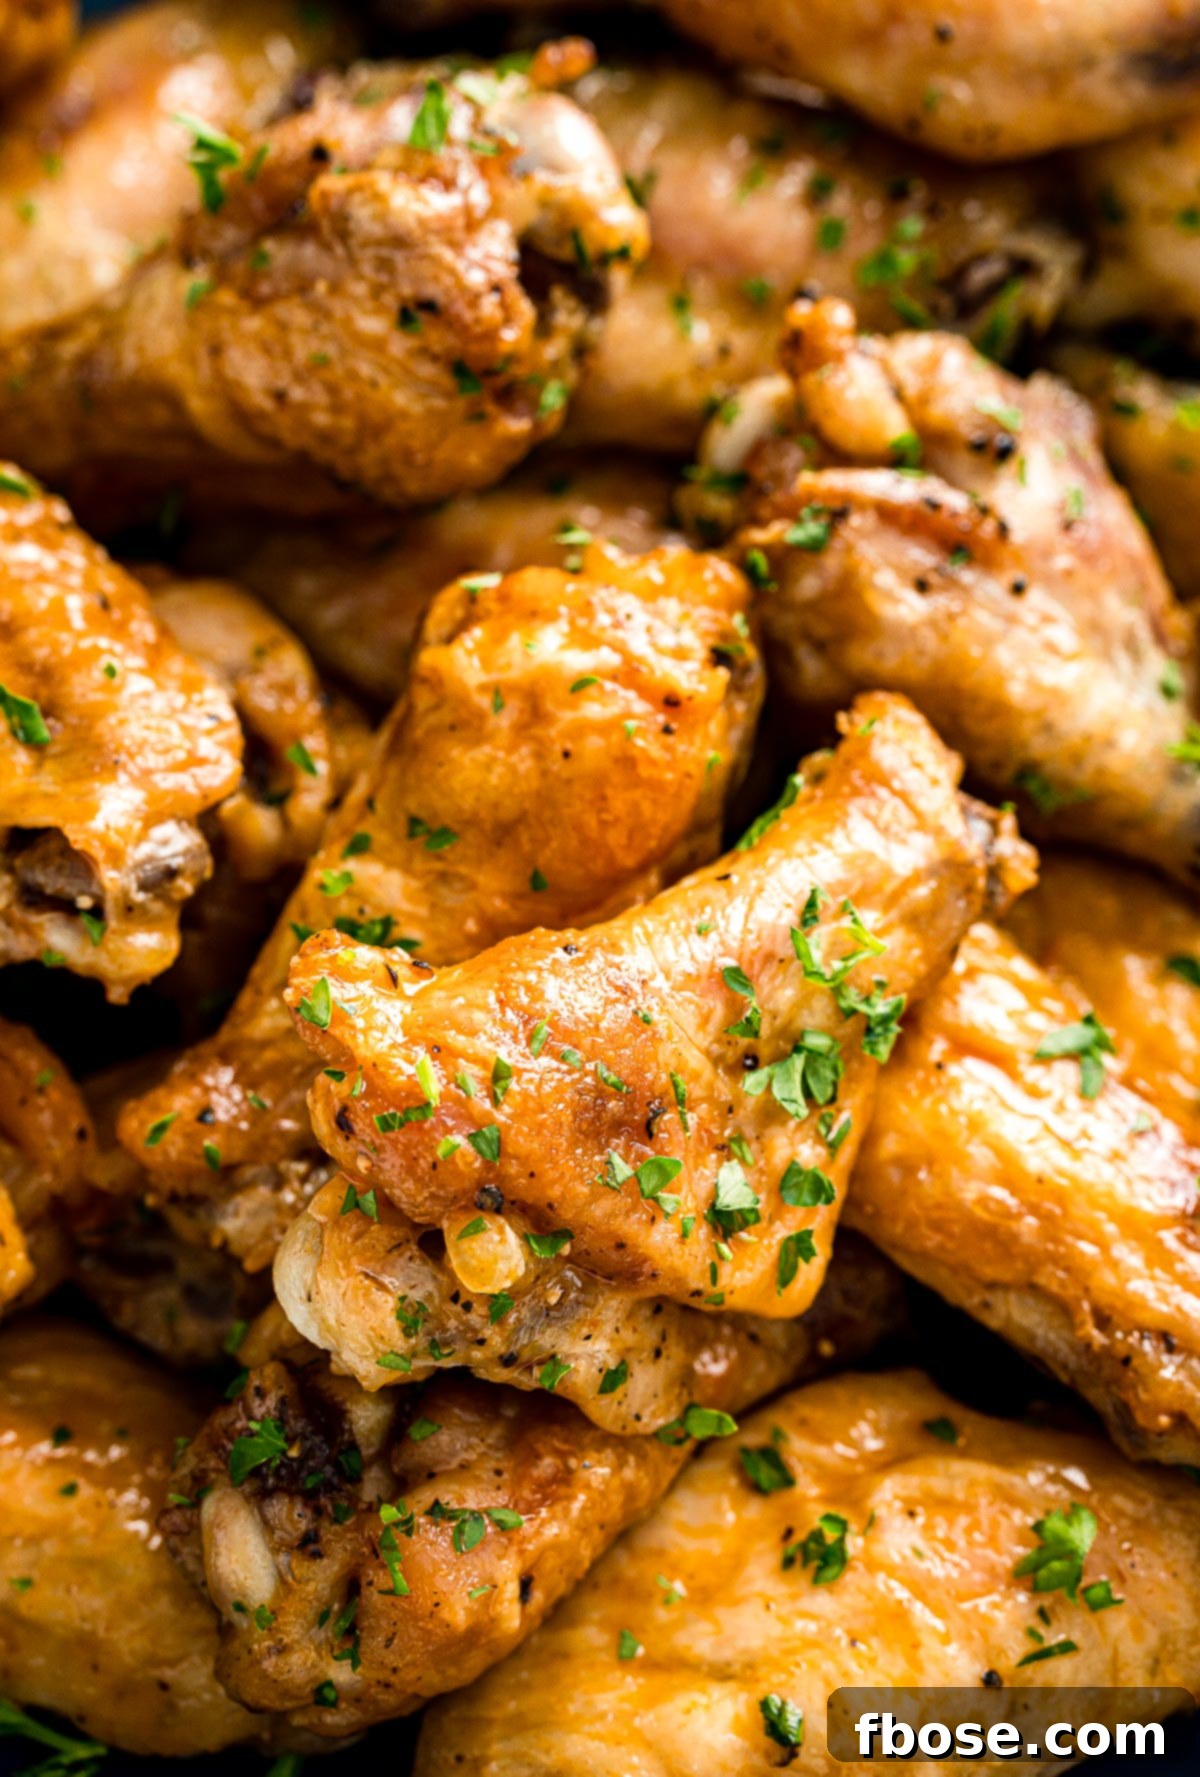
Get ready to discover the ultimate method for crafting **Crispy Baked Chicken Wings** right in your own oven! Forget the messy, unhealthy deep-frying and the complicated extra steps often seen in online recipes. This guide will show you how to achieve perfectly golden, delightfully crispy wings every single time, seasoned simply with oil, salt, and pepper. It’s an effortless approach that delivers restaurant-quality results, proving that you don’t need fancy equipment or a long ingredient list for truly exceptional wings.
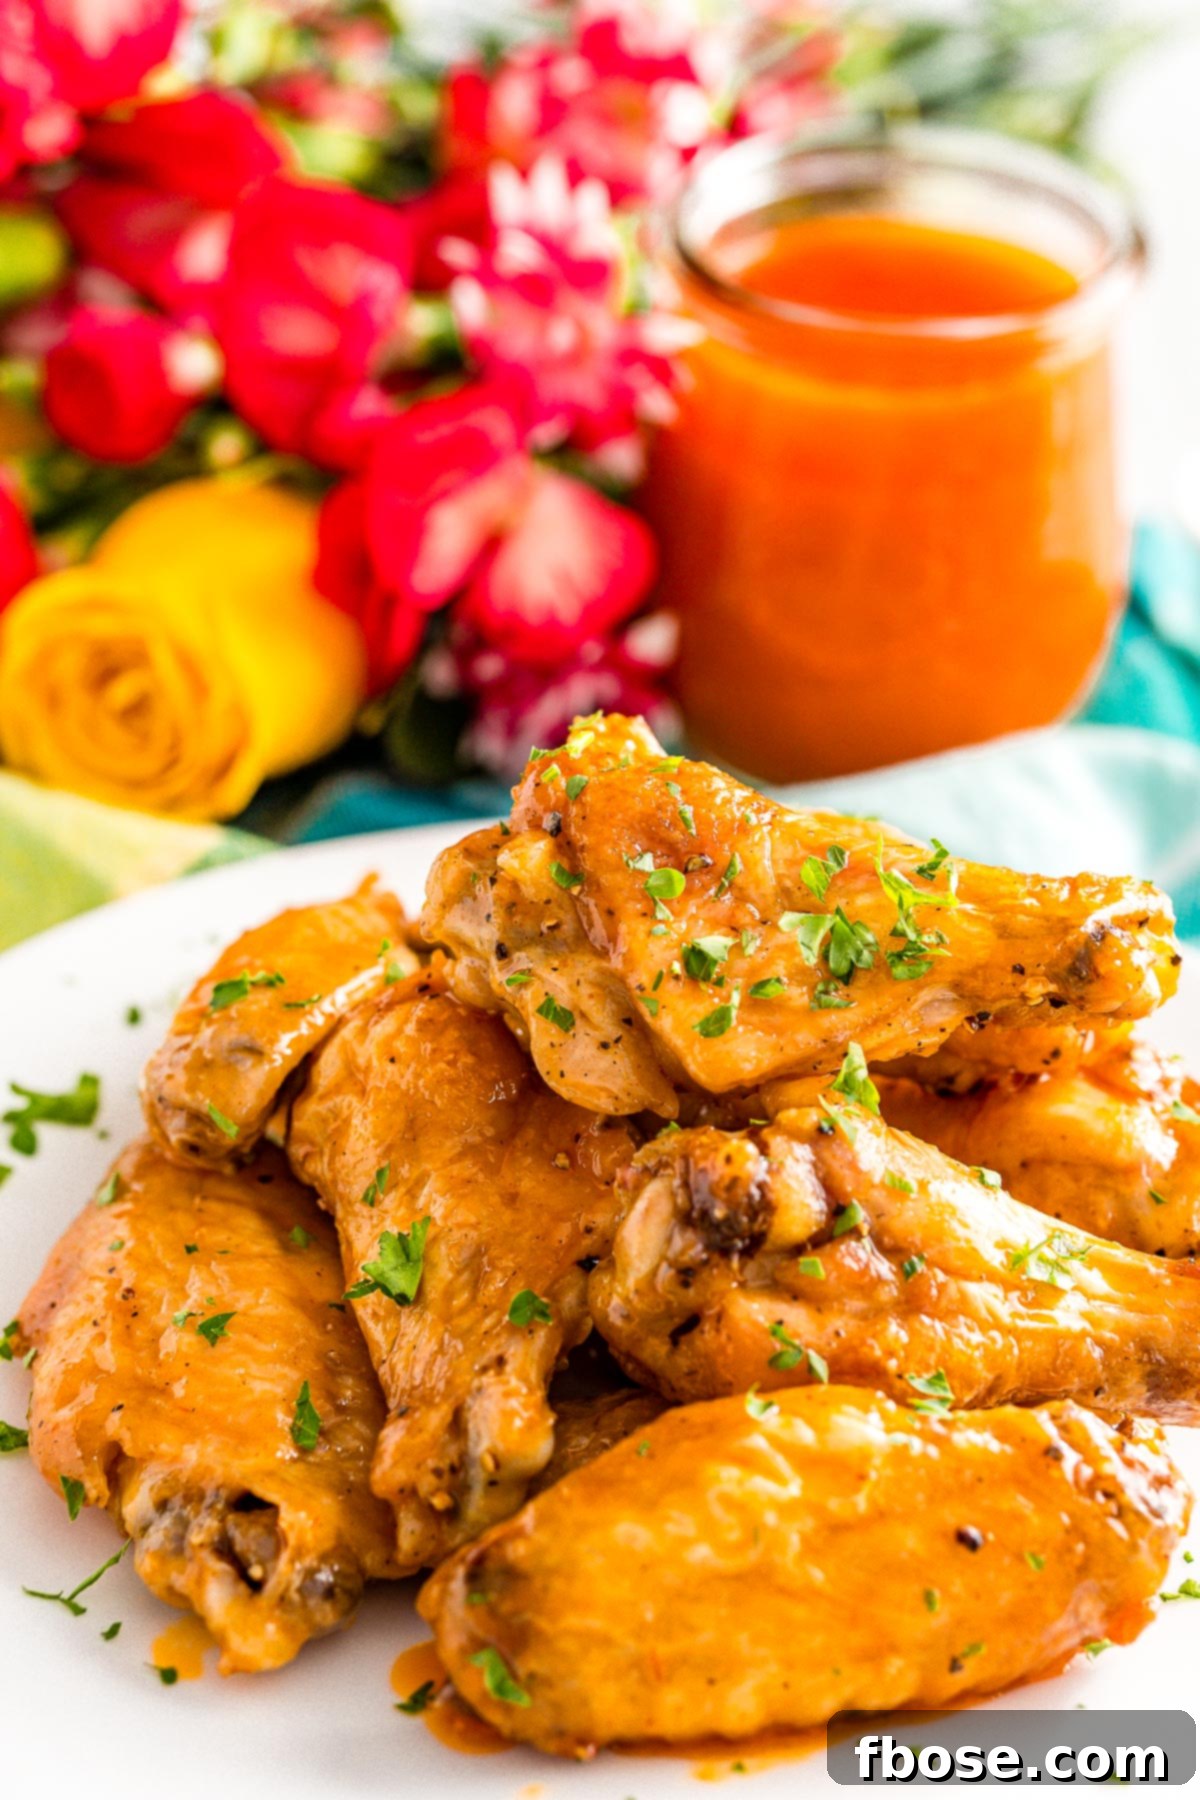
These oven-baked wings and drumettes are incredibly versatile and utterly delicious. Once they emerge from the oven, irresistibly crispy, they become the perfect canvas for your favorite flavors. Toss them in a vibrant homemade Hot Honey Lemon Pepper sauce, classic Buffalo Sauce, or any other signature coating you adore. Whether you’re planning a casual game day gathering or a festive party, this easy appetizer is a guaranteed crowd-pleaser that requires minimal prep and is surprisingly inexpensive to make. Serve them alongside other beloved snacks like savory Pigs In A Blanket and creamy Chicken Queso Dip for an unforgettable spread.
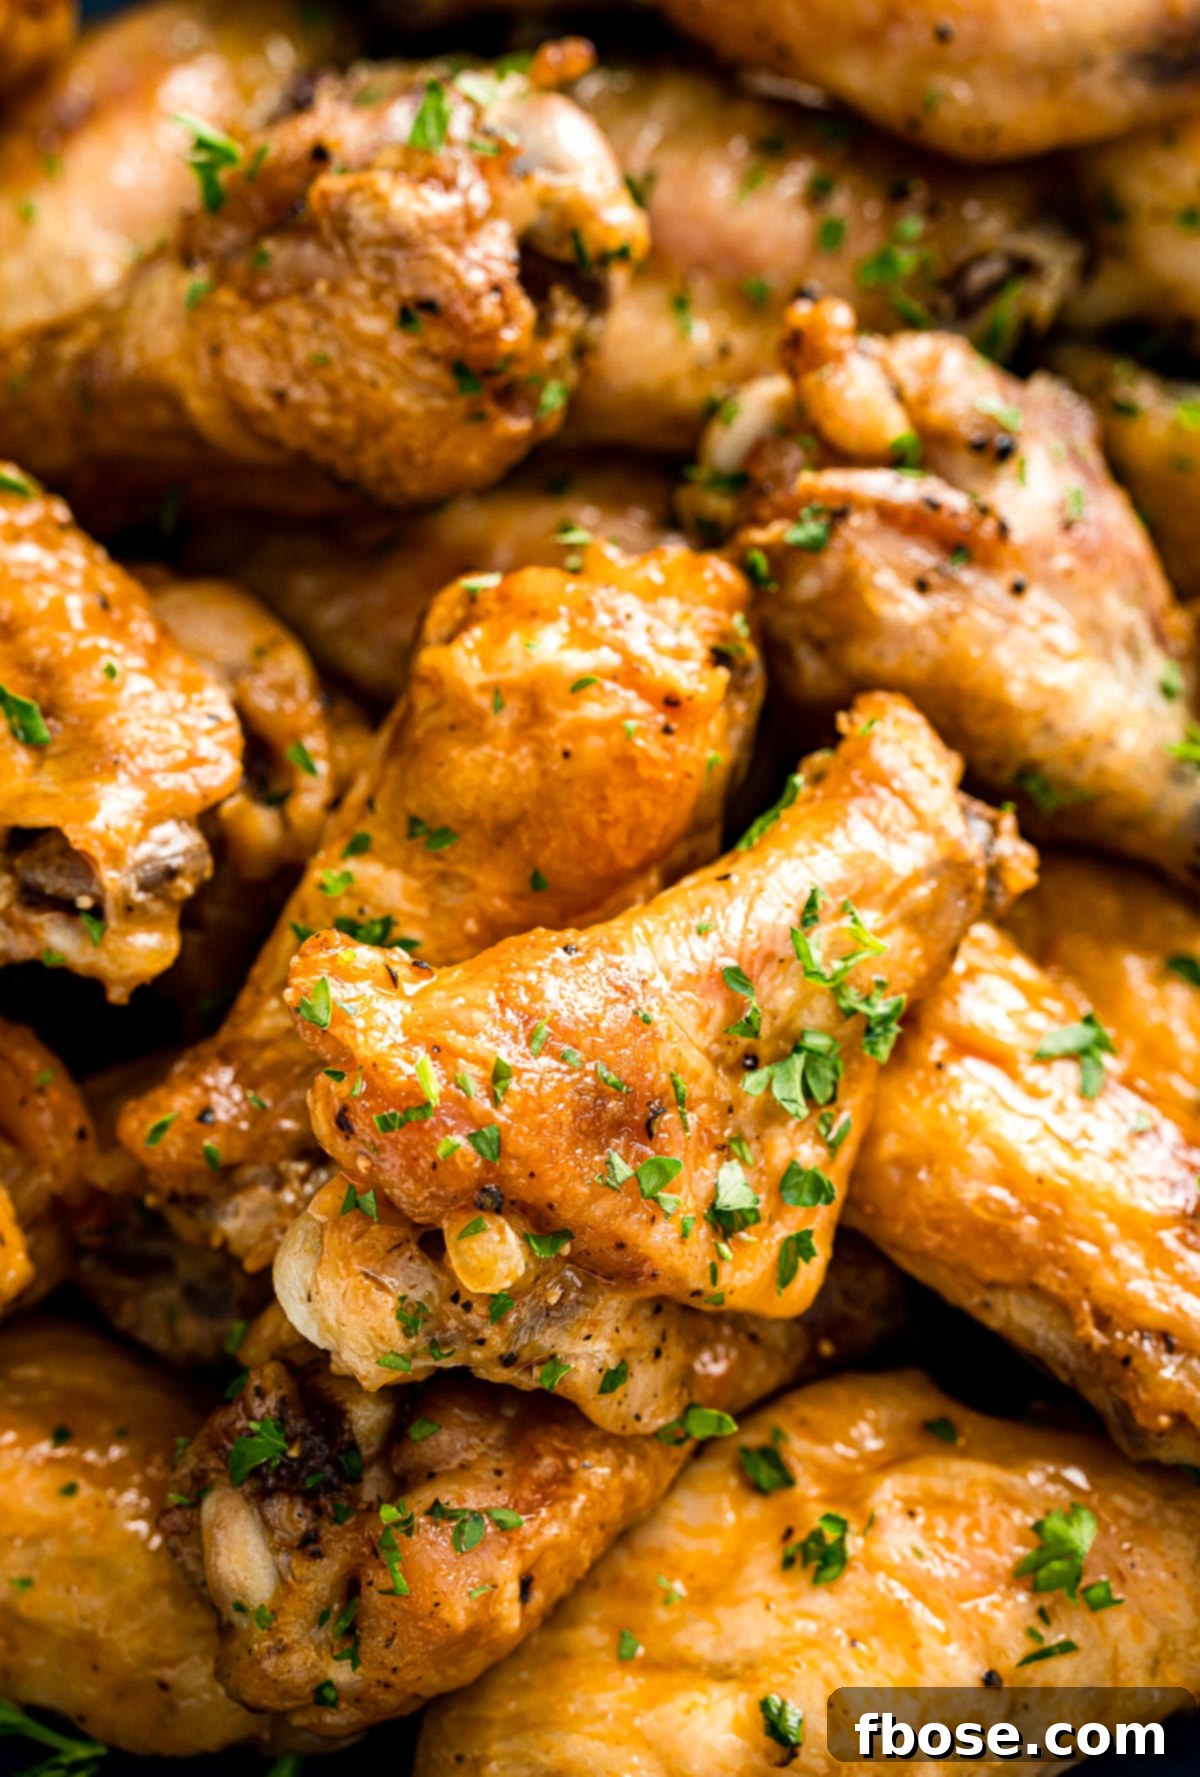
The internet is overflowing with recipes for baked chicken wings, each promising the crispiest results. However, many of these recipes tend to overcomplicate things with unnecessary steps and ingredients – parboiling, adding baking powder, or using various marinades before baking. While some methods have their merits, I believe simplicity often yields the best results. My approach cuts through the noise, focusing on core techniques that maximize crispiness without the fuss. You’ll be amazed at how a few fundamental adjustments can transform basic chicken wings into a culinary triumph.
Skip the unnecessary pre-cooking, the questionable chemical crisping agents, and all the other complicated extras. This easy method for baking chicken wings in the oven is designed for efficiency and deliciousness. By focusing on essential steps like proper moisture removal and precise temperature control, you’ll be sinking your teeth into incredibly crispy, tender baked wings in no time. It’s a game-changer for anyone who loves wings but prefers a healthier, less laborious cooking method.
💡 Essential Tips for Perfectly Crispy Baked Chicken Wings
Achieving truly crispy baked chicken wings isn’t a secret, but rather a science. It boils down to a few key techniques that work together to transform soft chicken skin into a shatteringly crisp shell. Master these simple tips, and you’ll consistently produce wings that rival their deep-fried counterparts in texture and flavor.
Reduce Moisture is Paramount: This is arguably the most critical step for crispy wings. Excess moisture on the chicken’s surface will turn into steam during baking, essentially steaming the skin instead of crisping it. Think of it like trying to fry wet bacon – it just doesn’t get as crispy. To combat this, thoroughly pat down your wings with paper towels before seasoning. Don’t just dab; press firmly to absorb as much surface liquid as possible. For even better results, some chefs recommend letting the patted-dry wings air-dry uncovered in the refrigerator for an hour or two (or even overnight) to further dehydrate the skin. This extra step, while optional, significantly boosts crispiness.
Always Choose Fresh Wings: While frozen chicken wings are convenient, they often contain more inherent moisture, which is released as they thaw. This added liquid makes it significantly harder to achieve that desired crispy skin. Fresh wings typically have less initial moisture, giving you a head start on the drying process and a much better chance at perfect crispiness. If you must use frozen, ensure they are fully thawed and then rigorously patted dry – you’ll need to be extra diligent in moisture removal.
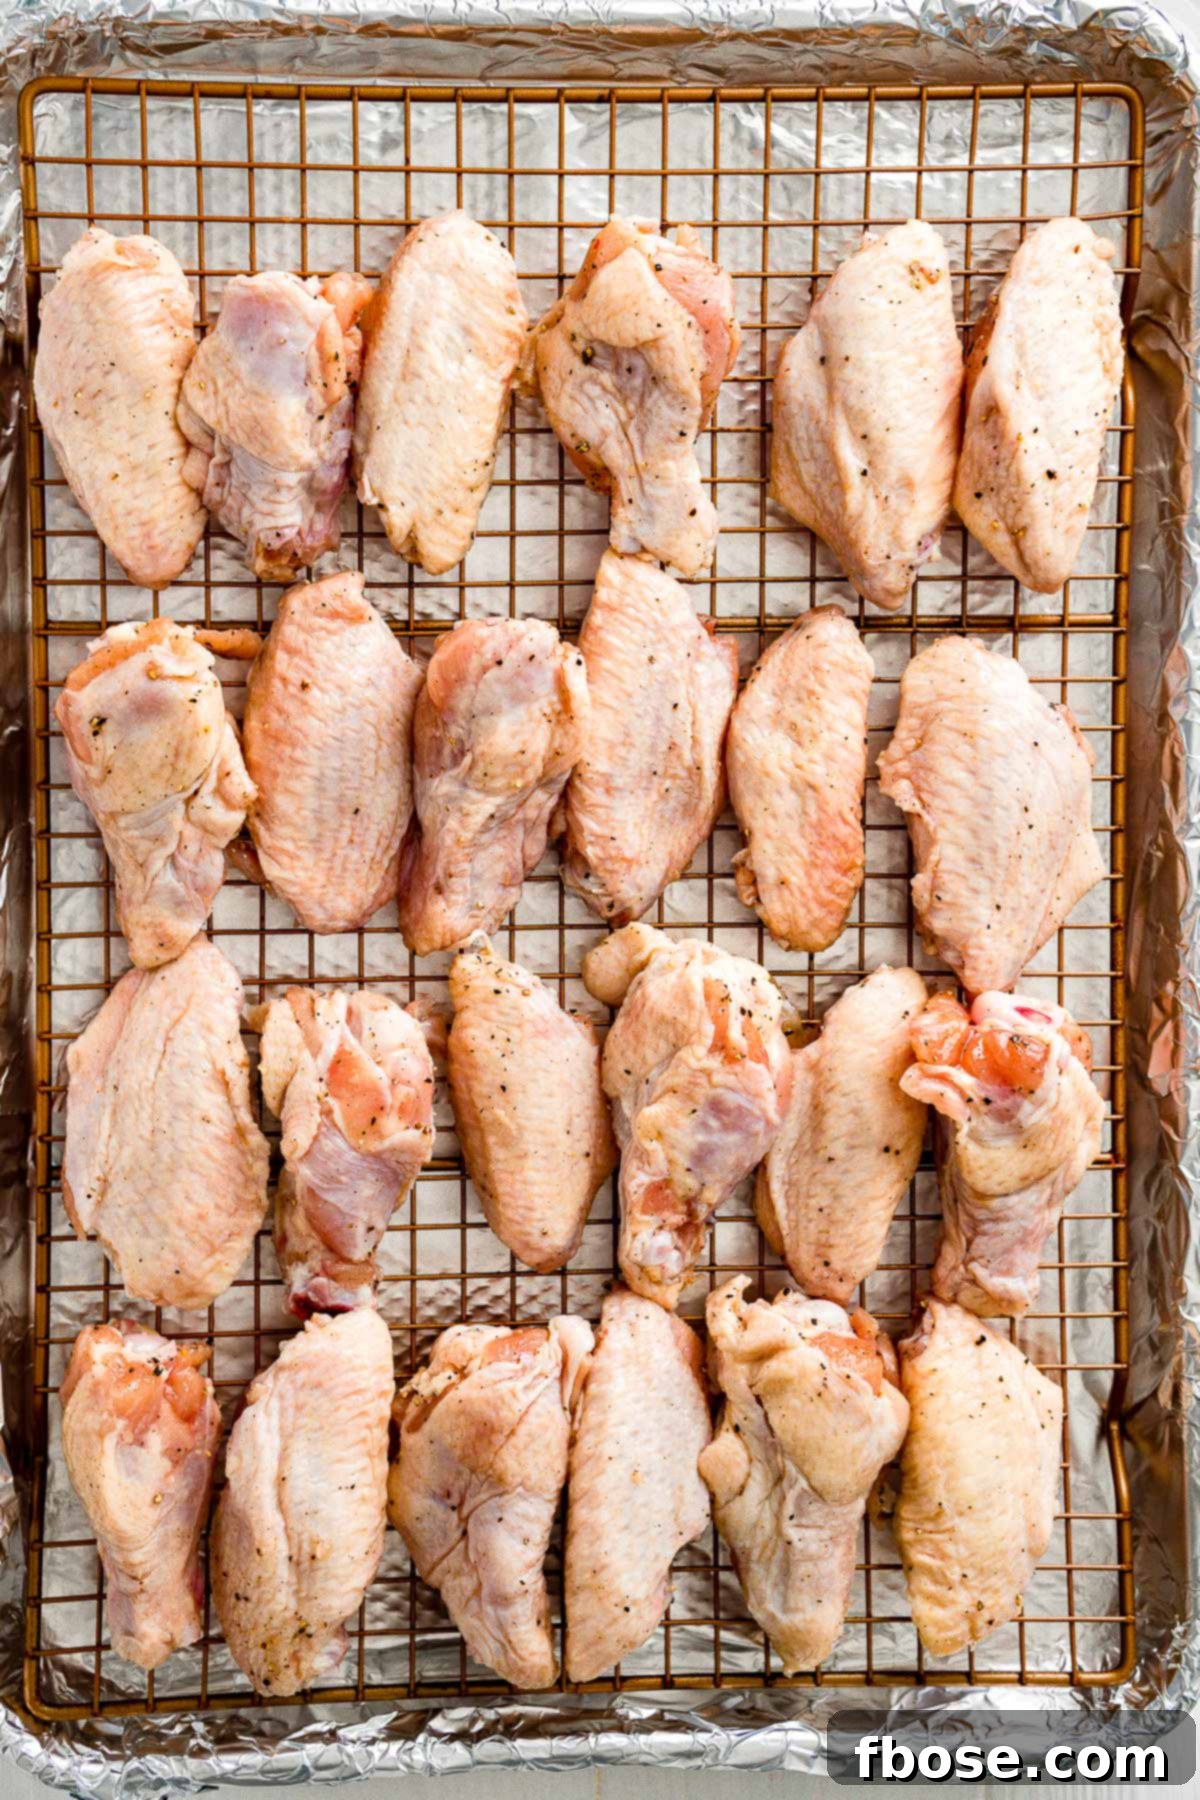
The Wire Rack and Baking Sheet Combo is Non-Negotiable: Baking chicken wings directly on a flat pan is a common mistake that leads to soggy bottoms. When wings sit directly on a baking sheet, the underside steams in its own juices and rendered fat, preventing it from crisping. A wire rack, placed over a foil-lined baking sheet, is essential. This setup allows air to circulate completely around each wing, promoting even cooking and crisping on all sides. It also lets rendered fat drip away, ensuring the skin crisps up rather than frying in its own grease. This is the same principle applied when you bake bacon for optimal crispiness. Investing in a good quality baking sheet and wire rack combo specifically for this purpose is highly recommended.
Master the Low & High Heat Method: This two-stage baking process is crucial for crispy, tender wings. Starting at a lower temperature (like 300°F) for the initial phase allows the chicken fat to slowly render out without burning the skin. This rendering process is essential for achieving a truly crispy texture. Once the fat has rendered sufficiently, increasing the oven temperature to a higher heat (425°F) for the latter half of baking then rapidly crisps up the skin, giving it that golden-brown, irresistible crunch. This method ensures the meat stays juicy while the skin becomes perfectly crisp.
Aluminum Foil for Effortless Cleanup: While it doesn’t directly impact the crispiness of the wings, lining your baking sheet with aluminum foil before placing the wire rack on top is a brilliant hack for easy cleanup. As the fat renders and drips off the wings, it collects on the foil, preventing stubborn baked-on grease from adhering to your pan. This simple step will save you considerable scrubbing time after your delicious meal.
Don’t Skip the Cooking Spray: Even though your chicken wings will be coated in oil, a light spray of cooking spray on the wire rack is an extra layer of protection against sticking. As the chicken cooks and crisps, it can sometimes adhere to the rack, making removal difficult and potentially tearing the skin. A quick mist of cooking spray ensures your perfectly crispy wings lift off cleanly every time. Better safe than sorry, amirite?
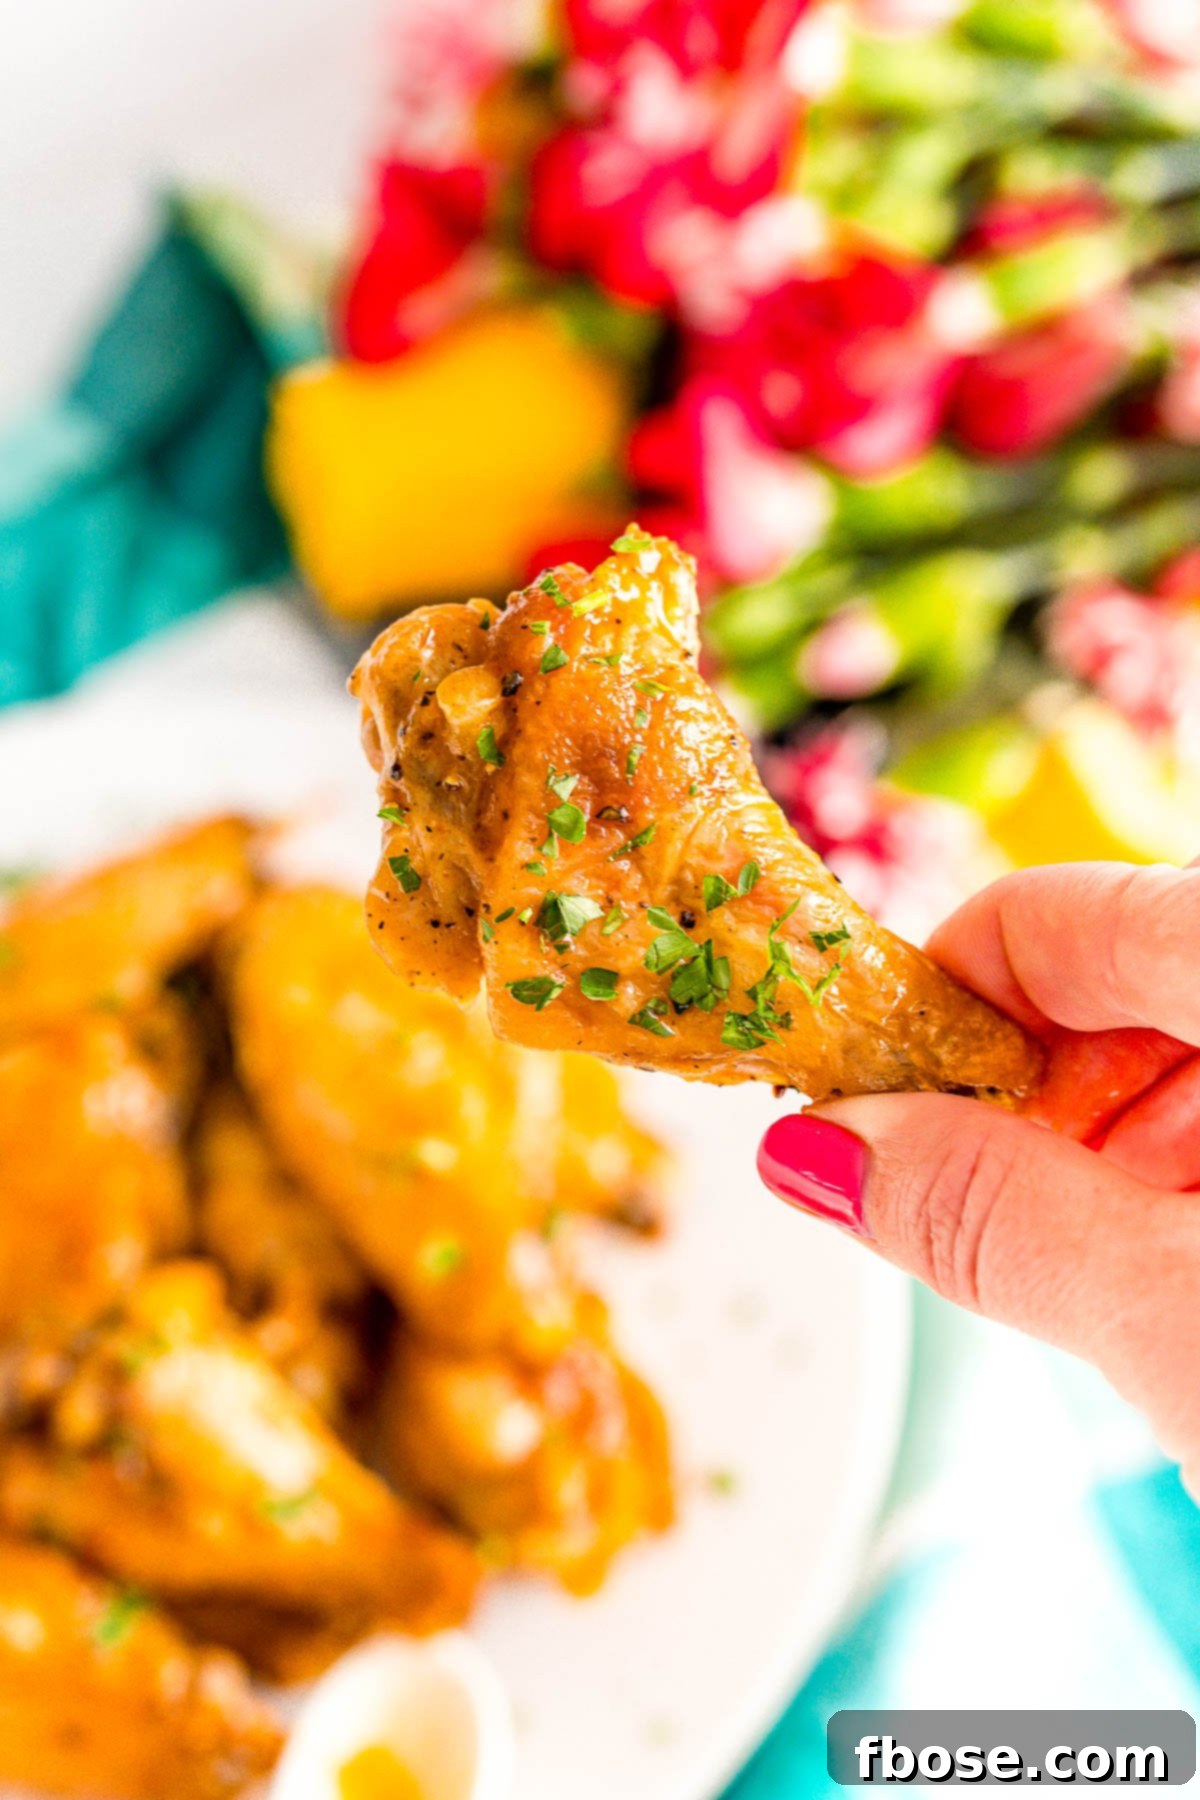
👩🍳 Your Step-by-Step Guide: How To Bake Chicken Wings to Perfection
Following these steps will ensure you produce fantastic, crispy baked chicken wings without unnecessary complications. Precision in prep and temperature management are your keys to success!
- Prepare Your Oven and Wings: Begin by preheating your oven to 300 degrees F (150°C). As the oven heats, unpackage your chicken wings and drumettes. Using an abundance of paper towels, thoroughly pat down each wing piece. The goal is to remove as much surface moisture as possible to promote crispiness. Don’t be shy – squeeze and dab until the wings feel quite dry to the touch.
- Season and Coat: Transfer the dried wings to a large mixing bowl. I personally adore these bowls with lids, as they make tossing incredibly easy and mess-free. Drizzle the wings generously with vegetable oil, then season them with salt and pepper. Toss everything together vigorously until every piece is evenly coated in the oil and seasonings. This ensures flavor in every bite and helps with crisping.
- Set Up Your Baking Station: Line a large baking sheet with aluminum foil for easy cleanup. On top of the foil, place a sturdy wire rack. This critical setup allows for proper air circulation around the wings.
- Arrange for Crispiness: Lightly spray the wire rack with cooking spray. This prevents the wings from sticking as they crisp up. Carefully arrange the seasoned chicken wings in a single layer on the wire rack, ensuring they are not overcrowded and no pieces are touching. Give each wing its space for optimal heat exposure and crisping.
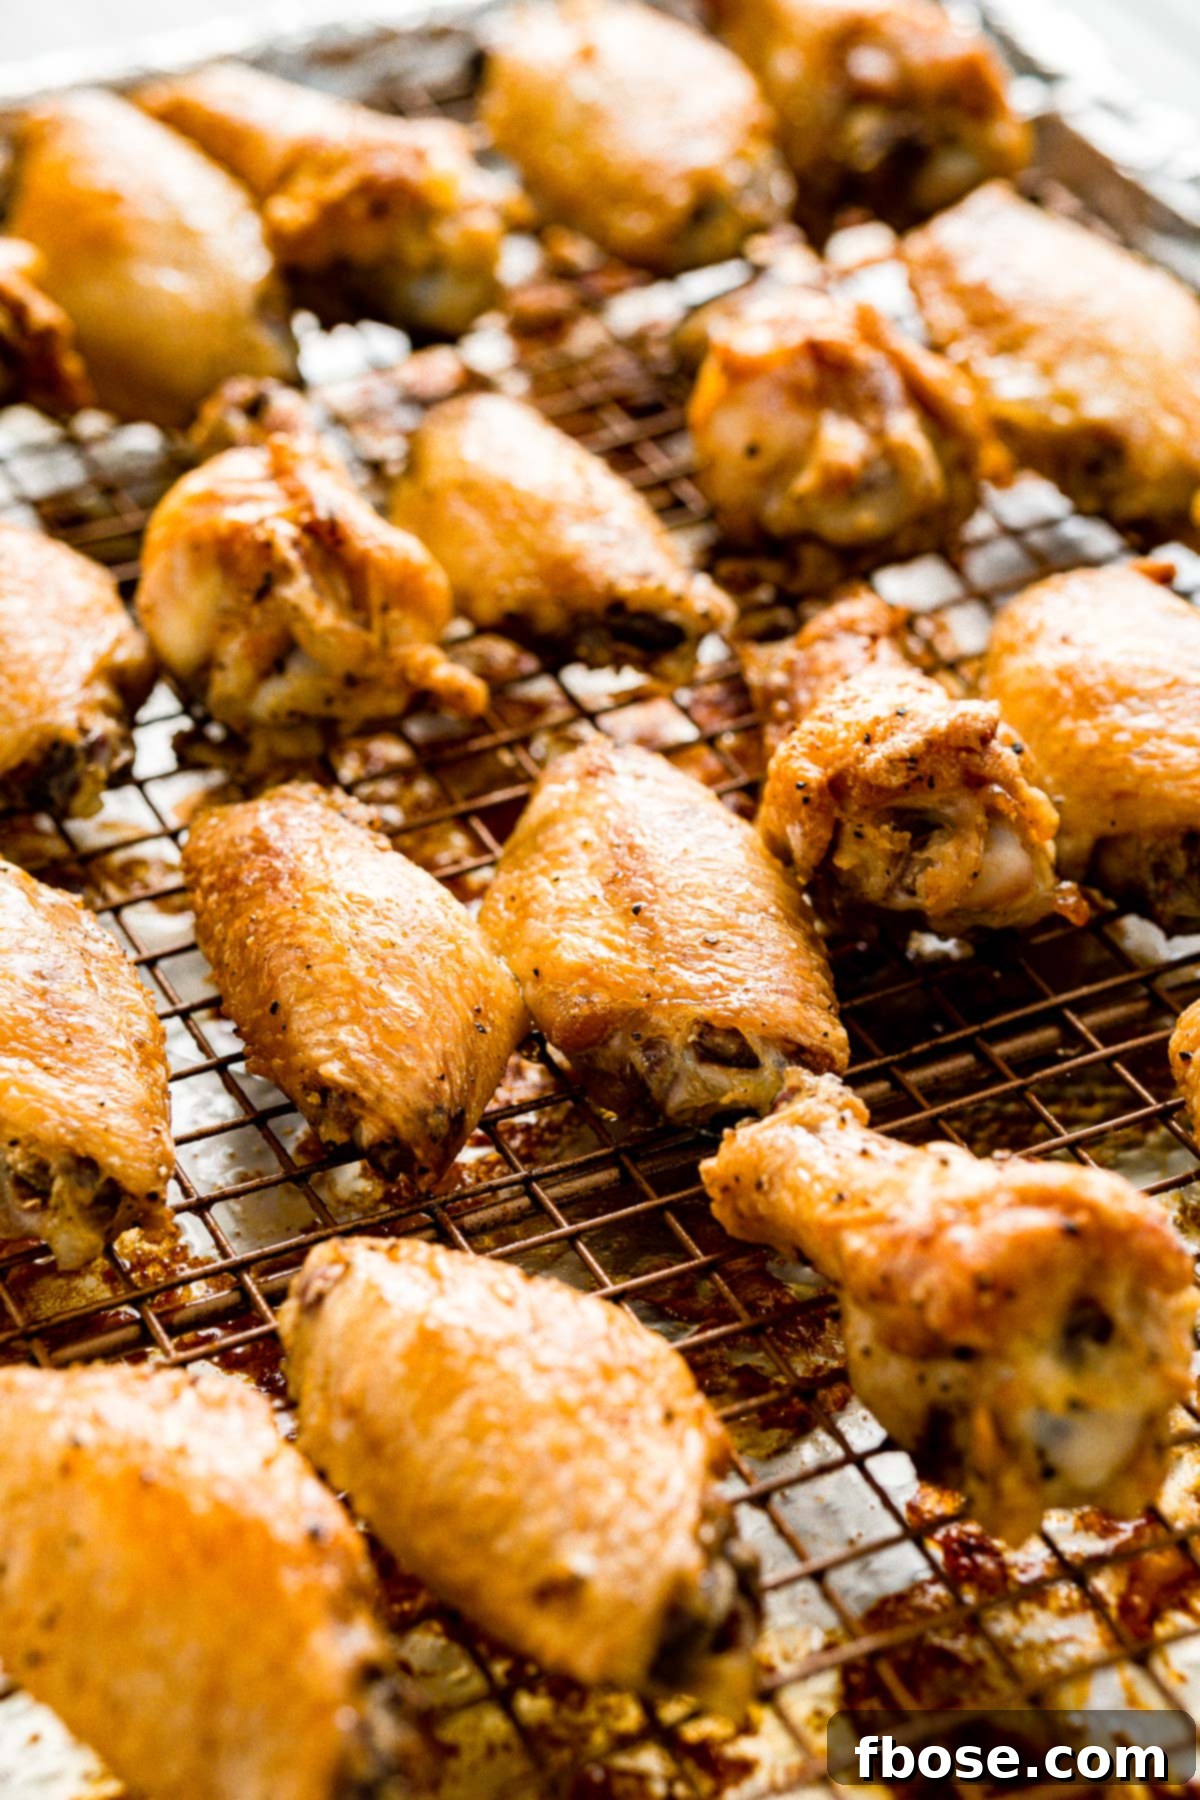
- Two-Stage Baking: Place the baking sheet with the wings into the preheated 300°F oven. Bake at this low temperature for 30 minutes. This phase is crucial for rendering the fat. After 30 minutes, increase the oven temperature to 425 degrees F (220°C) without removing the wings. Continue baking for another 30 minutes, or until the wings are golden brown and wonderfully crispy.
- Sauce Preparation: While your wings are in their final crisping stage, prepare your sauce of choice. Whether it’s the Hot Honey Lemon Pepper or Buffalo sauce, simply heat the ingredients in a small saucepan over low heat until they are warmed through and slightly reduced, creating a perfect coating consistency.
- Toss and Serve: Once the wings are perfectly crispy and golden, remove them from the oven. Immediately transfer the hot wings to a clean, large bowl. Pour your prepared sauce over the wings and toss gently until each wing is thoroughly coated. Serve these delicious, sauced wings immediately for the best crispy-on-the-outside, tender-on-the-inside experience.
It’s important to manage expectations: these wings won’t have the heavy, battered crunch of deep-fried chicken wings (which often rely on a buttermilk coating). However, the skin will develop a beautiful, satisfying crunch and a delightful snap when you bite into them, offering a much healthier and less greasy alternative. If you’re interested in exploring other cooking methods for wings, I also highly recommend trying my Air Fryer Chicken Wings recipe, which features a fantastic sweet and spicy sauce!
⏲️ Optimized Bake Time for Maximum Crispiness
The total baking time for these chicken wings is approximately 1 hour, strategically divided into two distinct temperature phases. This dual-temperature approach is the cornerstone of achieving that ideal crispy skin while keeping the meat juicy and tender. You’ll start with 30 minutes at a lower heat (300°F) to render the fat, followed by 30 minutes at a higher heat (425°F) to crisp the skin. It’s absolutely essential to remember to make this temperature adjustment halfway through the cooking process. After a full hour, your wings should boast a beautiful, deep golden-brown hue and feel firm and crispy to the touch. To ensure doneness, the internal temperature of the thickest part of the wing should reach 165°F (74°C). While a meat thermometer provides the most accurate reading, visual cues like rich color and visibly rendered, crisp skin are strong indicators of perfection.
🍗 Delicious Serving Ideas to Complement Your Wings
Chicken wings are incredibly versatile, making them the perfect appetizer for any occasion, but they can just as easily be transformed into a satisfying meal. Here are some fantastic serving ideas to elevate your wing experience:
- Classic Comfort: Pair your wings with a side of crispy french fries or a generous portion of sweet potato fries for a quintessential comfort food meal.
- Sauce It Up (or Keep it Simple): If you opt for my signature Hot Honey Lemon Pepper Wings, they are often perfect as is, bursting with sweet, spicy, and tangy notes. If you’ve never experienced the magic of Hot Honey, you’re truly missing out on a unique flavor sensation that takes wings to a new level!
- Dipping Delights: For classic buffalo wings, whether made with my homemade sauce recipe or another favorite hot sauce, creamy dips are a must. Offer a cooling Ranch dressing or a tangy, rich Blue Cheese Dip to balance the heat.
- Plain & Perfect: If you keep your wings simply seasoned with just salt and pepper, they are wonderfully adaptable. I highly recommend serving them with my homemade Maple Mustard Dipping Sauce for a sweet and savory kick. Other great options include a classic BBQ sauce, a zesty garlic aioli, or even a spicy sriracha mayo.
- Fresh Sides: Balance the richness of the wings with fresh vegetable sticks like celery and carrots, or a crisp garden salad with a light vinaigrette. These add a refreshing contrast and a healthy element to your meal.
- Hearty Pairings: For a more substantial meal, consider serving your wings with creamy coleslaw, a vibrant pasta salad, or even a simple side of fluffy white rice to soak up all the delicious sauce.
♨️ The Best Way to Reheat Your Crispy Wings
Reheating chicken wings can be tricky, as the goal is always to restore their original crispiness without drying out the meat. Do yourself a huge favor and **never reheat wings in the microwave**. The microwave’s uneven heating and steaming effect will inevitably leave you with soggy, rubbery, and unappetizing results. The best methods for reheating are those that mimic the initial baking process, utilizing dry heat.
Reheating in the Oven (Recommended Method):
- Preheat your oven to 350 degrees F (175°C).
- Arrange your leftover wings in a single layer on a parchment-lined baking sheet. Allow them to sit at room temperature for about 15 minutes before baking; this helps them reheat more evenly.
- Bake for 5 to 6 minutes. Then, flip the wings over to ensure even crisping on both sides.
- Continue baking for another 5 to 6 minutes, or until the wings are heated through and the skin has regained its crisp texture. Keep a close eye on them to prevent over-drying.
Reheating in an Air Fryer (Excellent Alternative for Small Batches):
- Preheat your air fryer to 375-400 degrees F (190-200°C).
- Place the wings in a single layer in the air fryer basket, making sure not to overcrowd them. Work in batches if necessary.
- Cook for 4-6 minutes, flipping halfway through, until thoroughly heated and crispy. The air fryer excels at bringing back that coveted crunch.
By using these methods, you can enjoy your delicious baked chicken wings all over again, retaining their fantastic crispy texture and juicy interior.
There you have it – everything you need to know about how to bake chicken wings to achieve perfectly crispy skin, tender, juicy meat, and a burst of flavor from your favorite sauces. This recipe is simple, effective, and guaranteed to become a go-to in your kitchen. Enjoy the satisfaction of making incredible wings without the deep-fryer hassle!
🐔 More Delicious Chicken Recipes to Explore
- Flavorful Ranch Chicken
- Zesty Salsa Chicken
- Aromatic Roasted Garlic Chicken
- Easy Crispy Baked Chicken Nuggets
Did You Make This Recipe?
If you’ve tried this recipe for crispy baked chicken wings, please take a moment to leave a review in the comments below. Your feedback is invaluable, and I truly love hearing from you! Don’t forget to tag me – @sugarandsoulco – on Instagram and Pinterest with your photos, or join our Sugar & Soul Show-offs Community and share your culinary creations there.
TikTok
Baked Chicken Wings
Author: Rebecca Hubbell
Course: Appetizer
Cuisine: American
Prep Time: 15 minutes
Cook Time: 1 hour
Total Time: 1 hour 15 minutes
Servings: 24 wings
Baked Chicken Wings are seasoned with oil, salt, and pepper and baked with a simple method that yields crispy results without the hassle of deep-frying!
Ingredients
Wings
- 5 lbs chicken wings (about 24 wings)
- 2 tablespoons vegetable oil
- 1½ teaspoons kosher salt
- 1 teaspoon ground black pepper
Hot Honey Lemon Pepper Sauce
- 6 tablespoons Hot Honey
- ¾ teaspoon lemon juice
- ¾ teaspoon ground black pepper
Buffalo Sauce
- 1 tablespoon melted butter
- ¼ cup hot sauce
- 1 tablespoon apple cider vinegar
- 1 teaspoon honey
Instructions
- Preheat the oven to 300°F (150°C). Open the package of wings and use paper towels to thoroughly pat dry and remove as much water out of the wings as possible. This step is crucial for crispy skin.
- Then, add the dried wings to a large bowl with vegetable oil, salt, and pepper. Toss vigorously until every wing piece is fully coated.
- Line a large baking sheet with aluminum foil. Place a wire rack on top of the foil-lined baking sheet.
- Spray the wire rack with cooking spray to prevent sticking. Arrange the seasoned wings in a single layer on the rack, ensuring adequate space between each piece for even air circulation.
- Bake at 300°F (150°C) for 30 minutes. After this initial phase, increase the oven temperature to 425°F (220°C) and bake for another 30 minutes, or until the wings are deeply golden brown and crispy.
- While the wings are cooking, prepare your sauce of choice. For both the Hot Honey Lemon Pepper and Buffalo sauce recipes listed, simply combine the ingredients in a small saucepan and heat gently until warmed through and slightly reduced.
- Remove the crispy wings from the oven. Transfer them to a clean bowl, pour your chosen sauce over them, and toss to coat completely. Enjoy immediately for optimal crispiness and flavor.
Notes
- Using fresh wings is recommended as they contain less initial moisture, which contributes to a crispier result.
- Removing as much moisture from the chicken’s surface as possible before baking is key. Excess water creates steam, preventing the skin from crisping. Thoroughly patting down the wings with paper towels is essential.
- Lining your baking pan with aluminum foil before adding the wire rack will significantly simplify cleanup by catching rendered fat and juices.
- Baking wings directly on a pan can lead to soggy bottoms. A wire rack allows air to circulate around all sides of the wings, facilitating crispiness and letting fat drip away. The baking sheet and wire rack combo mentioned is highly effective.
- Even with oil on the wings, spraying the wire rack with cooking spray is a crucial step to prevent the wings from sticking as they cook and crisp.
- The two-stage baking process is vital: low heat initially (300°F) renders fat and slowly cooks the meat, while high heat subsequently (425°F) crisps the skin to perfection.
- Nutritional information provided is an estimate and does not include the sauce. The Hot Honey Sauce adds approximately 16 calories per wing, and the Buffalo Sauce adds about 5 calories per wing.
- To Reheat Wings: Preheat your oven to 350°F (175°C). Place cold wings on a parchment-lined baking sheet and let them sit at room temperature for 15 minutes. Bake for 5-6 minutes, then flip and bake for another 5-6 minutes, until hot and crispy again.
Nutrition
Calories: 124kcal | Carbohydrates: 1g | Protein: 9g | Fat: 9g | Saturated Fat: 3g | Cholesterol: 39mg | Sodium: 183mg | Potassium: 80mg | Fiber: 1g | Sugar: 1g | Vitamin A: 75IU | Vitamin C: 1mg | Calcium: 6mg | Iron: 1mg
Did You Make This Recipe?
Don’t forget to share your experience with me on Instagram @sugarandsoulco and follow for more delicious inspiration on Tiktok @sugarandsoulco and Pinterest @sugarandsoulco!
Pin Recipe
Share Recipe