

Welcome to a delightful world where classic treats get an exciting chocolatey upgrade! These incredibly easy-to-make, no-bake Cocoa Pebbles Treats are a fun, nostalgic twist on everyone’s beloved marshmallow squares. If you grew up cherishing the crispy, chewy goodness of original Rice Krispies Treats, prepare to fall in love all over again with this cocoa-infused version. Perfect for busy weeknights, impromptu gatherings, or simply satisfying a sweet craving, this recipe promises delicious results with minimal effort. Get ready to dive into the ultimate chocolate marshmallow experience that will have both kids and adults asking for more!
Whether you’re a long-time fan of Cocoa Pebbles or just discovering the magic of chocolate-flavored cereal in a treat, this recipe is a game-changer. It takes the familiar comfort of marshmallow-bound cereal squares and elevates it with a rich cocoa flavor. For those who prefer a slightly airier texture, feel free to substitute Cocoa Krispies, creating equally irresistible Cocoa Rice Krispies Treats. This versatile dessert is not only quick to prepare, requiring just four simple ingredients and less than 10 minutes of active time, but it also delivers consistently crispy, delightfully chewy, and perfectly marshmallowy squares every single time. It’s the ideal snack for lunchboxes, after-school bites, holiday platters, or any celebration where a crowd-pleasing dessert is a must!
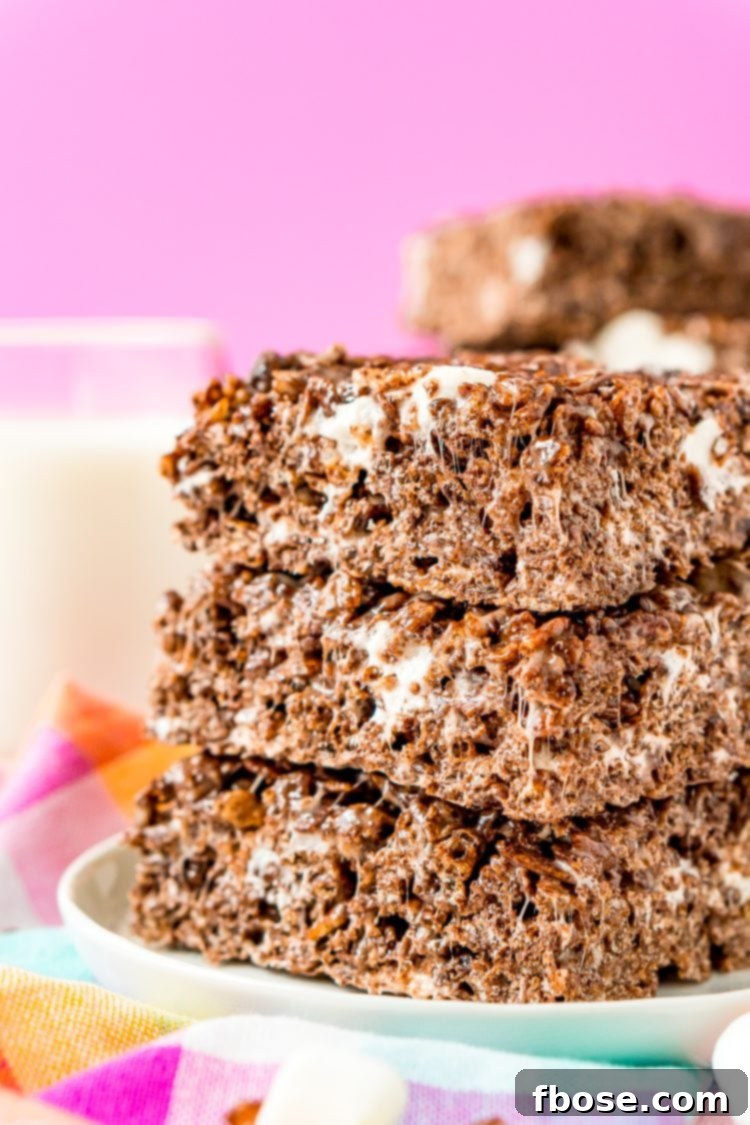
Why You’ll Love These No-Bake Cocoa Pebbles Treats
There are countless reasons why these Cocoa Pebbles Treats deserve a permanent spot in your recipe collection. First and foremost, they are incredibly simple to make. With just four ingredients and a quick preparation time, they’re perfect for beginner bakers or anyone looking for a hassle-free dessert. No oven is required, making them ideal for hot summer days or when you just don’t want to heat up your kitchen.
Beyond their ease, these treats offer a delightful combination of textures and flavors. The Cocoa Pebbles provide a wonderful crispness and a satisfying chocolate flavor, perfectly balanced by the sweet, gooey chewiness of melted marshmallows. The hint of vanilla extract ties everything together, creating a well-rounded and irresistible snack.
These treats are also incredibly versatile and customizable. You can easily adapt them to suit different dietary needs or experiment with various add-ins to create unique flavor combinations. They are a fantastic option for parties, potlucks, lunchbox fillers, or as a special indulgence for your family any day of the week. Plus, their vibrant appearance makes them a fun and attractive addition to any dessert spread.
Essential Ingredients for Your Chocolatey Delight
Crafting these delectable Cocoa Pebbles Treats requires only a handful of readily available ingredients. The beauty lies in their simplicity, allowing the classic flavors to shine through.
- Salted Butter: Good quality butter is key to achieving that rich, smooth base. The salt in salted butter subtly enhances the chocolate flavor of the cereal and balances the sweetness of the marshmallows. If you only have unsalted butter, you can add a small pinch (about 1/4 teaspoon) of fine sea salt to the melted butter and marshmallow mixture.
- Mini Marshmallows: These are the magical binder that brings everything together, creating that signature gooey and chewy texture. Mini marshmallows melt more quickly and evenly than larger ones, making the process smoother. The recipe calls for 10 cups, divided – 8 cups for melting to create the binder and 2 cups added at the end to provide pockets of unmelted, pillowy marshmallow texture throughout the treats.
- Cocoa Pebbles Cereal: The star of the show! Cocoa Pebbles provide the distinct chocolate flavor and a crisp texture that holds up beautifully. This cereal is naturally gluten-free, which is a great bonus for those with dietary restrictions.
- Vanilla Extract: A touch of pure vanilla extract enhances the overall flavor profile, adding warmth and depth that complements both the chocolate and the marshmallow. Don’t skip this ingredient, as it truly elevates the taste.
Crafting Your Perfect Cocoa Pebbles Treats: A Step-by-Step Guide
Making these treats is a breeze, but a few simple tips will ensure perfect results every time. Follow these detailed steps for gooey, crispy perfection:
Step 1: Prepare Your Baking Dish
Begin by lining a 9×13-inch baking dish with aluminum foil. This crucial step prevents sticking and makes it incredibly easy to remove and cut your treats once cooled. Once lined, lightly spray the entire surface of the foil with a non-stick cooking spray. Ensure good coverage, especially in the corners, to prevent any sticky situations later. Set the prepared pan aside.
Step 2: Melt Butter and Marshmallows
In a large, heavy-bottomed saucepan or pot, melt the 8 tablespoons of salted butter over low heat. It’s important to keep the heat low to prevent the butter from browning or burning, which can affect the flavor of your treats. Once the butter has completely melted, add in 8 cups of the mini marshmallows. Continue to stir the mixture constantly with a rubber spatula or a wooden spoon. Stirring ensures that the marshmallows melt evenly and don’t stick to the bottom of the pan. Keep stirring until the butter and marshmallows have fully melted and blended into a smooth, gooey, uniform mixture. Remove the pan from the heat immediately once melted.
Step 3: Combine with Cereal and Remaining Marshmallows
Working quickly after removing from heat, pour the 9 cups of Cocoa Pebbles cereal, the remaining 2 cups of mini marshmallows, and 1 teaspoon of vanilla extract into the melted marshmallow mixture in the saucepan. Gently but thoroughly stir all the ingredients together with your spatula or spoon. Continue to fold and stir until the cereal is completely and evenly coated with the melted marshmallow mixture, and the remaining mini marshmallows are just softened but not fully melted, providing delightful pockets of chewiness.
Step 4: Press into the Prepared Pan
Transfer the warm, sticky mixture into your prepared 9×13-inch baking dish. To press the mixture into the pan without it sticking to your hands, lightly spray your hands or a piece of wax paper with non-stick cooking spray. Gently and evenly press the mixture into the pan. **Do not press down too hard!** Over-compressing the mixture will result in hard, dense treats rather than the desired light and chewy texture. Aim for a gentle, even layer.
Step 5: Cool, Cut, and Serve
Once the mixture is evenly pressed into the pan, allow the treats to cool completely at room temperature. This usually takes about 20 minutes, or longer depending on your kitchen’s temperature. Resist the urge to refrigerate them, as this can make them too hard. Once cooled and set, use the aluminum foil overhang to lift the entire slab of treats out of the pan and onto a cutting board. Remove the foil and use a sharp, greased knife to cut the treats into 2-inch squares, yielding approximately 24 pieces. For the best flavor and texture, these Cocoa Pebbles Treats are best enjoyed on the same day they are made. However, they can be stored for later enjoyment.

Expert Tips for Perfect Cocoa Pebbles Treats
Achieving the perfect balance of crispy, chewy, and gooey requires a few simple considerations:
- Fresh Marshmallows Are Best: Always use fresh marshmallows. Older, stale marshmallows tend to become stiff and grainy when melted, which will negatively impact the texture of your treats.
- Low Heat is Your Friend: When melting the butter and marshmallows, maintain low heat. High heat can cause the marshmallows to become tough and rubbery once cooled. Patience here will pay off!
- Don’t Overmix the Cereal: Once the cereal is added, mix just until it’s evenly coated. Overmixing can crush the cereal, leading to a less satisfying texture.
- The Gentle Touch: As mentioned in the instructions, press the mixture into the pan very gently. Too much pressure will compact the cereal, resulting in hard, dense treats. A light touch ensures a perfectly chewy bite.
- Grease Your Tools: Non-stick spray is essential for your baking dish, your hands, and even your spatula to prevent the sticky mixture from adhering.
- Room Temperature Cooling: Allow the treats to cool and set completely at room temperature. Rushing the process by placing them in the refrigerator can make them overly hard and less enjoyable.
Customizing Your Cocoa Pebbles Treats: Endless Possibilities
While classic Cocoa Pebbles Treats are delicious on their own, they are also a fantastic canvas for creativity. Experiment with these ideas to make them uniquely yours:
- Other Cereal Varieties: The base recipe is incredibly adaptable to other cereals.
- Fruity Pebbles Treats: For a burst of fruity flavor and vibrant color, substitute Cocoa Pebbles with Fruity Pebbles cereal.
- Cap’n Crunch Treats: If you love a buttery, slightly nutty crunch, Cap’n Crunch cereal works wonderfully. Remember to reduce the butter by 2 tablespoons with this cereal for the best consistency.
- Classic Rice Krispies Treats: Of course, you can always revert to the tried-and-true original by using plain Rice Krispies cereal for a timeless snack.
- Chocolate Lucky Charms: For an extra dose of fun and colorful marshmallows, try using Chocolate Lucky Charms.
- Chocolate Boost: Stir in a half-cup of mini chocolate chips or chocolate chunks along with the cereal. A drizzle of melted milk chocolate or white chocolate over the cooled treats also adds an extra layer of decadence.
- Flavor Extracts: Beyond vanilla, consider adding a different extract for a unique twist. A few drops of peppermint extract for a festive treat, almond extract for a subtle nuttiness, or even a hint of coffee extract to deepen the chocolate flavor can be delightful.
- Sprinkles and Toppings: Before the treats set, press colorful sprinkles into the top for a celebratory look. Crushed candy canes, mini M&M’s, or chopped nuts can also be added for extra texture and flavor.
- Nut Butters: Swirl in a couple of tablespoons of peanut butter, almond butter, or Biscoff spread with the melted marshmallows for a richer, more complex flavor profile.
Dietary Considerations and Substitutions
Making delicious treats accessible to everyone is important. Here’s how you can adapt this recipe for specific dietary needs:
Are Cocoa Pebbles Treats Gluten-Free?
Good news for gluten-sensitive individuals! The wonderful thing about Cocoa Pebbles cereal is that it is explicitly labeled as gluten-free, making it an excellent choice for this recipe. However, if you opt for other cereal varieties, exercise caution. For instance, Cocoa Krispies, despite their name, are not gluten-free as they contain malt, which is derived from barley. Always double-check the labels of any cereal you choose.
Beyond the cereal, it’s crucial to ensure all other ingredients are also gluten-free. Most standard mini marshmallows are naturally gluten-free, but cross-contamination can occur during manufacturing. Look for marshmallows specifically labeled as gluten-free or those produced in a gluten-free facility. The same diligence applies to vanilla extract and butter – while typically safe, checking labels is always the safest approach to ensure your treats are truly celiac-friendly.
Are Cocoa Pebbles Treats Dairy-Free?
The traditional recipe calls for butter, which means it’s not dairy-free. However, making a dairy-free version is incredibly simple with a straightforward substitution. You can replace the 8 tablespoons of regular butter with an equal amount (4 tablespoons) of coconut oil or a high-quality plant-based butter alternative. Both options work beautifully, providing the necessary fat content and helping the marshmallows melt smoothly. As always, remember to read the labels of your other ingredients, especially marshmallows, to ensure they are free from any hidden dairy components.
Making Them Vegan
To make these treats entirely vegan, you’ll need to address both the dairy and marshmallow components. As mentioned above, replace the butter with coconut oil or a vegan butter substitute. For marshmallows, standard varieties typically contain gelatin, which is an animal-derived product. Fortunately, there are many excellent vegan marshmallow brands available on the market made with plant-based gelling agents. By using vegan marshmallows and a dairy-free butter alternative, you can create a delightful vegan version of these chocolatey no-bake treats.
Storage and Serving Suggestions
These Cocoa Pebbles Treats are best enjoyed fresh, but they can certainly be stored for a few days without losing their charm.
- Storage: Store the cooled and cut treats in an airtight container at room temperature. They will remain fresh and chewy for up to 2-3 days. Avoid refrigerating them, as this can make them hard and less enjoyable. If stacking, place parchment paper between layers to prevent sticking.
- Serving: These treats are perfect on their own as a snack or dessert. Serve them with a cold glass of milk for a classic pairing. They also make an excellent addition to dessert platters for parties, bake sales, or school events. For a fun presentation, you can skewer smaller pieces onto decorative sticks.
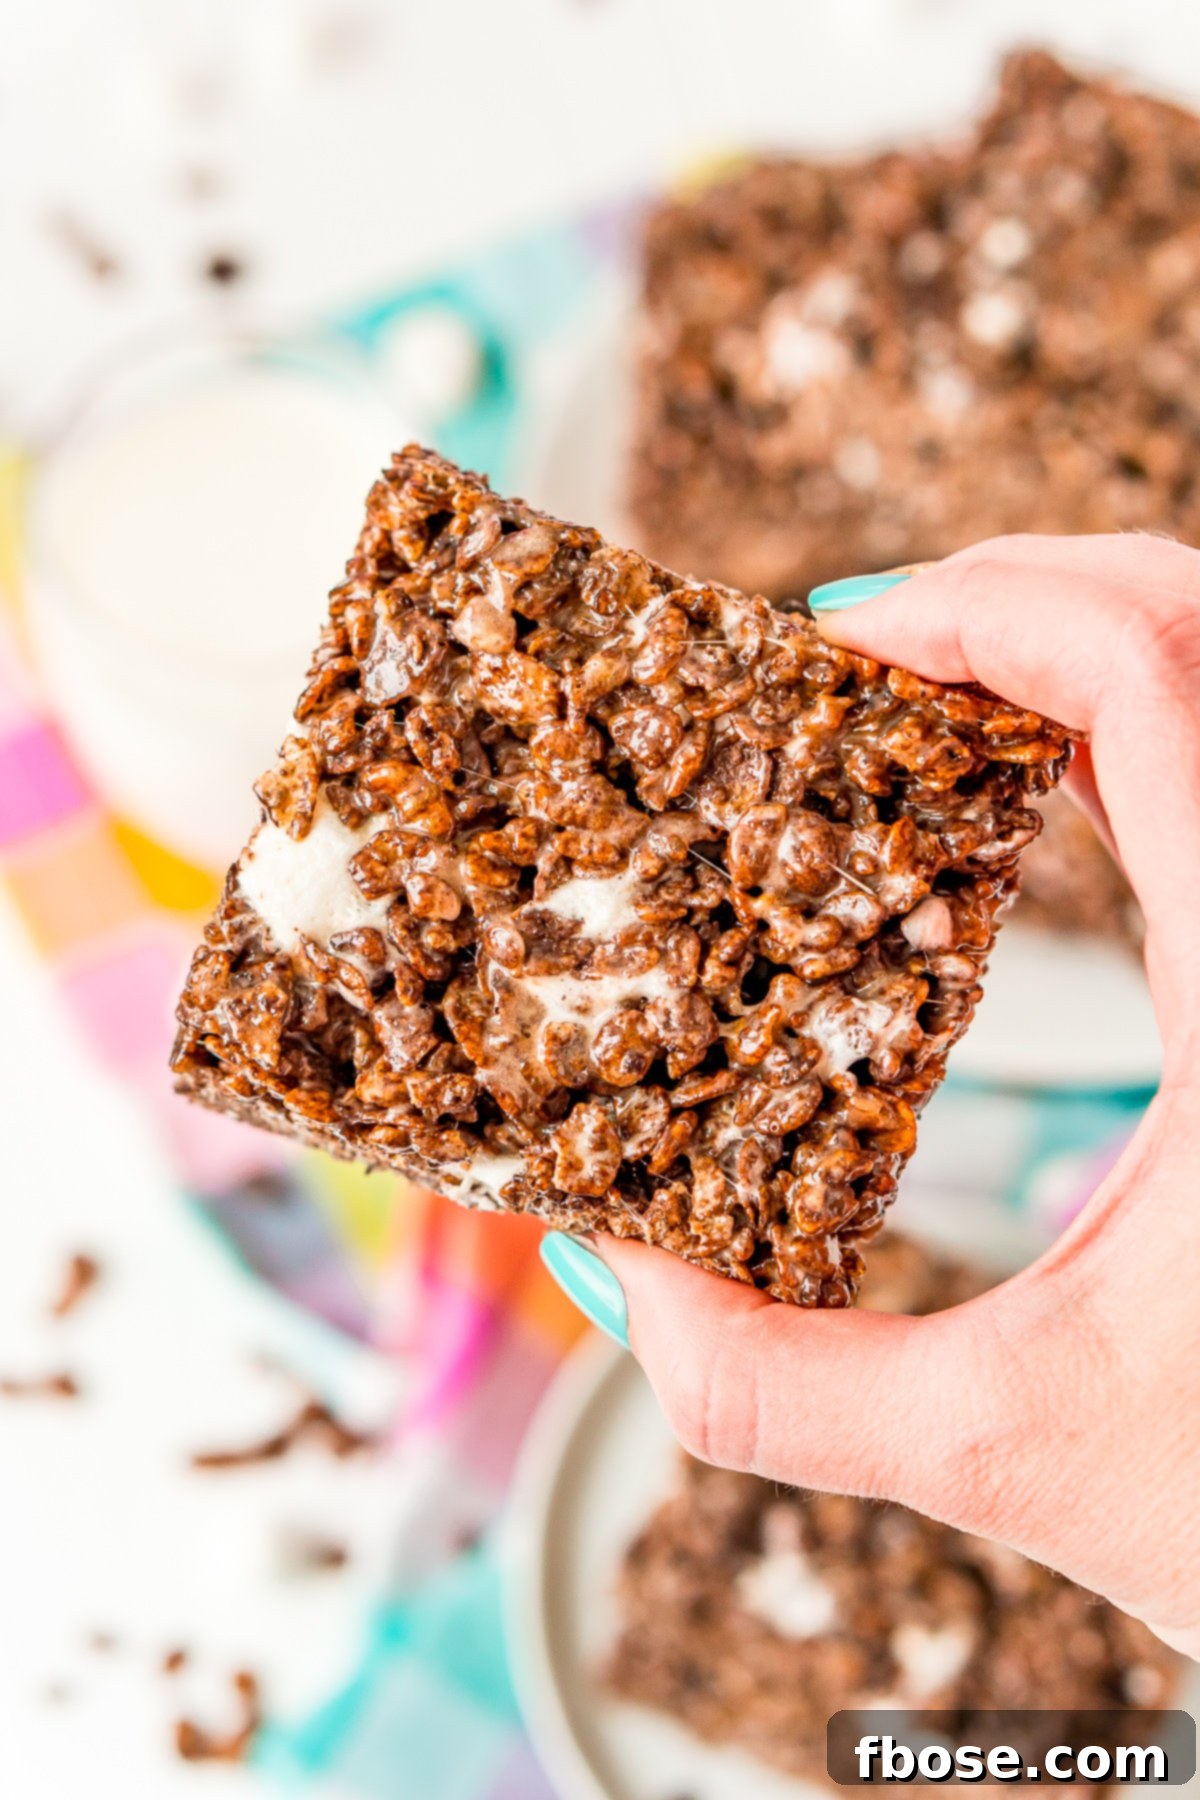
Yep, these treats are a true win-win: they’re super easy to make, require no baking, and everyone absolutely loves them! Whether you’re planning a party, need a quick dessert, or just want to treat your family to something special, whipping up a batch of Cocoa Pebbles Treats is always a fantastic idea. Their irresistible chocolatey flavor and perfect chewy-crispy texture make them an instant hit, guaranteed to bring smiles to faces. So go ahead, gather your ingredients, and create some sweet memories!
More Delicious No-Bake Recipes to Explore
If you’ve fallen in love with the ease and deliciousness of no-bake desserts, you’re in luck! There’s a whole world of quick and simple treats waiting for you. Here are some more delightful no-bake recipes to add to your repertoire:
- Peanut Butter No-Bake Cookies – A classic cookie with a rich peanut butter twist, perfect for any occasion!
- Golden Grahams S’mores Bars – Capture the flavors of a campfire s’more without the fire, an absolute hit for summer gatherings.
- Strawberry Jello Pie – Refreshingly fruity and incredibly simple to assemble, this pie is always a crowd-pleaser.
- Peanut Butter Pie – A truly indulgent and creamy dessert that’s surprisingly easy to make and utterly delicious.
- Strawberry Delight Dessert – A light, airy, and fruity layered dessert that’s sure to be a potluck favorite.
Let’s Connect and Share Your Creations!
If you’ve tried this delightful Cocoa Pebbles Treats recipe, please let me know how you liked it in the comments below. Your feedback is truly valued! And don’t forget to leave a review – it helps others discover these amazing treats too. I love hearing from you!
Don’t forget to tag me – @sugarandsoulco – on Instagram and Pinterest with your photos so I can see your delicious creations. You can also join our Sugar & Soul Show-offs Community and share them there, where you can also participate in our fun recipe challenges!
Cocoa Pebbles Treats
Author: Rebecca Hubbell |
Course: Dessert |
Cuisine: American
Prep Time: 2 minutes |
Cook Time: 5 minutes |
Cooling Time: 20 minutes |
Total Time: 27 minutes
Yields: 24 servings
These easy-to-make Cocoa Pebbles Treats put a chocolatey twist on everyone’s favorite marshmallow squares! You can make a similar version with Cocoa Krispies, too!
Ingredients
- 8 tablespoons salted butter
- 10 cups mini marshmallows, divided
- 9 cups Cocoa Pebbles Cereal*
- 1 teaspoon vanilla extract
Instructions
- Line a 9×13-inch baking dish with aluminum foil, spray the aluminum foil with nonstick cooking spray, and set aside.
- Melt the butter in a large pot over low heat. Once the butter has melted, add in 8 cups of the marshmallows and stir continuously with a rubber spatula or wooden spoon until the butter and marshmallows have completely melted and blended together.
- Remove from heat and add in the cereal, vanilla, and the remaining 2 cups of marshmallows. Stir gently until the cereal is evenly coated and the marshmallows are softened but still mostly whole.
- Transfer the mixture to the prepared baking dish. Lightly spray your hands with non-stick cooking spray and gently press the mixture into the pan. Do not press down too hard, or the treats will be hard and dense.
- Allow the treats to cool completely at room temperature for about 20 minutes. Once set, remove from the pan using the foil liner and slice into 24 pieces.
Notes
- Cereal Substitution: Cocoa Pebbles can be substituted for other Pebbles or Rice Krispies flavored cereals.
- For Dairy-Free: These treats are not dairy-free due to the butter. To make them dairy-free, replace the butter with 4 tablespoons of coconut oil or a plant-based butter alternative. Always read labels to ensure other ingredients are dairy-free.
- For Gluten-Free: Cocoa Pebbles cereal is labeled as gluten-free, however, Cocoa Krispies are not (they contain malt from barley). Ensure all marshmallows and other ingredients are certified gluten-free.
- For Vegan: Use vegan marshmallows and a dairy-free butter alternative (like coconut oil or vegan butter).
Nutrition (per serving, estimated)
- Calories: 153kcal
- Carbohydrates: 28g
- Fat: 4g
- Saturated Fat: 2g
- Cholesterol: 10mg
- Sodium: 134mg
- Potassium: 8mg
- Sugar: 17g
- Vitamin A: 455IU
- Vitamin C: 2.6mg
- Calcium: 4mg
- Iron: 0.8mg
Did You Make This Recipe?
Don’t forget to share it with me on Instagram @sugarandsoulco and follow on Tiktok @sugarandsoulco and Pinterest @sugarandsoulco for more delicious inspiration!
Pin Recipe
Share Recipe