

Festive Santa Hat Brownies: Your Ultimate Holiday Baking Guide
Embrace the festive spirit with these delightful Santa Hat Brownies! A truly simple and irresistibly cute recipe, perfect for creating cherished holiday memories with your family. Imagine rich, fudgy brownies generously topped with creamy buttercream frosting and crowned with a fresh, juicy strawberry. This dessert isn’t just a treat; it’s an experience!
Picture this: enjoying these enchanting brownies with a warm glass of Christmas Punch, perhaps while your little ones are busy filling out their Letters To Santa or getting creative with Christmas Coloring Pages. The holidays are all about those precious, simple moments that transform into the most treasured memories, and baking these festive brownies is a wonderful way to foster that magic.
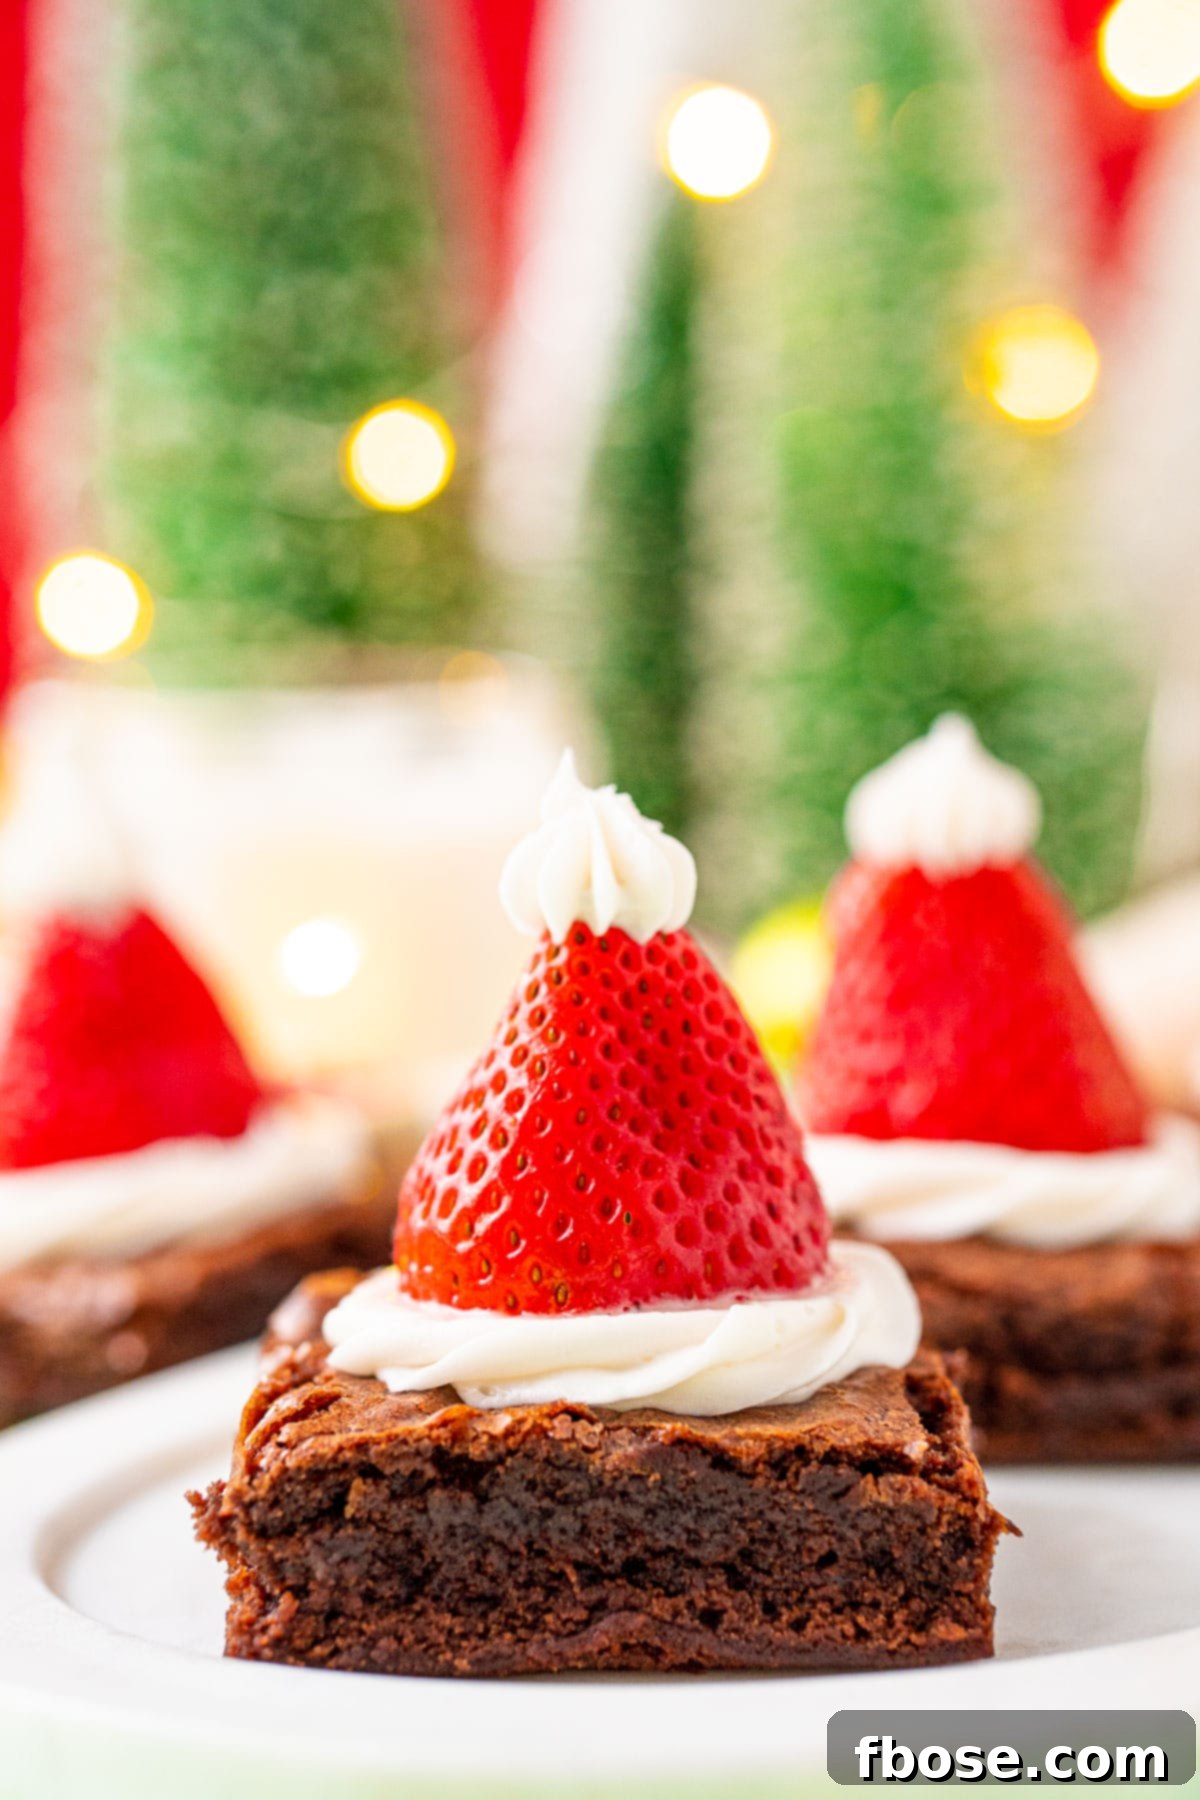
Why These Santa Hat Brownies Are a Holiday Must-Make
One of the most heartwarming aspects of the holiday season is undoubtedly the time spent in the kitchen, filling the air with the aroma of delicious baked goods. These Santa Hat Brownies offer a fantastic opportunity for family bonding because they are designed to be fun and accessible for everyone, especially the kids! From mixing the batter to the exciting final touches, there’s a role for every aspiring chef in your home.
Whether you’re a seasoned baker or just starting, this recipe caters to all skill levels. If you’re pressed for time or simply prefer convenience, feel free to use a high-quality store-bought brownie mix. It streamlines the process without sacrificing flavor. However, for those who relish the joy of baking from scratch, I highly recommend using my favorite Fudge Brownie recipe. Its deep chocolate flavor and perfectly chewy texture truly elevate these Santa Hat treats, and I promise you won’t regret the extra effort!
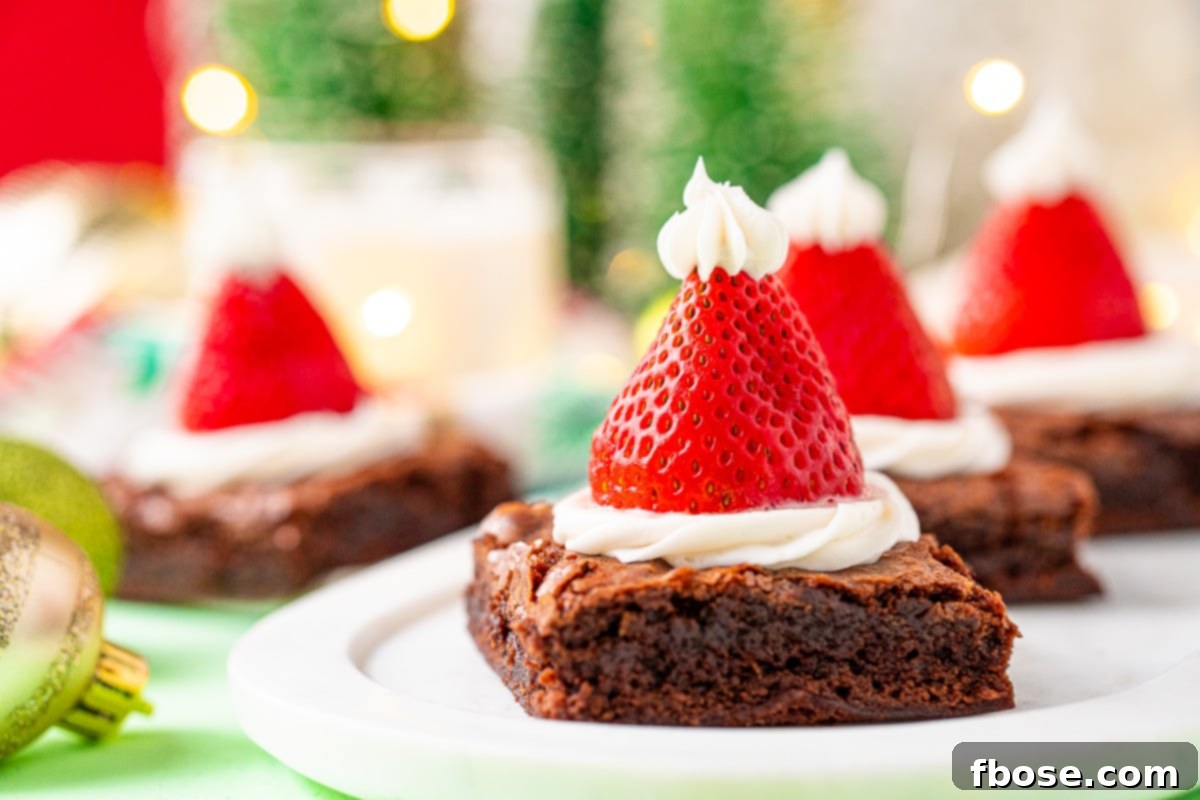
Crafting Your Festive Santa Hat Brownies: A Step-by-Step Guide
The beauty of these Christmas Brownies lies in their simplicity and the joy they bring. The initial steps of combining ingredients and stirring the batter are perfect for little helpers. But the real excitement unfolds once the brownies are baked to perfection and have cooled completely – that’s when the magic of decorating begins!
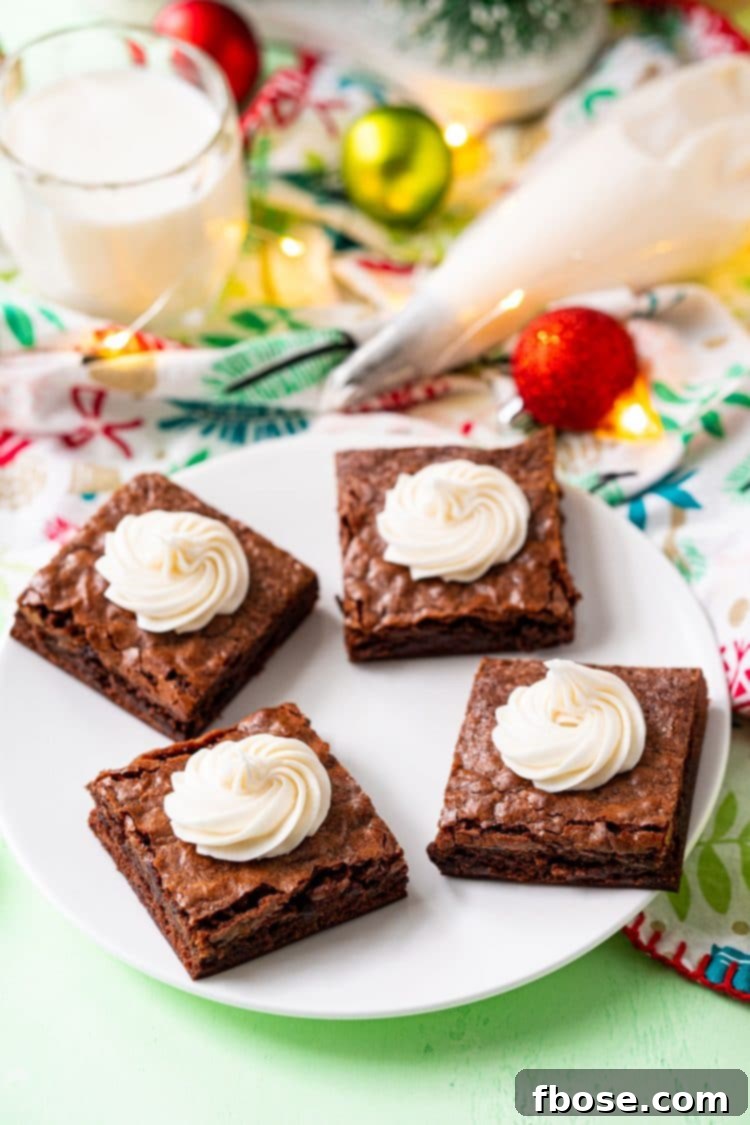
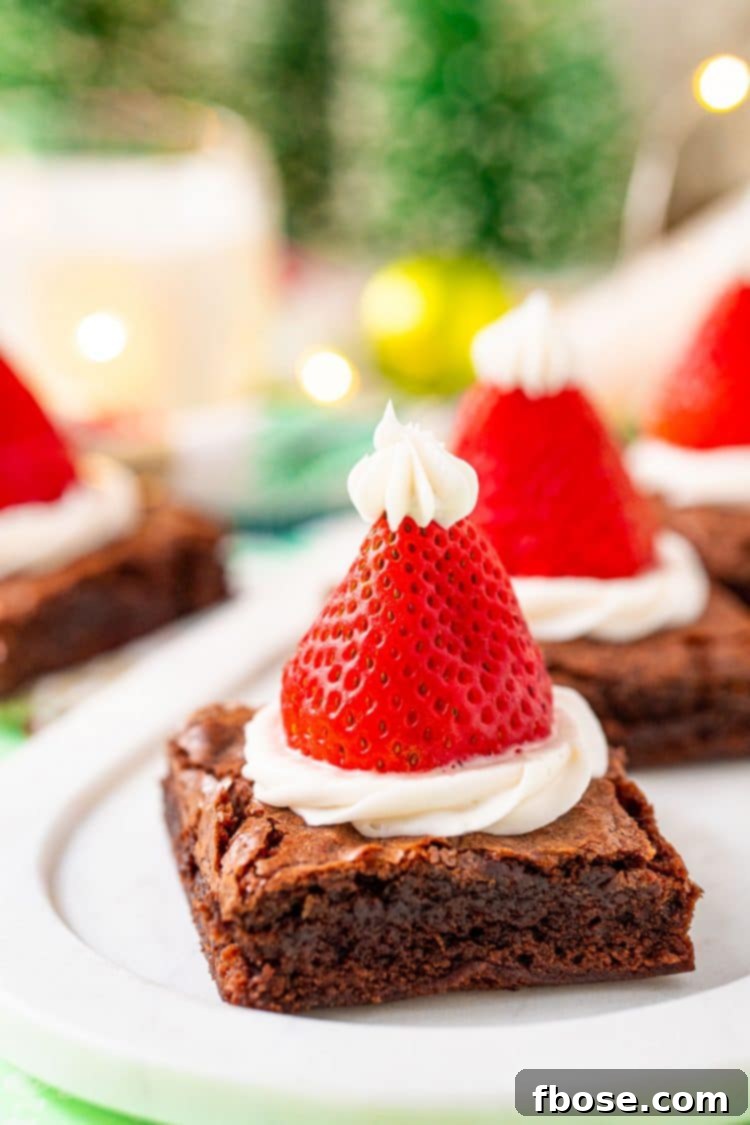
This is the moment to transform your delicious brownies into adorable Santa hats! Using a piping bag (or even a Ziploc bag with a corner snipped off for ease), pipe a generous circle of Vanilla Buttercream Frosting onto each cooled brownie. This creamy base serves a dual purpose: it creates the “furry” trim of Santa’s hat and provides a stable foundation for the strawberry. The contrast of the rich chocolate brownie, the sweet vanilla frosting, and the vibrant red strawberry is truly irresistible.
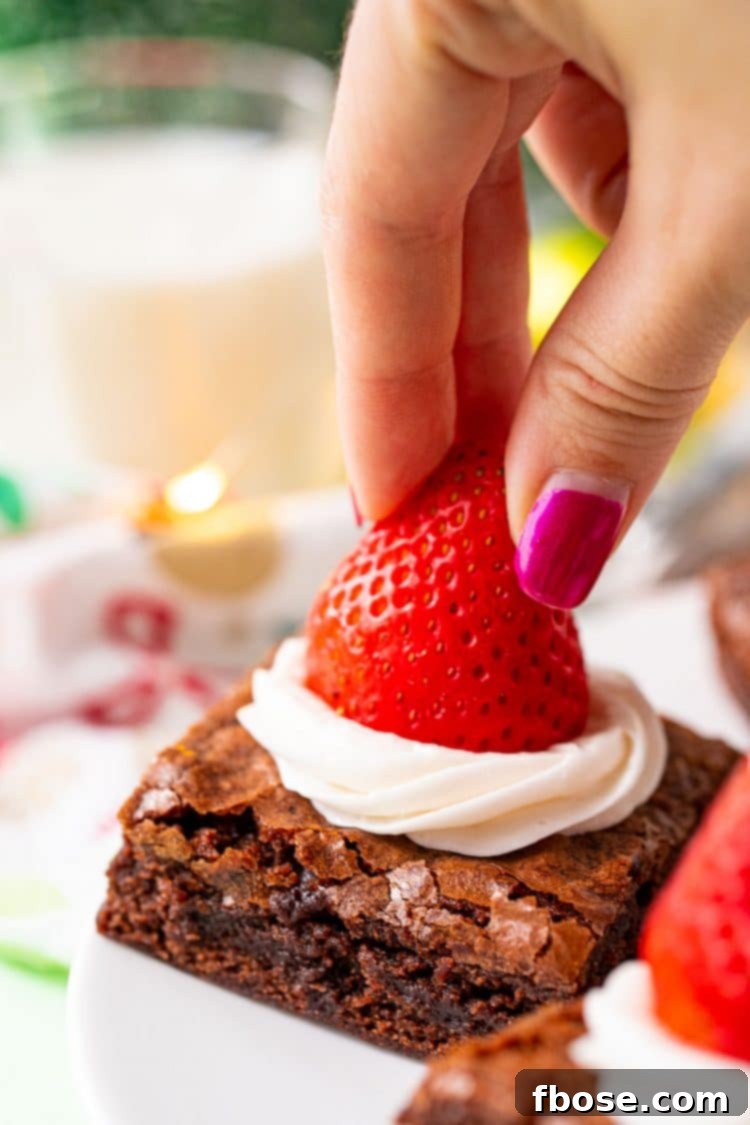
Once your strawberries are securely placed on their frosting “trim,” add a final, charming touch. Pipe a small dollop of frosting right on top of the strawberry’s peak to create the iconic pom-pom for each Santa hat. This simple step truly brings the character of Santa’s hat to life.
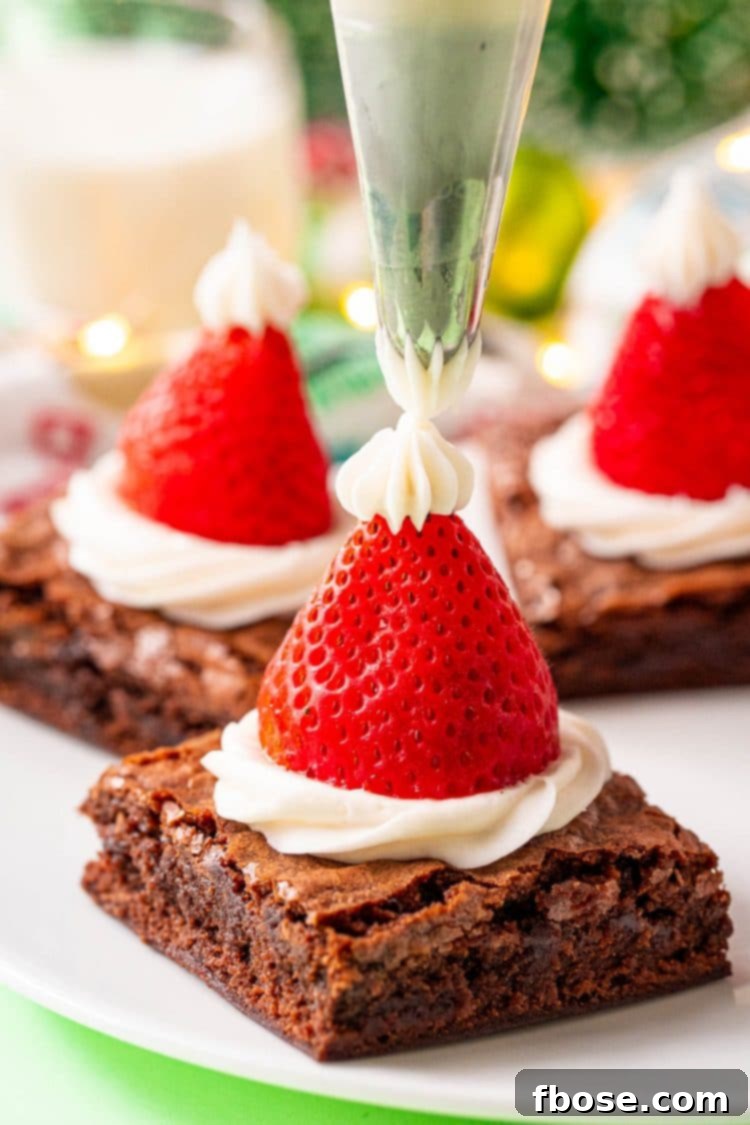
It goes without saying that the decorating phase is often the highlight for youngsters. Don’t be surprised if a few “taste tests” lead to a couple of brownies mysteriously disappearing before they even reach the serving platter! These festive Santa Brownies are not only adorable enough to be the star dessert at any holiday gathering, but they’re also wonderfully simple to whip up with the family on a cozy, snowy afternoon. Imagine sitting around the kitchen table, creating these sweet masterpieces, and enjoying them with a warm drink—a perfect new holiday tradition!
Essential Tips for Brownie Perfection
Achieving the perfect Santa Hat Brownies goes beyond just combining ingredients. Here are some invaluable tips to ensure your brownies are consistently fudgy, delicious, and perfectly decorated every time:
- **Don’t Overmix the Batter:** Once you’ve added the dry ingredients to the wet, mix only until just combined. Overmixing develops gluten in the flour, which can lead to tough, cake-like brownies instead of the desired fudgy texture.
- **Cool Completely:** This is perhaps the most crucial step for decorating. Attempting to frost warm brownies will result in melted, messy frosting and sliding strawberries. Allow your brownies to cool completely, preferably on a wire rack, before cutting and decorating.
- **Quality Chocolate Matters:** For truly decadent fudge brownies, use high-quality semi-sweet chocolate chips or chopped chocolate. The better the chocolate, the richer the brownie flavor will be.
- **Piping Bag Prowess:** While a piping bag with a round tip offers the most precise “fur trim” for the Santa hats, a sturdy Ziploc bag with a small corner snipped off works just as well for a rustic, charming look. Practice a few circles on parchment paper first if you’re nervous!
- **Strawberry Selection:** Choose fresh, firm, and vibrant red strawberries that are roughly similar in size for a uniform look. Wash and thoroughly dry them before slicing off the stem, creating a flat base for easy placement.
- **Even Baking:** Ensure your oven is accurately preheated to 350°F (175°C). Use an oven thermometer if you suspect your oven runs hot or cold. Baking in a well-lined 8×8-inch pan ensures even cooking and easy removal.
Creative Variations and Customizations
While the classic Santa Hat Brownie is undeniably charming, don’t hesitate to put your own spin on this festive treat! Here are a few ideas to inspire your creativity:
- **Frosting Flavors:** While vanilla buttercream is traditional, consider a peppermint-flavored frosting for an extra festive kick, or a hint of almond extract for a subtle twist. If you’re using cream cheese frosting, ensure it’s a thick, stable recipe to hold the strawberry securely.
- **Brownie Base Alternatives:** Experiment with different brownie bases. A dark chocolate brownie will offer a richer, more intense flavor profile, contrasting beautifully with the sweet frosting and tart strawberry. You could also explore gluten-free brownie mixes for dietary considerations.
- **Sparkle and Shine:** Add a dusting of edible glitter or some festive Christmas sprinkles to the white frosting “fur” for an extra touch of sparkle.
- **Mini Santa Hats:** For bite-sized delights, cut your brownies into smaller squares or use a round cookie cutter to create mini brownie circles. This works wonderfully for party platters.
- **Different Berries:** While strawberries are perfect for Santa hats, other berries can create different festive looks. Raspberries could form little red peaks, or cherries could be a simpler red topper, though they might not have the classic “hat” shape.
Serving Suggestions for Your Holiday Masterpiece
These Santa Hat Brownies are incredibly versatile and perfect for a variety of holiday occasions. Serve them as a festive dessert at your annual Christmas party, bring them as a thoughtful host gift, or simply enjoy them as a sweet treat during a cozy family movie night. They pair beautifully with a variety of beverages, from a classic glass of milk (especially for the kids!) to a rich hot cocoa, a steaming mug of coffee, or a refreshing glass of the aforementioned Christmas punch.
Storing Your Festive Treats
Proper storage ensures your Santa Hat Brownies remain fresh and delicious throughout the holiday season:
- **Room Temperature:** If serving within 1-2 days, you can store the brownies in an airtight container at room temperature.
- **Refrigeration:** For longer freshness, especially with the frosting, refrigerate the brownies in an airtight container for up to 3-5 days.
- **Can You Freeze Brownies?** Yes, absolutely! Brownies are excellent candidates for freezing, making them a perfect make-ahead holiday treat.
- **Freezing Unfrosted Brownies:** Bake a batch of brownies and let them cool completely. Cut them into individual squares. Wrap each brownie tightly in plastic wrap, then place them in an airtight freezer-safe container or a heavy-duty freezer bag. They will keep well in the freezer for several months.
- **Thawing and Decorating:** When you’re ready for a last-minute holiday dessert, simply take the desired number of brownies out of the freezer. Let them thaw on the counter for a few hours. Once thawed, add the strawberry Santa hats and frosting as directed, and you’ll have a fresh, festive treat in no time!
- **Freezing Frosted Brownies (Optional):** While it’s generally best to decorate after thawing, you can freeze frosted brownies. Flash freeze them on a baking sheet until the frosting is solid, then transfer to an airtight container with parchment paper between layers to prevent sticking.
Frequently Asked Questions About Santa Hat Brownies
Can I Make Santa Hat Brownies With Cream Cheese Frosting?
Of course! Cream cheese frosting offers a delicious tangy counterpoint to the sweet brownies. The key is to ensure your cream cheese frosting recipe is thick and stable enough to securely hold the strawberry “hat” without collapsing. If it’s too soft, it might slide off. You can often stiffen cream cheese frosting by adding a little more powdered sugar.
How Long Do Santa Hat Brownies Last?
Once decorated and stored in an airtight container, these brownies will stay fresh at room temperature for about 1-2 days. If refrigerated, they will last up to 3-5 days. Remember that fresh strawberries are best enjoyed within a few days.
Can I Prepare These Brownies Ahead of Time?
Absolutely! The brownies themselves can be baked 1-2 days in advance and stored in an airtight container at room temperature. The frosting can also be made a day ahead and refrigerated in an airtight container; just bring it to room temperature and give it a quick whisk before piping. For best results, decorate the brownies with strawberries and frosting on the day you plan to serve them to ensure the strawberries are at their freshest.
More Cute Holiday Ideas
- Christmas Tree Cupcakes
- Magic Reindeer Food
- Thanksgiving Turkey Cupcakes
- Reindeer Cookies
Let’s Connect!
If you’ve tried this recipe, please let me know how you liked it in the comments below and leave a review. I love hearing from you!
Don’t forget to tag me – @sugarandsoulco – on Instagram and Pinterest with your photos or join our Sugar & Soul Show-offs Community and share them there, where you can join our recipe challenges!
This post was originally published in December 2015.
Santa Hat Brownies
Author: Rebecca Hubbell
Course: Dessert
Cuisine: American
Prep Time: 15 minutes
Cook Time: 1 hour
Total Time: 1 hour 15 minutes
These Santa Hat Brownies are a simple and cute recipe to make with the kids for the holidays! A delicious fudge brownie is topped with buttercream frosting and a juicy strawberry!
Ingredients
- ¾ cup all-purpose flour
- ½ teaspoon kosher salt
- ¼ teaspoon baking soda
- 2 large eggs
- ¾ cup light brown sugar
- ¾ cup vegetable oil
- 2 tablespoons water
- 1 teaspoon vanilla extract
- 1 ½ cups Semi-Sweet Chocolate chips (divided)
- 9 fresh strawberries
- ½ cup vanilla frosting
Instructions
- Preheat oven to 350 degrees F (175°C).
- Line an 8×8 inch baking pan with parchment paper, leaving an overhang on two sides for easy removal, and set aside.
- In a small bowl, whisk together the flour, salt, and baking soda until well combined. Set aside.
- In a large mixing bowl, vigorously whisk together the eggs, light brown sugar, and vegetable oil for 2 full minutes. This aeration step contributes to the brownies’ fudgy texture.
- Whisk in the water and vanilla extract until fully incorporated into the wet ingredients.
- Gradually add the dry ingredients mixture to the wet ingredients. Whisk until just combined, being careful not to overmix.
- Melt 1 cup of chocolate chips in the microwave. Heat in 30-second intervals, stirring thoroughly after each interval, until the chocolate is smooth and completely melted (this usually takes about 60 seconds total).
- Whisk the melted chocolate into the brownie batter until it’s fully combined and the batter has a uniform dark color.
- Gently fold in the remaining ½ cup of chocolate chips, distributing them evenly throughout the batter.
- Pour the prepared brownie batter into the lined 8×8 inch baking pan, spreading it evenly with a spatula.
- Bake for 50-55 minutes. The brownies should be set around the edges, but a toothpick inserted into the center may still have moist crumbs attached (this indicates fudginess).
- Remove the pan from the oven and carefully transfer the brownies to a wire cooling rack. Let them cool completely in the pan before attempting to cut and decorate.
- Once cooled, cut the brownies into 9 even squares. Using a piping bag (or a Ziploc bag with a snipped corner), pipe a circle of vanilla frosting onto each brownie, forming the “fur” trim of the hat. Top each frosted brownie with a fresh strawberry (ensure the stem has been sliced off to create a flat base). Finally, pipe a small dollop of frosting on the tip of each strawberry to complete the adorable Santa hat look.
Nutrition Information (per serving)
Calories: 510kcal | Carbohydrates: 51g | Protein: 4g | Fat: 32g | Saturated Fat: 22g | Cholesterol: 38mg | Sodium: 205mg | Potassium: 241mg | Fiber: 2g | Sugar: 37g | Vitamin A: 75IU | Vitamin C: 7.1mg | Calcium: 43mg | Iron: 2.7mg
Did You Make This Recipe?
Don’t forget to share it with me on Instagram @sugarandsoulco and follow on Tiktok @sugarandsoulco and Pinterest @sugarandsoulco for more!
Rate this Recipe |
Pin Recipe |
Share Recipe