

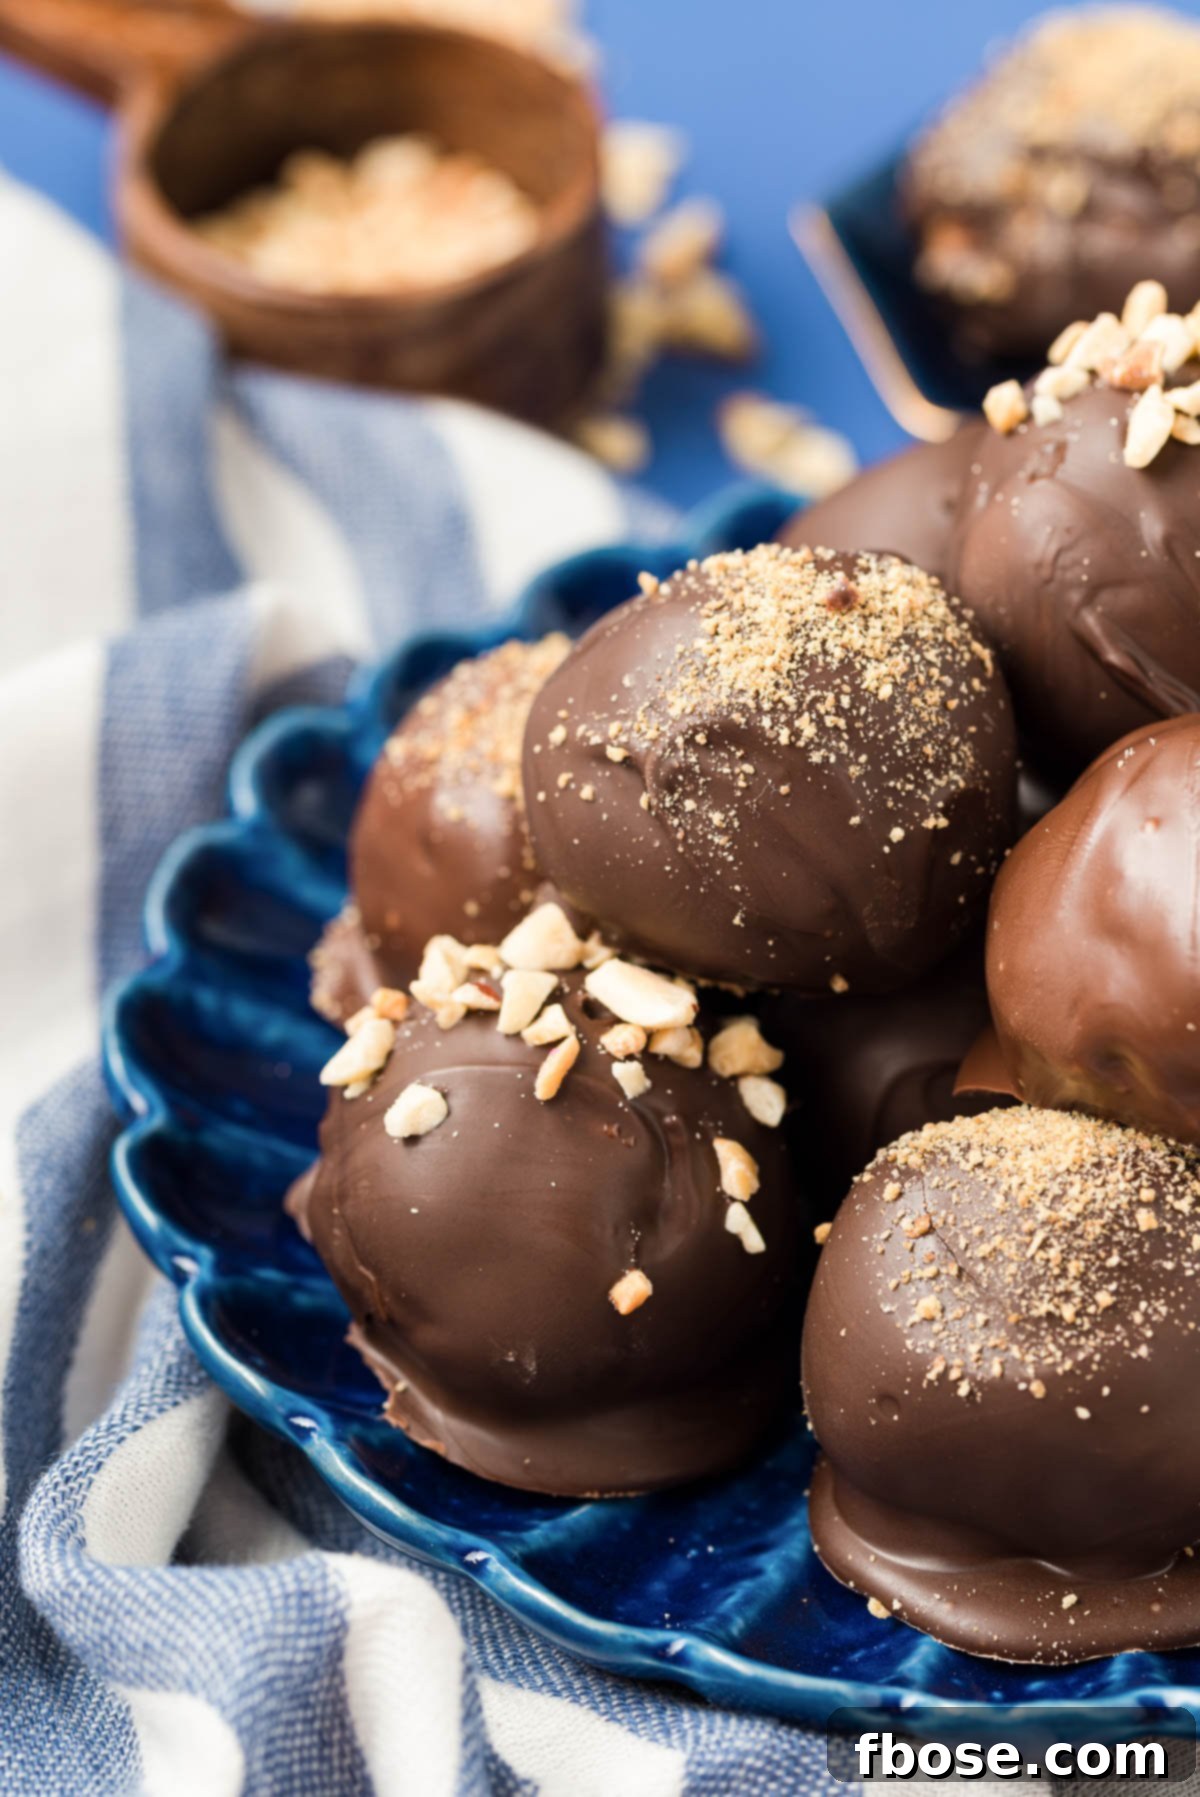
Peanut Butter Balls are an iconic no-bake confection, beloved for their rich, creamy peanut butter center, infused with sweet graham cracker crumbs, and encased in a decadent chocolate shell. This classic recipe, featuring simple ingredients like creamy peanut butter, powdered sugar, graham crackers, and chocolate, effortlessly transforms into perfect bite-sized treats. Ideal for holiday gatherings, potlucks, or simply satisfying a sweet craving, these delightful spheres offer a taste of nostalgia with every bite.
There’s something truly special about the holidays, and for many, it’s the joy of sharing homemade treats. These luscious Peanut Butter Balls are a staple in my festive repertoire. I particularly enjoy preparing batches of these holiday truffles to package alongside other seasonal favorites like my Peanut Butter Fudge, refreshing Mint Cookie Truffles, and indulgent Cookie Dough Truffles, creating thoughtful gifts for friends and family. The sheer delight on their faces makes all the effort worthwhile, even if the effort for these particular treats is minimal!
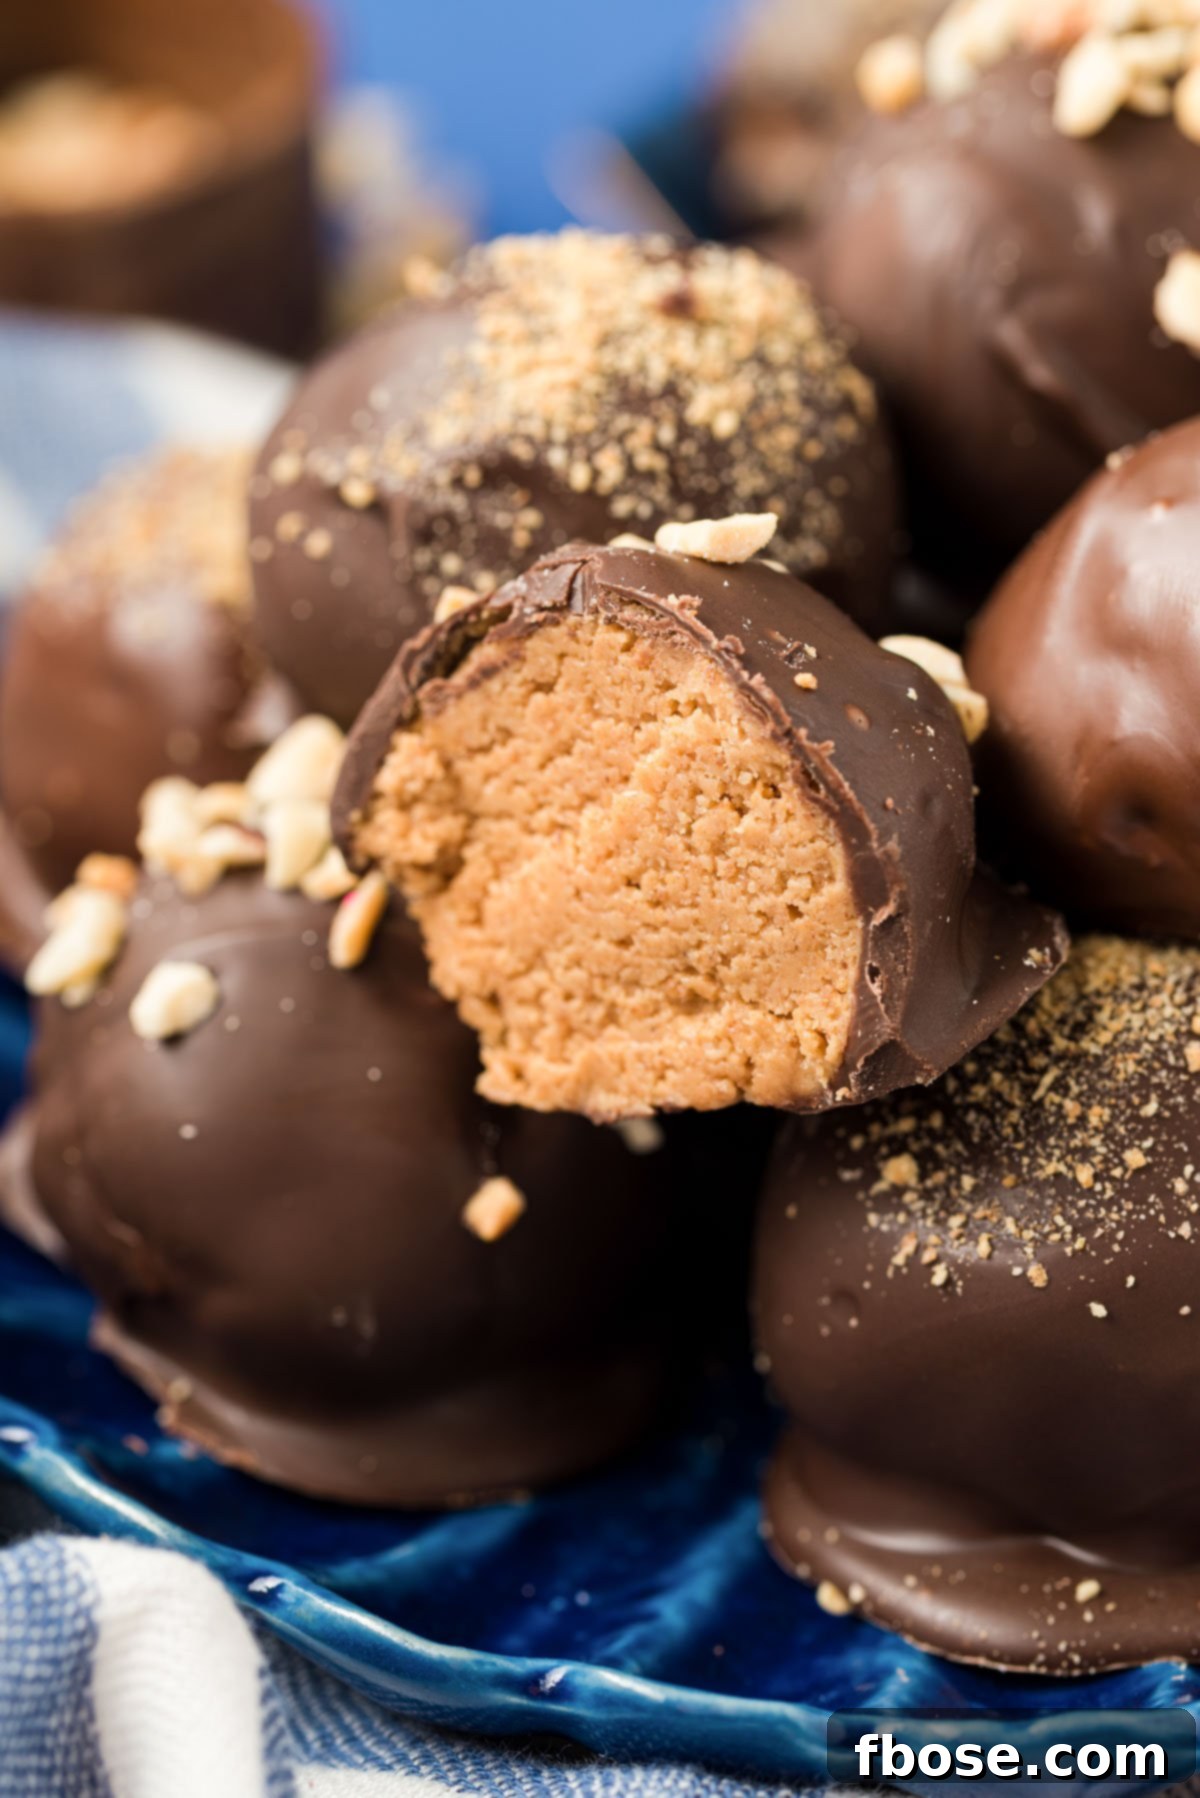
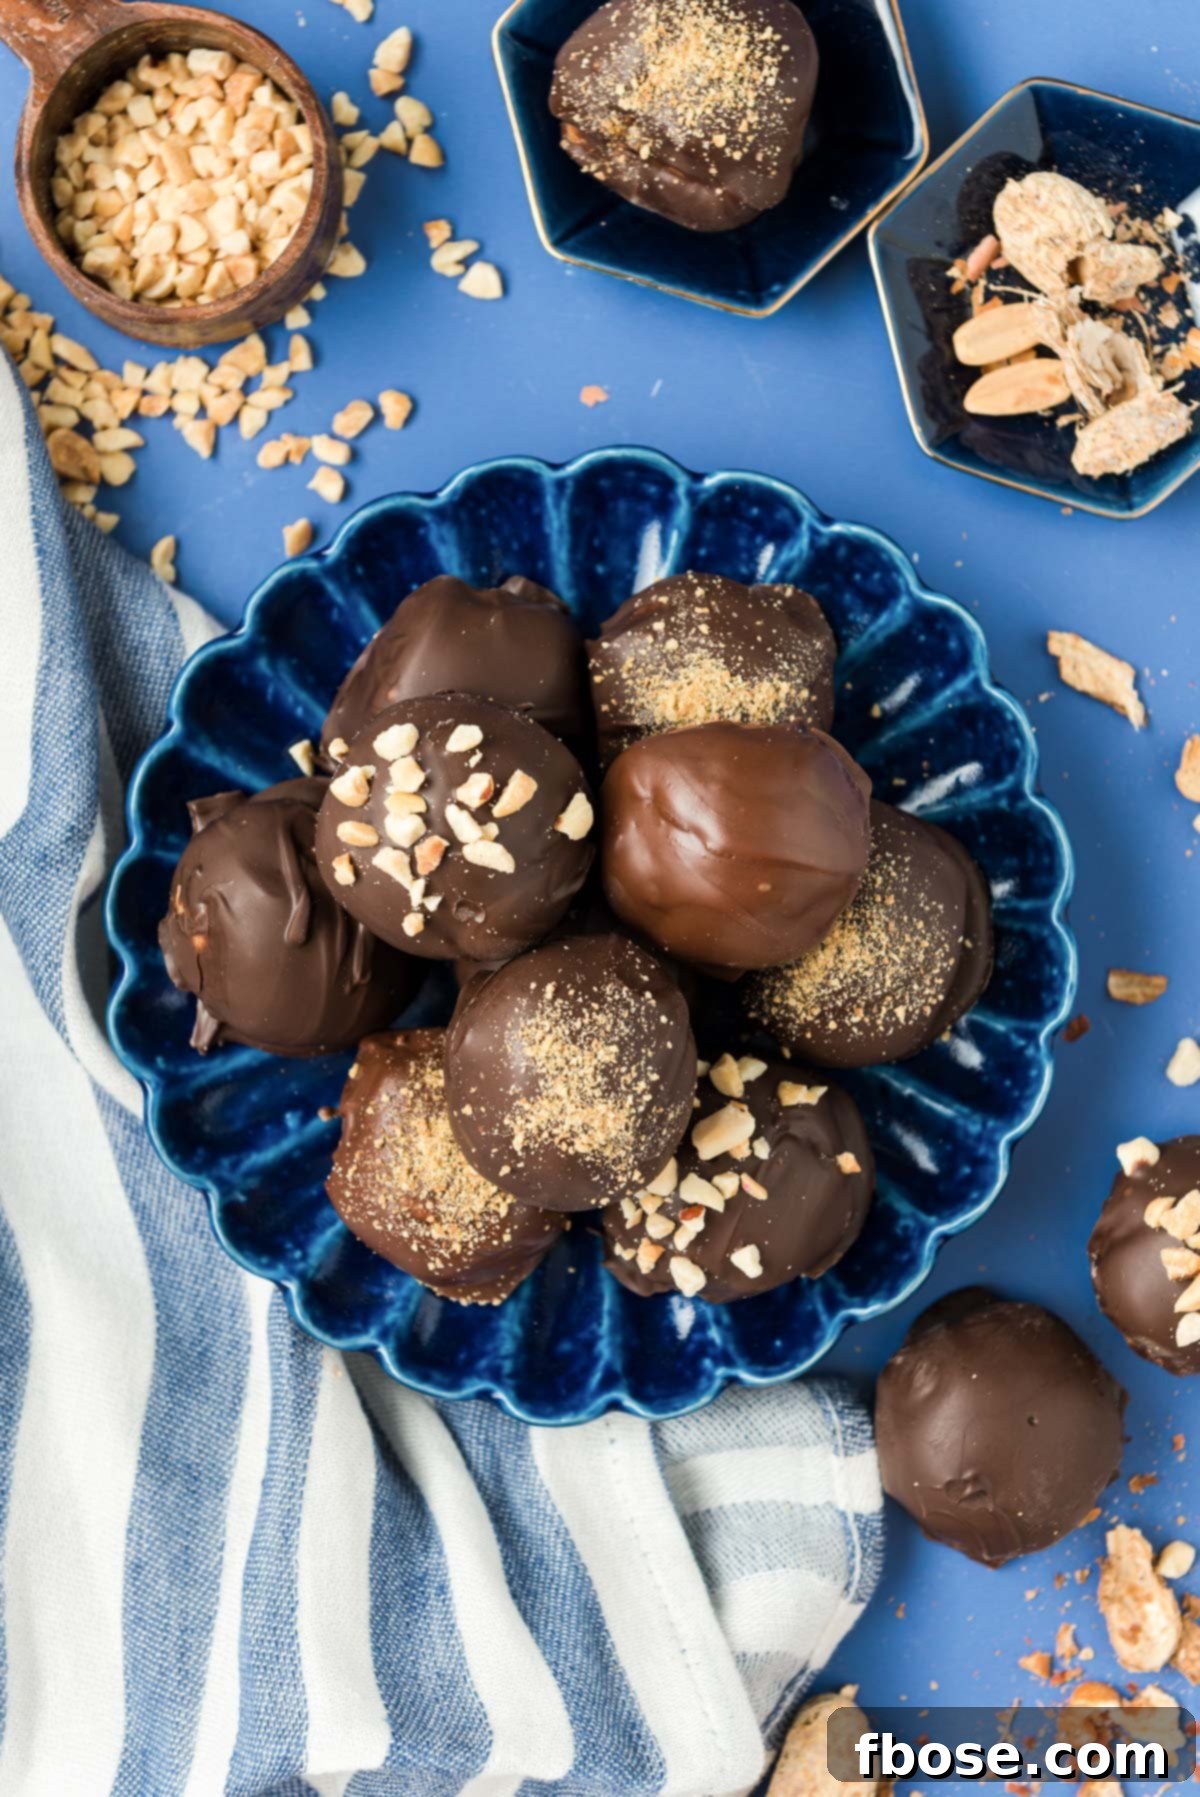
Craft Deliciously Easy No-Bake Peanut Butter Balls in Under 30 Minutes!
The holiday season simply wouldn’t feel complete without a generous platter of these incredible Peanut Butter Balls. This is a treasured recipe my mother-in-law graciously shared with me years ago, and it has since become an undeniable holiday tradition in our home, just as it is in countless households across the country. The beauty of this recipe lies not only in its irresistible flavor but also in its unparalleled simplicity and speed. Imagine: three dozen delectable treats, whipped up with just four basic ingredients, all in a mere 30 minutes! Once you experience the magic of these no-bake wonders, there’s a strong possibility they’ll earn a permanent spot in your own cherished holiday traditions.
What makes a no-bake treat so appealing? Beyond the obvious benefit of not needing to turn on your oven, no-bake desserts like these Peanut Butter Balls offer a level of convenience that’s perfect for busy schedules. They require minimal equipment, making cleanup a breeze, and their straightforward assembly is ideal for involving younger family members in the holiday baking process. Plus, the chilling time often allows the flavors to meld beautifully, resulting in an even more satisfying final product.
Everything to Love About Old-Fashioned Peanut Butter Balls
These aren’t just any sweet treats; they are a symphony of flavors and textures designed to delight. From the first glance to the lingering aftertaste, every aspect of these old-fashioned Peanut Butter Balls is crafted for pure enjoyment.
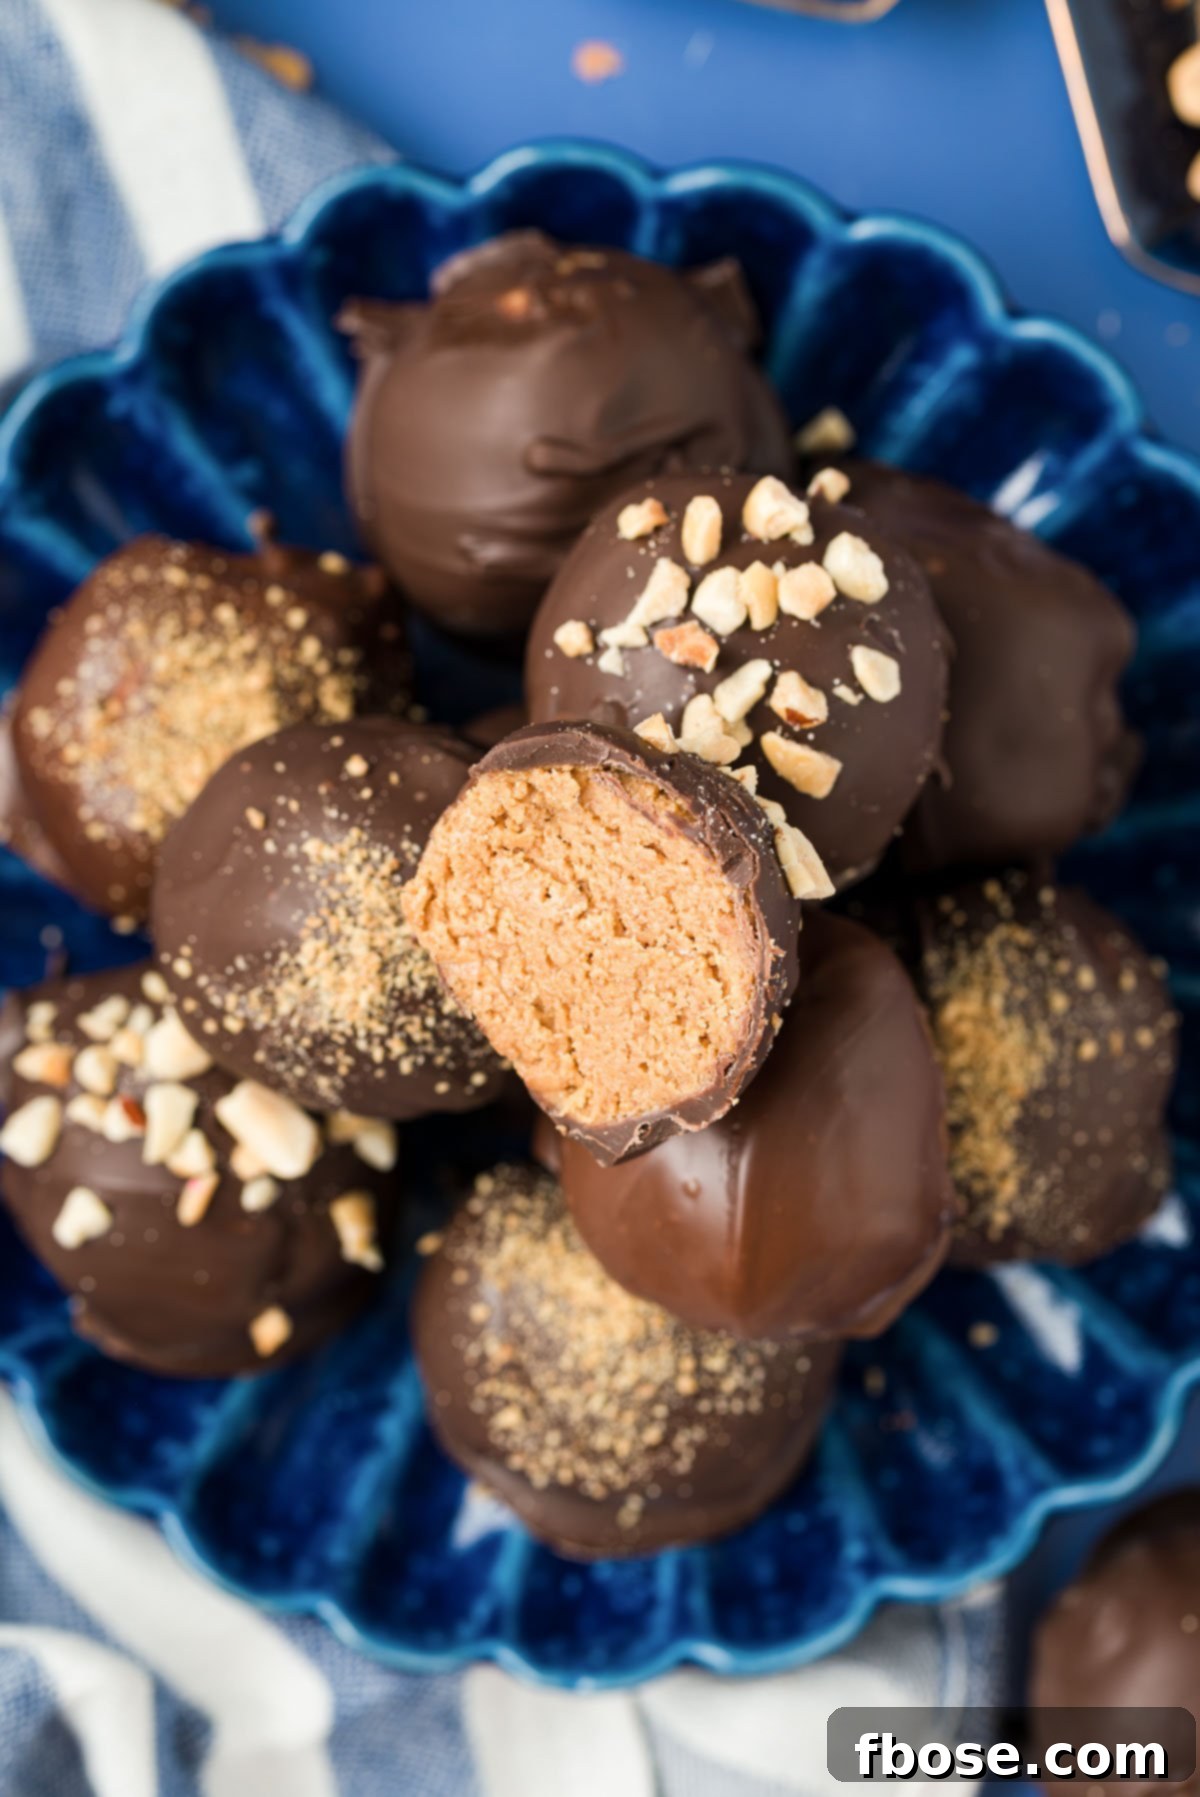
Irresistible Taste: The heart of these treats is a luscious filling made from a harmonious blend of finely crushed graham cracker crumbs, rich and salty peanut butter, and perfectly sweet powdered sugar. This delightful concoction is then enrobed in a smooth, melted chocolate coating. The combination of sweet, salty, and chocolatey notes creates a flavor profile strikingly similar to a gourmet peanut butter cup, but with a unique homemade charm. Each bite delivers a burst of classic flavors that are universally loved.
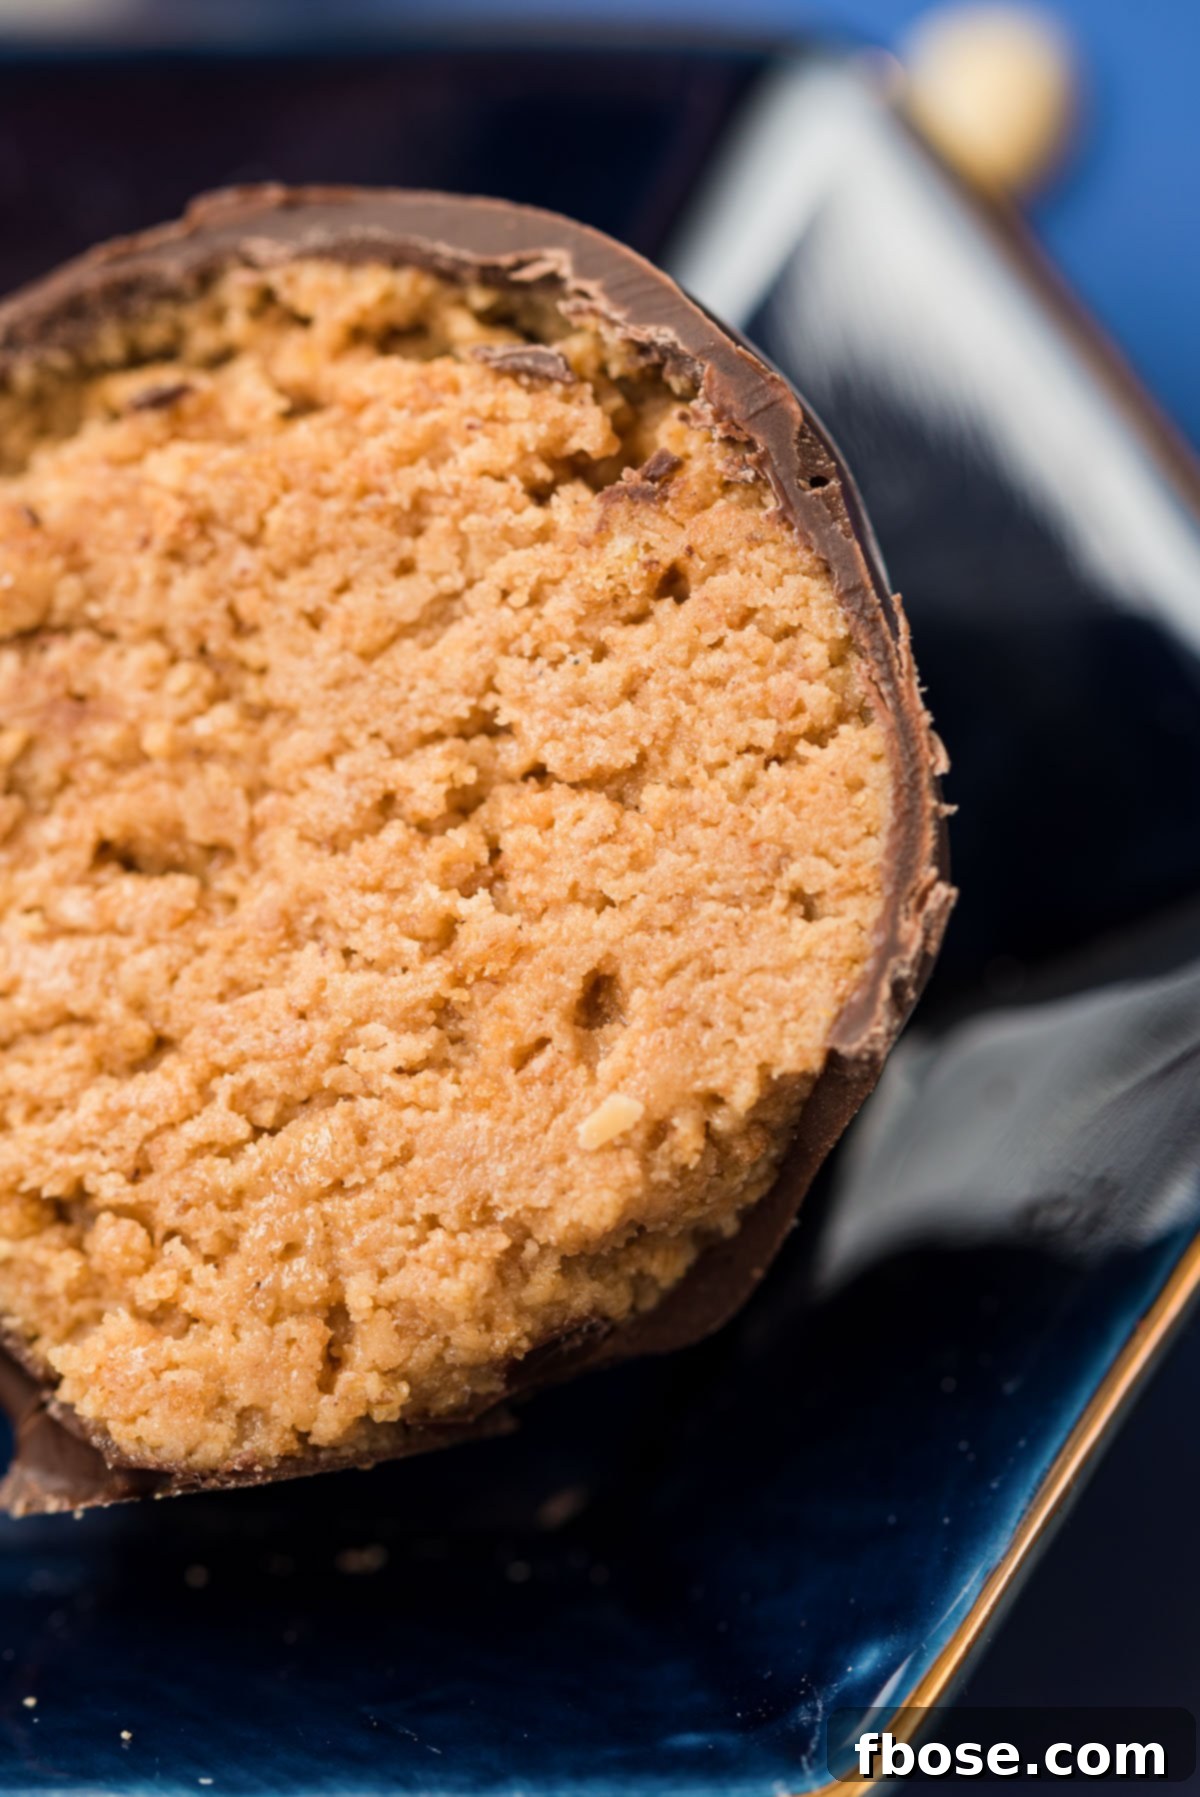
Delightful Texture: Prepare for a multi-layered textural experience. The outer layer offers a satisfying snap from the smooth, tempered chocolate shell. This gives way to an incredibly creamy, melt-in-your-mouth peanut butter filling that holds its shape beautifully. Tiny, tender specks of graham cracker crumbs are perfectly dispersed throughout the filling, providing a subtle, pleasant chewiness that contrasts wonderfully with the creaminess, adding depth and interest to every mouthful. It’s a treat that engages all your senses.
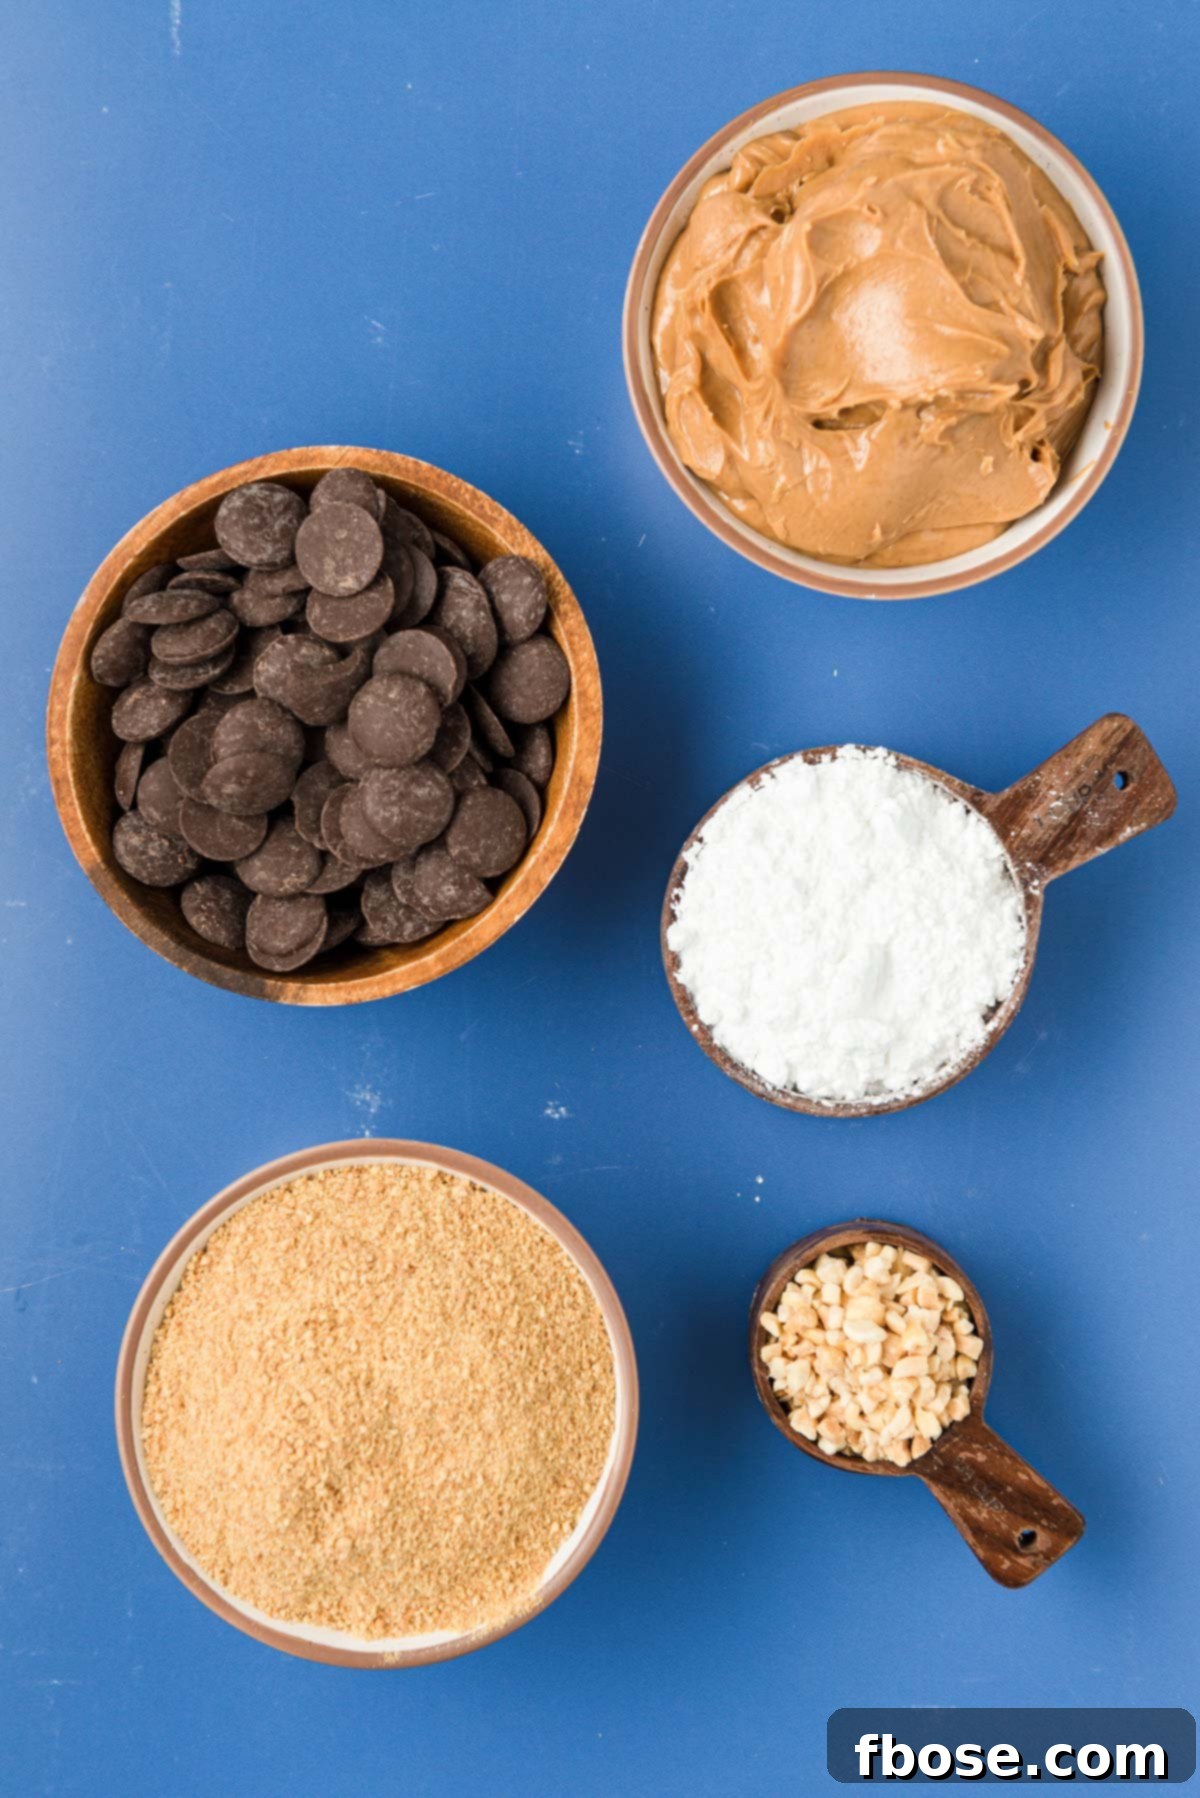
Essential Ingredients for No-Bake Peanut Butter Balls
The magic of this recipe lies in its simplicity. Just four core ingredients are all you need to create these crowd-plepleasing treats:
- Creamy Peanut Butter: The foundation of our flavorful filling, providing that unmistakable nutty richness.
- Graham Cracker Crumbs: These add bulk, a touch of sweetness, and a delightful texture to the peanut butter mixture.
- Powdered Sugar: Essential for sweetening and binding the filling, giving it that smooth, dense consistency.
- Chocolate Melting Wafers: The ideal choice for a silky-smooth, easy-to-work-with chocolate coating that sets beautifully.
Easy Peanut Butter Balls Variations: Customize Your Creation!
While the classic recipe for these easy-to-make Peanut Butter Balls is perfect as is, there’s ample room for creativity and customization to suit your specific tastes or dietary needs. Don’t be afraid to experiment with a few ingredients to discover your favorite twist!
Peanut Butter Choices
In this particular recipe, I’ve opted for creamy peanut butter. Its smooth consistency allows the graham cracker pieces to provide all the texture in the filling, creating a wonderful contrast. However, if you’re a fan of a bolder crunch, swapping to extra crunchy peanut butter would deliver an even more delightful and pronounced textural element to the center of each ball. For those with peanut allergies, consider alternative nut butters like almond butter or cashew butter, or even sunflower seed butter (SunButter) for a nut-free option.
Chocolate Coating Creativity
The melted chocolate coating is another fantastic area for personalization. My family and I adore dipping these graham cracker peanut butter balls in classic milk chocolate for a sweet, comforting flavor. But your options are far from limited! You can easily make them with rich semi-sweet chocolate for a more balanced sweetness, or intense dark chocolate for a sophisticated, less sweet profile. Even a vibrant white chocolate coating would be absolutely delicious, offering a creamy, distinct flavor that pairs wonderfully with the peanut butter. For a truly festive touch, try colored candy melts to match holiday themes!
Exciting Topping Ideas
Beyond the simple sprinkle of graham cracker crumbs, the possibilities for toppings are endless. Consider a dusting of sea salt for a sweet and salty contrast, or finely chopped roasted peanuts for an extra layer of nutty flavor and crunch. Colorful sprinkles can add a fun, festive flair, especially for birthdays or themed parties. Crushed pretzels can introduce a delightful salty-sweet crunch, while a drizzle of contrasting melted chocolate (e.g., white chocolate drizzle on dark chocolate coating) adds an elegant touch. Shredded coconut, mini chocolate chips, or even a sprinkle of edible glitter can elevate these treats from simple to spectacular.
Dietary Adaptations
While this recipe is not inherently vegan, it can be easily modified. Replace traditional graham crackers with a vegan-friendly sweet cracker or cookie, and ensure your chocolate choice is certified vegan. For a gluten-free version, simply use gluten-free graham cracker crumbs. Always double-check ingredient labels to ensure they meet your dietary requirements.
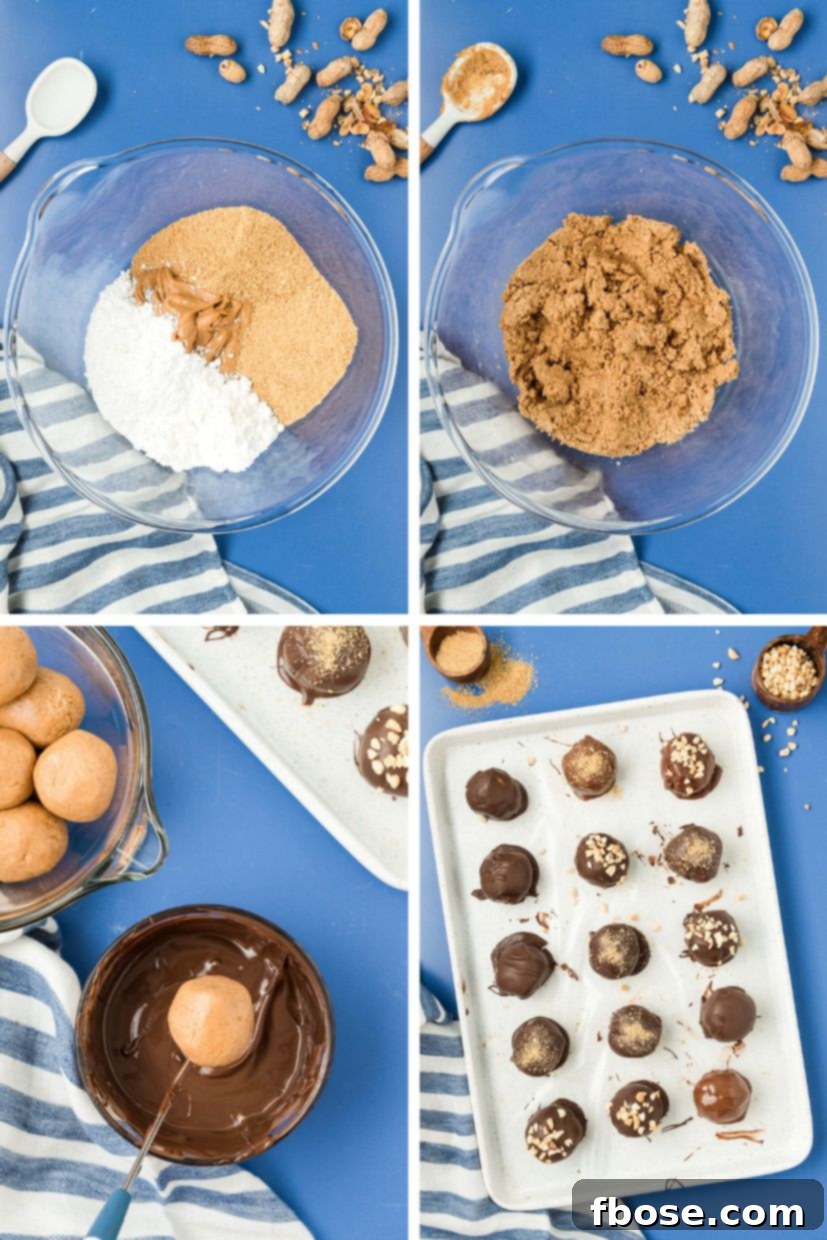
How to Make Perfect Old-Fashioned Peanut Butter Balls: A Step-by-Step Guide
Making these classic no-bake Peanut Butter Balls is incredibly straightforward, but a few key tips can ensure your treats turn out perfectly every time. Follow these steps for delicious results:
- Preparing The Graham Crackers: The texture of your graham cracker crumbs is crucial for the ideal filling consistency. The most efficient way to achieve fine, uniform crumbs is by using a food processor (affiliate link). Process them until they resemble a fine sand-like texture. If you don’t have a food processor, a large Ziploc bag and a rolling pin will do the trick – just ensure you crush them thoroughly to avoid overly large pieces, which can make the balls crumbly. Alternatively, you can purchase pre-crushed graham cracker crumbs for ultimate convenience.
- Mixing the Filling: In a large mixing bowl, combine the creamy peanut butter, finely crushed graham cracker crumbs, and powdered sugar. Using a sturdy spoon or your hands (which works wonderfully for achieving an even mix), combine the ingredients until a thick, uniform “dough” forms. It should be firm enough to hold its shape when rolled, but not dry or crumbly. If it’s too dry, add a tiny bit more peanut butter. If too wet, a touch more powdered sugar can help.
- Portioning Out The Filling: Consistency is key for uniform balls. I’ve found that a medium cookie scoop (affiliate link), typically about 1.5 tablespoons, is perfect for portioning. Once scooped, gently roll the mixture between your palms to create smooth, round, 1-inch balls. This ensures they cook evenly (or rather, chill evenly!) and look professionally made.
- Melting The Chocolate: Achieving perfectly melted, smooth chocolate is vital for a beautiful coating. You can melt your chocolate melting wafers in the microwave using 30-second intervals, stirring vigorously after each interval until the chocolate is completely smooth and free of lumps. Be careful not to overheat it. For a more controlled melting process, a double boiler on the stovetop works wonders. Ensure no water gets into the chocolate, as this will cause it to seize.
- Dipping The Peanut Butter Balls: This is where the magic happens! When dipping your peanut butter balls in chocolate, I highly recommend using my favorite candy dipping tool for a clean, even coat. However, a sturdy fork or a simple spoon can also work effectively. Gently submerge each ball, lift it, and tap the tool or fork against the edge of the bowl to allow any excess chocolate to drip away. This prevents thick puddles of chocolate at the base. Place the dipped balls onto a sheet of wax paper or parchment paper to set. Note that you may need a little more chocolate than the recipe specifies, depending on how thickly you coat each ball and the viscosity of your melted chocolate.
- Adding The Topping (Optional): If you plan to add any toppings, such as extra graham cracker crumbs, sprinkles, or finely chopped nuts, do so immediately after dipping each ball, while the chocolate is still wet. This ensures the toppings adhere beautifully before the chocolate begins to set.
Storing Your Delicious No-Bake Peanut Butter Balls
Proper storage ensures your homemade Peanut Butter Balls remain fresh and delightful for as long as possible. These versatile treats can be stored in an airtight container at room temperature for up to one week, making them perfect for pre-holiday prep. For extended freshness, keep them in the refrigerator, where they’ll stay delicious for up to three weeks. The chilled chocolate offers an extra satisfying snap!
How to Freeze Peanut Butter Balls for Long-Term Enjoyment
One of the best features of Peanut Butter Balls is how well they freeze, allowing you to make them far in advance of any occasion or simply keep a stash for future cravings.
- Prepare and Set: First, prepare your peanut butter balls exactly according to the recipe directions. It’s crucial that the chocolate coating has fully set and hardened before you attempt to freeze them. This prevents them from sticking together.
- Layer for Success: Place the fully set peanut butter balls in an airtight freezer-safe container or a heavy-duty freezer bag. To prevent them from sticking to each other, I highly recommend placing sheets of wax paper or parchment paper between layers of balls. This ensures easy separation when you’re ready to enjoy them.
- Freeze: Store them in the freezer for up to three months. When you’re ready to serve, simply remove them from the freezer and let them thaw at room temperature for about 15-30 minutes, or enjoy them chilled straight from the fridge for a firmer treat.
Old-Fashioned Peanut Butter Balls FAQs
The traditional version of this recipe, using standard graham crackers and milk chocolate, is not vegan. However, you can absolutely adapt it! Simply substitute the graham crackers with a vegan sweet cracker or cookie, and ensure you use a certified vegan chocolate for dipping. Many brands now offer delicious vegan chocolate chips or melting wafers.
For the cleanest, most professional-looking finish, I highly recommend using a dedicated candy dipping tool or a set of chocolate forks. My favorite candy dipping tool (affiliate link) makes the process significantly easier than trying to use a standard fork or toothpick, allowing excess chocolate to drip off more efficiently.
These dessert balls are best stored in an airtight container in the refrigerator. The cool temperature helps the chocolate stay firm and prevents the peanut butter from becoming too soft. Stored this way, they can be enjoyed for up to 3 weeks. Though, based on personal experience, they rarely last that long!
No food processor? No problem! Simply place your graham crackers in a large Ziploc bag, seal it (squeezing out excess air), and use a rolling pin to crush them into a fine crumb. This method works very well and is quite satisfying! For an even simpler prep, many grocery stores offer pre-crushed graham cracker crumbs in a box.
Chocolate melting wafers are fantastic for a smooth, easy-to-work-with coating that sets beautifully. However, if you don’t have them, chocolate chips can be used. I recommend adding a teaspoon of shortening (like Crisco) or a touch of coconut oil to the chocolate chips when melting. This helps thin out the chocolate, making it smoother and easier to dip and ensuring a glossy finish. Almond bark and candy melts are also excellent alternatives that provide a similar smooth coating.
Beyond crushed graham cracker crumbs, get creative! Try fun sprinkles for a festive look, finely chopped pretzels for a salty crunch, toasted shredded coconut for a tropical twist, or even a contrasting drizzle of melted white chocolate or dark chocolate. Mini chocolate chips or a dusting of cocoa powder also make great additions.
A crumbly texture usually points to a dry mixture. In this recipe, it could be that your graham cracker crumbs are too coarse, preventing them from blending cohesively. Ensure they are processed into a very fine crumb. Another common reason is using a peanut butter that is on the drier side. For the best, most pliable filling, I always recommend using a creamy, oilier brand like Jif or Skippy.
Old Fashioned Peanut Butter Balls Recipe
Author: Rebecca Hubbell
Course: Dessert
Cuisine: American
Yields: 36 balls
Prep Time: 30 minutes
Resting Time: 1 hour
Total Time: 1 hour 30 minutes
Ingredients
- 1½ cups creamy peanut butter
- 1½ cups graham cracker crumbs
- 1 cup powdered sugar
- 10 ounces chocolate melting wafers
Instructions
- In a large bowl, thoroughly combine the creamy peanut butter, graham cracker crumbs, and powdered sugar until a uniform mixture forms. It should be firm enough to roll into balls.
- Using a medium cookie scoop (approximately 1.5 tablespoons), portion out the peanut butter mixture. Roll each portion between your palms to form smooth, round balls about 1 inch in diameter.
- Melt the chocolate melting wafers. This can be done in a microwave-safe bowl in 30-second intervals, stirring after each, until smooth. Alternatively, use a double boiler.
- Dip each peanut butter ball into the melted chocolate, ensuring a full and even coating. Allow any excess chocolate to drip off, then place the coated balls onto wax paper or parchment paper to set. If desired, immediately sprinkle the tops with extra graham cracker crumbs, festive sprinkles, or finely chopped nuts before the chocolate hardens.
- Let the chocolate-coated peanut butter balls set completely at room temperature or in the refrigerator until firm. This typically takes about 1 hour.
Notes
- Crunchy peanut butter can be used instead of creamy for added texture.
- The exact amount of chocolate needed may vary depending on the brand and how thick you prefer your coating. It’s always good to have a little extra on hand.
- Store finished Peanut Butter Balls in an airtight container at room temperature for up to 1 week, in the refrigerator for up to 3 weeks, or in the freezer for up to 3 months.
Nutrition Information (Approximate per serving)
- Calories: 122 kcal
- Carbohydrates: 11g
- Protein: 3g
- Fat: 7g
- Saturated Fat: 2g
- Sodium: 73mg
- Potassium: 94mg
- Fiber: 1g
- Sugar: 8g
- Calcium: 9mg
- Iron: 0.5mg
Print Recipe
Pin Recipe
Share Recipe
Let’s Connect!
If you’ve tried this delightful recipe for Old-Fashioned Peanut Butter Balls, please take a moment to let me know how you liked it in the comments section below and consider leaving a star rating. Your feedback is incredibly valuable and I love hearing from you!
Don’t forget to tag me – @sugarandsoulco – on Instagram and Pinterest with your beautiful photos of your homemade treats, or join our Sugar & Soul Show-offs Community on Facebook and share them there! We love seeing your creations and participating in our recipe challenges!