
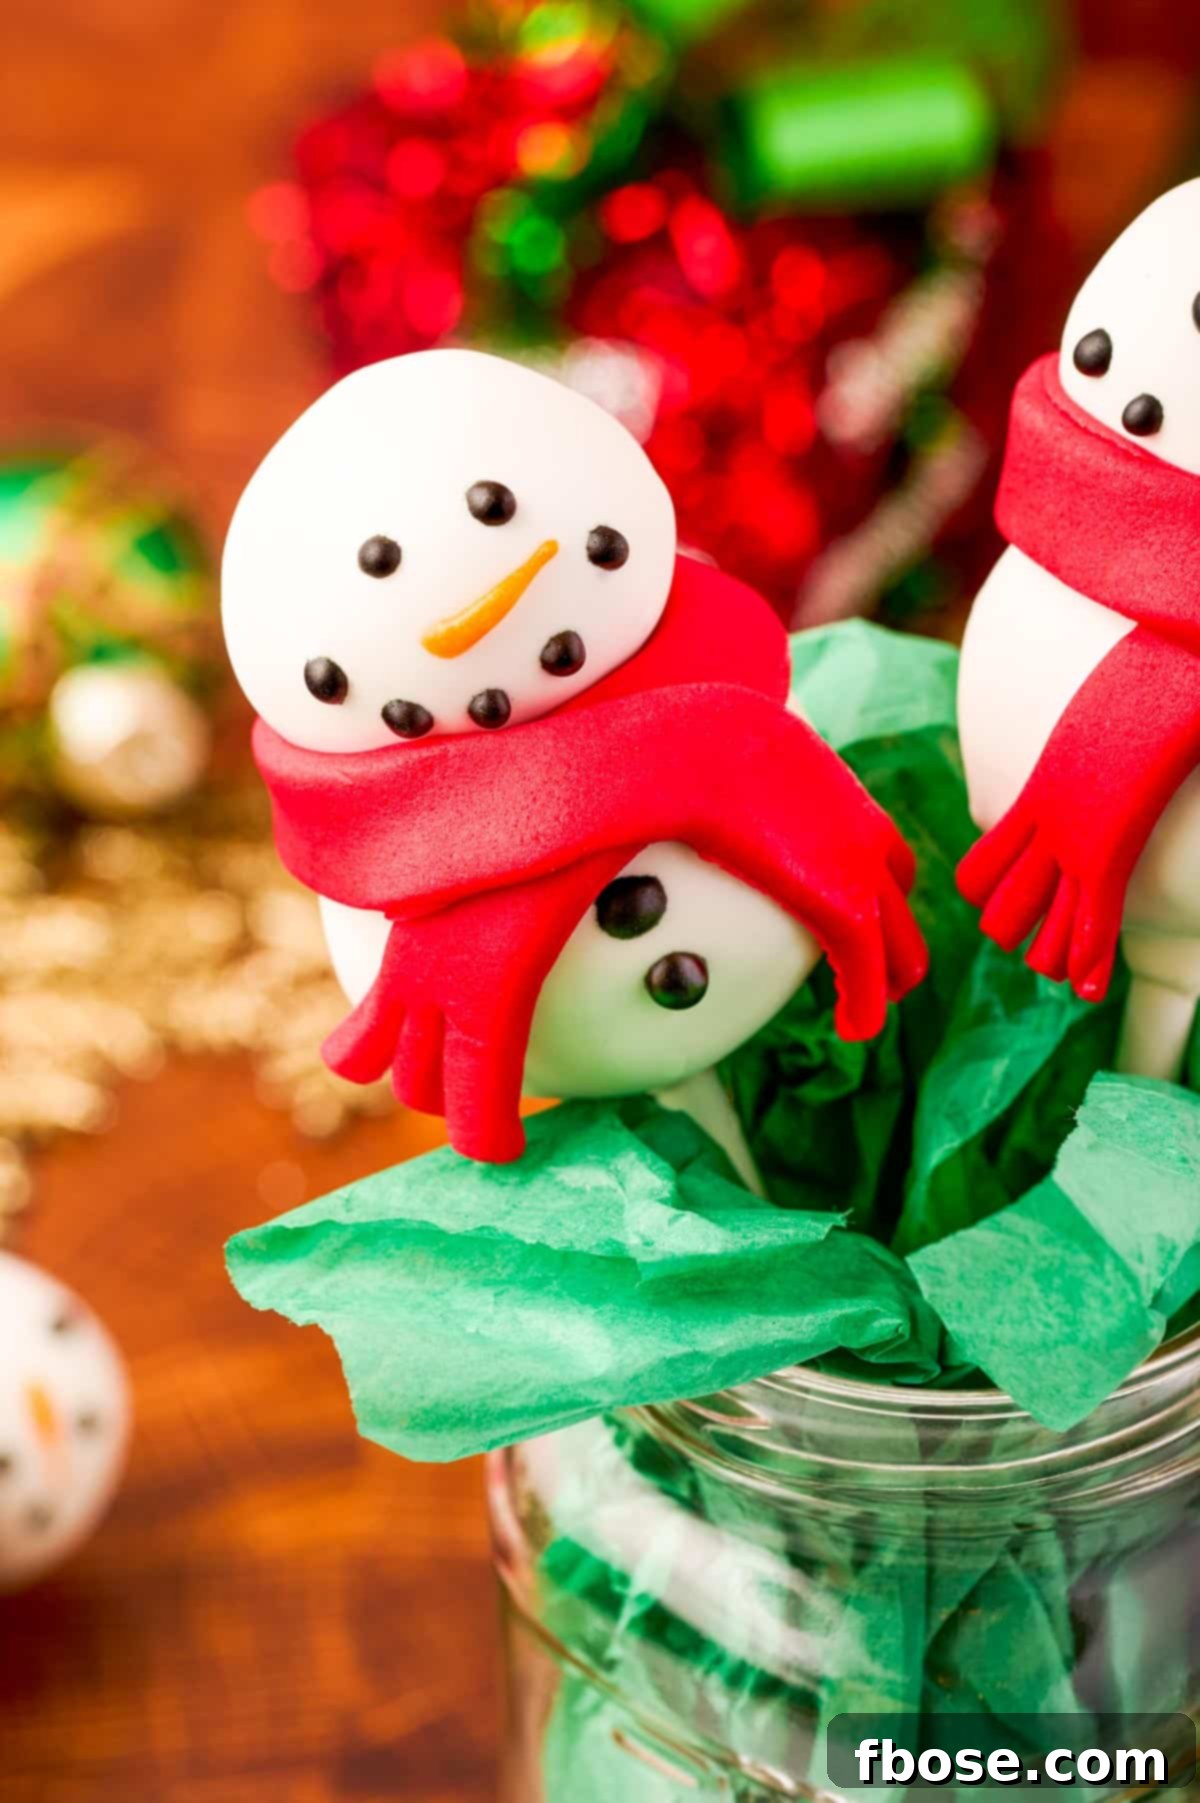
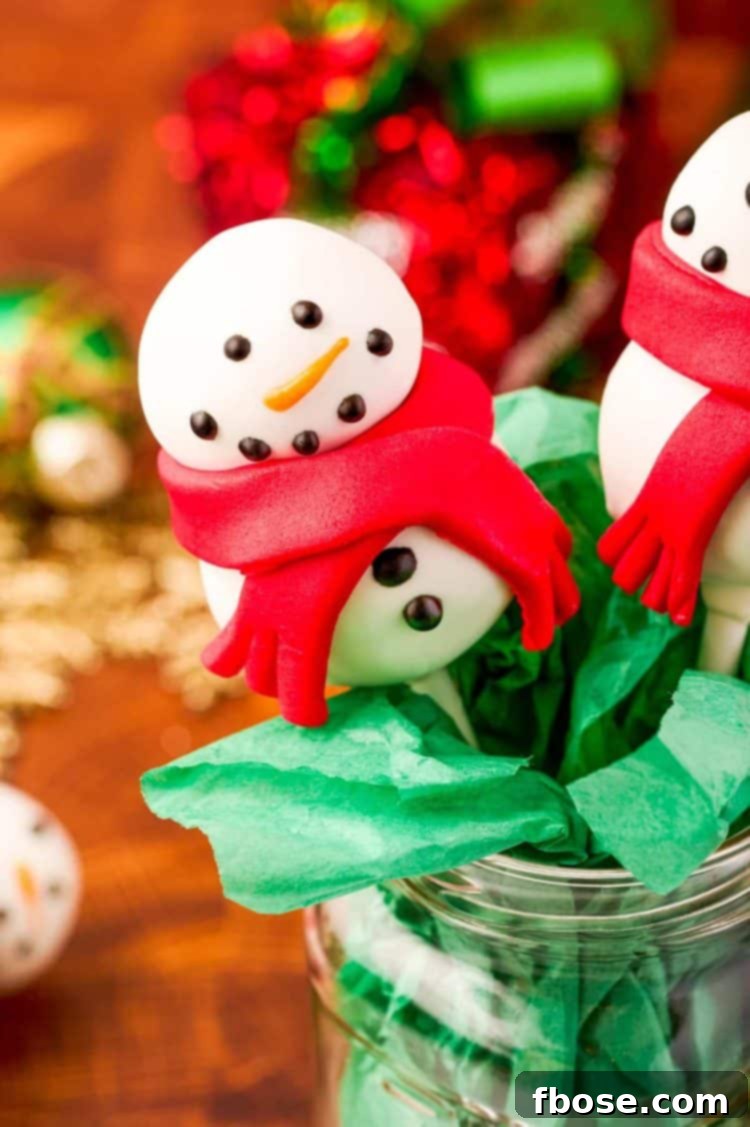
These Snowman Cake Pops are more than just a sweet treat; they’re a delightful celebration of winter, perfect for bringing joy to any occasion. Crafted with a simple boxed cake mix, rich melted chocolate, vibrant icing, and versatile fondant, these festive desserts are surprisingly easy to create. Whether you’re a seasoned baker or just starting out, you’ll find immense pleasure in making these charming snowman creations.
Beyond their adorable appearance, these cake pops offer a delicious escape into winter wonderland flavors. Imagine the soft, moist interior of a perfectly baked cake, enveloped in a smooth, crisp chocolate shell, adorned with whimsical snowman features. They’re an absolute hit at holiday parties, school events, or simply as a fun after-school activity to enjoy with the kids. In fact, they pair wonderfully with another beloved winter favorite: our Melted Snowman Cookies, creating an irresistible duo for your festive spread.
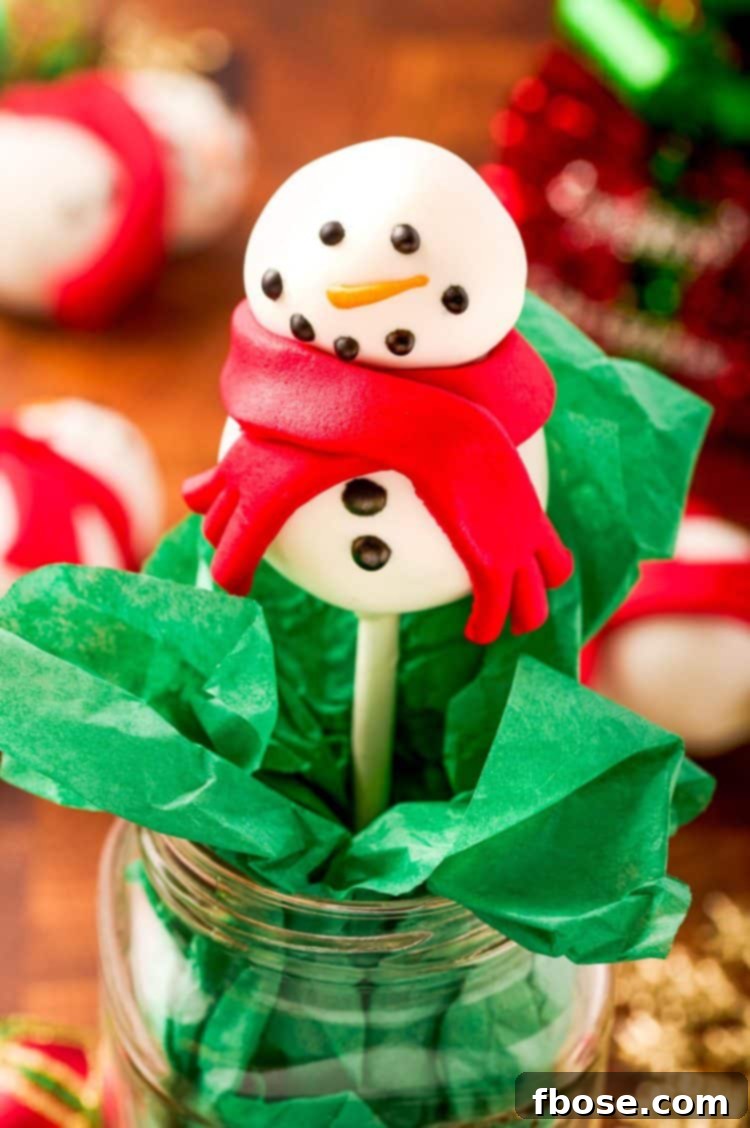
These adorable Snowman Cake Pops are not just treats to be savored; they make fantastic edible gifts! Present them individually in clear cellophane bags, tied with a festive ribbon, for a thoughtful and homemade touch that’s sure to impress friends, family, and neighbors. They embody the spirit of the season in every bite, promising smiles and sweet memories.
Snowman Cake Pops: Your Ultimate Guide to a Festive Winter Treat
Welcome to the enchanting world of Snowman Cake Pops! This comprehensive guide will walk you through every step of creating these charming, delicious, and incredibly fun winter confections. From selecting your ingredients to mastering the dipping technique and adding those adorable finishing touches, we’ll ensure your cake pops are nothing short of perfect. Get ready to impress with these delightful, bite-sized wonders!
Why You’ll Adore These Delightful Snowman Cake Pops
There’s so much to love about these festive treats. They combine ease of preparation with impressive presentation, making them a fantastic project for bakers of all skill levels. Here’s a closer look at what makes these Snowman Cake Pops truly special:
Exquisite Taste and Perfect Texture
At the heart of these cake pops is a moist, tender cake filling, often made with a rich red velvet cake mix. This provides a deep, slightly tangy flavor that is perfectly complemented by the creamy sweetness of cream cheese frosting. The magic happens when these two elements combine, creating a dense, truffle-like consistency that is pure indulgence.
The exterior boasts a smooth, crisp coating of white chocolate candy melts, which delivers a satisfying snap when you bite into it. This delightful contrast between the firm chocolate shell and the soft, fudgy cake interior is what makes each Snowman Cake Pop so addictive. Topped with delicate details fashioned from icing and fondant, they are as pleasant to look at as they are to eat.
One of the best aspects of this recipe is its incredible versatility. While red velvet with cream cheese frosting offers a classic and decadent experience, you can easily customize the flavors to suit any palate or occasion. Simply swap out the red velvet for a different boxed cake mix – think rich chocolate, vibrant Funfetti, or even a classic vanilla – and pair it with your favorite complementary frosting. This adaptability ensures you can enjoy these cake pops year-round, not just during the winter months!
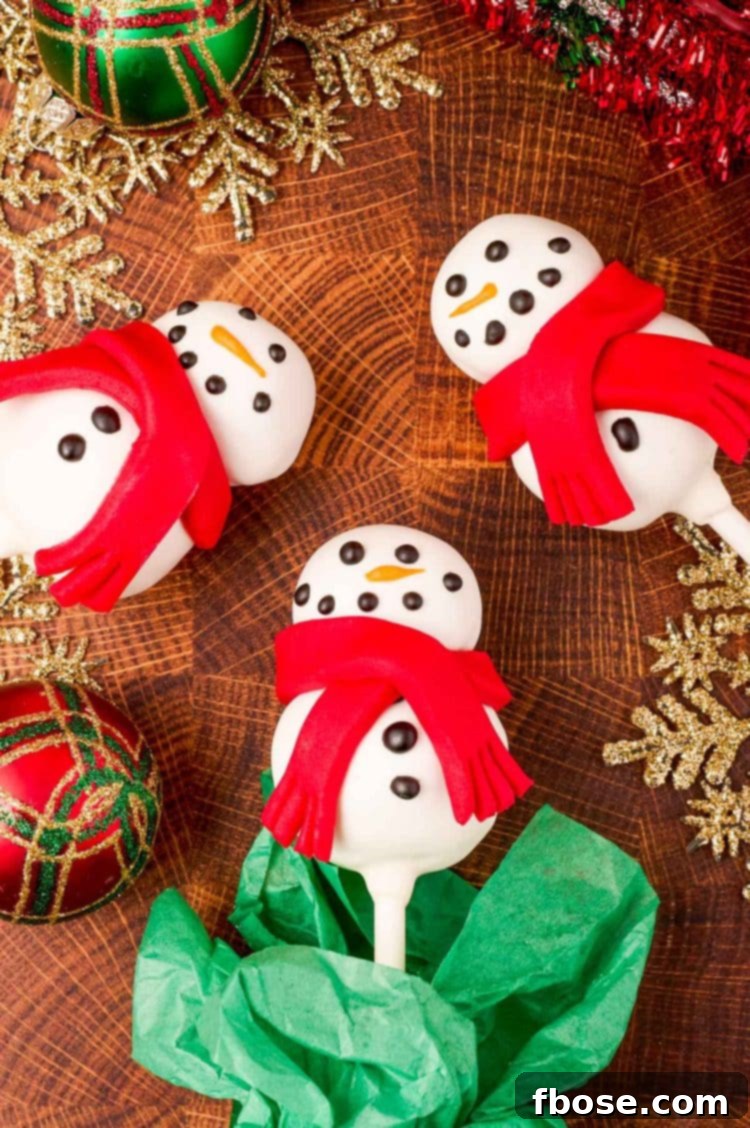
Expert Tips & Tricks for Perfect Snowman Cake Pops Every Time
Creating flawless cake pops can be a breeze with a few insider tips. Follow these guidelines to ensure your snowman creations are not only delicious but also beautifully structured and easy to handle.
- Achieving the Ideal Cake Dough Consistency: When mixing your baked, cooled cake with the frosting, using your hands is highly recommended. This allows you to truly feel the consistency of the “dough.” You’ll know it’s just right when you can roll it into smooth, firm balls that hold their shape without crumbling. If the mixture is too dry, it will fall apart easily, especially when you try to insert the cake pop stick. Conversely, if it’s too wet, the balls will be sticky and lose their form. Add frosting gradually, a tablespoon at a time, until you reach that perfect pliable texture.
- The Crucial Step of Freezing the Cake Balls: Do not skip freezing your rolled cake balls! This step is paramount for success. Popping the cake balls into the freezer for about 15 minutes allows them to firm up significantly. This firmness prevents them from falling apart or losing their shape when dipped into the warm melted chocolate. A well-chilled cake ball provides a stable base for the chocolate coating, ensuring a smooth, even finish.
- Mastering the Art of Dipping: For optimal dipping, a 2-cup measuring cup works wonders. Its depth is ideal for fully submerging your snowman cake pops. When dipping, ensure your melted chocolate is at the right temperature – not too hot to melt the cake, but warm enough to be fluid. Dip the stick into the chocolate first, then insert it into the cake ball to act as a “glue.” Once dipped, gently tap the stick against the rim of your measuring cup while slowly twirling the cake pop. This allows excess chocolate to drip off, preventing puddles at the base and ensuring a sleek coat. Remember, gentle taps are key; too forceful, and your cake pop might crack or detach!
- Strategic Use of a Styrofoam Block for Drying: After dipping, you’ll need a stable place for your cake pops to dry upright. A Styrofoam block is incredibly helpful for this purpose, providing a secure spot to insert the sticks without them toppling over. If a Styrofoam block isn’t readily available, a sturdy cardboard box with small holes poked into it can serve as an excellent alternative. Ensuring your cake pops dry upright is essential for preventing flattened sides and maintaining their perfectly round shape.
- Managing Melted Chocolate for Seamless Dipping: You’ll likely need to work in batches, especially for larger quantities of cake pops. If your melted chocolate starts to thicken or run low, it’s best to melt a fresh batch in a *clean, dry* measuring cup. Any leftover hardened chocolate from a previous batch can cause new melts to become lumpy and difficult to work with. Always ensure your dipping container is pristine before adding fresh candy melts for the smoothest results.
Get Creative: Fun Snowman Cake Pop Variations
While the classic stacked snowman design is undeniably adorable, these versatile cake pops can be adapted into two equally charming, and slightly less labor-intensive, variations. These options offer different aesthetics and can be a fun way to mix up your winter baking!
-
The Single-Ball Snowman: For a quicker, yet equally delightful, approach, you can skip the double-stacked cake balls entirely and opt for a single, larger cake ball for each pop. To create this variation, simply roll all your cake mixture into one size of larger balls. Once dipped and dried, you’ll draw the snowman’s eyes, mouth, and nose directly onto the single ball. These hand-held desserts will resemble the popular snowman cake pops often seen at places like Starbucks during the winter season. They are simple, elegant, and perfect for when you want a festive treat without the extra layering step.
-
The Melting Snowman: This whimsical variation captures the playful essence of a snowman gently melting. To achieve this look, instead of inserting the stick from the bottom, you’ll place the stick at the top of the snowman’s head. After dipping the cake ball in the candy melt, instead of hanging it upright, place it on a sheet of parchment paper and allow it to harden in that position. The melted candy will naturally pool out at the bottom, creating the illusion of a melted base. This gives each cake pop a unique, charmingly imperfect “melted” appearance. Both of these variations still result in exciting and delicious treats but offer a slightly simpler decorating process, making them great choices for busy bakers or younger assistants in the kitchen.
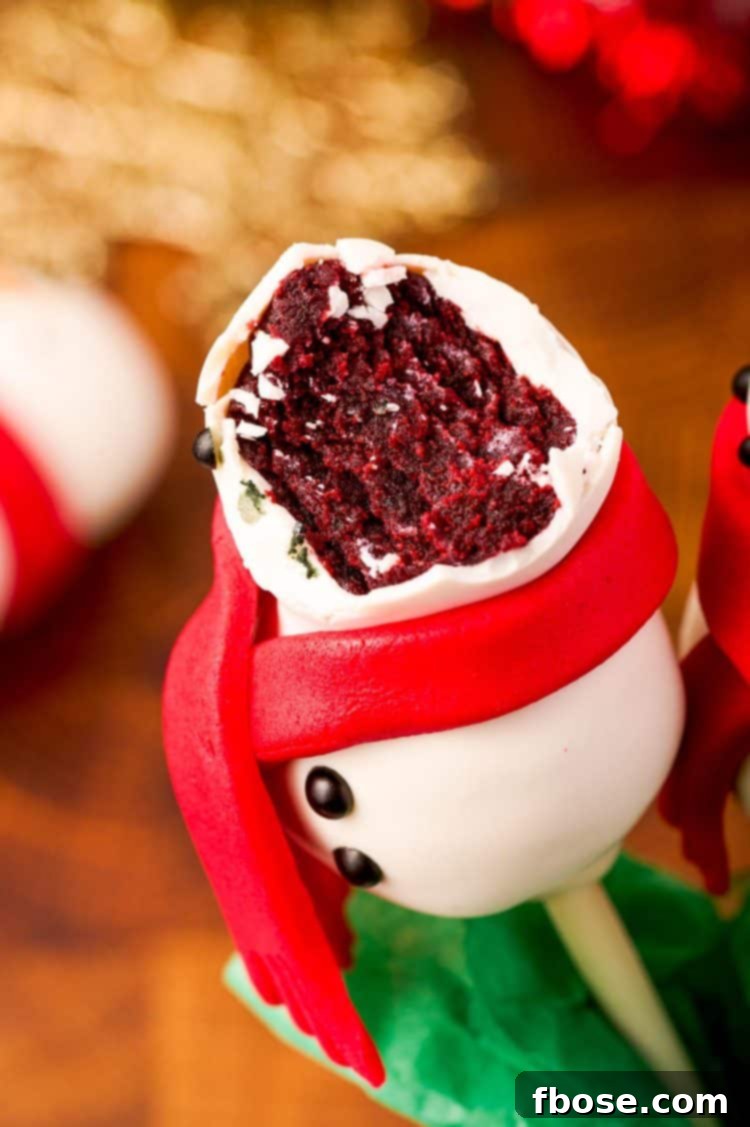
Beyond these cake pops, winter-themed treats are always a hit! From our adorable Snowman Cake Pops to comforting classics, festive desserts bring warmth and cheer. Another crowd-pleasing winter delight is anything featuring hot chocolate. Whether it’s a cozy mug of Crockpot Hot Chocolate or the trendy excitement of Hot Chocolate Bombs, everyone is always thrilled for a taste of that classic cold-weather drink. Consider serving these Snowman Cake Pops alongside a warm beverage for the ultimate winter treat experience.
Common Questions About Snowman Cake Pops (FAQs)
Here are answers to some of the most frequently asked questions about making and storing Snowman Cake Pops, designed to help you troubleshoot and achieve perfect results every time.
How Long Do Cake Pops Last?
The shelf life of your cake pops largely depends on the type of frosting you use. If your recipe includes cream cheese frosting, which requires refrigeration, these cake pops will last for up to 2 weeks when stored in an airtight container in the refrigerator. However, if you opt for a vanilla buttercream frosting or another type made with ingredients that are safe at room temperature, your cake pops can be stored on the counter for 3 to 5 days, also in an airtight container. Always prioritize food safety and good judgment.
Can I Re-Crumble the Cake Ball Mixture If It Falls Apart When Pierced?
Yes, absolutely! It’s a common occurrence, especially for first-timers, to find the cake ball mixture crumbles when trying to insert the stick. Don’t worry, this is easily remedied. Simply re-crumble the entire batch of dough, add a bit more frosting (starting with a tablespoon and adding more if needed), and mix until it reaches the desired pliable consistency. After reshaping the cake balls, remember to pop them back into the freezer for 15 minutes to firm up before attempting to dip them again. Your cake pops will still turn out wonderfully!
What If I Leave the Cake Pops in the Freezer for More Than 15 Minutes?
Leaving the cake pops in the freezer for longer than 15 minutes is generally not an issue, but it’s important to allow them to warm up slightly before dipping. If the cake balls are too cold directly from the freezer and dipped into warm melted chocolate, the extreme temperature contrast can cause the chocolate coating to crack as it dries. To prevent this, simply let your overly chilled cake balls sit on the counter at room temperature for about 5-10 minutes to take off the extreme chill before you begin dipping.
How Do I Prevent Dipped Cake Pops from Dripping Excess Chocolate?
To achieve a smooth, even chocolate coating without unsightly drips, a gentle technique is required. After fully submerging a cake ball in the melted chocolate, lift it out and gently tap the side of the measuring cup with the stick. As you tap, slowly twirl the cake pop. This motion encourages any excess melted chocolate to drip back into the cup, leaving behind a thin, even layer. Remember to be gentle; tapping too hard can cause the cake pop to split, fall off the stick, or create imperfections in the coating.
Can I Use an Electric Mixer to Make the Cake Ball Dough?
Yes, an electric mixer can certainly be used, and it can save you some elbow grease! Use a beat attachment on low speed to crumble the baked cake. Once crumbled, you can continue using the mixer on low speed to incorporate the frosting into the cake crumbles until a uniform dough forms. Just be careful not to overmix, as this can lead to a tougher texture. Manual mixing is often preferred by some for better control over the consistency, but a mixer is a perfectly acceptable tool.
What Are Alternative Ways to Draw the Snowmen Faces On?
While black and orange icing pens are convenient, there are other options for drawing those adorable snowman faces. Decorating gel, for instance, is quite easy to apply and offers good control. However, during testing, it was noted that decorating gel can sometimes have a noticeably thinner appearance compared to traditional icing, meaning you might need to apply multiple layers for a bolder look. Another option, if you’re feeling adventurous, is using finely melted dark chocolate or colored candy melts applied with a toothpick for intricate details. Some specialized candy melt writing pens are also available, but based on past experience with brands like Wilton’s, their performance can be inconsistent, sometimes not working as smoothly as desired.
Can I Just Use Melted Chocolate Chips for Dipping?
While standard chocolate chips can be melted, they are not typically ideal for dipping cake pops. Chocolate chips often contain stabilizers that prevent them from melting into the super-smooth, fluid consistency needed for a perfect cake pop coating. This can result in a thicker, sometimes clumpy, and less aesthetically pleasing shell. Therefore, it’s highly recommended to use white chocolate melting wafers or white candy melts. These products are specifically designed for melting and dipping, providing a beautifully smooth consistency and a better overall finish that also significantly impacts the flavor and texture of your Snowman Cake Pops. Sticking to melting wafers will give you the best results.
Full Recipe: Easy Snowman Cake Pops
Ready to create your own batch of delightful Snowman Cake Pops? Follow this detailed recipe for a fun and rewarding baking experience!
Equipment
- 9×13-inch cake pan
- Cake pop sticks
- Styrofoam block (or a sturdy cardboard box with holes)
- Rolling Pin
- Large mixing bowl
- Measuring cups and spoons
- Baking sheet
- Parchment paper or wax paper
- 2-cup measuring cup (for melting chocolate)
Ingredients
- 1 (15.25oz.) box red velvet cake mix (plus additional ingredients as called for on the box)
- ½ cup cream cheese frosting (you may need an additional ¼ cup)
- 4 cups white chocolate melting wafers or white candy melts
- 1 teaspoon vegetable oil
- Black icing (for eyes and mouth)
- Orange icing (for nose)
- 6 ounces red fondant (for scarves)
Instructions
Cake Preparation
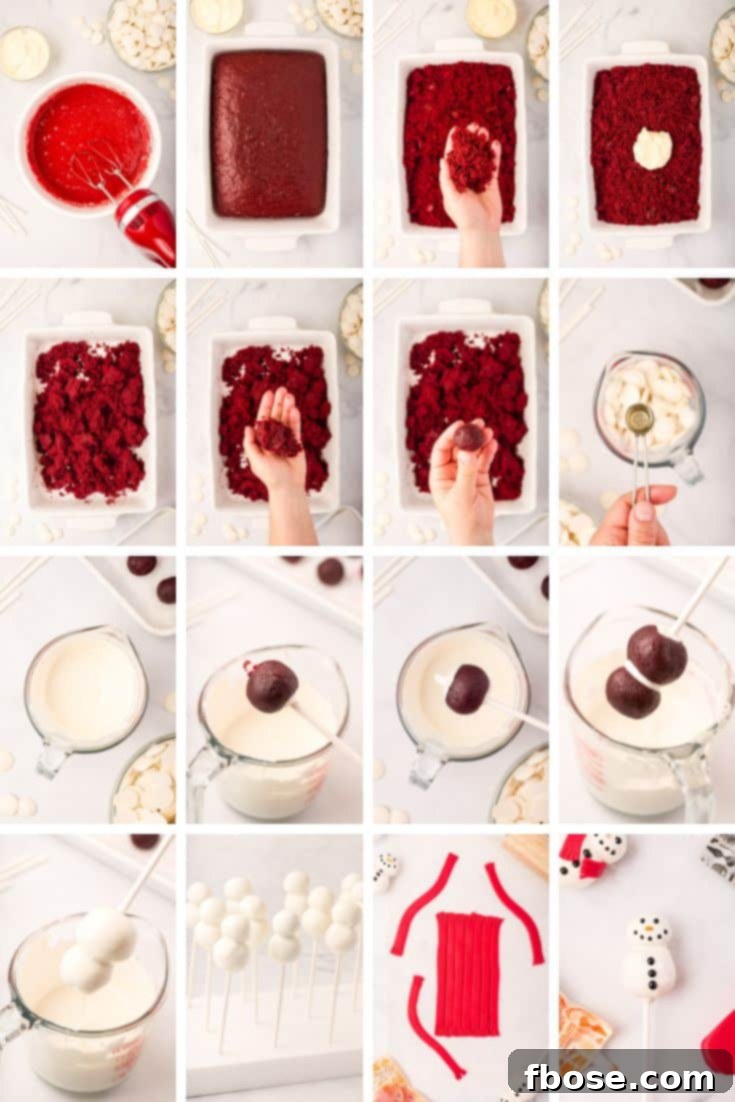
- Bake the red velvet cake according to the box directions in a 9×13-inch pan and allow it to cool completely on a wire rack. This is crucial for the cake pop mixture.
- While the cake cools, prepare a baking sheet by lining it with wax paper or parchment paper. Set this aside, as it will be used for chilling the cake balls.
- Once the cake is fully cooled, crumble it thoroughly into a large mixing bowl using your hands. Ensure there are no large lumps.
- Add ½ cup of cream cheese frosting to the crumbled cake. Using your hands, mix the frosting into the cake crumbles until well combined. The mixture should feel like a thick dough.
- Test the consistency: try rolling a small amount into a smooth ball. If it easily rolls and holds its shape, it’s perfect. If it’s too dry and crumbles, add additional tablespoons of frosting, one at a time, mixing thoroughly after each addition until the desired consistency is achieved.
- Divide the cake mixture and roll half of it into 1-tablespoon-sized balls (these will be the snowman heads) and the other half into 1½-tablespoon-sized balls (for the snowman bodies). You should aim for 18 of each size, totaling 36 balls.
- Place all the rolled cake balls onto the prepared baking sheet. Transfer the baking sheet with the cake balls to the freezer for at least 15 minutes. This chilling process is essential for them to firm up before dipping.
Assembling & Decorating the Snowmen
- In a 2-cup measuring cup, combine half of the white chocolate melting wafers with ½ teaspoon of vegetable oil. Microwave on high for 1½ minutes. Stir well. Microwave for an additional 15 seconds, then stir again until completely smooth. If needed, microwave for another 15 seconds, stirring after each interval, until the chocolate is fluid and lump-free.
- Remove the chilled cake balls from the freezer. Dip the tip of a cake pop stick (about ½-inch) into the melted candy. Immediately insert this stick through the center of one of the larger cake balls (the body), pushing it through until about ¼-inch of the stick protrudes from the top. This chocolate acts as glue.
- Dip the exposed tip of the stick (where it exits the larger ball) into the melted candy. Immediately attach one of the smaller cake balls (the head) onto this stick, pressing gently to secure it.
- Carefully submerge the entire assembled cake pop into the melted candy. Lift the cake pop out, and gently tap the stick against the edge of your measuring cup while slowly twirling the cake pop. This will remove excess chocolate and ensure an even coating.
- Immediately insert the bottom of the cake pop stick into a Styrofoam block to hold it upright as the chocolate dries and hardens.
- Repeat the dipping and assembly process with the remaining cake pops. Approximately halfway through, your melted chocolate might become too thick or run out. At this point, wash and thoroughly dry your measuring cup, or use a fresh one. Melt the second half of your white chocolate melting wafers with the remaining ½ teaspoon of vegetable oil, following the same microwave instructions as before.
- By the time you have finished assembling and dipping the last snowman, the first ones should be sufficiently dry and hardened, ready for decoration.
- Using black icing, carefully draw two small dots for the eyes, and a series of smaller dots or a line for the mouth on each snowman’s face. Then, use orange icing to draw a small triangular shape for the nose.
- To create the scarves, lightly dust your work surface with powdered sugar. Roll out the red fondant to approximately ⅛-inch thickness and ensure it’s at least seven inches long. Cut the rolled fondant into ½-inch wide strips. Trim the edges to ensure clean ½-inch wide by 7-inch long strips.
- Create the fringe for the scarves by making three small, shallow cuts at both ends of each fondant strip.
- Gently wrap each fondant strip around the neck of a snowman cake pop, shaping it to resemble a scarf. You can use a tiny dab of water if needed to help the fondant stick to itself. Continue balling and rolling out any fondant scraps to create enough scarves for all your snowmen.
- Allow all decorations to set completely before serving or packaging.
Notes and Storage Tips
Keep these extra tips in mind for the best cake pop experience:
- Storage: Remember, if your recipe uses cream cheese frosting, these delightful cake pops must be stored in the refrigerator in an airtight container to maintain freshness and safety. They can last up to two weeks this way. If you choose a buttercream frosting made with room temperature-safe ingredients, your cake pops can safely sit on the counter in an airtight container for 3 to 5 days.
- Re-Crumbling Cake Dough: Should your cake mixture crumble when piercing with a stick, don’t despair! Simply re-crumble the entire batch and gradually add more frosting until the dough reaches a pliable, rollable consistency. Always re-chill the newly formed cake balls in the freezer before dipping.
- Freezer Time: Accidentally leaving your cake pops in the freezer for longer than 15 minutes is fine. Just ensure they are allowed to warm up on the counter at room temperature for a few minutes before dipping. This prevents the melted chocolate from cracking due to a significant temperature difference between the cake ball and the coating.
- Preventing Drips: The key to a clean, smooth coating is a gentle technique. After dipping, gently tap the stick of the cake pop against the edge of your measuring cup while twirling it. This encourages excess chocolate to drip off without damaging the cake pop.
- Electric Mixer Use: Yes, an electric mixer equipped with a beat attachment can be used on low speed to crumble the cake and mix in the frosting. This can save time and effort, just be mindful not to overmix.
- Decorating Faces: Experiment with different mediums for drawing the snowman faces. While decorating gel is an option, it may appear thinner than traditional icing. Alternatively, fine-tipped edible markers or even a small paintbrush with melted chocolate can offer precise details.
- Chocolate for Dipping: For the best results in terms of both flavor and smooth consistency, always opt for white chocolate melting wafers or high-quality candy melts. Standard chocolate chips typically do not melt to the ideal fluidity required for a perfect cake pop coating.
- Fun Snowman Cake Pop Variations: Beyond the traditional stacked snowman, you can create single-ball snowmen (like those from Starbucks) by rolling larger balls and decorating them, or “melting” snowmen by placing the stick at the head and allowing the chocolate to pool at the base on parchment paper as it hardens. Both offer exciting and delicious alternatives with slightly less effort.
Nutrition Information
Each Snowman Cake Pop (approximately 18 servings per recipe) contains:
Calories: 150kcal | Carbohydrates: 20g | Protein: 0.01g | Fat: 8g | Saturated Fat: 6g | Polyunsaturated Fat: 1g | Monounsaturated Fat: 0.4g | Sodium: 41mg | Potassium: 3mg | Fiber: 0.001g | Sugar: 20g | Vitamin A: 0.002IU | Calcium: 0.4mg | Iron: 0.02mg
Connect With Us!
If you’ve tried this fantastic recipe, we’d love to hear from you! Please let us know how you liked it in the comments below and consider leaving a review. Your feedback is invaluable to us and helps our community grow!
Don’t forget to tag us – @sugarandsoulco – on Instagram and Pinterest with your beautiful photos. You can also join our Sugar & Soul Show-offs Community on Facebook and share your creations there, where you can also participate in our fun recipe challenges!