
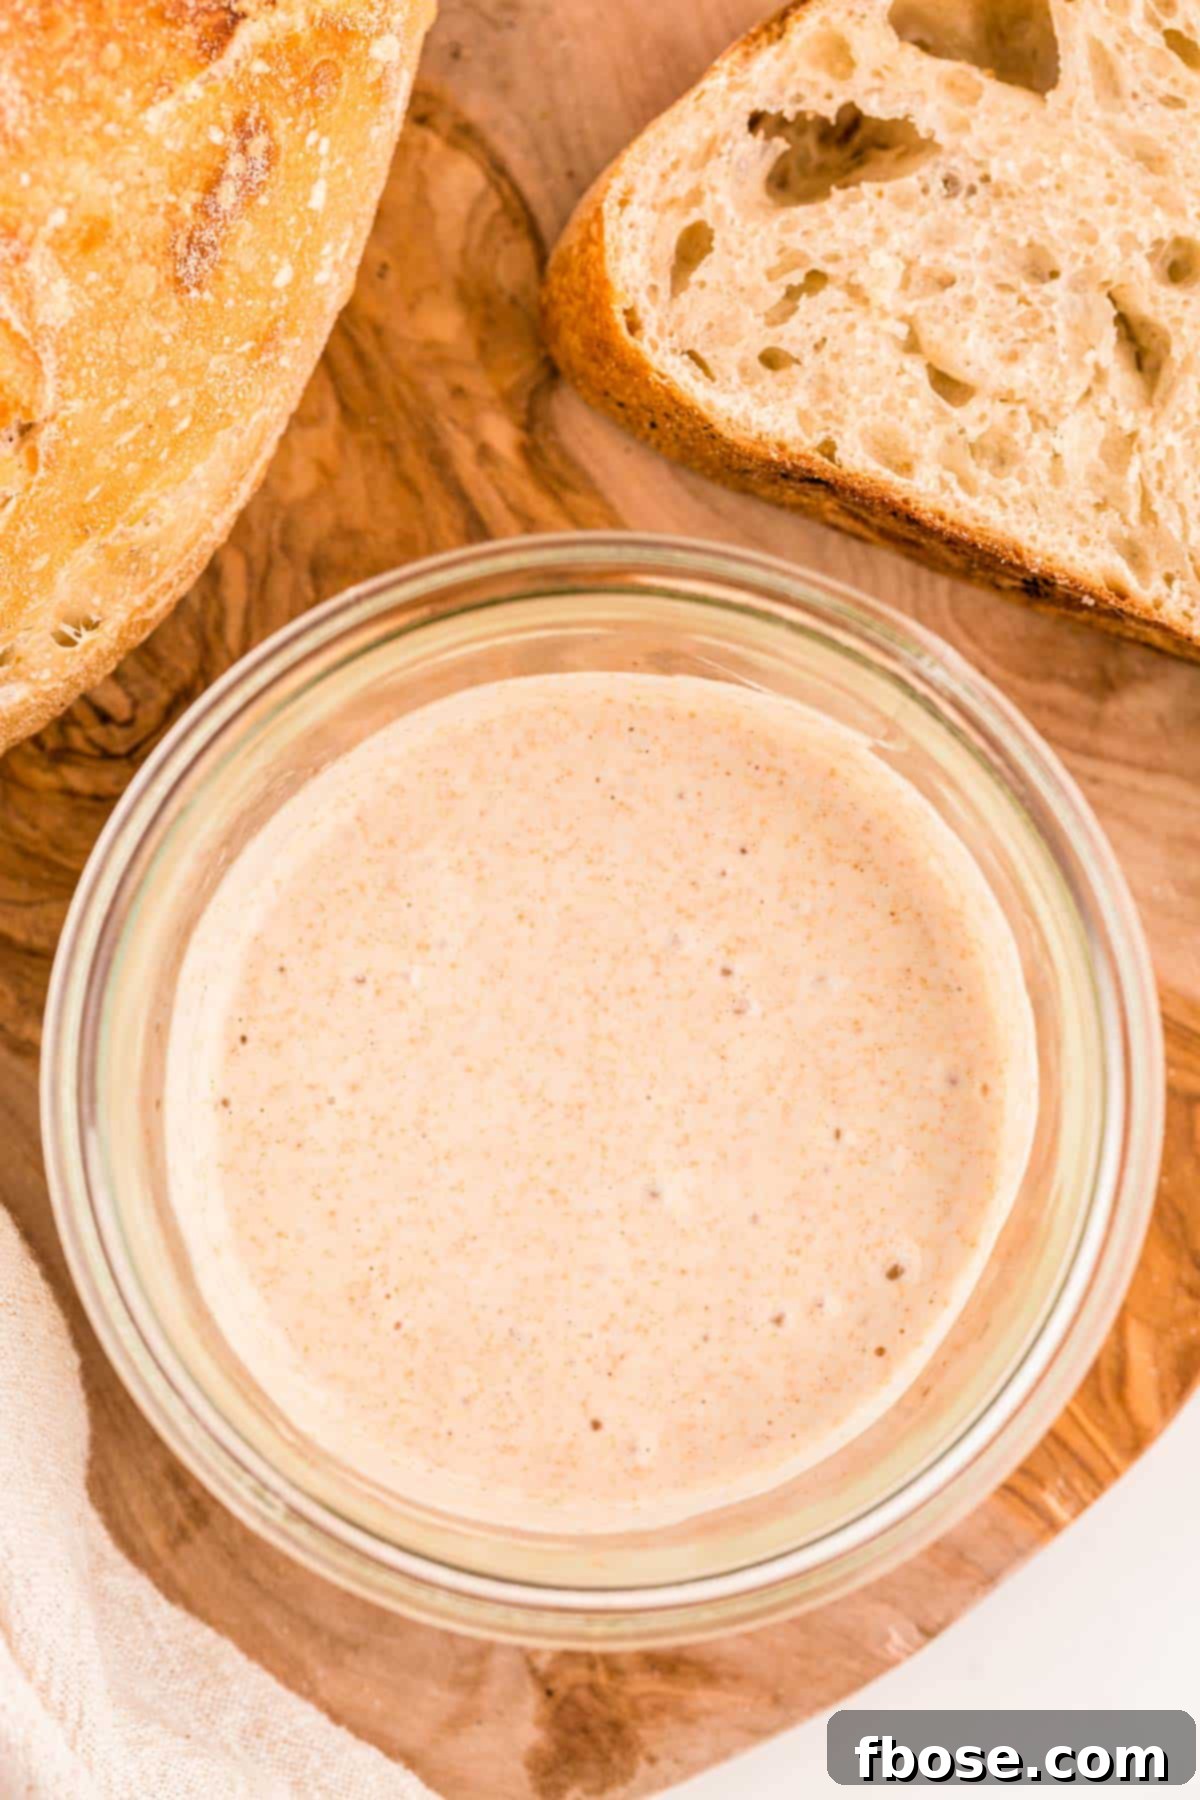
Creating a Sourdough Starter is an incredibly rewarding journey, offering you a living ingredient that elevates your baking with unparalleled flavor and texture. This comprehensive guide provides step-by-step instructions with clear photos, making it easy for even beginners to cultivate a robust and active starter for all their favorite sourdough recipes. The commitment is minimal, requiring only about 10 minutes of feeding twice a day for a vibrant, thriving culture.
Once you’ve mastered your starter, you’ll unlock a world of delicious homemade baked goods. Be sure to explore other beloved bread recipes like my irresistibly fluffy Classic Homemade Bread or the beautifully braided and lightly sweet Challah Bread.
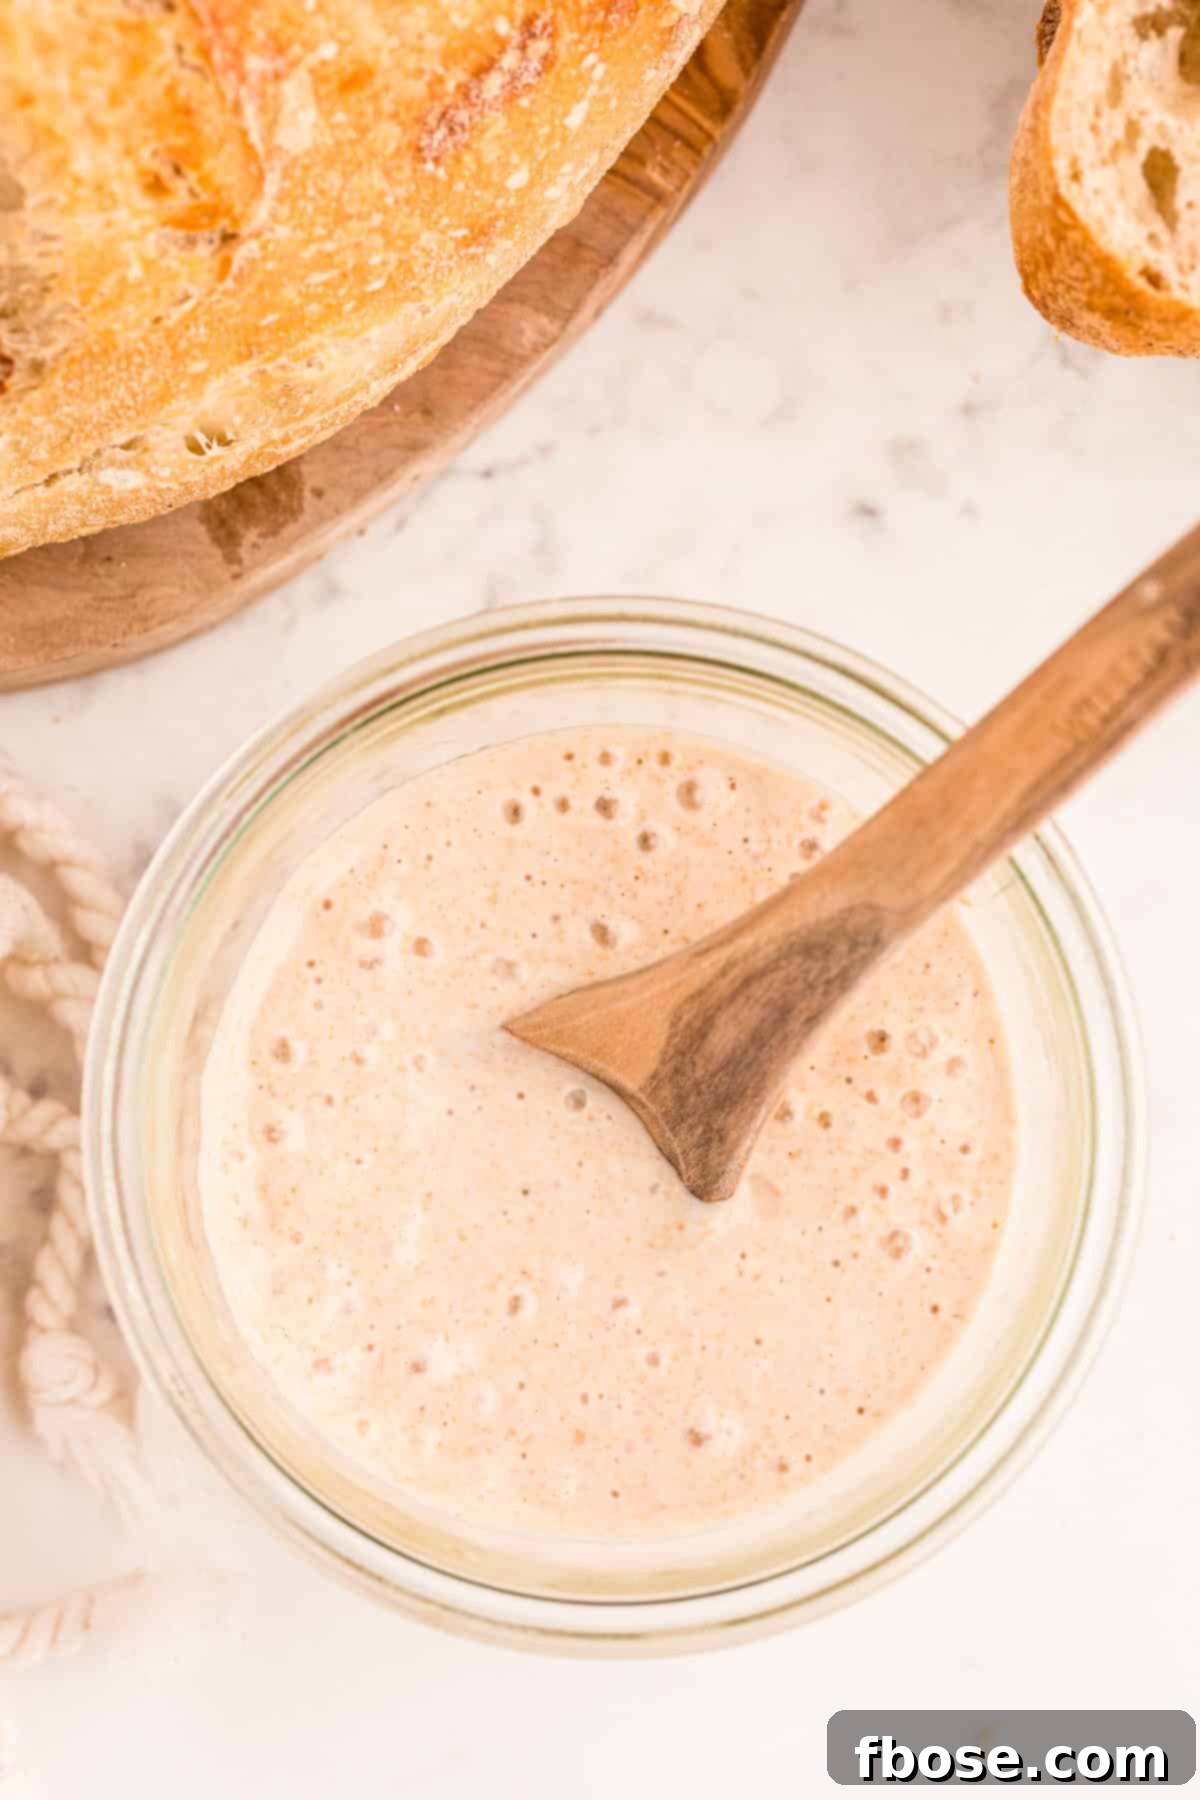
This easy-to-follow Sourdough Starter Recipe thoroughly guides you through the entire process, from initiating your starter from scratch to consistent feeding and long-term maintenance. A healthy, active, and well-maintained sourdough starter is the cornerstone of exceptional sourdough baking, empowering you to produce artisanal-quality bread, versatile pizza dough, delectable homemade pretzels, and so much more, right in your own kitchen.
The past few years have highlighted the occasional inconvenience of relying solely on commercial yeast. By cultivating your own Sourdough Starter, you gain culinary independence, ensuring you can always enjoy fresh, wholesome loaves of bread, fluffy rolls, and other baked delights, regardless of what’s available on store shelves. Beyond practicality, there’s an immense satisfaction that comes from creating something so fundamental and flavorful with just flour, water, and time.
What Is A Sourdough Starter?
At its heart, a Sourdough Starter is a dynamic, living culture crafted from a simple blend of flour and water. Over time, this mixture naturally captures and cultivates ‘wild yeast’ and beneficial bacteria present in the environment and in the flour itself. These microorganisms work in harmony to ferment the sugars in the flour, producing carbon dioxide gas that acts as a natural leavening agent. This process not only causes baked goods to rise beautifully but also imparts the distinctive tangy flavor and chewy texture synonymous with authentic sourdough.
One of the most appealing aspects of maintaining a Sourdough Starter is its low-maintenance nature. It typically requires just 10 minutes or less of your time, twice a day, for feeding. This small investment of time yields incredibly flavorful and often more digestible baked goods that are sure to impress everyone. The unique flavor profile, ranging from subtly tangy to robustly sour, is a hallmark of truly authentic sourdough, a taste that commercial yeast simply cannot replicate.
Furthermore, managing a sourdough starter produces ‘discard’ – the portion removed before each feeding. Far from being waste, this discard is a valuable ingredient that can be creatively incorporated into a myriad of other recipes. Imagine transforming it into light and airy dinner rolls, decadent cinnamon rolls, crispy crackers, fluffy pancakes, or tender muffins. This ingenious use of discard not only minimizes waste but also expands your repertoire of delicious homemade treats, offering endless possibilities for culinary exploration.
Essential Ingredients for Your Sourdough Starter
Embarking on your sourdough journey requires just a few fundamental ingredients, many of which you likely already have in your pantry. Simplicity is key to this ancient culinary art:
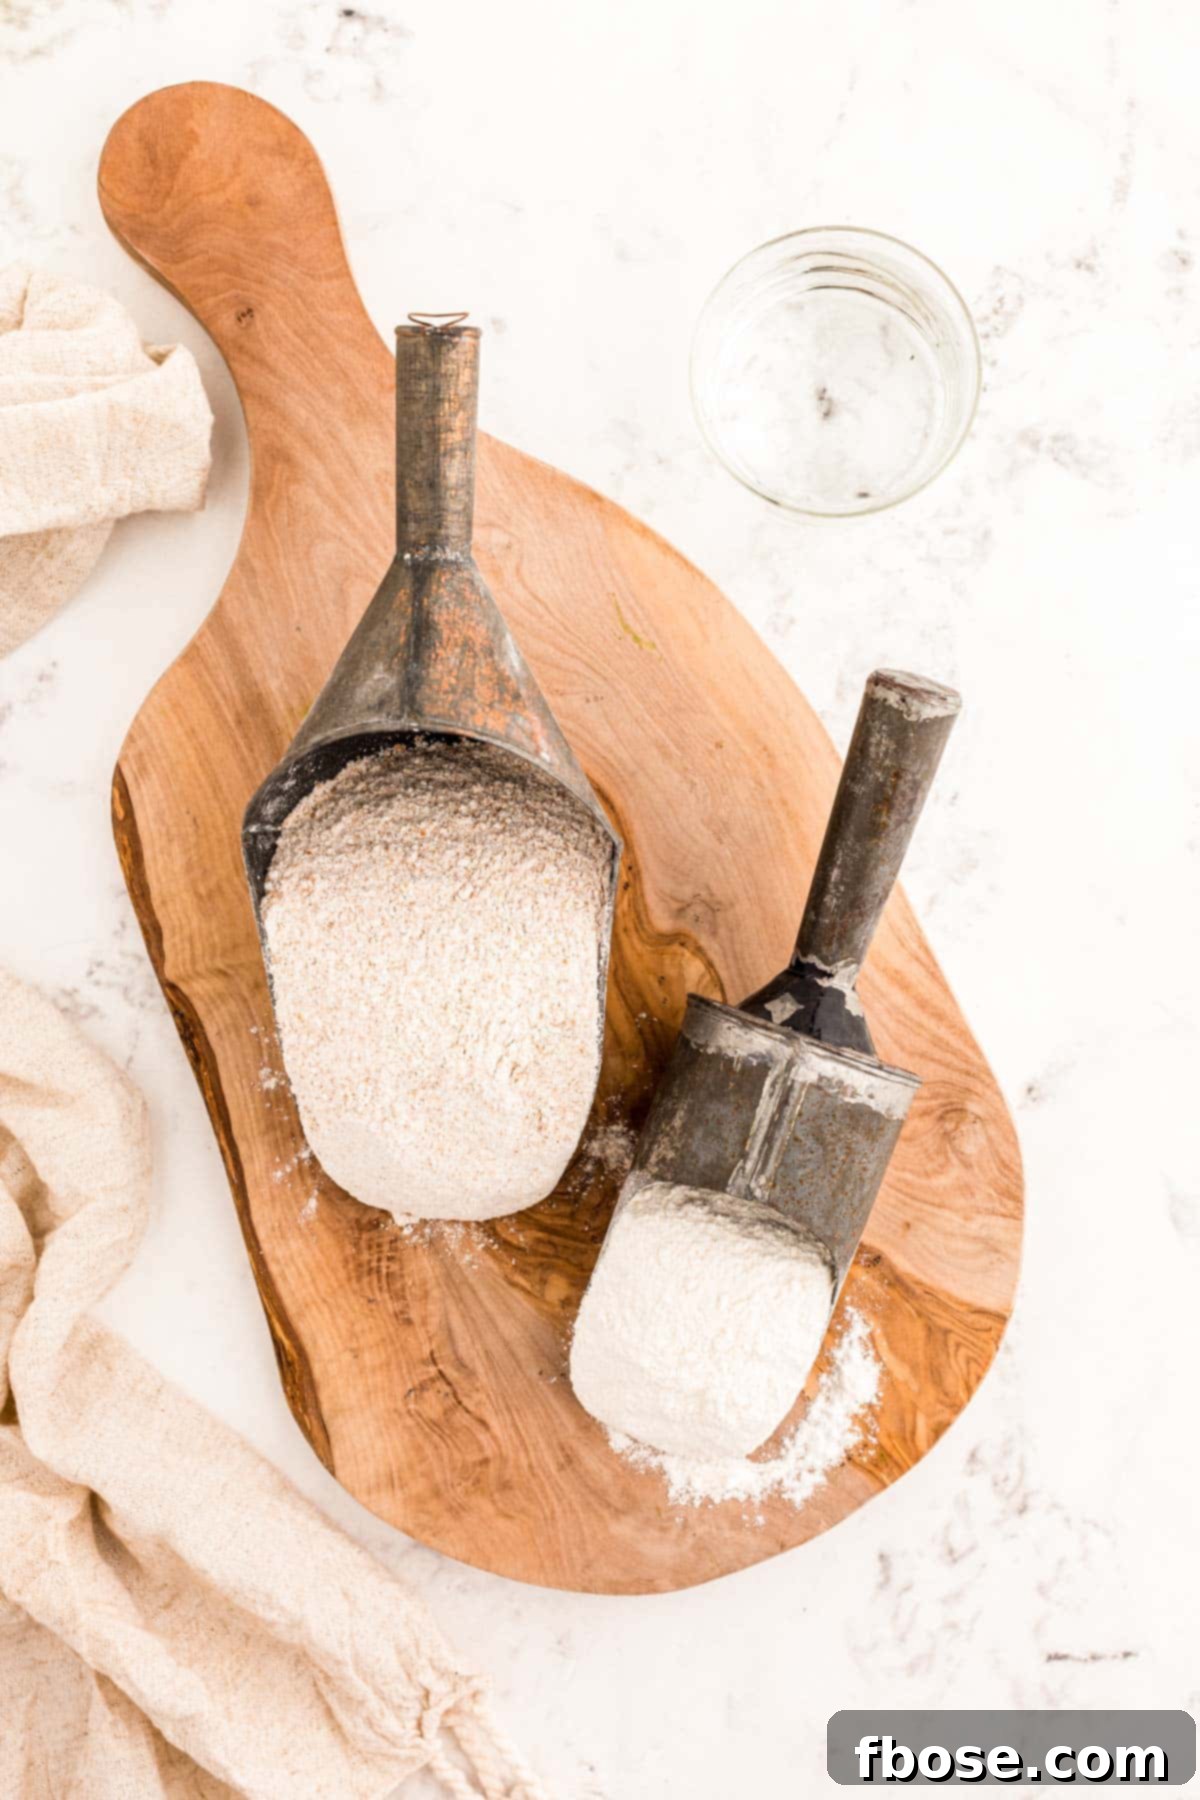
- Whole Wheat or Rye Whole Grain Flour: These flours are highly recommended for jump-starting your sourdough starter. The reason lies in their composition; whole grain flours retain the bran and germ, which are rich in natural wild yeasts and beneficial bacteria. This abundance of microorganisms provides a nutrient-dense environment, making it much easier for your starter to establish a robust and active culture during its initial days. You’ll find that these flours kickstart fermentation more reliably than refined flours.
- All-Purpose Flour: After the initial few days, once fermentation has visibly begun and your starter shows consistent activity, you can gradually introduce all-purpose flour. Many bakers find that a 50/50 blend of all-purpose flour and whole wheat (or rye) flour works exceptionally well for routine feedings. All-purpose flour is typically more consistent and can help maintain a balanced, active starter, while the whole grain flour continues to contribute diverse microbial life.
- Filtered Water: This ingredient is absolutely critical for the success of your sourdough starter. Tap water, particularly city tap water, often contains chlorine or chloramines, which are potent sanitizers designed to kill microorganisms. Unfortunately, these chemicals can also inhibit or completely destroy the delicate wild yeast and bacteria you are trying to cultivate in your starter, leading to slow or failed fermentation. For the best and most reliable results, I strongly recommend using filtered water, bottled spring water, or specifically distilled water. These options ensure a clean, chemical-free environment where your yeast can thrive. You can easily find inexpensive gallons of distilled water at most grocery stores.
In addition to these core ingredients, a few kitchen essentials will make the sourdough starter process seamless and successful:
- Kitchen Scale: A digital kitchen scale is not merely a recommendation but a crucial tool for sourdough baking. Unlike volume measurements (cups), which can vary significantly depending on how loosely or densely flour is packed, a scale provides precise weight measurements. This accuracy is vital for maintaining consistent ratios of flour, water, and starter, which in turn leads to a more reliable, healthy, and active culture. Investing in a kitchen scale (affiliate link) will dramatically improve the consistency and quality of your sourdough.
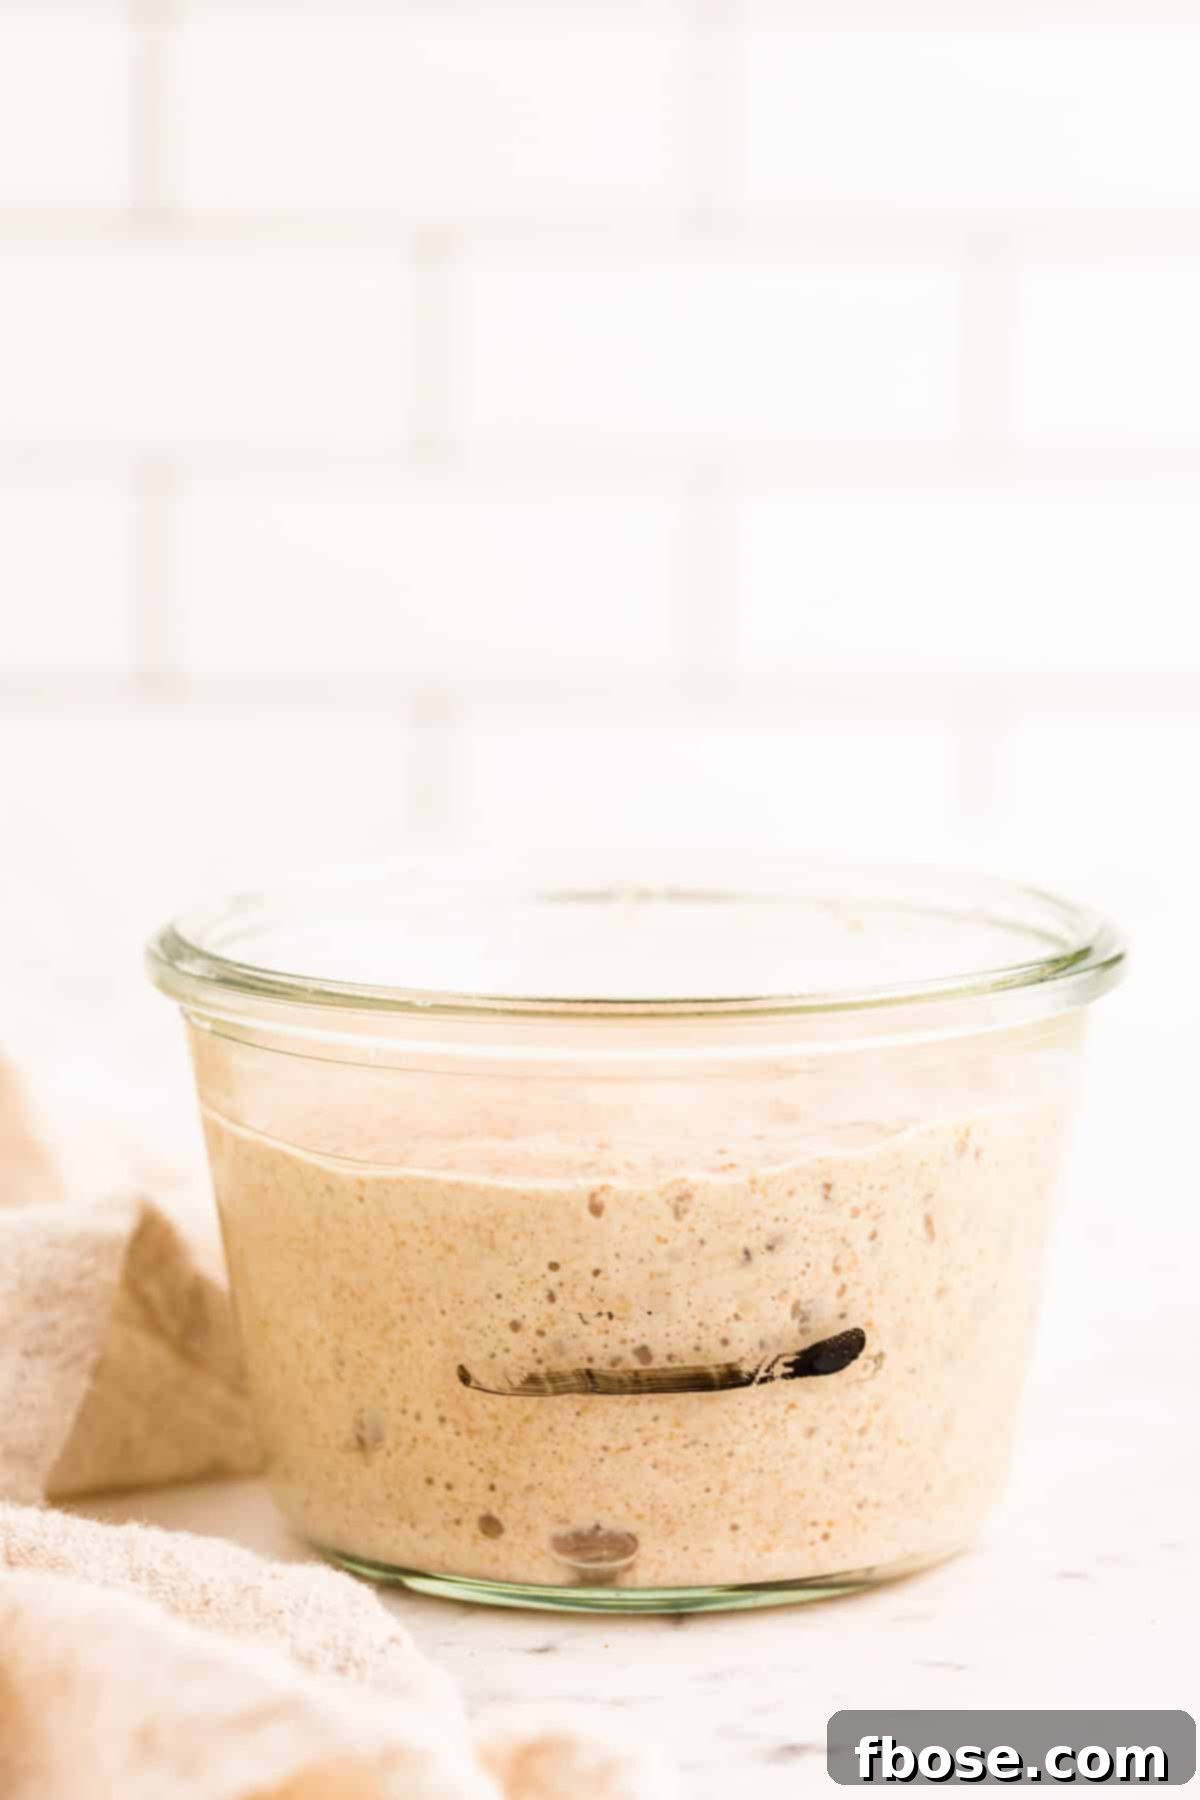
- Clean Jar: The choice of container plays a role in monitoring your starter’s progress. I prefer using a tall glass jar with straight sides. This design allows you to easily mark the outside of the jar with a dry-erase marker (or a rubber band) to visually track how much the mixture rises between feedings. Observing this activity is key to understanding your starter’s health and readiness. Furthermore, a wide-mouth jar is essential for ease of stirring and for the simple removal of discard. Excellent options include a Weck Canning Jar or standard Wide Mouth Mason Jars. For a complete setup, consider a dedicated Sourdough Starter Tool Kit (affiliate links).
- Plastic Wrap or Loose Lid: While plastic wrap is an effective way to cover the top of your glass jar between feedings, ensuring it doesn’t dry out, other options like a loose-fitting lid or even a breathable cloth secured with a rubber band can also work. The goal is to protect the starter from contaminants while allowing some air exchange, which is beneficial for the developing wild yeast and bacteria.
How To Build Your Sourdough Starter From Scratch: A Daily Guide
Embarking on the creation of your own sourdough starter is an exciting and relatively simple process that unfolds over several days. Patience and consistent care are your most valuable tools. Here’s a detailed daily guide:
Day One: The First Stir
Begin your journey by combining equal parts of whole wheat or rye flour and filtered water in a small, clean bowl. For example, use 50 grams of flour and 50 grams of water. These whole grain flours are preferred for their higher microbial content, which helps kickstart the fermentation. Stir the ingredients thoroughly until a thick, even paste forms, ensuring there are no dry pockets of flour left. The mixture should have a consistency similar to thick pancake batter. Once mixed, cover the bowl tightly with plastic wrap to prevent drying and contamination. Place your covered bowl in a warm room temperature location in your home, ideally between 70-78°F (21-26°C), and away from drafts. At this stage, you likely won’t see much activity, but the wild yeasts are beginning their work.
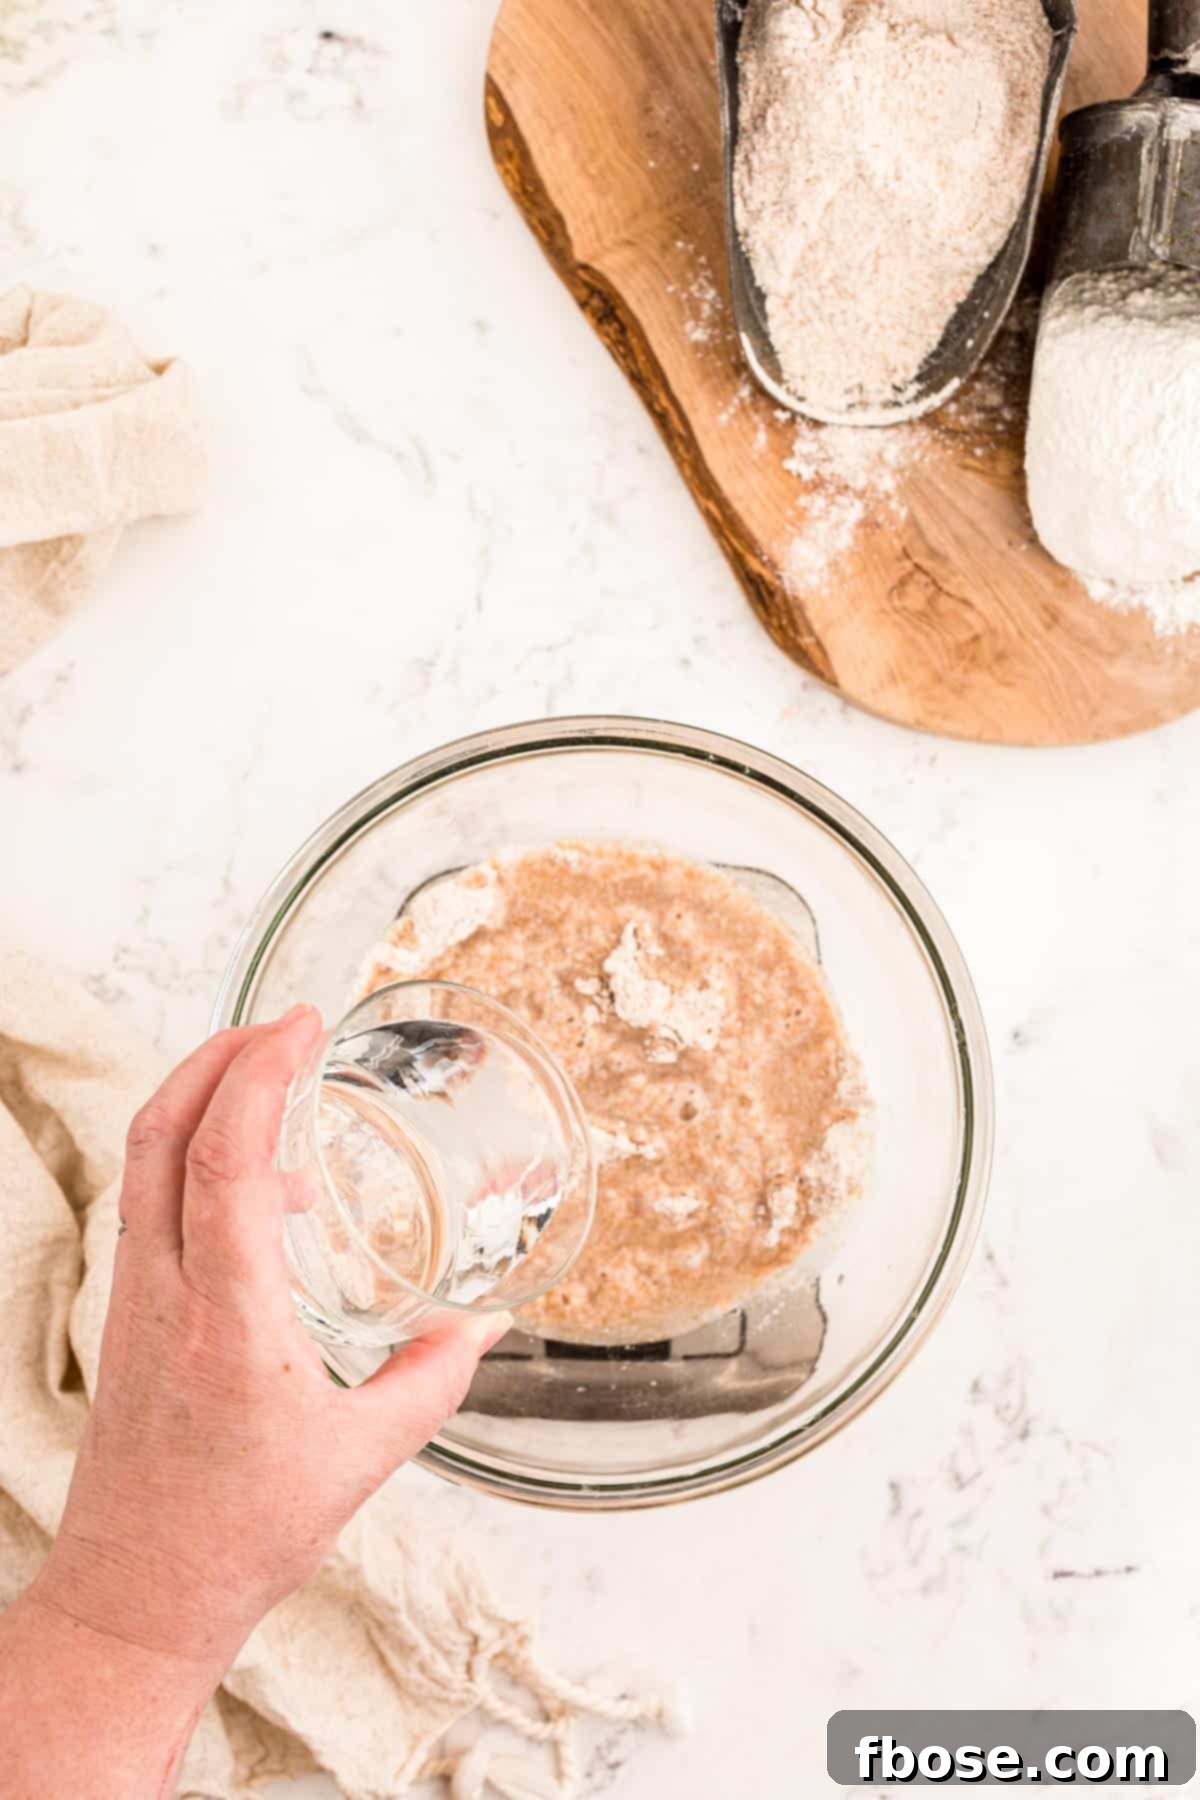
After stirring, it’s crucial to seal the mixture effectively to create a micro-environment conducive to fermentation. Plastic wrap is ideal as it traps moisture and the gases produced, while also protecting the nascent starter from airborne contaminants. A warm, consistent temperature is vital; think of a cozy spot on your kitchen counter, away from open windows or air conditioning vents. Resist the urge to peek too often or move it around excessively. Let nature take its course.
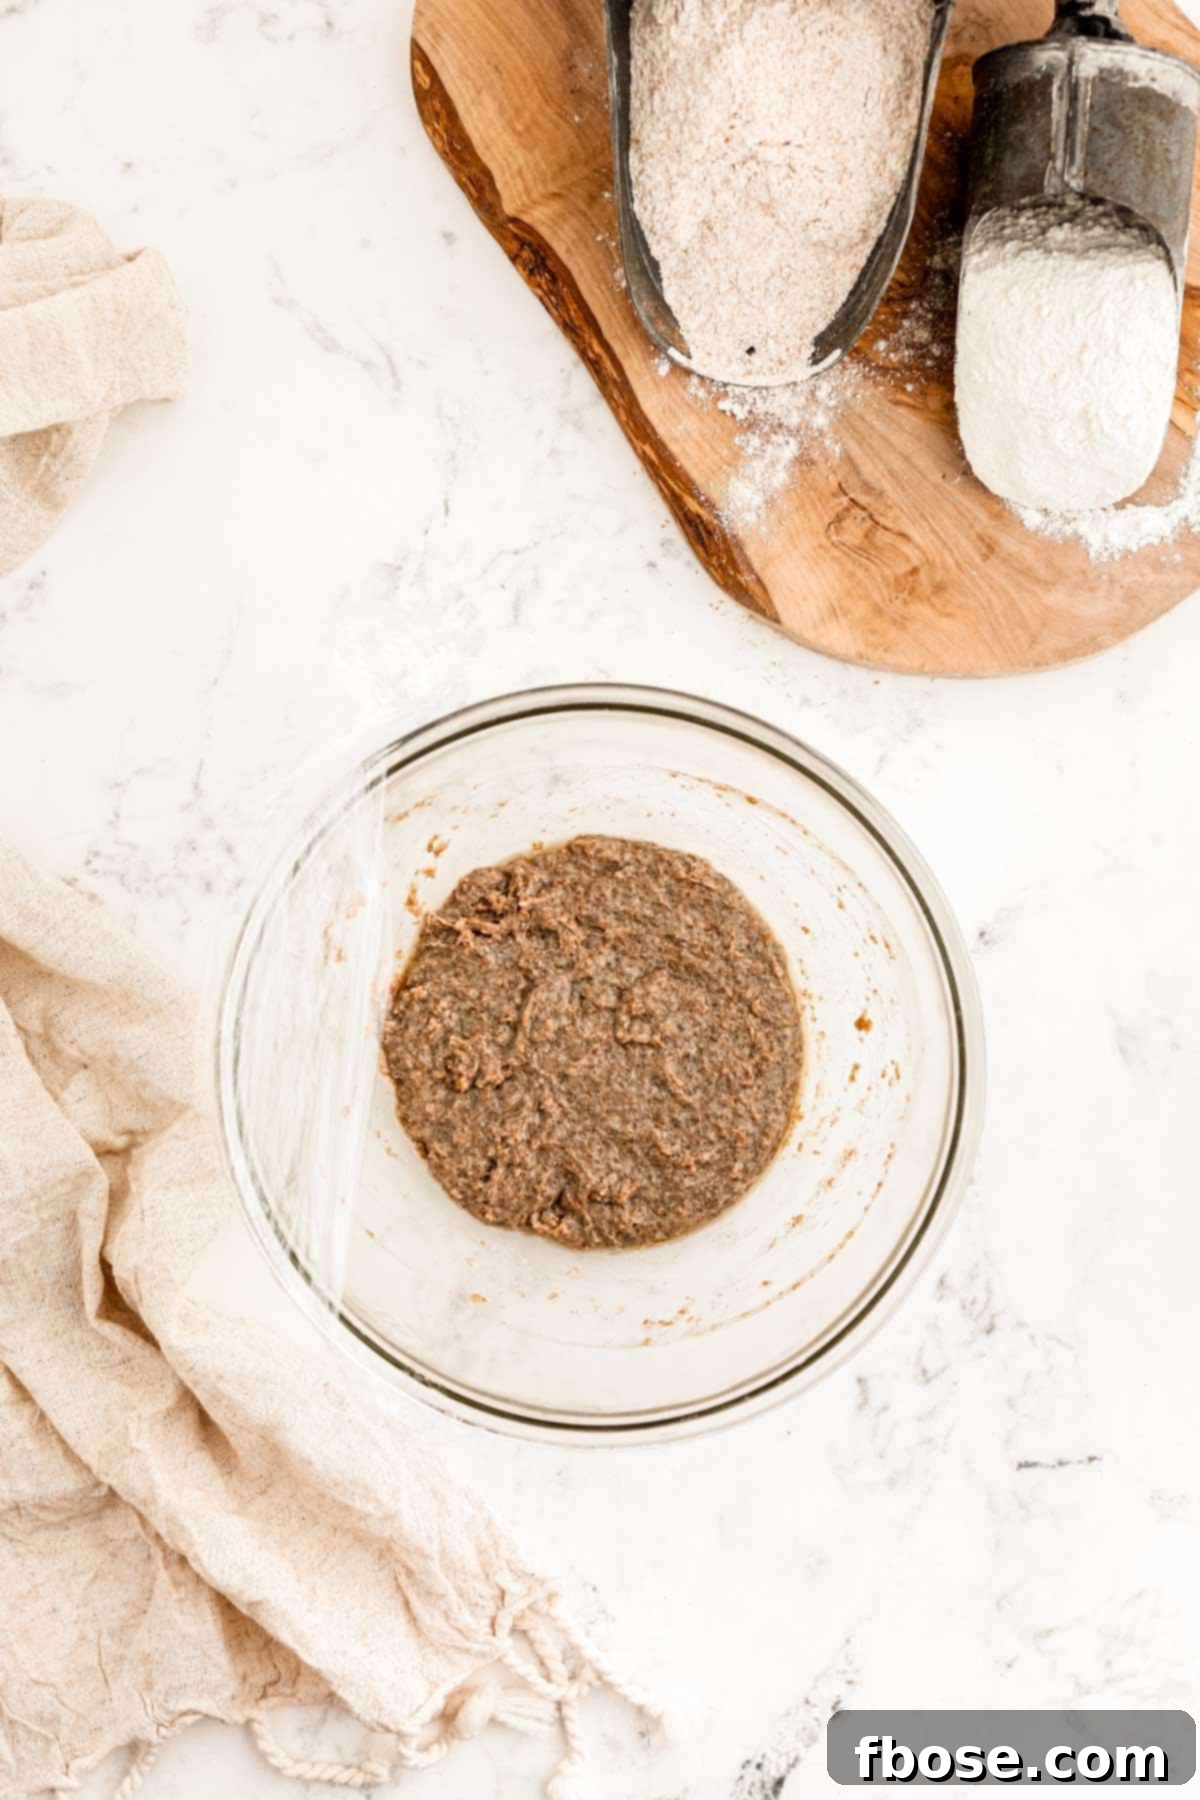
Day Two: The First Refresh
Approximately 24 hours after your initial mix, it’s time for the first feeding. Stir the starter mixture thoroughly. You might notice some tiny bubbles, a slight rise, or a faint, slightly sweet or yeasty aroma – these are all positive signs of initial activity. Next, remove 100 grams of the mixture to a clean, suitable glass jar (as discussed in the equipment section). This 100-gram portion is what you will continue to cultivate. The remaining mixture in the old container is referred to as ‘discard’. While it can be thrown away, it’s also excellent for use in various “discard recipes” such as pancakes, crackers, or even tempura batter, so consider saving it!
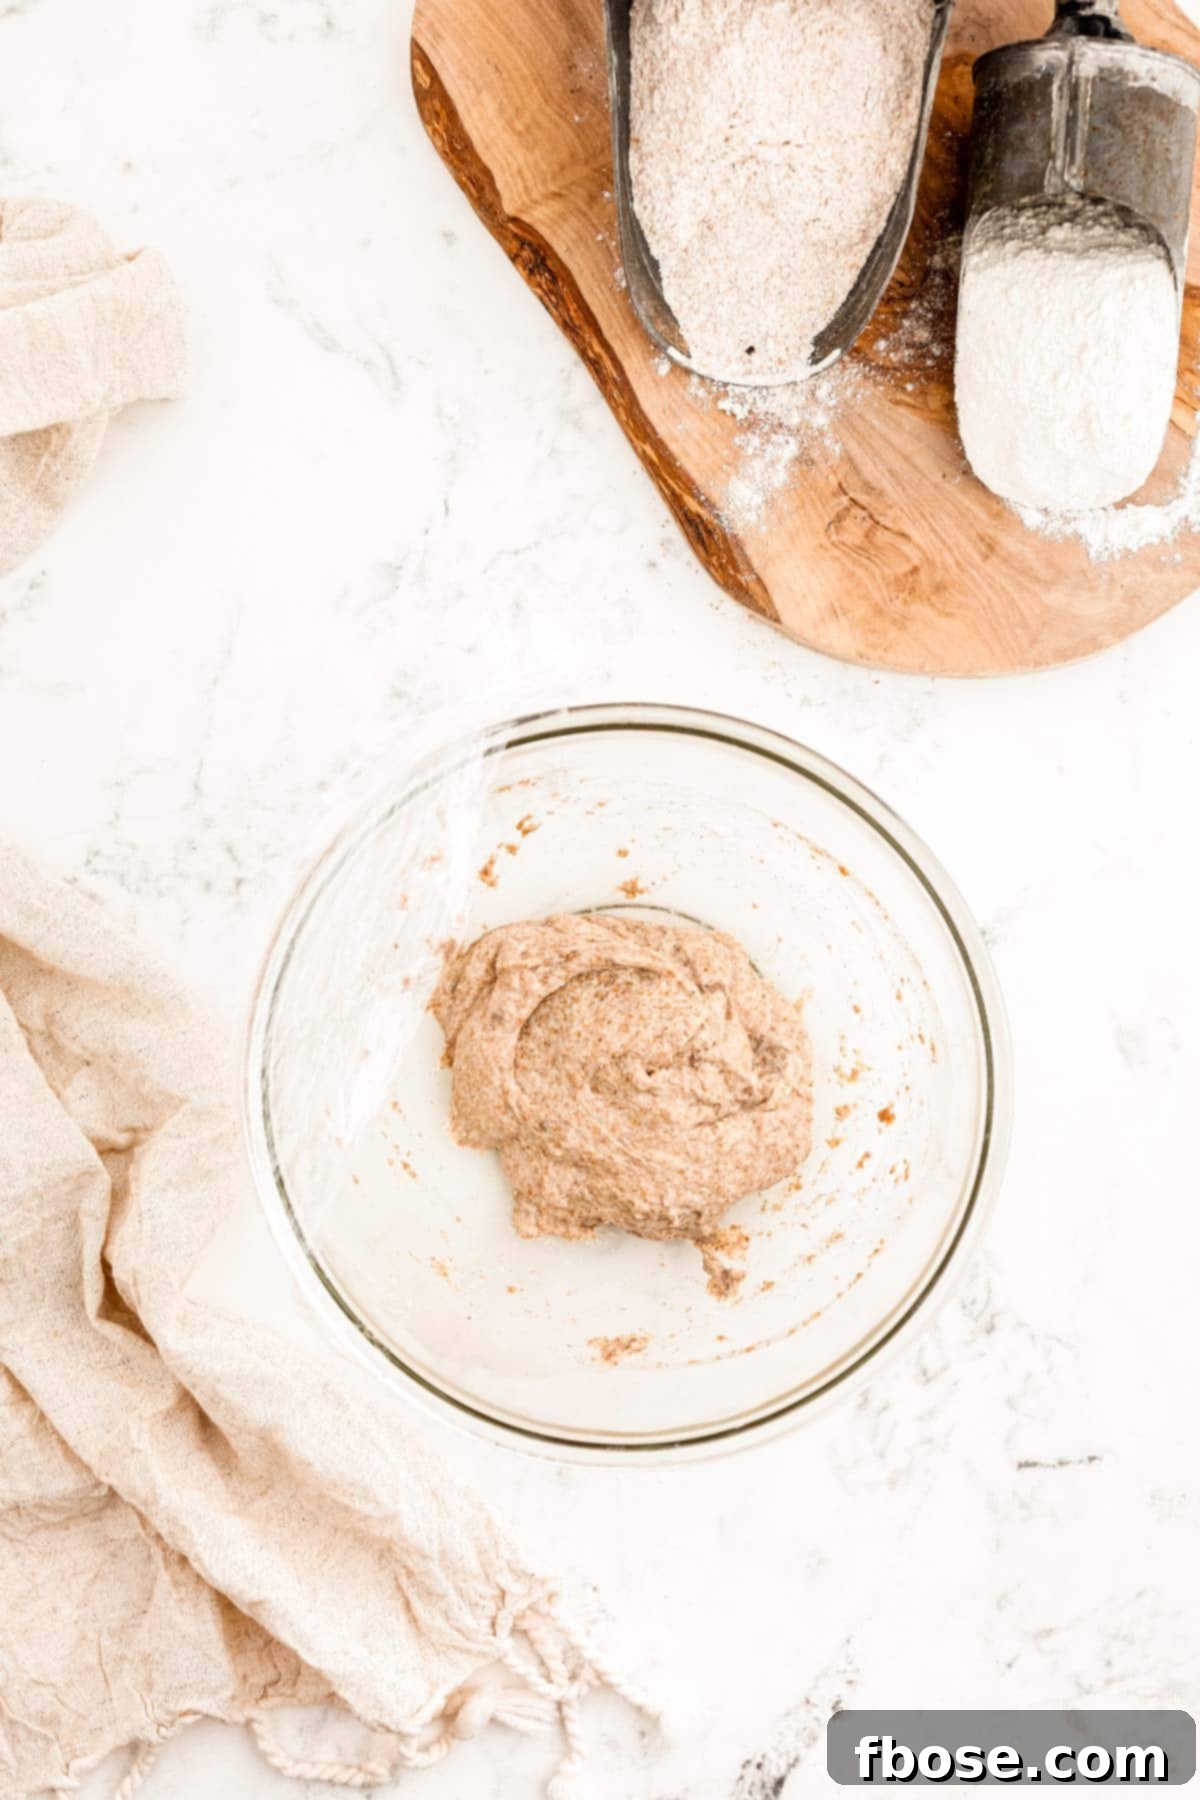
To the 100 grams of starter in your new clean jar, add 100 grams of fresh flour (you can continue with whole wheat/rye or start a 50/50 mix with all-purpose) and 100 grams of filtered water. Stir vigorously until completely combined and smooth. Re-cover the jar tightly with plastic wrap or a loose lid, and return it to the same warm, room temperature spot for another 24 hours. This daily feeding routine, where you discard a portion and replenish with fresh flour and water, is crucial for strengthening the yeast colony and developing the starter’s characteristic flavor.
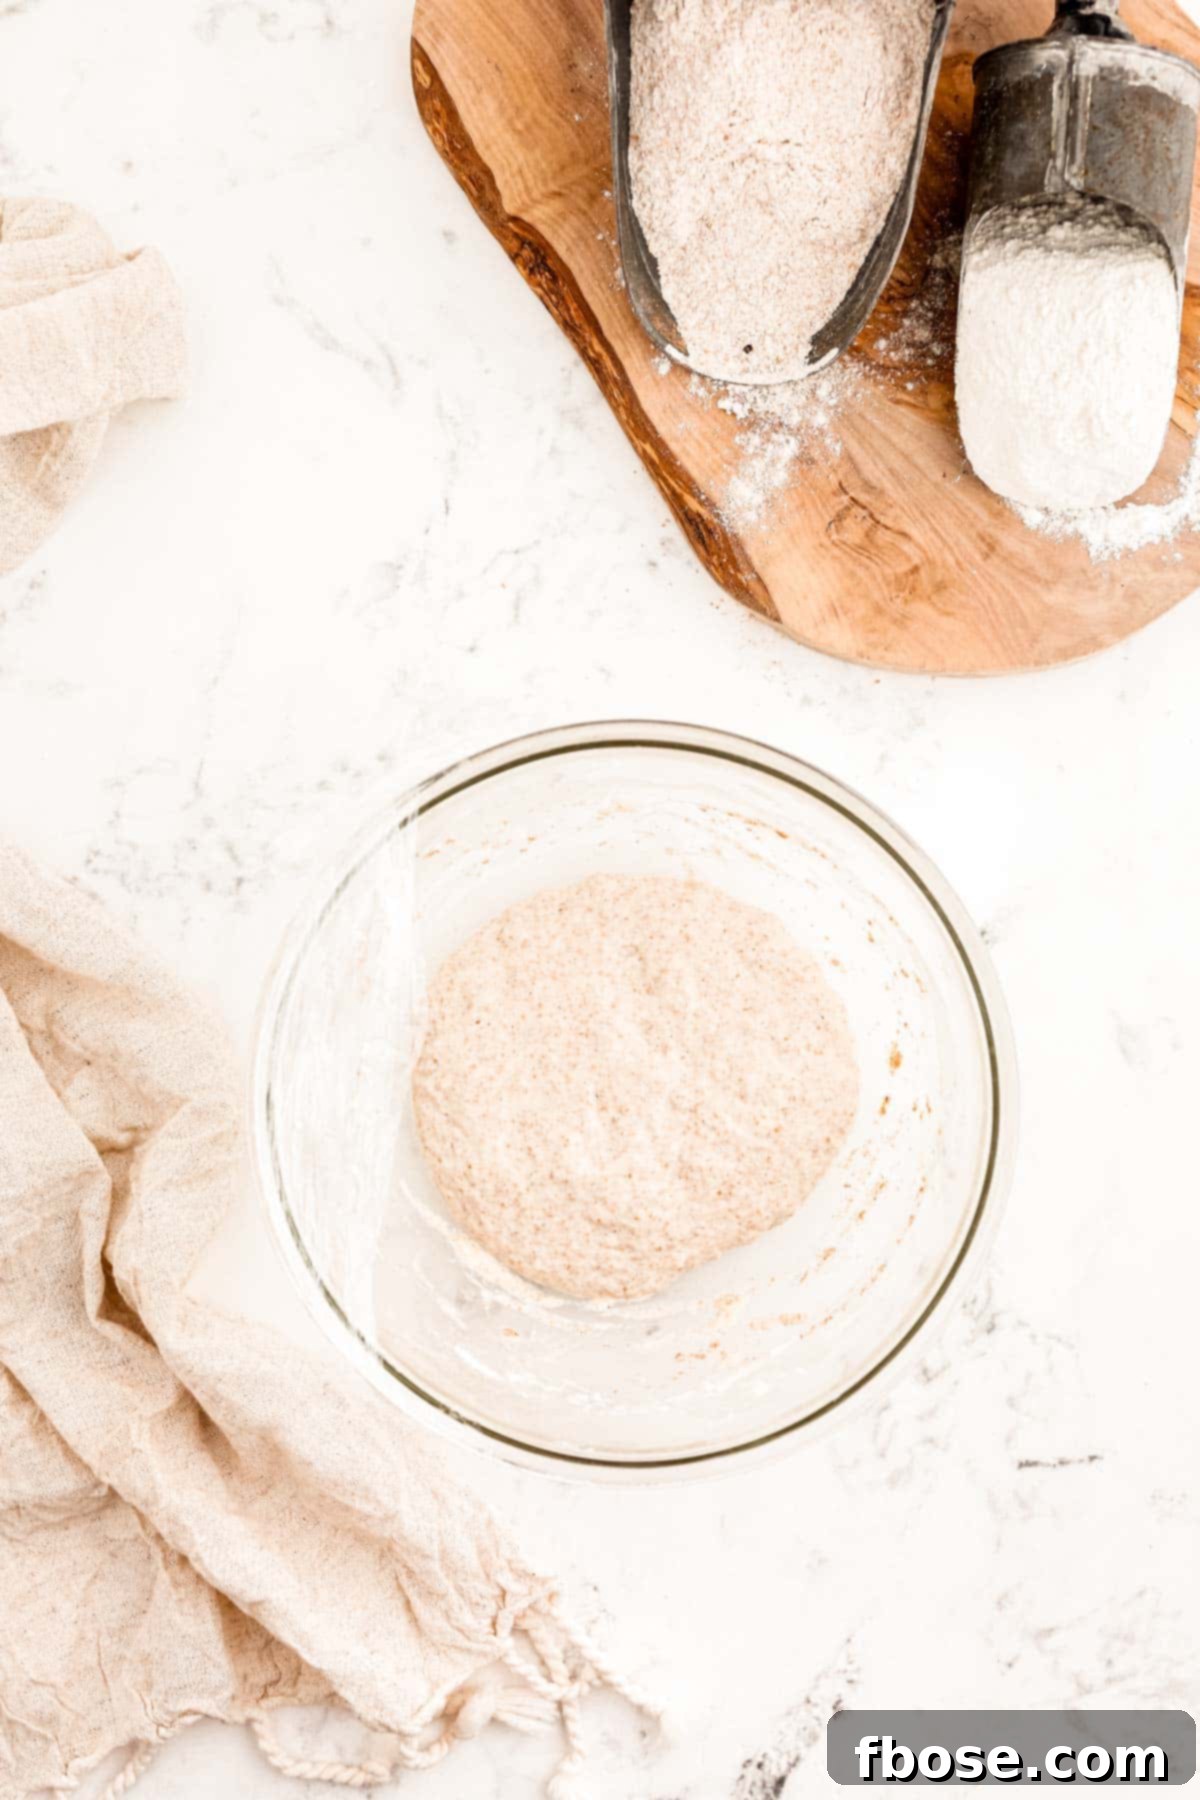
Day Three (and Four): Visible Fermentation and Twice-Daily Feeds
By day three, or sometimes day four, you should begin to observe much more significant signs of the fermentation process. Look for numerous bubbles actively forming on the surface and throughout the mixture. You should also notice a distinct, pleasant aroma – it might be slightly sour, yeasty, or even a bit fruity, indicating a healthy and active yeast population. This is the critical juncture when you will transition to feeding your starter twice a day, typically every 12 hours, to encourage robust growth and activity.
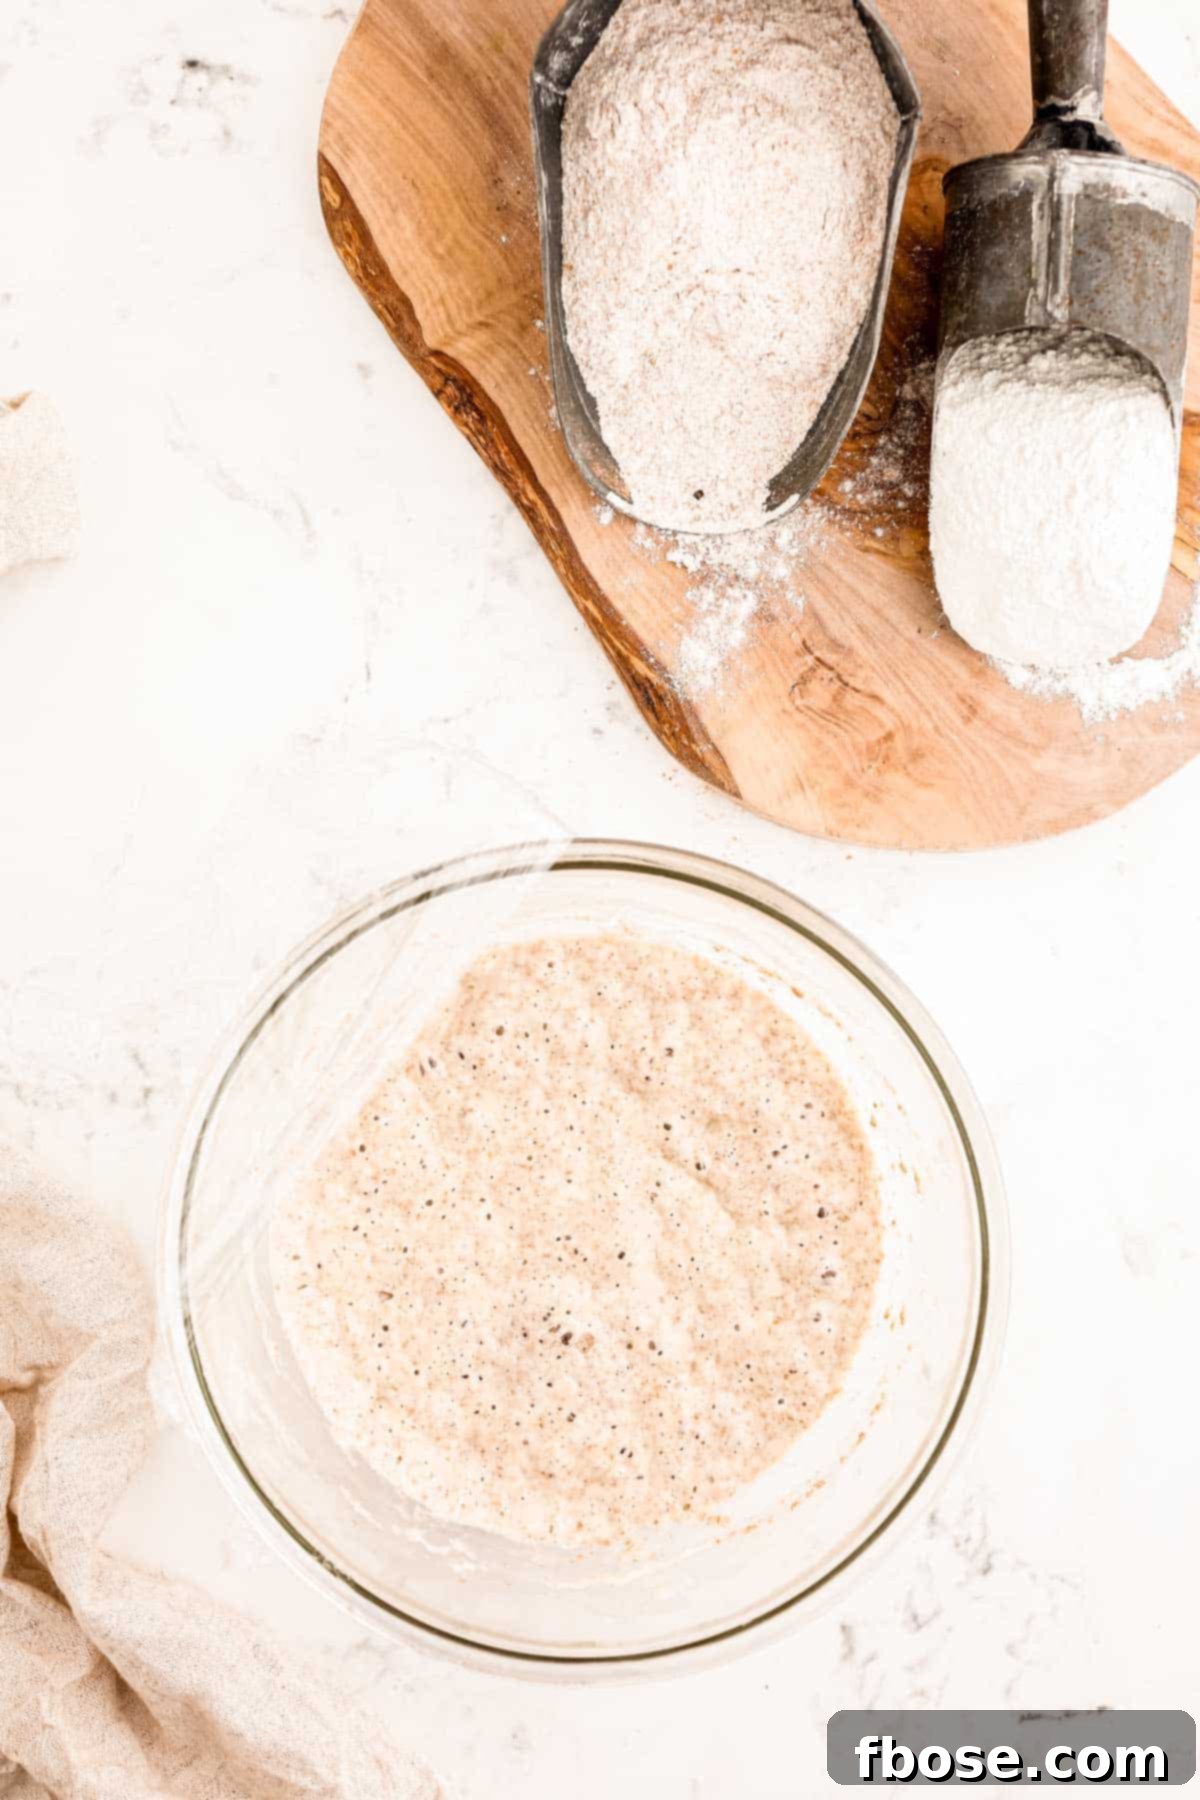
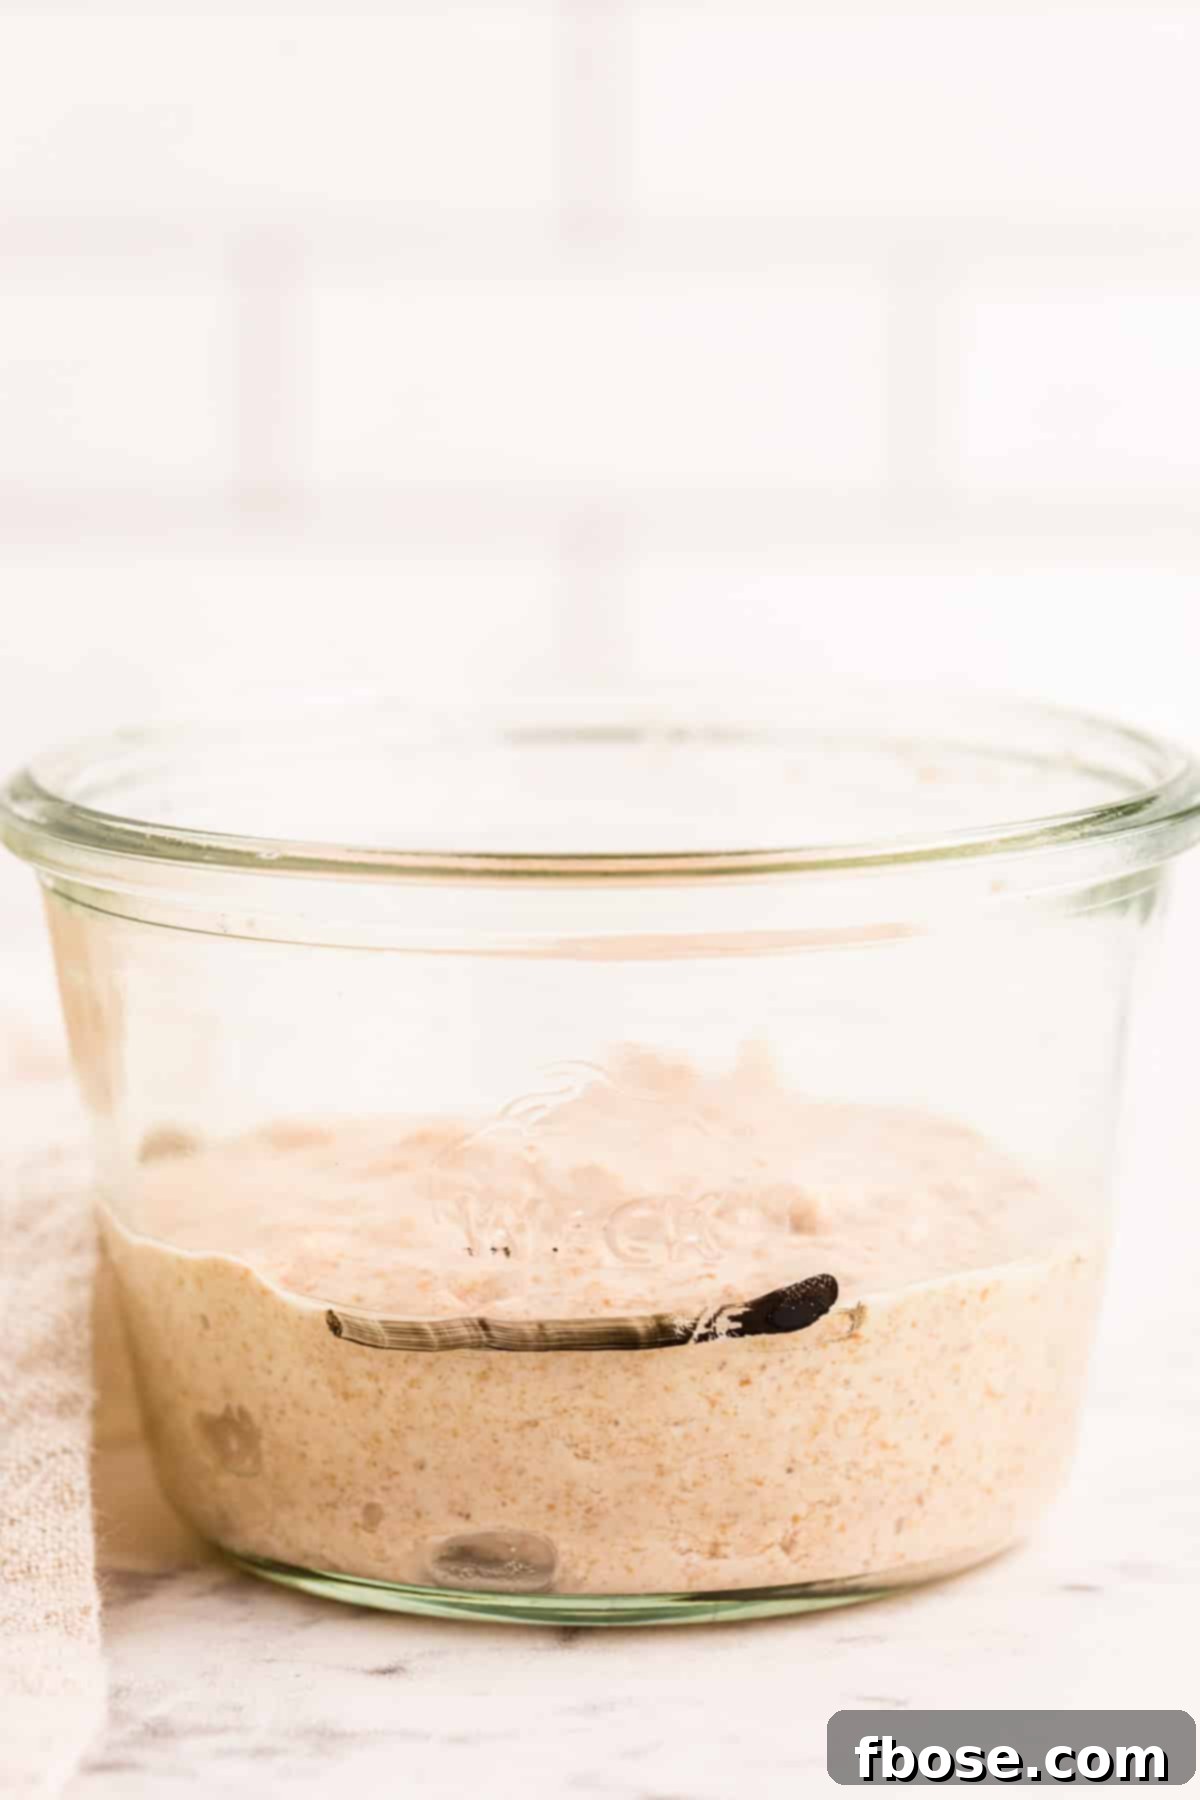
To perform this twice-daily feeding: first, measure 100 grams of your active starter mixture into a clean jar. Ensure this jar has sufficient headroom, as you want the mixture to at least double in size. Next, add 100 grams of flour (a 50/50 mix of all-purpose and whole wheat is often effective) and 100 grams of filtered water. Stir everything together thoroughly until a smooth consistency is achieved. Cover the jar with plastic wrap or a loose lid. Importantly, mark the starting level of the mixture on the outside of the glass jar with a dry-erase marker or a rubber band. This visual cue will allow you to precisely track how much your starter rises (and falls) between feedings, which is an invaluable indicator of its health and activity. Discard any excess starter, or store it for your growing collection of discard recipes. Repeat this feeding process every 12 hours, maintaining it in the warm, draft-free spot.
Observing the rise and fall of your starter is crucial. It will typically reach its peak height around 6-8 hours after feeding, then gradually fall back down, indicating it’s “hungry” and ready for its next meal. This consistent activity is what you are aiming for.
Day Four and Beyond: Maturation and Readiness
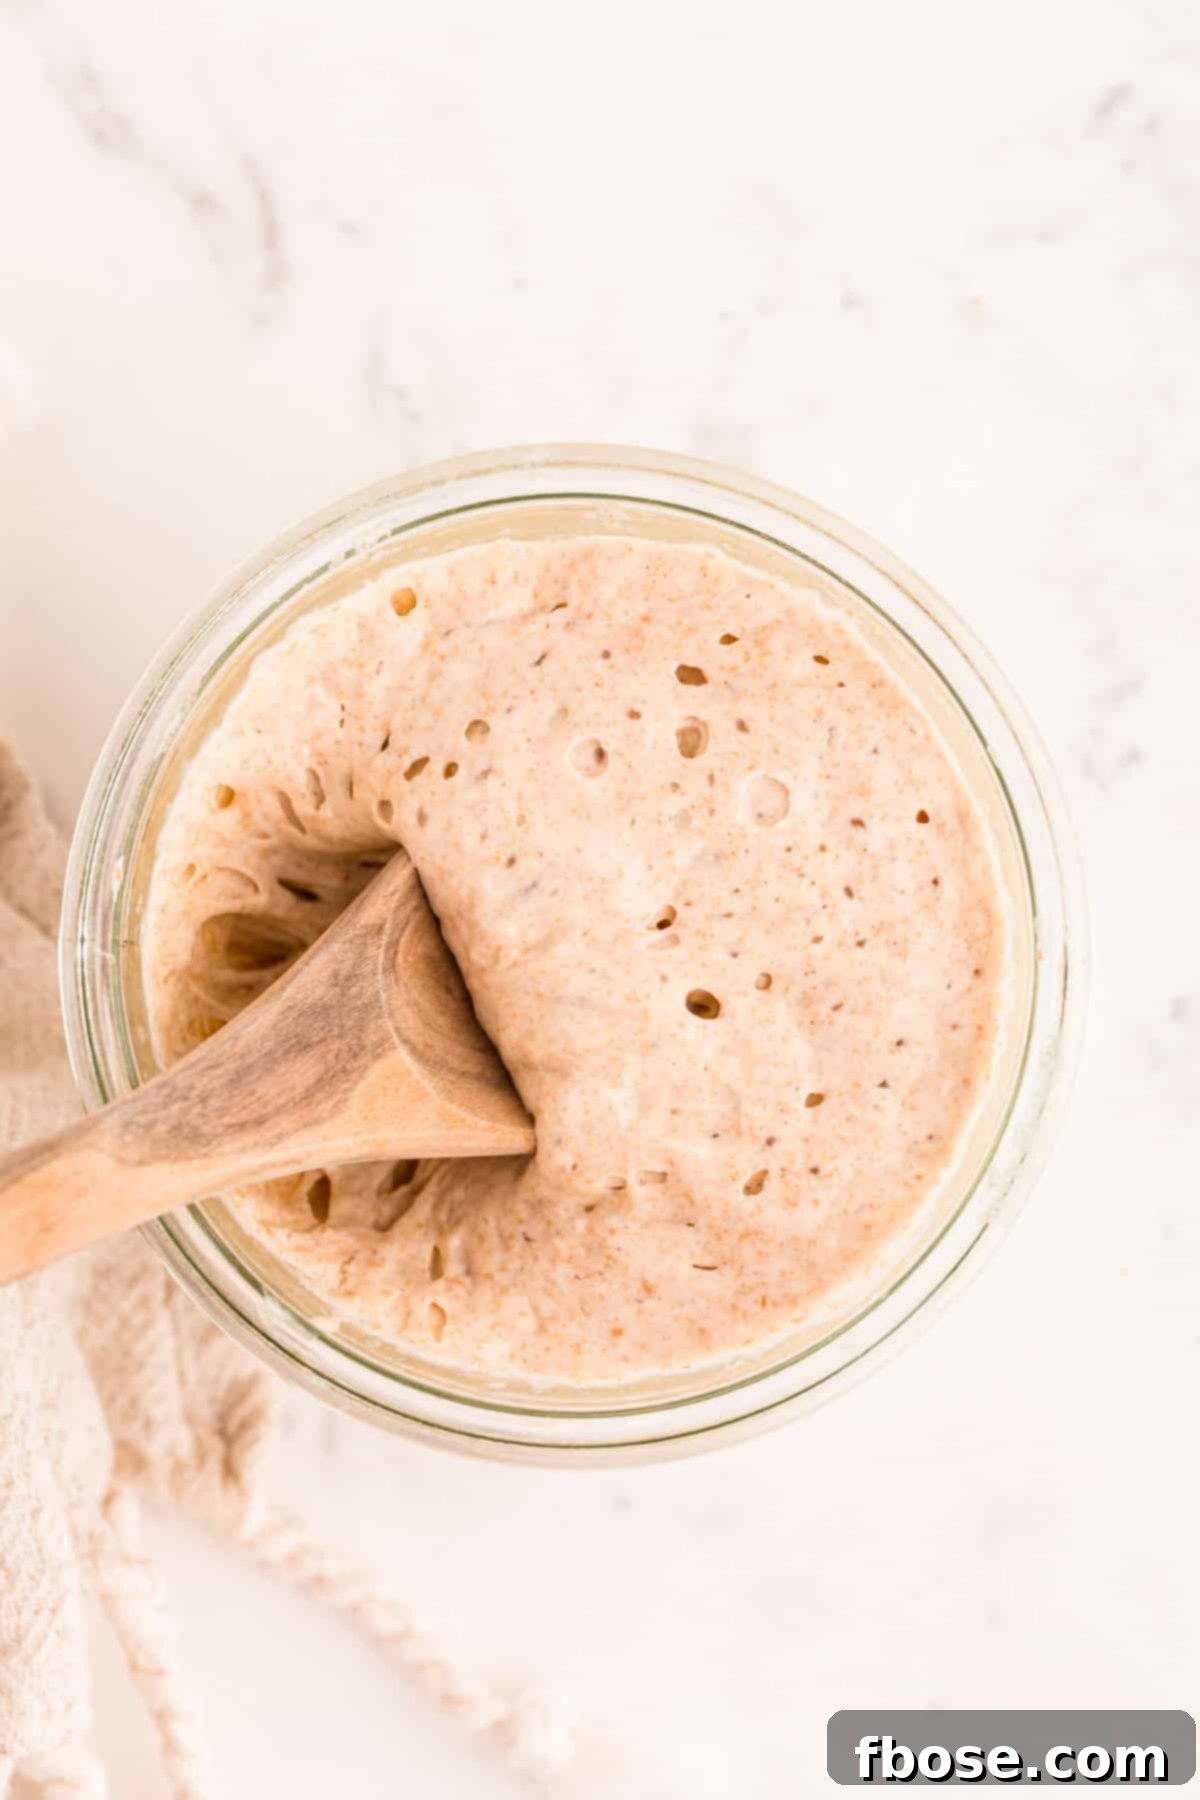
Continue with the twice-daily feeding schedule (every 12 hours) from Day Four onward. You’ll notice your starter becoming more robust and predictable. After approximately one to two weeks of consistent feeding, your sourdough starter should consistently demonstrate strong activity. This means it should reliably double in size after roughly 6 to 8 hours following a feeding, displaying a multitude of active bubbles on top and throughout its structure. When your starter reaches this consistent level of activity – doubling predictably and smelling pleasantly yeasty and tangy – it is considered fully mature and ready to be used in your favorite sourdough bread or other sourdough recipes! This is the exciting moment you’ve been working towards, a testament to your patience and care.
Sourdough Starter Troubleshooting and Maintenance
Even the most seasoned bakers encounter challenges with their sourdough starter. Understanding common issues and proper maintenance can save your “mother dough” and ensure consistent results.
Signs of a Healthy Starter
A healthy starter should consistently double in size within 6-8 hours after feeding, be full of bubbles, and have a pleasant, tangy, yeasty aroma. Its texture should be airy when active and slightly jiggly. The rise and fall should be predictable, indicating a strong and hungry culture.
Common Issues & Solutions
- Hooch (Liquid on Top): This dark liquid (often brownish or greyish) is a natural byproduct of fermentation – alcohol! It signals that your starter is very hungry and needs to be fed more frequently or with a larger ratio of flour. You can either pour off the hooch (for a milder taste) or stir it back in (for a more sour flavor). Don’t confuse hooch with mold!
- Slow Activity: If your starter isn’t bubbling or rising much, consider these factors:
- Temperature: Ensure it’s in a warm spot (70-78°F / 21-26°C). Colder temperatures significantly slow down yeast activity.
- Feeding Ratio: Try adjusting your feeding ratio. Sometimes a slightly higher proportion of whole grain flour can give it a boost.
- Water Quality: Reconfirm you’re using filtered, chlorine-free water.
- Time: Some starters simply take longer to get robust. Continue with consistent feeding.
- Mold or Unpleasant Odors: If your starter develops pink, orange, blue, green, or black fuzz, or smells distinctly like nail polish remover, vomit, or rotting food, it has likely gone bad. Unfortunately, mold means it’s time to discard and start anew. A healthy starter should never have fuzzy growth or offensive smells.
Frequently Asked Questions About Sourdough Starter
How Can I Tell If My Sourdough Starter Has Gone Bad?
The clearest indicators that your sourdough starter has spoiled are visual and olfactory. If you observe any tints or streaks of color such as vibrant orange, pink, yellow, blue, green, or black fuzz, your starter has almost certainly gone bad. These color changes are typically the result of undesirable bacteria or mold growing in the mixture. A healthy sourdough starter will maintain its natural off-white or light tan color (depending on the flour used) and will not exhibit any unusual discolorations. Similarly, a foul, rotting, or distinctly chemical smell (beyond the usual sour and yeasty notes) is another strong sign of spoilage. When in doubt, it’s always safer to discard and start fresh rather than risk your baking and health.
How Long Can I Feed And Use The Same Sourdough Starter?
The longevity of a sourdough starter is truly remarkable and heavily depends on consistent care, the type of flour used, and its storage conditions. With proper care, a sourdough starter can last a very, very long time! It’s affectionately referred to as “mother dough” for good reason; there are famous starters around the globe that are hundreds of years old. For example, Boudin Sourdough, home to one of San Francisco’s most iconic and original sourdough starters, proudly claims theirs dates back to the California Gold Rush era! By maintaining a diligent feeding schedule and providing a suitable environment, you can keep your starter alive and thriving for decades, passing it down through generations.
Does It Have To Be Kept At 100 Grams Of Starter, Water, And Flour When Feeding?
While I often recommend a 100-gram ratio for ease of measurement and initial consistency, this quantity can absolutely be adjusted to suit your needs. The key principle is to maintain an equal weight ratio: 1 part starter to 1 part water to 1 part fresh flour. So, whether you feed with 50 grams of each, 75 grams, or 100 grams, ensuring those three components are of equal weight will keep your starter balanced and healthy. Using 100 grams simply makes the math straightforward, especially when scaling up or down, but feel free to find the amount that best fits your baking volume and storage space.
What If I Don’t Want To Feed The Starter Every 12 Hours?
Daily or twice-daily feeding is necessary for an active starter kept at room temperature, but if you’re not baking frequently, you can significantly reduce the feeding schedule by refrigerating your starter. After giving your starter a regular feeding, allow it to sit out at room temperature for a few hours until it shows signs of activity and becomes bubbly. Once active, place it in the refrigerator. The cold temperature drastically slows down the fermentation process, essentially putting your starter into a dormant state. When refrigerated, you only need to feed it once a week using the same 1:1:1 ratio of starter, water, and flour. When you’re ready to bake a sourdough recipe, simply take the starter out of the refrigerator, give it a good feeding, and then let it sit at room temperature for about 8-12 hours until it becomes fully active and bubbly again before removing the amount you need for your recipe.
Why Is This Recipe In Grams?
You might encounter many recipes that use volumetric measurements like cups (e.g., 1/2 cup, 1 cup). However, when it comes to sourdough, precision is paramount, and this is where a kitchen scale truly shines. I strongly believe that if you’re investing your time and effort into cultivating a sourdough starter and baking artisanal bread, you should invest in a kitchen scale (affiliate link). Using grams ensures you know precisely what quantities of flour, water, and starter you are adding at all times. This accuracy eliminates the inconsistencies that come with measuring by volume (where a cup of flour can vary significantly depending on how it’s scooped and packed), making your starter much more reliable and predictable. Consistent measurements are a cornerstone of consistent sourdough success.
How Can I Be Sure That My Sourdough Starter Is Ready To Be Used In Recipes?
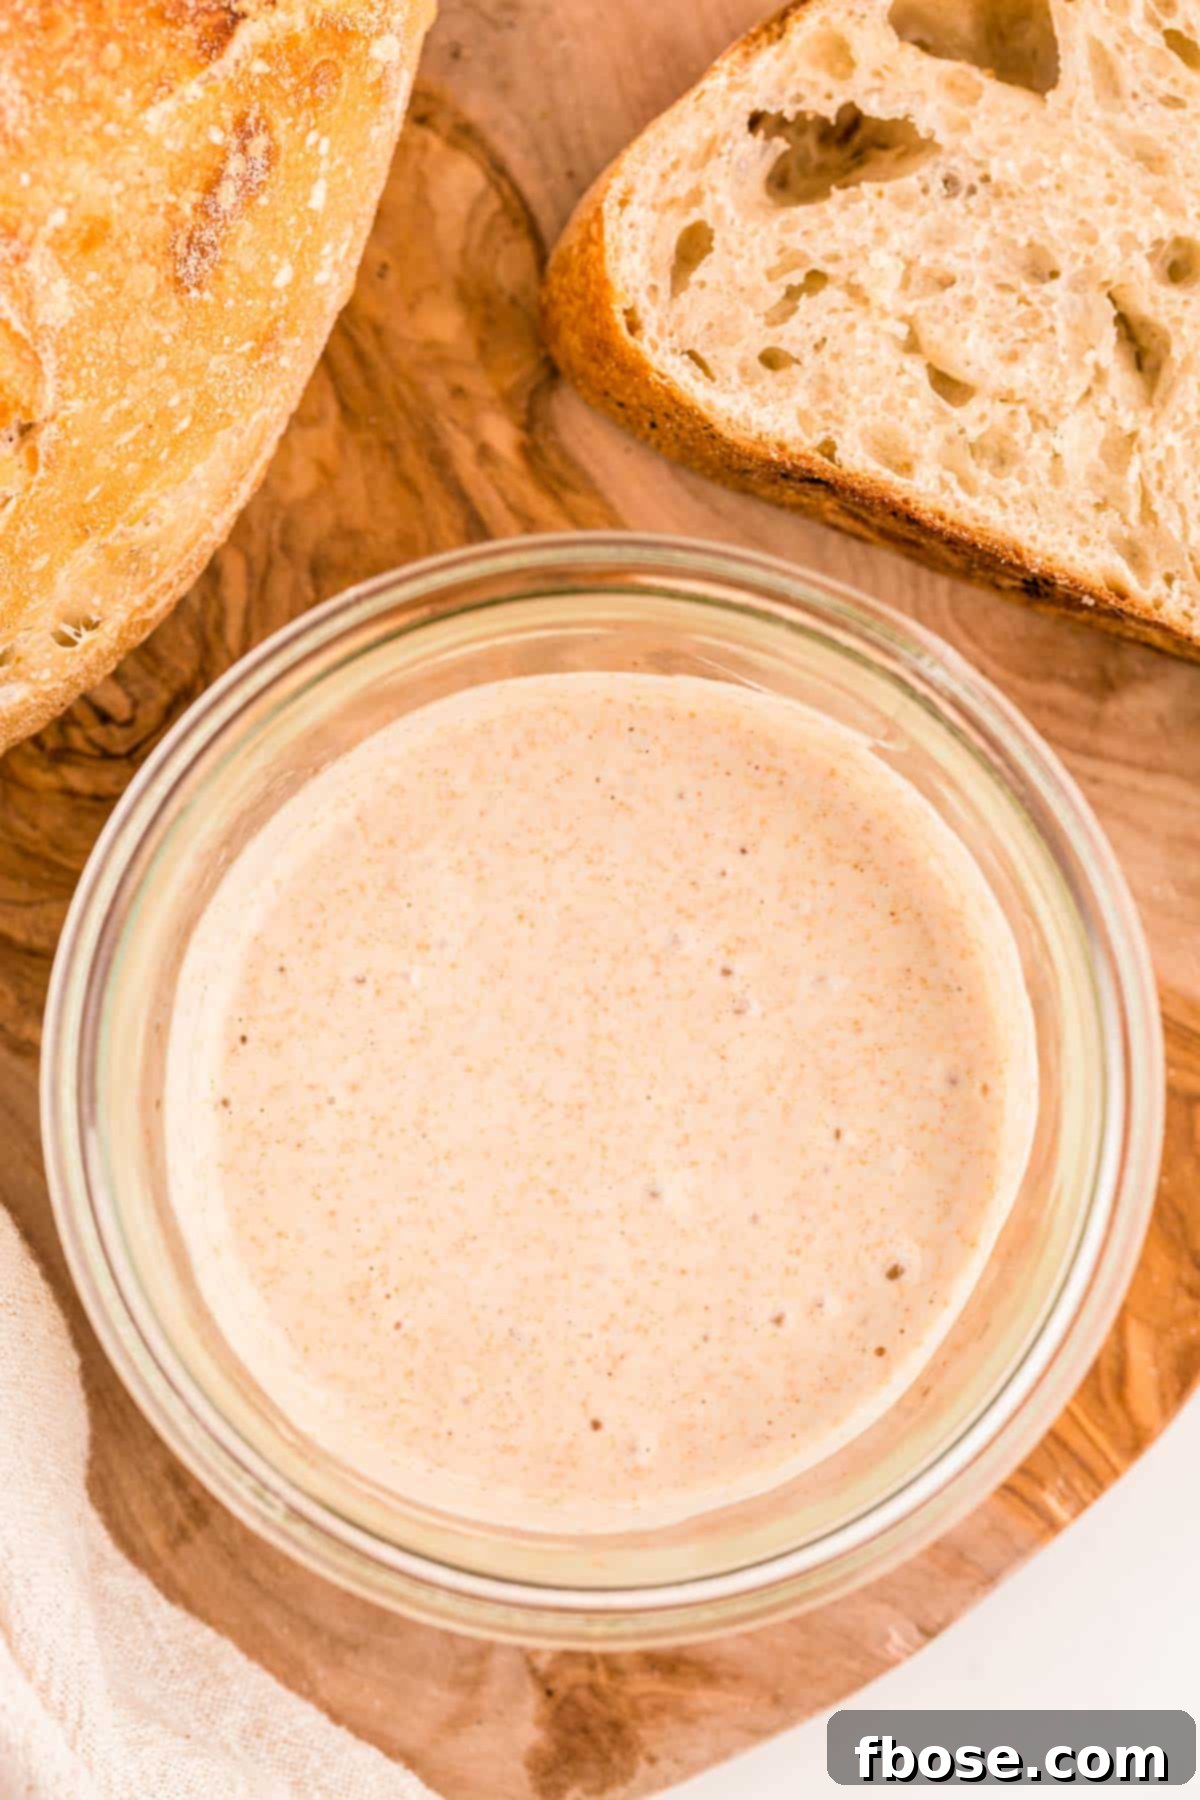
The most reliable sign that your sourdough starter is ready for baking is consistent activity. It should reliably double in size within 6-8 hours after a feeding, displaying plenty of bubbles on the top and throughout the mixture. This indicates a strong and vigorous yeast population. As a secondary check, you can perform the “float test.” To do this, gently drop a teaspoon of your active starter into a glass of room temperature water. If it floats on the surface, it generally indicates sufficient leavening power and readiness for use. However, it’s worth noting that some very active starters, especially those made primarily with rye or whole wheat flour, might not always float perfectly due to their density, yet they can still be perfectly ready. Always prioritize consistent doubling and strong bubbling as your primary indicators.
Benefits of Baking with Sourdough
Beyond the simple joy of baking, sourdough offers a range of advantages that make it a superior choice for many home bakers:
- Enhanced Flavor Complexity: The slow fermentation process carried out by wild yeast and lactic acid bacteria develops a depth of flavor that is simply unmatched by commercially yeasted breads. Expect a rich, tangy, and nuanced taste.
- Improved Digestibility: The long fermentation breaks down complex carbohydrates and gluten in the flour, making sourdough products often easier to digest for those with sensitivities (though it’s not gluten-free).
- Increased Nutrient Availability: Fermentation helps to reduce phytic acid, an anti-nutrient found in grains, thereby improving the bioavailability of minerals like iron, zinc, and magnesium.
- Natural Preservation: The acidity produced during fermentation acts as a natural preservative, giving sourdough breads a longer shelf life compared to their commercial counterparts.
- Greater Control and Creativity: Maintaining your own starter gives you complete control over your ingredients and allows for endless experimentation with different flours, hydration levels, and baking methods.
- Self-Sufficiency and Satisfaction: There’s immense satisfaction in creating food from scratch using a living ingredient you’ve nurtured yourself. It’s a return to traditional bread-making that fosters a deeper connection to your food.
This Homemade Sourdough Starter recipe provides you with foundational kitchen knowledge that’s incredibly valuable to have in your culinary repertoire. Once you master this, you’ll feel empowered to try other homemade staples that are just as rewarding!
- Fresh Grenadine Syrup – Elevate your cocktails and mocktails with a homemade syrup made simply from pomegranate juice, sugar, and a touch of lemon juice!
- Homemade Bisquick – A versatile, easy-to-make mix consisting of just 4 essential ingredients. Effortlessly replace the store-bought version for all your fluffy waffles, golden pancakes, and tender biscuits.
- Blender Butter – Discover the incredible richness of old-fashioned butter, easily made creamy and delicious right in your blender. A truly delightful difference from store-bought.
- Simple Syrup – A fundamental, two-ingredient recipe that adds delightful sweetness and flavor to a variety of beverages, from cocktails and teas to lemonades and punches, and even enhances your favorite desserts.
- How to Make Candied Pecans The Easy Way – Your favorite crunchy addition to sweet potatoes, pumpkin pies, vibrant salads, and creamy yogurts, made perfectly at home in just 15 minutes!
Let’s Connect!
If you’ve tried this fantastic recipe for creating your own sourdough starter, please share your experience! Let me know how you liked it in the comments below and be sure to leave a review. I absolutely love hearing from you and seeing your sourdough journey unfold!
Don’t forget to tag me – @sugarandsoulco – on Instagram and Pinterest with your beautiful photos, or join our vibrant Sugar & Soul Show-offs Community on Facebook to share your creations and participate in our fun recipe challenges!
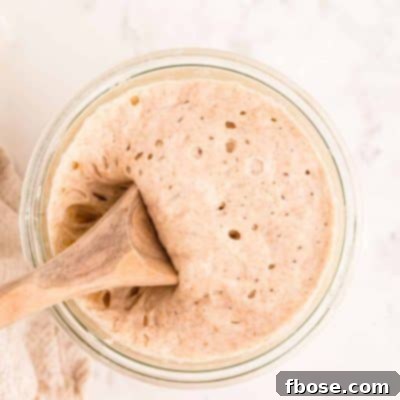
Sourdough Starter
Equipment
-
Kitchen Scale
Ingredients
- 400 grams Whole wheat or whole rye flour
- 800 grams Filtered water
- 300 grams All-purpose flour
Instructions
-
Day 1: In a small bowl, combine 100 grams whole wheat flour and 100 grams of filtered water. Stir together until an even paste forms. Cover with plastic wrap and set in a warm room temperature, draft-free location.400 grams Whole wheat or whole rye flour, 800 grams Filtered water
-
Day 2: After 24 hours, stir the mixture. Remove 100 grams of the mixture to a clean container. To it, add 100 grams of all-purpose OR whole wheat flour and 100 grams of water. Stir, cover, and return to warm location for another 24 hours. Discard excess starter.300 grams All-purpose flour
-
Day 3: You should begin to see signs of fermentation on day 3 – bubbles, a slight aroma. Begin feedings twice a day once you see signs of fermentation. Measure 100 grams of the starter mixture into a clean jar (choose a container with enough room for mixture to at least double). Add 100 grams of flour (I typically do a combination of 50g all-purpose, 50g whole wheat) and 100 grams of filtered water. Discard the extra starter or use in discard recipes. Repeat this process every 12 hours.
-
Day 4 and beyond: Continue with feedings every 12 hours. Measure out a portion of your starter and feed with equal amounts of flour and water.
-
After 1-2 weeks, the mixture should begin doubling after about 6-8 hours. When the starter is doubling in 6-8 hours regularly with large bubbles throughout the whole mixture, it is ready to use in bread.
Notes
- I started using a tall glass jar with straight sides so that I could mark a line on the outside of the jar with a dry-erase marker and then track how much the mixture was rising throughout the 12 hours between feedings.
- You should start to notice a regular pattern. The starter is thick when first mixed, it loosens and starts to have some bubbles on the surface after 2-3 hours. Then the starter bubbles and rises in the jar. It should be doubling in height at the 6-8 hour mark. From hours 8-12, the mixture continues to be bubbly, but will start to cave in at the top and decrease in height. At 12 hours, the mixture is “hungry” and less active and is ready to be fed.
- USE FILTERED WATER. The chlorine in city tap water can kill the yeast and decrease or completely prevent fermentation. I buy inexpensive distilled water by the gallon and use that. Over time, the starter may become strong and stable enough that it can withstand tap water, but proceed with caution.
- Whole wheat or whole rye flour is best to get the starter going. After the initial fermentation starts, I switched over to half all-purpose and half whole wheat for every feeding and that seemed to do great.
- I used 100 grams to keep things nice and even and easy to measure and easy to multiply. 100 grams of each starter, water, flour for every feeding. You can adjust this however you like – just make sure you’re measuring out even weights of starter, water, flour. I’m now maintaining at 50 grams. 50 grams starter, 50 flour, 50 water and keeping the starter on the countertop.
- If you don’t want to keep feeding the starter every 12 hours, you can give it a feeding, let it sit out for a few hours to get bubbly, and then store it in the refrigerator. Feed refrigerated starter once a week the same way. When you want to make bread, pull the starter out of the fridge, give it a feeding, and then wait at least 8 hours to get active before removing the amount needed for your bread.
- Some people provide cup measurements, for example ½ cup starter, 1 cup flour, ½ cup water. I really think that if you’re going to invest the time in making sourdough starter and bread, that you should invest in a scale so that you know precisely what you’re adding at all times. Much more reliable.
Nutrition
Did You Make This Recipe?
Don’t forget to share it with me on Instagram @sugarandsoulco and follow on Tiktok @sugarandsoulco and Pinterest @sugarandsoulco for more!
Pin Recipe
Share Recipe