Blueberry Delight
Blueberry Delight Lush is a (nearly) no-bake blueberry layered dessert sure to delight everyone who tries it! Blueberry cheesecake meets blueberry fluff in this light one-pan dessert with a graham cracker pecan crust.
- Total 23 minutes
- Serves 16 servings
- Desserts
- American
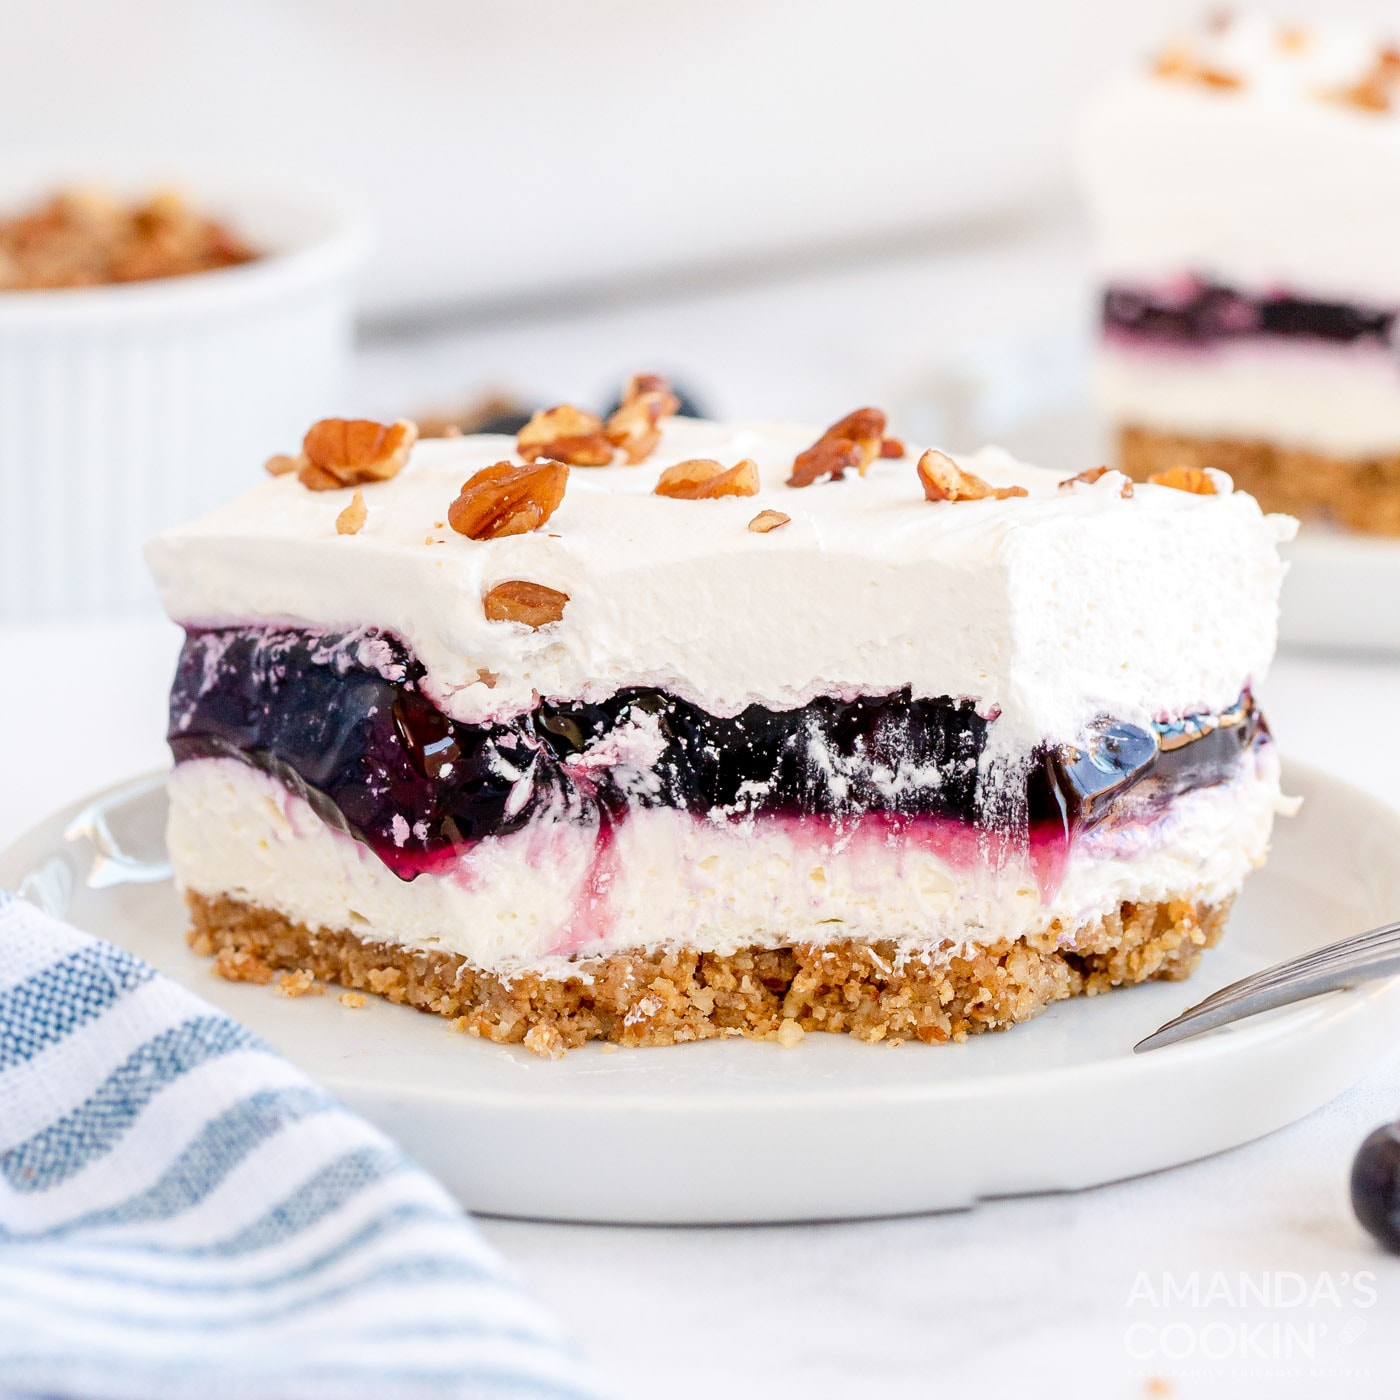
Blueberry Delight Lush is a (nearly) no-bake blueberry layered dessert sure to delight everyone who tries it! Blueberry cheesecake meets blueberry fluff in this light one-pan dessert with a graham cracker pecan crust.
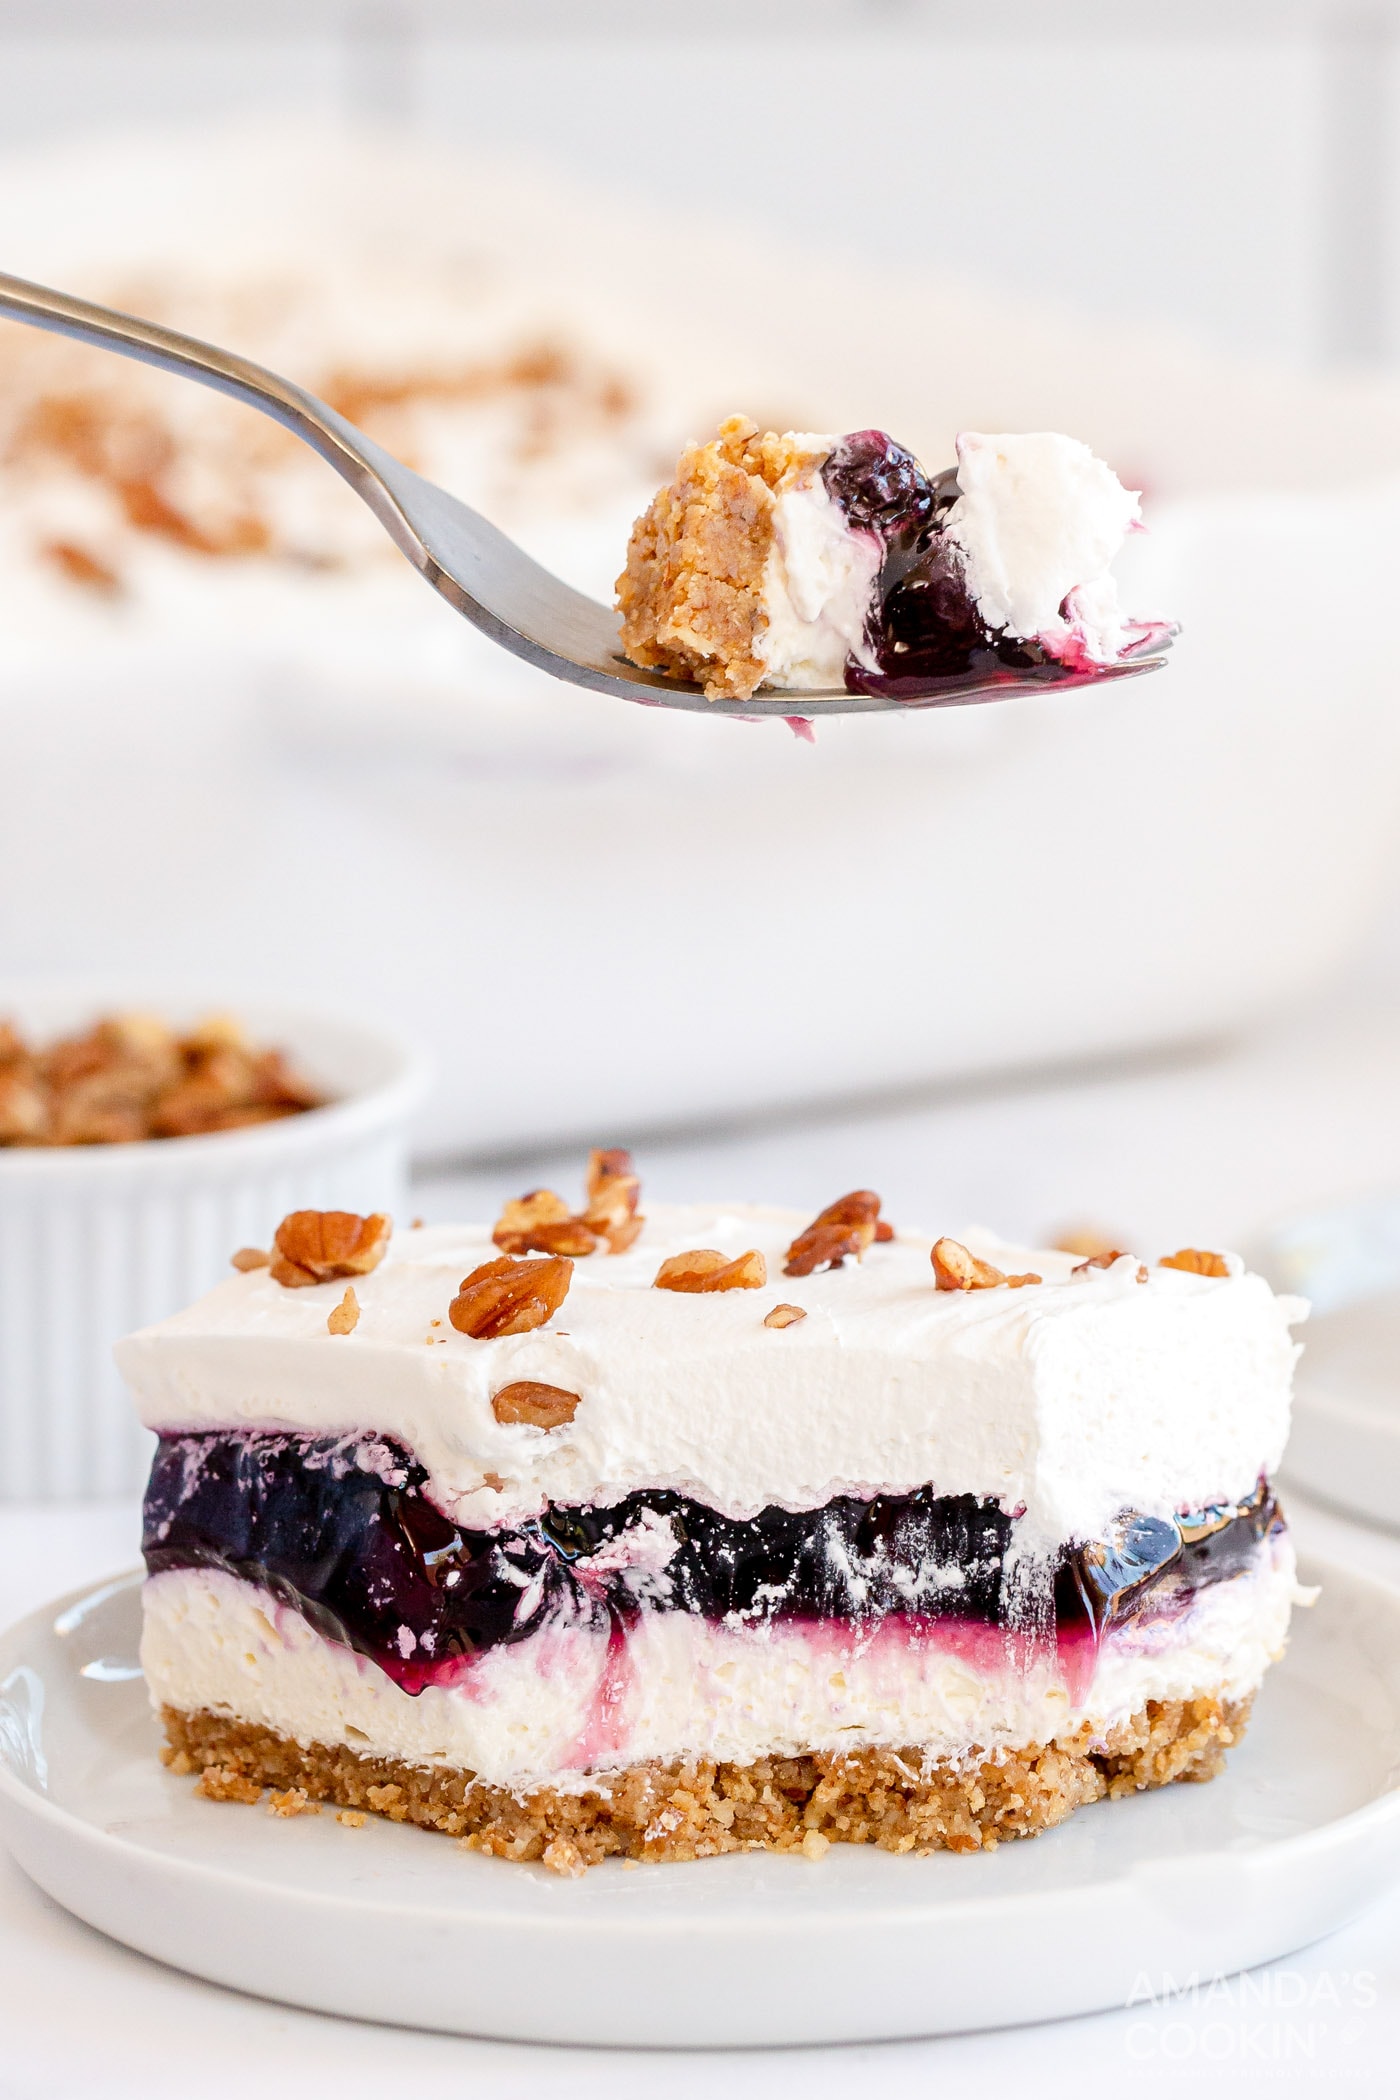 more
more
Why this recipe works
You may have also heard this recipe referred to as Blueberry Delight or Blueberry Yum Yum. Lush recipes are all the rage right now, with so many options to choose from like our Lemon Lush, Mocha Lush, Coconut Cream Lush, or our Banana Cream Lush, this blueberry lush recipe will be topping the charts in no time.
It’s almost no-bake, but the crust needs about 5 minutes in the oven to set up. It’s a graham cracker-pecan crust and I promise the toasty, nutty flavor is worth it!
RELATED: you might also like this recipe – Blueberry Bundt Cake
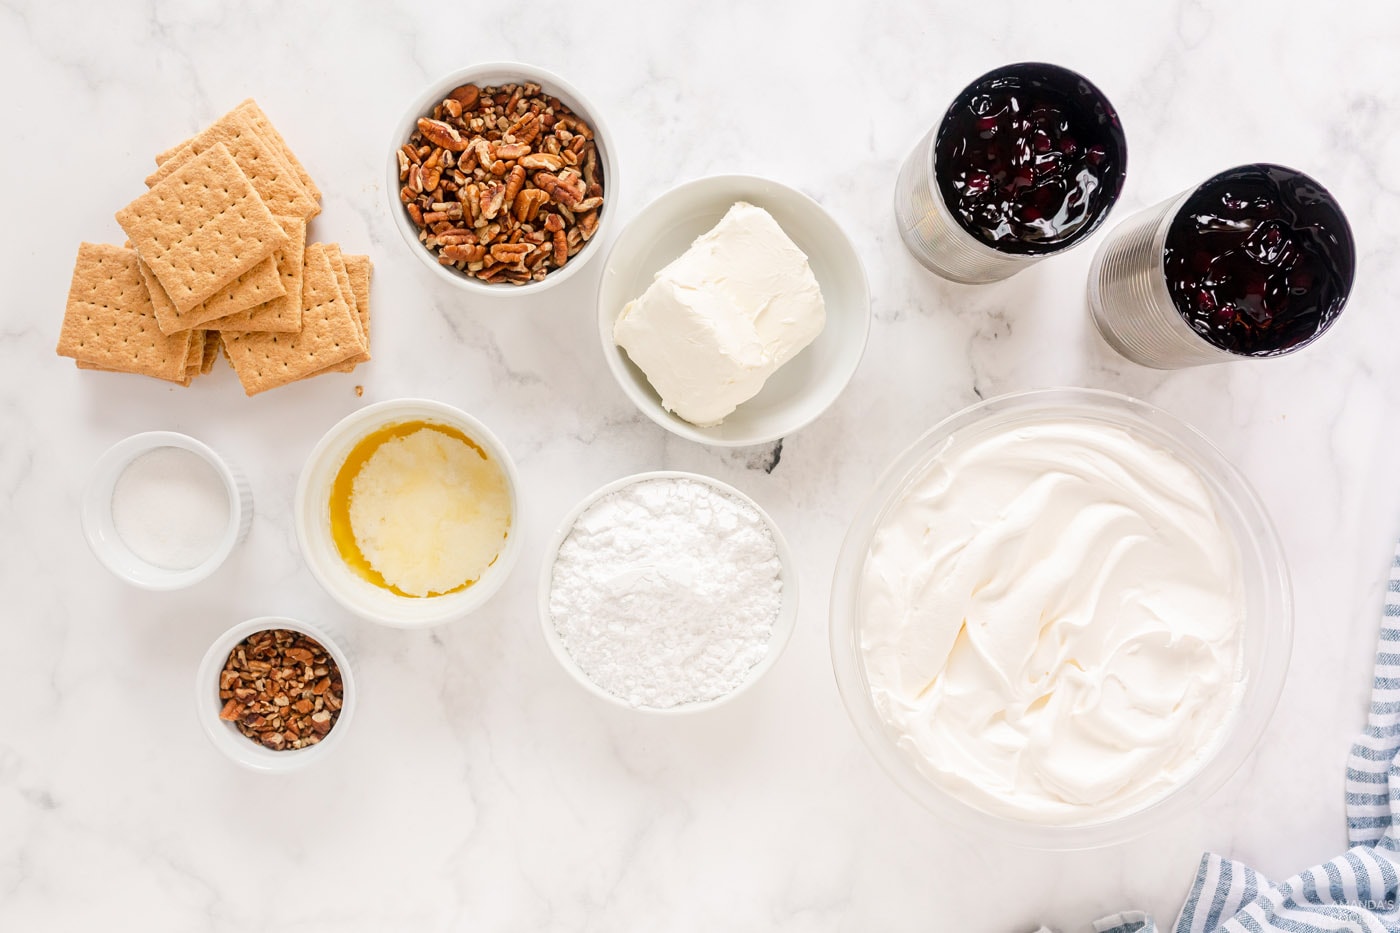
Ingredients you will need
Get all measurements, ingredients, and instructions in the printable version at the end of this post.
Ingredient Info and Substitution Suggestions
CRUST – The crust is made of graham crackers and pecans. If needed, you can leave out the nuts and use all graham crackers. You can even substitute another cookie for the crust such as vanilla wafers or shortbread cookies.
FILLING – Cream cheese, powdered sugar, and Cool Whip join forces to make a fluffy and smooth cheesecake-like layer. Use well-softened cream cheese so it will blend smoothly with the whipped topping. Homemade whipped cream will work as well if you prefer not to use cool whip. You’ll need about 3 cups whipped (approximately 1.5 cups of cream). The third layer is simply blueberry pie filling (how easy is that!). Of course, you can use any flavor pie filling you like. It won’t be blueberry delight, but cherry or even lemon would be amazing!
TOPPING – Lastly, it’s topped off with a layer of whipped topping (or homemade whipped cream). I also like to add chopped pecans for extra crunch and to highlight the delicious crust. Let it all chill and you have a blueberry layered dessert for all your summer parties!
How to Make Blueberry Lush
These step by step photos and instructions are here to help you visualize how to make this recipe. You can Jump to Recipe to get the printable version of this recipe, complete with measurements and instructions at the bottom.
- Preheat oven to 350°F. In a food processor, blend the graham crackers and pecans until finely chopped.
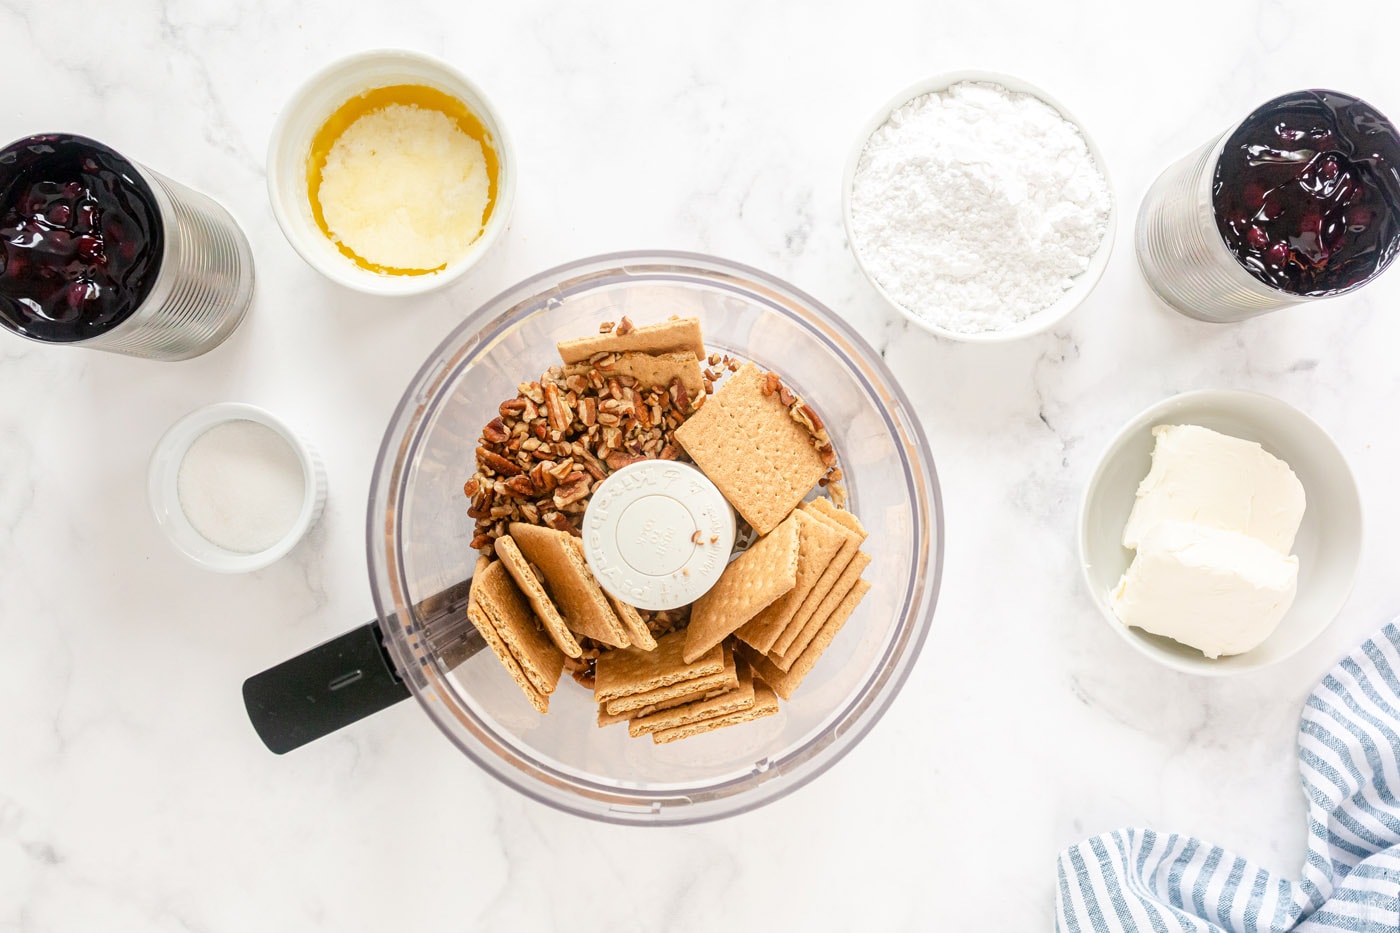
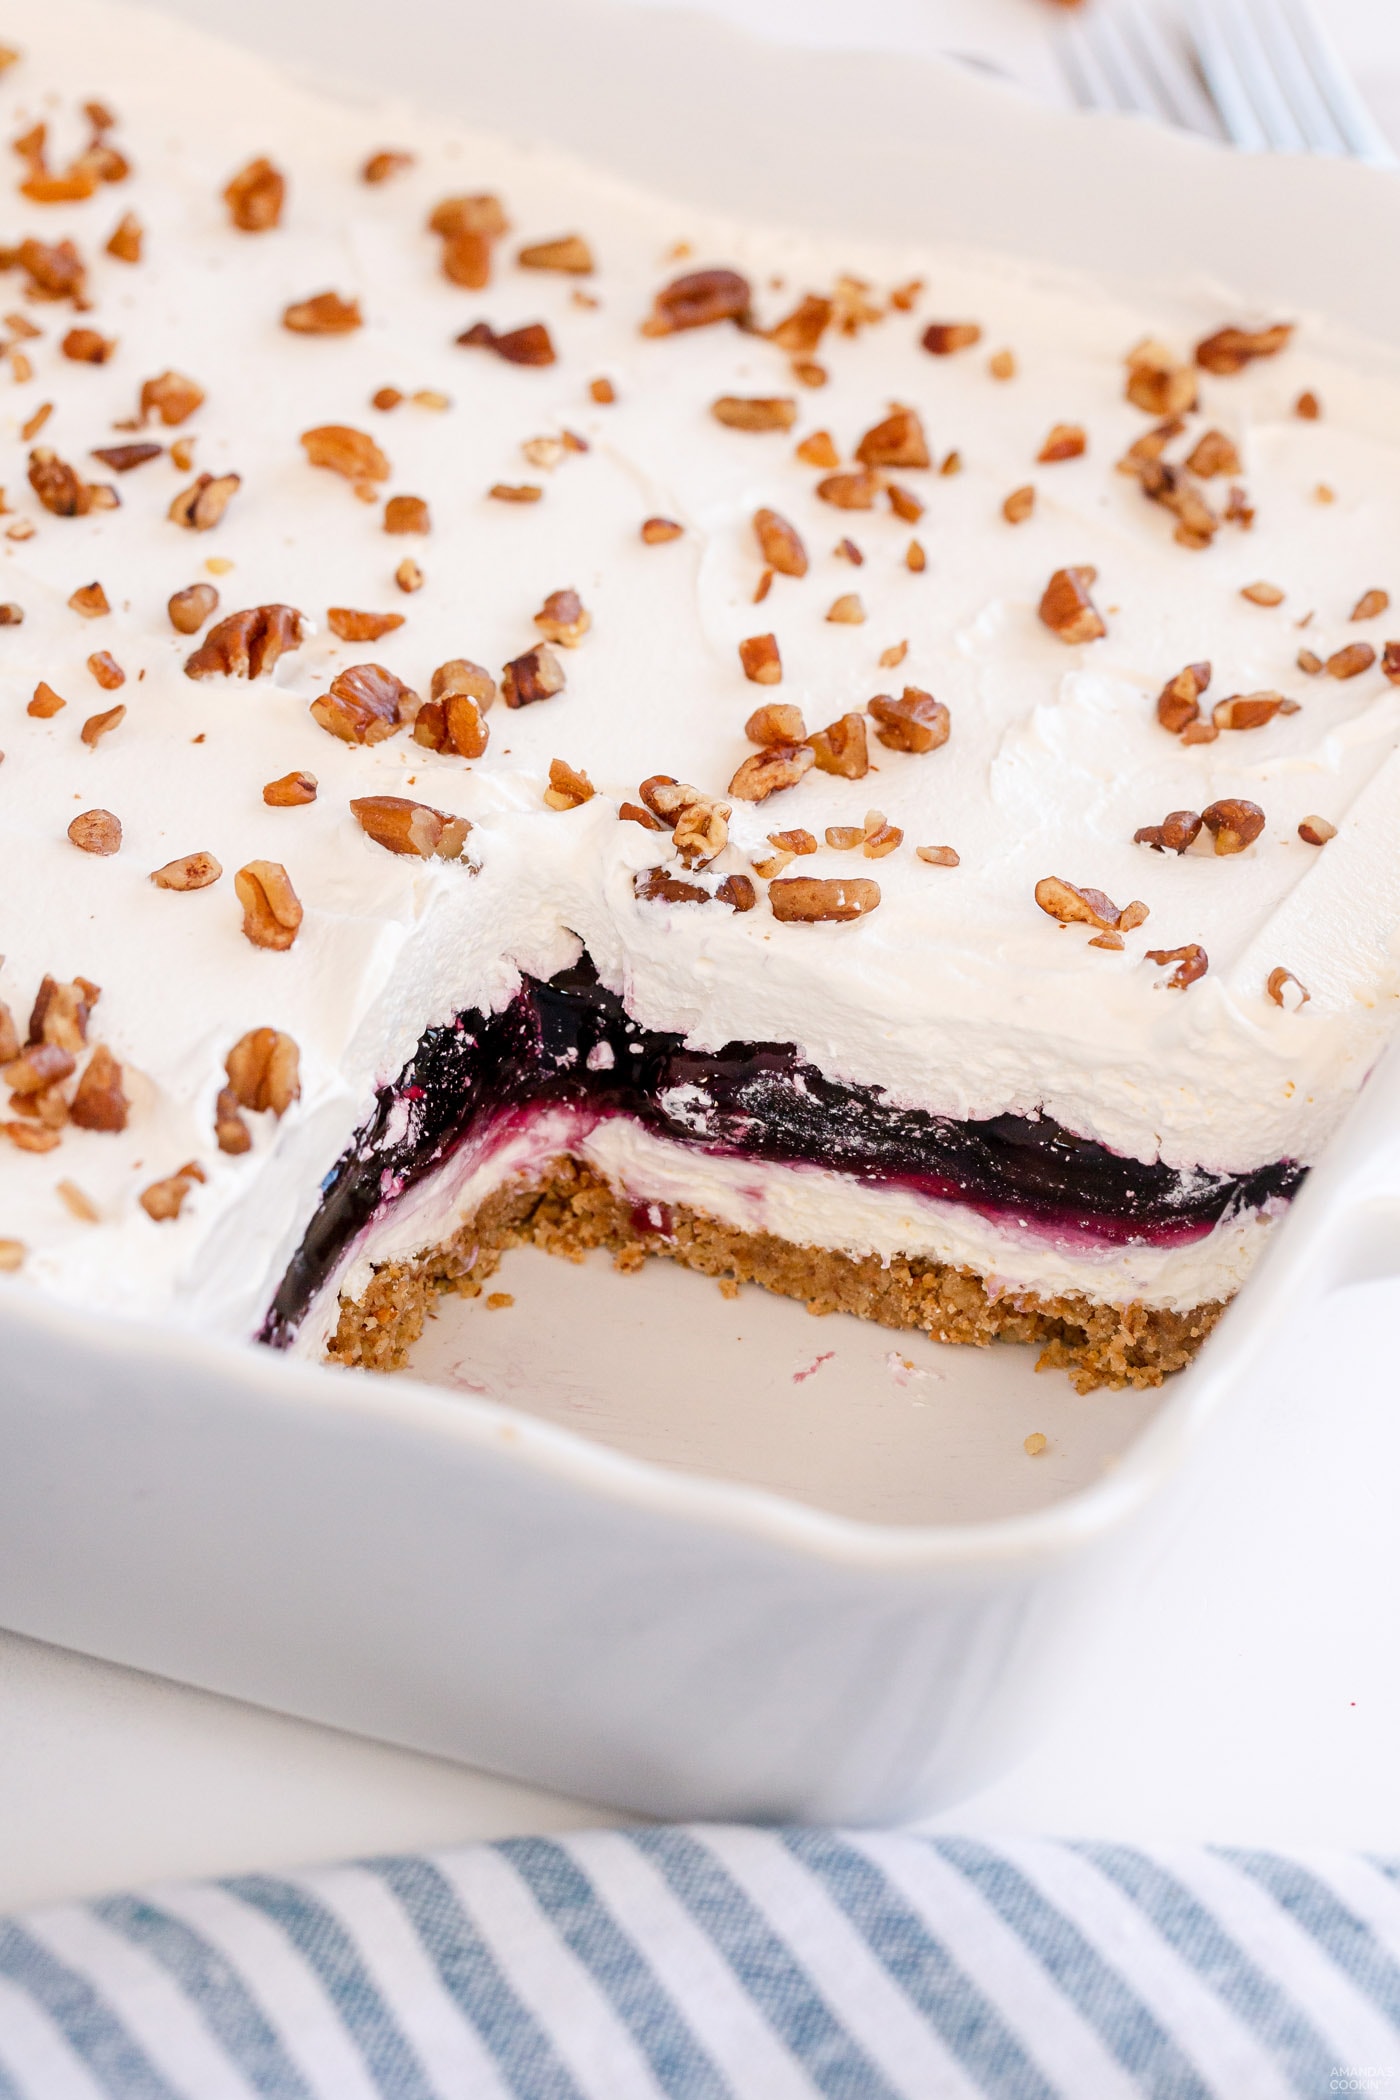
- Stir in butter and sugar until well combined and press into the bottom of a 13×9 pan. Bake for 8 minutes and let cool completely.
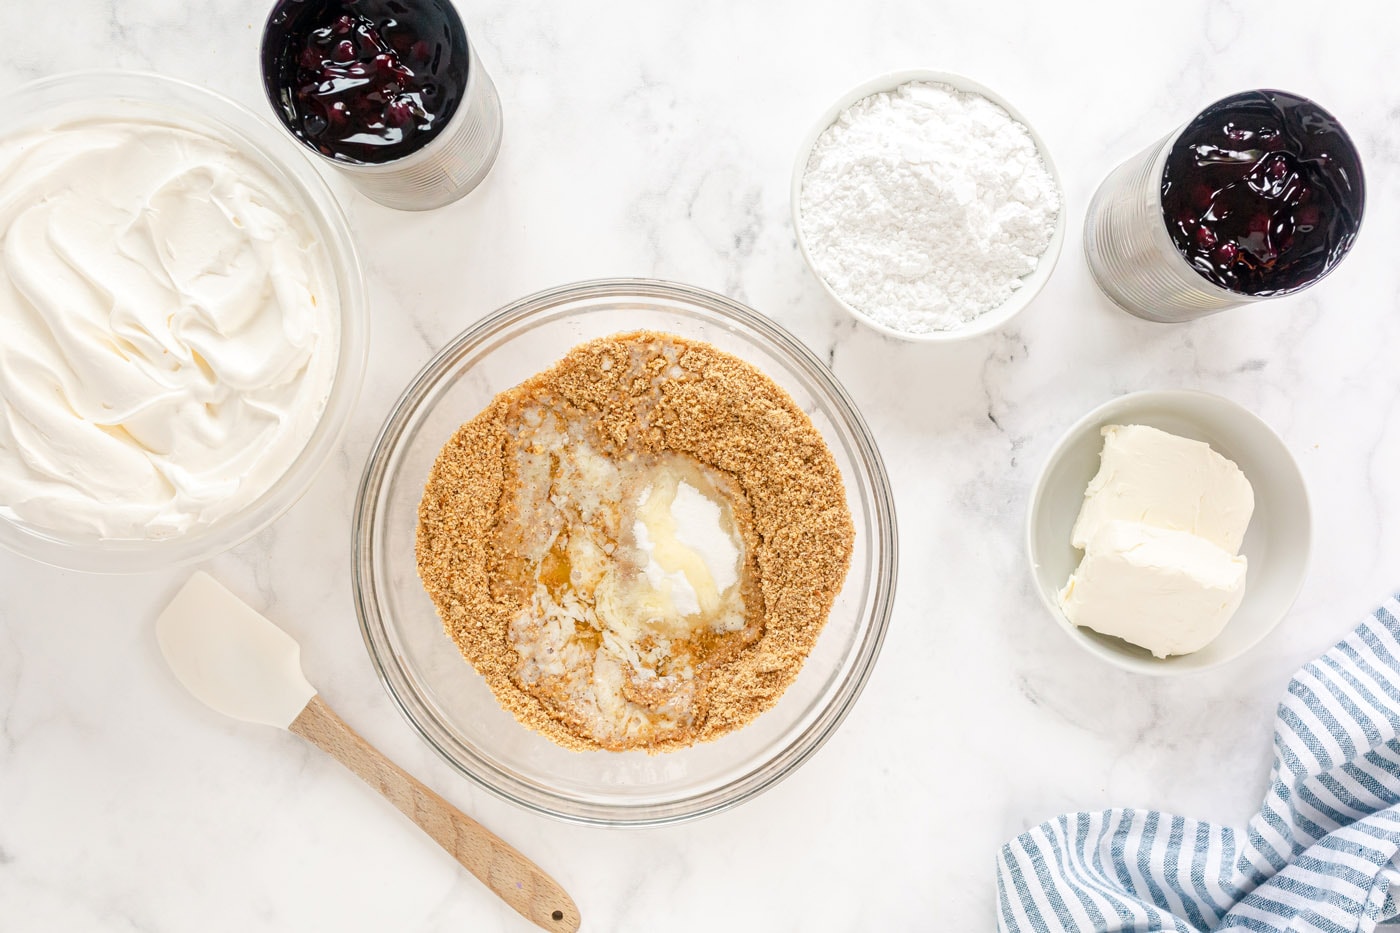
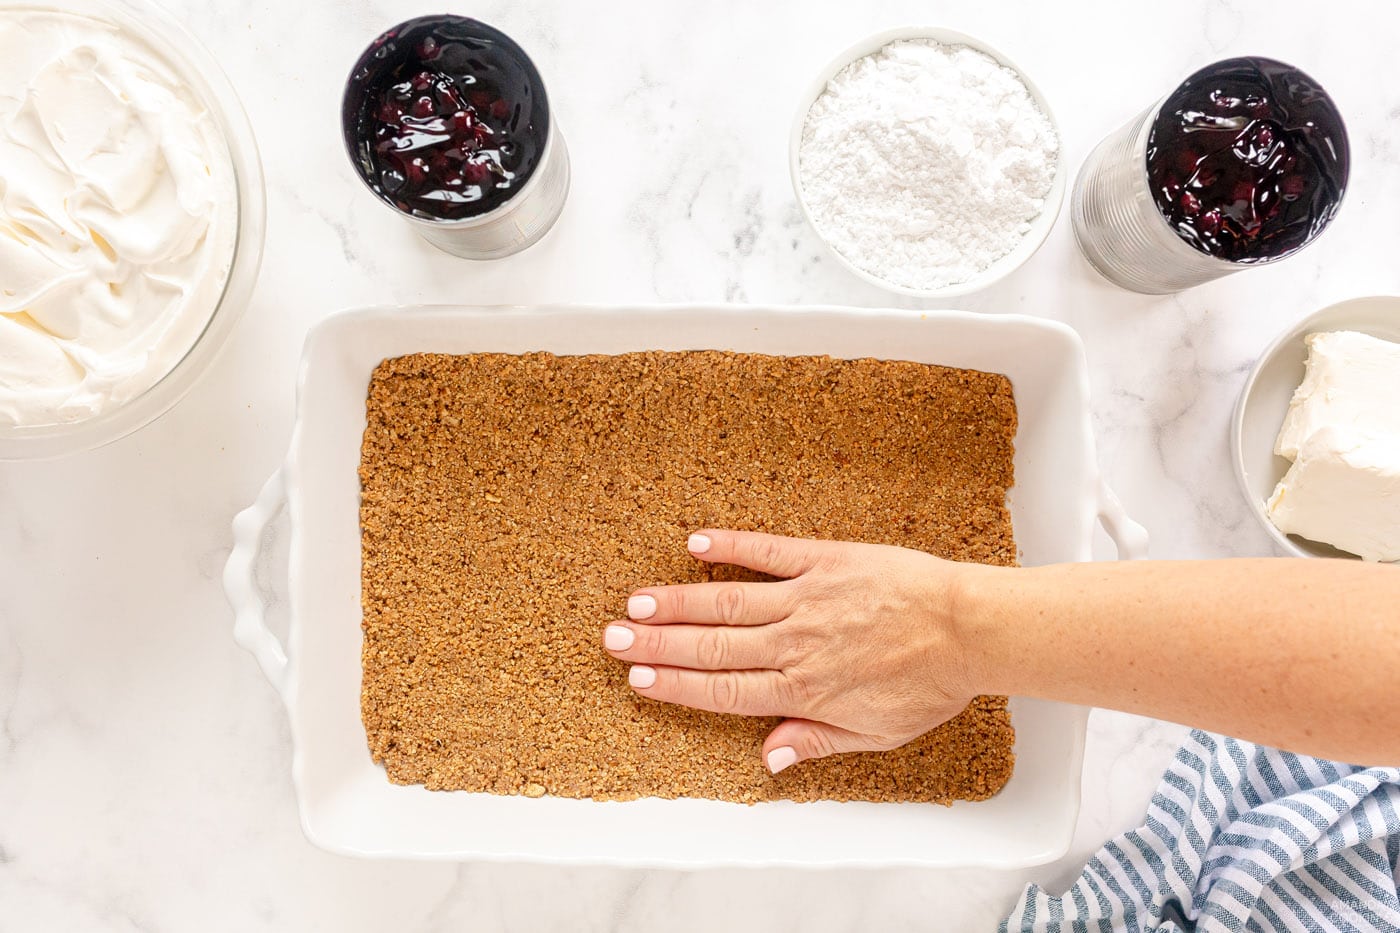
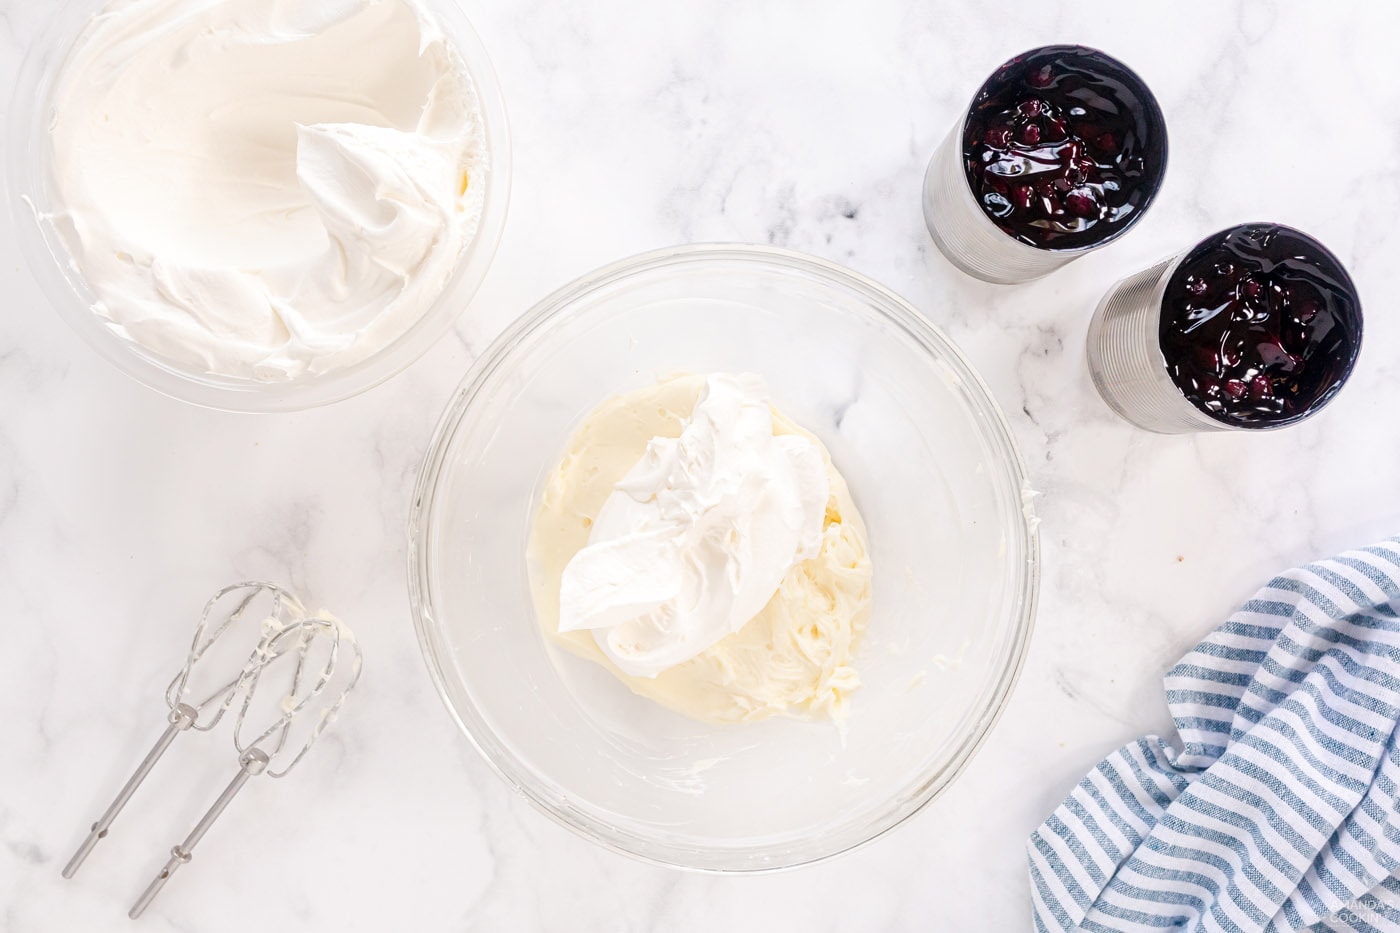
- In a large bowl, beat cream cheese and powdered sugar until smooth.
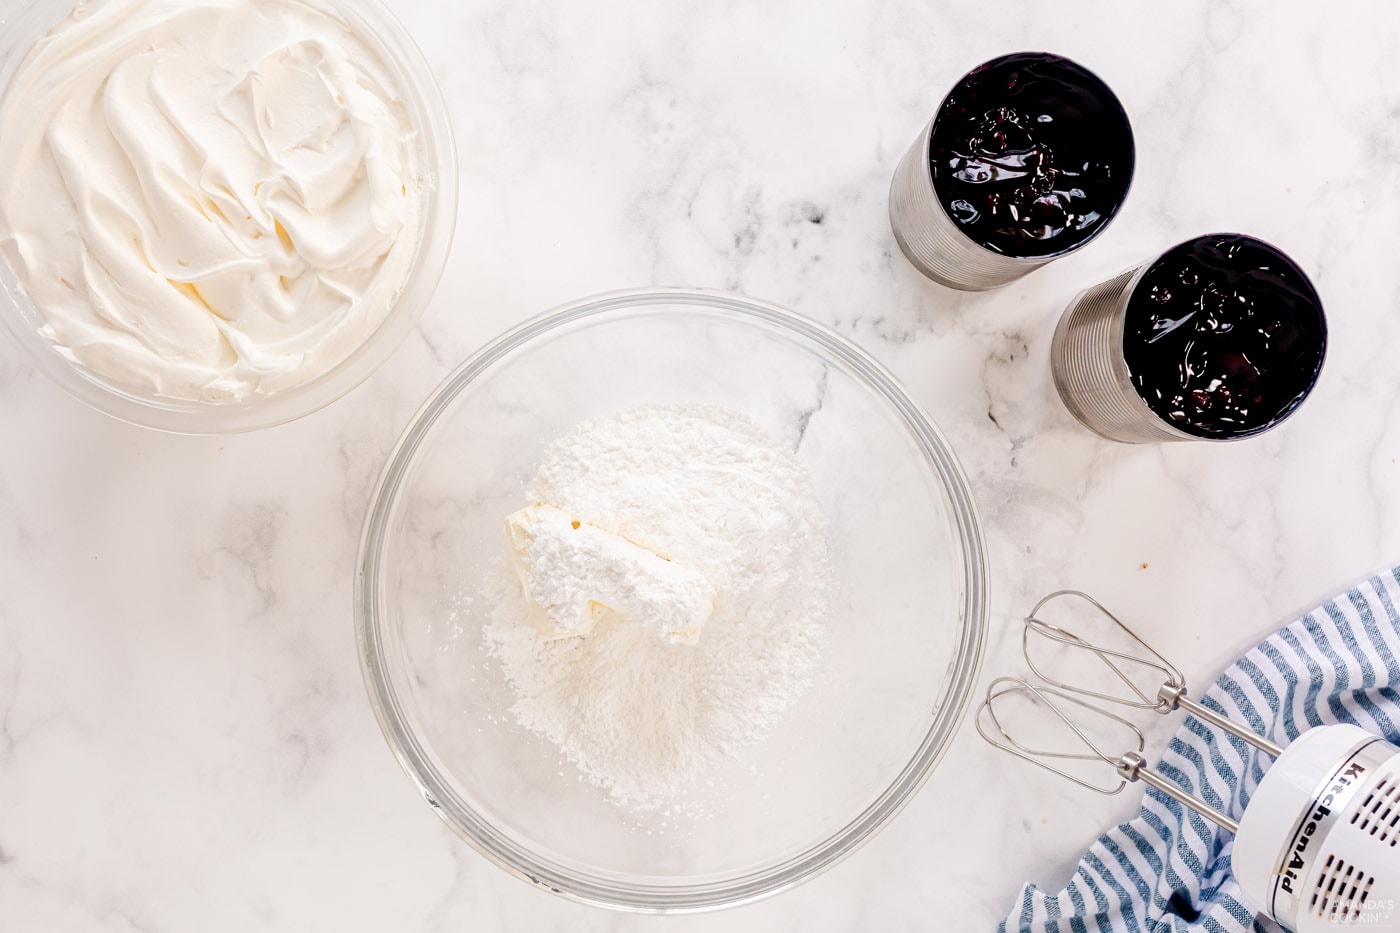
- Using 1 container of whipped topping, beat in about 1 cup so there are no lumps using a handheld mixer. Fold in the remaining whipped topping from the container and spread the cream cheese mixture over crust.
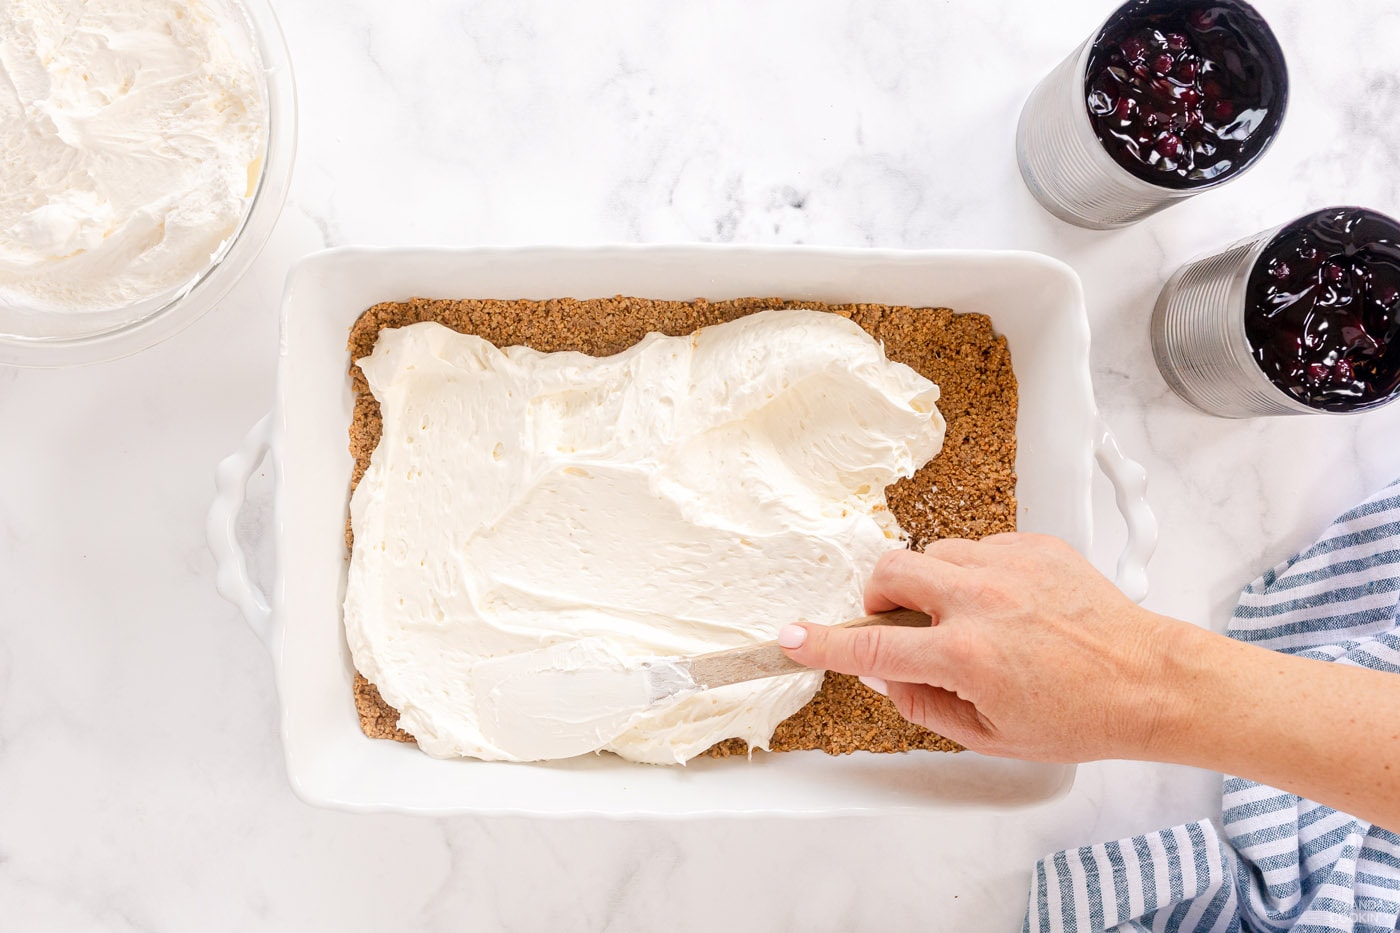
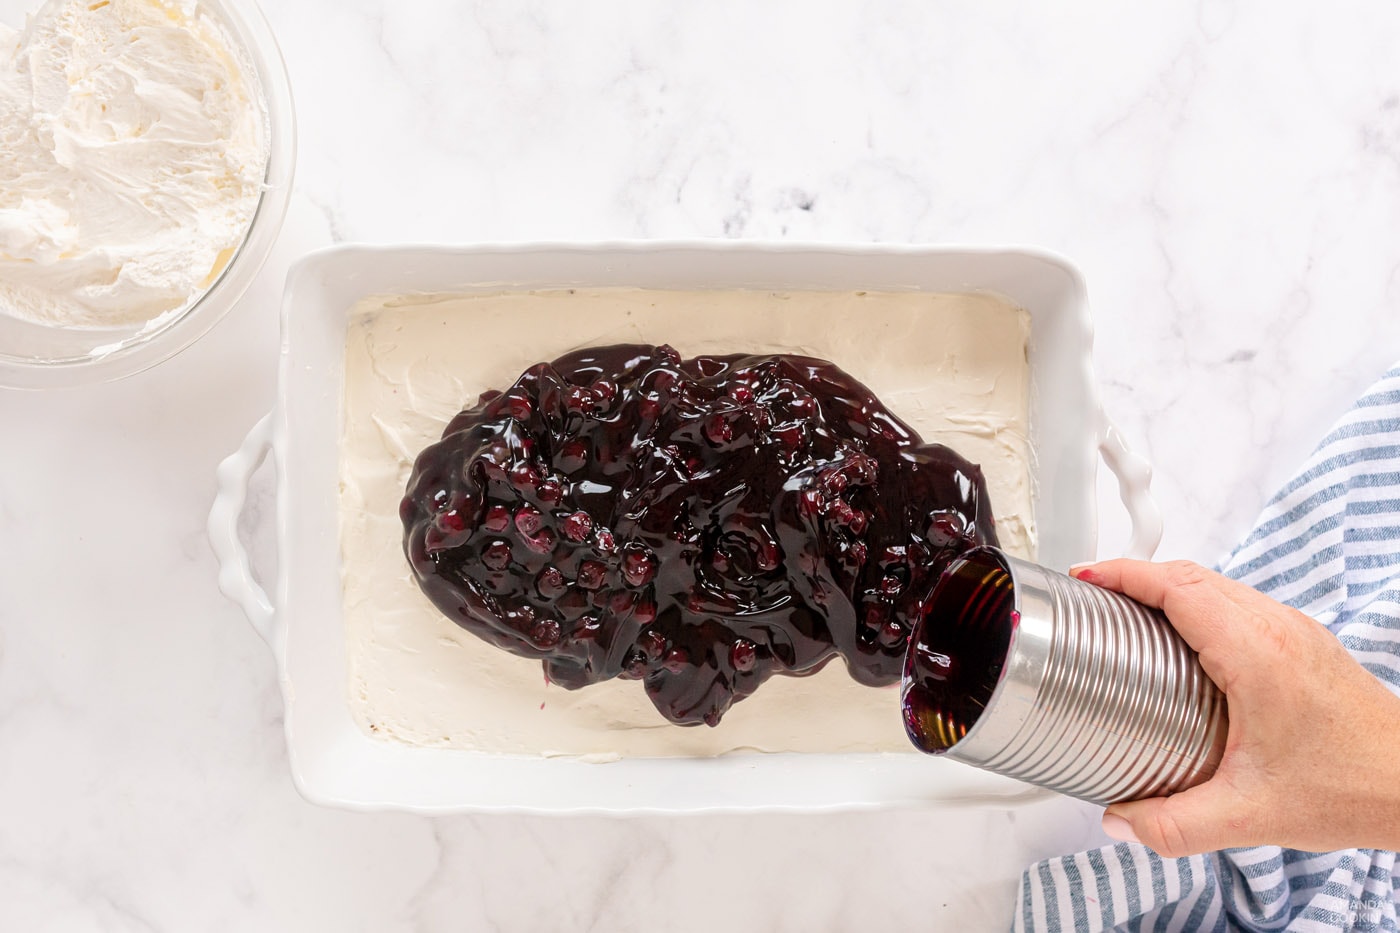
- Add the blueberry pie filling in an even layer.
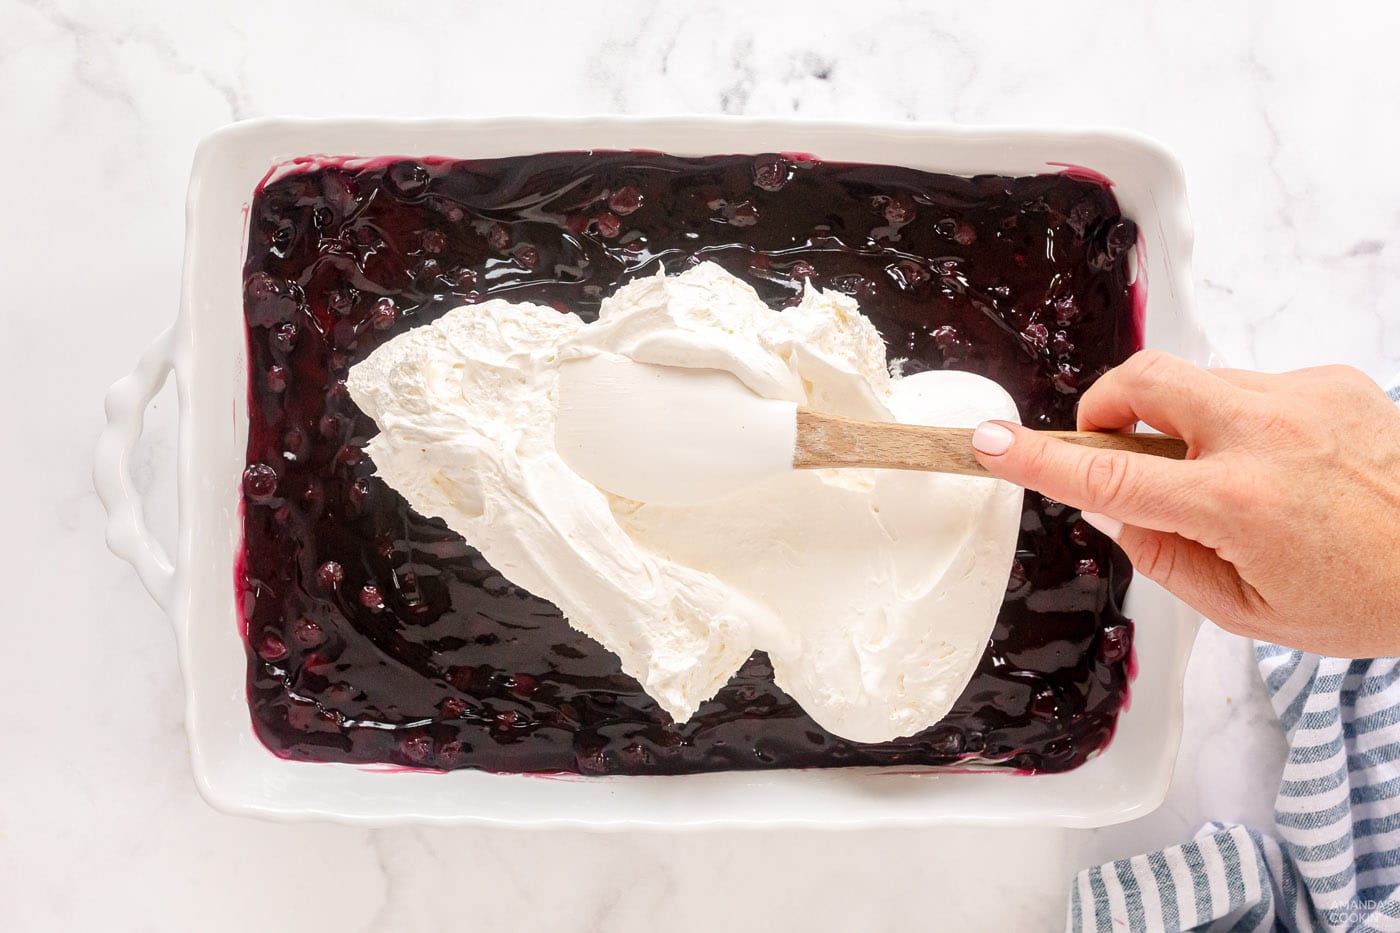
- Top with remaining container of whipped topping.
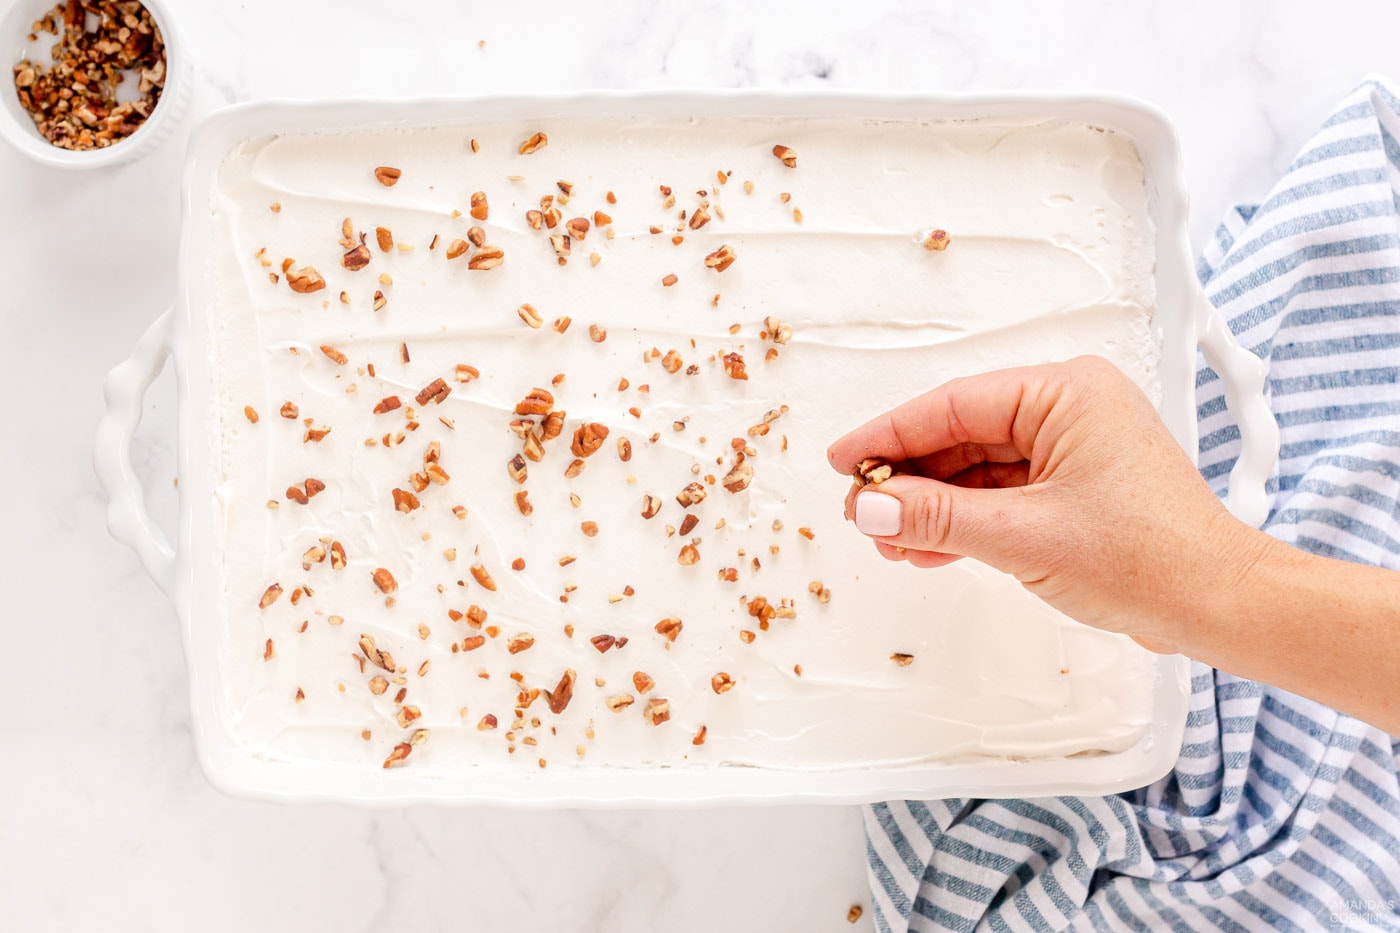
- Garnish with chopped pecans if desired. Cover and chill for at least 2 hours or overnight.
Frequently Asked Questions
Can I use a homemade whipped topping instead?Yes, you can use a homemade whipped topping in place of the Cool Whip. You’ll need about 3 cups whipped (approximately 1.5 cups of cream).
How long does blueberry lush keep?You can keep this blueberry dessert in an air-tight container or covered with plastic wrap in the refrigerator for up to 4 days. Your whipped topping will begin to break down if stored longer than that.
Can I freeze blueberry lush?The blueberry lush will freeze well, however, the Cool Whip topping may not. The Cool Whip that is added to the cream cheese layer will be fine. I would suggest making the dessert up to the pie filling layer and freezing. Be sure to freeze in an air-tight container or tightly wrapped with plastic wrap so avoid freezer burn. When ready to serve, remove and let thaw in the refrigerator, then add the Cool Whip topping.
Can I use a different pie filling?Yes, you can use another kind of pie filling like raspberry, strawberry, cherry, or lemon! Feel free to use your own homemade pie filling for this dessert as well.
What can I use as a topping on blueberry lush?We love keeping it simple with some chopped pecans for garnish, but fresh blueberries or even crumbled graham crackers would be delicious as well!
Can I make this dessert ahead of time?Yes, you can definitely make this dessert ahead of time. The recipe calls for at minimum 2 hours of chill time after making, but can be made a day in advance and still be just as tasty!
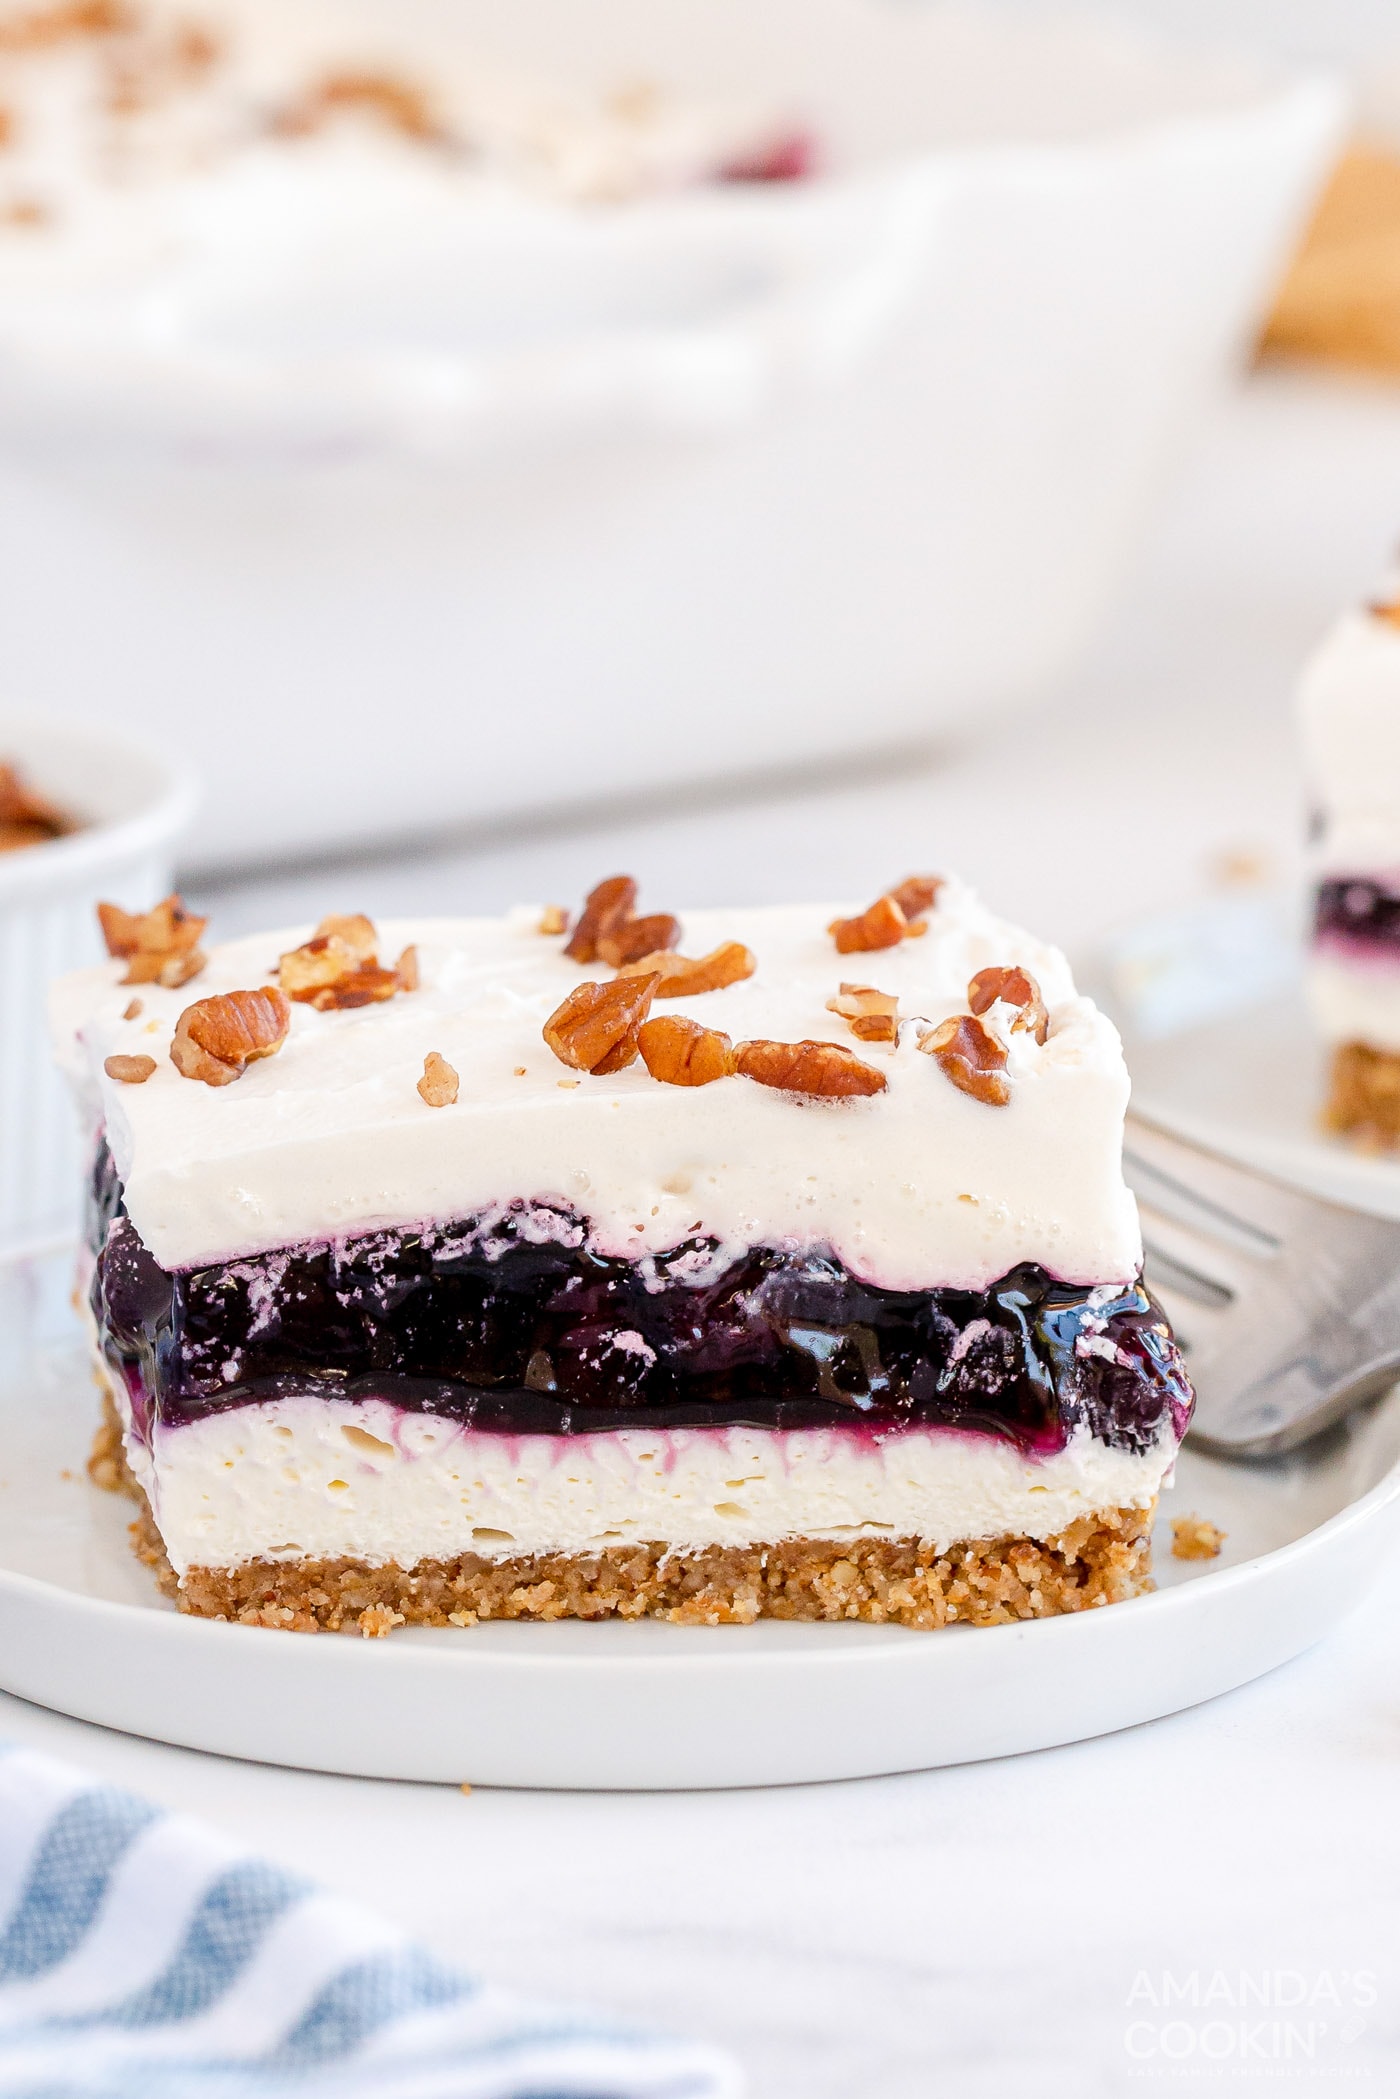
Cookout season has officially started! Barbecues are one of my favorite gatherings whether it’s a backyard BBQ or beach BBQ. They’re as fun and breezy as summertime. Part of the reason is that everyone brings a dish to pass so you get a feast without all the work! I always like to have a go-to savory recipe like Lemon Pasta Salad and a dessert recipe like this Blueberry Lush in my arsenal.
More One Pan Dessert Recipes
- Strawberry Lasagna
- Eclair Cake
- Strawberry Pretzel Salad
- Lemon Blueberry Icebox Cake
- No-Bake Pineapple Cheesecake Bars
- Lemon Cream Cheese Pudding Dessert
I love to bake and cook and share my kitchen experience with all of you! Remembering to come back each day can be tough, that’s why I offer a convenient newsletter every time a new recipe posts. Simply subscribe and start receiving your free daily recipes!
This post originally appeared here on Jun 5, 2018 and has since been updated with new photos and expert tips.
More recipes to try
Eight more recipes from the kitchen.

Eggs Benedict
Eggs Benedict is a delicious open-faced English muffin sandwich…
French Silk Slab Pie
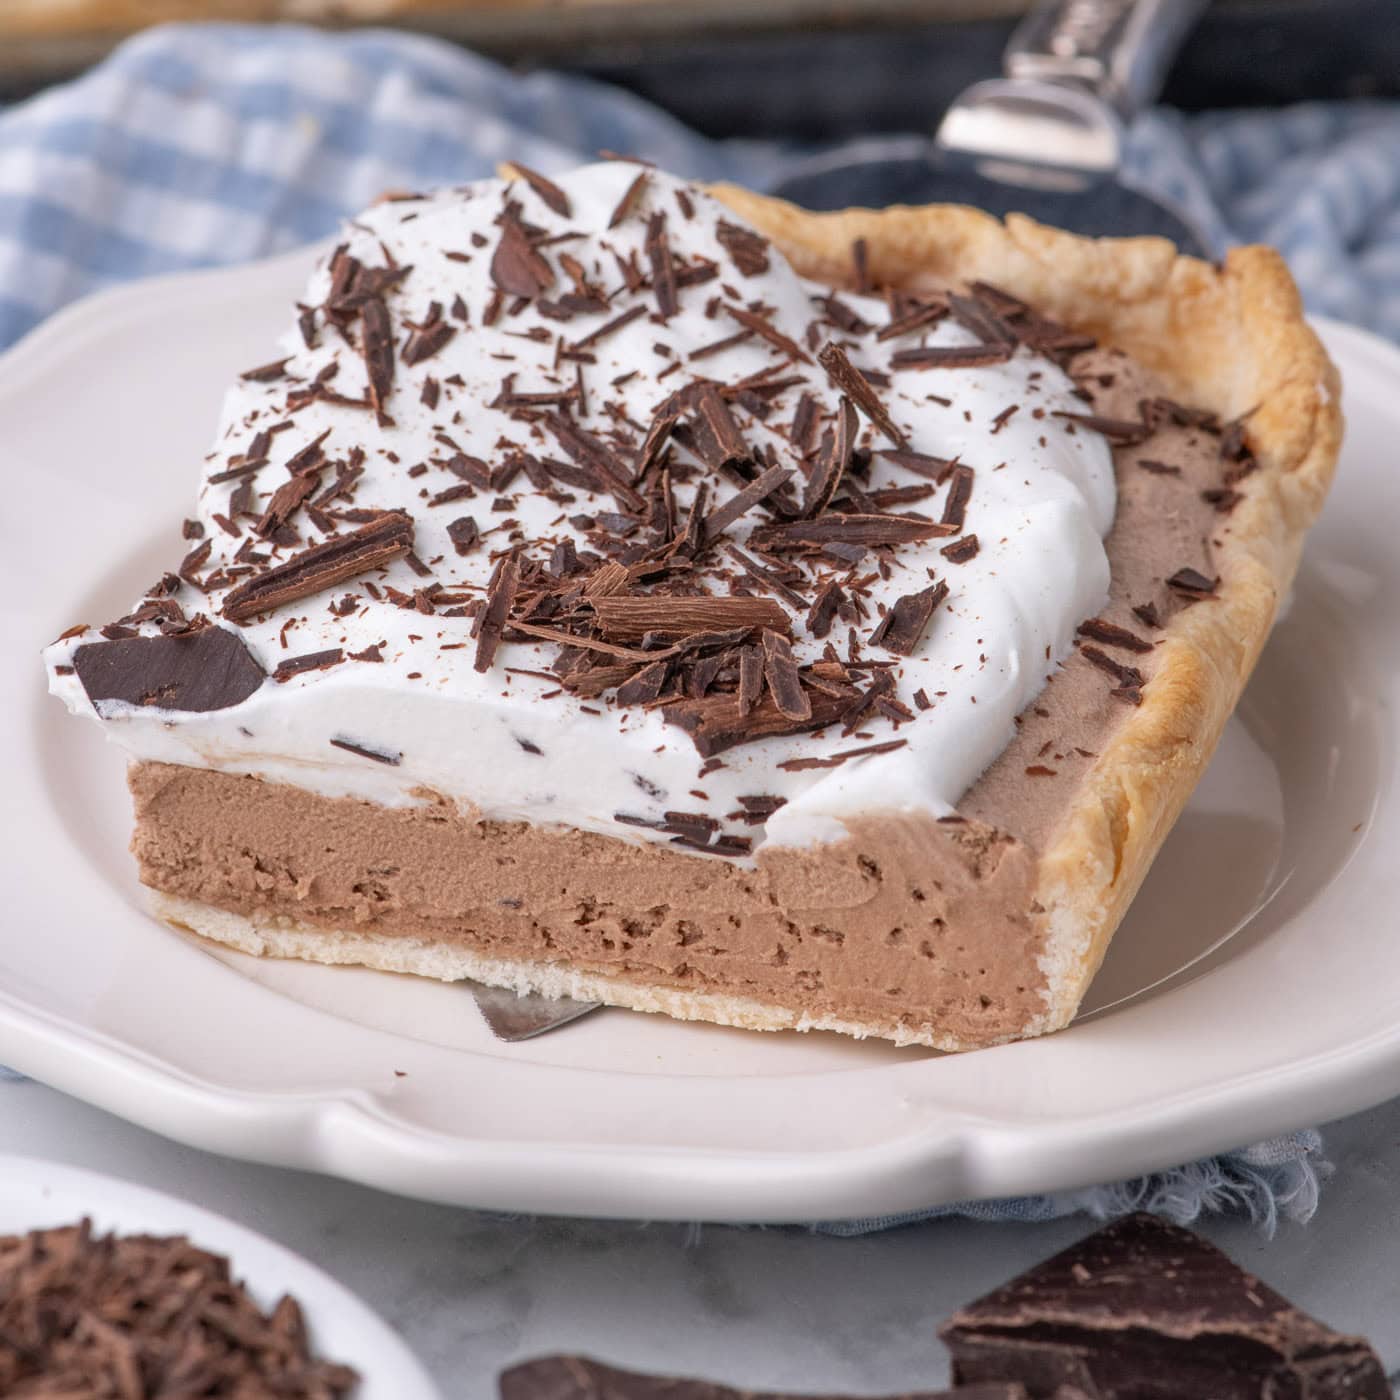
This rich, decadent French silk slab pie recipe is the epitome of a…
Peach Iced Tea
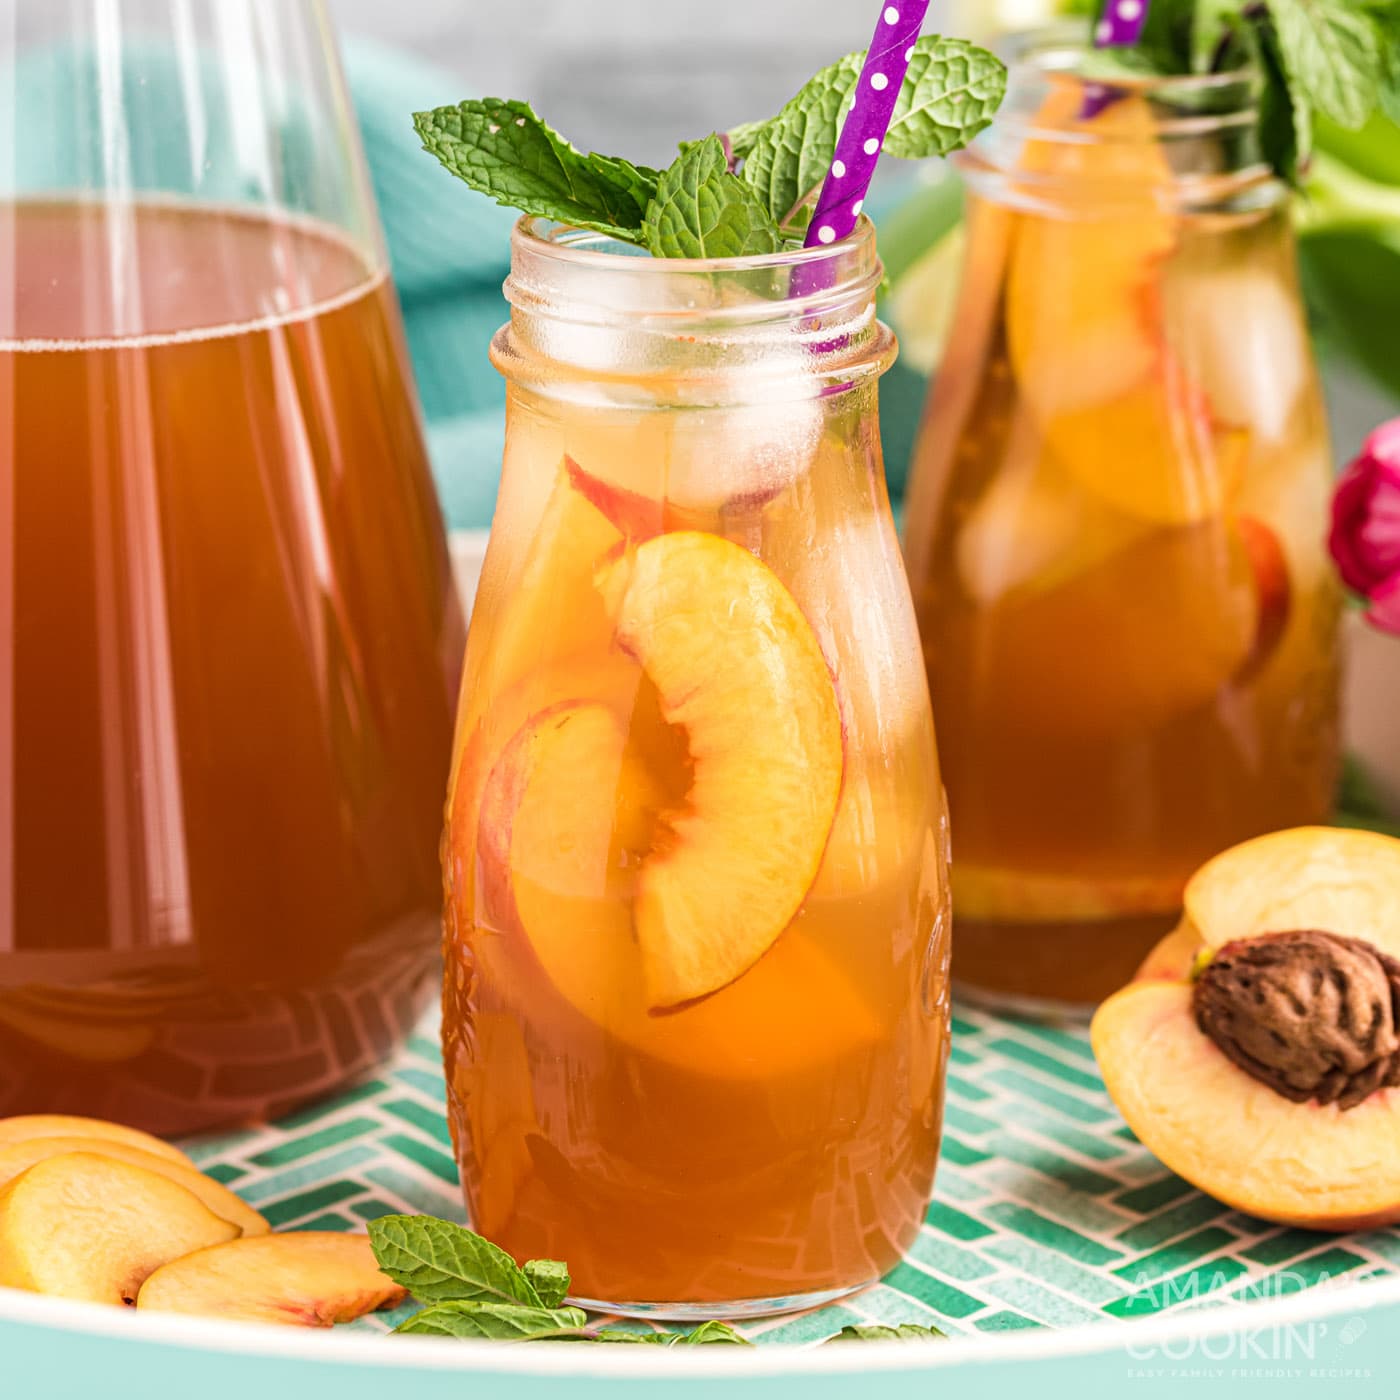
This refreshing peach iced tea is easy to make with cold brew tea…
Banana Cookies
Every banana lover knows that having a variety of banana recipes in…
Pineapple Upside Down Cake
This pineapple upside down cake has become a family favorite! It’s…
Mudslide
The Mudslide drink is a delicious dessert cocktail made with coffee…
Maraschino Cherry Bundt Cake
This beautiful maraschino cherry bundt cake is dotted with bright…
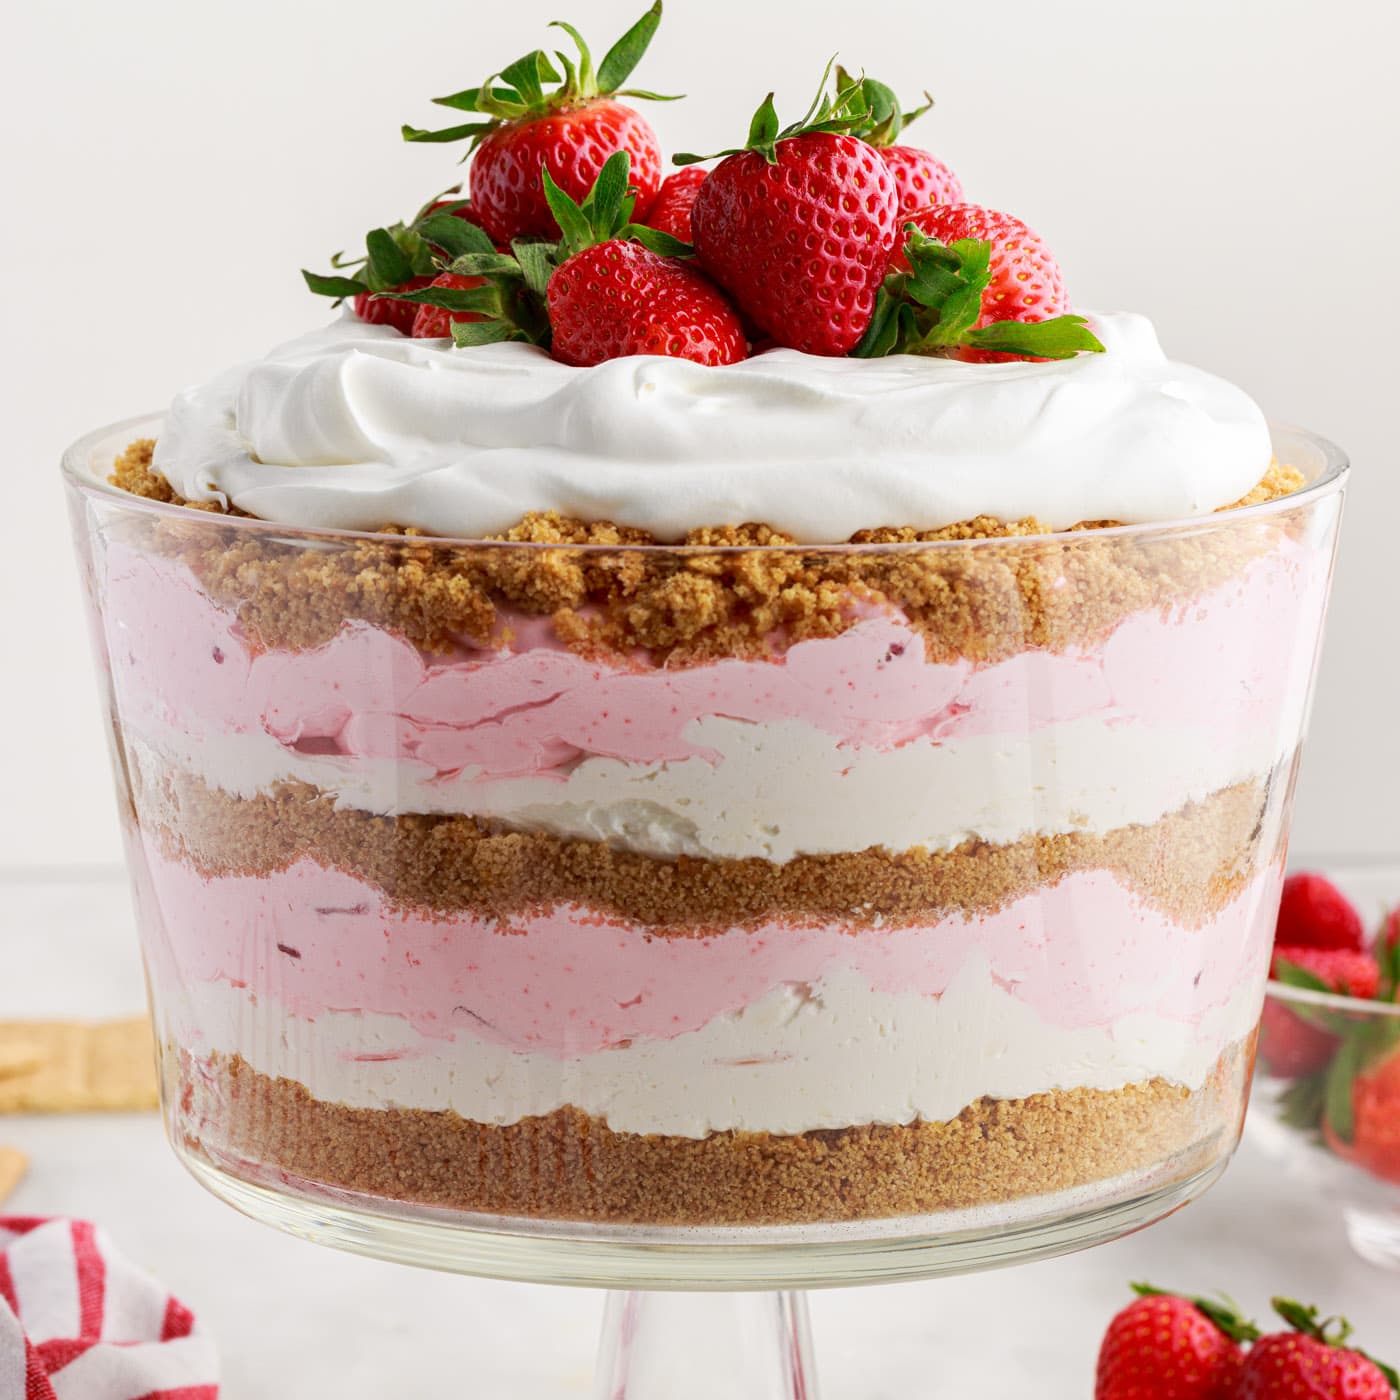
Strawberry Lasagna Trifle
This gorgeous layered strawberry lasagna trifle is a tiered version of…