

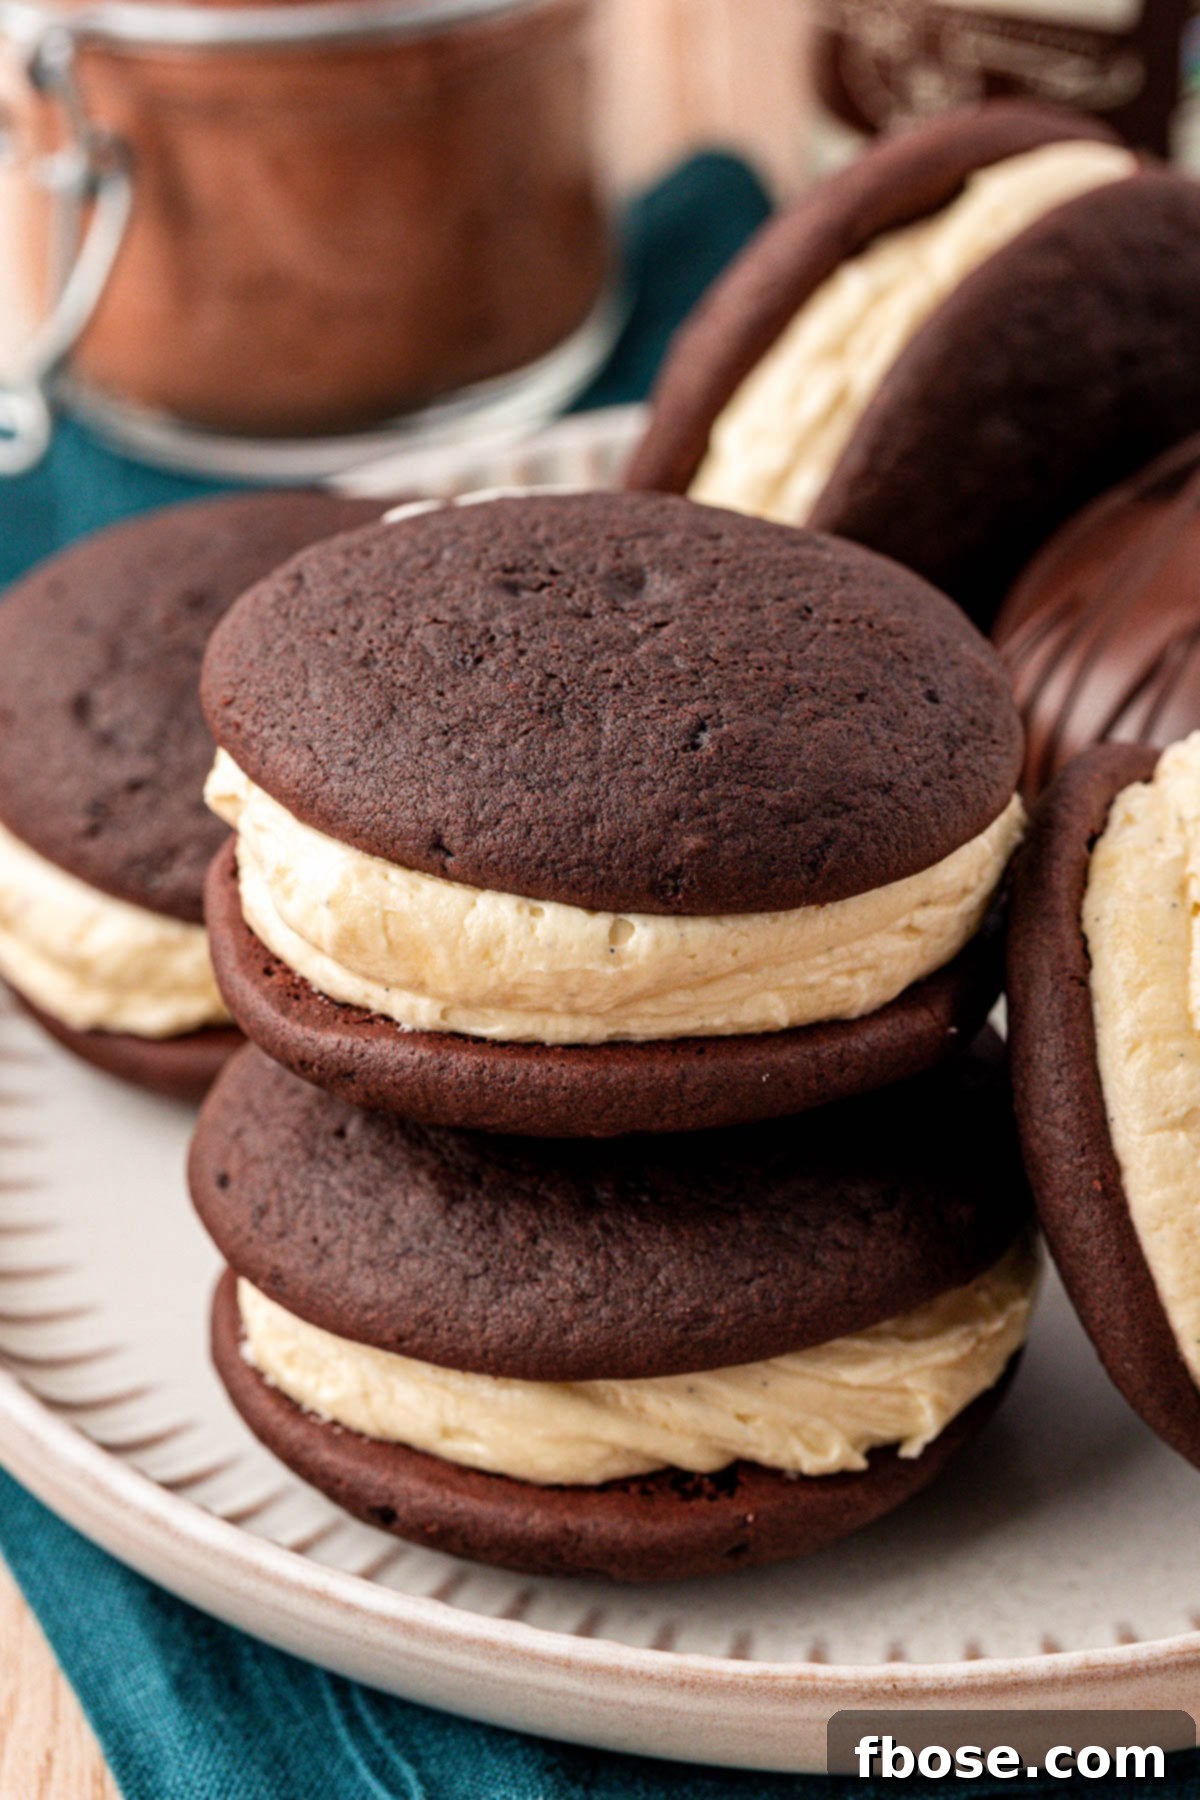
Indulge in a timeless classic with the **Best Homemade Whoopie Pies** you’ll ever taste! These iconic handheld desserts feature two rich, pillowy-soft chocolate cakes generously filled with a sweet, fluffy vanilla frosting. Each bite promises a delightful blend of textures and flavors, making them an instant favorite for anyone who tries them. Perfect with a glass of ice-cold milk, these whoopie pies bring a touch of nostalgic comfort to any occasion.
Discovering the Ultimate Whoopie Pie Experience
Proclaiming a recipe as ‘the best’ is no small feat, especially in the diverse world of desserts where personal preferences reign supreme. However, as a dedicated whoopie pie enthusiast residing in New England, the very birthplace of these delightful treats, I’ve had the pleasure of sampling countless versions. This extensive experience has given me a deep understanding of what truly elevates a whoopie pie from good to absolutely exceptional.
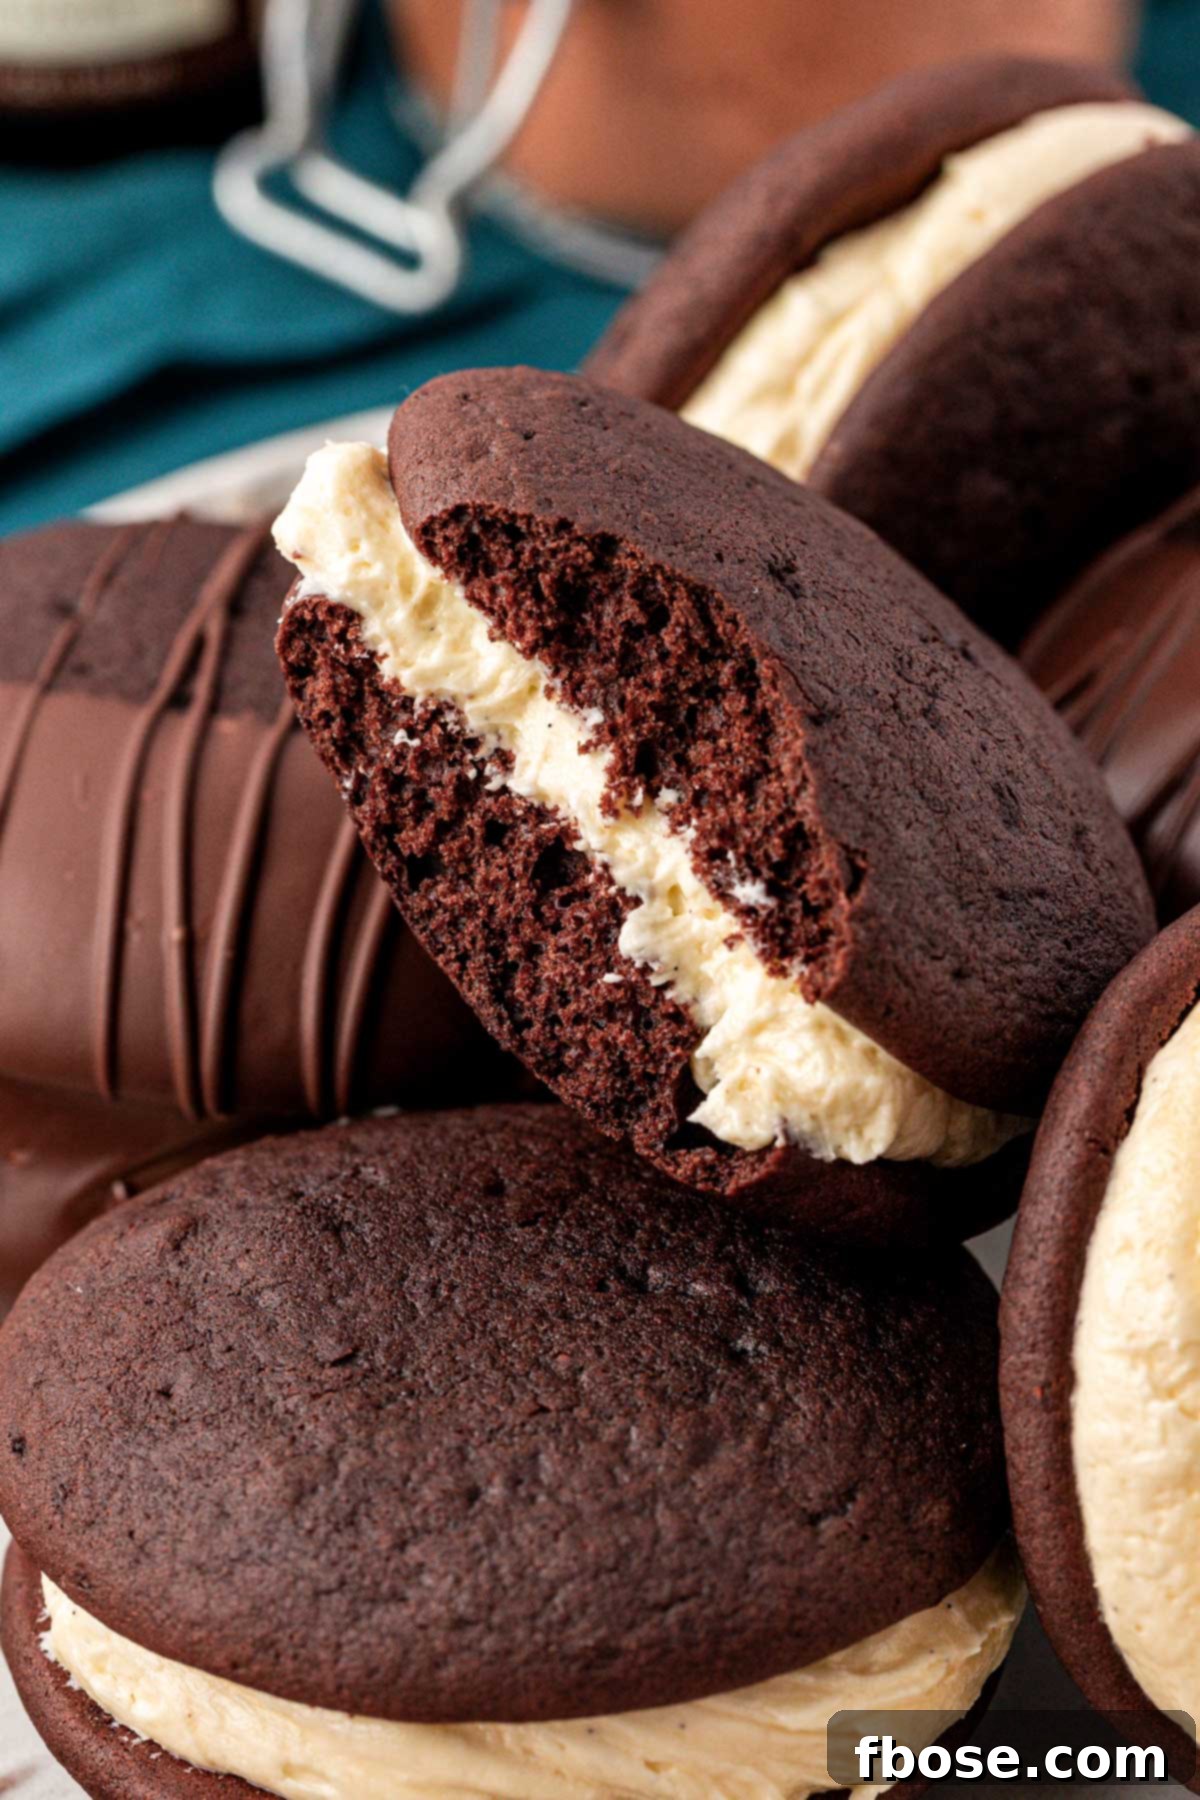
My quest to perfect the ultimate whoopie pie involved rigorous testing and refinement. The goal was to achieve a cake with an incredibly rich, profound chocolate flavor. This was accomplished by strategically combining two distinct types of cocoa powders: Dutch-process cocoa and black cocoa. To further intensify this chocolate essence, I incorporated both coffee extract and a hint of espresso powder, which subtly enhances the cocoa notes without imparting an overwhelming coffee taste. Beyond flavor, texture was paramount. I aimed for a tender, moist crumb that avoids being dry or overly gummy. To achieve this delicate balance, I integrated cake flour for its fine texture and buttermilk for its moisture-retaining properties and a slight tang that complements the chocolate beautifully. The result is a whoopie pie cake that is both deeply flavored and exquisitely tender.
The masterpiece is then completed with a luscious, homemade sweet vanilla filling. What makes this filling truly special is the addition of marshmallow fluff, which lends an unparalleled lightness and a delightful, nostalgic sweetness. This perfect pairing of dense, rich chocolate cake and cloud-like vanilla filling creates a harmonious handheld dessert dream. It’s a treat that pairs wonderfully with a tall glass of ice-cold milk, making it an ideal indulgence for any time of day.
A Brief History of the Beloved Whoopie Pie
The origins of the whoopie pie are shrouded in a bit of sweet mystery, with both Maine and Pennsylvania (specifically the Amish community) laying claim to its invention. Regardless of its exact birthplace, this beloved dessert quickly captured hearts across America, particularly in New England. Traditionally, whoopie pies were made from leftover cake batter, baked into small rounds, and then sandwiched with a creamy filling. They were a thrifty and delicious way to use up ingredients, becoming a staple in lunchboxes and at bake sales. Over the years, the whoopie pie has evolved, but its essence remains the same: a comforting, delightful treat that evokes childhood memories and simple pleasures.
Pin This Recipe For Later
Rebecca’s Recipe Review
Taste: A harmonious blend of rich, dark chocolate cake complemented by a silky, slightly salted vanilla marshmallow filling.
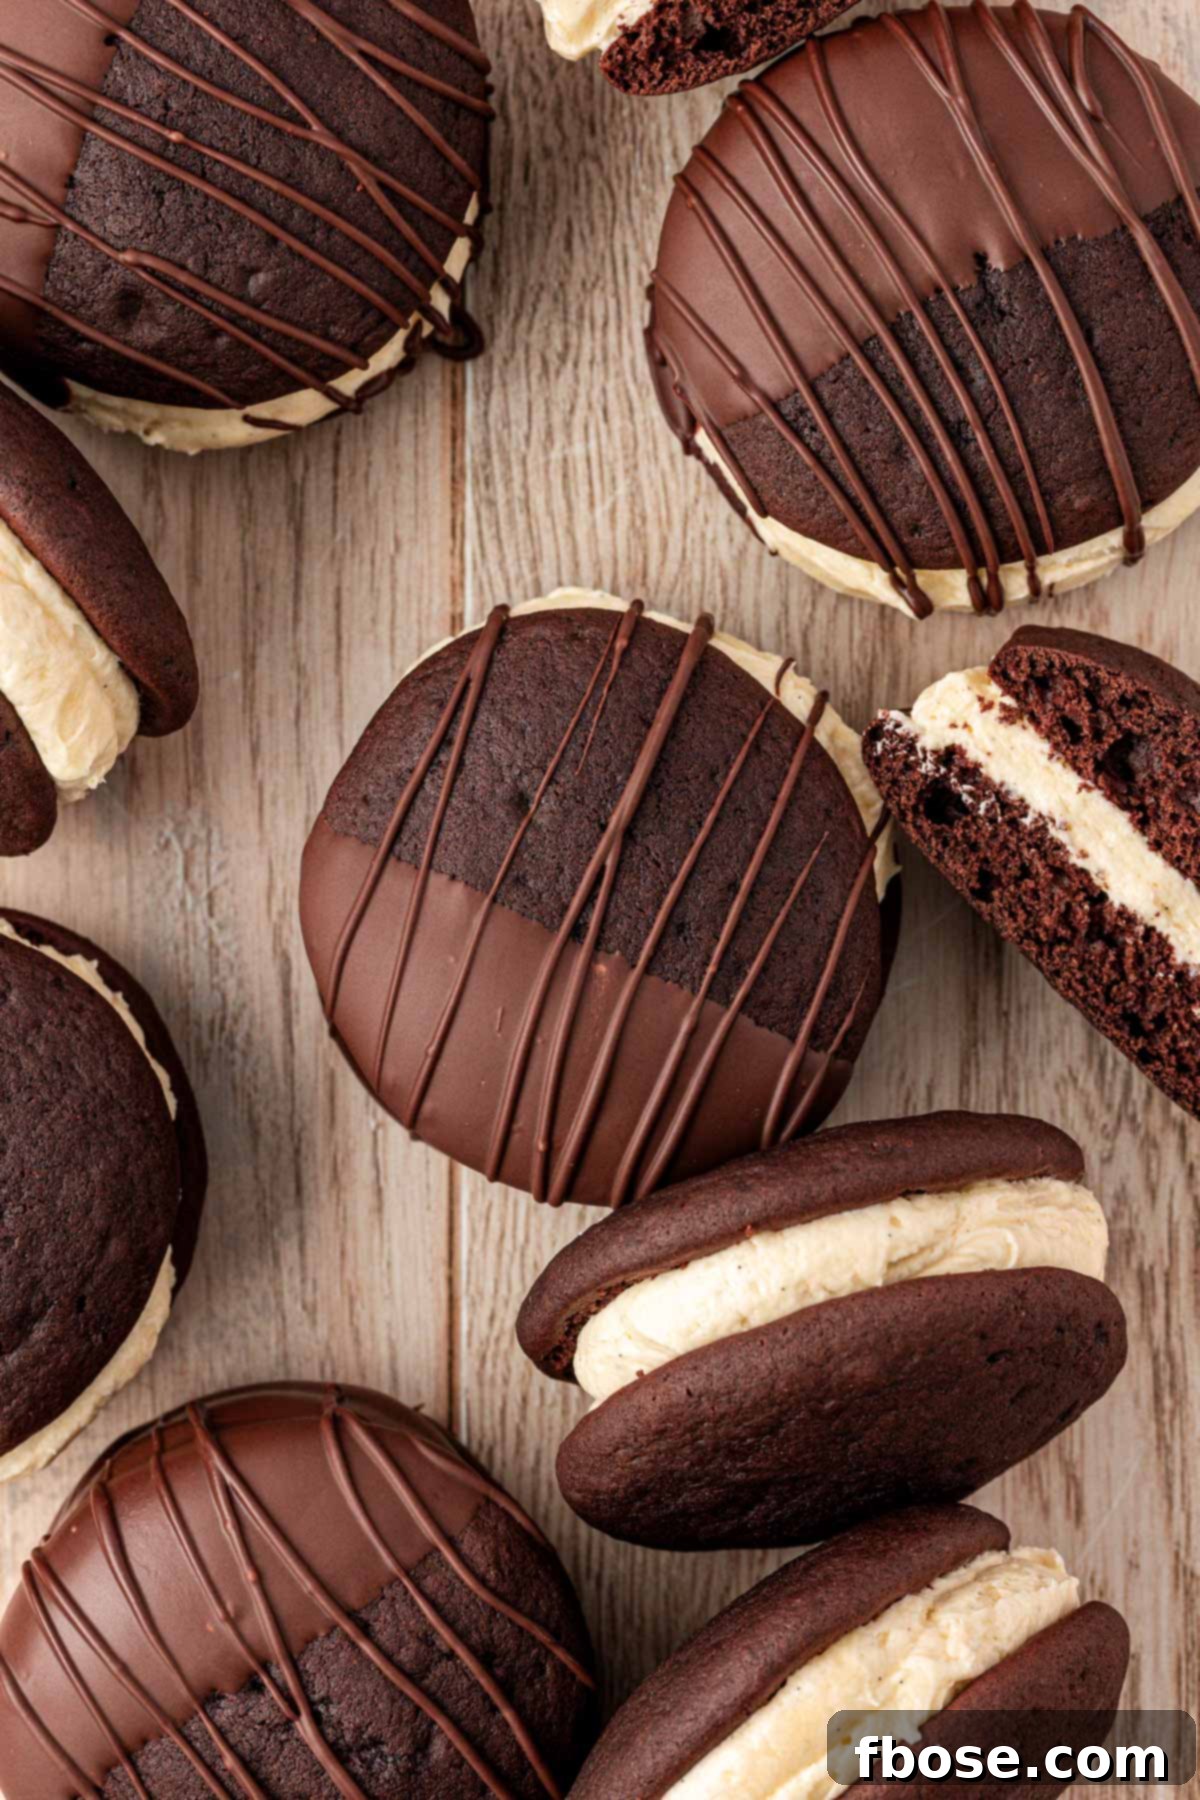
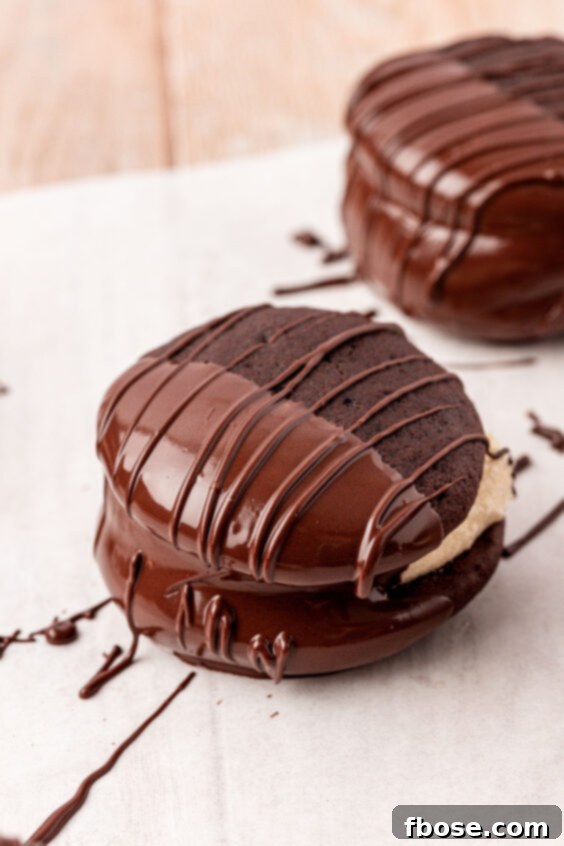
Texture: Delightfully tender cakes with a substantial, thick frosting filling. For an added layer of indulgence, the optional chocolate dip gives a luxurious “swiss roll” reminiscent experience.
Ease: 6/10 – A rewarding baking project that requires some attention to detail but is certainly achievable for home bakers.
Pros: Exceptional flavor and texture, consistently delivering cakes that are moist and intensely chocolatey, never dry or bland.
Cons: The multi-step process can lead to a fair number of dishes!
Would I Make This Again? Absolutely! As a New Englander, these are a staple, and this recipe is simply irresistible.
Essential Ingredients for the Best Whoopie Pies
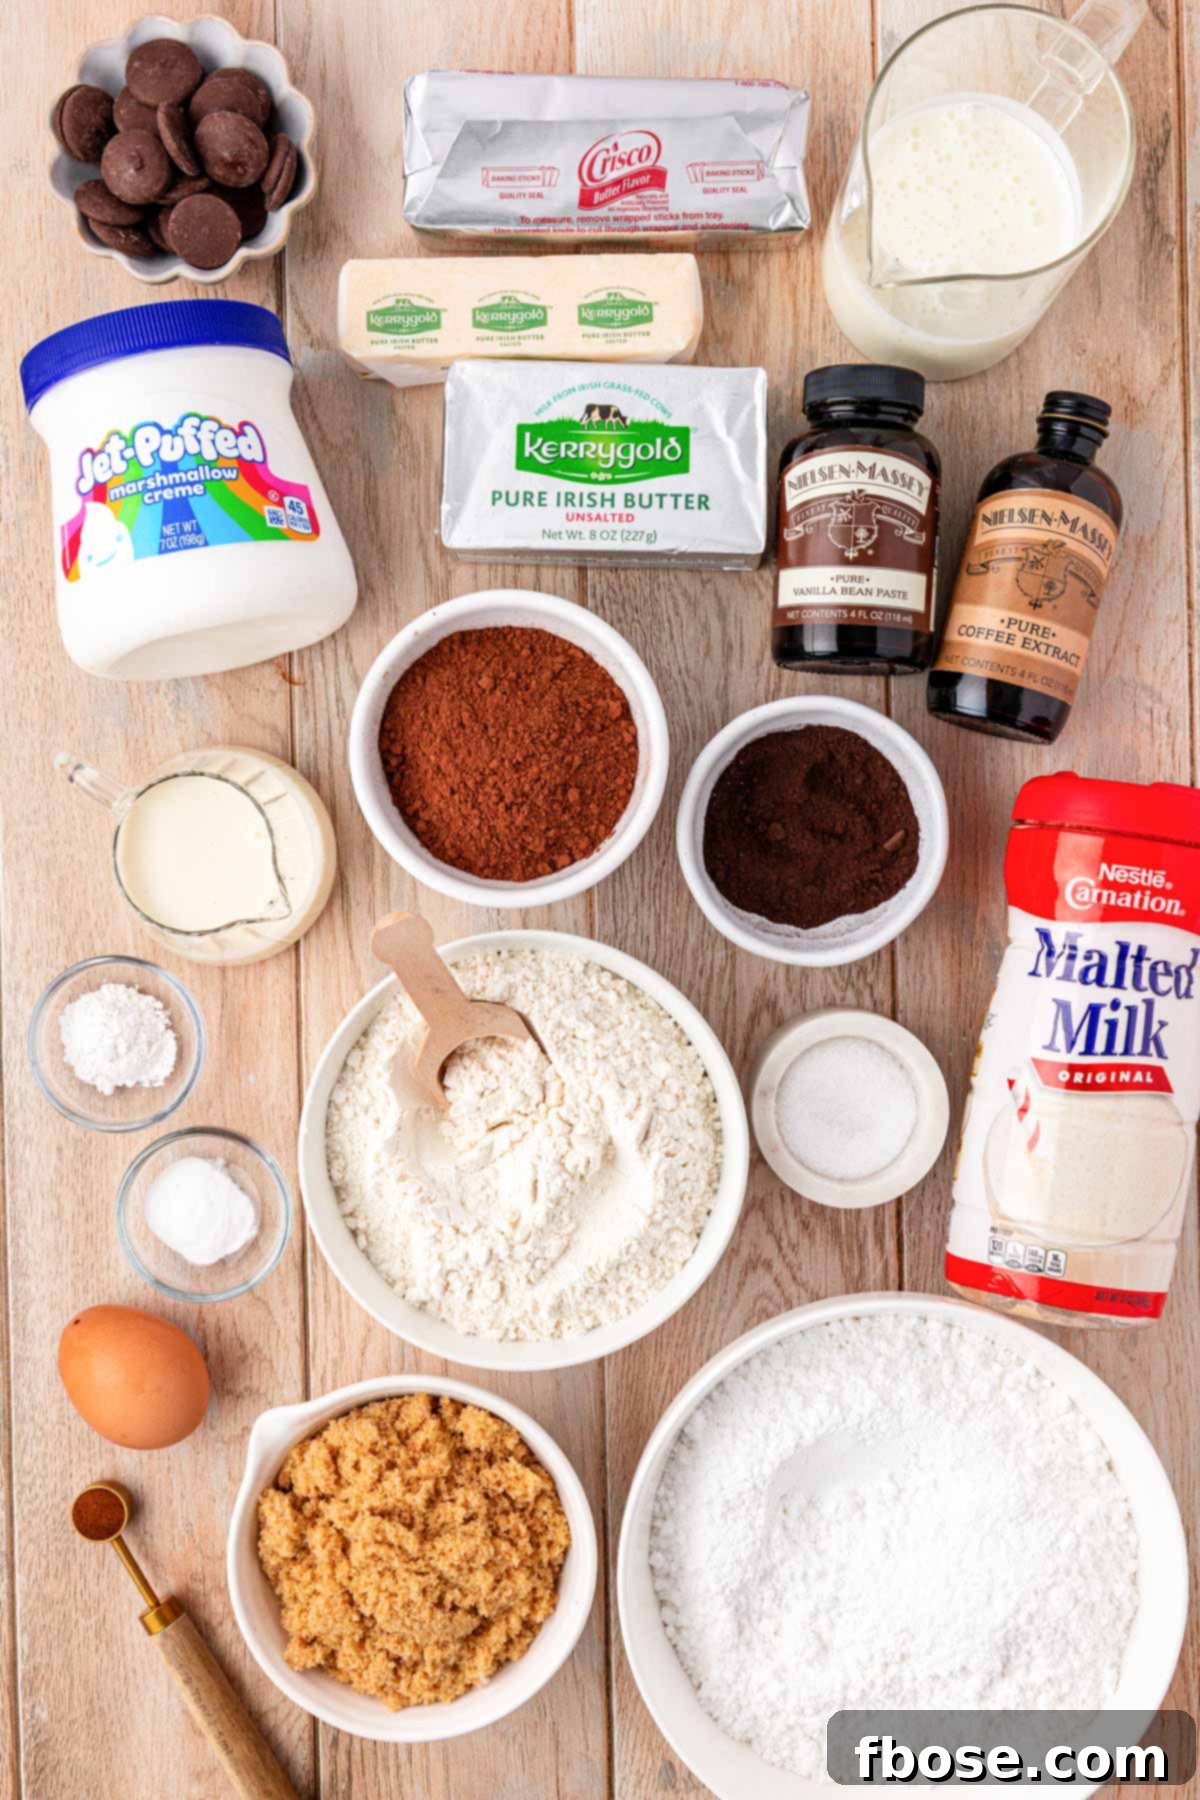
Crafting these extraordinary whoopie pies relies on a combination of common pantry staples and a few key specialty ingredients that truly make them shine. Each component plays a crucial role in developing the deep chocolate flavor, tender cake texture, and luscious filling that defines this recipe. Here’s what you’ll need:
For the Rich Chocolate Cakes:
- Light Brown Sugar: Adds moisture and a subtle caramel note to the cakes.
- Salted Butter: Contributes richness and depth of flavor.
- Vanilla Bean Paste: Provides a more intense and authentic vanilla flavor than extract.
- Coffee Extract: A secret weapon that enhances chocolate flavor without tasting like coffee.
- Salt: Balances sweetness and deepens all flavors.
- An Egg: Binds the ingredients and adds structure and richness.
- Cake Flour: Essential for a tender, fine crumb texture in the cakes.
- Dutch Process Cocoa Powder: Offers a smooth, mellow, and intensely dark chocolate flavor.
- Malted Milk Powder: Adds a unique depth, savory undertone, and enhanced chewiness to the cake.
- Black Cocoa Powder: Delivers a deep, almost Oreo-like color and a subtle bitter note that complements the other cocoas.
- Baking Powder & Baking Soda: The leavening agents that ensure your cakes rise beautifully and achieve that signature pillowy texture.
- Espresso Powder: A flavor enhancer that amplifies the chocolate notes.
- Buttermilk: Reacts with baking soda for rise, tenderizes the crumb, and adds moisture.
Once your wonderfully tender chocolate cakes are baked and perfectly cooled, they are ready for their decadent partner: the sweet vanilla frosting. This filling is specifically designed to be rich, creamy, and irresistibly fluffy, providing the perfect contrast to the deep chocolate flavor of the cakes.
For the Sweet Vanilla Marshmallow Filling:
- Unsalted Butter: The base for a rich and creamy frosting.
- Butter Flavored Shortening: Adds stability to the frosting, preventing it from melting easily, and gives a buttery taste.
- Vanilla Bean Paste: For a vibrant and authentic vanilla aroma and flavor in the filling.
- Salt: Crucial for cutting through the sweetness and enhancing the vanilla and marshmallow flavors.
- Powdered Sugar: Provides structure and sweetness, ensuring a smooth, lump-free frosting.
- Heavy Cream: Adds to the frosting’s luxurious creaminess and smooth texture.
- Marshmallow Fluff: The star ingredient that gives this filling its signature light, airy, and incredibly delightful texture and taste.
To truly elevate these whoopie pies to a gourmet level, consider an optional, yet highly recommended, garnish. Dipping the finished whoopie pies in melted chocolate wafers and finishing them with a sprinkle of your favorite decorations adds both visual appeal and an extra layer of chocolatey goodness, making them perfect for special occasions or simply a more indulgent treat.
Mastering the Art of Making the Best Whoopie Pies
Creating these delightful whoopie pies is a rewarding process that combines careful ingredient selection with precise execution. Follow these steps to ensure your homemade whoopie pies are perfect every time, from their tender chocolate cakes to their fluffy marshmallow filling.
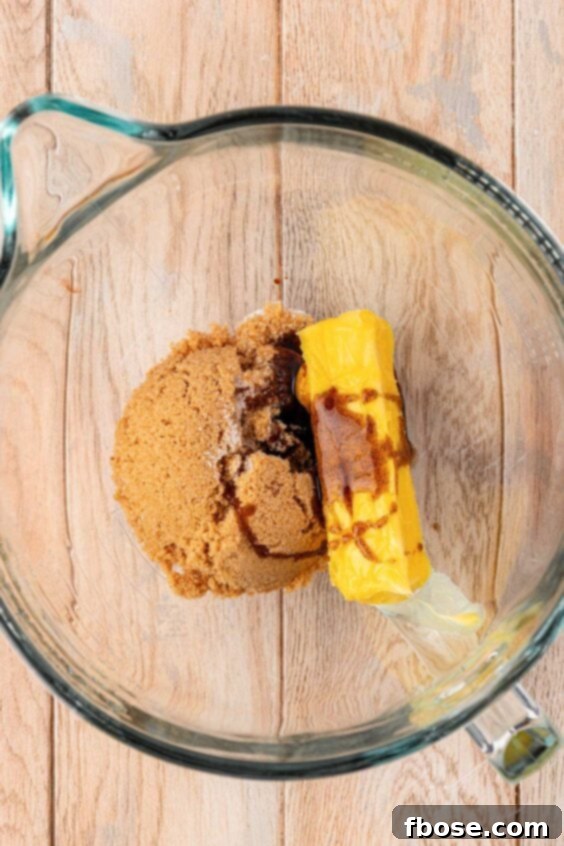
- Prepare the Chocolate Cakes: In the bowl of a large stand mixer fitted with the paddle attachment, combine the light brown sugar, softened salted butter, vanilla bean paste, coffee extract, and salt. Beat this mixture on medium-high speed for about 4 minutes until it’s light and fluffy. Remember to stop halfway through and scrape down the sides and bottom of the bowl thoroughly to ensure all ingredients are evenly incorporated. This step is crucial for an even texture in your cakes.
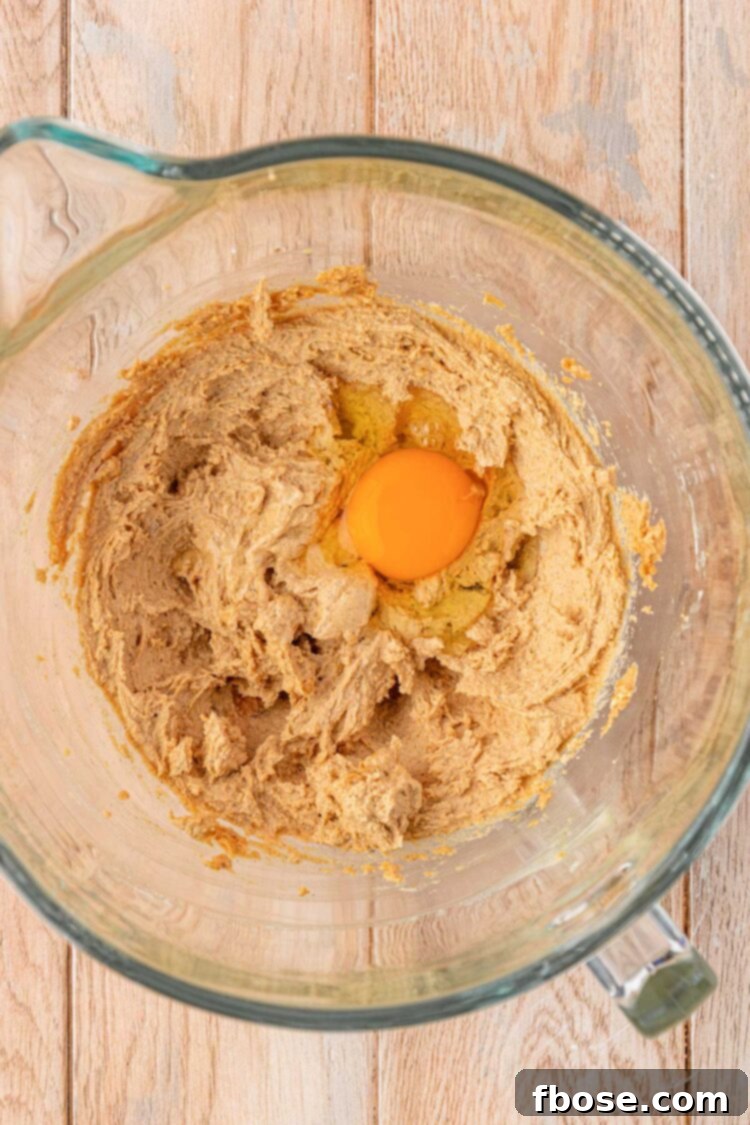
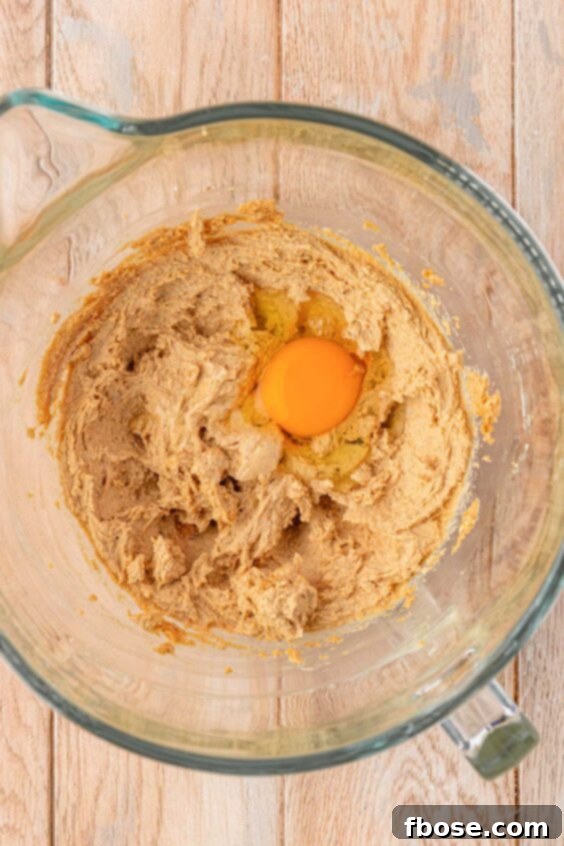
- Incorporate the Egg: Add the large egg to the creamed mixture and beat for precisely 1 minute until it is fully incorporated and the mixture looks smooth. Again, scrape down the sides of the bowl to ensure everything is well combined.
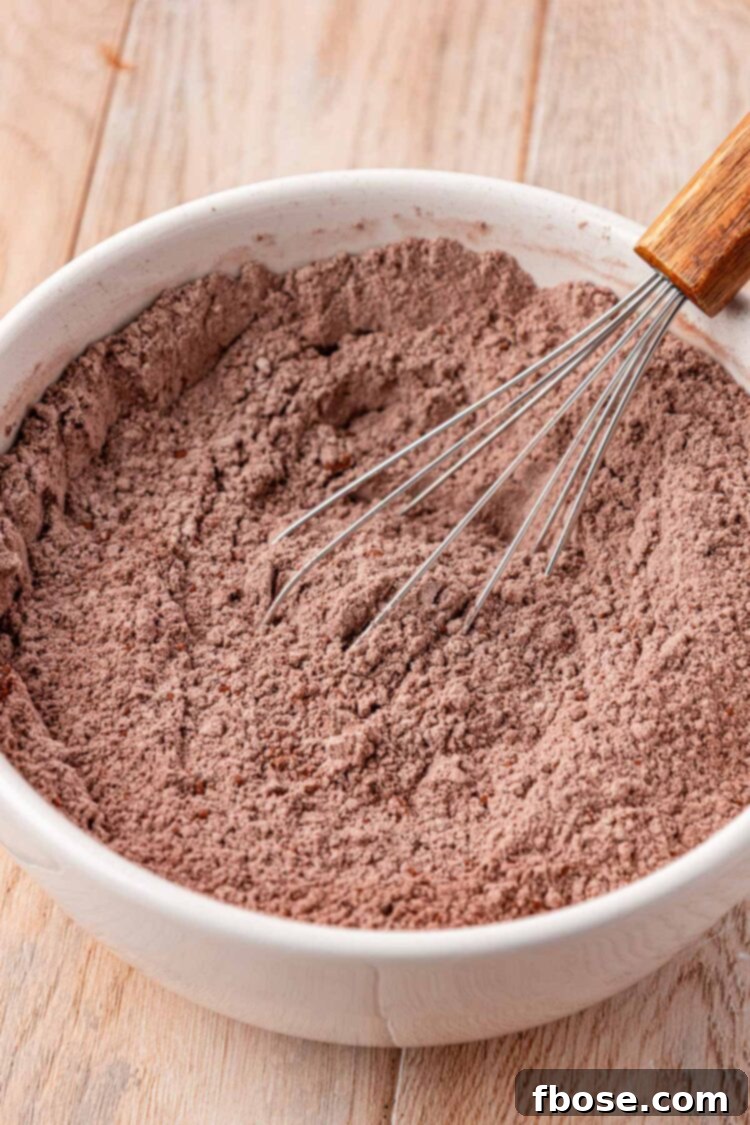
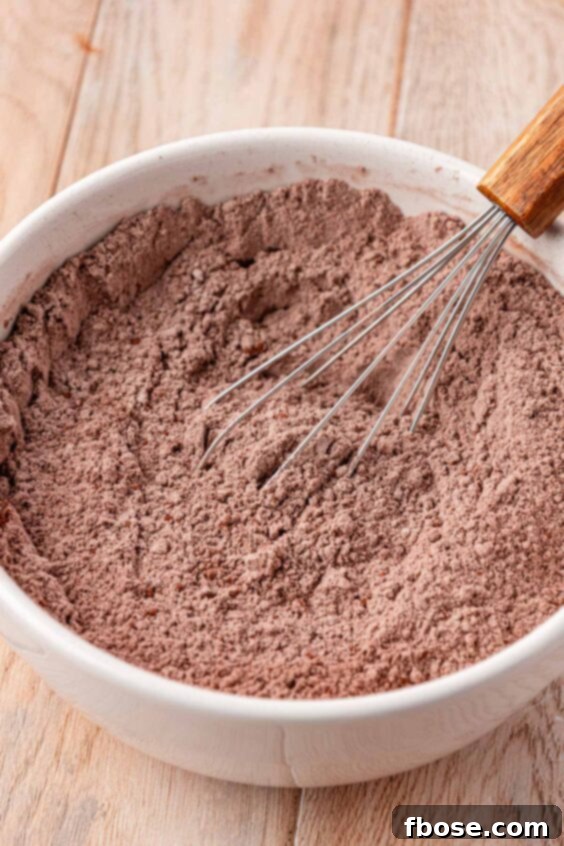
- Whisk Dry Ingredients: In a separate medium-sized bowl, whisk together all the dry ingredients for the cakes: cake flour, Dutch-process cocoa powder, malted milk powder, black cocoa powder, baking powder, baking soda, and espresso powder. Whisk thoroughly to remove any lumps and ensure an even distribution of leavening agents.
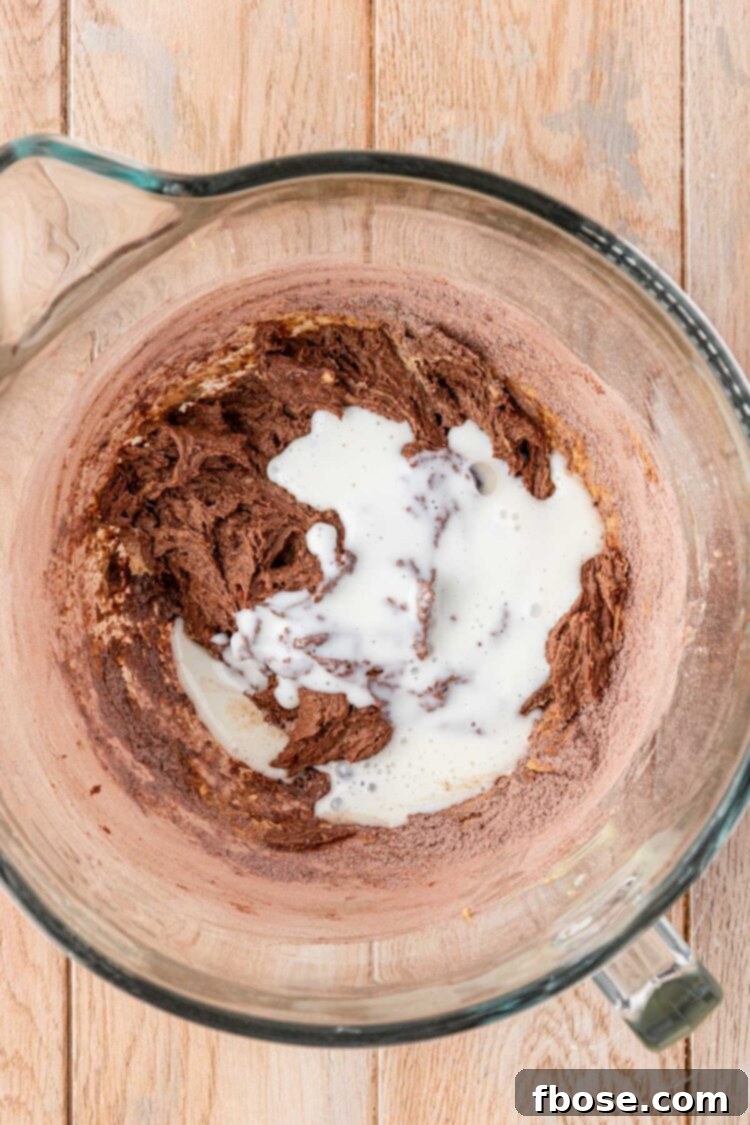
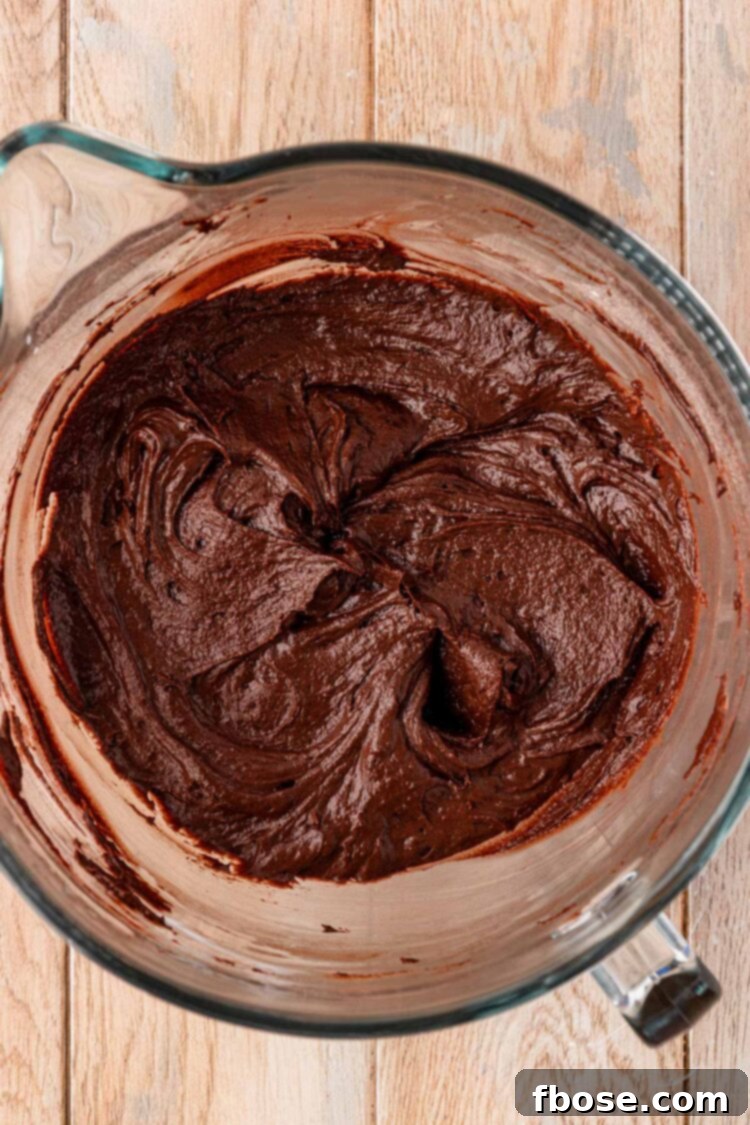
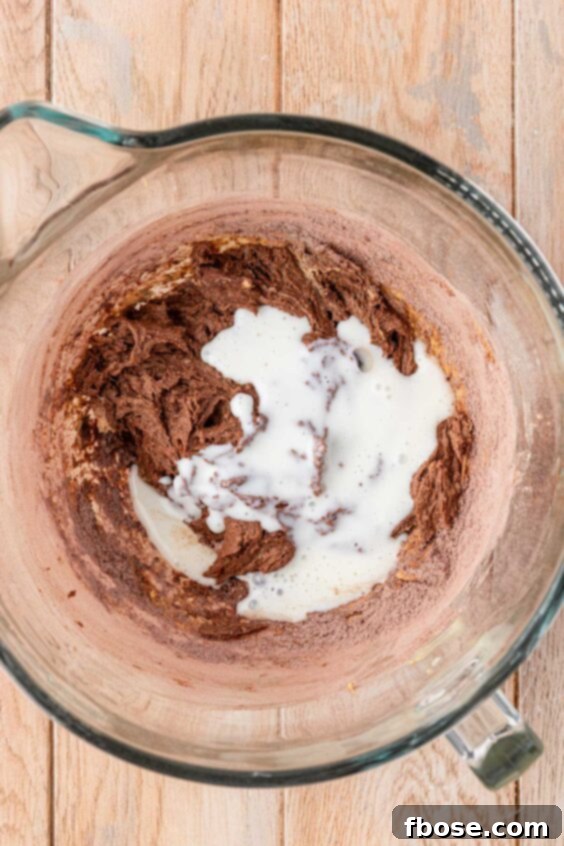
- Combine Wet and Dry Ingredients: Gradually add the dry ingredients to the wet mixture in three alternating parts, starting and ending with the dry ingredients. Between each addition of dry ingredients, add a portion of the buttermilk. Mix on medium speed for about 1 minute until everything is just combined. Overmixing can lead to tough cakes, so mix until barely incorporated. Scrape down the sides of the bowl once more and use a rubber spatula to gently fold the batter, ensuring no pockets of dry ingredients remain.
- Rest the Batter: Allow the bowl of batter to rest at room temperature for at least 15 minutes. This resting period is a crucial step that allows the flour to fully hydrate, leading to a smoother crumb and cakes with a superior overall flavor and texture.
- Preheat Oven & Prepare Pans: While the batter rests, preheat your oven to 350°F (175°C). Line two 13×18-inch baking pans with parchment paper. Parchment paper is key here for easy release and beautifully shaped cakes.
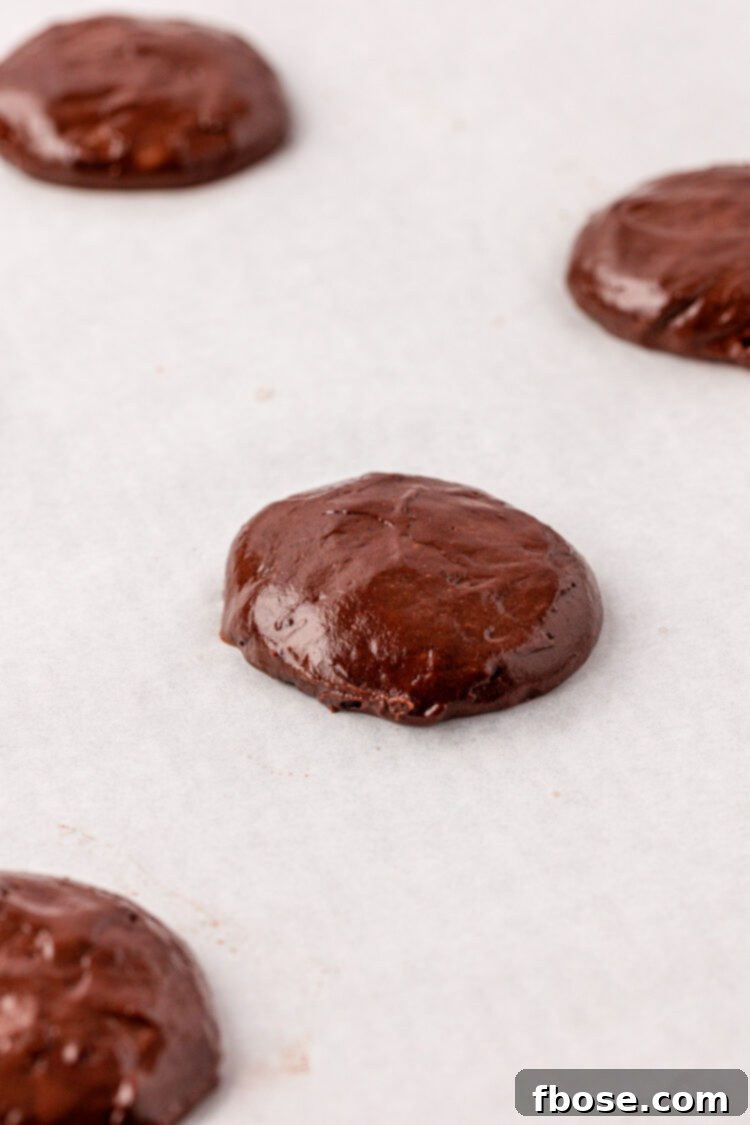
- Portion and Bake Cakes: Using a #40 scoop (or your preferred size for whoopie pies), portion out level scoops of the chocolate cake batter onto the prepared baking sheets. Ensure you space them evenly, at least three inches apart, as they will spread. Baking in batches, if necessary, helps maintain even heat distribution. Bake the cakes for 9 to 11 minutes. They are ready when the tops spring back gently when lightly touched and show no visible cracks.
- Cool the Cakes: Allow the baked cakes to cool on the baking pan for 5 to 10 minutes before carefully transferring them to a wire rack. Let them cool completely before attempting to fill them. Warm cakes will cause the filling to melt and spread.
- Prepare the Filling: In the bowl of a stand mixer, cream together the cold, cubed unsalted butter, butter-flavored shortening, vanilla bean paste, and salt. Beat for 2 minutes until light and fluffy.
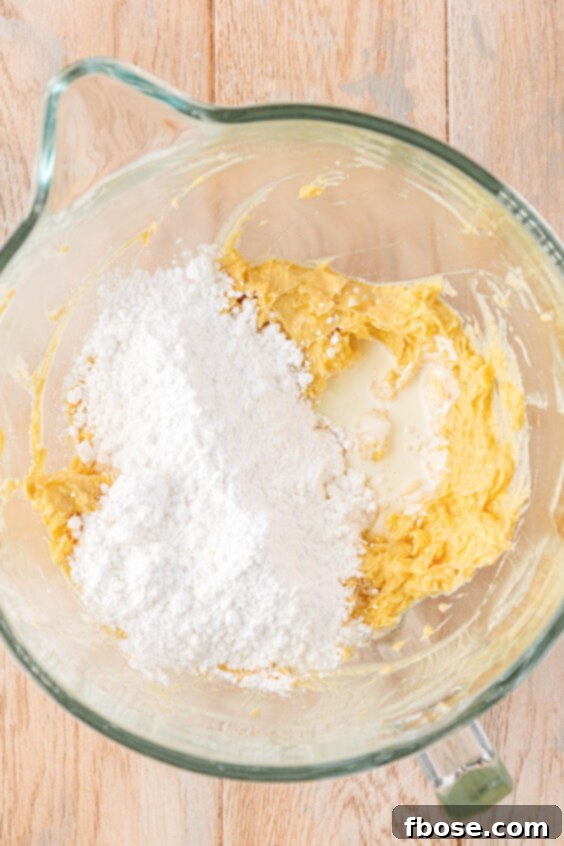
- Add Sugar and Cream: Gradually beat in the powdered sugar and heavy cream, adding 1 cup of powdered sugar and 1 tablespoon of heavy cream at a time. Mix thoroughly until the ingredients are completely combined after each addition, remembering to scrape down the sides of the bowl frequently. This gradual addition prevents a powdered sugar cloud and ensures a smooth frosting.
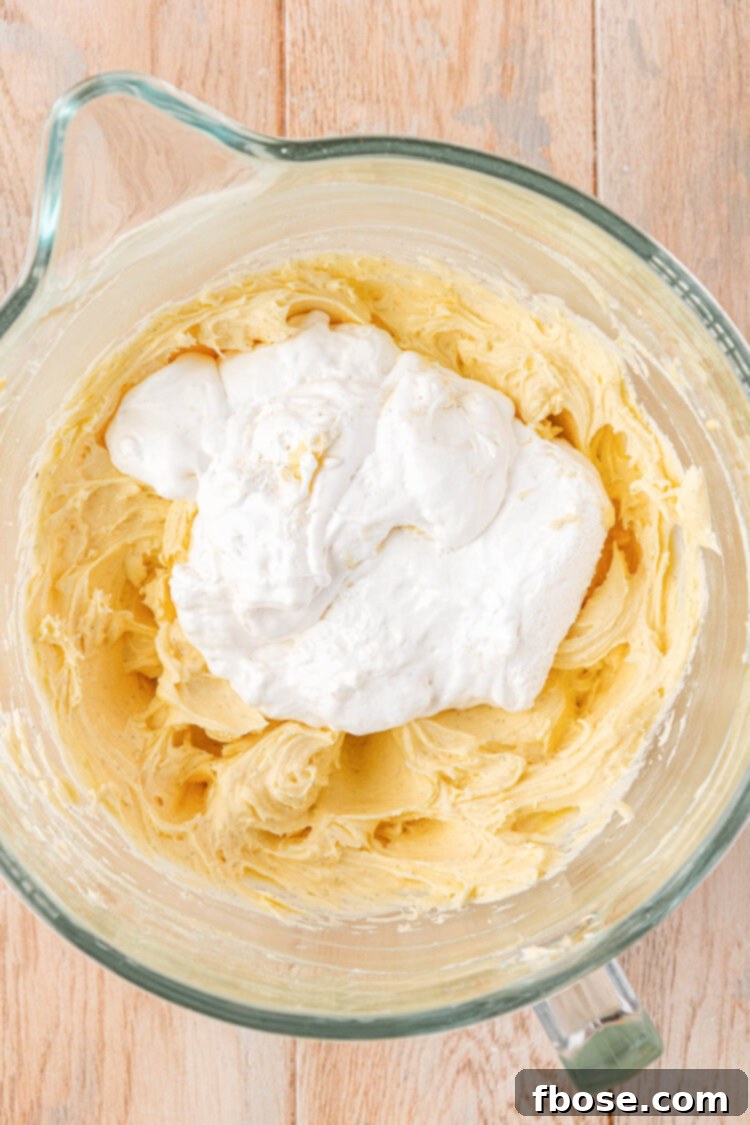
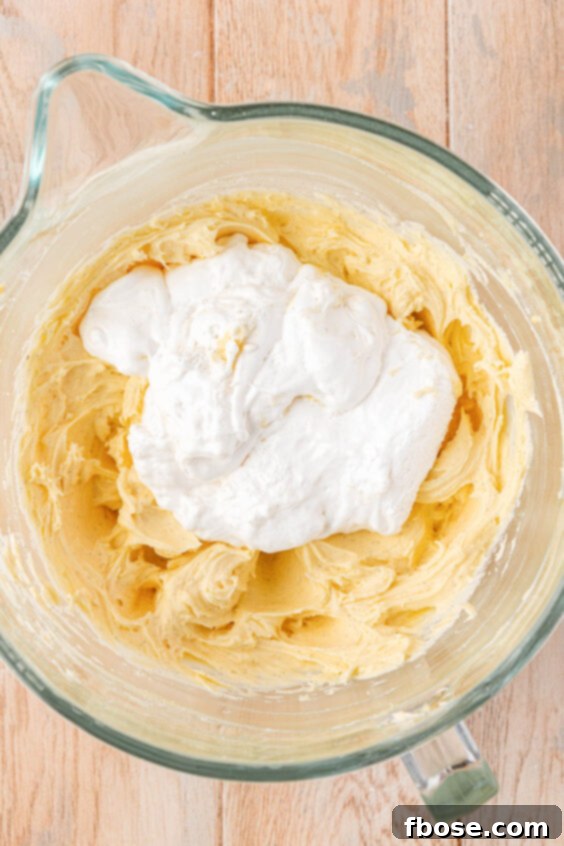
- Incorporate Marshmallow Fluff: Finally, mix in the marshmallow fluff until it is fully incorporated and the frosting is wonderfully light and airy. Taste the filling and adjust the salt if desired; a hint of salt beautifully cuts through the sweetness and enhances the overall flavor. For a thicker consistency, add a small amount of additional powdered sugar.
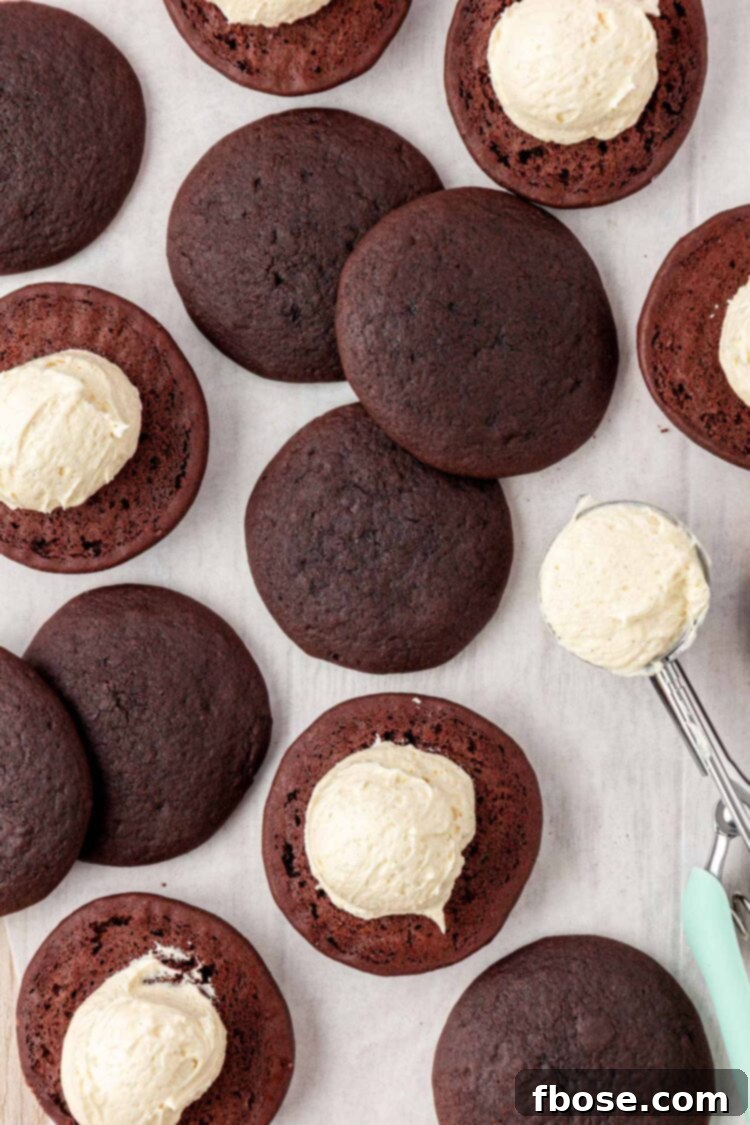
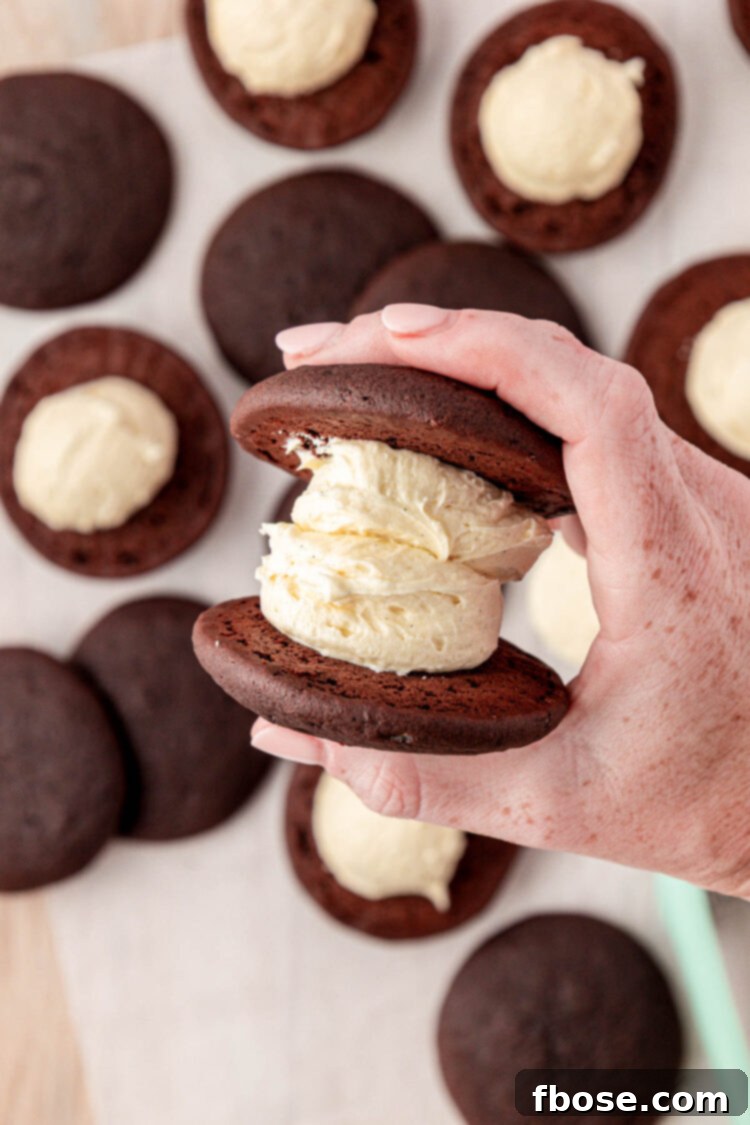
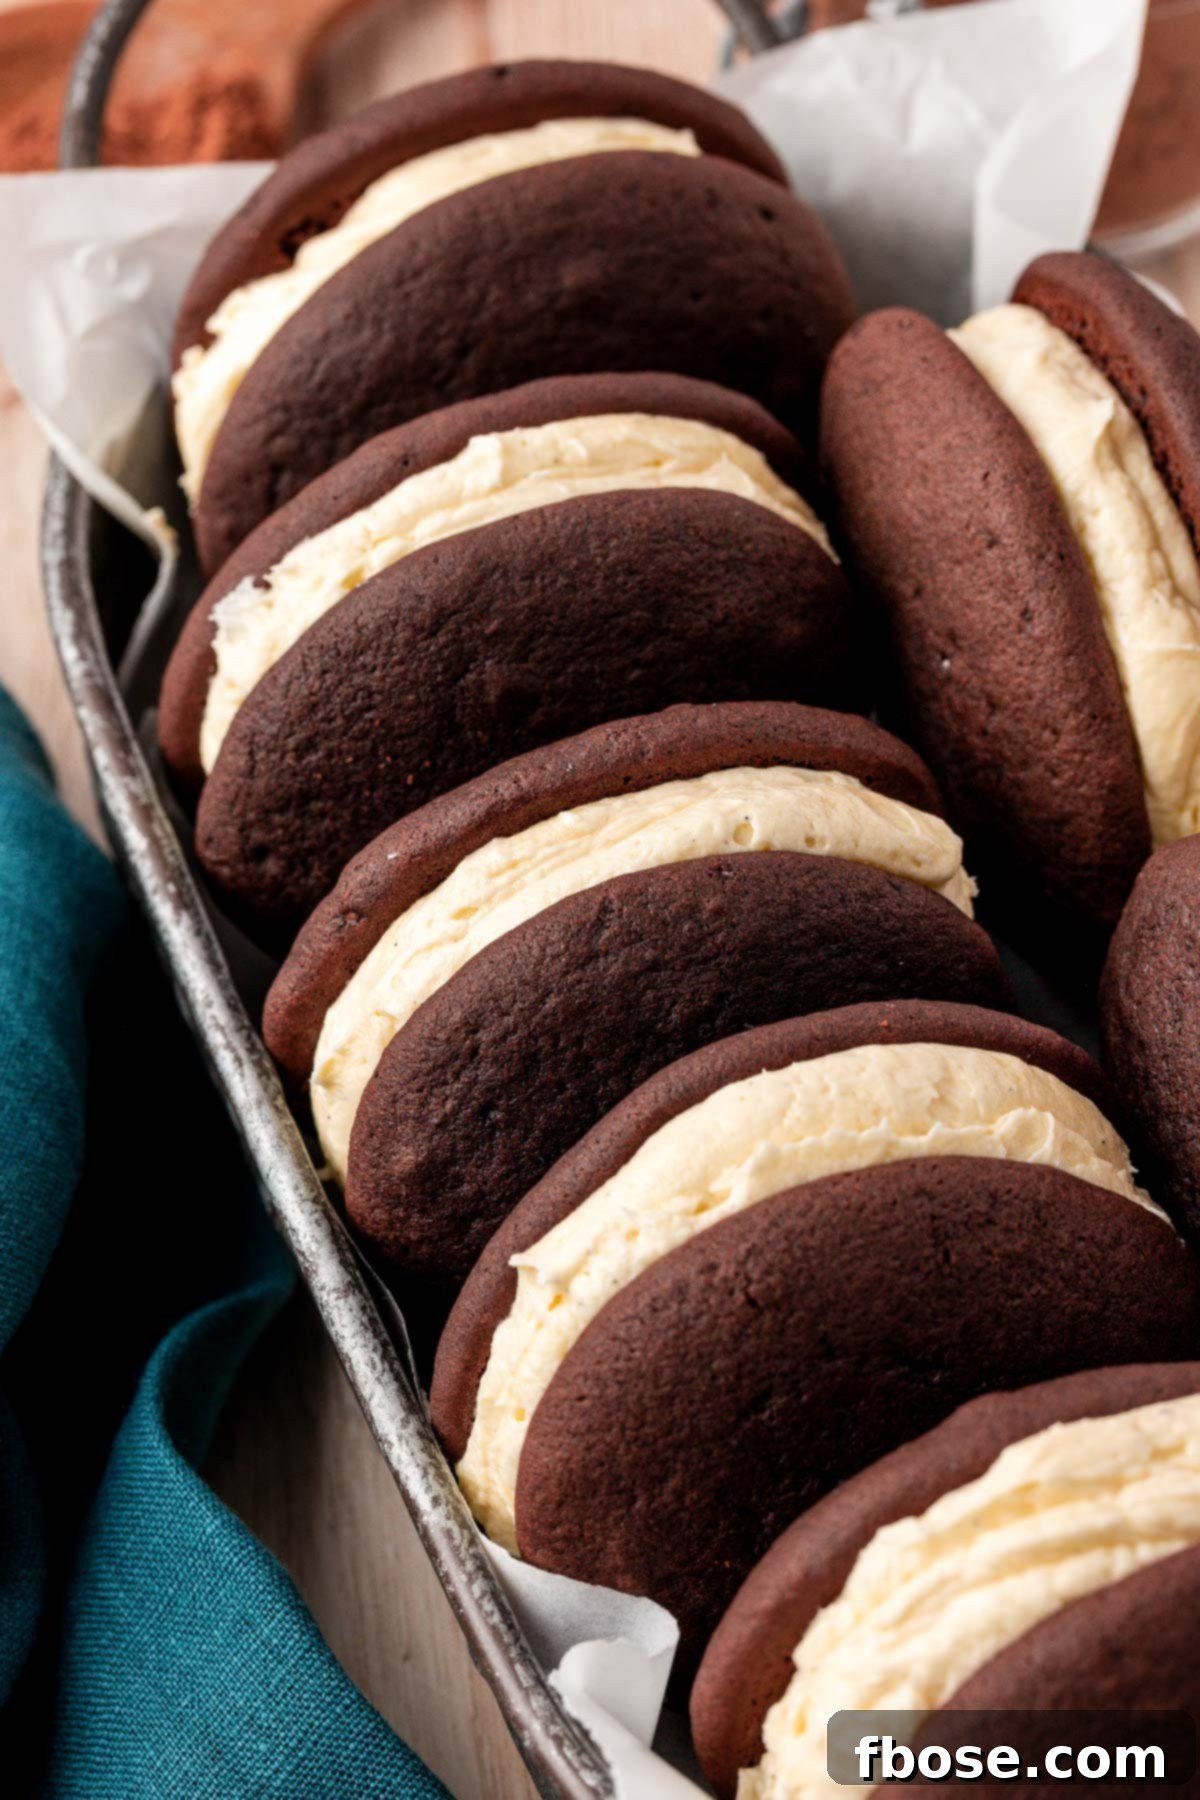
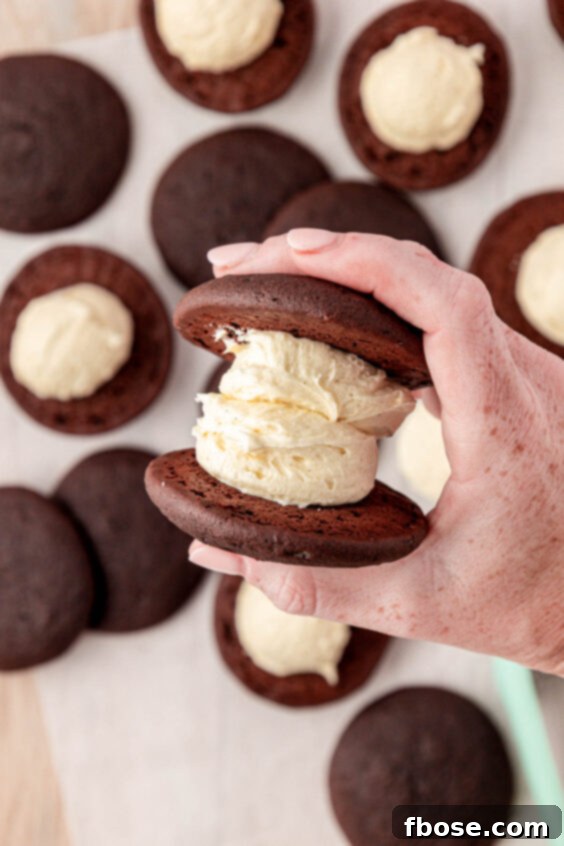
- Assemble the Whoopie Pies: Once the cakes are completely cool, scoop a generous amount of frosting onto the flat bottom of one chocolate cake. Use the same size scoop you used for the batter to ensure consistent filling. Gently place another cake on top, flat-side down, creating a sandwich. Press lightly until the filling reaches the edges of the cakes, forming that classic whoopie pie shape.
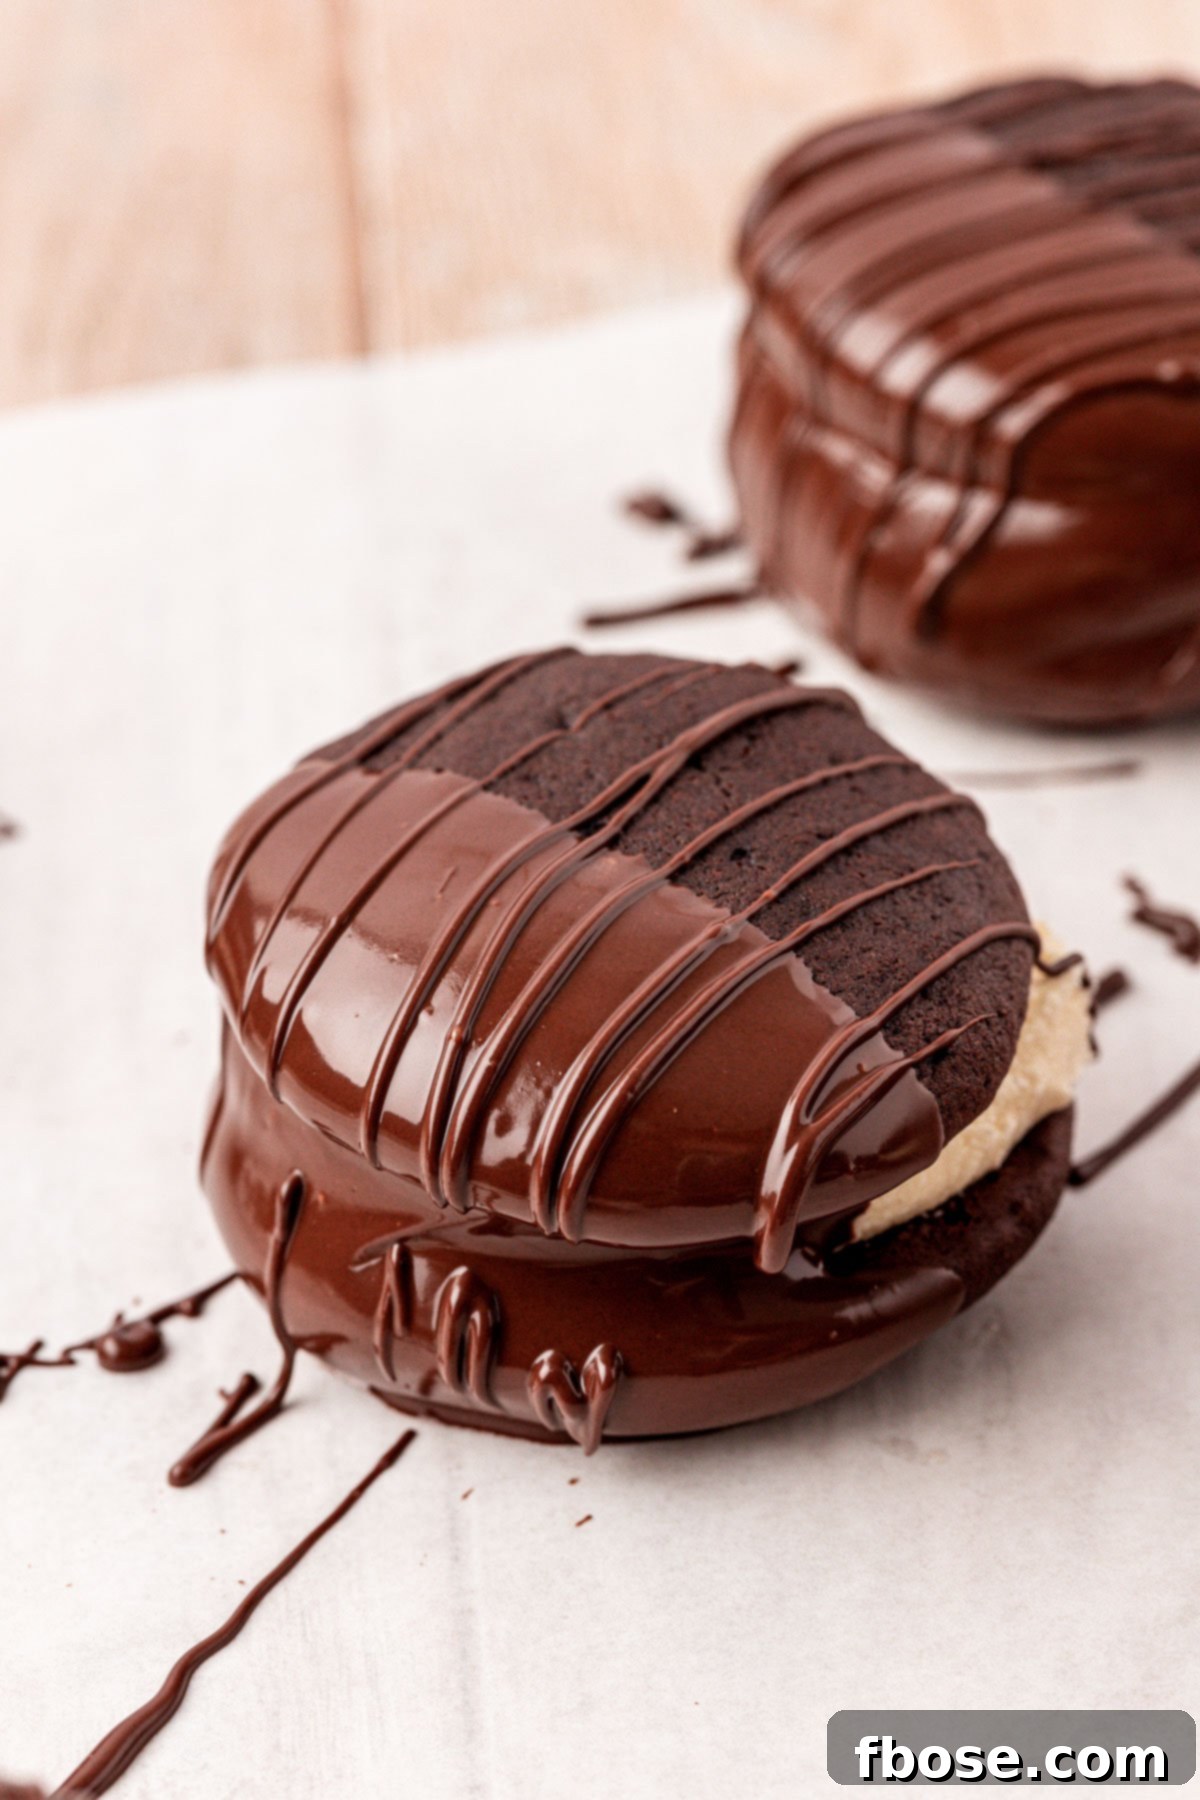
- Optional Chocolate Dipping Preparation: If you choose to dip your whoopie pies, melt the chocolate wafers in a microwave-safe bowl. Heat in 30-second intervals, stirring well after each interval, until the chocolate is fully melted and smooth.
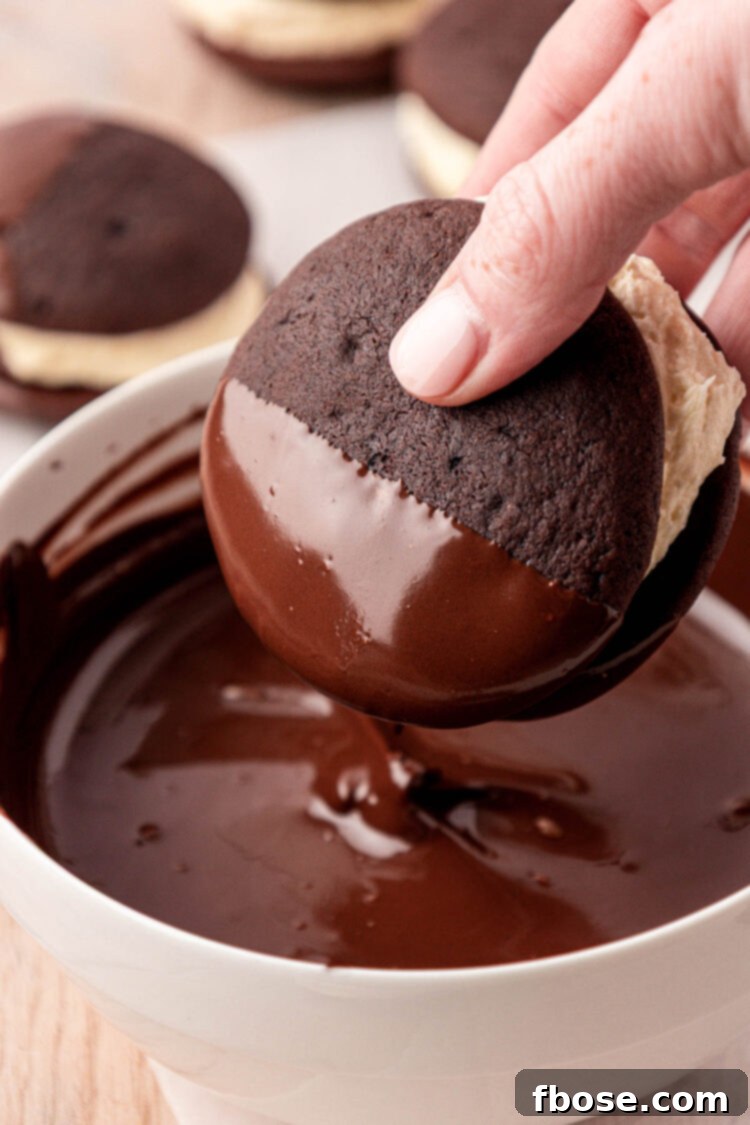
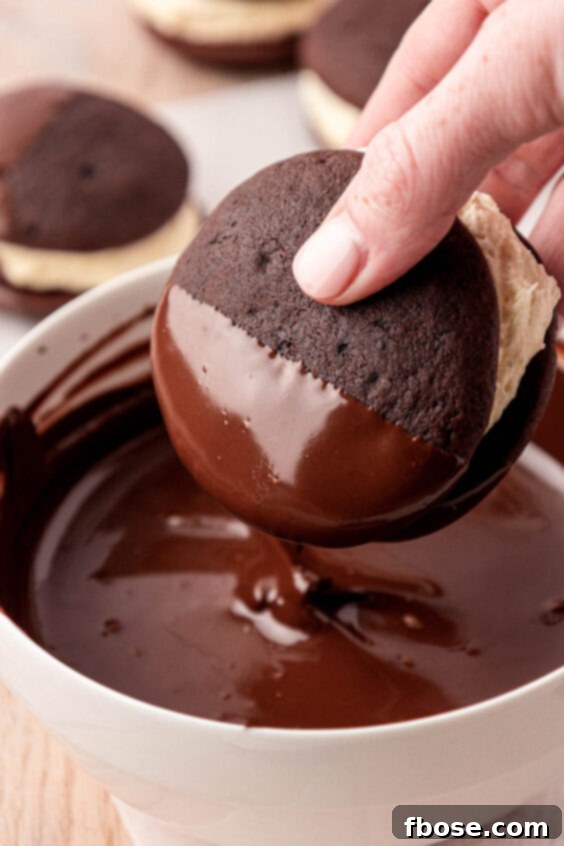
- Dip and Garnish: Dip each assembled whoopie pie halfway into the melted chocolate, allowing any excess to drip off. Place the dipped whoopie pies onto a piece of parchment paper to set. For a professional finish, transfer any remaining melted chocolate into a piping bag and drizzle it decoratively over the whoopie pies. Add sprinkles immediately after drizzling if desired, for a festive touch.
Rebecca’s Expert Tips for Perfect Whoopie Pies
Achieving whoopie pie perfection is easier with a few expert insights. These tips will help you create cakes that are consistently tender, flavorful, and perfectly paired with their creamy filling.
- Accurate Dry Ingredient Measurement: For the most consistent and accurate results, always measure your dry ingredients, especially flour and cocoa powders, using a kitchen scale. This prevents over-measuring, which can lead to dry or dense cakes.
- Thorough Bowl Scraping: Throughout the mixing process for both the cake batter and the frosting, frequently stop and scrape down the sides and bottom of your mixing bowl with a rubber spatula. This ensures all ingredients are fully incorporated, preventing streaks and promoting a uniform texture.
- The Essential Batter Rest: Do not skip the 15-minute resting period for the whoopie pie cake batter before baking. This allows the flour to fully hydrate, resulting in a significantly smoother crumb and cakes with a superior overall flavor and moistness.
- Smooth Batter Peaks: After portioning the batter onto your baking sheets, use a wet fingertip to gently pat down any pointy peaks left by the scoop. This simple trick ensures your cakes bake into perfectly round, smooth domes.
- Salt Adjustment in Filling: When making the filling, start with half a teaspoon of salt. Taste it once the marshmallow fluff is incorporated, and feel free to add more to your preference. I personally love the slight salty kick in the filling, as it creates a delicious contrast with the rich chocolate cake, elevating the overall flavor profile.
- Adjusting Frosting Consistency: If you prefer a thicker, more stable frosting, gradually add an additional tablespoon or two of powdered sugar until you reach your desired consistency. For a slightly thinner frosting, add a tiny splash of heavy cream.
- Room Temperature Ingredients: Ensure butter, eggs, and buttermilk are at room temperature as specified. This allows them to cream together properly, creating a smooth emulsion that contributes to the light and airy texture of the cakes and frosting.
- Don’t Overbake: Whoopie pie cakes bake quickly. Watch them closely and remove them from the oven as soon as the tops spring back when gently touched. Overbaking is the quickest way to dry out these otherwise moist cakes.
Storing Your Homemade Whoopie Pies for Freshness
Proper storage is key to enjoying your homemade whoopie pies at their best. Here’s how to keep them fresh, whether you plan to savor them in a day or save them for later:
Storage at Room Temperature: Freshly assembled whoopie pies can be stored at room temperature for up to 1 day in an airtight container. Beyond this, due to the nature of the fresh butter-based filling, refrigeration is recommended to maintain optimal freshness and food safety.
Refrigeration: For longer enjoyment, wrap each whoopie pie individually in plastic wrap to prevent them from drying out or absorbing refrigerator odors. Then, place them in an airtight container and store them in the fridge for up to 3 days. Allow them to come closer to room temperature for about 15-20 minutes before serving for the best texture and flavor.
Freezing for Extended Freshness: Whoopie pies freeze exceptionally well, allowing you to enjoy them weeks or even months later. To freeze, first wrap each individual whoopie pie tightly in plastic wrap, then wrap it again in aluminum foil. This double layer of protection prevents freezer burn. Transfer the double-wrapped desserts into a freezer-safe bag or container and store them in the freezer for up to 3 months. To thaw, simply unwrap them and let them sit at room temperature overnight, or for several hours, before enjoying.
Make Ahead Tips: The chocolate whoopie pie cakes can be prepared up to 1 day in advance. Once baked and completely cooled, arrange them in an airtight storage container. Place a sheet of parchment paper between layers of cakes to prevent them from sticking together. Store at room temperature until you are ready to make the filling and assemble. This can significantly cut down on prep time on the day you plan to serve them.
Exciting Whoopie Pie Recipe Variations to Try
While this classic chocolate whoopie pie with vanilla marshmallow filling is truly perfect, there are many ways to customize and adapt the recipe to suit your taste or occasion. Get creative with these delicious variations!
- Experiment with Frosting Flavors: The filling is where you can truly transform the character of these whoopie pies. Instead of the classic vanilla marshmallow, consider these delectable alternatives:
- Rich Chocolate Buttercream Frosting: For the ultimate chocolate lover, creating a double chocolate dream.
- Fluffy Peanut Butter Frosting: A classic combination that pairs wonderfully with chocolate cake for a rich, sweet, and nutty treat.
- Decadent Nutella Frosting: Adds a luxurious hazelnut-chocolate spread flavor, making for an even more indulgent dessert.
- Sweet Coconut Pecan Frosting: Transforms your whoopie pies into a German chocolate cake-inspired delight, perfect for those who enjoy tropical and nutty flavors.
- Mini Whoopie Pies: For charming, bite-sized treats perfect for parties or as a smaller indulgence, use a #100 scoop to portion out the batter. These smaller cakes will bake faster, typically in about 7 minutes. They’re excellent for dessert platters or when you need a lighter sweet.
- Generous Large Whoopie Pies: If you’re a fan of larger, more substantial desserts, opt for a #16 cookie scoop to portion your whoopie pie batter. These larger cakes will require a slightly longer baking time, usually 10 to 12 minutes, and make for a truly satisfying, impressive treat.
- Custom Dipping Chocolate: The chocolate dip is entirely optional but adds a gourmet touch. Feel free to use your favorite type of melting chocolate:
- Dark Chocolate: For an intense, sophisticated chocolate experience.
- White Chocolate: Offers a sweet, creamy contrast to the dark chocolate cake.
- Semi-Sweet Chocolate: A versatile choice that’s loved by many.
- Milk Chocolate: For a sweeter, more classic chocolate coating.
I highly recommend quality melting wafers like Callebaut for a superior finish, but Ghirardelli Melting Wafers are also a fantastic and easily accessible option.
- Add Festive Sprinkles: Sprinkles are a wonderful way to personalize your whoopie pies and make them extra festive. If you’re dipping them in chocolate, add the sprinkles immediately after dipping, while the chocolate is still wet, to ensure they adhere. Alternatively, if you’re skipping the chocolate dip, you can gently roll the sides of the assembled whoopie pies (where the frosting peeks out) in sprinkles, pressing lightly to make them stick to the creamy filling.
Explore More Delicious Whoopie Pie Recipes
If you’ve fallen in love with these classic treats, you’ll be delighted to know the world of whoopie pies extends far beyond chocolate! Here are some other fantastic whoopie pie recipes to inspire your baking adventures, perfect for every season and taste:
- Pumpkin Whoopie Pies – A quintessential fall-favorite handheld treat that pumpkin spice enthusiasts simply can’t get enough of, often paired with a rich cream cheese frosting.
- Red Velvet Whoopie Pies – These vibrant, heart-shaped red velvet cakes are paired with a tangy and sweet homemade cream cheese filling, making them perfect for celebrations.
- Gingerbread Whoopie Pies – Bursting with warm spices, these cozy cakes are filled with a luscious, sweet brown sugar frosting, ideal for the holiday season.
- Apple Cider Whoopie Pies – The perfect autumnal dessert, these spiced apple cider cakes are often rolled in cinnamon-sugar for an extra touch of sweetness and crunch.
- Classic Maine Whoopie Pies – A true Maine staple, these traditional whoopie pies feature a slightly different cake recipe and are famously filled with a smooth, sweet vanilla marshmallow filling.
Did You Make This Recipe?
If you’ve tried this recipe, please leave a review in the comments below. I love hearing from you! Don’t forget to tag me – @sugarandsoulco – on Instagram and Pinterest with your photos, or join our Sugar & Soul Show-offs Community and share them there.
Best Whoopie Pie Recipe
Ingredients
Cake
- 1 cup light brown sugar 200g, packed
- ½ cup salted butter 113g, room temperature
- 1 tablespoon vanilla bean paste
- 1 teaspoon coffee extract
- ½ teaspoon salt
- 1 large egg
- 2¼ cups cake flour 292g
- ½ cup Dutch process cocoa powder 50g
- 2 tablespoons malted milk powder 20g
- 2 teaspoons black cocoa powder see notes
- 1 teaspoon baking powder
- ½ teaspoon baking soda
- ½ teaspoon espresso powder optional
- 1 cup buttermilk 240mL, room temperature
Filling
- 1 cup unsalted butter 227g, cold and cubed
- ½ cup butter flavored shortening 113g
- 1 tablespoon vanilla bean paste
- ½ to 1 teaspoon salt
- 4 cups powdered sugar 400g
- 2 ounces heavy cream 60mL
- 1¼ cups marshmallow fluff 125g
Optional Garnish
- 10 ounces melting wafers
- sprinkles
Instructions
Cake
-
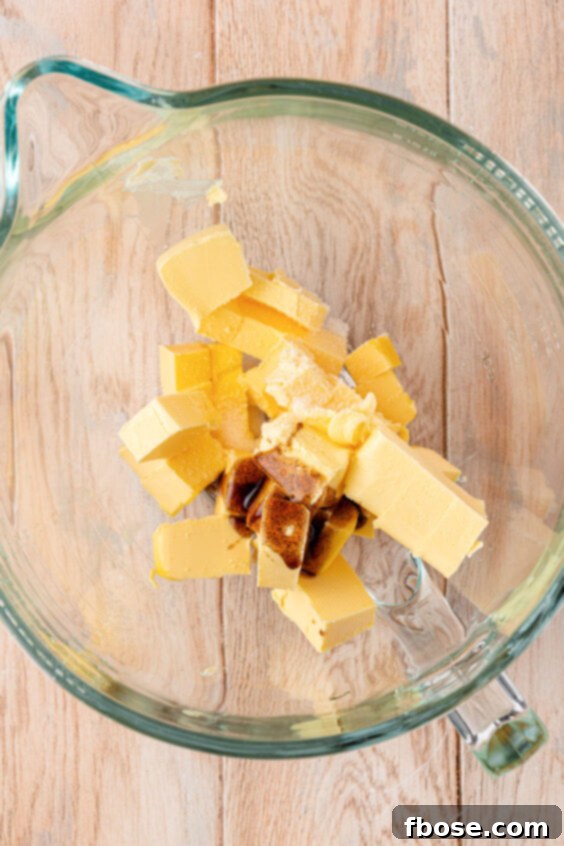
In the bowl of a stand mixer, add 1 cup light brown sugar, ½ cup salted butter, 1 tablespoon vanilla bean paste, 1 teaspoon coffee extract, and ½ teaspoon salt. Beat on medium-high speed for 4 minutes, scraping down the sides and bottom of the bowl halfway through and when finished.

-
Add 1 large egg and mix for 1 minute, until fully incorporated. Scrape down the sides of the bowl again.
-
In a separate medium bowl, whisk together 2¼ cups cake flour, ½ cup Dutch process cocoa powder, 2 tablespoons malted milk powder, 2 teaspoons black cocoa powder, 1 teaspoon baking powder, ½ teaspoon baking soda, and ½ teaspoon espresso powder.
-
Add the dry ingredients to the mixing bowl in three parts, alternating with the 1 cup buttermilk, beginning with the dry and ending with the wet. Mix on medium speed for 1 minute until thoroughly combined. Scrape down the sides of the bowl and then mix for 30 additional seconds.
-
Scrape down the bowl and fold the batter with a rubber spatula then set aside to rest for 15 minutes.
-
Preheat the oven to 350°F and line two 13×18-inch baking pans with parchment paper; set aside.
-
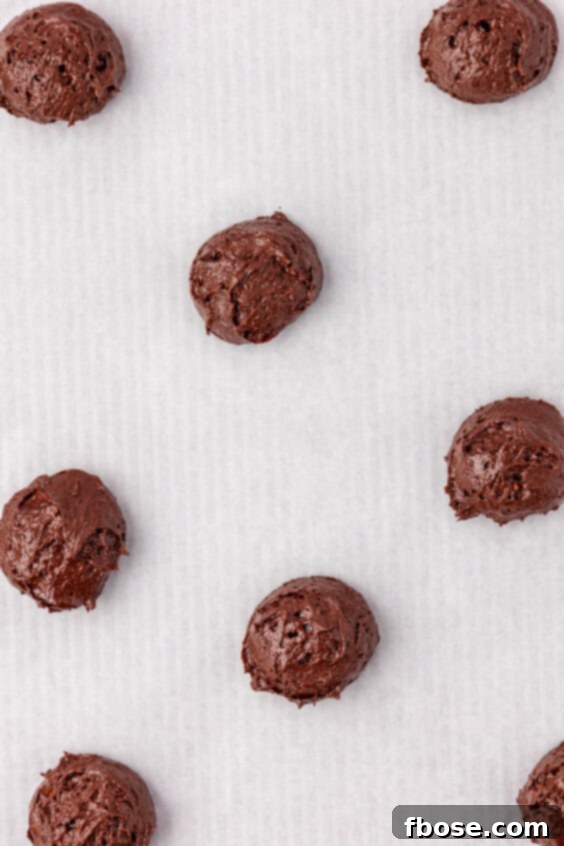
When ready to bake, use a #40 scoop to portion out level scoops of the batter onto the prepared baking sheets, spacing them at least three inches apart. I can make 8 cakes per sheet, offsetting the mounds.
-
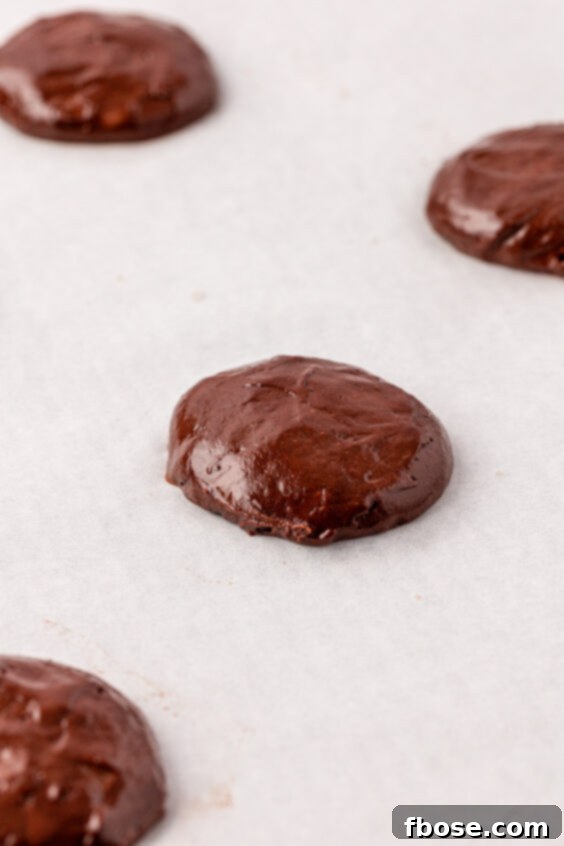
Use a wet finger to gently swirl down any pointy spots in the mound left from the scoop.
-
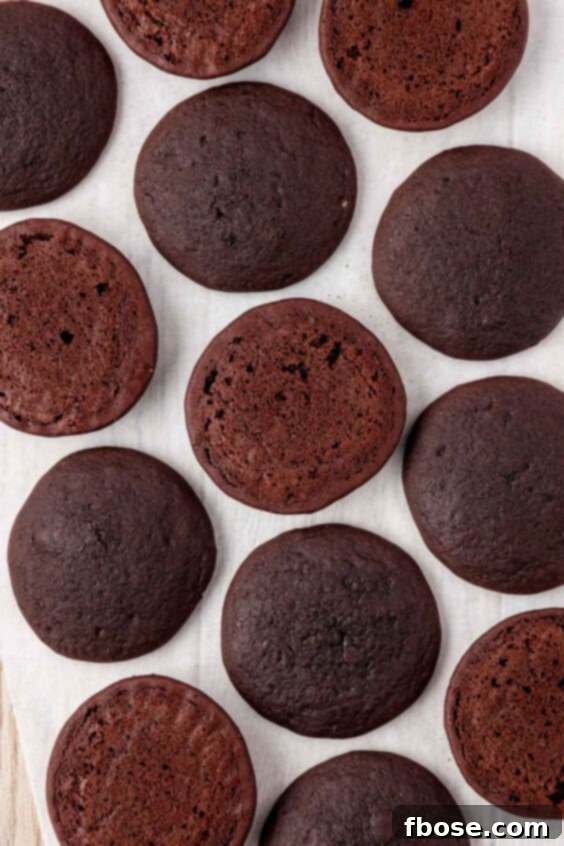
Bake for 9 to 11 minutes; the tops should spring back when touched, and they shouldn’t be cracked. For bigger whoopies, use a #16 cookie scoop to make 6 per sheet and bake for 10 to 12 minutes. For bite-sized whoopie pies, use a #100 scoop and bake for 7 minutes. I can bake 15 per sheet in uniform rows.
-
Allow the cakes to cool on the pan for 5 to 10 minutes before gently peeling off the parchment and placing them on a wire rack to cool completely before filling.
Filling
-
In a stand mixer bowl, cream together 1 cup unsalted butter, ½ cup butter flavored shortening, 1 tablespoon vanilla bean paste, and ½ to 1 teaspoon salt (start with ½ teaspoon and add more to taste at the end if desired – I personally like the salty element of this filling, it pairs so nicely with the rich cake), and beat for 2 minutes.
-
Beat in the 4 cups powdered sugar and 2 ounces heavy cream, 1 cup and 1 tablespoon at a time, mixing until completely combined and scraping down the sides of the bowl after each addition.
-
Lastly, mix in the 1¼ cups marshmallow fluff until fully incorporated. Taste and add additional salt if desired. Add additional powdered sugar if you prefer a thicker consistency.
-
Use the same size scoop you used for the batter to scoop a scoop of filling onto the bottom of each cake, then sandwich two cakes together, gently pressing until the filling reaches the edges of the cakes. You can also stack two scoops of filling on top of each other on half the cakes if you find that easier.
-
If dipping, melt 10 ounces melting wafers in a microwave-safe cup at 30-second intervals, stirring between each one, until fully melted. Dip the whoopie pies halfway in the chocolate and place on a piece of parchment paper.
-
Transfer the remaining chocolate to a piping bag and drizzle the whoopie pies with the remaining chocolate, adding sprinkles if desired for a special occasion.
Notes
- Black cocoa adds an extra dimension to the flavor of the cake while also giving it a richer brown (less orange/red) color. It can be substituted with an equal amount of additional Dutch-process cocoa powder.
Nutrition
Did You Make This Recipe?
Don’t forget to share it with me on Instagram @sugarandsoulco and follow on Tiktok @sugarandsoulco and Pinterest @sugarandsoulco for more!
Pin Recipe
Share Recipe