
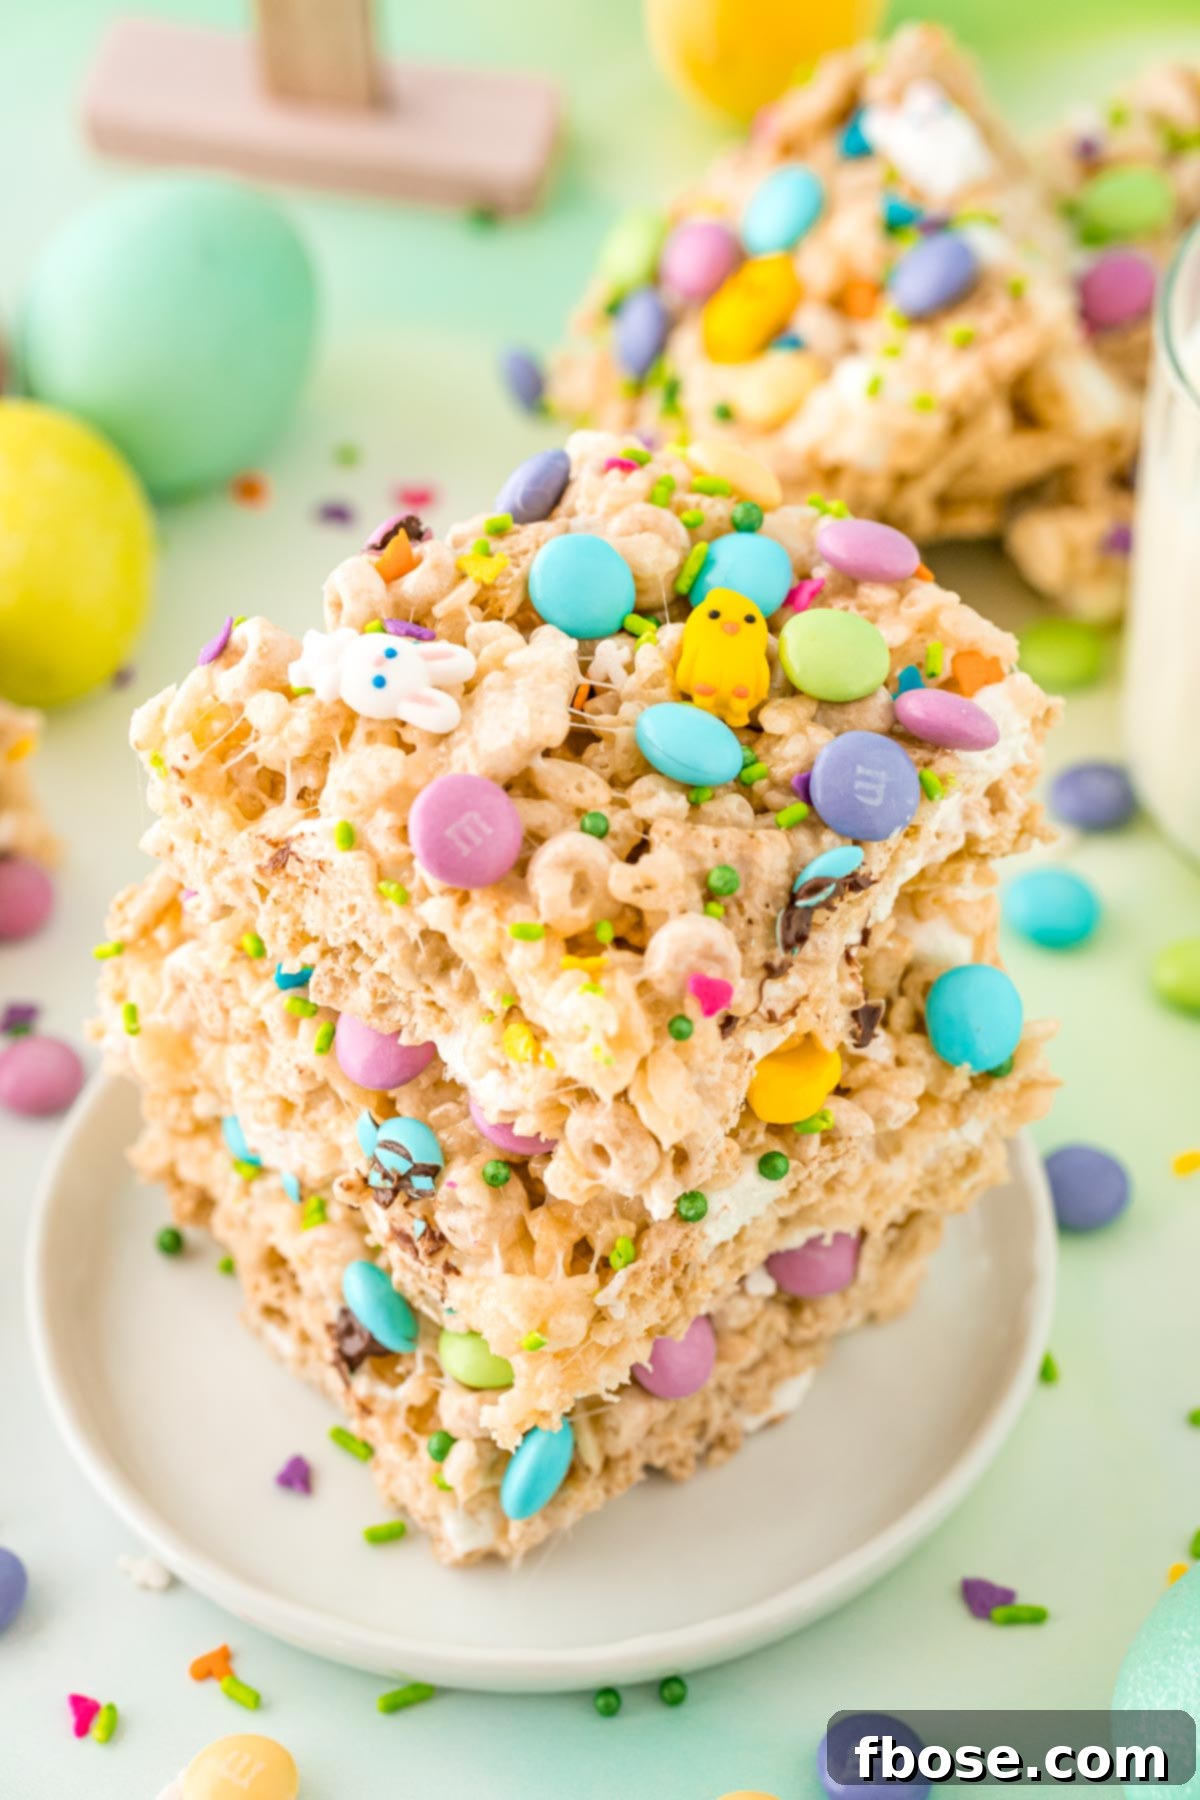
Delightful Easter Rice Krispie Treats: Your Go-To No-Bake Holiday Dessert
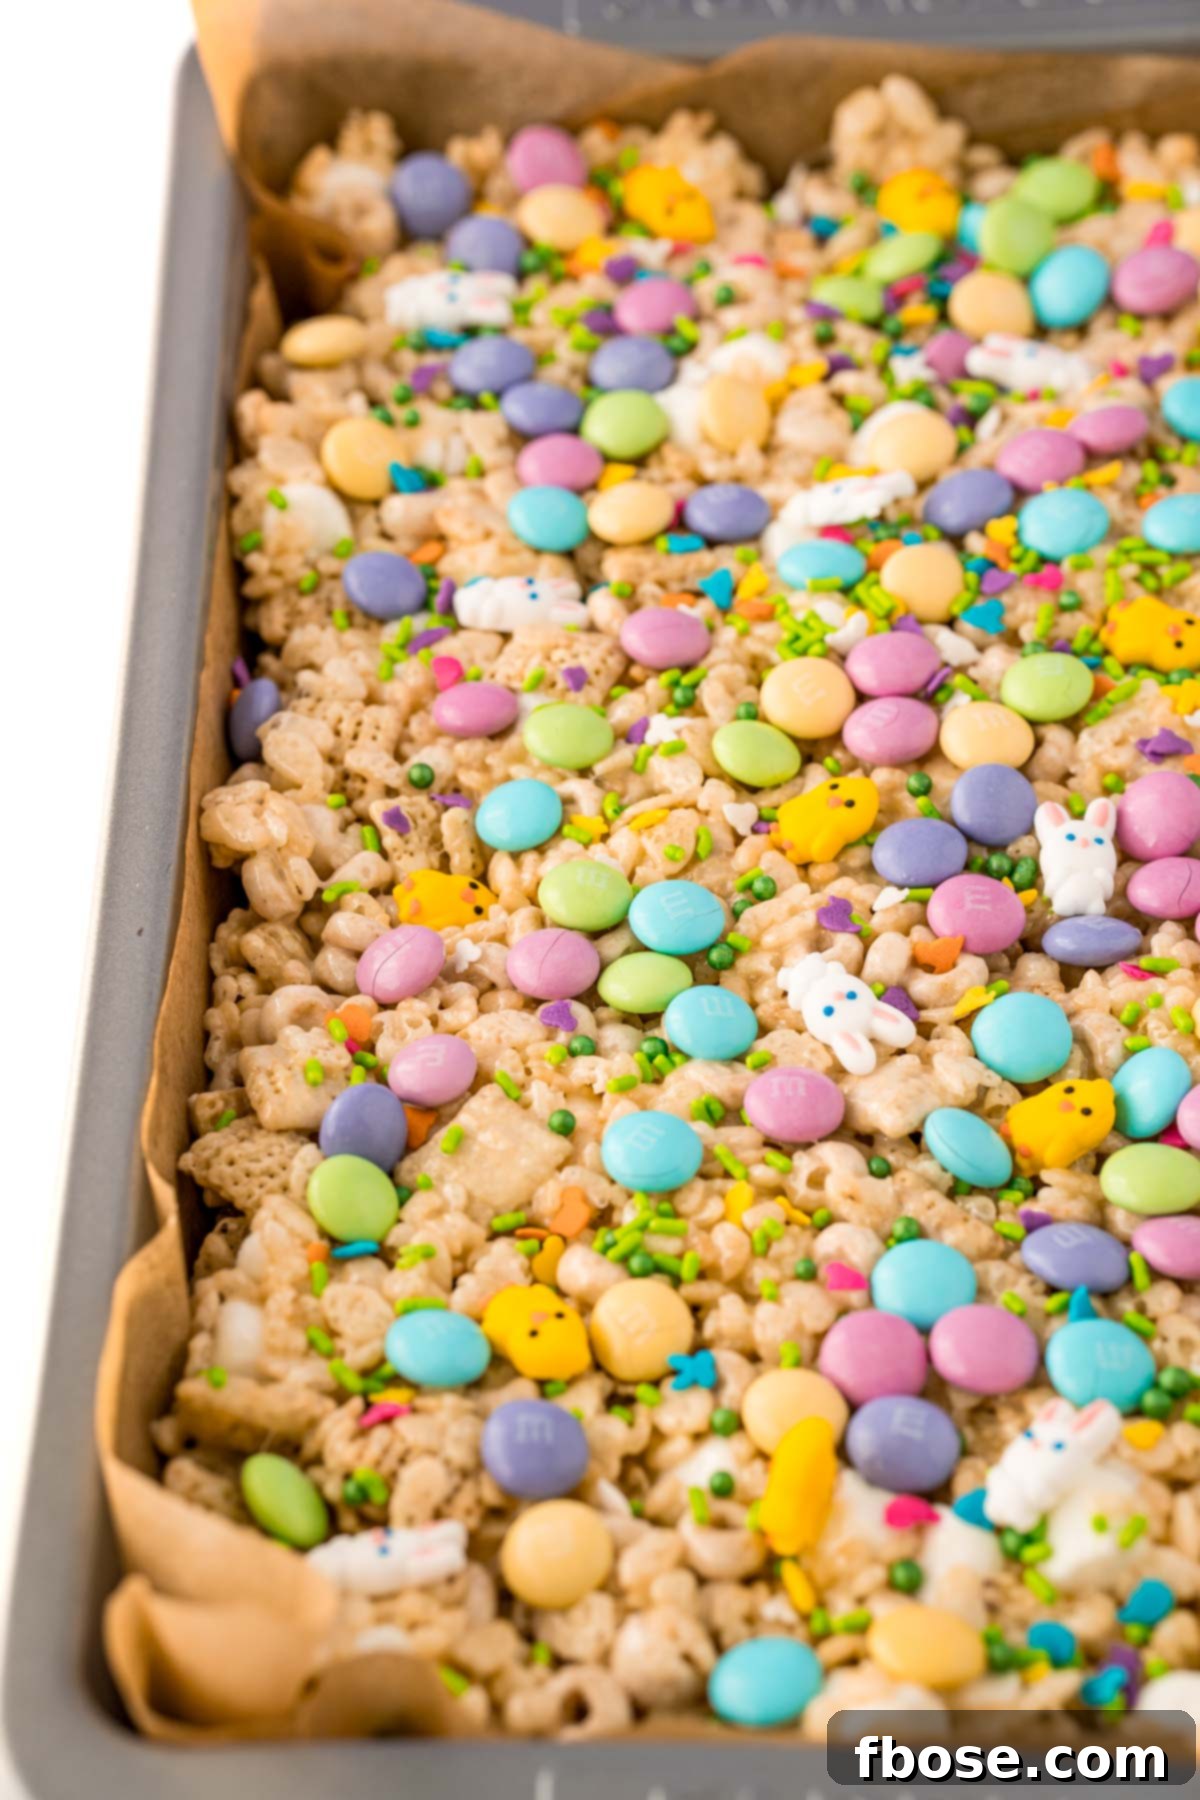
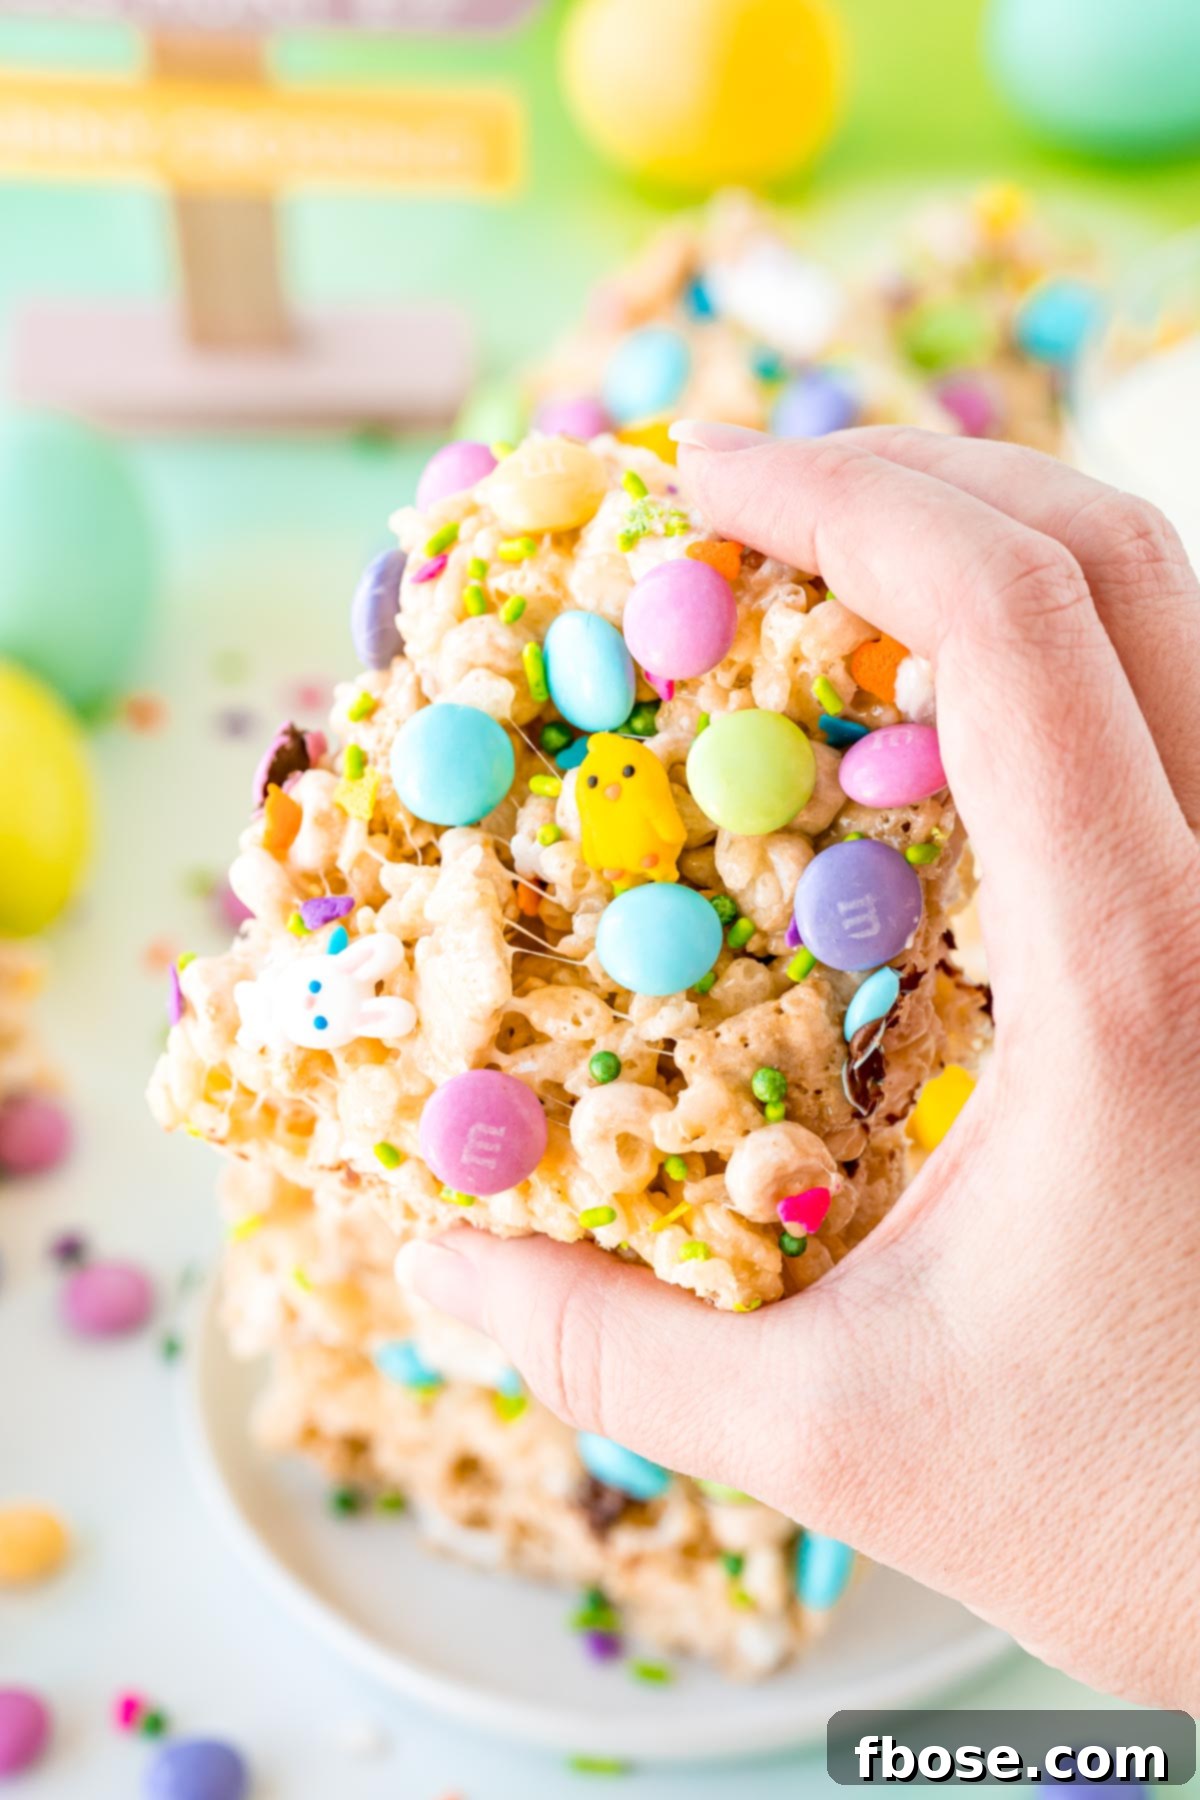
Prepare for a burst of vibrant color and irresistible chewiness with these incredible Easter Rice Krispie Treats! This isn’t just any cereal bar; it’s a festive, no-bake masterpiece designed to bring joy and ease to your Easter celebrations. Crafted with a unique blend of three distinct cereals, gooey marshmallows, colorful sprinkles, and delightful M&M’s, these squares are a true holiday highlight. Best of all, they require only 10 minutes of active preparation time, making them the perfect stress-free solution for your seasonal treat needs.
Whether you’re hosting an Easter brunch, looking for a fun activity with the kids, or simply craving a sweet, nostalgic snack, these homemade Rice Krispie treats are guaranteed to be a hit. Their cheerful appearance and satisfying texture make them an ideal addition to any Easter basket or dessert table. Forget complicated baking; embrace the simplicity and deliciousness of this classic treat, reimagined for spring!
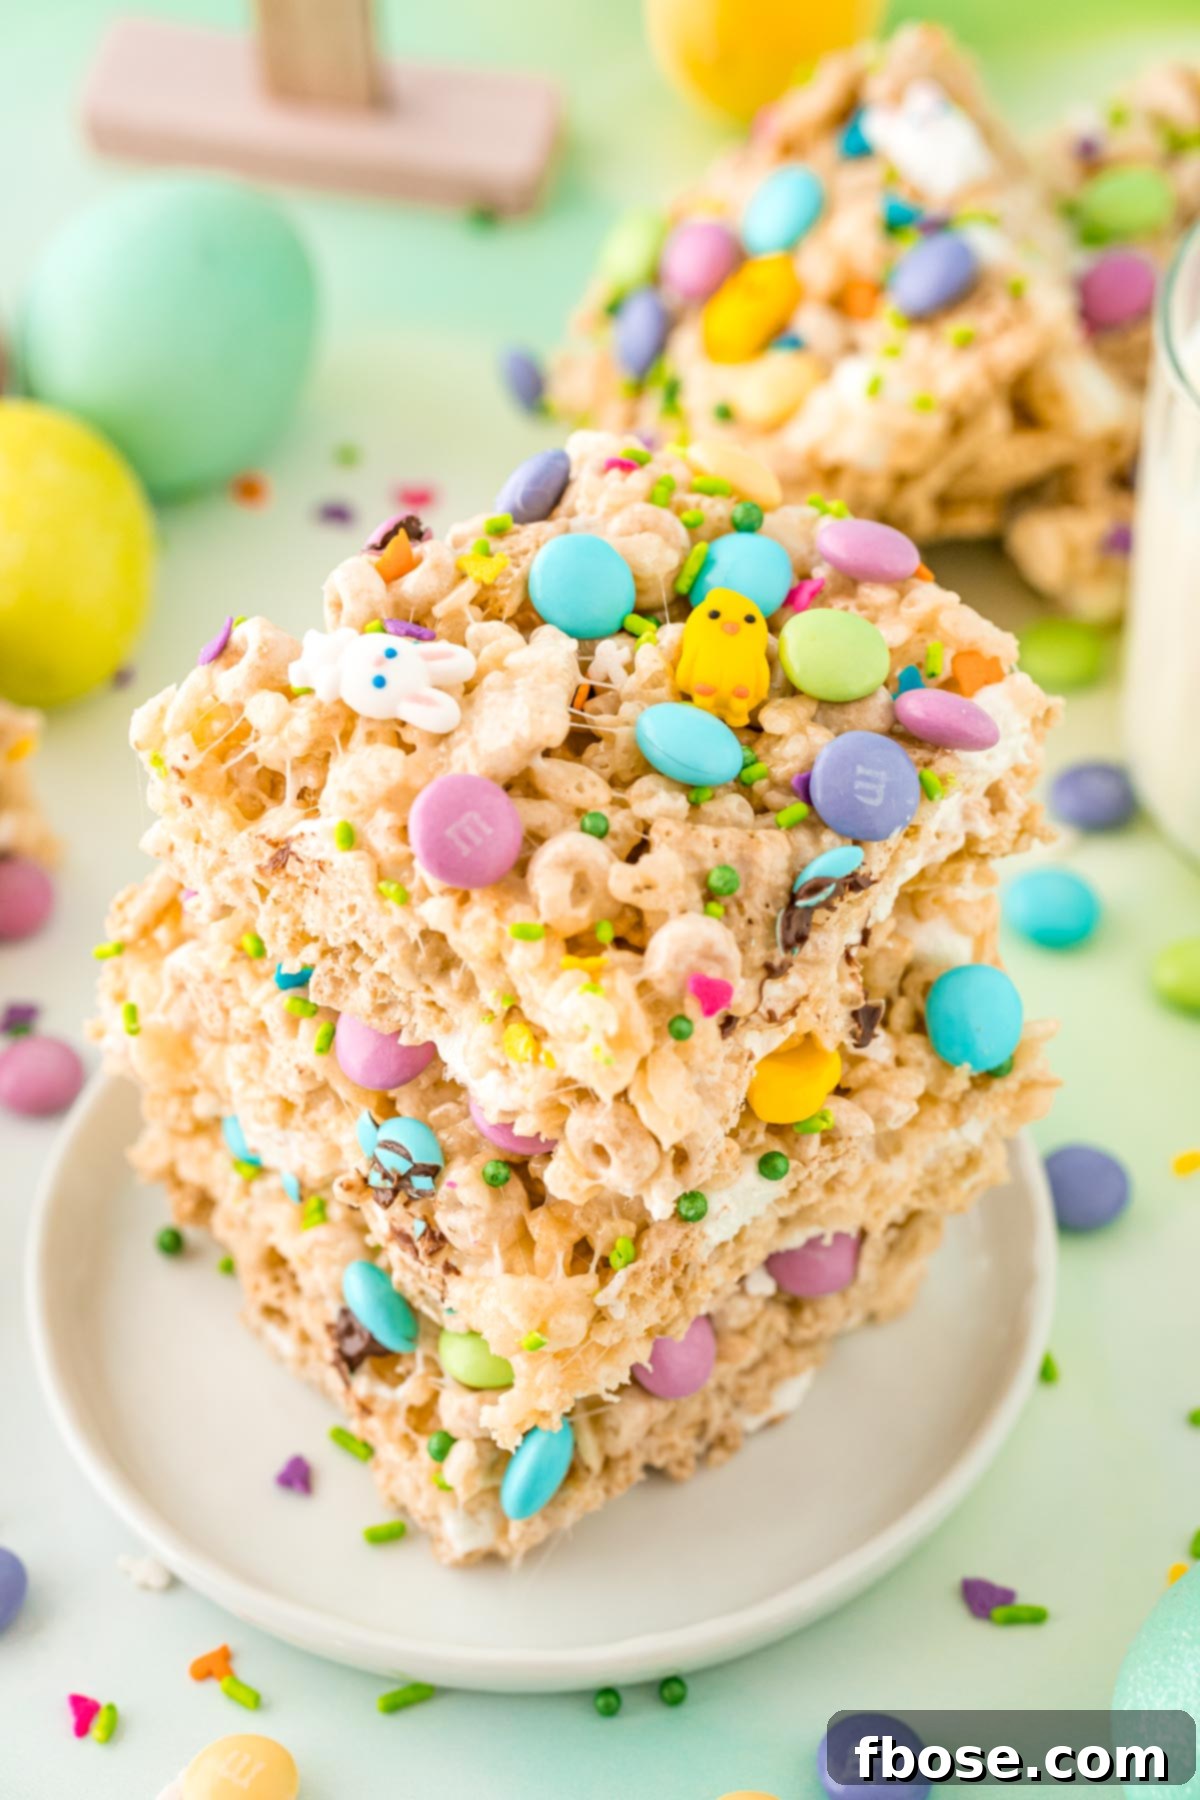
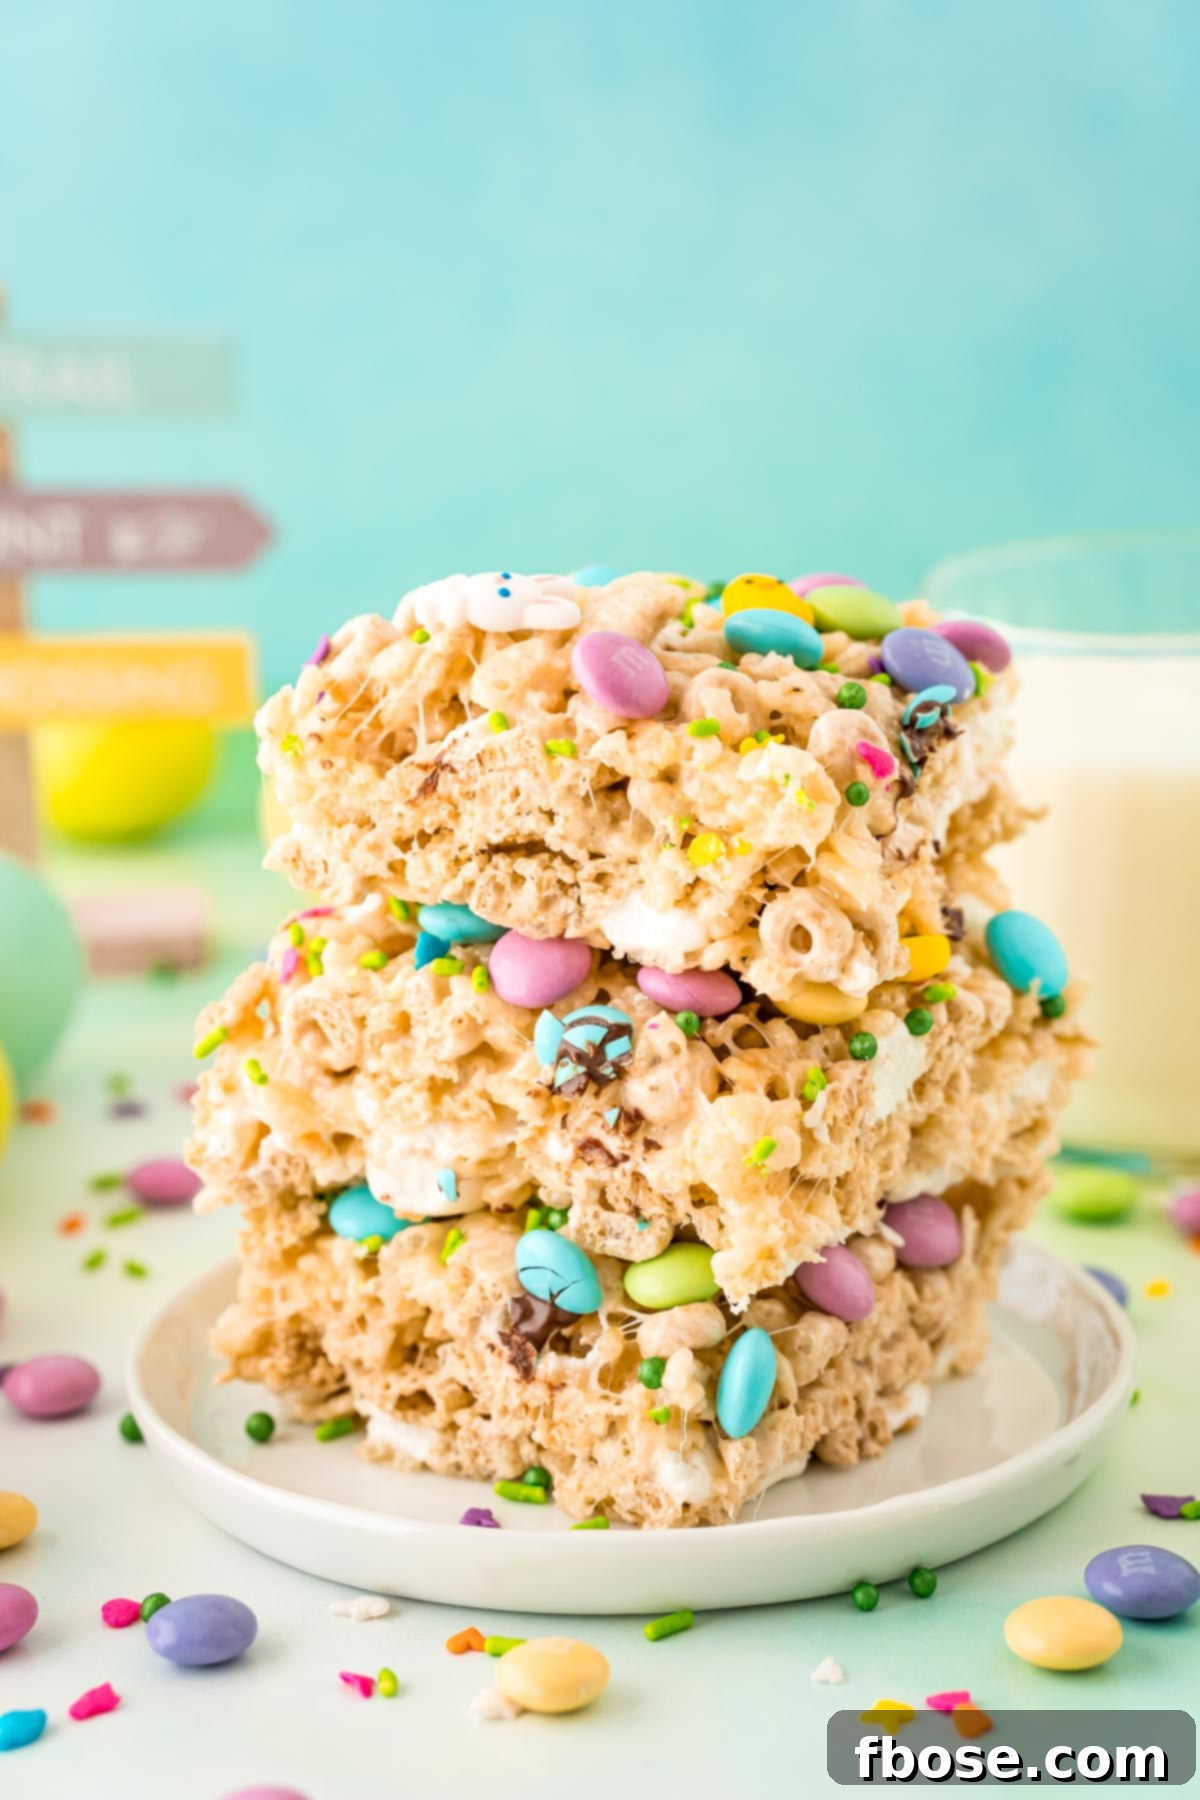
Why You’ll Love These Easy Easter Treats
These Easter-themed Rice Krispie Treats stand out from the crowd, offering a delightful twist on a beloved classic. Here’s why they’re destined to become a staple in your holiday repertoire:
- Effortlessly No-Bake: Skip the oven entirely! This recipe is perfect for busy schedules or when you want a delicious dessert without heating up your kitchen.
- Quick & Simple: With just 10 minutes of hands-on time, you can whip up a batch of these festive squares. The rest is simply cooling and setting, making them a breeze for even novice bakers.
- Triple Cereal Crunch: Unlike traditional versions, our recipe features three types of cereal – Rice Krispies, Rice Chex, and Frosted Cheerios – creating an irresistible texture and depth of flavor. Each bite offers a satisfyingly varied crunch that keeps you coming back for more.
- Festive & Fun: Adorned with Easter-colored M&M’s and an assortment of playful sprinkles, these treats are visually stunning and embody the joyful spirit of the holiday. They’re sure to brighten any dessert platter or bring a smile to children’s faces.
- Kid-Friendly & Family Approved: Both the making and the eating of these treats are a blast for all ages. They’re a fantastic way to get children involved in holiday prep, teaching them simple kitchen skills in a fun, rewarding way.
- Perfect for Any Occasion: While designed specifically for Easter, these versatile no-bake squares are wonderful for spring parties, school events, potlucks, or simply as a delightful snack any time of year when you crave a sweet and chewy bite.
Looking for more charming desserts to complete your Easter spread? Hop on over to my Mini Easter Cheesecakes With Cadbury Eggs or discover the simplicity of Easter Cake Mix Cookies for other delightful treats every bunny will adore!
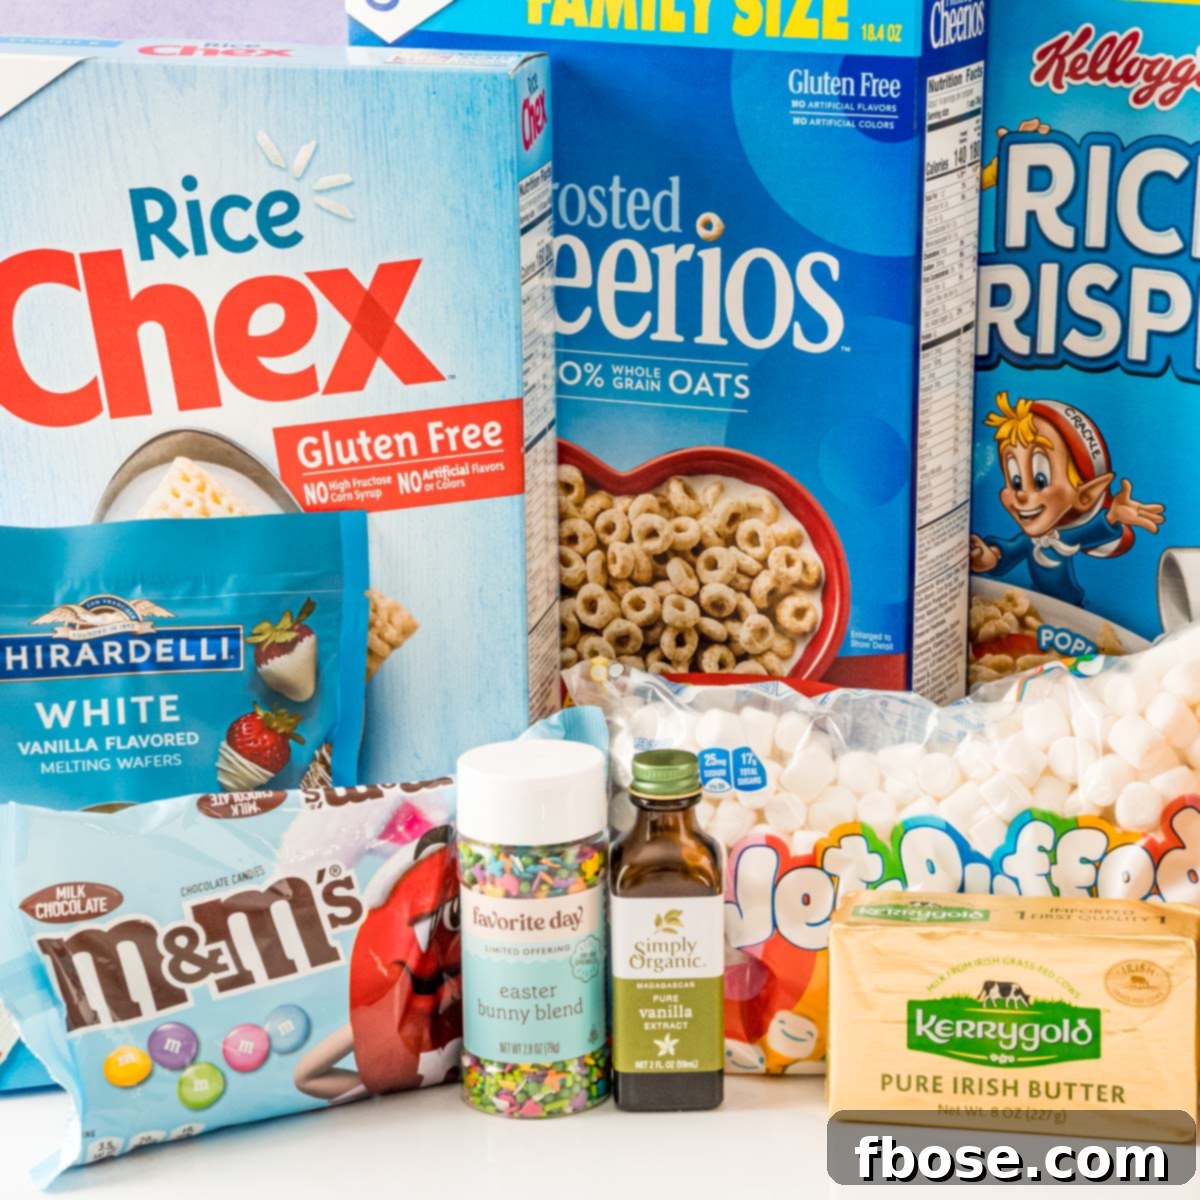
Essential Ingredients for Bunny Bait Treats
Crafting these delectable Easter Rice Krispie Treats, affectionately known as “Bunny Bait,” requires a few simple ingredients, most of which you likely already have on hand. This recipe builds on the beloved classic Rice Krispie Treat formula, elevating it with extra crunch and delightful Easter flourishes that make it truly special.
To create a generous batch of these sweet, chewy squares, you will need the following:
- A Trio of Cereals: The secret to their incredible texture and unique appeal lies in combining three distinct cereals.
- Rice Krispies: The foundation of any great Rice Krispie Treat, providing that iconic light and airy crispness.
- Rice Chex: Adds a slightly different, more substantial crunch and an interesting geometric shape to the mix.
- Frosted Cheerios: Contributes a touch of sweet flavor and another delightful textural dimension, making every bite varied and satisfying. This blend ensures the treats are anything but ordinary.
- The Gooey Marshmallow Mixture: This is the delicious binder that holds everything together, creating that signature chewy texture. For this sticky, sweet foundation, you’ll need:
- Mini Marshmallows: These are ideal because they melt quickly and evenly, ensuring a perfectly smooth and cohesive mixture. We strategically divide them, using most for melting and saving some to stir in at the end for pockets of soft, un-melted chewiness.
- Salted Butter: Essential for richness, flavor, and to prevent the mixture from sticking excessively. The salt content in salted butter perfectly balances the intense sweetness of the marshmallows, enhancing the overall flavor profile. If you only have unsalted butter, remember to add a pinch (about 1/2 teaspoon) of fine sea salt to the melting mixture.
- Vanilla Extract: A crucial ingredient that elevates the flavor of the marshmallow base. A good quality pure vanilla extract adds warmth, depth, and a subtle aromatic complexity that complements the cereals beautifully.
- Fun Easter Add-ins and Toppings: To transform these into truly festive and visually appealing Easter treats, we incorporate:
- Easter-colored M&M’s: These candy-coated chocolates not only add a delightful crunch and bursts of chocolate flavor but also bring a vibrant pop of pastel colors that are quintessential for Easter. Be sure to add them gently and at the correct stage to prevent color bleeding.
- Easter Sprinkles: A generous scattering of colorful sprinkles instantly makes these treats celebratory and visually irresistible. Choose your favorite Easter-themed shapes, such as bunnies or eggs, or a simple blend of pastel jimmies and nonpareils.
- Extra Mini Marshmallows: As mentioned, stirring in a few additional mini marshmallows right before pressing the mixture into the pan ensures delightful pockets of soft, chewy marshmallow throughout the finished treats, adding another layer of texture that makes them utterly irresistible.
Variations and Customization Ideas for Your No-Bake Treats
One of the best aspects of this Bunny Bait Treats recipe is its incredible versatility. Feel free to unleash your creativity and tailor them to your taste, dietary preferences, or even different holiday themes!
- Cereal Swaps: Don’t be afraid to experiment with your favorite cereals. Instead of Rice Chex, you could easily use Corn Chex for a similar crunch and flavor profile. For the Frosted Cheerios, any other flavored Cheerio variety or even regular plain Cheerios would work wonderfully. However, I generally advise against using wheat-based cereals as they can sometimes yield a tougher, less desirable texture in this type of treat.
- Marshmallow Alternatives: While mini marshmallows are ideal for their quick melting properties, you could also explore using larger marshmallows, though they may take slightly longer to melt completely. For an extra festive touch, especially around Easter, consider incorporating seasonal Peeps to make delightful Peeps Rice Krispie Treats, adding a unique look and a slightly different, sweeter flavor profile.
- Candy & Topping Enhancements: Beyond classic M&M’s, consider adding other Easter candies such as pastel chocolate chips, chopped Cadbury mini eggs, or even white chocolate chunks for a different flavor dimension. You can also vary the sprinkles to match other celebrations or simply choose your favorite colors and shapes. A delicate drizzle of melted white chocolate or colored candy melts over the cooled treats would also add an elegant finish and extra sweetness.
- Flavor Boosters: For an unexpected twist, a tiny pinch of ground cinnamon or a hint of almond extract could be added along with the vanilla. Start with a small amount and taste as you go to ensure it complements the existing flavors without overpowering them.
How To Make Irresistible Bunny Bait Treats: Step-by-Step Guide
Making these no-bake Easter Rice Krispie Treats is incredibly straightforward and quick. Follow these simple steps to create a batch of perfectly chewy and festive squares that everyone will adore. Remember, once the marshmallow mixture is ready, speed is key to ensure everything incorporates smoothly!
- Pre-Preparation is Key: Before you even think about turning on the stove, it’s crucial to have everything meticulously prepared. Line a standard 9×13-inch baking dish with parchment paper, allowing a slight overhang on the sides. This overhang acts as handles, making it incredibly easy to lift the entire slab of treats out later. Then, lightly coat the parchment paper with non-stick cooking spray to prevent any sticky marshmallow mixture from adhering. Measure out all your cereals, separate your marshmallows (8 cups for melting, 2 cups for folding in later), and have your vanilla, M&Ms, and sprinkles ready. Having everything at your fingertips will make the entire process smooth, efficient, and enjoyable.
- Melt the Marshmallow Base to Perfection: In a large, sturdy saucepan set over low to medium heat, begin by melting the salted butter. Once the butter is mostly melted and shimmering, add 8 cups of your mini marshmallows to the pan. If you’re using unsalted butter, this is the time to add your 1/2 teaspoon of salt. Stir continuously with a spatula until the marshmallows have completely melted and the mixture is smooth, glossy, and cohesive. It is extremely important not to overcook the mixture at this stage, as overheating can lead to brittle, hard treats. As soon as it reaches a smooth consistency, remove the pan from the heat immediately.
- Combine Flavors and Cereals: Once off the heat, quickly stir in the vanilla extract until it’s fully incorporated, ensuring its warm aroma permeates the marshmallow mixture. Following this, swiftly add the remaining 2 cups of mini marshmallows and all three cereals: Rice Krispies, Rice Chex, and Frosted Cheerios. Working with speed but gentle precision, fold the cereals and marshmallows into the warm, gooey mixture until everything is evenly coated. The goal here is to distribute the marshmallow goodness without crushing the delicate cereals.
- Fold in Festive Add-ins: Now for the exciting part – infusing your treats with Easter cheer! Gently fold in the Easter M&Ms and sprinkles. Be careful not to overmix, as excessive stirring can cause the colors from the M&Ms’ candy coating to bleed into the warm marshmallow mixture, diminishing their vibrant appearance. A few quick, deliberate folds are usually enough to get them evenly dispersed throughout the treats, maintaining their distinct colors.
- Press into Pan and Cool: Transfer the sticky, colorful mixture into your prepared 9×13-inch baking dish. To press it evenly into the pan without it sticking to your hands, you have two options: either place a fresh piece of parchment paper over the mixture and press down, or lightly grease your hands with non-stick spray or a bit of butter. Gently press the mixture evenly into the pan. It’s crucial to avoid pressing too firmly; compacting the treats too much will squeeze out the air pockets, resulting in dense and hard squares instead of delightfully chewy ones. If desired, sprinkle a few extra M&M’s or sprinkles on top for added visual appeal and a final touch of festivity.
- Allow to Set and Serve: Patience is a virtue in this final step! Allow the treats to cool completely at room temperature for at least 30 minutes, or until they are fully set and firm. Rushing this step will result in messy, uneven cuts. Once firm, use the parchment paper overhang to carefully lift the entire slab of treats from the baking pan. Place it on a clean cutting board and use a large, sharp knife (lightly sprayed with non-stick cooking spray for clean cuts) to slice them into squares, rectangles, or even festive shapes using cookie cutters for an extra special touch.
Frequently Asked Questions About Easter Rice Krispie Treats
Here are answers to some common questions about making and storing these delightful Easter cereal bars, ensuring your treats turn out perfectly every time and remain delicious for as long as possible.
How Do I Store These Easter Treats to Keep Them Fresh and Chewy?
To maintain their optimal freshness and wonderfully chewy texture, it’s essential to store your Easter Rice Krispie Treats properly. Once they have completely cooled and been cut into individual squares, place them in an airtight container. Store this container at room temperature, ideally in a cool, dry place away from direct sunlight or any heat sources. When stored correctly, these delicious Rice Krispies squares will remain fresh, soft, and enjoyable for up to two weeks, making them a fantastic make-ahead option for your holiday celebrations or daily snacking.
Can I Use Unsalted Butter in This Recipe Instead of Salted Butter?
Absolutely! You can certainly substitute unsalted butter for salted butter in this recipe without any issues. However, if you opt for unsalted butter, you’ll need to compensate for the slight lack of salt that salted butter provides, which is crucial for balancing the sweetness of the marshmallows. To do this, simply add about 1/2 teaspoon of fine sea salt along with the marshmallows and butter when you begin melting them. This small addition will ensure your treats achieve that perfect balance of sweet and subtly savory notes that makes them so addictive.
Why Are My Bunny Bait Treats Hard Instead of Delightfully Chewy?
If your homemade Rice Krispies Treats are turning out hard rather than delightfully soft and chewy, it’s likely due to one of a few common issues. Understanding these can help you achieve perfect results next time:
- Overcooking the Marshmallow Mixture: This is often the most frequent culprit. When marshmallows are cooked for too long or at too high a heat, their sugar molecules can become brittle and lose their elasticity. Always ensure you cook the butter and marshmallows together only until they are just melted and smooth. Remove them from the heat immediately at this precise point to prevent overcooking.
- Pressing Too Hard into the Pan: When you transfer the warm mixture to the baking dish, resist the urge to compact it too firmly. Pressing the treats too hard can squeeze out the essential air pockets that give them their light, chewy texture, resulting in a dense, tough, and hard square. A gentle, even press is all that’s needed.
- Improper Storage: Even if perfectly made, treats can become hard if not stored correctly. If the treats are not placed in a tightly sealed, airtight container, they will be exposed to air, which quickly causes them to dry out and become stale and hard. Always ensure your container is properly sealed to lock in moisture and maintain freshness.
What’s The Best Way To Neatly Cut Rice Krispies Treats?
For clean, precise cuts that look professional and make your Easter Rice Krispie Treats even more appealing, follow these simple tips: First, it’s absolutely crucial that your treats are completely cooled and fully set before you attempt to cut them. Rushing this step will result in a sticky mess. Once firm, take a large, sharp knife and lightly spray its blade with non-stick cooking spray. The cooking spray creates an invaluable non-stick barrier that prevents the sticky marshmallow mixture from adhering to the knife, allowing for smooth, effortless slicing into perfect squares or any other desired festive shapes. Re-spray the knife as needed between cuts to maintain its effectiveness.
Why Did The Color Of The M&M’s Bleed Throughout The Mixture?
Color bleeding from M&M’s is a common issue when they are added too early to a very warm marshmallow mixture. The heat from the melted marshmallows can cause the vibrant candy coating to dissolve prematurely, releasing its dyes and causing them to streak or spread throughout the light-colored mixture. To effectively prevent this and preserve their crisp, distinct colors, make sure to gently fold in the M&M’s (and sprinkles) at the very last moment. Do this just before you transfer the entire mixture to the baking dish. The cooler the mixture is at this stage, the less likely the colors are to bleed, ensuring your treats retain their beautiful, vibrant appearance.
More Irresistible Easter Dessert Recipes to Sweeten Your Holiday
No holiday celebration is truly complete without an array of delicious desserts, and Easter is certainly no exception! These Bunny Bait Treats are just the beginning of what you can create for your festive spread. If you’re looking to expand your Easter dessert table with more delightful and family-favorite options, here are some other fantastic recipes that your family and guests will absolutely love:
- Classic Coconut Cake – A beautifully moist and tender cake, generously frosted with creamy coconut icing and blanketed in delicate shredded coconut. It’s the quintessential spring dessert, offering a light and refreshing flavor that is perfect for serving after a hearty Easter dinner.
- The Best Carrot Cake – Indulge in a rich, perfectly spiced carrot cake made with fresh, finely grated carrots, crunchy toasted pecans, and a luxurious, tangy cream cheese frosting. This timeless classic is always a crowd-pleaser and a non-negotiable staple for many Easter gatherings.
- Easy Easter Cupcakes – For a simpler yet equally festive treat, these cupcakes utilize a convenient boxed cake mix and pre-made canned frosting, making them incredibly quick to prepare. Decorate them with pastel colors and adorable Easter toppers for an adorable holiday presentation that kids and adults alike will love.
- Caramel Carrot Cake Poke Cake – Experience a tender carrot cake that has been lovingly soaked in a luscious sweetened condensed milk mixture, then topped with a light, fluffy, and sweet frosting, and finished with a decadent swirl of rich caramel sauce. It’s a wonderfully moist, intensely flavorful twist on a classic.
- Classic Ambrosia Salad – A nostalgic, light, and wonderfully refreshing dessert salad featuring a delightful mix of canned fruits, crunchy toasted pecans, fluffy mini marshmallows, and tender shredded coconut, all gently tossed in a sweet, airy whipped topping. It’s a bright, cheerful, and creamy addition to any holiday meal.
Let’s Connect & Share Your Creations!
We absolutely love seeing your culinary creations come to life in your kitchens! If you’ve tried this delightful Easter Rice Krispie Treat recipe, please take a moment to let us know how you liked it by sharing your feedback in the comments section below. Your reviews and ratings are incredibly helpful to us and to other home bakers looking for their next favorite recipe.
Don’t forget to capture stunning photos of your festive Bunny Bait Treats and tag us on Instagram @sugarandsoulco and Pinterest @sugarandsoulco. You can also join our vibrant Sugar & Soul Show-offs Community on Facebook to share your pictures, connect with fellow food enthusiasts, and even participate in our fun, themed recipe challenges!
Easter Rice Krispie Treats
Author: Rebecca Hubbell
Course: Dessert
Cuisine: American
Prep Time: 10 minutes
Cook Time: 5 minutes
Cooling Time: 30 minutes
Total Time: 45 minutes
Servings: 20 people
Print Recipe |
Pin Recipe
Ingredients
- ½ cup salted butter
- 10 cups mini marshmallows (divided)
- 1 teaspoon vanilla extract
- 5 cups Rice Krispies
- 2 cups Rice Chex
- 2 cups Frosted Cheerios
- 1 cup Easter M&Ms
- 2 teaspoons Easter sprinkles
Instructions
- Premeasure all ingredients before you begin cooking. Line a 9×13-inch baking sheet with parchment paper and coat with non-stick spray; set aside.
- In a large saucepan, melt the butter and 8 cups of marshmallows together until smooth over low to medium heat. Remove the mixture from the heat as soon as it’s fully melted.
- Stir in the vanilla extract. Afterward, quickly mix in the remaining 2 cups of marshmallows and all three cereals (Rice Krispies, Rice Chex, Frosted Cheerios) until fully coated.
- Gently and quickly fold in the M&Ms and sprinkles. Next, transfer the mixture to the prepared baking dish.
- Top with extra M&M’s and sprinkles, if desired. Use parchment paper or lightly greased hands to gently press the mixture evenly into the pan. Avoid pressing too hard.
- Allow the treats to cool and set completely for at least 30 minutes before removing them from the pan and cutting them into squares.
Notes
- Unsalted butter may also be used, but you will want to add about 1/2 teaspoon of salt to the recipe.
- Corn Chex may be used in place of Rice Chex, but I wouldn’t use wheat-based cereals as they can alter the texture.
- Other Cheerio varieties can be used for varied flavor.
- Don’t add the M&M’s in too soon or the color will bleed throughout the mixture due to heat.
- Don’t press too hard on the mixture when putting it into the pan, or it will make them tough and hard instead of chewy.
- Store in an airtight container for up to 2 weeks at room temperature for best freshness.
Nutrition Information (per serving)
Calories: 294kcal | Carbohydrates: 51g | Protein: 2g | Fat: 10g | Saturated Fat: 6g | Cholesterol: 19mg | Sodium: 300mg | Potassium: 23mg | Fiber: 1g | Sugar: 29g | Vitamin A: 1070IU | Vitamin C: 8mg | Calcium: 39mg | Iron: 5mg
Did You Make This Recipe?
Don’t forget to share it with me on Instagram @sugarandsoulco and follow on Tiktok @sugarandsoulco and Pinterest @sugarandsoulco for more!
Pin Recipe |
Share Recipe