
Yellow Cake isn’t just a dessert; it’s a timeless classic, a nostalgic journey back to simpler celebrations. This old-fashioned recipe delivers a wonderfully tender butter cake, rich with the perfect blend of butter, eggs, and creamy buttermilk. It’s the quintessential centerpiece for birthdays, holidays, or any day that calls for a touch of sweet joy.
Crafting this homemade yellow cake is a rewarding experience, whether you choose to present it as an elegant layer cake or a convenient sheet cake. Its rich, mellow flavor provides the ideal canvas for a variety of decadent frostings. Imagine it crowned with a luscious Chocolate Buttercream Frosting, an indulgent Nutella Frosting, or perhaps a sophisticated Malted Chocolate Buttercream. The possibilities are endless, each promising a memorable dessert experience.
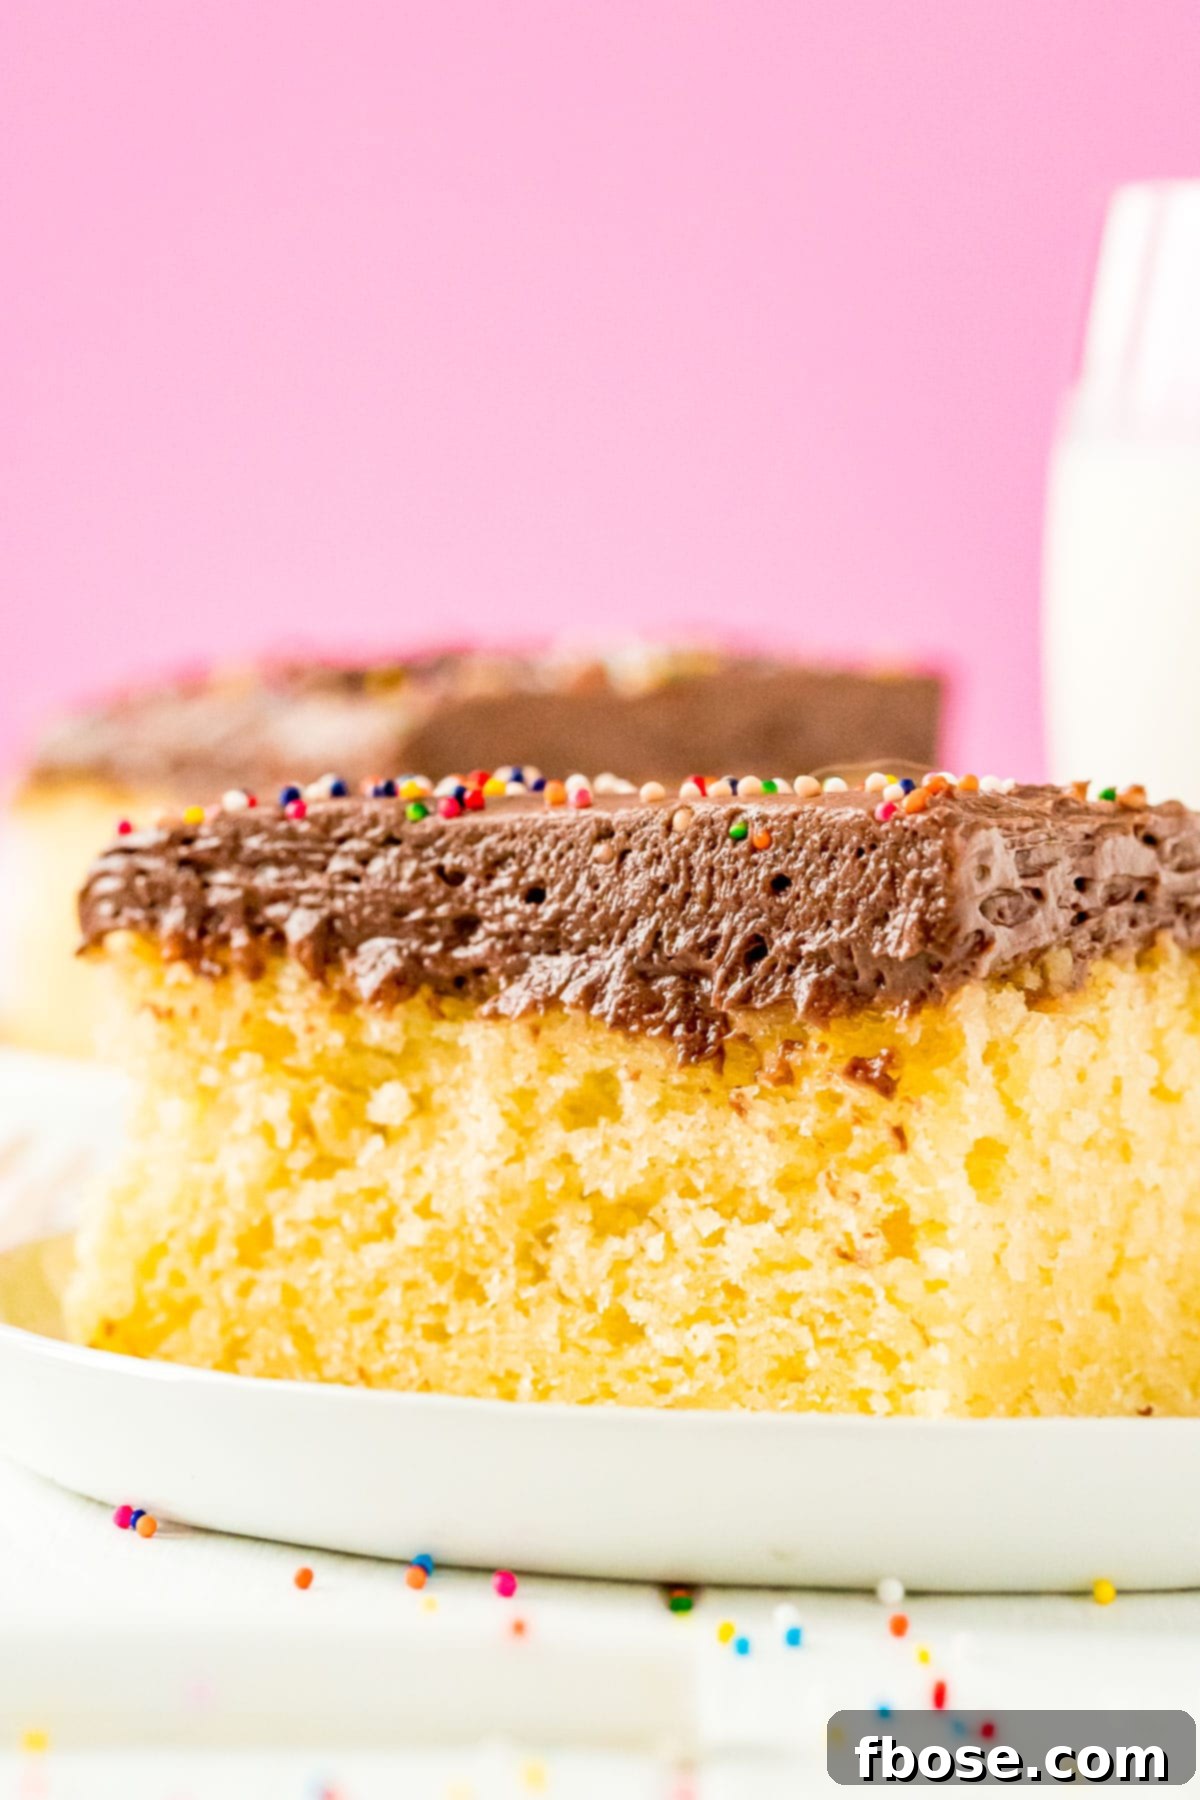
This beloved Yellow Cake Recipe was originally shared on Spend With Pennies, where I’m a proud contributor.
Unlocking the Secrets to the Best Yellow Cake Recipe from Scratch
For many, the mention of “birthday cake” brings to mind vibrant colors and playful sprinkles, like a classic Funfetti Cake. But for my husband, the ultimate birthday treat has always been a simple yet profound Yellow Cake adorned with rich Chocolate Frosting. This year, honoring his request, I embarked on a culinary quest: to create not just a good yellow cake, but the absolute best one from scratch. This isn’t just any yellow cake; it’s a meticulously developed recipe designed to deliver unparalleled moisture, a tender crumb, and that quintessential buttery vanilla flavor we all adore. Preparing a yellow cake from scratch allows for control over every ingredient, ensuring a superior taste and texture that store-bought mixes simply can’t replicate. The process is a labor of love, yielding a cake that truly tastes like home.
What Exactly Defines a Yellow Butter Cake?
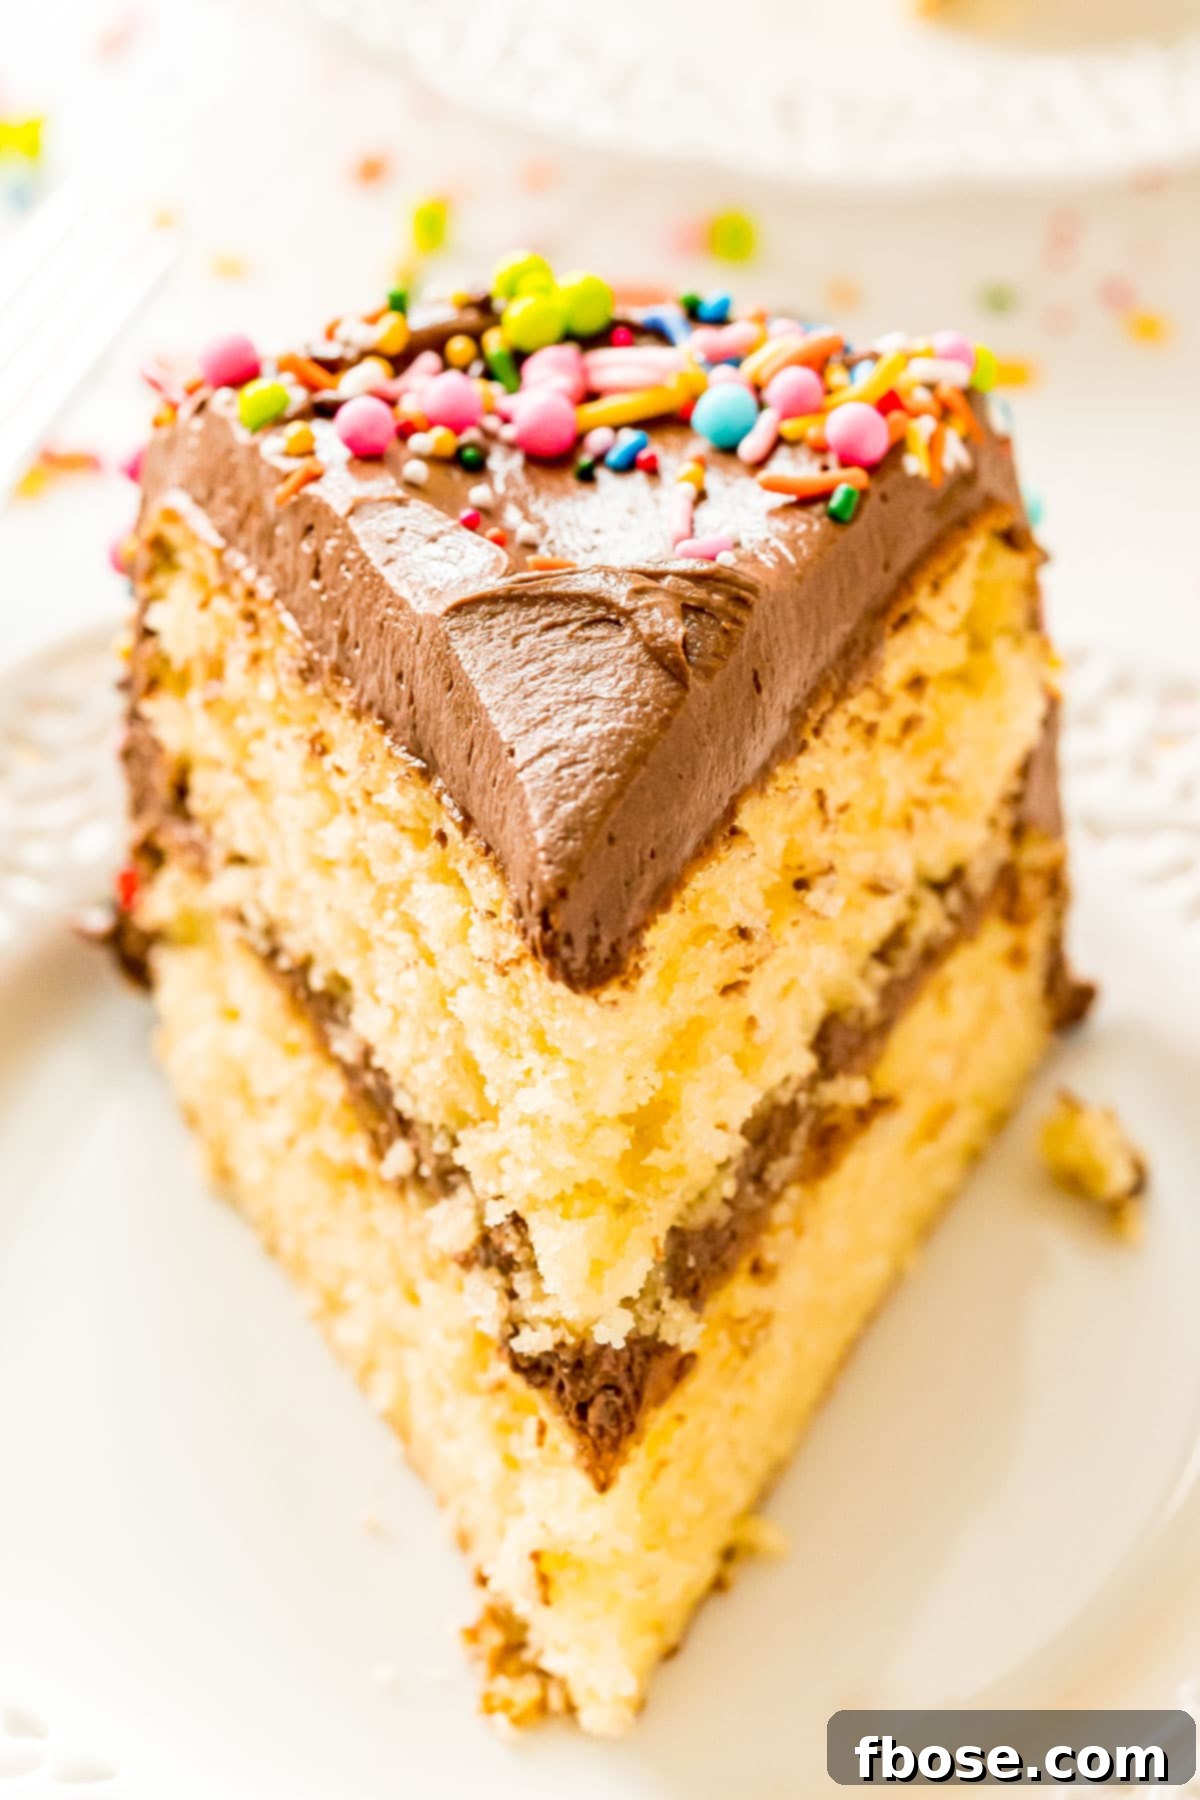
The yellow butter cake stands as a true cornerstone of American baking, perhaps the most traditional and cherished cake recipe of them all. Unlike its paler counterparts, the white cake or even a standard vanilla cake, this specific classic embraces a simple yet profoundly rich composition. Its signature golden crumb and irresistibly tender texture come from two key ingredients: ample amounts of real butter and whole eggs. While white cakes often rely solely on egg whites for their pristine color, a yellow cake proudly incorporates the yolks, which contribute to both its characteristic golden hue and its deep, comforting richness. This combination creates a dense yet soft crumb that melts in your mouth, offering a more robust flavor profile than lighter vanilla cakes. It’s the kind of cake that conjures images of childhood birthdays and family gatherings, a testament to its enduring appeal.
The Irresistible Flavor Profile of Yellow Cake
At its heart, yellow cake is a celebration of mellow, comforting vanilla. But it’s so much more than just a vanilla cake. Thanks to the generous inclusion of butter and whole eggs, it boasts a distinct richness and depth that white cakes, made primarily with egg whites, simply can’t achieve. The butter provides a luxurious, creamy undertone, while the egg yolks contribute to a subtle, almost custardy quality that rounds out the flavor beautifully. Its vanilla notes are pronounced but gentle, creating a perfectly balanced taste that isn’t overly sweet or overpowering. This inherent subtlety makes it an incredibly versatile base, an ideal canvas for virtually any frosting. While classic chocolate buttercream is a beloved pairing, a tangy cream cheese frosting, a vibrant fruit jam, or even a simple vanilla buttercream would feel perfectly at home atop this tender crumb. Each bite promises a satisfying blend of tradition and pure deliciousness, making it suitable for grand celebrations or a simple craving for a nostalgic treat.
Pin This Recipe For Later
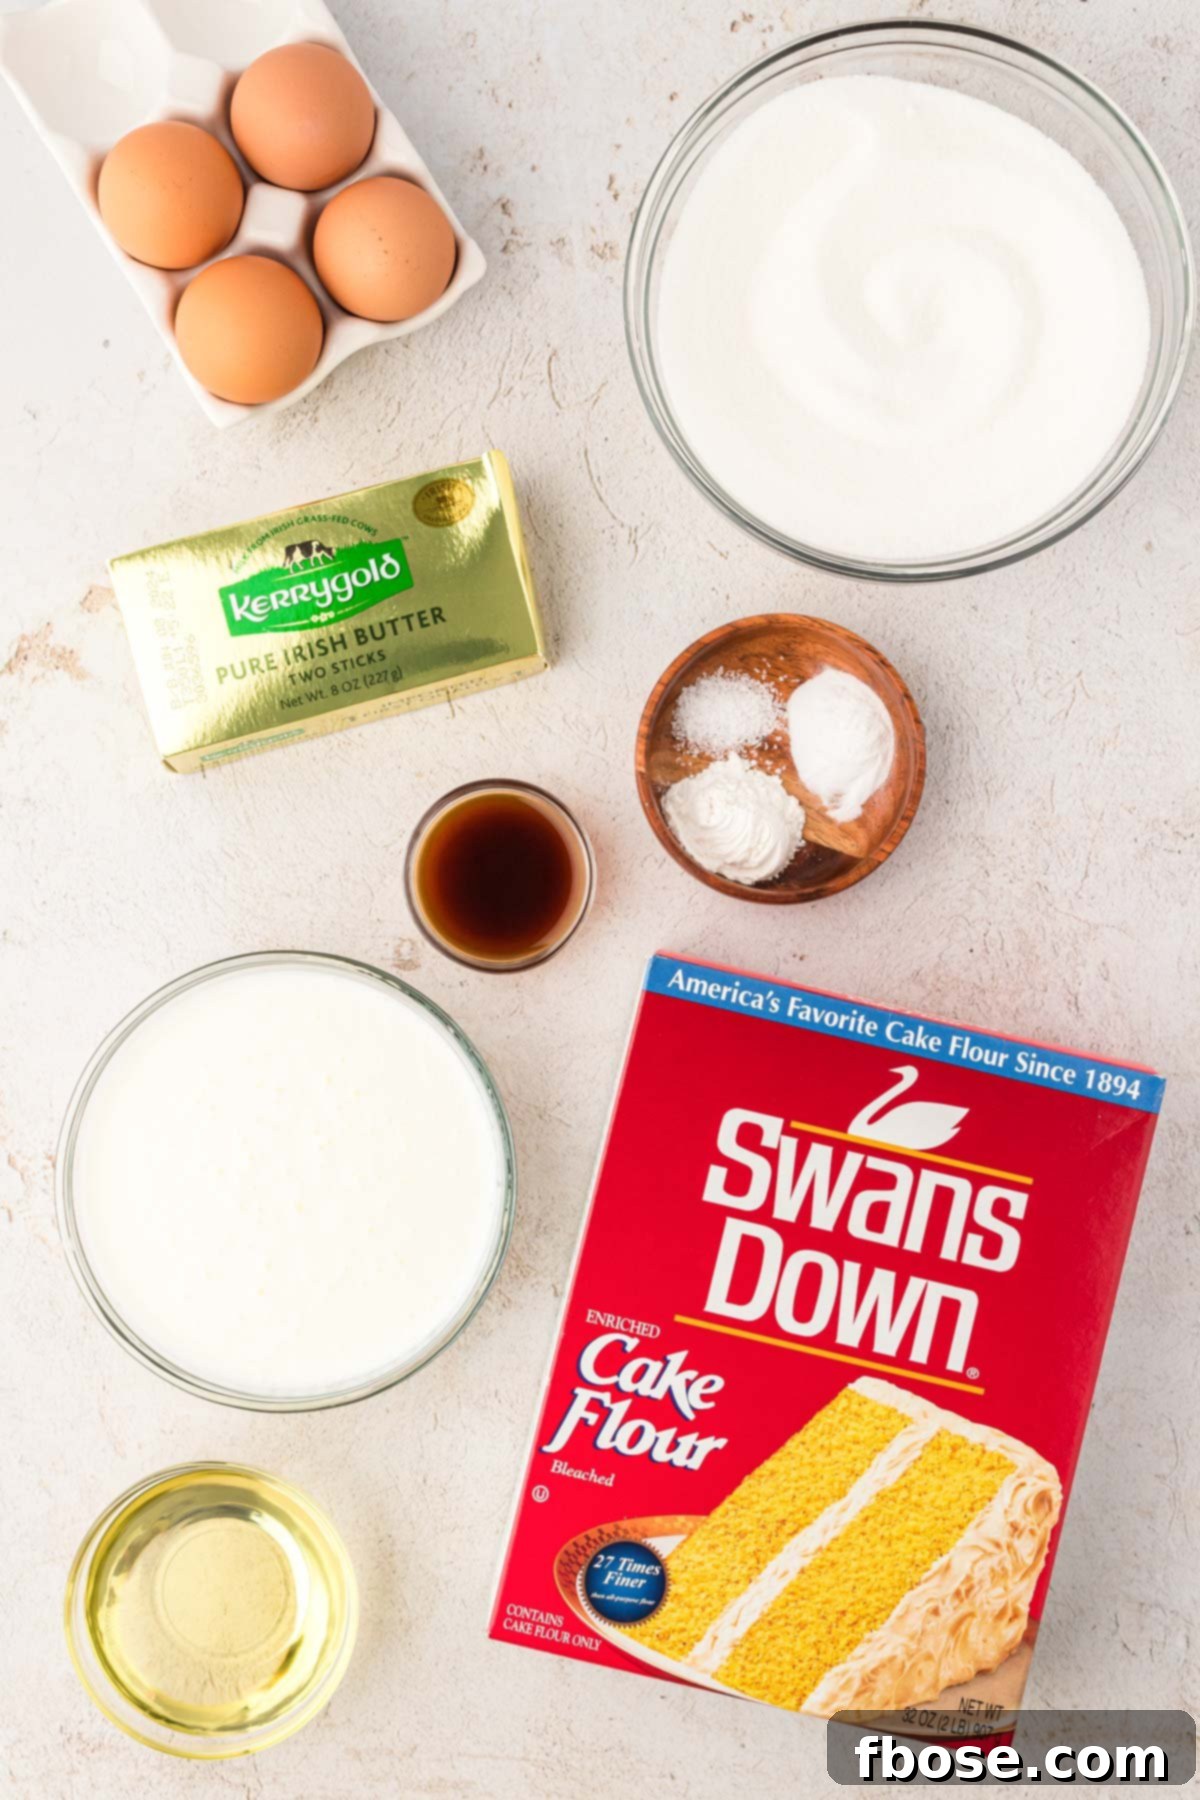
Essential Ingredients for Your Perfect Yellow Butter Cake
Creating an exceptional yellow butter cake begins with selecting the right ingredients. Each component plays a vital role in achieving that sought-after golden crumb and tender texture. Here’s what you’ll need to gather:
- Cake Flour: This is crucial for a delicate, fine crumb. Its lower protein content results in a lighter, softer cake compared to all-purpose flour.
- Baking Soda & Baking Powder: These leavening agents work in harmony to give the cake its lift and airy structure. Baking soda reacts with the buttermilk, while baking powder provides consistent rise.
- Kosher Salt: A touch of salt enhances all the other flavors, balancing the sweetness and adding depth.
- Granulated Sugar: Not only sweetens the cake but also contributes to moisture and tenderness.
- Vegetable Oil: Adds an extra layer of moisture to the cake, keeping it soft even when refrigerated.
- Unsalted Butter: The star of “butter cake,” providing unparalleled richness, flavor, and a beautiful golden color. Ensure it’s unsalted for better control over the total salt content.
- Vanilla Extract: The soul of the cake, offering that warm, comforting, classic vanilla aroma and taste. Use a good quality pure vanilla extract for the best results.
- Large Eggs & Large Egg Yolks: Whole eggs add structure and moisture, while the extra egg yolks are key to the yellow cake’s characteristic golden hue and its incredibly rich, tender texture.
- Buttermilk: Contributes moisture, a slight tang that brightens the flavor, and reacts with the baking soda to promote a tender crumb.
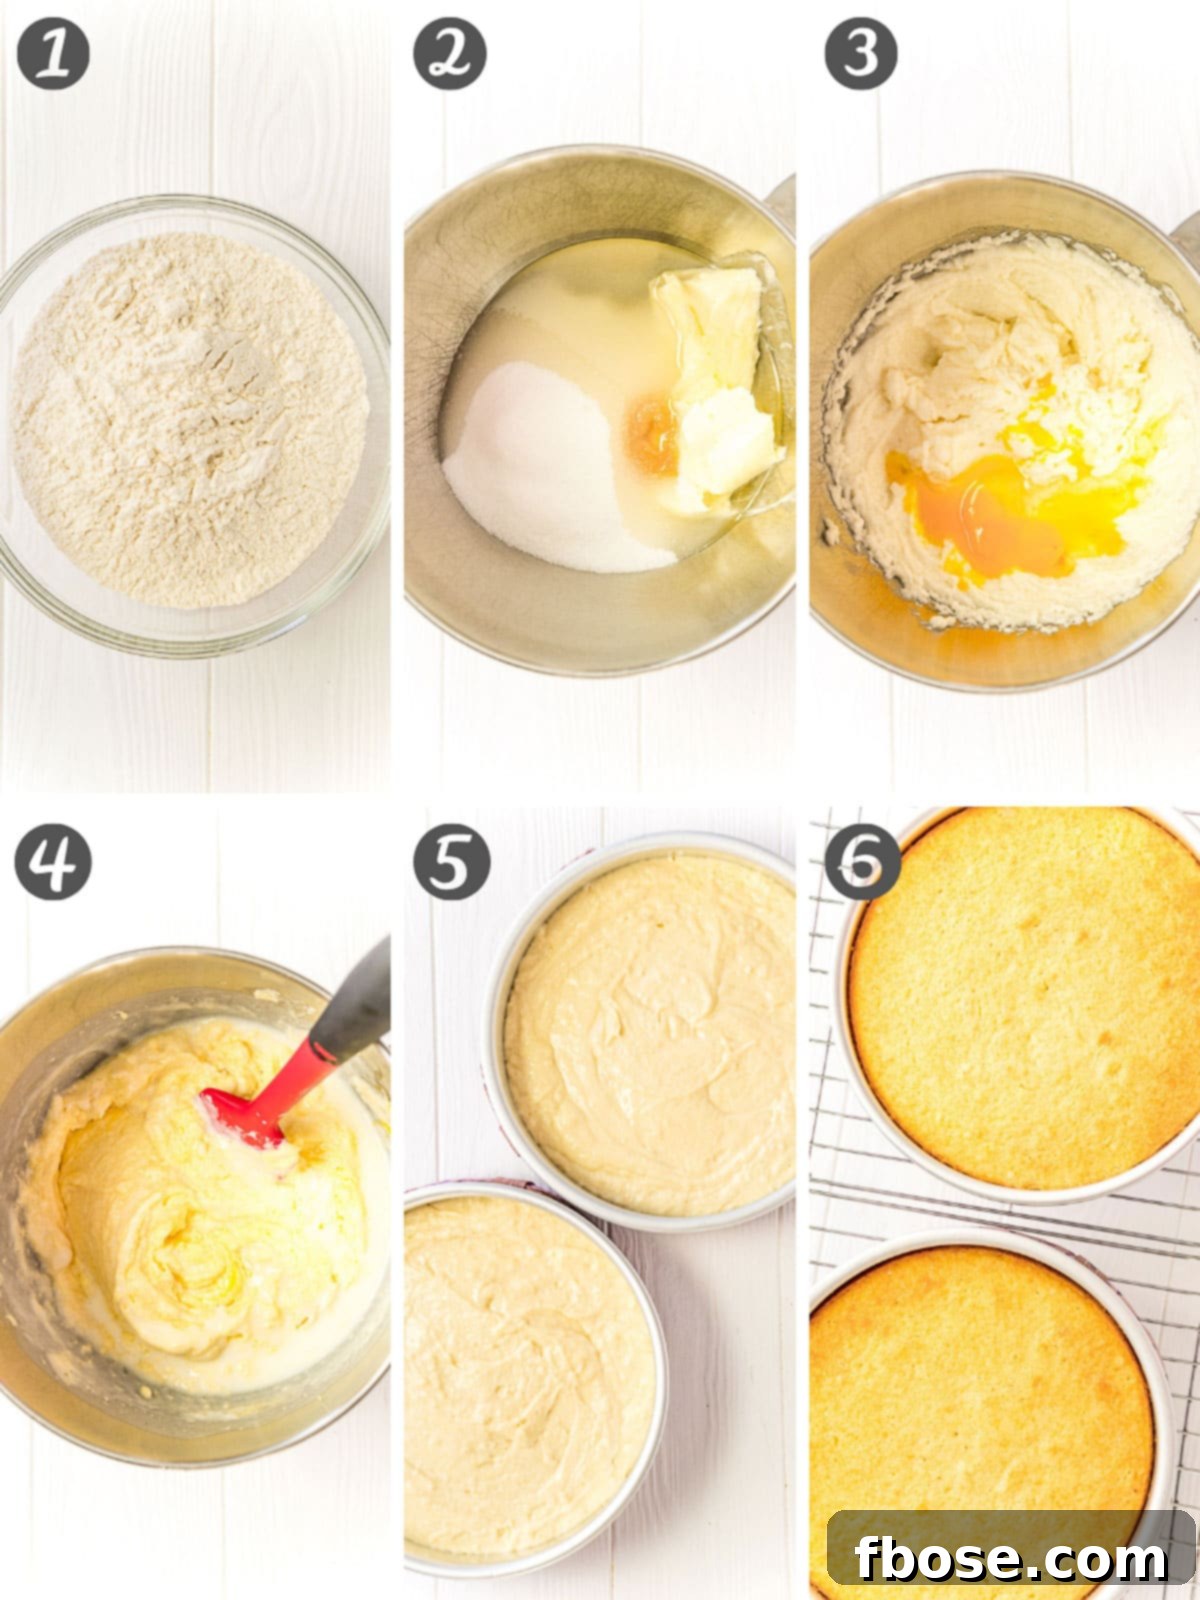
Crafting Your Homemade Yellow Cake: Step-by-Step
Making this classic yellow cake is a straightforward process, but paying attention to each step ensures a perfect result every time. Follow these instructions for a tender, flavorful cake:
- Prepare Dry Ingredients: In a large bowl, sift together the cake flour, baking soda, baking powder, and kosher salt. Sifting is vital here, as it removes lumps and aerates the flour, contributing to a lighter cake. Set this mixture aside.
- Cream Wet Ingredients: In a separate, larger bowl, using either a hand mixer or a stand mixer fitted with a whisk attachment, cream together the granulated sugar, vegetable oil, softened unsalted butter, and vanilla extract until the mixture is light, fluffy, and pale in color. This step incorporates air, which is essential for the cake’s rise and texture.
- Incorporate Eggs: Add the large eggs and extra egg yolks one at a time, beating well after each addition. Make sure each egg is fully incorporated into the butter mixture before adding the next. This creates a stable emulsion.
- Alternate Dry and Wet: With a rubber spatula, gently fold the sifted dry ingredients into the wet mixture in three parts, alternating with the buttermilk in two parts. Always begin and end with the dry ingredients. Mix by hand only until just combined, being careful not to overmix. Overmixing will develop the gluten in the flour, resulting in a tough cake. Small lumps are perfectly fine!
- Fill Pans: Pour the prepared batter evenly into your greased and floured (or parchment-lined) cake pan(s). Gently tap the pans on the counter a few times to release any large air bubbles.
- Bake and Cool: Bake in a preheated oven until a toothpick inserted into the center of the cake comes out clean. This indicates it’s fully cooked. Once baked, transfer the cake pans to a wire rack and allow the cakes to cool in the pans for about 10-15 minutes before inverting them onto the rack to cool completely. Cooling completely before frosting is crucial for preventing a melty mess!
Creating a Stunning Homemade Yellow Layer Cake
Transforming this yellow cake recipe from scratch into an impressive layer cake is incredibly easy, but success hinges on one crucial detail: ensuring that ALL your ingredients are at room temperature before you begin. This allows them to emulsify properly, creating a smooth, airy batter that bakes evenly and yields a beautifully tender crumb. Cold ingredients can cause the batter to curdle or become lumpy, impacting the final texture of your cake.
Once your batter is perfectly prepared, divide it evenly between two 8-inch round cake pans. For best results and easy release, make sure these pans are properly prepared: lightly grease them, then line the bottoms with parchment paper. This prevents sticking and ensures your beautiful layers come out intact. Bake for approximately 30 to 35 minutes, or until a toothpick inserted into the center of each cake comes out clean. This indicates that the cakes are fully cooked through. Allow them to cool in the pans for a short period before transferring to a wire rack to cool completely before assembly.
Assembling and Frosting Your Beautiful Yellow Butter Cake
Once your cake layers are completely cool to the touch, the truly enjoyable part begins: assembling and frosting your masterpiece! This is where you can let your creativity shine.
- To start, carefully place one cooled cake layer onto your chosen serving plate or cake stand. Spread a generous, even layer of your favorite buttercream frosting over the top. While chocolate frosting is the undeniable classic choice, feel free to experiment with vanilla, cream cheese, or even fruit-flavored buttercreams.
- Gently place the second cake layer directly on top of the first, aligning it as best as possible. Add another liberal layer of frosting, spreading it smoothly from the center outwards, almost to the edge.
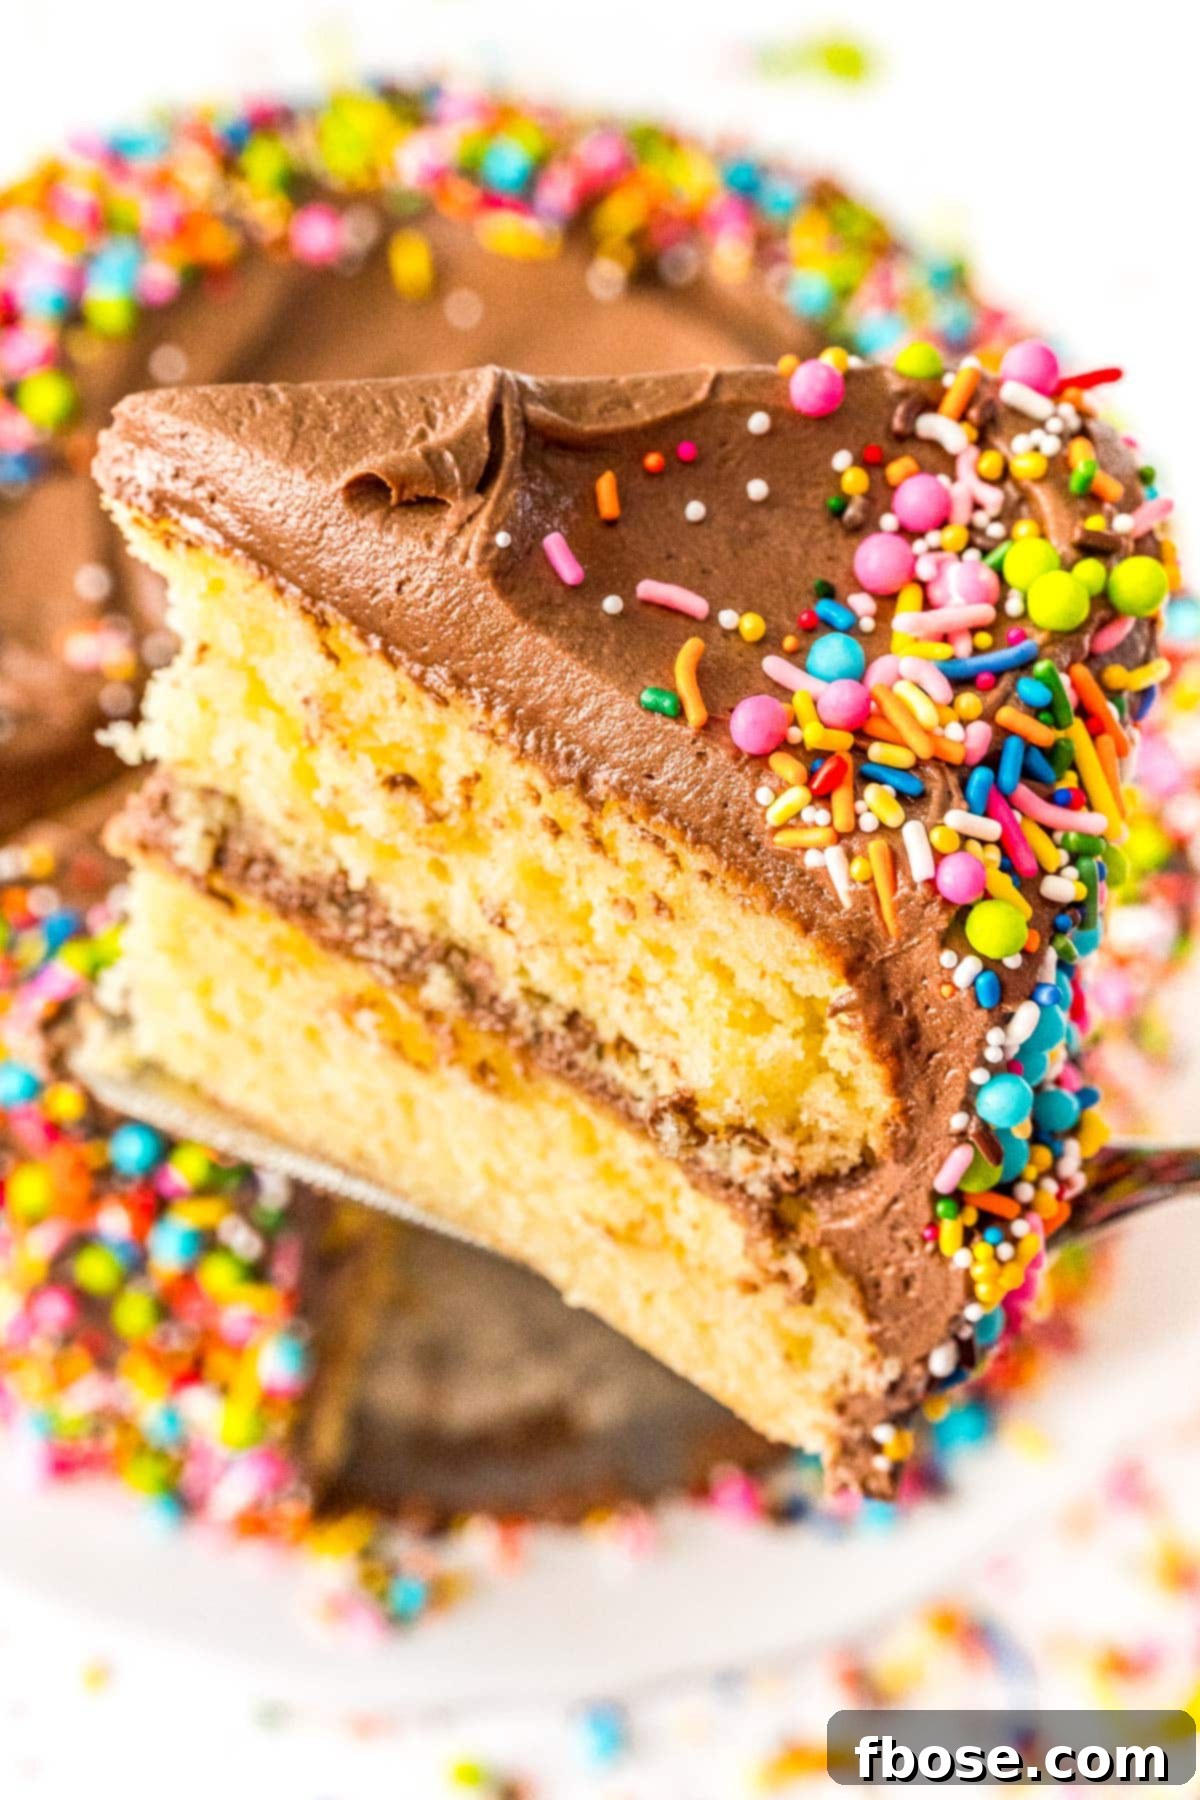
- For the sides and top of the cake, use an offset spatula or a bench scraper to evenly distribute the remaining buttercream. You can opt for a perfectly smooth, polished finish, or embrace a charmingly rustic, homemade look with delightful swirls and peaks. Don’t forget to apply a thin “crumb coat” first – this traps any loose crumbs, ensuring your final frosting layer is pristine. Chill briefly, then apply the final layer.
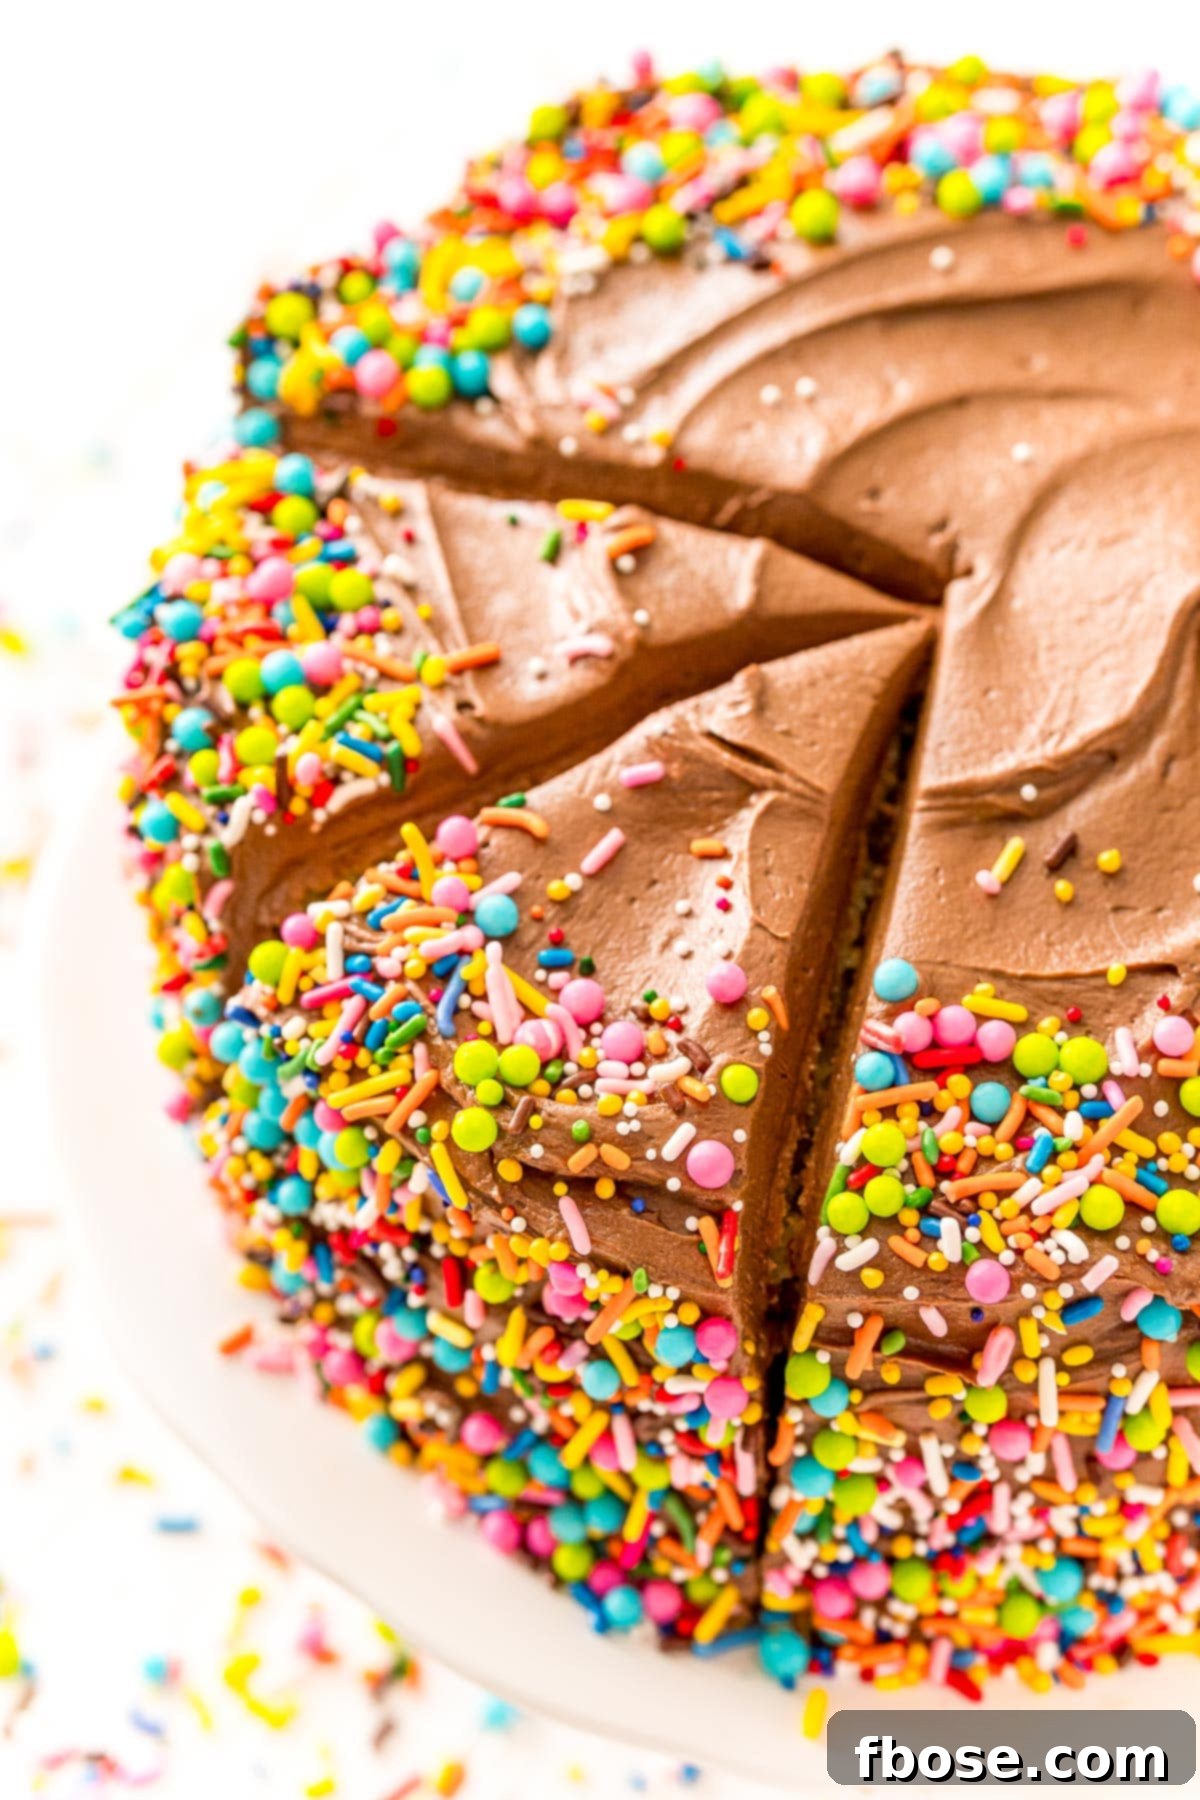
- If you’re feeling particularly ambitious, fill a piping bag fitted with a large decorative tip (like a star or round tip) to add elegant borders, rosettes, or other decorative touches around the edges or on top of the cake. Sprinkles, fresh berries, or chocolate shavings can also add a lovely flourish.
Remember, perfection isn’t the goal; the charm of a homemade cake lies in its rustic beauty and the love poured into it. The more “homemade” it looks, the more inviting it often becomes! Slice and serve immediately, or refrigerate the frosted cake until you’re ready to delight your guests.
Baking Your Yellow Butter Cake as a Convenient Sheet Cake
The versatility of this yellow cake recipe means it can easily be adapted for different occasions and serving styles. While it makes a fantastic layer cake, it’s also incredibly simple to prepare as a single-layer sheet cake. Sheet cakes are ideal for potlucks, casual gatherings, or when you simply want less fuss and easier transport.
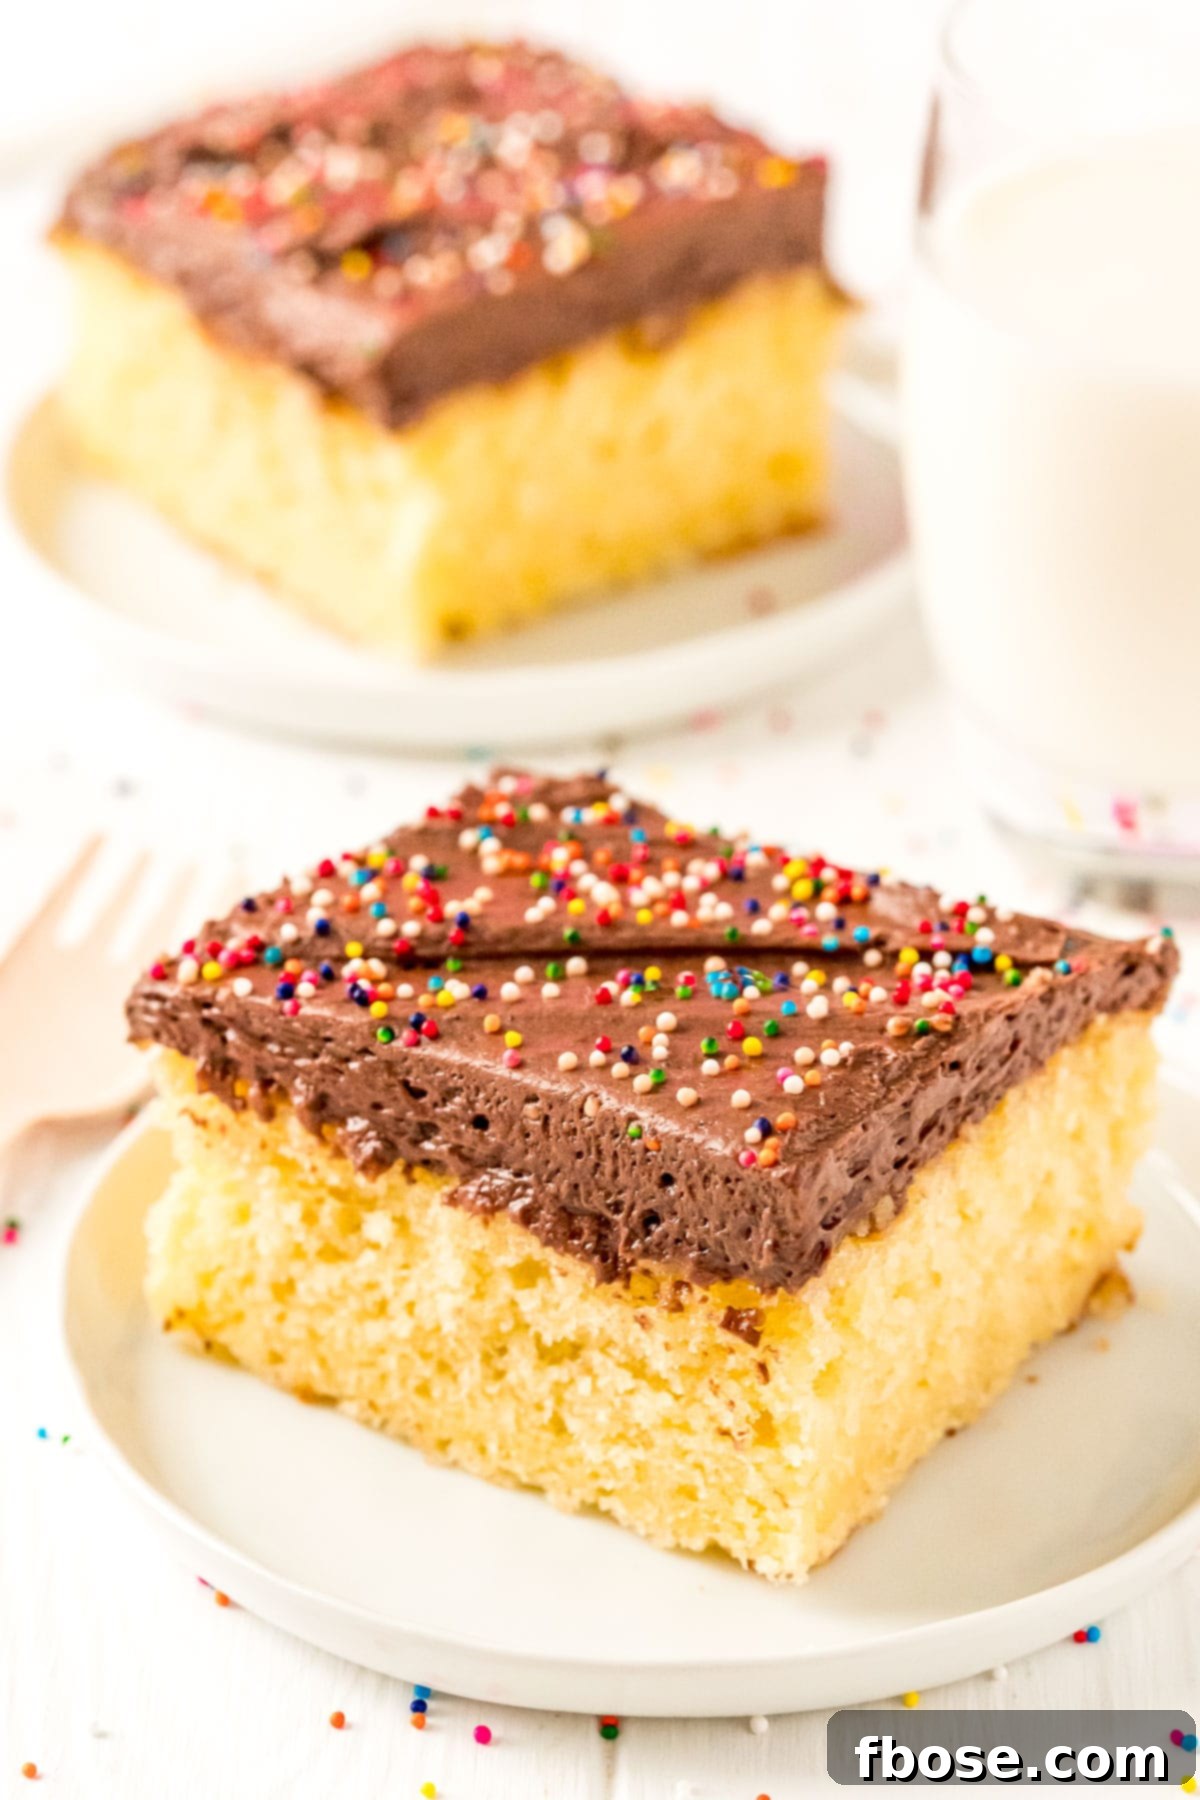
To make this recipe as a sheet cake, you’ll need a standard 9×13-inch cake pan. There’s no need for parchment paper on the bottom; simply grease the pan thoroughly to prevent sticking. Once greased, pour all of the prepared yellow cake batter directly into the pan, spreading it evenly to the edges. Bake the sheet cake for a slightly longer duration than layer cakes, typically 40 to 45 minutes. As always, the cake is perfectly done when a toothpick inserted into its center comes out clean, indicating no wet batter remains. Allow the cake to cool completely in the pan before generously applying your favorite frosting directly onto the surface. Serving directly from the pan makes this a fantastic, no-fuss dessert!
Perfect Pairings: Frostings for Your Homemade Yellow Cake
The beauty of a classic yellow cake lies in its adaptability, especially when it comes to frosting. Its mellow vanilla and buttery notes make it a perfect complement to a wide array of flavors. Here are some highly recommended frostings that will elevate your homemade yellow cake:
- Chocolate Buttercream: The ultimate classic pairing. Its rich, smooth, and deeply chocolatey flavor provides a wonderful contrast to the tender yellow cake.
- Chocolate Cream Cheese Frosting: For a slightly tangy twist on chocolate, this frosting adds a delightful creamy texture and a subtle richness that’s less sweet than traditional buttercream.
- American Buttercream: A sweet, fluffy, and versatile choice that lets the pure vanilla essence of the yellow cake shine through. You can easily tint it with food coloring for festive occasions.
- Creamy Peanut Butter Frosting: A delightful and unexpected pairing, the savory-sweet notes of peanut butter create an addictive flavor combination that’s sure to be a crowd-pleaser.
- Fresh Strawberry Buttercream: For a brighter, fruitier option, a light and airy strawberry buttercream adds a burst of natural sweetness and a beautiful pink hue, perfect for spring or summer gatherings.
Rebecca’s Ultimate Tips for Yellow Cake Success!
I am confident that with these key tips, you’ll agree this is truly the best yellow cake recipe you’ve ever made! Achieving that perfect, tender, and flavorful crumb is all about precision and understanding a few baking fundamentals. Here are my essential tips for guaranteed success:
- Room Temperature is Key: This cannot be stressed enough! Ensure all your dairy ingredients – butter, eggs, and buttermilk – are at true room temperature before you begin mixing. This allows them to emulsify properly, creating a smooth, stable batter that traps air for a light, fluffy cake.
- Use Cake Flour: Resist the urge to substitute. Cake flour, with its lower protein content, is specifically designed to create a softer, more tender, and finer crumb in cakes. It truly makes a noticeable difference in the final texture of your yellow cake.
- Cake Flour Substitute: If you don’t have cake flour on hand, you can create a suitable substitute from all-purpose flour and cornstarch. For every cup of cake flour needed, remove two tablespoons of all-purpose flour and replace it with two tablespoons of cornstarch. Whisk them together thoroughly before sifting.
- Measure Flour Correctly: This is arguably the most common mistake in baking and can quickly lead to a dense, dry cake. The most accurate way to measure flour is with a kitchen scale. If you don’t own one, use the “spoon and level” method: fluff your flour with a spoon, gently spoon it into your measuring cup (don’t pack it down!), and then level off the excess with the back of a knife.
- Sift Dry Ingredients: Beyond just combining them, sifting the dry ingredients (flour, baking soda, baking powder, salt) serves a dual purpose: it removes any lumps, ensuring a smooth batter, and it aerates the mixture. This aeration allows the dry ingredients to blend more seamlessly with the wet ingredients and contributes to a lighter, more uniform crumb after baking.
- Scrape Your Bowl: Frequently stop your mixer and scrape down the sides and bottom of your mixing bowl while preparing both the cake batter and any frosting. This ensures all ingredients are fully incorporated and prevents unmixed pockets, leading to a perfectly smooth and consistent result.
- Fold, Don’t Beat, Dry Ingredients: When combining the dry ingredients with the wet, use a rubber spatula to *fold* them in gently. Avoid using an electric mixer for this step, as aggressive mixing can overdevelop the gluten in the flour, resulting in a tough, chewy cake rather than a light and fluffy one. Mix only until just combined.
- Quality Cake Pans: Invest in good quality round cake pans. They distribute heat evenly, which is crucial for achieving flat, level layers without burnt edges or undercooked centers.
- Effortless Release: To ensure your cakes pop cleanly out of the pan every single time, I highly recommend using Cake Goop or a similar homemade pan release. This miraculous coating creates a non-stick surface, guaranteeing perfect edges and no sticking tragedies.
The Art of Measuring Flour for Unfailingly Perfect Cakes
Measuring your flour properly is a foundational skill that can truly make or break your cake. An all-too-common culprit for dense, dry, or crumbly results is adding too much flour. Flour that is scooped directly from the bag can be compacted, meaning you end up with significantly more than the recipe intends, leading to a heavy cake.
For the pinnacle of accuracy and consistent baking results, reaching for a kitchen scale is your best bet. Weighing your flour ensures you get the exact amount every time, eliminating guesswork and variability.
However, if a kitchen scale isn’t readily available, fear not! You can still achieve a precise measure using standard measuring cups with a simple technique:
- Fluff the Flour: Before anything else, use a spoon or whisk to gently fluff up the flour in its container. This aerates it and loosens any compaction.
- Spoon, Don’t Scoop: Instead of dipping your measuring cup directly into the flour, gently spoon the fluffed flour into the measuring cup until it’s overflowing. Do not pack it down, shake the cup, or tap it on the counter.
- Level It Off: Use the straight edge of a knife or a similar flat utensil to level off the excess flour from the top of the cup.
Taking this small amount of extra care at the flour-measuring stage truly pays dividends, directly impacting the light, tender, and moist texture of your finished yellow cake.
Storing Your Delicious Yellow Cake for Lasting Freshness
To ensure your homemade yellow cake remains as delicious as the day it was baked, proper storage is essential. If your family miraculously doesn’t devour the entire cake in one sitting, here’s how to keep it fresh:
A freshly baked and frosted yellow cake can be stored uncovered at room temperature for up to 24 hours, especially if it’s covered with a cake dome to protect it from drying out. Beyond that, or if your frosting contains perishable ingredients like cream cheese, the cake should be wrapped securely and transferred to the refrigerator. To prevent it from absorbing refrigerator odors or drying out, wrap individual slices or the entire cake tightly in plastic wrap, then place it in an airtight container or cover it with aluminum foil. When properly stored in the refrigerator, your yellow cake should retain its freshness and flavor for 3 to 4 days after baking. Always allow refrigerated cake to come to room temperature for about 15-30 minutes before serving to ensure the best texture and flavor.
Can You Freeze Yellow Butter Cake for Future Enjoyment?
Absolutely, you can freeze this delightful yellow butter cake, and it’s a fantastic way to get ahead on party preparations or ensure you always have a comforting treat on hand! Freezing cake layers makes assembly incredibly quick and easy when a special occasion spontaneously arises.
To freeze your cake, first bake and cool it completely according to the recipe directions. Ensure the cake layers are thoroughly cooled to prevent condensation and ice crystals from forming during freezing. Once cooled, wrap each individual cake layer tightly with plastic wrap, making sure there are no exposed areas. Then, for an extra layer of protection against freezer burn, wrap each plastic-wrapped layer with aluminum foil. Finally, place the securely wrapped layers into a large, freezer-safe bag or an airtight container. Your cake layers can be safely frozen for up to three months.
When you’re ready to enjoy your frozen yellow cake, remove the layers from the freezer and allow them to thaw for 30 to 60 minutes while still wrapped. This initial thawing period, while the cake is still covered, helps to minimize moisture loss. After this, unwrap the layers and proceed with frosting and assembly as desired. A fantastic chef’s trick: *assembling the cake when the layers are still partially frozen will actually make them firmer and easier to handle, resulting in much cleaner, sharper cuts once the cake is sliced and fully thawed.*
Advanced Tips for Mastering Your Yellow Cake Recipe from Scratch
Beyond the basic steps, understanding the science behind baking can elevate your homemade yellow cake from good to truly exceptional. Here are some detailed tips to perfect your scratch-made masterpiece:
The Crucial Role of Room Temperature Ingredients in Baking
The recommendation to use room temperature ingredients isn’t just a baking myth; it’s a fundamental principle for achieving a superior cake texture. When ingredients like butter, eggs, and buttermilk are at a consistent, moderate temperature, they blend together more effectively. This creates a smooth, emulsified batter that can trap air efficiently, which in turn leads to a lighter, fluffier, and more tender cake. Typically, it takes most refrigerated ingredients about 30 minutes to an hour to reach optimal room temperature once removed from the fridge.
Butter: Softened, room temperature butter is essential for proper creaming. When butter is creamed with sugar, the sugar crystals cut into the butter, creating tiny air pockets. These air pockets are what give your yellow cake its rise and tender structure. Cold butter won’t cream properly, resulting in a dense cake, while melted butter won’t trap air at all.
Eggs: Room temperature eggs also contribute to better emulsification and volume. When whipped, warmer eggs create more volume than cold eggs, leading to a lighter batter. Additionally, adding cold eggs to a creamed butter mixture can cause the fat in the butter to re-solidify, resulting in a lumpy, curdled batter that won’t bake evenly. It’s worth noting that eggs are often easier to separate when cold, so if your recipe calls for separated eggs (like our additional egg yolks), it’s best to separate them while cold and then allow the yolks to come to room temperature.
Buttermilk: Just like butter and eggs, room temperature buttermilk is important. Cold buttermilk can shock the butter mixture, causing it to seize up and lose its smooth consistency. Using room temperature buttermilk helps maintain the emulsion, ensuring a perfectly smooth batter that will produce a wonderfully tender and moist yellow cake.
Adapting This Recipe for Delicious Yellow Cupcakes
Yes, you absolutely can transform this fantastic yellow cake recipe into delightful cupcakes! However, simply pouring this batter into cupcake pans and baking at 350°F won’t yield the optimal results you’re looking for. Cupcakes require a slightly different approach to ensure they bake up perfectly moist, domed, and tender.
To achieve the best yellow cupcakes, we’ve actually perfected a moist Yellow Cupcake recipe by making a couple of specific adjustments to this butter cake recipe. These adjustments typically involve slight tweaks to the leavening agents or baking temperature/time to accommodate the smaller size and faster cooking of cupcakes. Following a dedicated cupcake recipe ensures the perfect balance of ingredients and baking method for a consistently superb result. Don’t just guess; refer to a recipe specifically designed for cupcakes to achieve that ideal texture and shape.
Explore More Delicious Cake Recipes
If you’ve enjoyed mastering this classic yellow cake, you’ll love exploring these other fantastic cake recipes, each offering its own unique flavors and textures:
- Hummingbird Cake – A delightful and moist spiced cake featuring banana, pineapple, and pecans, often served as a sheet cake for easy enjoyment.
- German Chocolate Poke Cake – An incredibly easy chocolate cake, infused with a sweet coconut-pecan filling that creates irresistible layers of flavor.
- Nutella Cake – A luscious layer cake dedicated to the rich, decadent flavor of chocolate hazelnut, perfect for any Nutella lover.
- Tres Leches Cake – A deliciously sweet and incredibly moist sponge cake soaked in three different kinds of milk, creating an unparalleled melt-in-your-mouth experience.
Did You Make This Recipe?
If you’ve tried this recipe, please leave a review in the comments below. I love hearing from you! Don’t forget to tag me – @sugarandsoulco – on Instagram and Pinterest with your photos, or join our Sugar & Soul Show-offs Community and share them there.
Yellow Cake
Ingredients
- 2¾ cups cake flour 358g, spooned and leveled
- ½ teaspoon baking soda
- 1½ teaspoons baking powder
- 1 teaspoon kosher salt
- 1½ cups granulated sugar 300g
- ⅓ cup vegetable oil 78mL
- ⅔ cup unsalted butter room temperature
- 1 tablespoon vanilla extract
- 2 large eggs room temperature
- 2 large egg yolks room temperature
- 1½ cups buttermilk 360mL, room temperature
- Best Chocolate Buttercream Frosting
Instructions
- Preheat your oven to 325°F and spray two 8-inch round cake pans with cooking spray and line the bottoms with parchment paper and set aside. You can also bake this as a sheet cake in a 9×13-inch pan, there is no need to line the sheet pan.
- In a medium bowl, sift together the flour, baking soda, baking powder, and salt. Set aside.
- In a large bowl with a hand mixer or stand mixer fitted with a whisk attachment, cream together the sugar, oil, butter, and vanilla.
- Add the eggs and egg yolks one at a time beating after each addition just until combined.
- Using a rubber spatula, fold in the dry ingredients in 3 parts alternating with the buttermilk in 2 parts. Begin and end with the dry ingredients. Gently fold until only very small lumps remain. DO NOT use an electric mixer for this step.
- Evenly divide the batter between the two prepared cake pans and bake for 30 to 35 minutes. OR add the batter to the prepared 9×13-inch pan and bake for 40 to 45 minutes. A toothpick should come clean from the center when done.
- Transfer the cake pans to a wire rack and allow the cakes to cool in the pan for 10 minutes before removing and allowing to cool completely (about 1 hour before frosting). Once cooled, frost and assemble the cake as desired. If making as a sheet cake, leave the cake in the pan and frost it.
Video
Notes
- Make sure you use cake flour and not all-purpose flour. This will make for a better cake.
- Make sure all ingredients are room temperature before you begin mixing.
- You can frost the cake with your desired flavor and frosting recipe, although I highly recommend my chocolate frosting. Please note that the nutritional information is an estimate that is only for the cake, not the frosting.
- Sifting the dry ingredients helps to remove lumps and aerates the mixture allowing it the blend better with the wet ingredients and resulting in a lighter and finer crumb after baking.
- Folding in the dry ingredients instead of mixing helps keep the texture of the cake light and fluffy.
- If making in a 9×13-inch pan, this recipe will make 15 to 20 servings depending how it’s cut.
Shelf Life:
Cake should be consumed within 3 to 4 days after baking. It can be stored at room temperature for up to 24 hour and then should be wrapped and placed in the refrigerator.
How To Freeze:
Bake and cool according to the recipe directions, except for frosting. Once the cake has cooled completely, wrap each layer with plastic wrap, then wrap each layer with aluminum foil, then place each layer in a large freezer bag. Freeze for up to three months.
When ready to use, remove from the freezer and allow to thaw for 30 to 60 minutes while still wrapped. Then remove, unwrap, and frost and decorate as desired.
Nutrition
Did You Make This Recipe?
Don’t forget to share it with me on Instagram @sugarandsoulco and follow on Tiktok @sugarandsoulco and Pinterest @sugarandsoulco for more!
Pin Recipe
Share Recipe